Strpix - basic Texturing
by
George
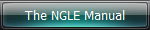
This is an extremely basic tutorial to show you how to retexture a pushable block using Strpix. This tutorial is designed to get absolute beginners going with this fabulously versatile programme. First, let's look at our block in the Editor.
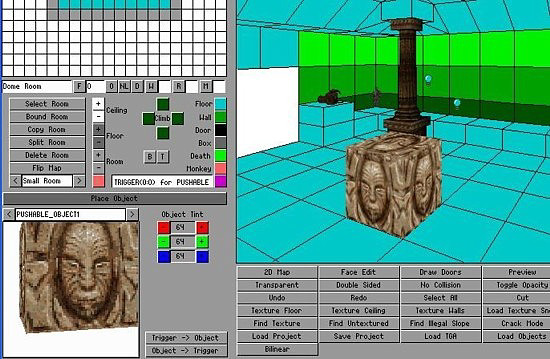
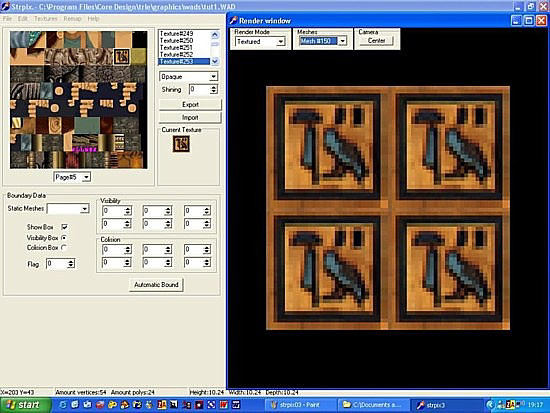
Now close the Editor, start Strpix, open your WAD and scroll through the meshes until you find your pushable block. Having the Render Mode as Textured helps enormously. (You can fast scroll through the meshes using the scroll wheel on your mouse.)
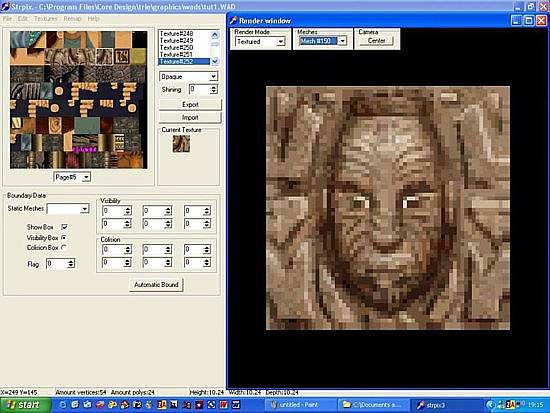
Using your mouse, left click on the texture you want to use in the left window. (There is another method whereby you can export textures, change them using a paint programme and then reimport them, but for now I'm showing you the easy way to get you started). Once you've selected a texture using your left mouse button, left mouse click on the block itself and the texture will be applied.
Apply the texture to all 4 squares making up the face of the block.
Holding down your right mouse button, rotate the block in the Render Window.
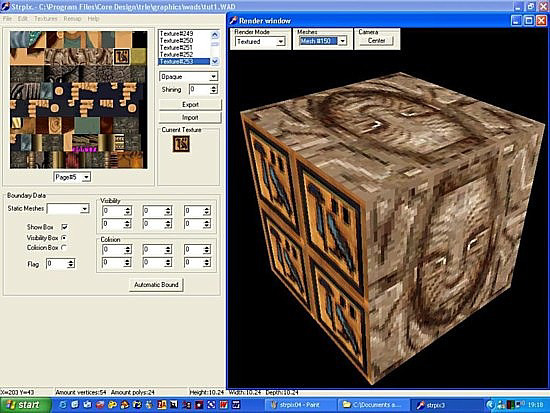
Texture all the remaining sides, the top and the bottom.

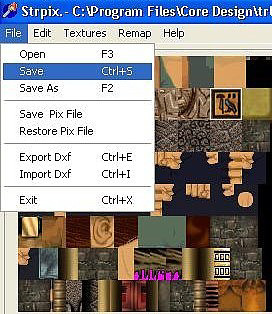
Then save your WAD.
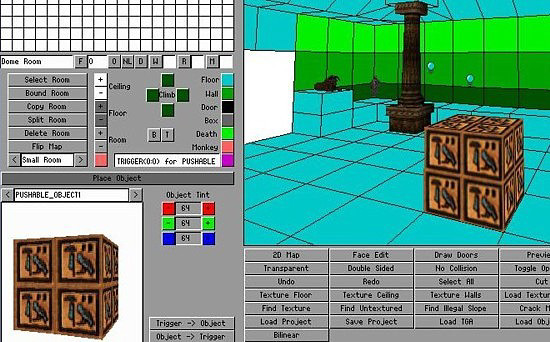
Now let's take a look at our newly textured block in the Editor!
Sometimes it can be difficult to 'reach' objects in the render window while texturing because of the visible box around the object. Simply untick Show Box while texturing.

To select a texture from an object in the main render window, hold down Ctrl and left mouse click the texture you want to select on the object. That texture will then be highlighted in the texture map. To rotate textures on an object hold down shift, Alt or shift + Alt and mouse click for the various combinations.