Texturing Basics
by
George
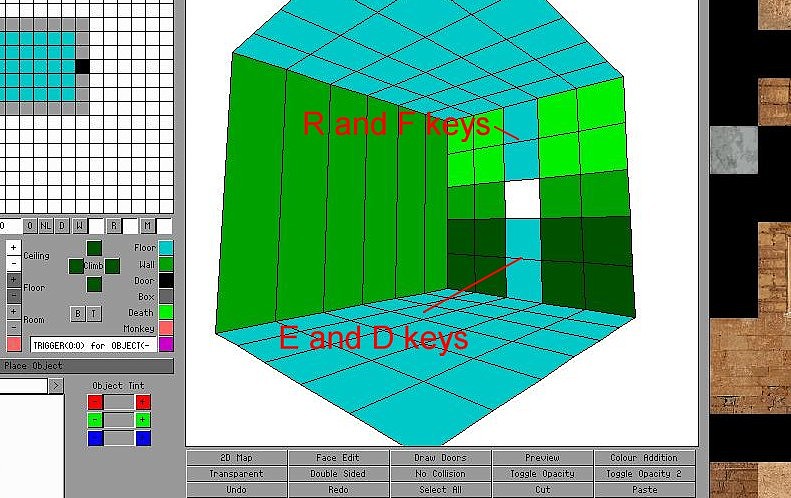
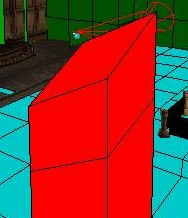
Texture lines above and below Door portals
Have you ever wondered how to get non stretched textures onto walls above and below doors without having to stack rooms? If you're clever, you'd be surprised how many ways there are to work around this problem. Here are a couple of hints to get you started.

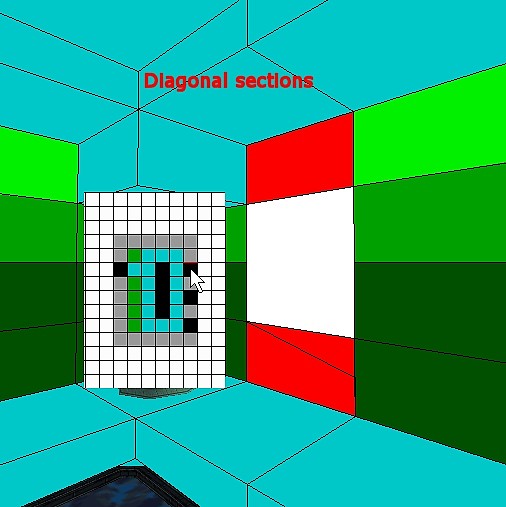
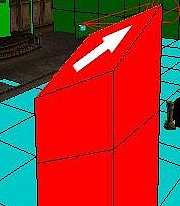
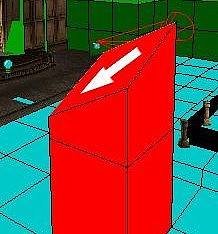
Diagonal texture lines above and below Door
portals
You can also make these texturing lines above and
below door portals diagonals. Click
on the door in 3D view and a red frame will appear around the door in
the 2D grid. Click on the door again and the red frame will change into
a single red line. Click to change the direction of the red line and
then use the R and F or D and E keys to raise or lower one side of the
floor or ceiling line.
This can be a bit fiddly when you first start messing around with it, but it doesn't take long to figure out what's actually happening.
How to make 5 texturing Rows on Walls
How to select small Triangular Textures
When selecting triangular sections of textures for difficult or
small areas, you can use the key below the Esc key and beside the 1 key
to toggle the green triangles. This key may vary from country to
country, so maybe the tilde key will work for you instead.
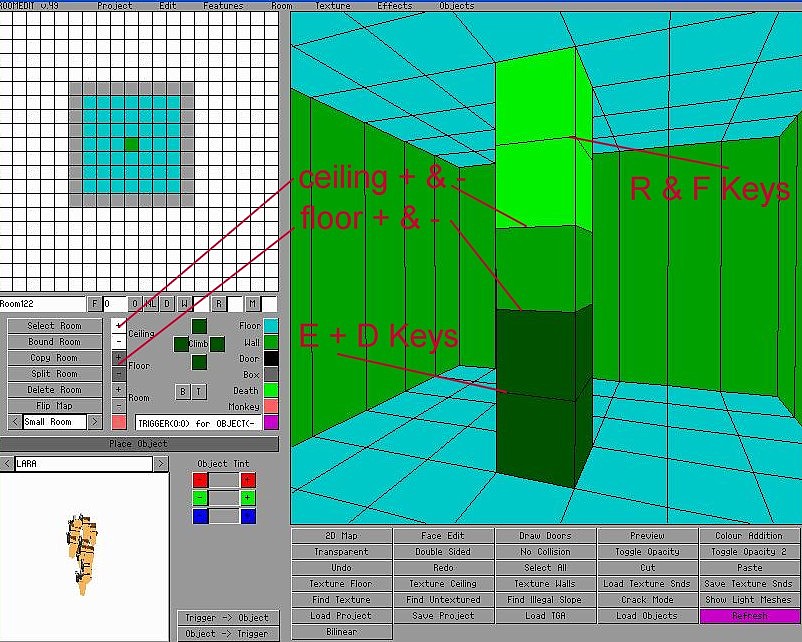
How to adjust Texturing lines on floor and ceiling
Blocks
Ever wondered how to straighten texturing lines on
floor and ceiling blocks?
Use the E and D keys and arrows! Put the arrow to the corner and use the E or D key to raise or lower the texturing line.
For ceiling blocks, simply use the R and F keys with the arrows, instead of the E and D keys.
How to apply whole textures to Broken floor and
ceiling Tiles
Having problems applying textures to broken tiles
and getting them to match up?

Hit the Alt key at the same time as you apply the texture with your left mouse button and your problems are over. Holding the Alt key down while right mouse clicking on the texure will rotate the whole texture cleanly. Holding down the Ctrl key and the Alt key while mouse clicking will allow you to flip the texture cleanly too.
How to move Texturing lines on solid Columns
Trying to move just one corner of a texturing line on a column? Frustrated because everytime you try it, lines on the other side of the block move as well? Simple! Hold down the Ctrl key while toggling the arrows. You will be able to select and move just one corner and no other lines will move.
This will also work on partition walls dividing up a single room.

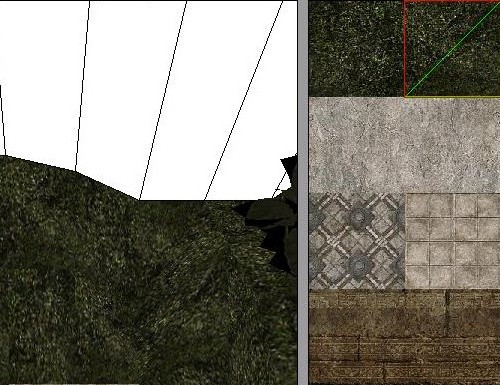
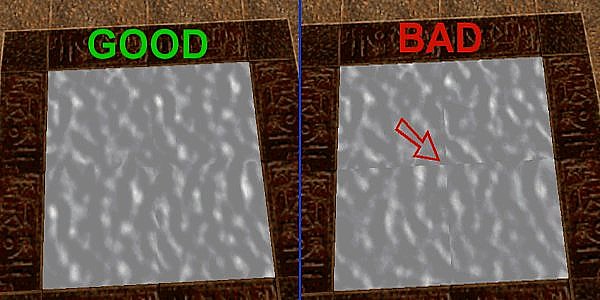
Getting rid of the Wallpaper Effect
Here is a screen shot from the early stages of development of one of the
levels of QRS's release 'Egypt and Beyond'. The wall paper effect is
very evident:
Here was my suggestion:
Little tip for you,
rotate every second wall brick tile 180 degrees to get rid of the
wallpaper effect.
Here was QRS's reply:
Rotating
them did not work so well (for this texture) but I made half of them
mirrored and that did the job!
And here is the difference.

Of course, your job is made much easier if you use blocks of 4 or 6 textures.
How to get rid of the wallpaper effect on water
There are many water texture sets now that don't require matching
up, but if you do use a water texture set that requires matching, this
method will save you a lot of time. First load a temporary water texture
set which is numbered 1 to 8. Rotate the room so you are looking to the
left of the 2D map and then texture the surface as follows:
1 - 2
- 3 - 4 - 5 - 6
2 - 3 - 4
- 5 - 6 - 7
3 - 4 - 5 - 6
- 7 - 8
4 - 5 - 6 - 7 - 8
- 1
5 - 6 - 7 - 8 - 1 - 2
6 - 7 - 8 - 1 - 2 - 3
Texturing Large Areas
It can be difficult to apply textures to large rooms, so if you first copy the 256x256 texture and on the copy, place numbers 1,2,3,4 etc. on each of the 64x64 cells and then apply them you can ensure they are in the correct sequence and rotated correctly. Then afterwards replace the 'numbered' texture with the original, and you will have a perfectly textured area.
Rotating Difficult to see Triangular Textures Correctly
Sometimes it is all too easy to incorrectly apply textures to broken floor or ceiling tiles. If this happens to you, here is a good tip for ensuring a triangular texture is rotated properly into position. Place your triangle texture. If you're not sure it's right, place a totally different, easy to see texture there and rotate it into position. If you then apply the same triangle of your corrct texture, it will be properly applied. Using Alt Z to move the editor view can make this method a little easier. In this particular editor screen you can see which one of the textures isn't right so you can simply hold down Alt + mouse when you reapply the texture and it will be applied correctly. You can then use Ctrl + mouse to rotate it. Sometimes, however, depending on how a tile is broken, this may not work and so this alternative method could prove useful.

Select a contrasting texture, select the same triangle, and apply.

Now it's easy to see the texture isn't placed properly and it's simple to rotate it properly.
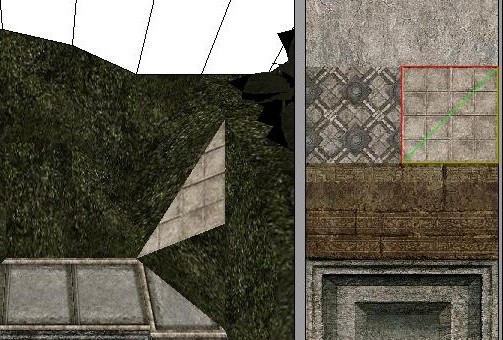
Now all you have to do is select the same triangle on the correct texture and apply it and it will be right.