Tomb Raider - 88 Moon
Author: Györgyi András (Giliii)
Download: Here
Extract
the andras_gyorgyi_tomb_raider_88moon.zip, copy it over to somewhere
and launch the game with 88 Moon.exe
Story:
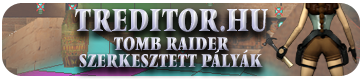
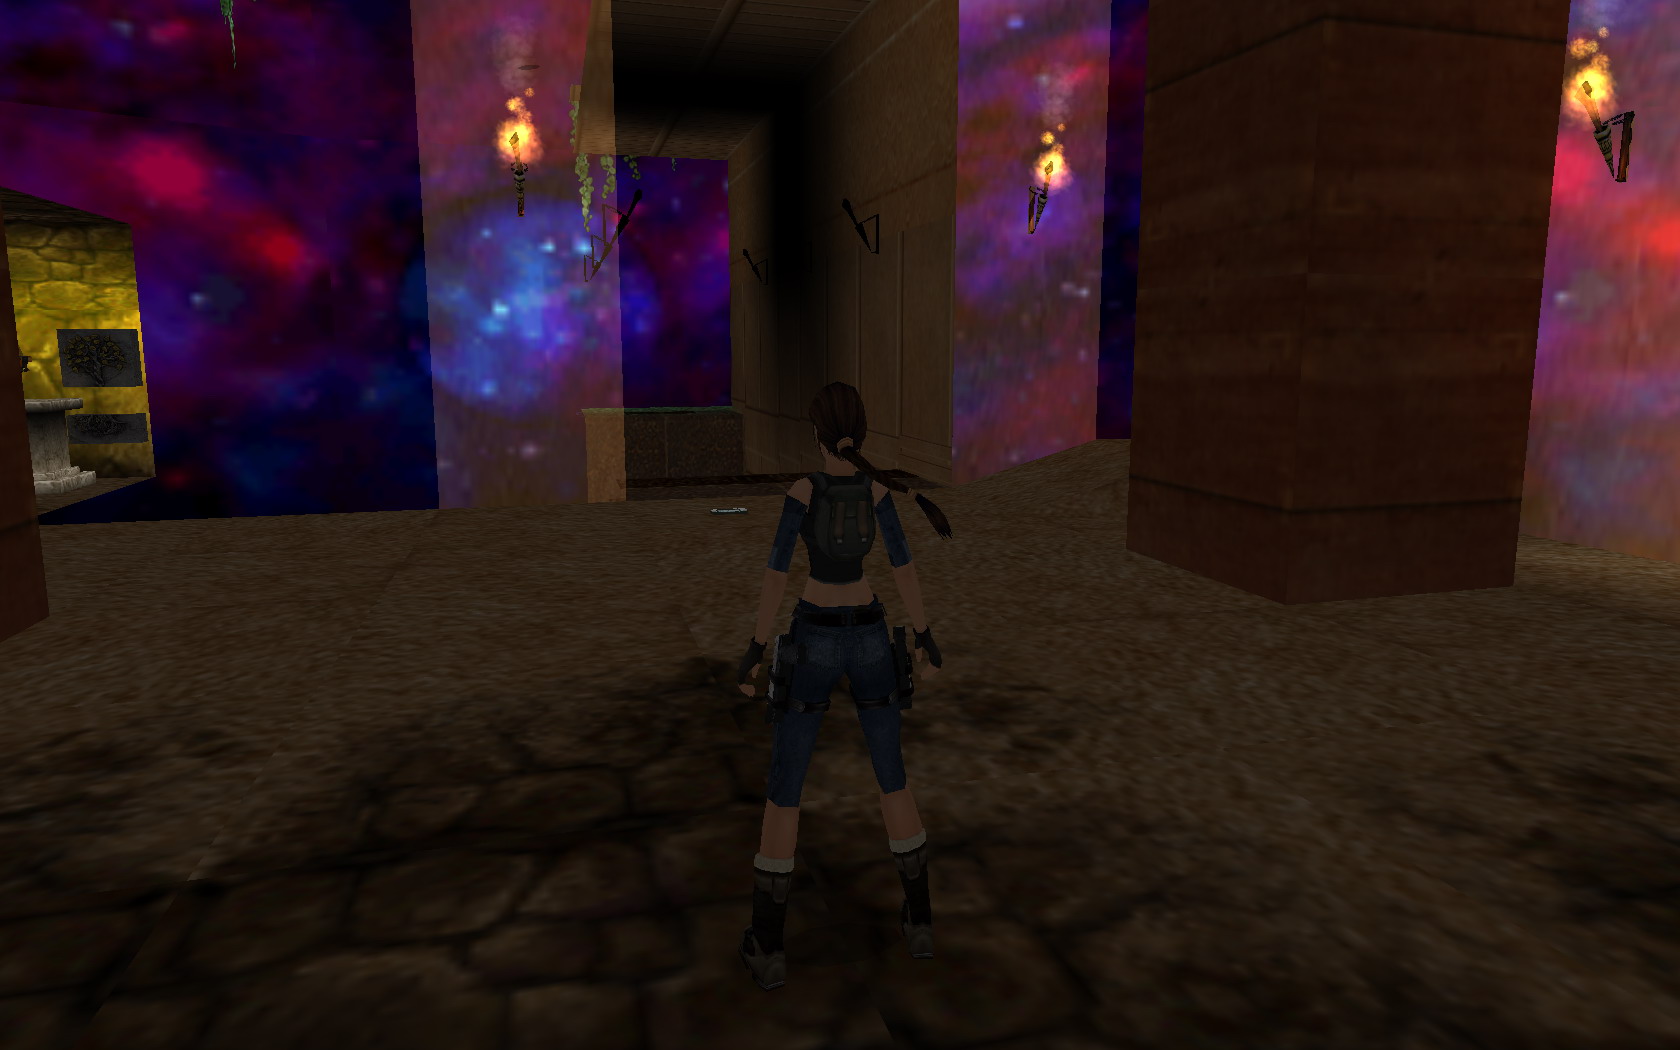
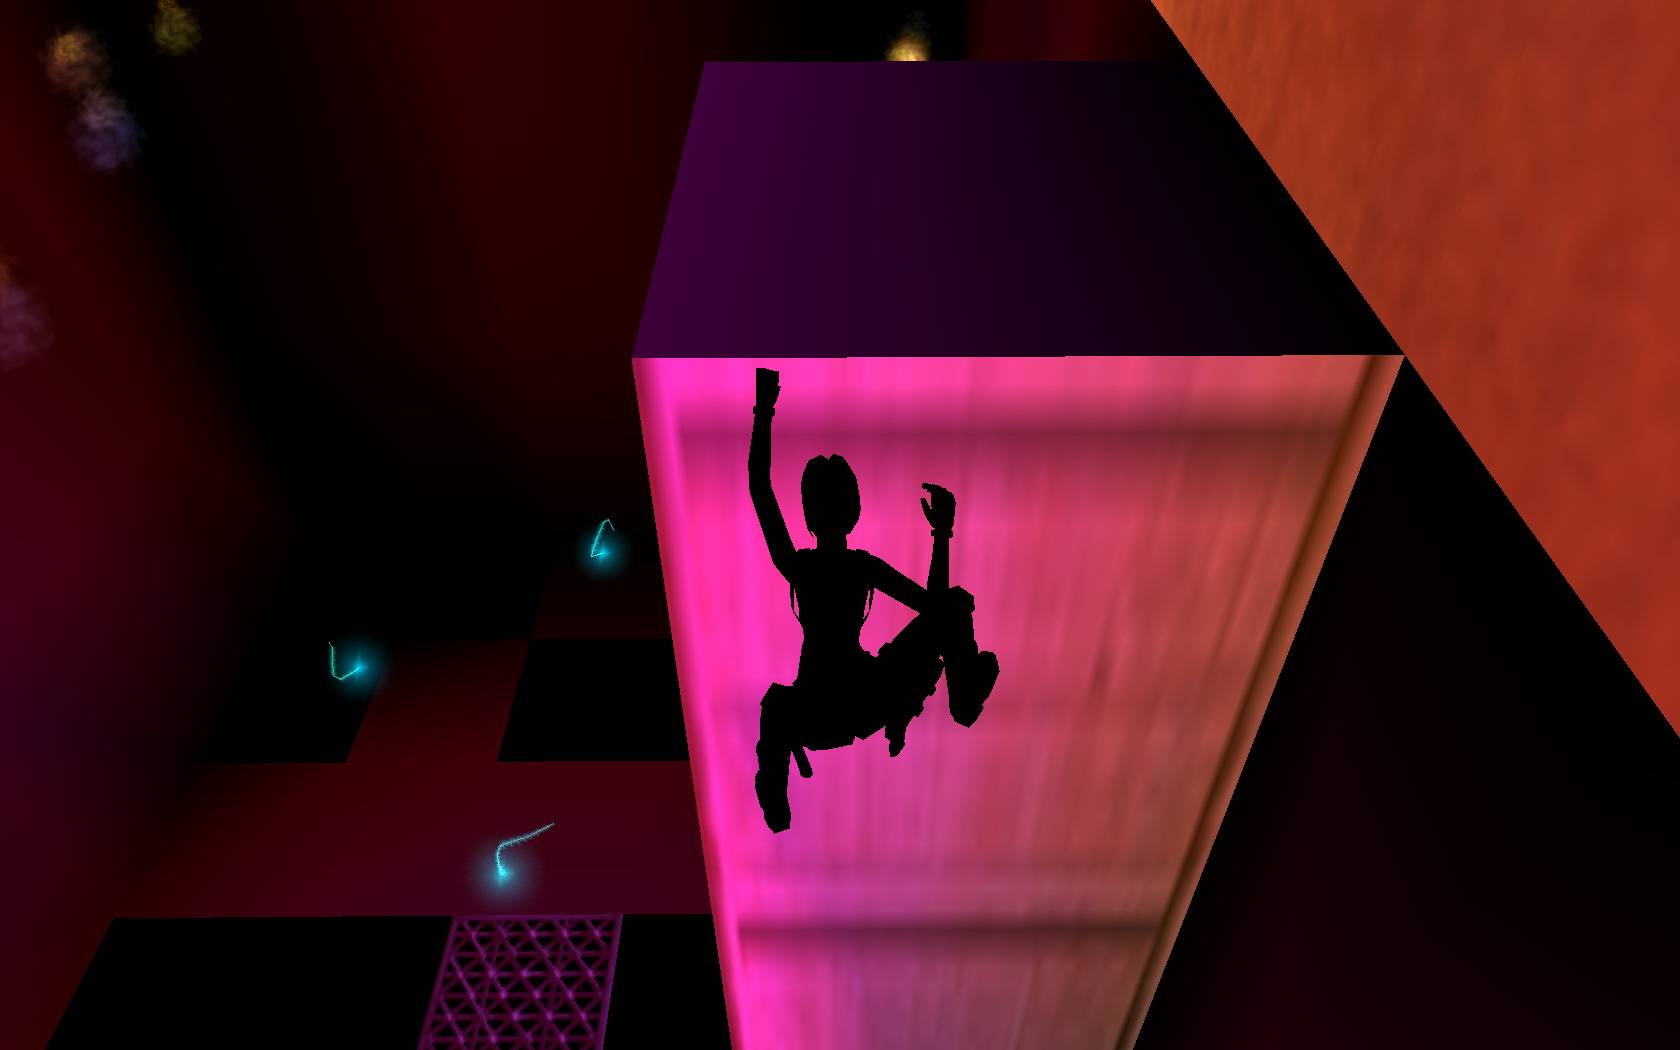
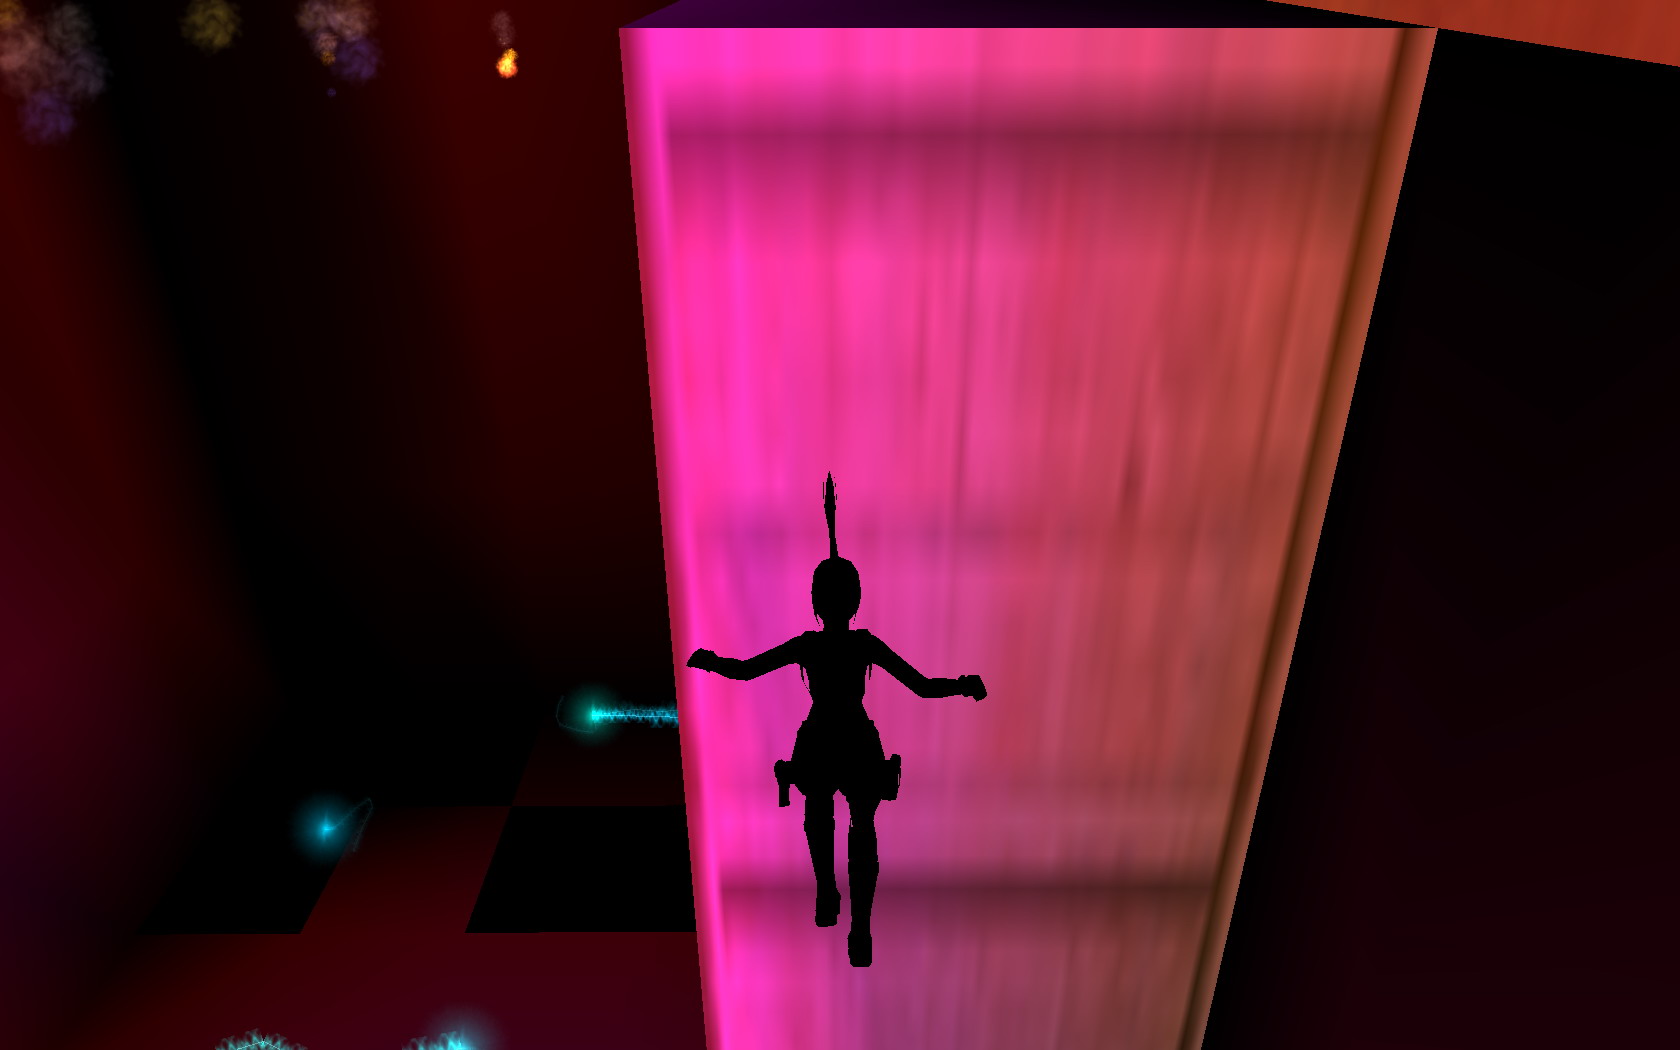
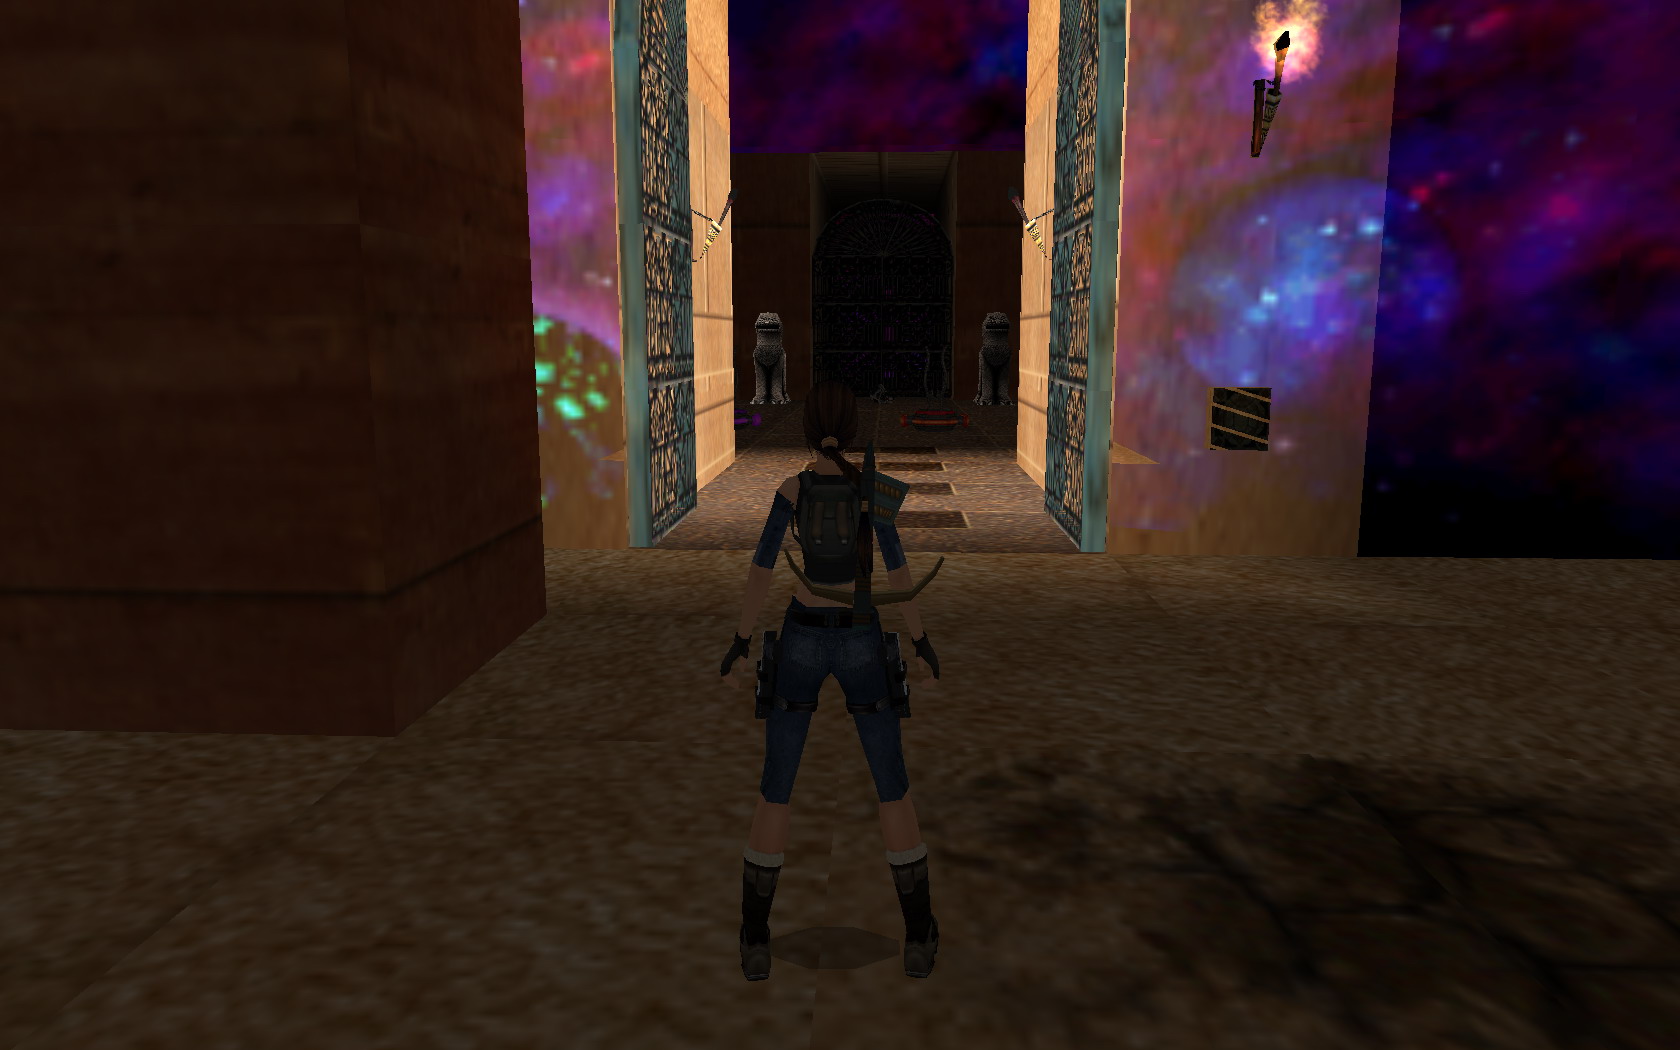
The adventure unfolds on one Moon of planet Jupiter, where Lara finds an odd world. It is unexplored, unknown, yet somehow feels so familiar. Might it be, that the Egyptian gods are not from Earth? Here, nothing is what it seems to be. Or is it?
In this level we revisit some moments of the Old Gen Tomb Raider games, including Legend and Underworld. With this, my very first level, I pay homage to the first era of Tomb Raider.
Review:
Finally
a new Hungarian author, another Hungarian level. It was a great adventure.
Medium difficulty. There are no humanoid enemies, only a few wolves, fiery
ghost (going against it I had lost a little HP due to my impatience), then
a few skeletons, little gnomes, and finally a demigod. Medipack is not needed.
You will be provided with weapons, ammo and medicpack, plentily. The level
contains 5 secrets, well hidden. :) There are various puzzles and tasks, such
as changing room, mirror room, invisible platforms, time run, hedge maze,
rotating blades. There is no difficult task aside from the time run, but with
a sprint you can gain a few seconds.
It is a good game, and since it is the author's first level, I hope we can
expect more in the future. :) I recommend it. If I am biased, I apologise.
My compatriot from author. :)
Walkthrough:


Secret1:
Secret2:
Secret 3:
Secret 4:
Secret 5:
Statisztika :
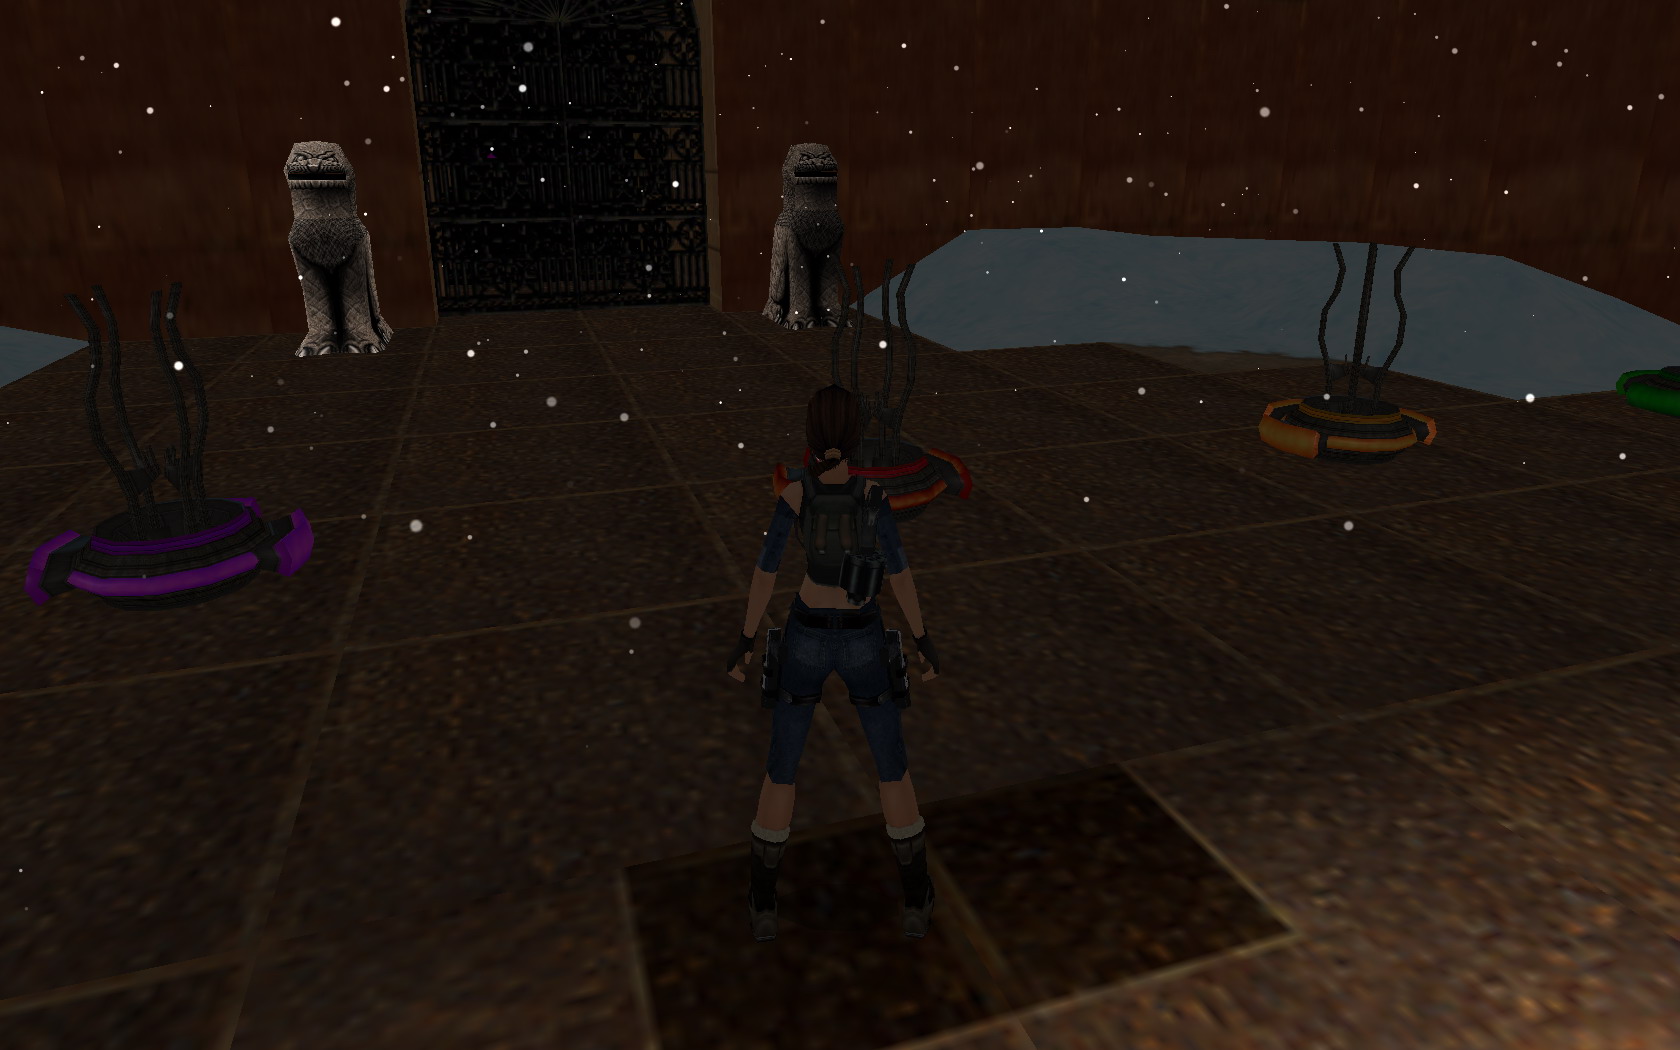
Turn around, and behind the column on the far right, over the small hill, climb up in the dark, invisible tunnel, and pick up the big Medipack as the 1st secret.
Go to the other way, pick up the PDA, and check it: "Don't forget, all is not what it seems. Or is it?"
Enter the room, across it climb up to the gallery, pick up the flares, shoot the wolf and around the corner, in a small alcove you find the 2nd secret, explosive ammo for crossbow.
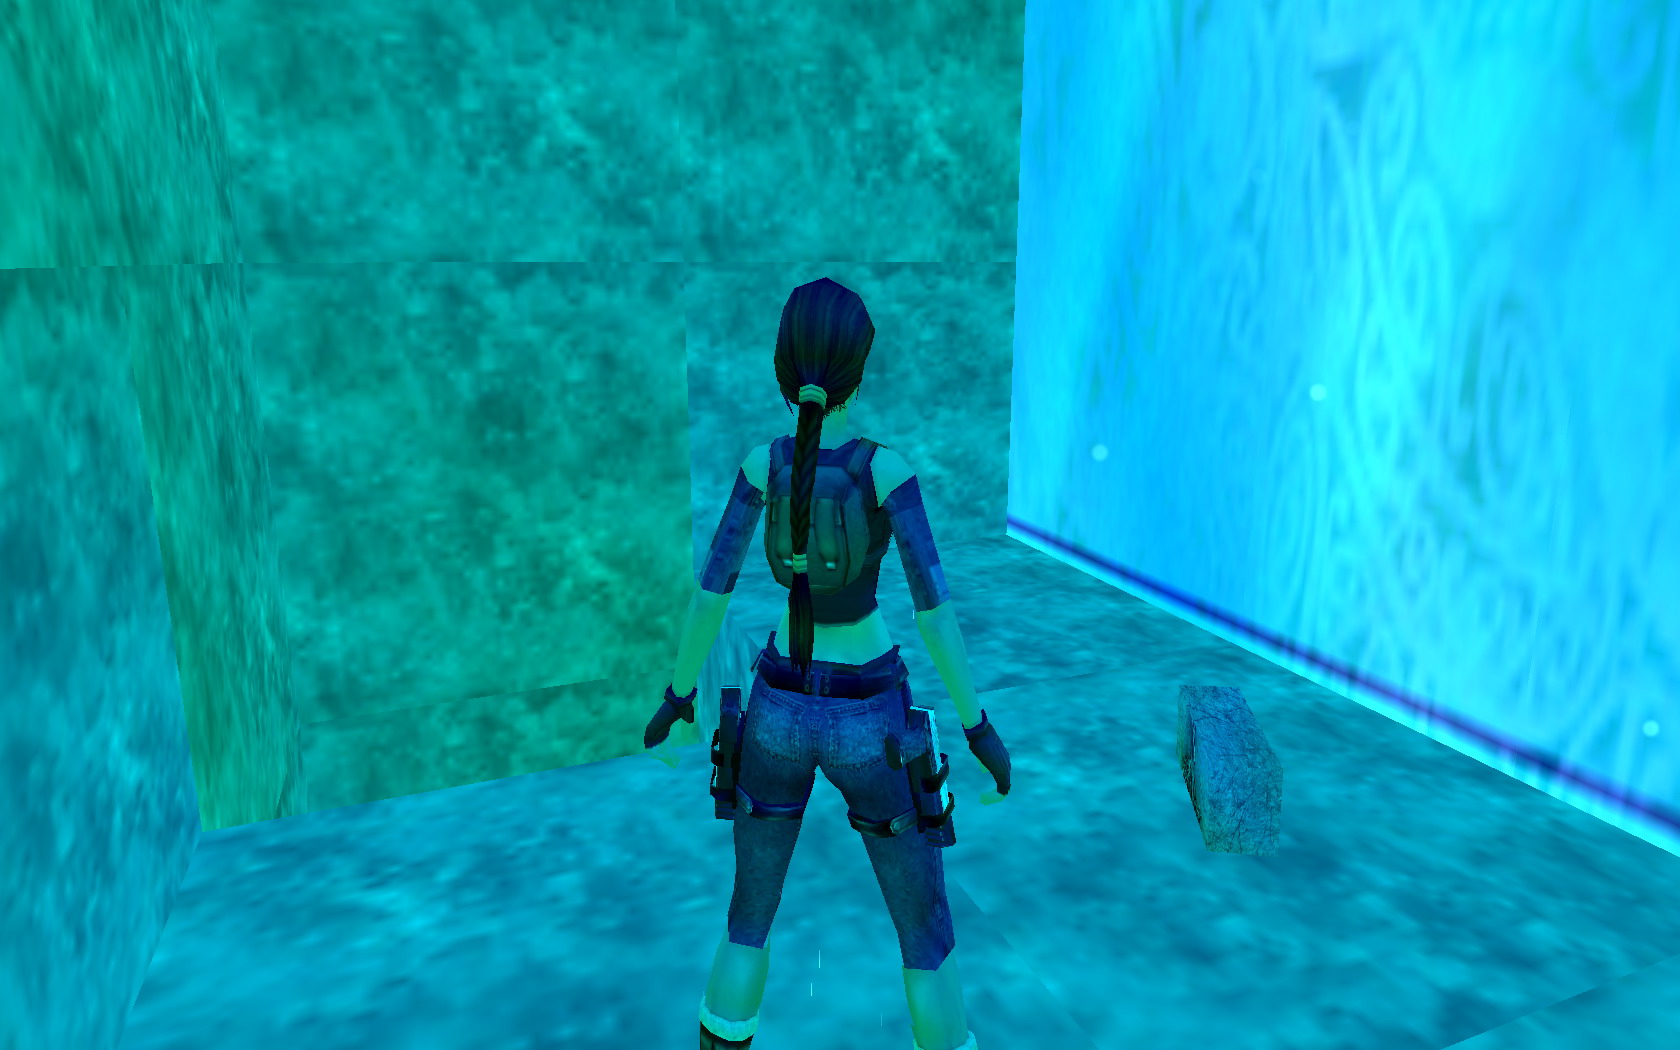
Climb down, and cross the steam trap carefully. Inside a fire ghost awaits, sprint out into the water to get rid of it - you might lose some HP, but not much. :) Go back to the dark room, pick up the 1st Moon Crystal, the Blue. Pull down the levers on both sides, pick up the small medipack in the corner, then go back to the room with water, and in the water you find the Crossbow.
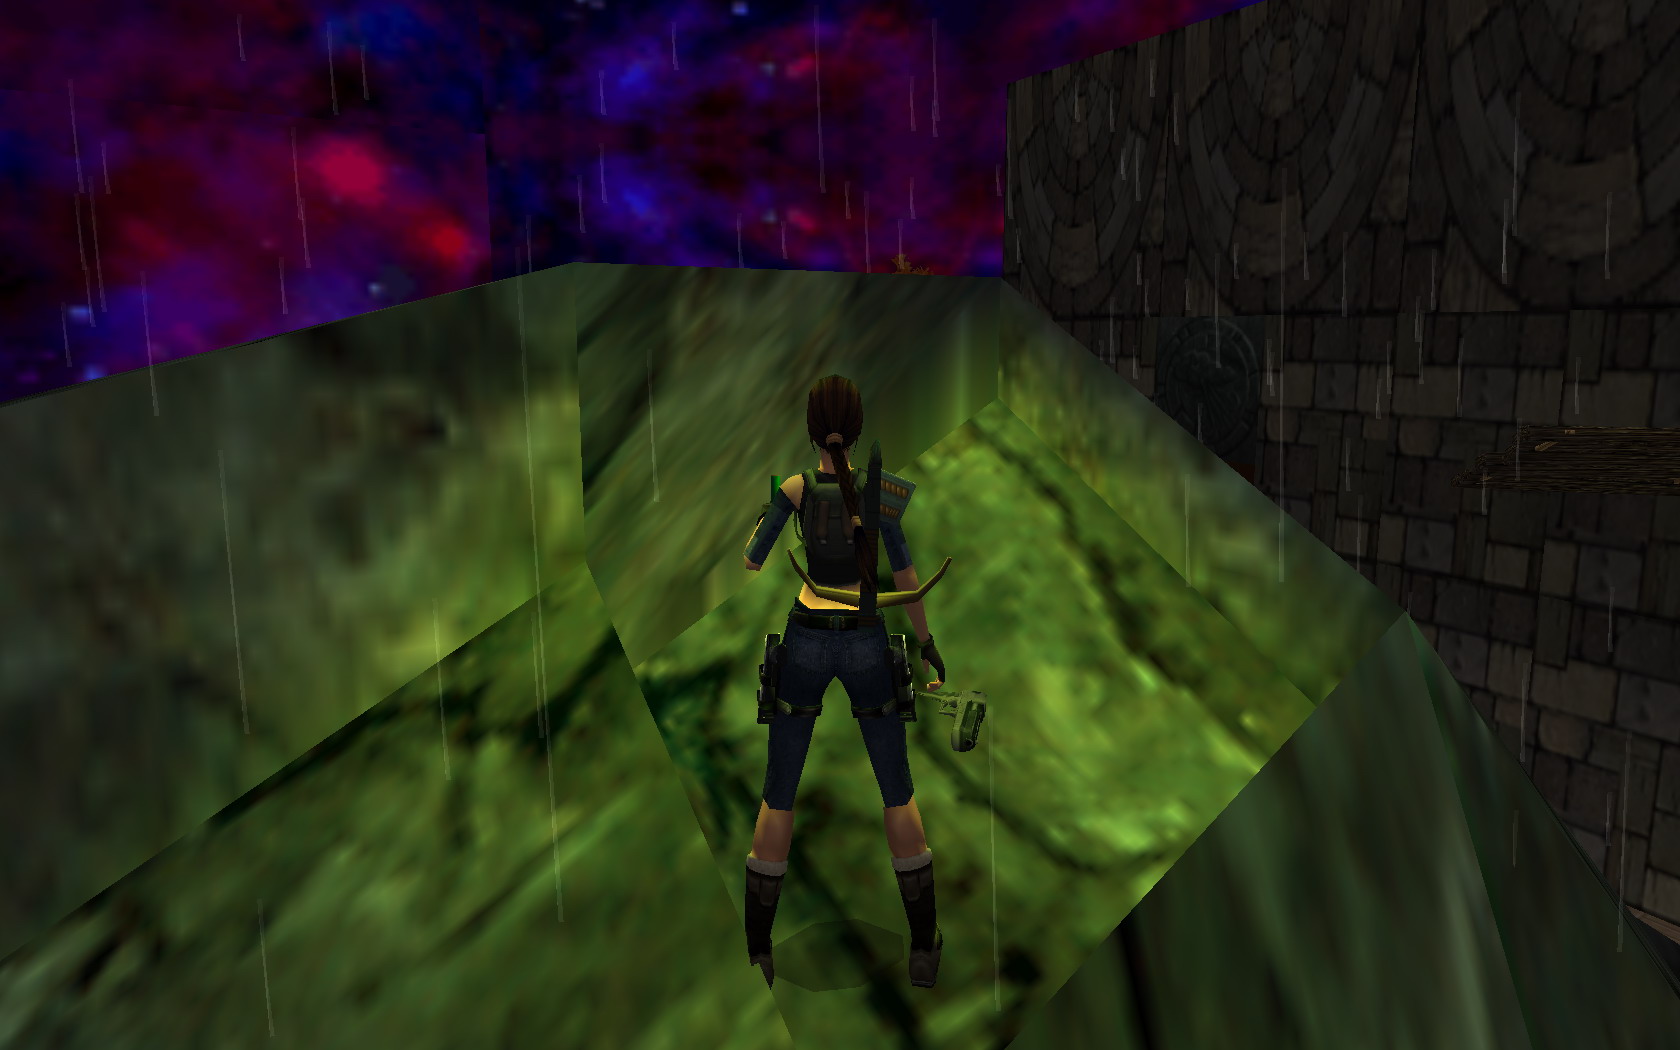
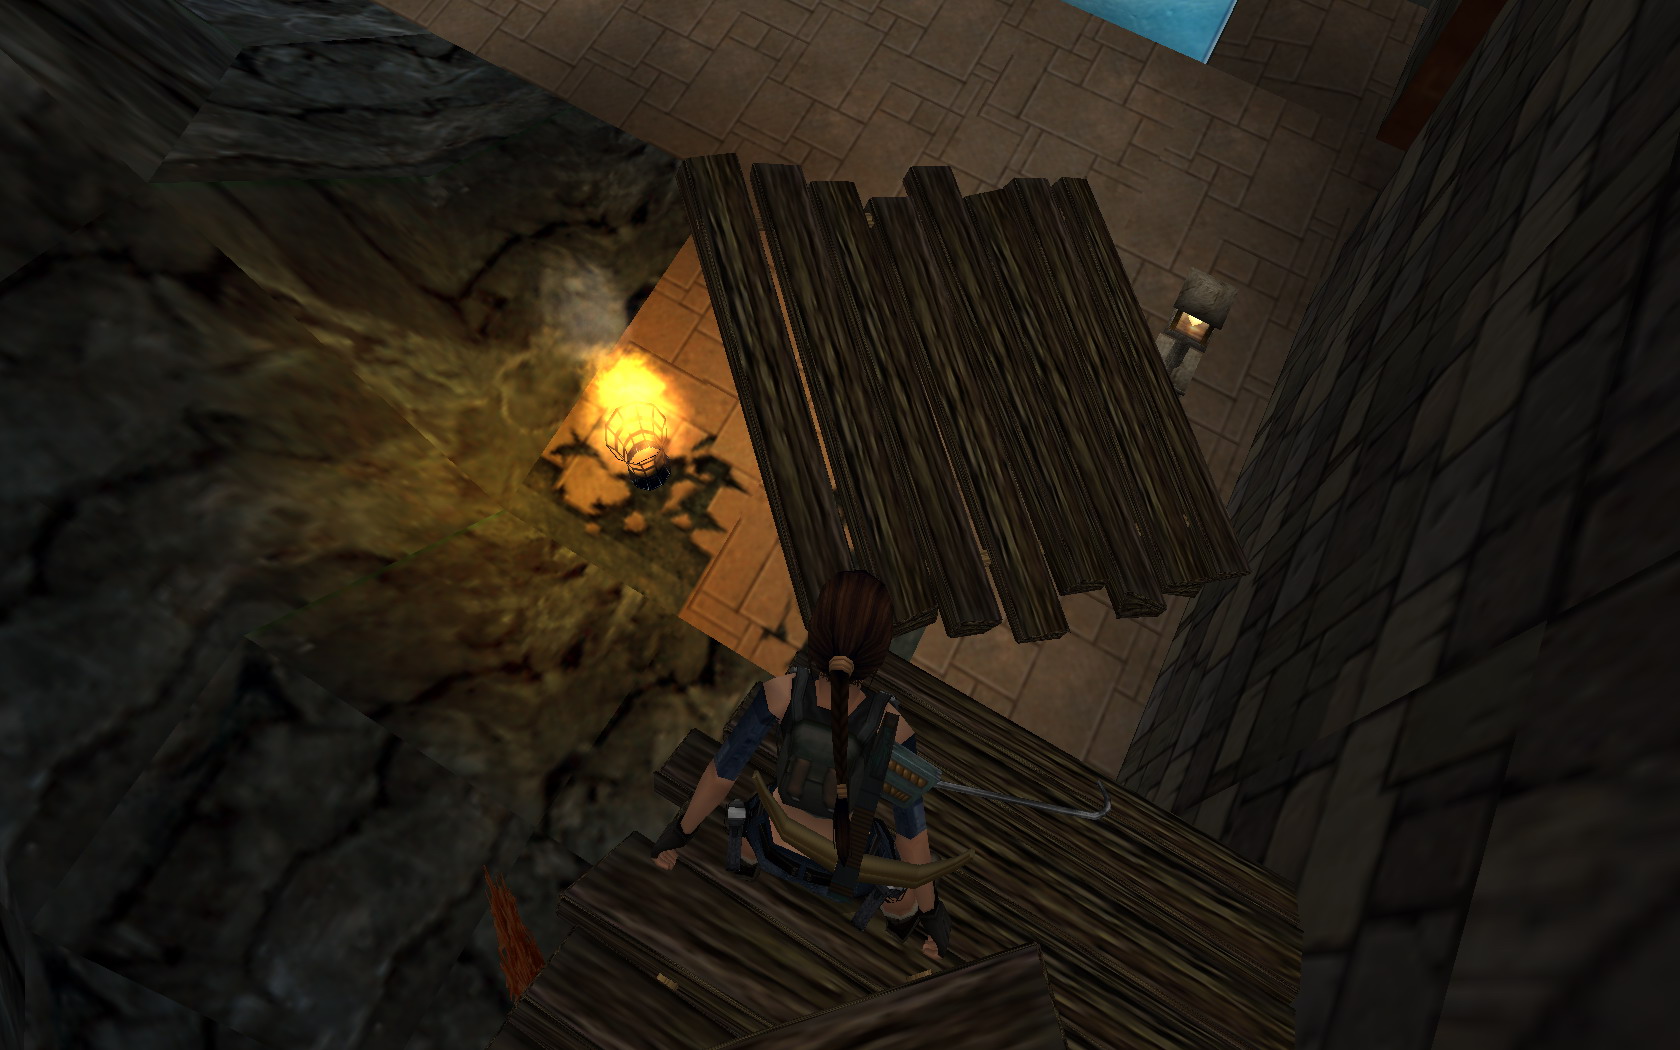
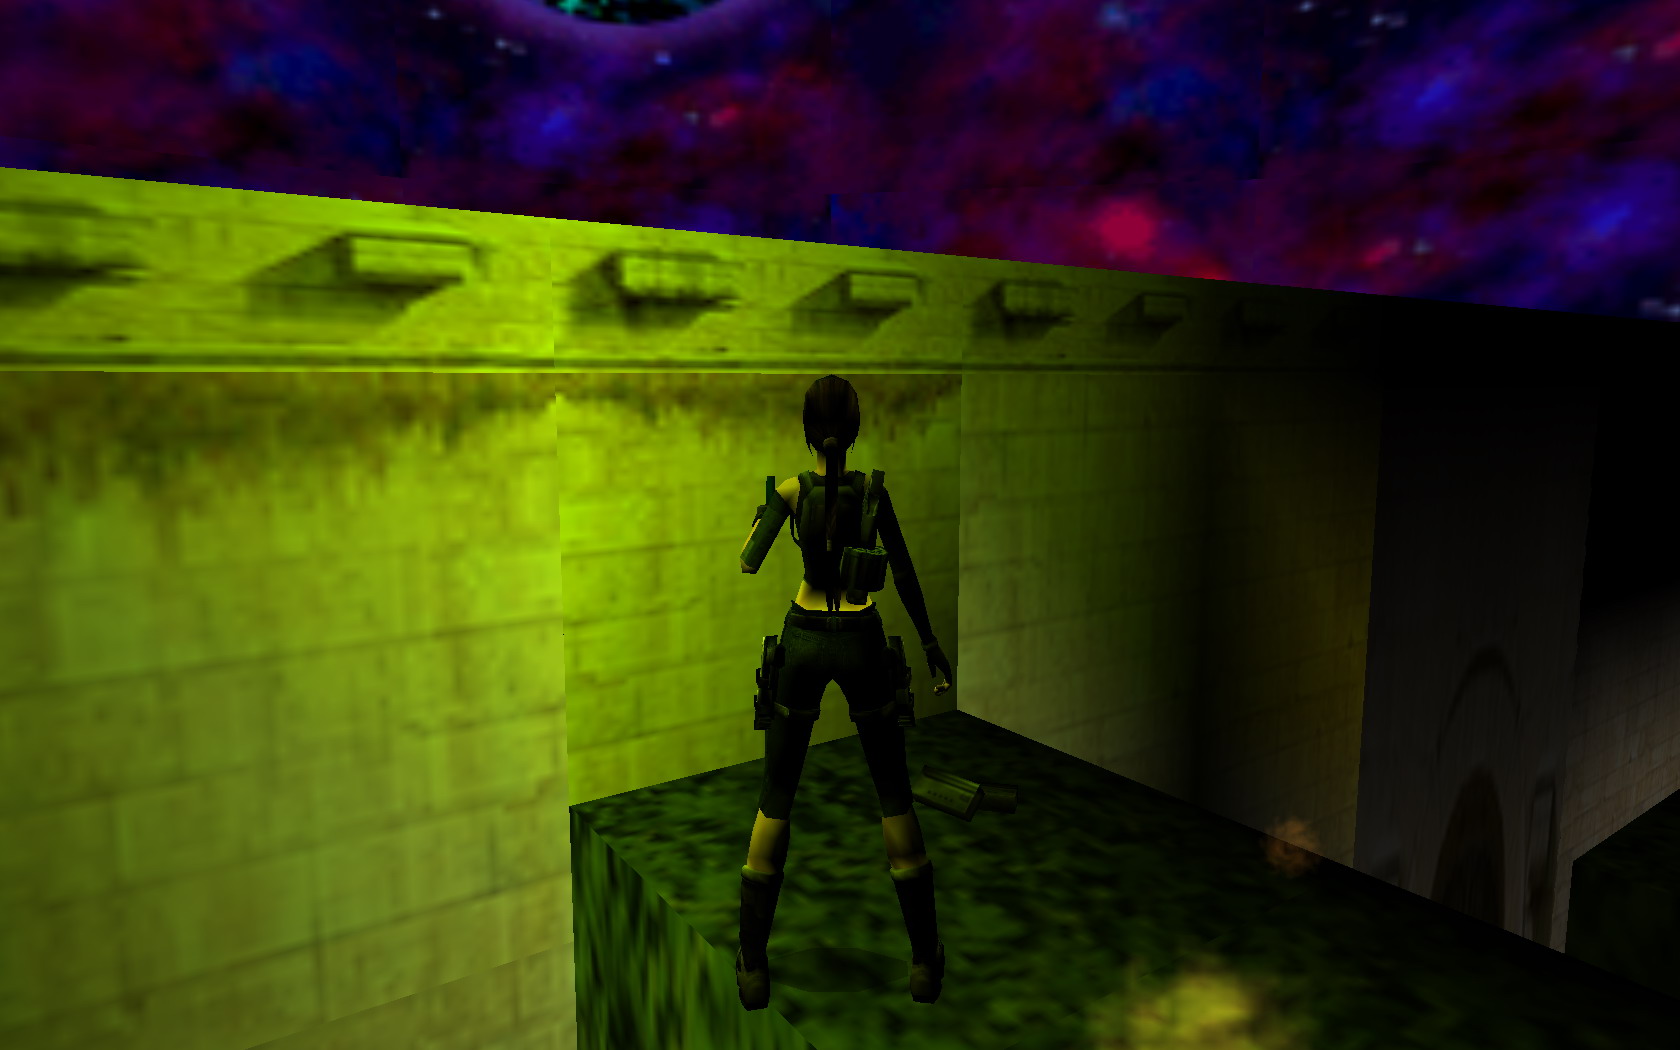
In the water a gate has been opened. Swim through, turn left, pick up the flares, then swim upwards to find the exit. Pick up the shotgun ammo before getting out of the water. In the next room drop down, run across below the stone boulders for them to fall, thus not bothering you anymore. Pick up the ammo, then climb up onto the lower plank. Jump over to the ledge right on the wall. Move right to the next plank, pull up, then jump to the ladder on the broken column. Climb to the right side, and then down, as far as your legs are still on the ladder, then somersault back onto the next plank.
Take a running jump onto the column. You can see that next to the entrance a column has been raised, jump onto it, then to the plank and grab the railing on the ceiling, and move to the exit. Drop and enter the room which gets filled with water. Swim, open the door, enter, and in the now-dry small room you can find the 1. Tree of Life Piece. Go back to the previous room, but the water is poisonous now, don't fall into it.
Drop on the column below, and jump across the columns towards the exit. There is a ledge next to the wall, take a standing jump to the exit, pull up, and you find yourself in the first room, where you began.
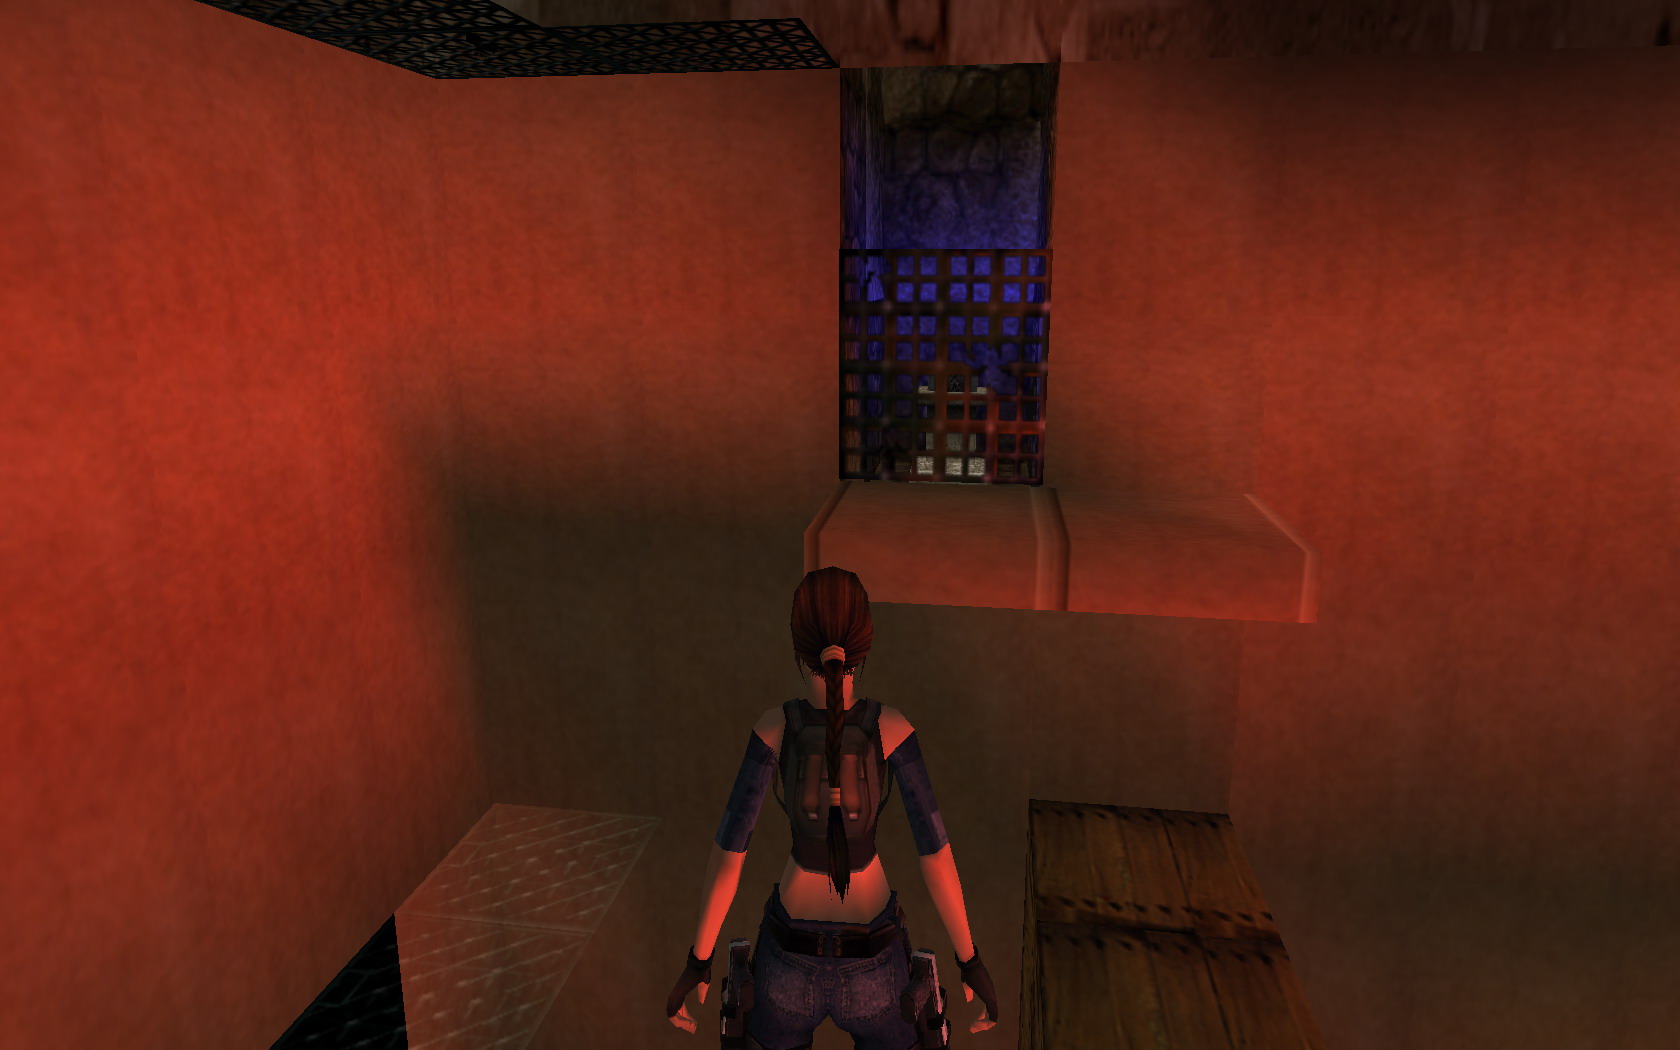
Go to the fiery room in front. Get onto the ledge above the entry, and in the corner, from a metal floor you can pick up the Laser Sight.
Go back to the entry. Jump onto the crate in front, climb down on its side and head to the corner and - be wary of the fire blasters! - where there is a gap, inside you can pick up ammo as the 3rd Secret.
Climb out, and from the other corner pick up the Storm Key.
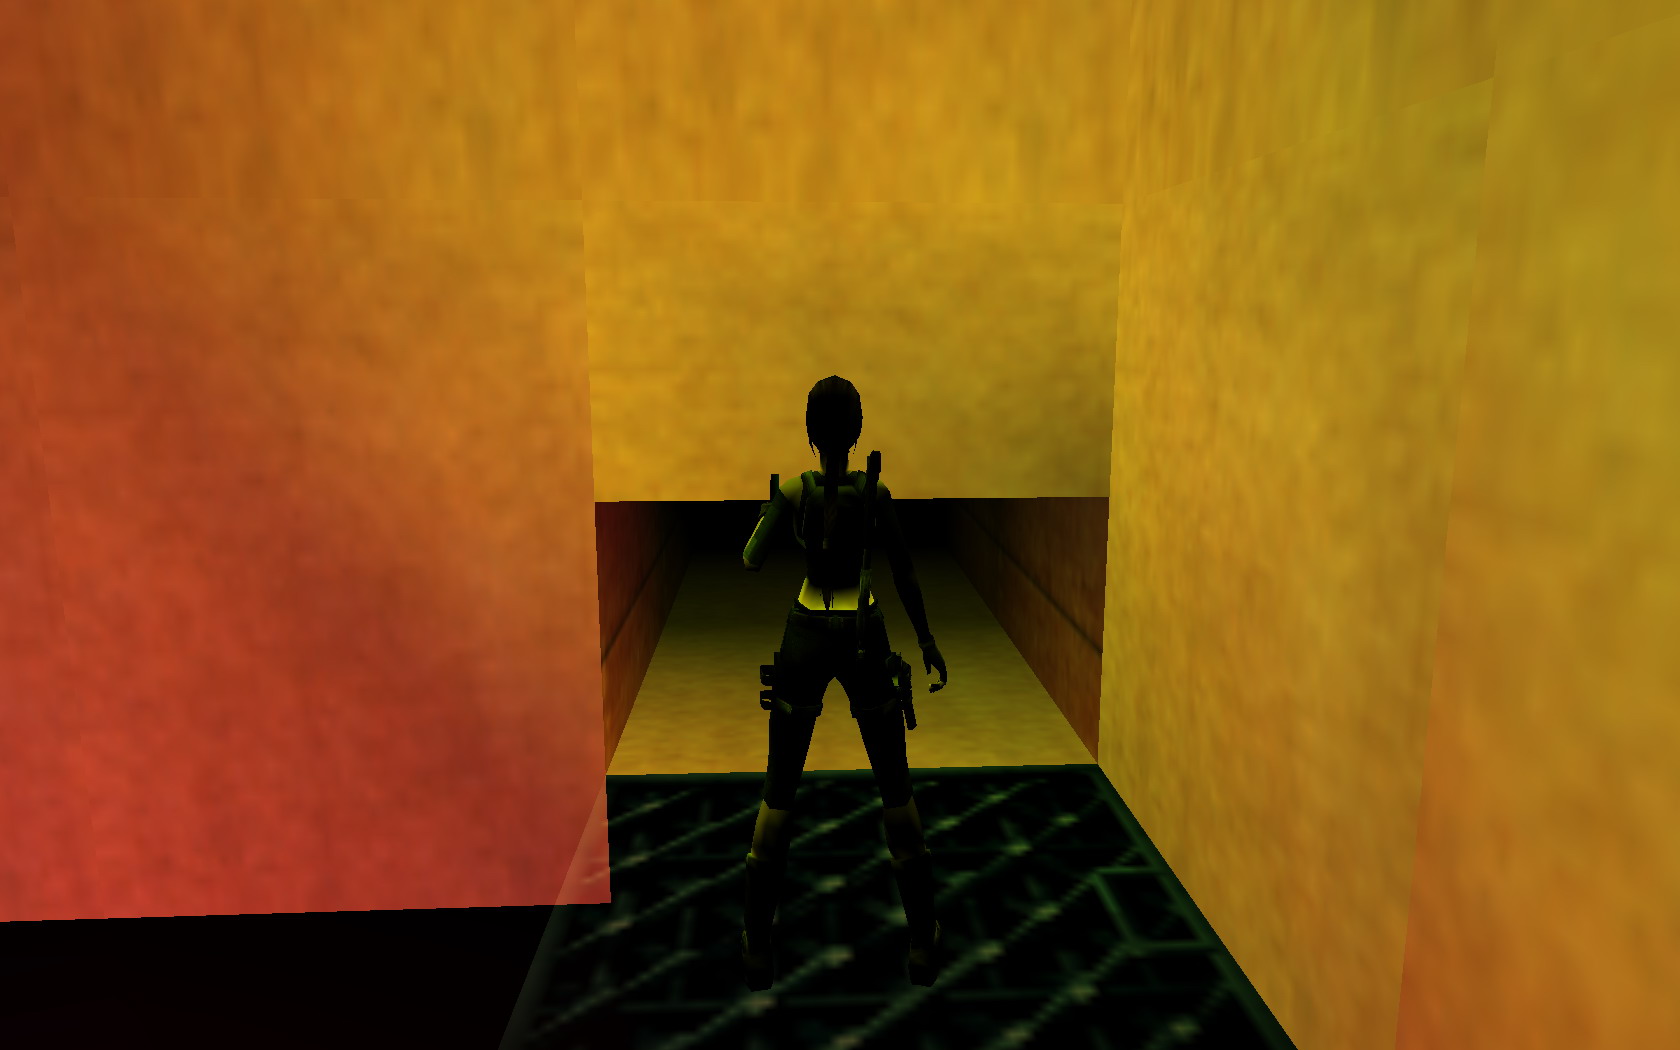
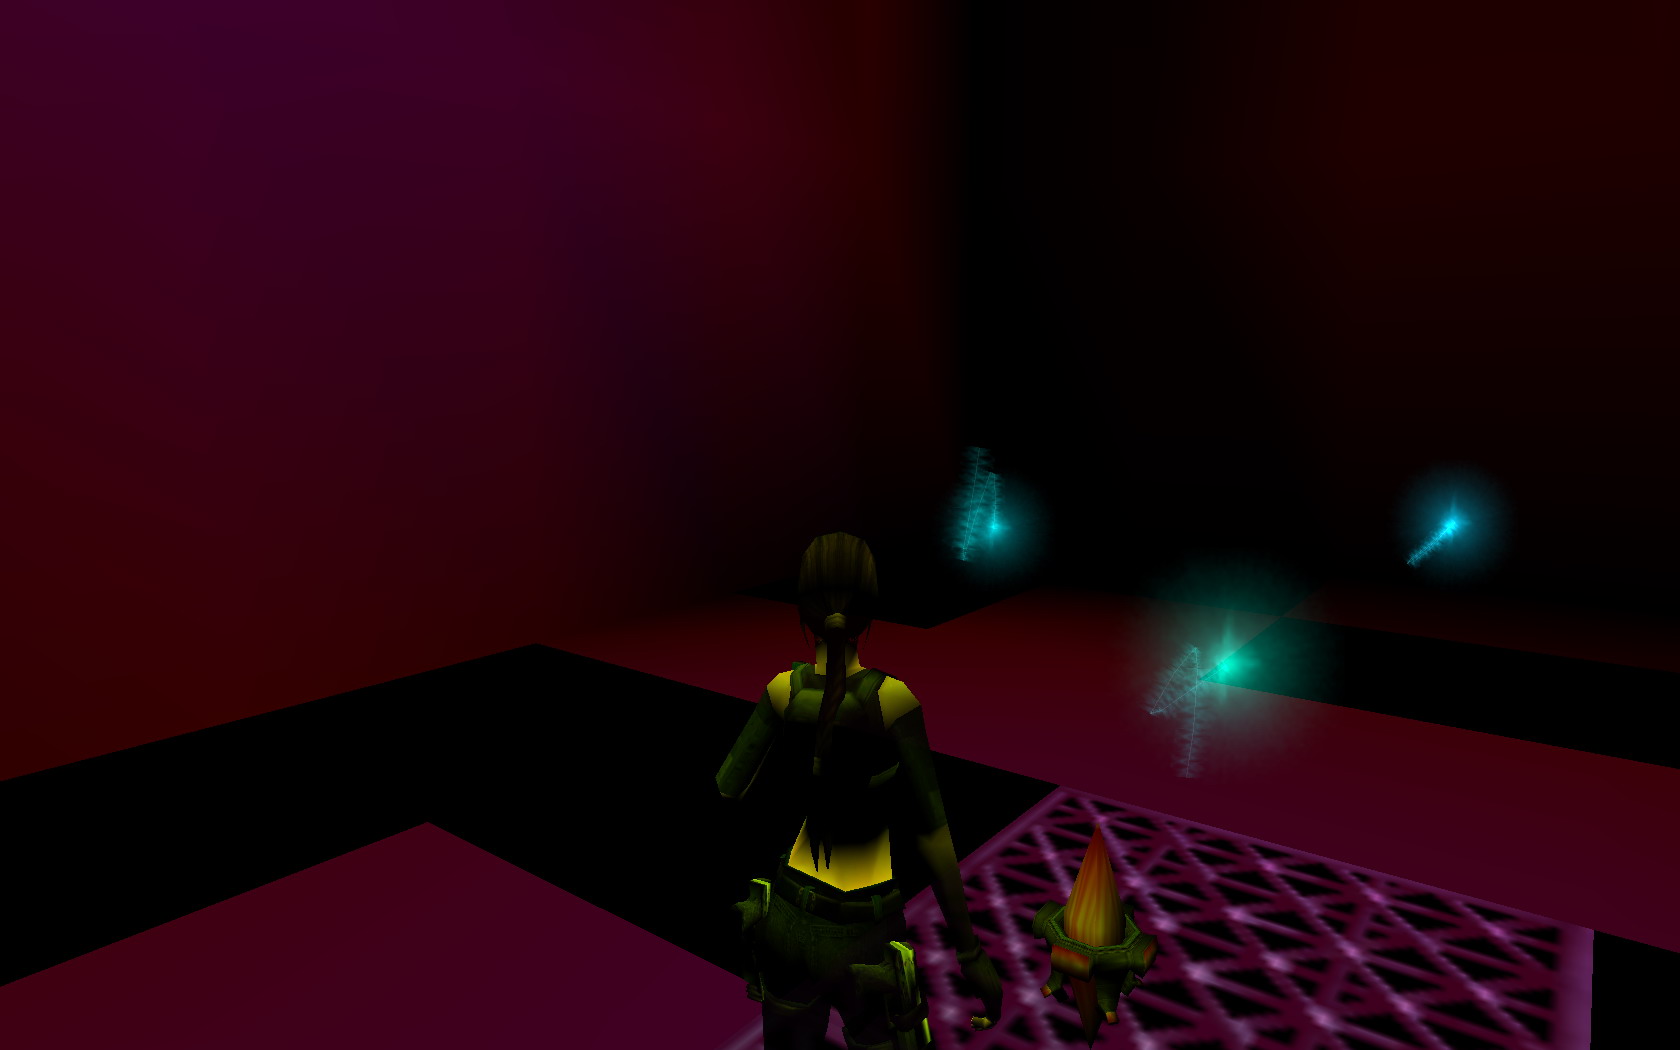
Go back to the column standing before the secret, and climb down all the way. Jump onto the metal platform. Take care, some of them will burn you. From the dark tile, pick up the 2nd Moon Crystal, the Orange.
On the tile with lightning, you find the Shotgun.
Climb back up on the column, go around, pull up onto the slide slope and jump to the crate. Climb up and you get out of the room. Before you head for your next task, shoot the skeleton with the explosive ammo.
Go left, open the gate with the key. You have arrived in a hall of mirrors. You can see in the mirror which is the safe way to the movable sphere. Pull onto the gray floorboard, pick up the medipack and ammo in the corner, then reach the opened gate. Kill the small gnomes with explosive ammo, then with the help of the laser sight shoot the vases above, around the lion head. If you shoot the stone from its maw, the gate opens below it. Before entering, go to the top of the hill, look left and there is a Revolver.
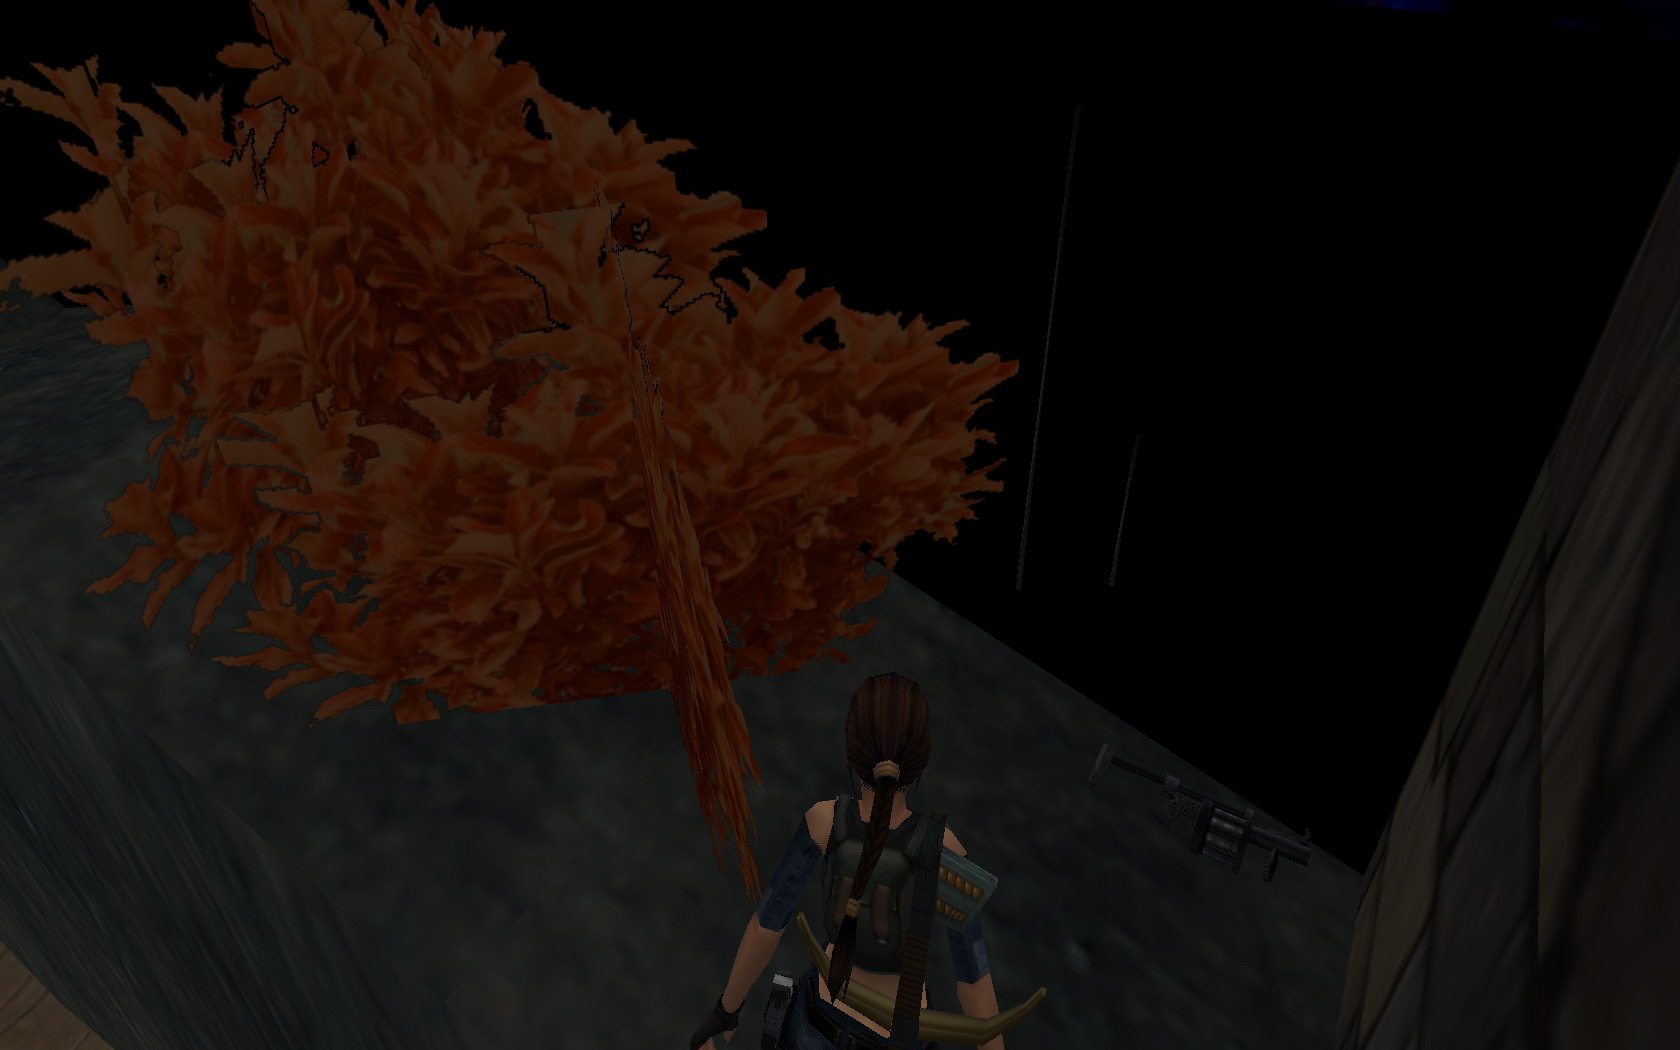
Now get to the Lion head. Pick up whatever you find, and to the right you find the Grenade Gun, behind the bush, as the 4th Secret.
You can get around the bush, if you hang on the wall and traverse around. Up there go around the room, and jump onto the railing above the entry, you can find there the Crowbar.
Drop and go to the opened gate. Pass the lever and open the rear door. Did you notice the burning fire at the side of the hill? Go back to the first room, and next to one column you will find the Torch. Pick it up, go back, lit it and drop it in the opened small room. The floorboard gets burned down and below it you find the 3rd Moon Crystal, the Purple.
Save before you pull the lever, because you face a time run. Pull it, rush out to the first room, into the fiery room, jump across and behind the slowly closing gate you find the 2nd Tree of Life Piece.
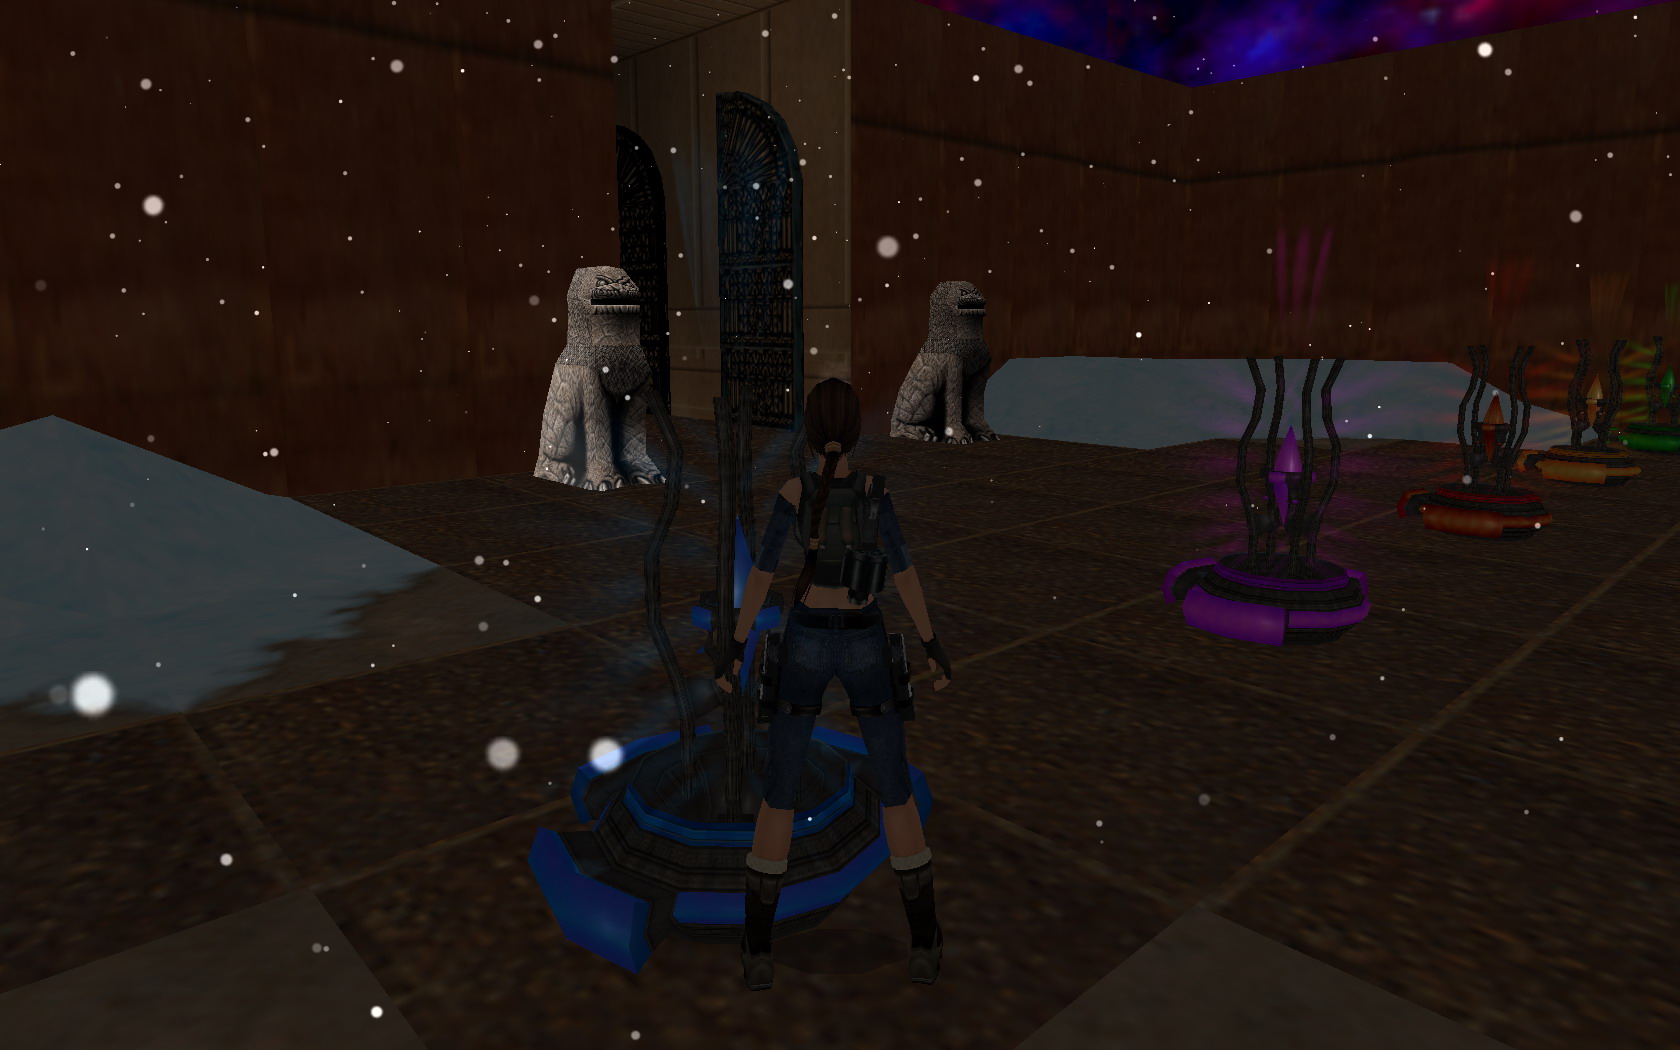
Open the gate with the handle on the wall, and go back to the first room.
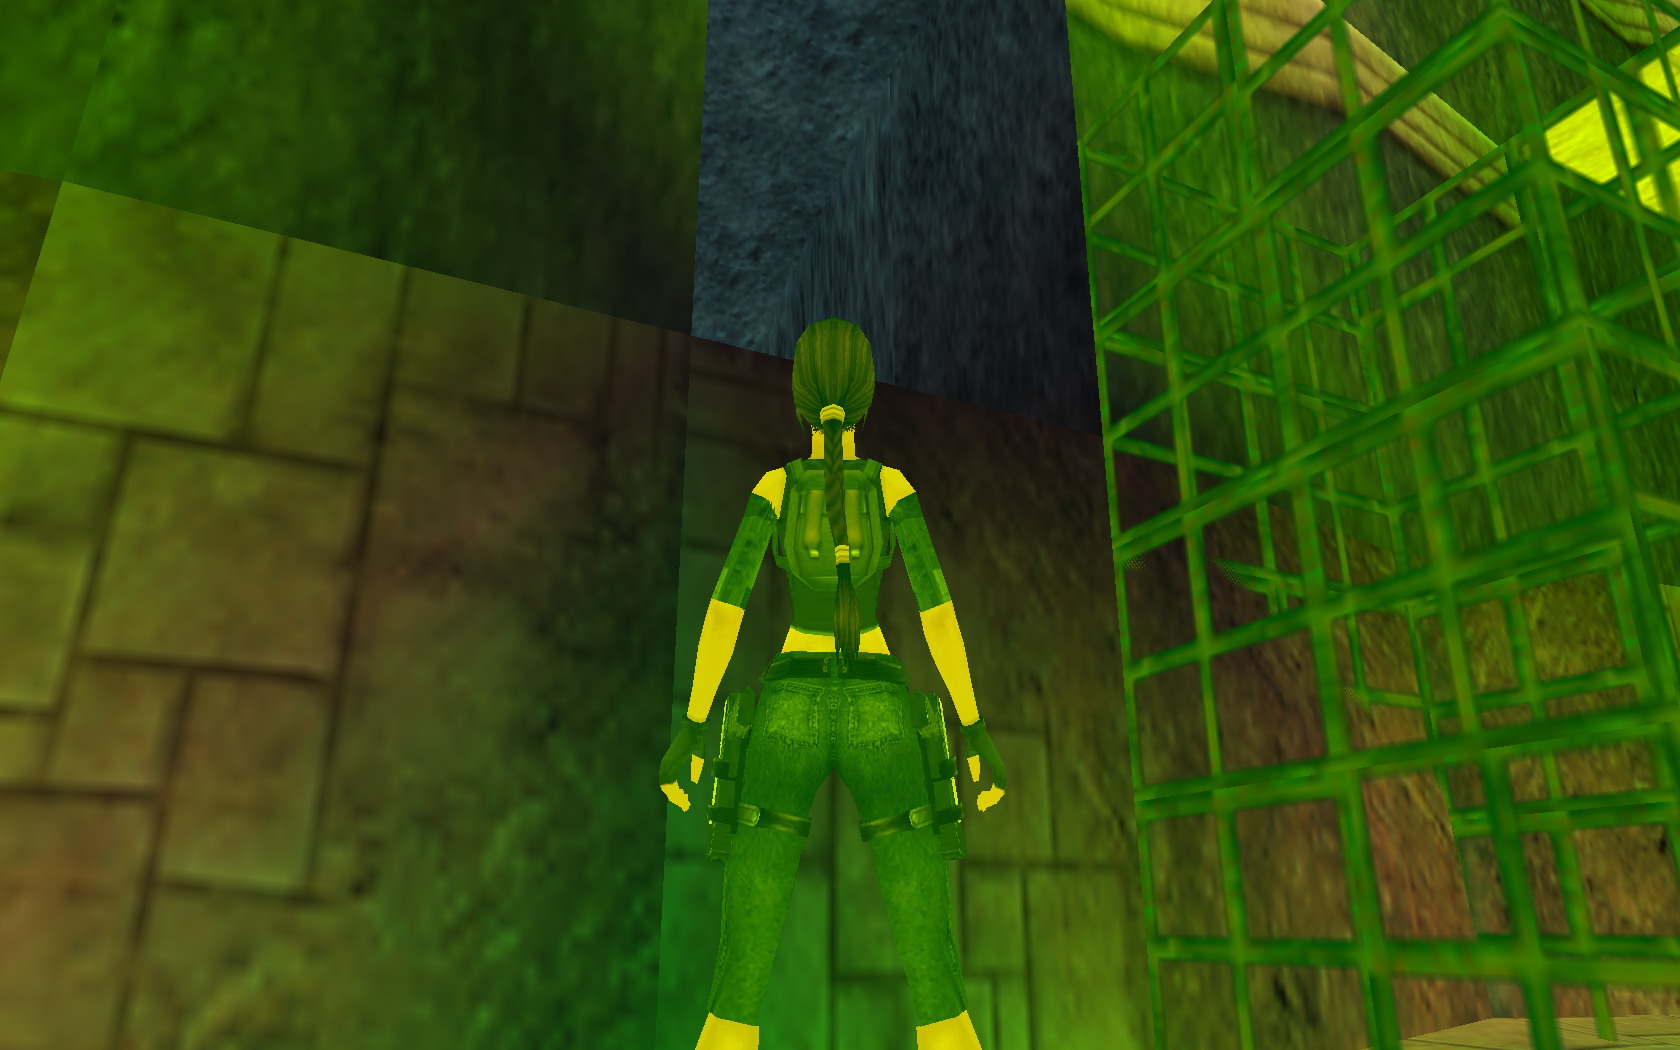
Go left and open the gate with the two Tree of Life Piece, and inside pick up the 4th Moon Crystal, the Yellow.
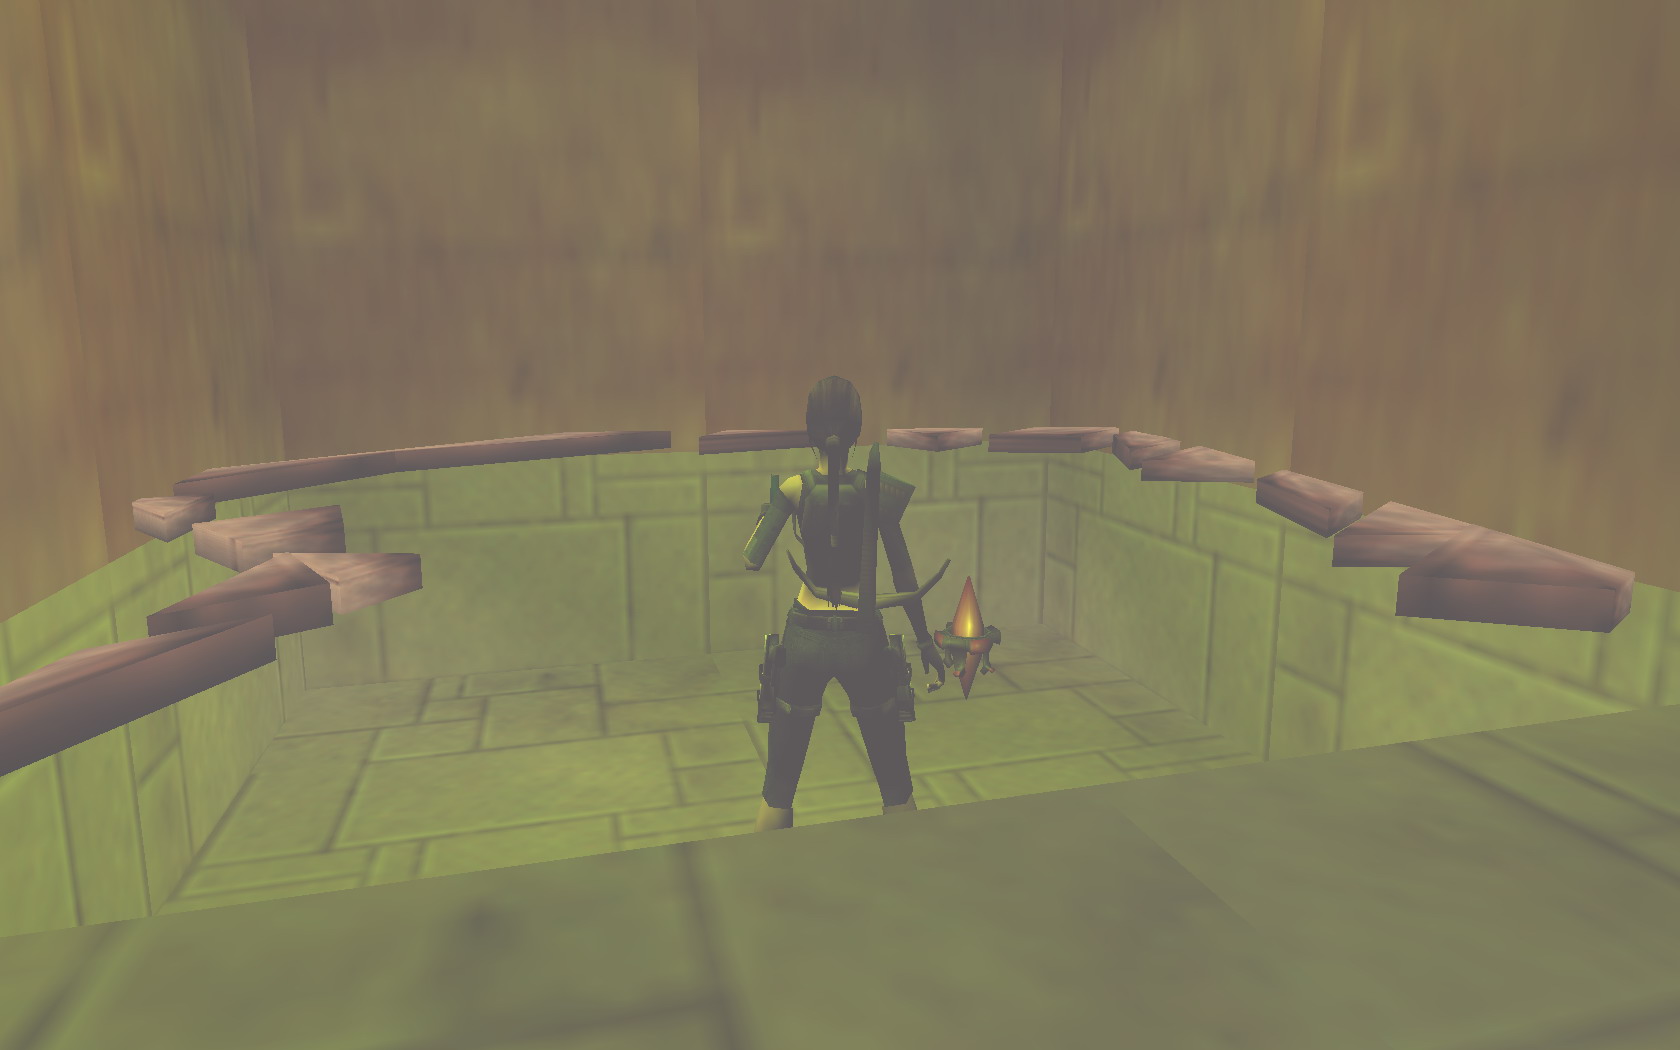
Outside have the last big gate opened with the handlebar. Go inside, you can see five slots for the Crystals, but one is yet missing. Kill the wolves, turn right and pry the the gate open with the crowbar. Get across the rotating blades. The easiest way to do it is to stand before the blade, so close that it almost touches you, and when the blades have an opening, press a roll (END) and you can pass them without losing HP. When you passed them, kick down the door and a maze awaits.
Go left, and find the 5th Moon Crystal, the Green in one of the corners.
You may leave, but in that case you miss the last secret and the UZI. Go backwards and turn left, and there is an invisible cavity in the wall, Grenade ammo inside, as the 5th Secret.
Continue, again towards left, and in another small clearing, jump and grab the plank plaform, and you get onto the top of the hedge. Explore it, there are a medipack, ammo and the UZI. Now you can exit the maze, across the blades, back to the room with the sockets. Put all of them in place and the big gate opens.
Follow the corridor and at the end, kill the demigod. Pick up its drop, the Moon Aquamarine. With it, open the last door, and you have finished this adventure.
Walkthrough: By OBig
The images, text and all material published on the site are the property of © TR Editor.hu and may not be reproduced, copied or distributed in any form without the permission of the editorial staff.