Strpix - Changing a Shatter Object to a
Static
by
Bedazzled
First Steps.
1) Start by creating a new folder on your desktop named shatter temp.
2) Using Wadmerger create a new wad containing only, the required
shatter object and one unused static object. Save it as shatter wad in
the folder you created.
Transferring the object.
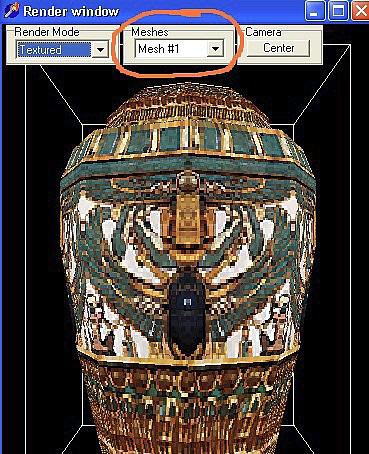
1) Open your shatter wad in Strpix and using the mesh list drop down box
select the shatter object mesh.
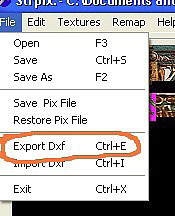
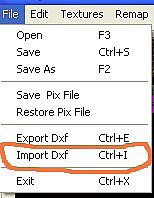
2) From the file drop down menu select Export Dxf.. Name the file shatter and save in your shatter temp folder.
3) Again using the mesh list drop down box, select the static object mesh.
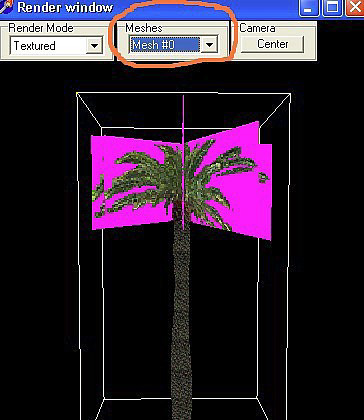
4) From the file drop down menu select Import Dxf, and select the shatter dxf file from your shatter temp folder.
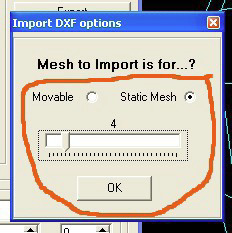
5) Click the Static Mesh radio button, move the slider to the left aim for a setting of about four and click the OK Button. You have now placed the shatter object into a static slot. All that remains is to set the collision.
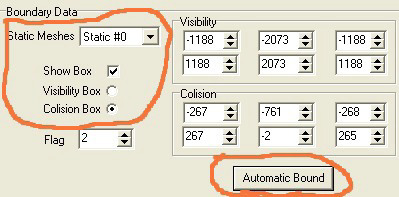
6) Ensure show box is ticked and click on the collision box radio button. Using the static meshes drop down box select the mesh number of your new static object. It will be the number which is showing in the mesh list drop down box, as a further check the yellow bounding box in the render window should not fit your object. Click the Automatic Bound button. From the file menu click Save, now use wadmerger to add your new static object to your levels wad.
If you would like to make a Static object a shatter, just do everything in reverse.