
Metasequoia - Building Basic Blocks
by
Terry Barrett (Dhama)
The point of this tutorial is building objects from scratch. In this tutorial we will build a cube that is 1 TRLE tile and 4 clicks high in size. One could of course use a 'primitive' cube, but of course that would not facilitate in you learning anything, now would it?
Open Metasequoia.
Select 'view' (pull-down menu) and select 'grid'.
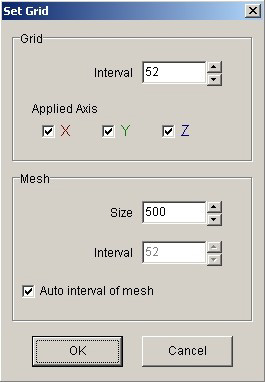
In the popup-window, type in 52 in the interval window and 500 in the mesh size.
Make sure all of the 'applied axis' boxes and the auto 'interval of mesh' are ticked.
Click on 'snap to grid'.
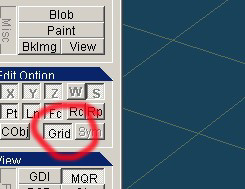
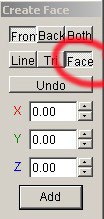
Then click on 'create face'.
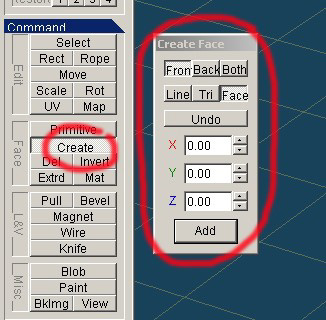
Make sure that 'face' is selected in the 'create face' popup-window.
Press the F2 key.
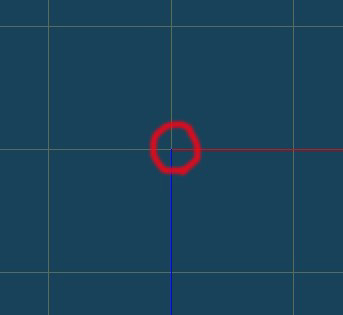
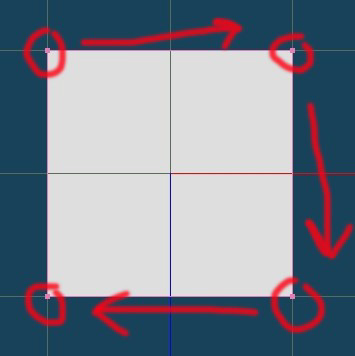
The centre of the screen, where the red and blue line meet, that is the centre of the object we are making.
Each square on the screen represents one quarter of a TRLE tile. Since we need to make an object that is one TRLE tile size we will need to use 4 squares.
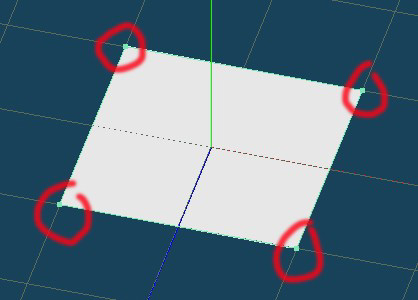
Using the 'create face' tool, making sure that 'face' is selected...
...select 4 points around 4 squares in the centre of the screen. You should now have a white square in the centre of the screen (that covers 4 quarters of a TRLE tile) thus making it a TRLE tile size.
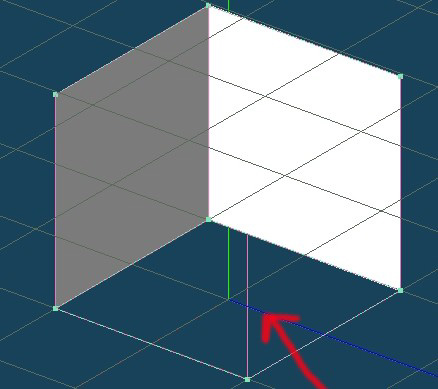
With the right mouse button, move the 'view' so that it is more 3D
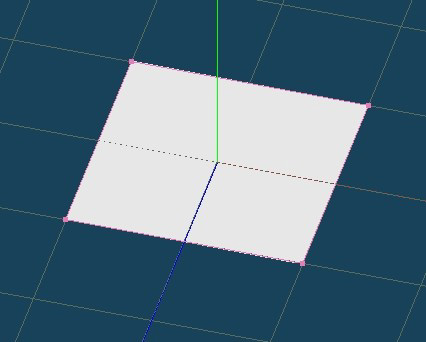
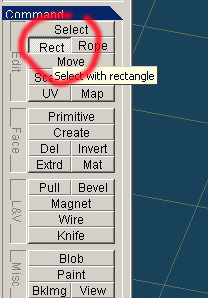
...and select the 'rect' tool.
Select the whole white square by dragging the mouse pointer over it, so that each corner has a green point as opposed to pink.
Now click on 'clone' in the object panel,
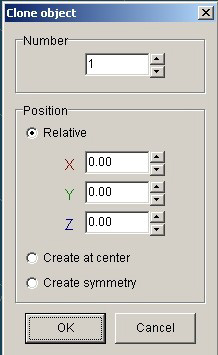
...and in the 'clone object' popup-window, type 102.4 in the Y position and make sure that 'relative' is selected.
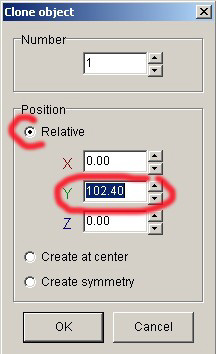
Click OK.
You should now see another square slightly higher than the one below.
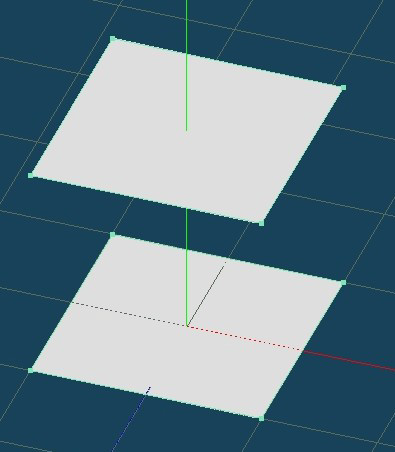
Select 'create face' and select 4 points, 2 on the upper square, and the 2 matching on the lower square.
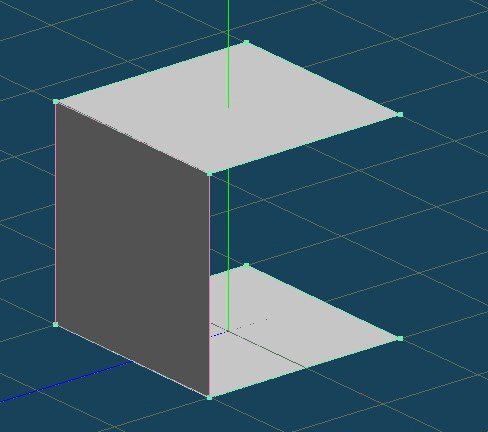
Repeat this on all 4 sides until you have created a cube.
With the right mouse button, move your view so that you are looking underneath the cube.
The underside of the cube doesn�t appear to have a face because it is inverted, or facing upward.
Select 'invert face' and click on the underside of the cube to invert the face.

There you have a finished cube which is one TRLE tile size and 4 clicks high (just like a TRLE pushable cube).

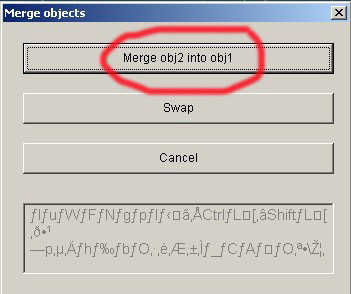
Select 'obj2' in the object panel and drag it onto 'obj1'.
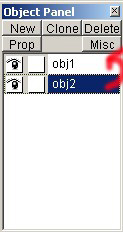
This will merge the two objects to make one object.
You should save this as a .dxf file in the following format for importing into StrPix:
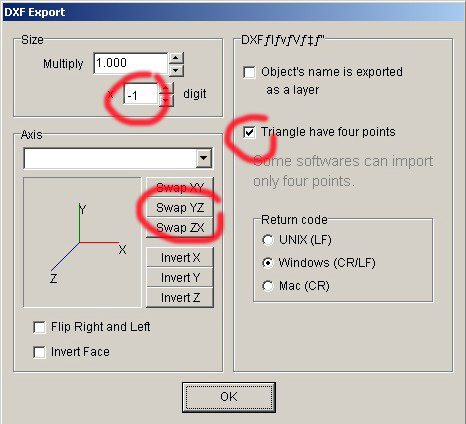
Multiply: 1
X: -1
Click the 'Swap XY' this is not necessary for a cube but will be necessary for specially orientated objects, as these would end up laying down in TR.
And make sure 'triangles have 4 points' is selected.
NOTES
25.6 represents 1 'click' in TRLE, so 52.2 will represent 2 'clicks', 76.8 will represent 3 'clicks' (about Lara�s height) and 102.4 would represent 4 'clicks'.