
The Quest of the God of Life
Author: Piotr Klonowski (Pedros)
Download: Here
Unpack the PiotrKlonowski-QuestGodOfLife.zip. Copy the wav files into the Audio folder, the future files into the Graphics\Wads folder, and the rest into the main directory. Run the Level Converter, build up the future4.TOM and future4_2.TOM files, and have a good time!
Story:
The ancient legend says: Thousands years ago was a cyvilization where Gods lived with people in a harmony. One, unknown event caused that this harmony was broked. But before that specialist craftsmen created statues of every God. Then they hidden them in the deep underground. One corporation found ruins of that cyvilization and they started research, but it break the law. Lara Croft went there, run through the laboratories and started herself research. She discovered soem great structures, relieved some evil and finally she found legendary, gold, Statue of God of Life.
Rewiev:
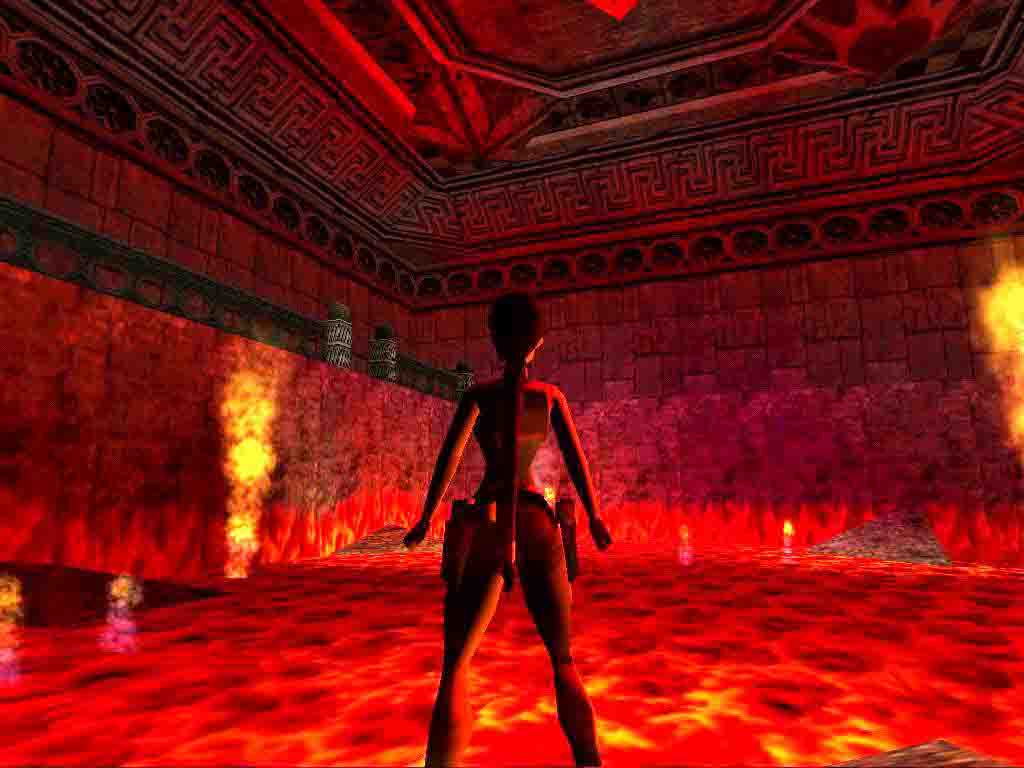
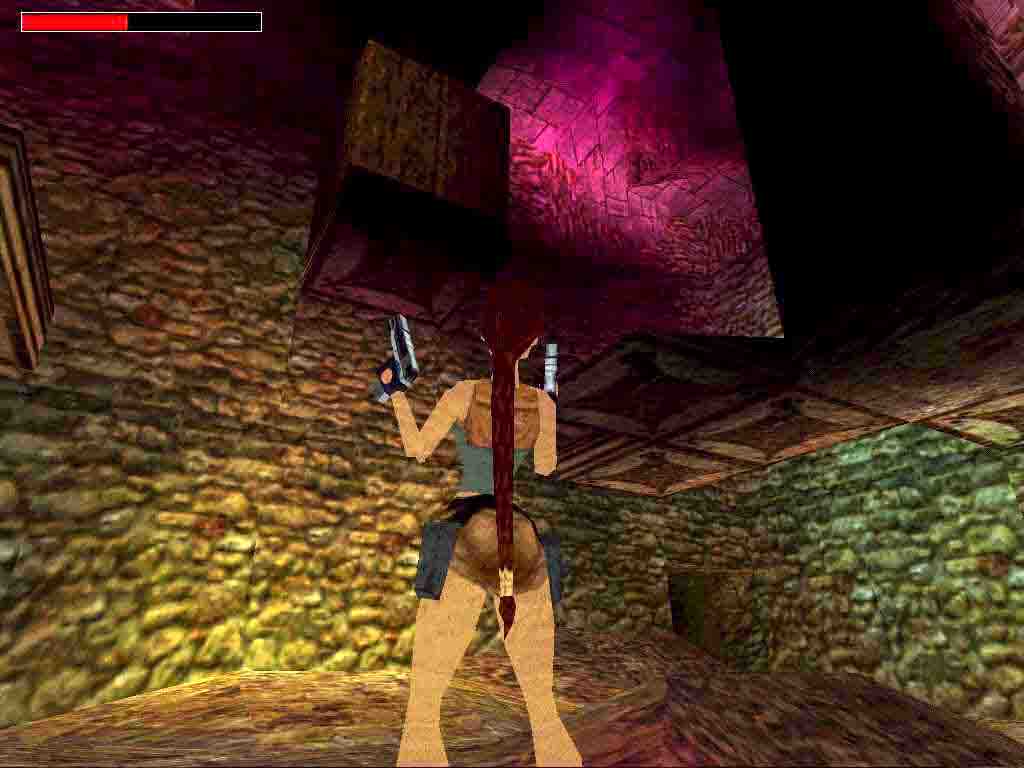
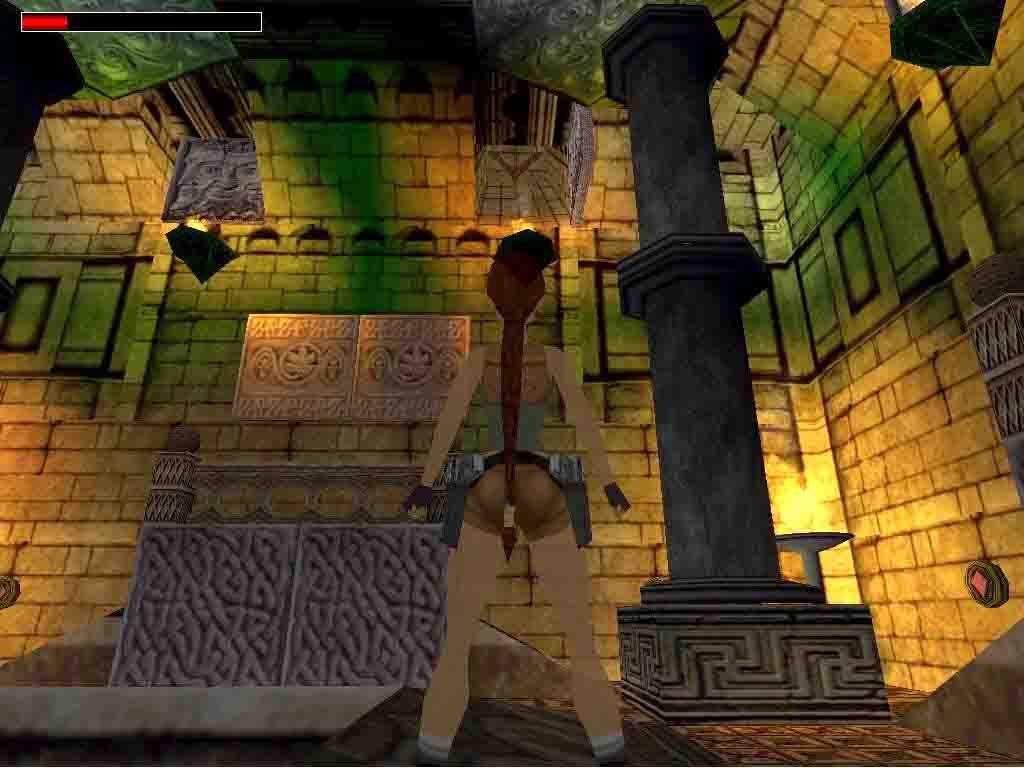
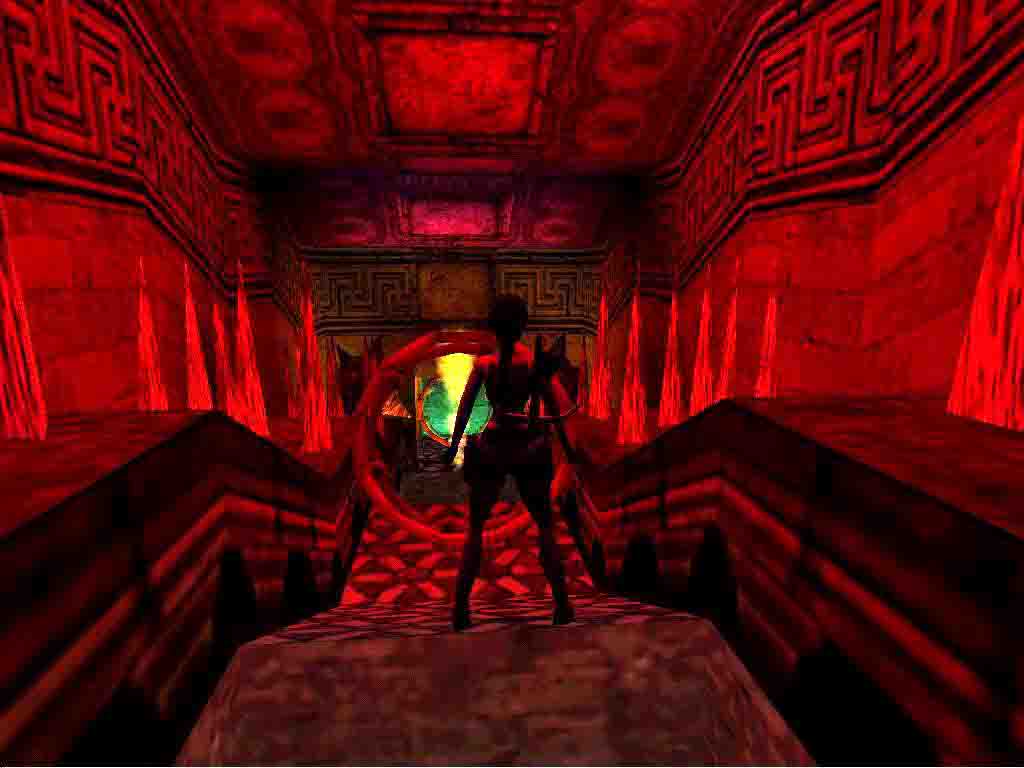
Another great work from Pedros. This is a 2-parts level. The first takes place in a library, the second one on a base, finally you will visit deep caves. Finding the 2nd Secret was quite difficult for me, in the burning store-room. The enemies are dogs, bats, armed man and invisible monsters. Sometimes I was just running around in the cave till I found out that I must pull the lever once more. You have to find and light 4 torches there. You have to collect 5 Pink Crystals on the level for getting on the next one. The 2nd level also takes place in the deep. At the beginning you must get over 2 difficult timed-runs, then you have to find the exit in a huge room with lava, finally you will find your target: the Statue of the God of Life. Here you must fight with jackals, a demigod, bats and 2 fiery wraths. But they are not dangerous, I didn't use a Medi Pack in my second walkthrough. A skeleton also appears but as you not ought to head back towards him, ignore it. There are quite enough weapons: Shotgun, UZI, Crossbow and the Revolver. The textures are nice and various, the puzzles are witty, the added sounds adds plus to the experience. I found all the 3 Secrets, but just in my second walkthrough. I recommend this great adventure to all of you! You can find a walkthrough , savegames and pictures here: http://treditor.hu/english/the_quest_of_the_god_of_life_eng.htm
Walkthrough:
1. Searching for the Ancient
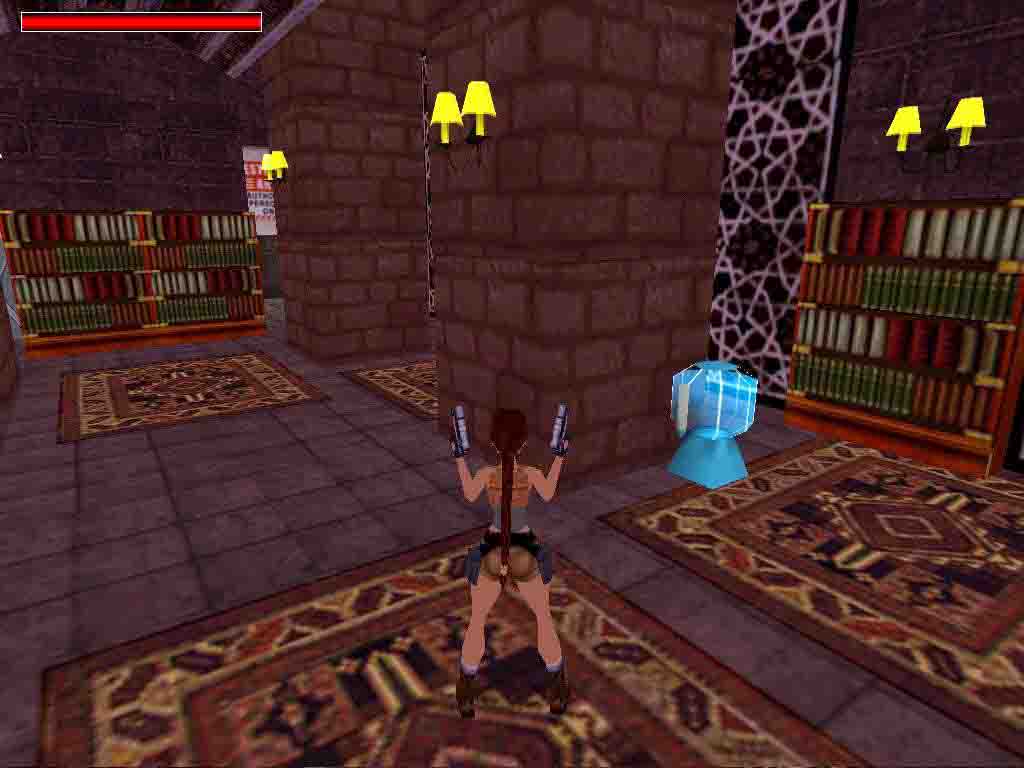
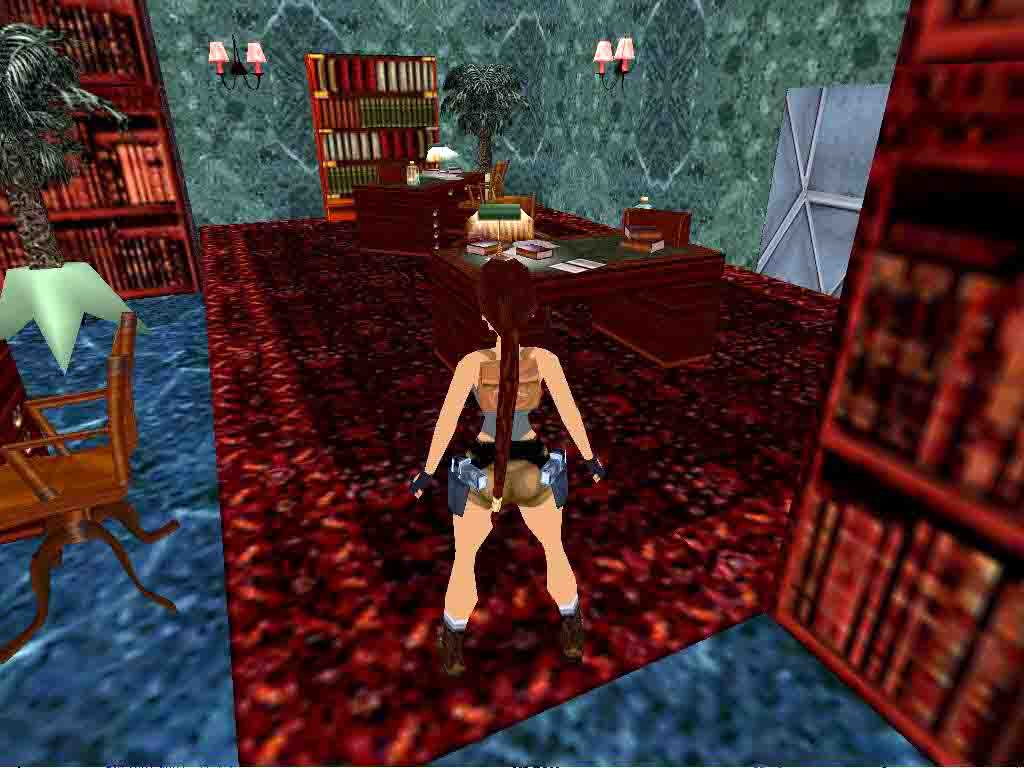
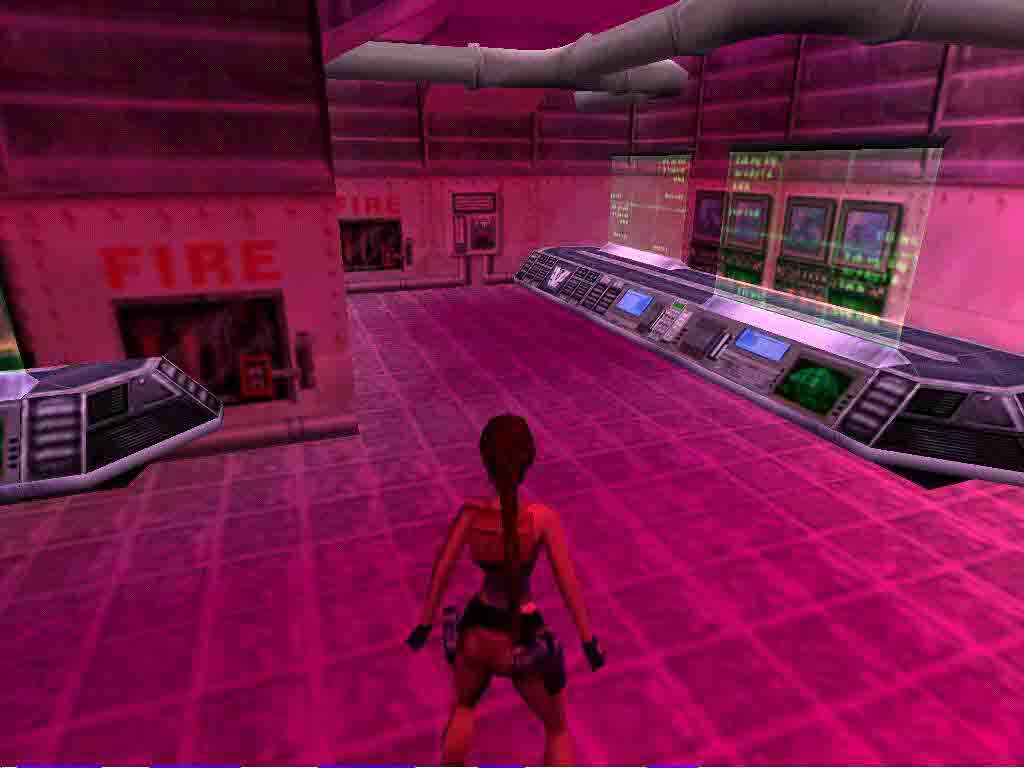
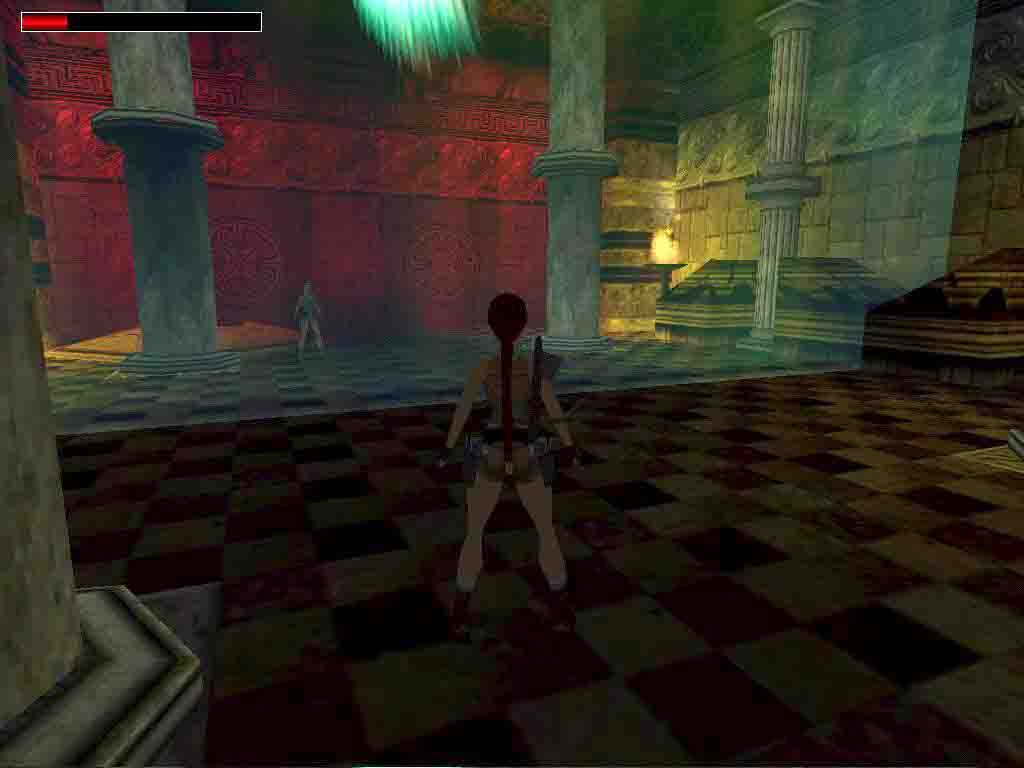
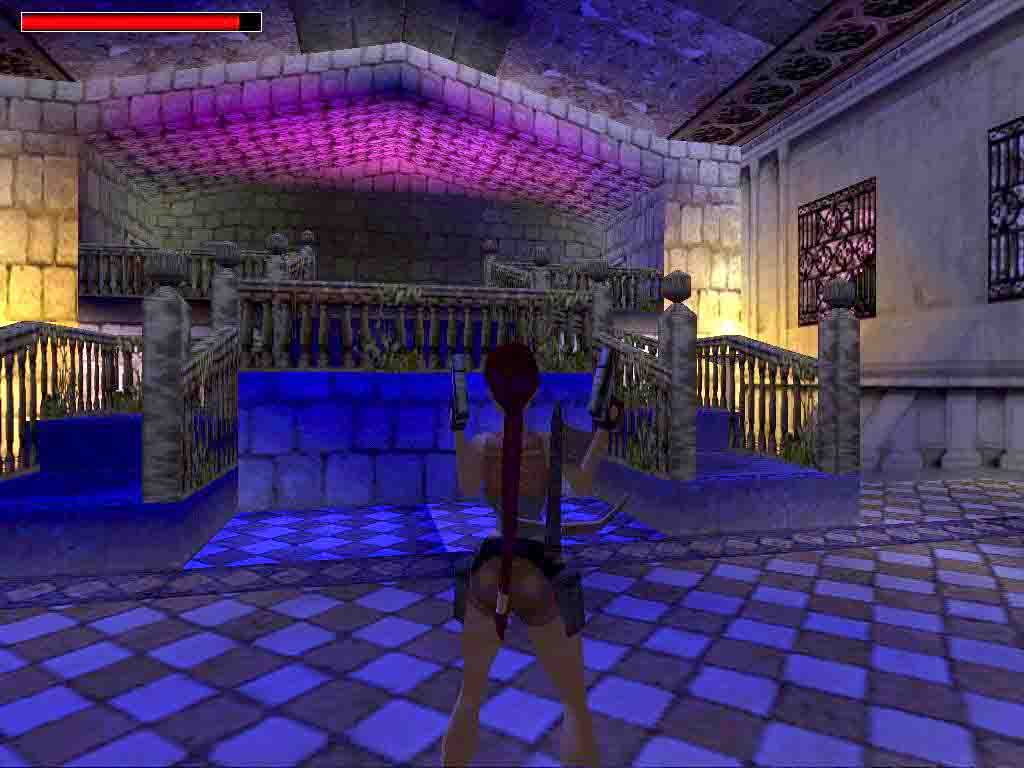
Immediately 2 dogs and a bat attacks Lara in the library. Shoot them, as well as the armed man approaching the right-hand passage. Head to the left-hand door, and pull down the trapdoor at the end of the corridor. Climb up, push the button on the wall. Return to the library and take the right-hand direction this time.
Get some goodies in the left-hand room. In the right-hand room first rotate the book on the shelf, then in the back room enter the door in the corner, and climb up into the crawlspace. Of course take the ammo and the Medi Packs here, meanwhile you have to take care of a dog.
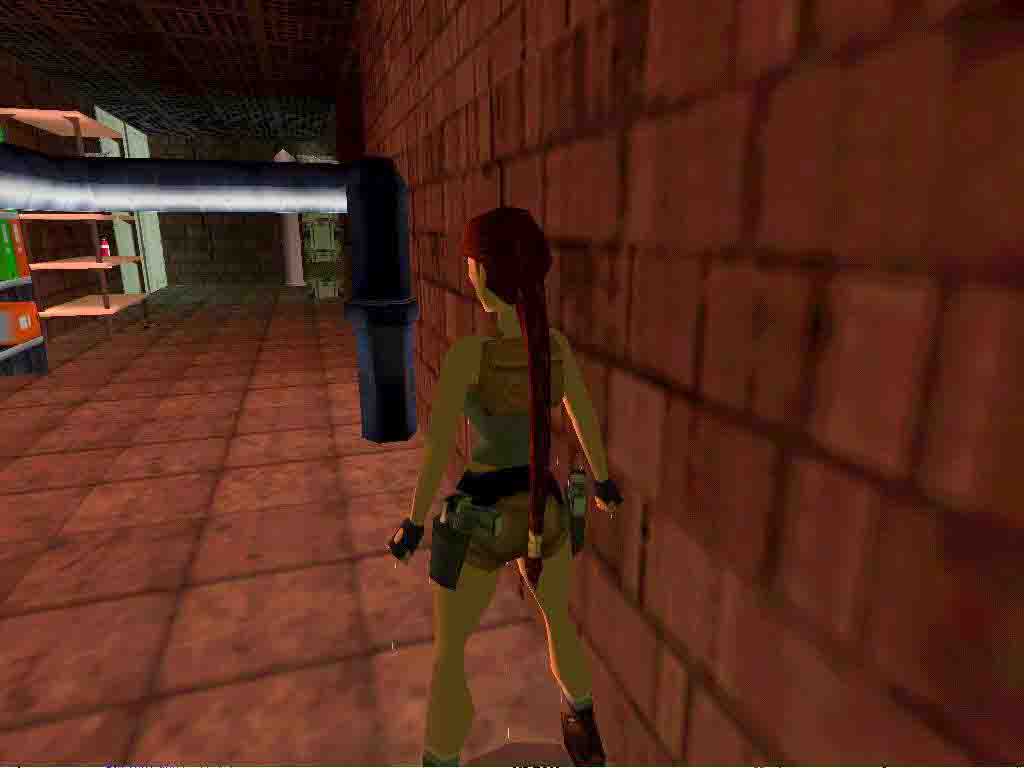
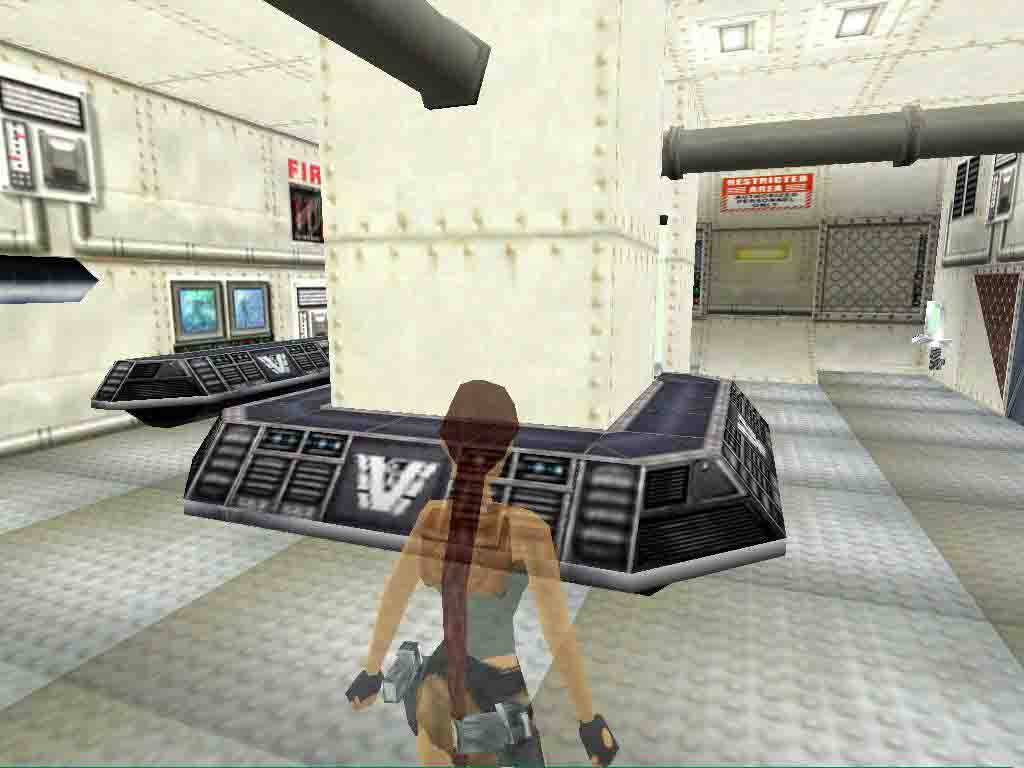
Climb down on the other side of the crawlspace. Kill the bats and swim into the next room. Kill the bats and the armed men. One of them drops the Access Disc and Shotgun. Collect the Uzi ammo in front of a shelf. Return to the corridor through the crawlspace, and head to the right.
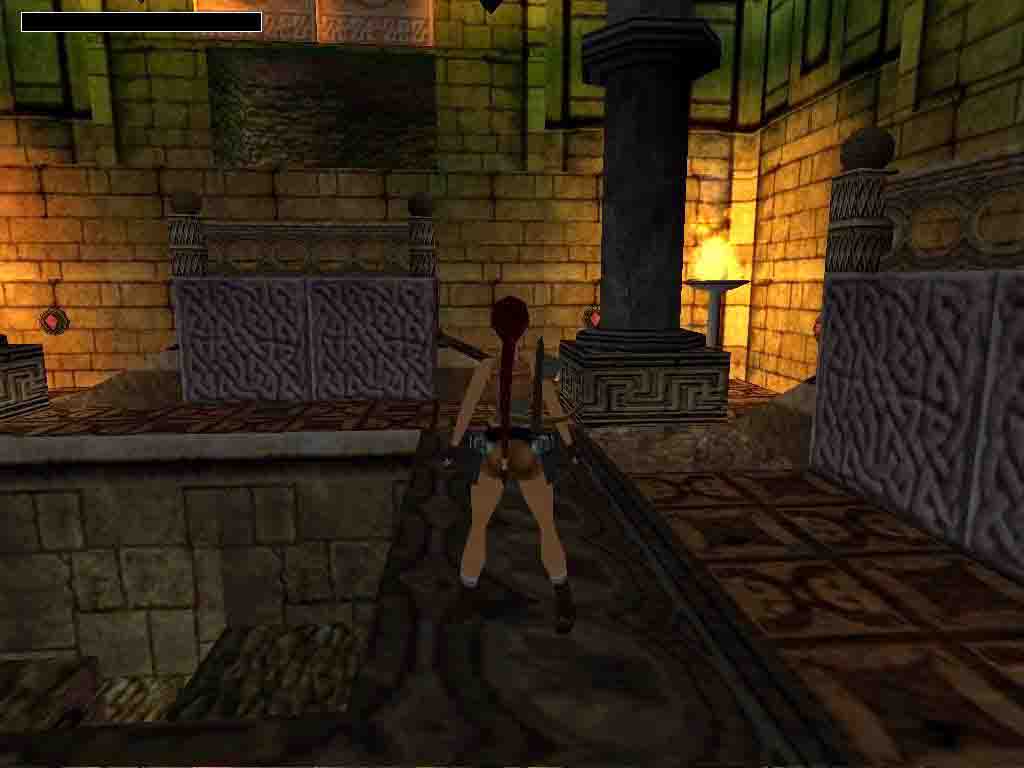
Kill the guard, place the Disc into the consol before the grate and first head to the left. Shooting the guard he drops some Uzi ammo. Take the opposite direction and get into the right-hand store-room. Have a look at the cut scene. Dont step in but after a run-up jump behind the third shelf which hides the Secret #1: the Uzi. Otherwise you dont have enough time to get it because the whole store is caught on fire. Now run and jump back, out in the corridor. Returning to the previous corridor kill a guard. Theres another guard in the room next to the store. Push the button on the wall, get back into the first control room. Enter the open door and slide down.
Head into the next center room, and take down the stairway on its middle. In the junction take the opposite direction, and jump over the pit on the corridor. You are in a room with levers now. Push the 3rd lever on the right and the 4th lever on the left. Notice where aint no vases, and pull the one next to the closed door. The door has opened.
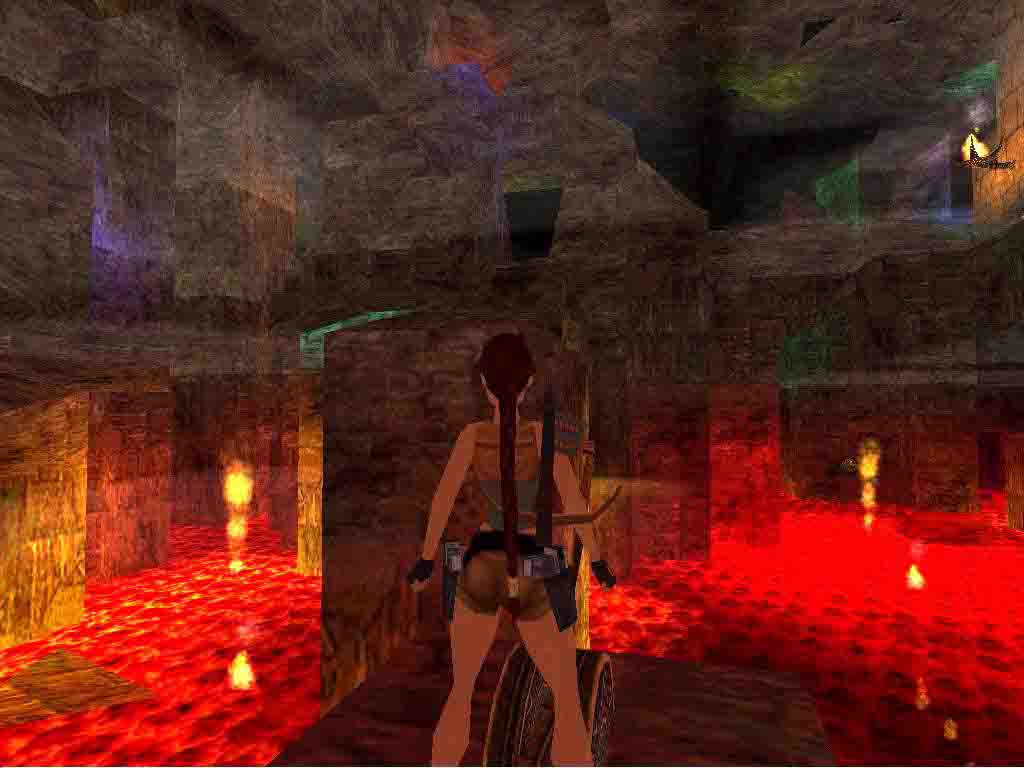
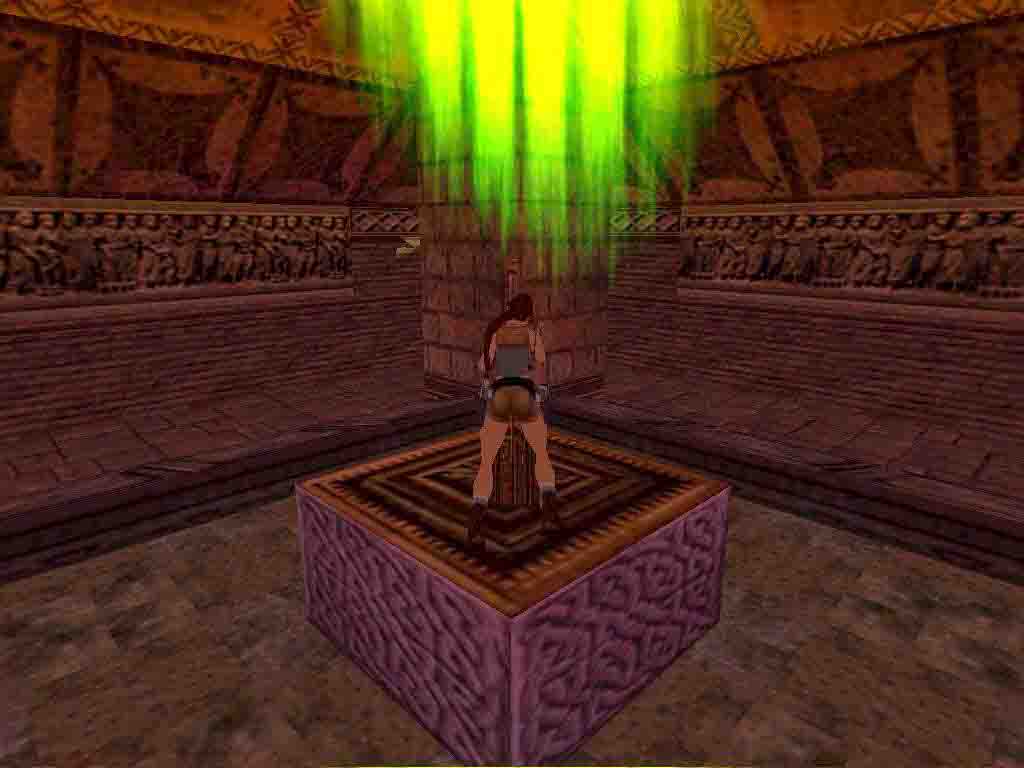
Stand in the corner, approximately in 45 degrees, and make a standing jump on the triangular platform in the lava. Jumping along a bat disturbs Lara. Climbing up on the other side find the Pink Crystal #1 to the left, and the Laser Sight with a Medi Pack to the right. Get back on the other side, then to the junction, and the right-hand door opens.
Get into the cave. Light your Torch and light another 4 torches.
Turn left at the water, pull in the block, then pull in the other one to the right. Pull the lever beneath it, which raises a block in another cave. Keep this lever in mind as you will have to get back here later. Get on and notice that the opposite block is also dark, you will have to get back here later again. In the next room Lara has a couple of objectives. Heading to the right jump up, grab the ladder on the column, climb up the column, and after a back flip grab the wall-ladder above the gap. Climb up and push the button. Above climb up on the first platform, and get the Torch. Not to mention that sometimes bats appear. Get into the gap with slant opening. Find the room where you have risen the block earlier. Light the torch and go along. In the next room push the button on the wall. You are in another small cave. Pull out the first moveable block, push in the other totally, push once more the first one, and pull out the other, as there's the first torch beneath it you have to light. A door has opened to the right, head towards it.
Find the second torch there, light it in the corner. Return to the place where you were pushing the blocks. Pull the switch again, the dark block has got down, find the third torch in the small cave. In the cave with floors jump on the platform where you have found the torch, and jump along, because there's the fourth torch in high above. Get back where you lit the torch. The block has got down, the door has opened, and you can get the Pink Crystal #2. Get all the way back to the junction. The opposite door has opened.
Get ready for the battle, as invisible monsters attacks Lara. Then get the Pink Crystal #3.
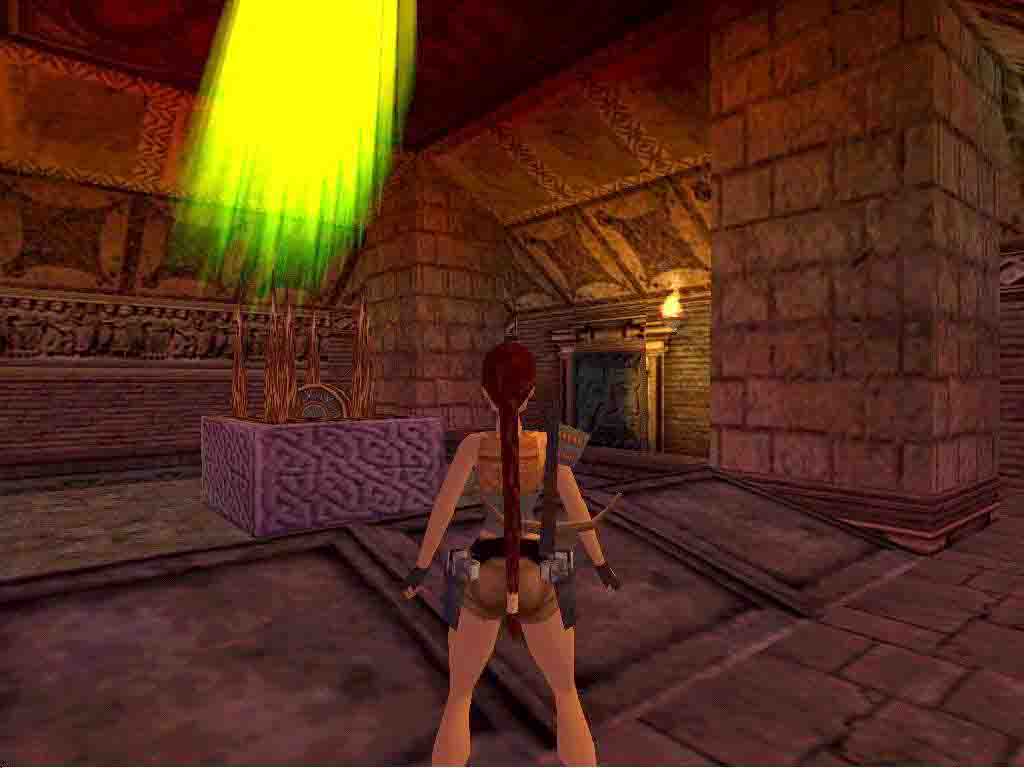
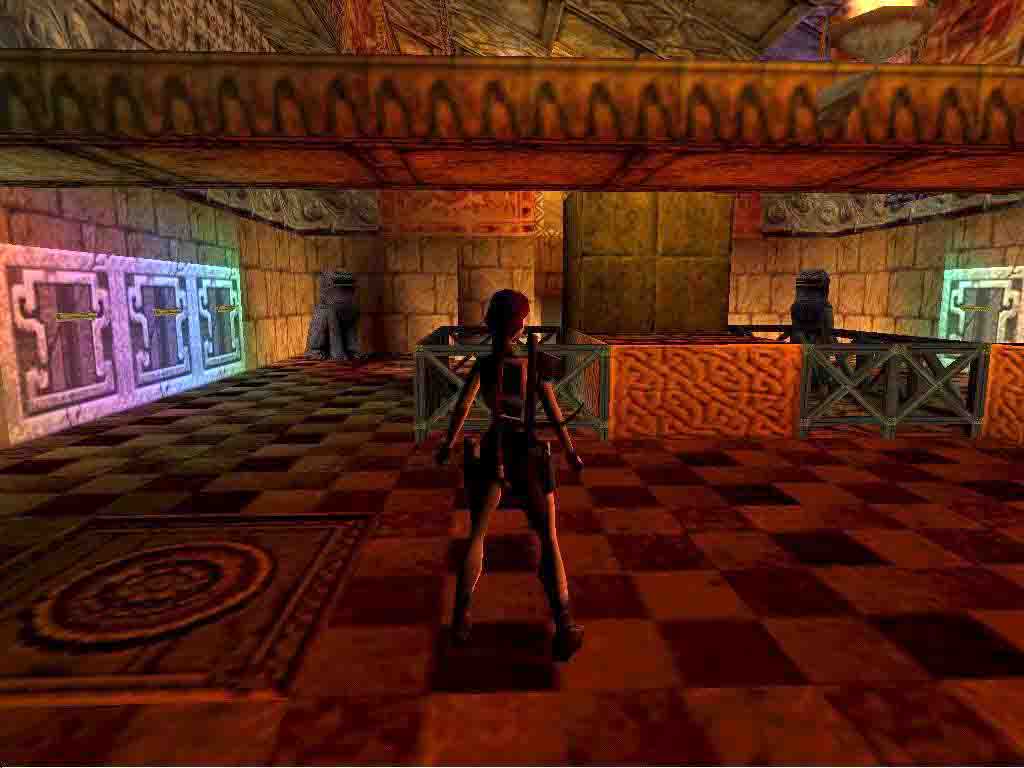
Get back into the main room. Meanwhile notice that a couple of doors open high above. Climbing up next to the picture with skull and crossbones get the Crossbow. Combine it with the LaserSight, shoot through the fire and light the flames at all of the 6 doors. The doors are open.
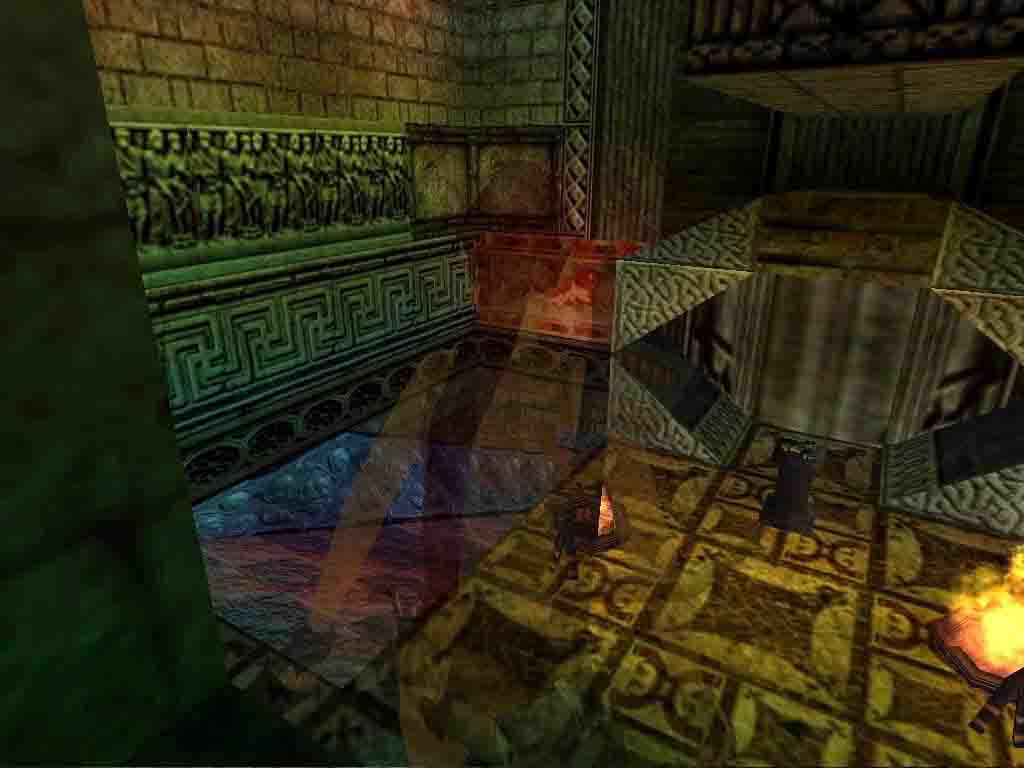
To the right from the entrance get into a room with spikes, where hot floor-tiles and rolling stones welcome Lara. Jump over the pit in the middle, and 3 stones crash down, but they fall into the pit in front of you. Get to the next pit through the rotating blade or aside. Before the flame step on the floor-tile, and jump back immediately as another stone is coming down. Get over the fire blower and the rotating blades.
You are on a short corridor now. You should grab on the ceiling and thus get over it, but I didn't manage it and fell into the lava. For my great surprise Lara didnt catch fire and she run along there. Get the Pink Crystal #4 and jump into the water. Swim through a small gap and find the Secret #2: some Shotgun ammo.
Getting out of the water pull in the obstacle block for avoiding it on the corridor, and return into the main room. Take the middle passage this time.
On the corridor monkey-swing over the spikes, and get up into a room with mirror. Glance in the mirror and notice the lever behind the right-hand burning lamp. Pulling it a trapdoor opens behind the floor-tiles. It's invisible now but head to the direction you came here, and drop down. Don't worry, this gap is not deep. Get the Pink Crystal #5 here.
Return to the main room, place the Crystals, and a trapdoor opens, which leads on the next level.
2. The Way of Hell


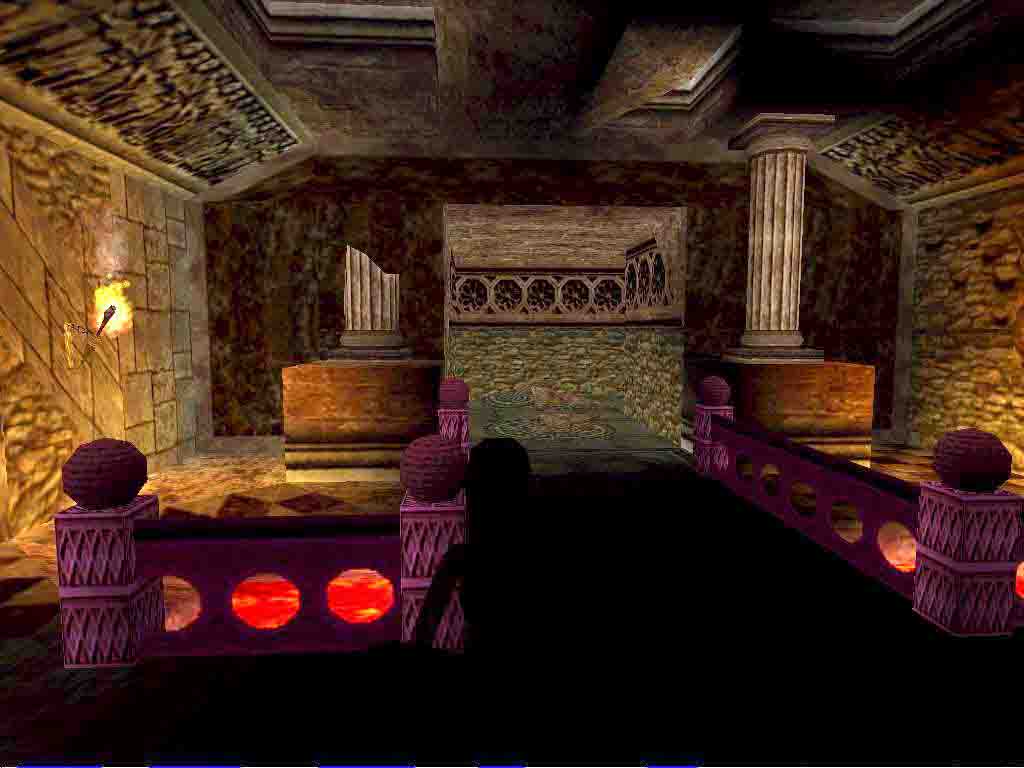
VeGet the Medi Pack from the pedestal as well as the other goodies in the next room, having shot the vases. The closed door and the lever in the middle is merely is trap; the floor-tiles surrounding it open down. You will return here from the end of the level. I suggest to jump over them on a corner, and you will fall smoother after a hang. You are in a cave now. Head to the left and get a Medi Pack in the corner, to the right reach a fresh room. This is the main room of this level.
Get the Uzi and take a path. Probably take the slope to the right.
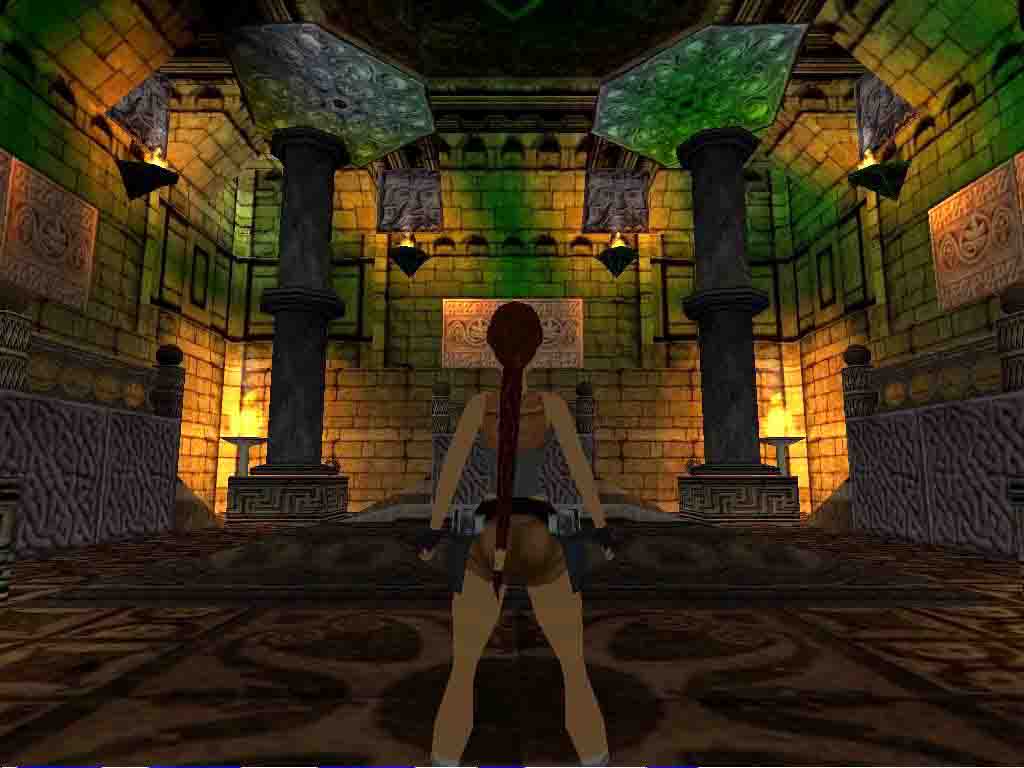
Kill a couple of jackals and pull down a lever in the corner. After each puzzles jackals attack Lara. The right-hand grate opens, pull the lever inside which opens another grate, but there's a timer on it so you must run. Save your game here as the toughest timed run follows. If you fail, you have to start over with the first run. Pull the lever on the wall, jump back on the switch floor-tile, accelerate and run behind the left-hand open grate. Get the God's Head. Now return into the main room, and head down the left-hand slope.
Rolling stones follow you. In the next room a demigod attacks Lara. Get on the gallery, stand in front of the right-hand lever and save your game again. Pull the lever, turn around quickly, run to the other lever, pull it, jump off the gallery, run towards the entrance as a trapdoor has opened, and get the God's Handle below. You must hurry because the door is closing, and the floor-tiles catches fire. Get back into the main room.
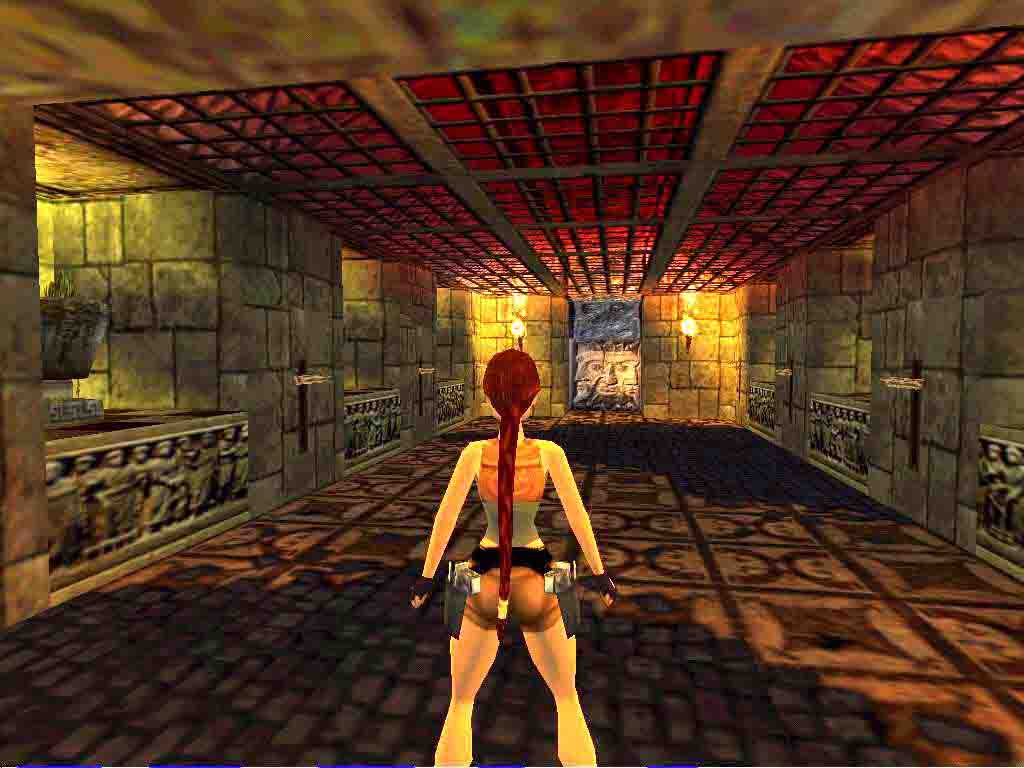
Get behind the pedestal and grab the ladder. Climb up, on the bridge and place the combined item. Return to the pedestal. The door has opened.
Pull down the trapdoor, and climbed down get another Pink Crystal. Take the other direction and get into a big room. The objective is quite simple here. Pull all of the levers, get on the storey, and pull the block out of the wall. Place the Crystal behind it, and you can already push the block into the middle column. Behind the above, right-hand levers a door has opened. Climb up, and push the lever.
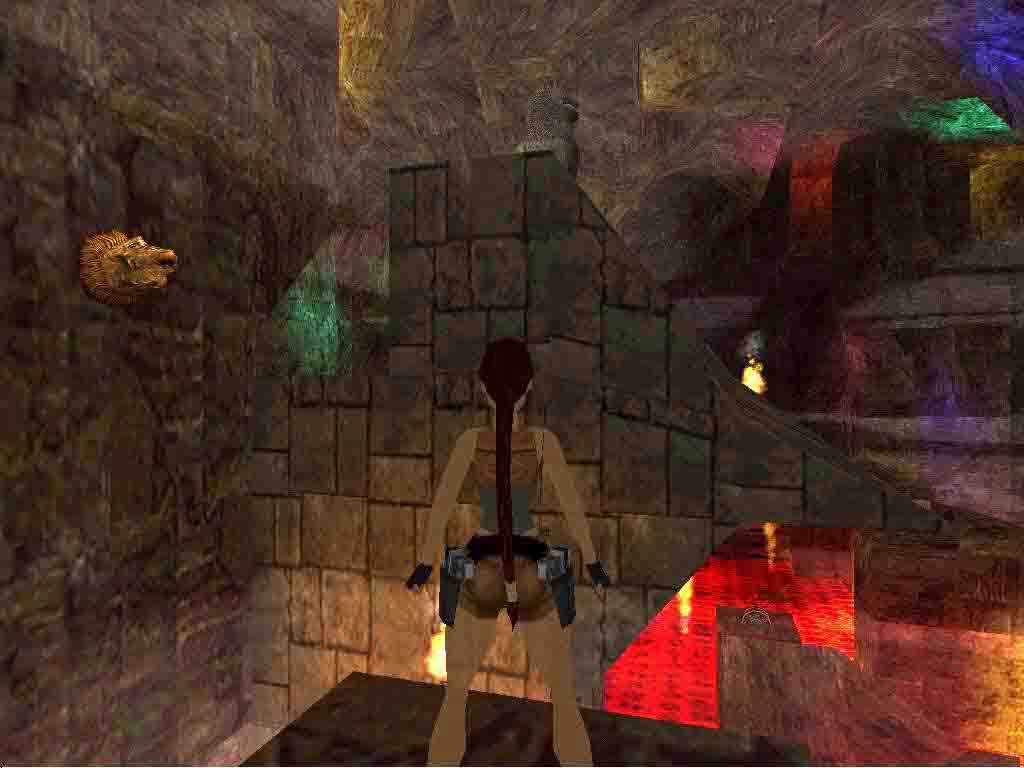
You are in a huge cave with lava now. Jump on the pillar, then to the opposite side, and grab the gap on the wall. Shimmy to the left, around the corner, and drop down at the ladder. Climb up the ladder, around the corner, and find Secret #3: the Revolver. Jump back on the first pillar.
Now jump to the right, where you can see the small, smooth spot on both sides of the platform. From its left side jump on the wall next to the fire-blower, there's a ladder here. Climb to the left, and grab the gap. Climb up into the gap, around the corner, get down to hang again, shimmy to the left till you can climb up into a crawlspace. Get on the other side through the corridor, kill the bat, then jump on the opposite side, but hit the CTRL meanwhile. Get along the corridor, then jump on the opposite pillar. Kill the bat and jump into the right-hand wall-gap. Jump down on the small platform in the lava, and keep jumping till you can climb on a block. Climb up into a small room. Climb up into the crawlspace, climb down on its other side, shimmy all the way to the right, till the end of the crawlspace. Jump to the small cave.
Jump on the ladder at the lava, climb up as high as you can, shimmy to the right. Dont worry because of the fire-blower, it will extinguish after the corner. Get the Uzi Ammo, and shimmy back. Make a back flip (+END) in the middle, and grab the edge. Climb in, and along the narrow crawlspace. On the other side get down on a small bridge. Jump on the opposite side, on the right side of the platform, where there's a smoother spot, then getting through the small gap jump to the left-hand sloping area. Climb to the right, climb up and reach an entrance of a small corridor.
3 invisible monsters waiting inside. Run down the corridor to the closed door, and slowly you can kill them one after the other. But don't kill the second one beneath the wall-lever as you won't be able to pull down it. After having pulled down the lever the door opens below, and you can return to the beginning of the level. Now you can push the lever.
2 wraiths come alive. Run back towards the beginning of the level. The hot water have melted the ice, and getting into the water Lara can free from her hunters. Swim beneath the pedestal, and pull the lever. Climb out, standing on the risen block push the moveable block in the wall, and get your objective: the Statue of the God of Life. Earthquake shakes the cave. Getting back the area has changed. Find a crawlspace on the left-hand wall. Climb up. Head up the slope on the other side, the sun is shining in your eyes, and the level finishes.
Walkthrough by OBig from TREditor.hu
Translated by Petunia from TombRaider.hu
Az oldalon közölt képek, a szöveges tartalom, illetve minden sajátkészítésû anyag, a © TR Editor.hu tulajdonát képezi. Azokat semmilyen formában nem lehet reprodukálni, másolni, terjeszteni, csak a szerkesztõség engedélyével.