
Tomb Raider Revelations 2 - The Golden Mask
Download: Here
Extract the roli-revelations2.zip file. Copy the files contained in the audio directory into a temporary folder then start the start_me.exe application that converts the .mp3 files to .wav files. After it is finished, copy these files into the ..\trle\audio directory. Copy the files from the data directory into the ..\trle\data folder. Copy the files contained in the trle folder into the ..\trle (main) directory. Start tomb4.exe to begin the adventure.
Story:
Lara is browsing the internet reading newspaper archives, when she finds
an article in a newspaper from 1970 that says that "Another Golden Mask
Exists!" Lara is reading the article: it is more than probable that a
second mask exists, because archaeologists found a huge tomb in the Sahara
that has the motives of the Golden Mask and the ancient scripts also say that
it is laying in a tomb in the Golden Valley. The archaeologists could not
enter the tomb because the entrance would require the first Golden Mask.
Some of them tried to excavate it, but they all died somehow; maybe because
of the curse. Fortunately Lara has no such problems since she has the mask
she acquired in 1997.
Lara is searching for a sign whether the tomb was already opened since that
time, but she finds nothing. So the mask should be somewhere in the Golden
Valley...
Review:
This 5-level adventure is fantastic. The textures are various and beautiful, and also the added sound that are mostly from Legend. The challenges become more difficult gradually with each levels, but not so much that it would disappoint anybody. I can only congratulate to the author, it can be seen that the standard rised higher and I am sure that he will yet surprise us with great adventures. Keep it up Roli! :)
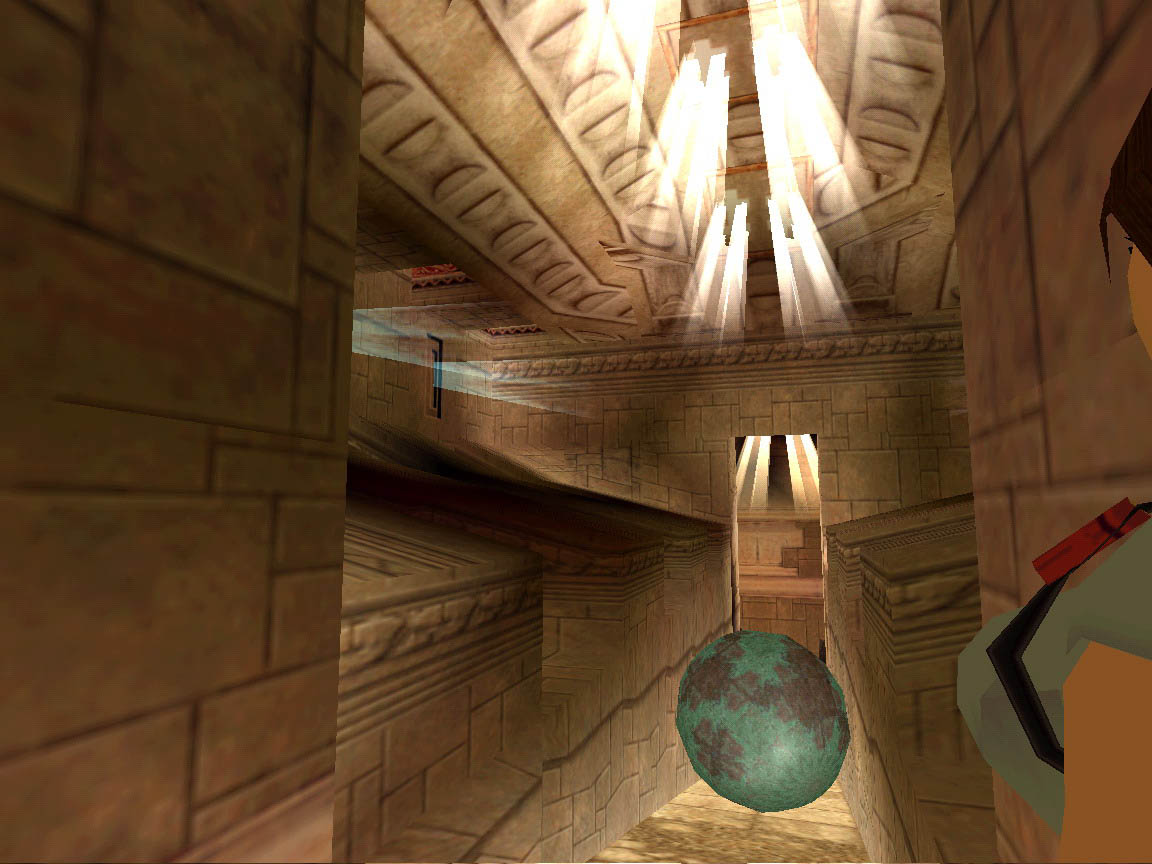
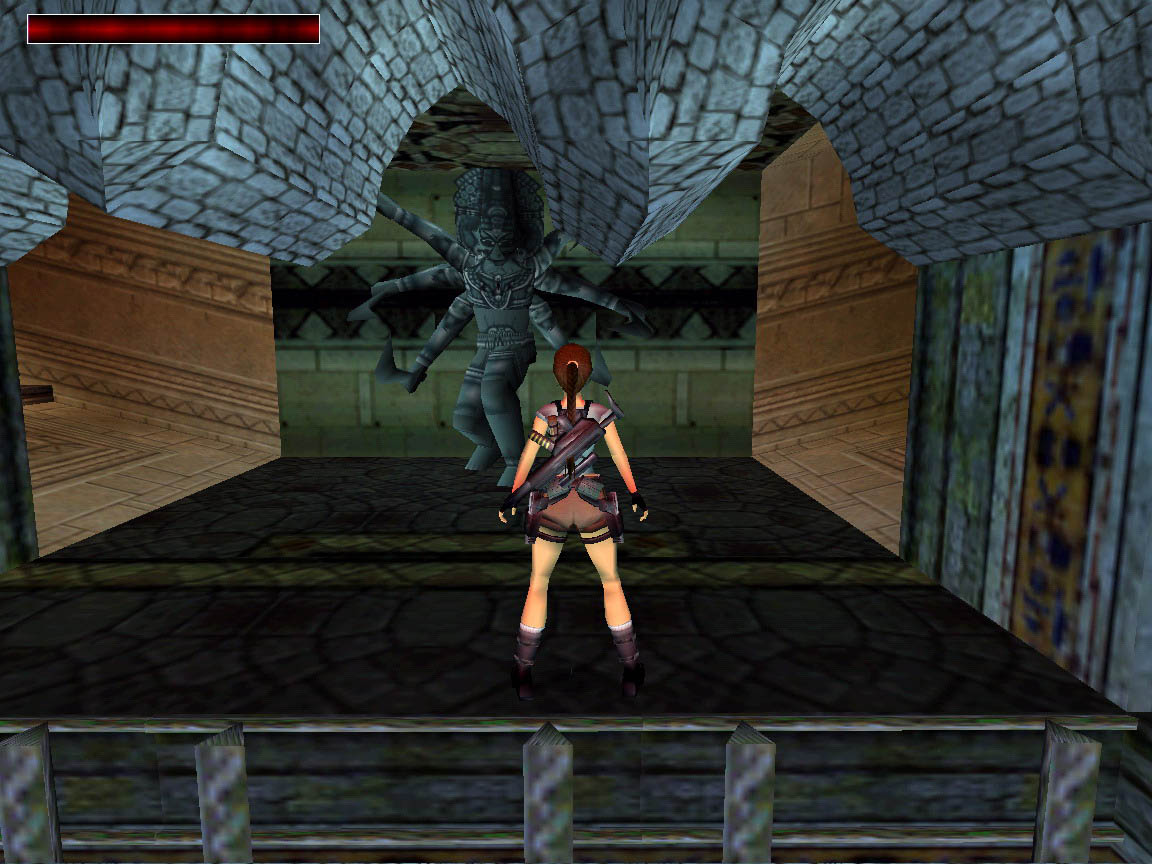
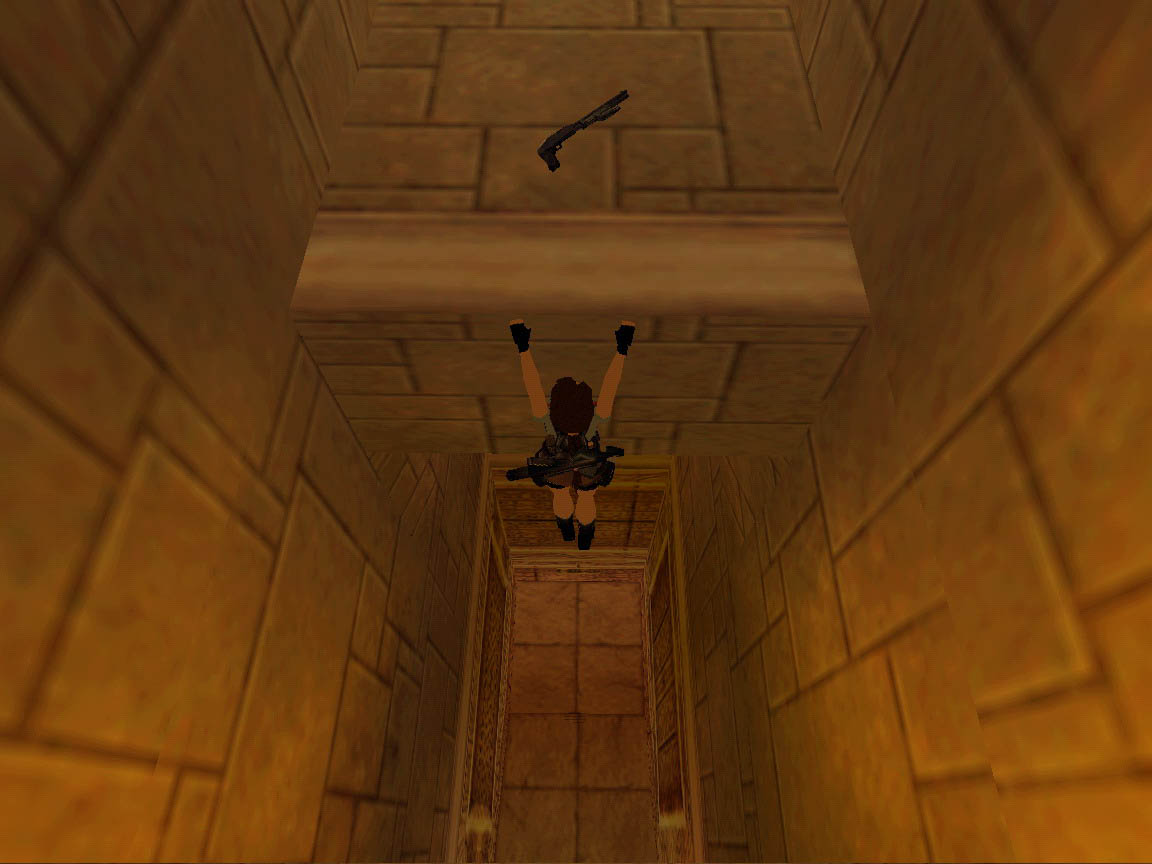
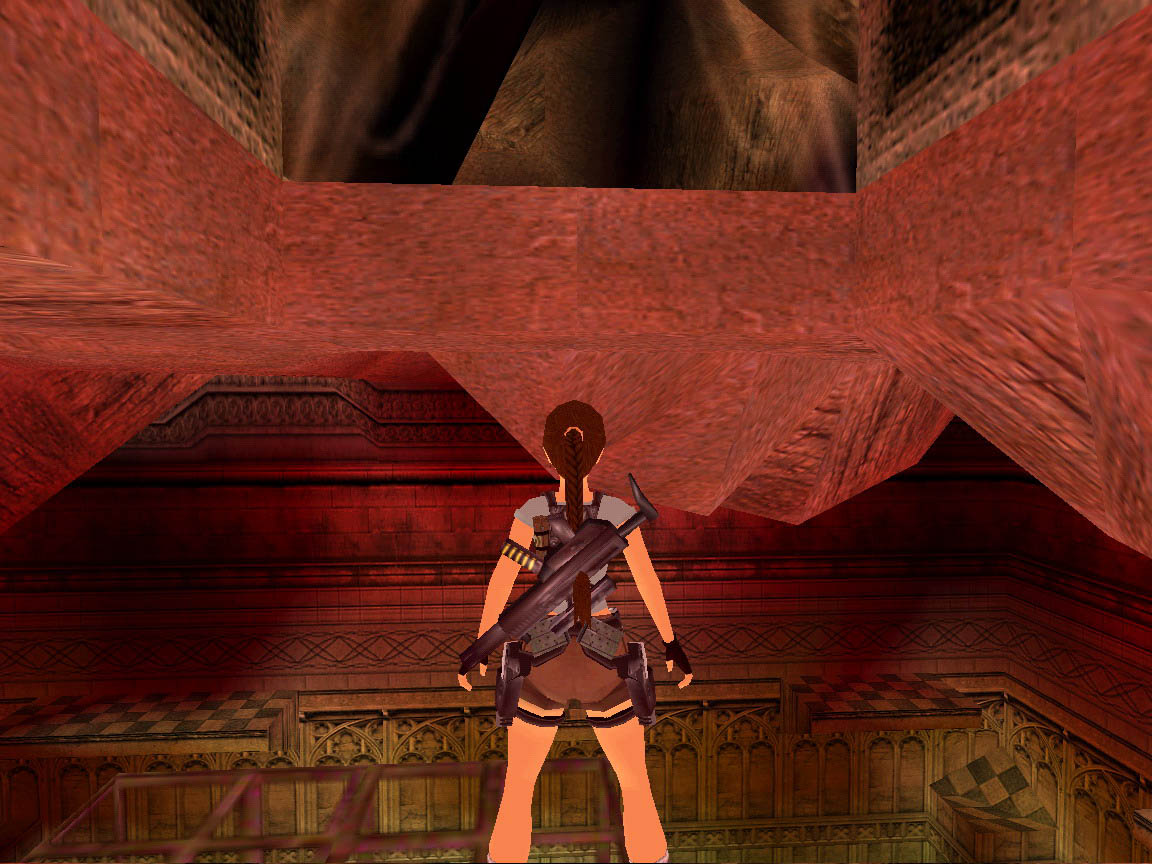
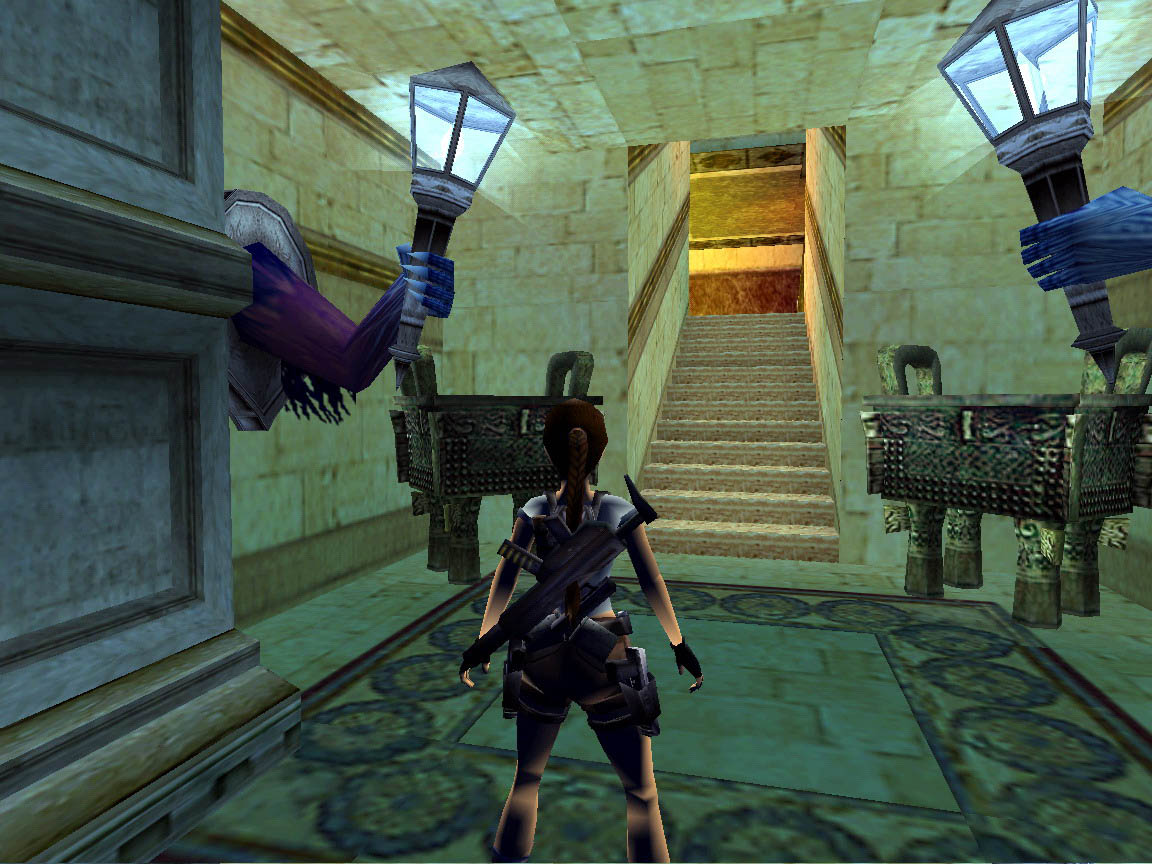
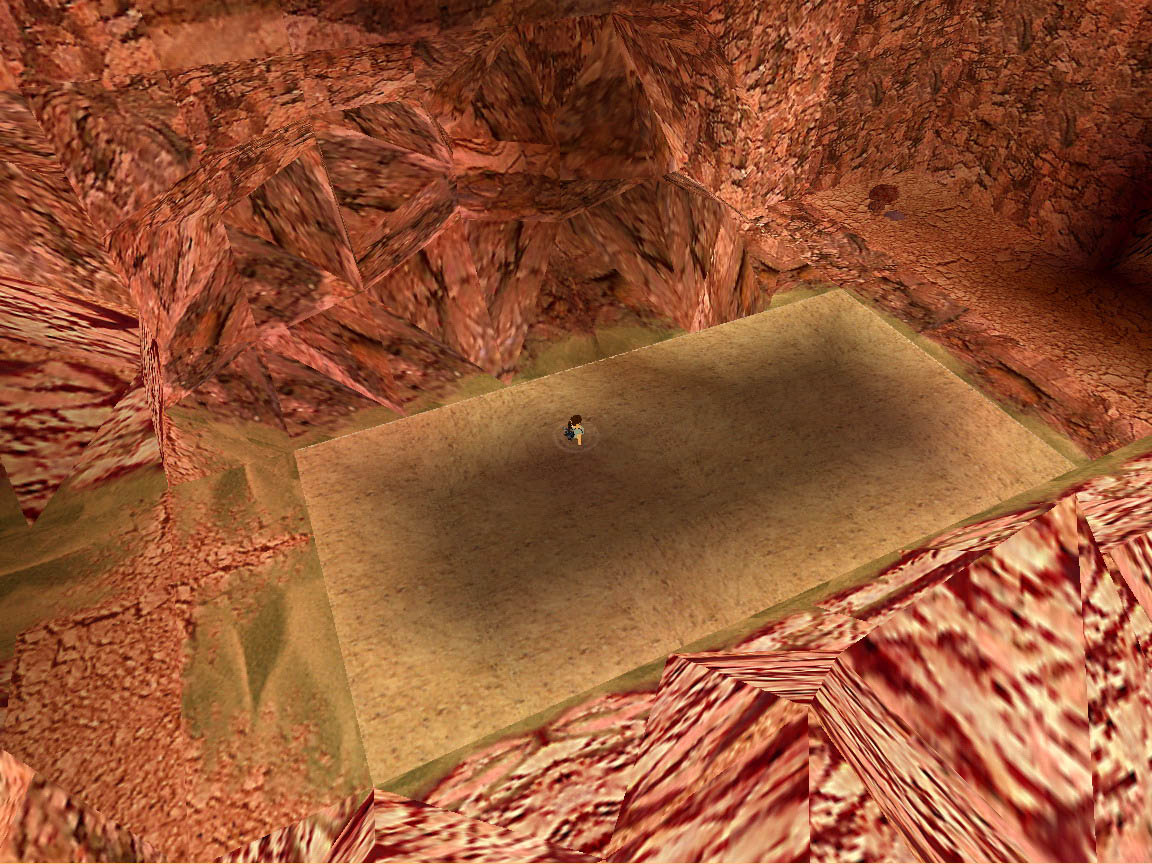
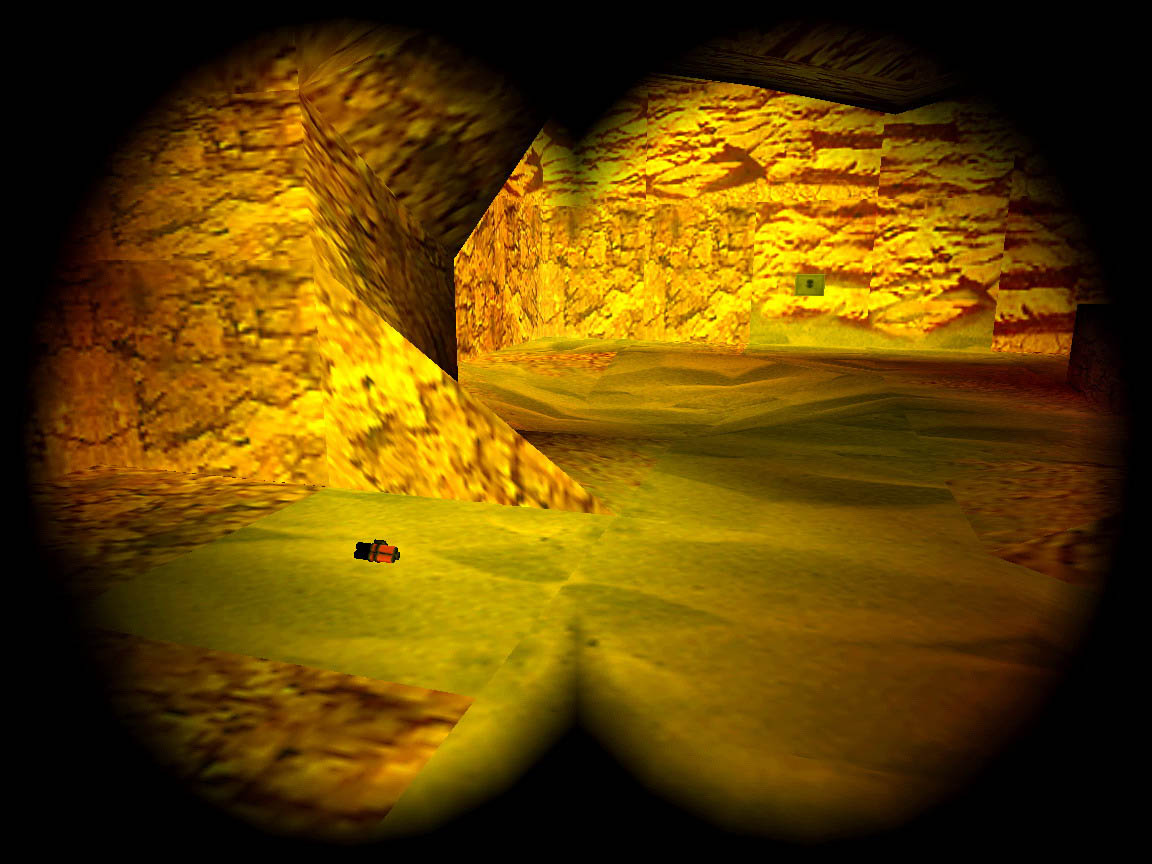
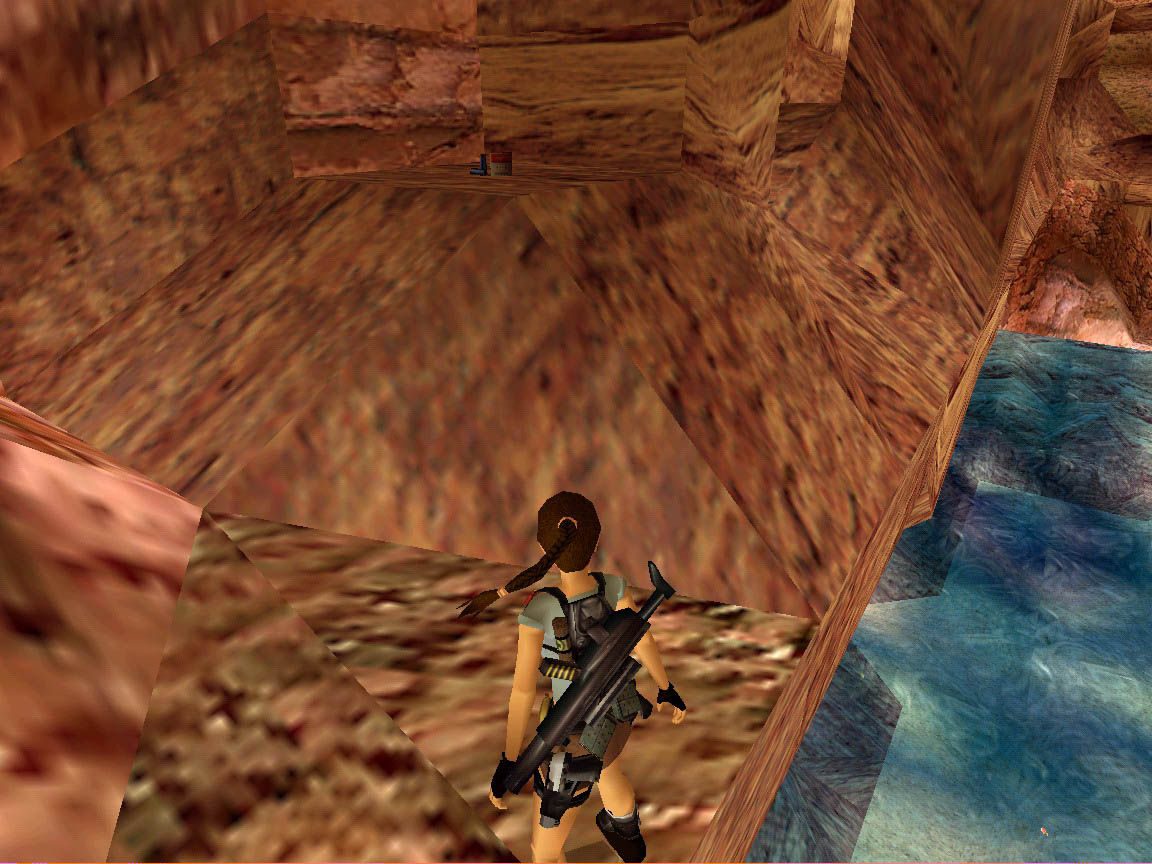
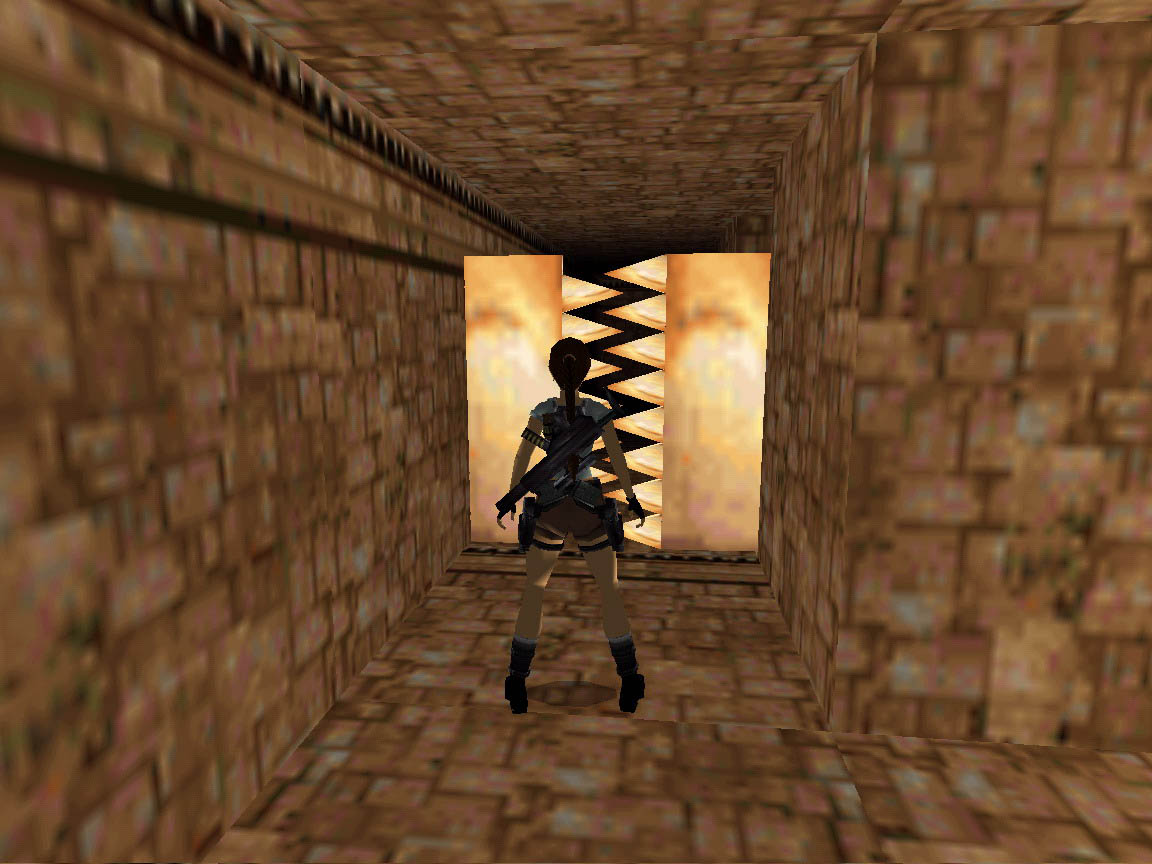
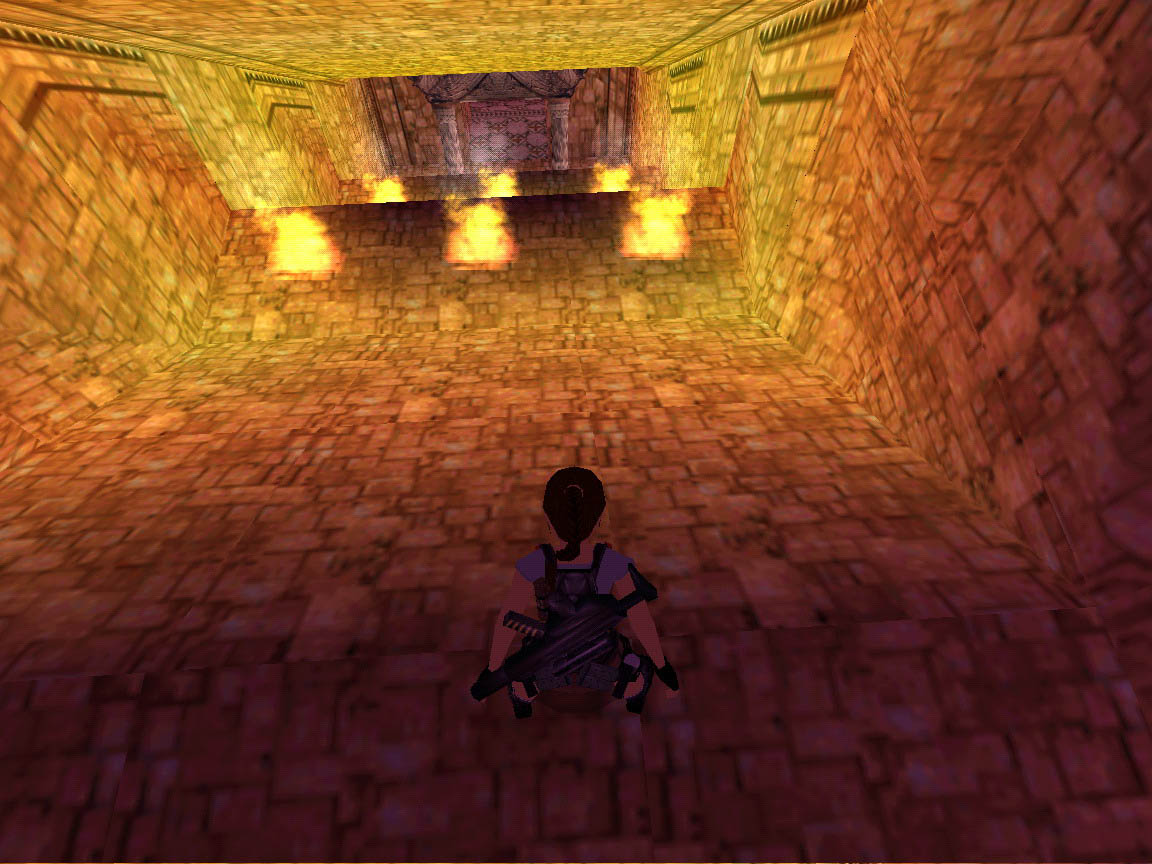
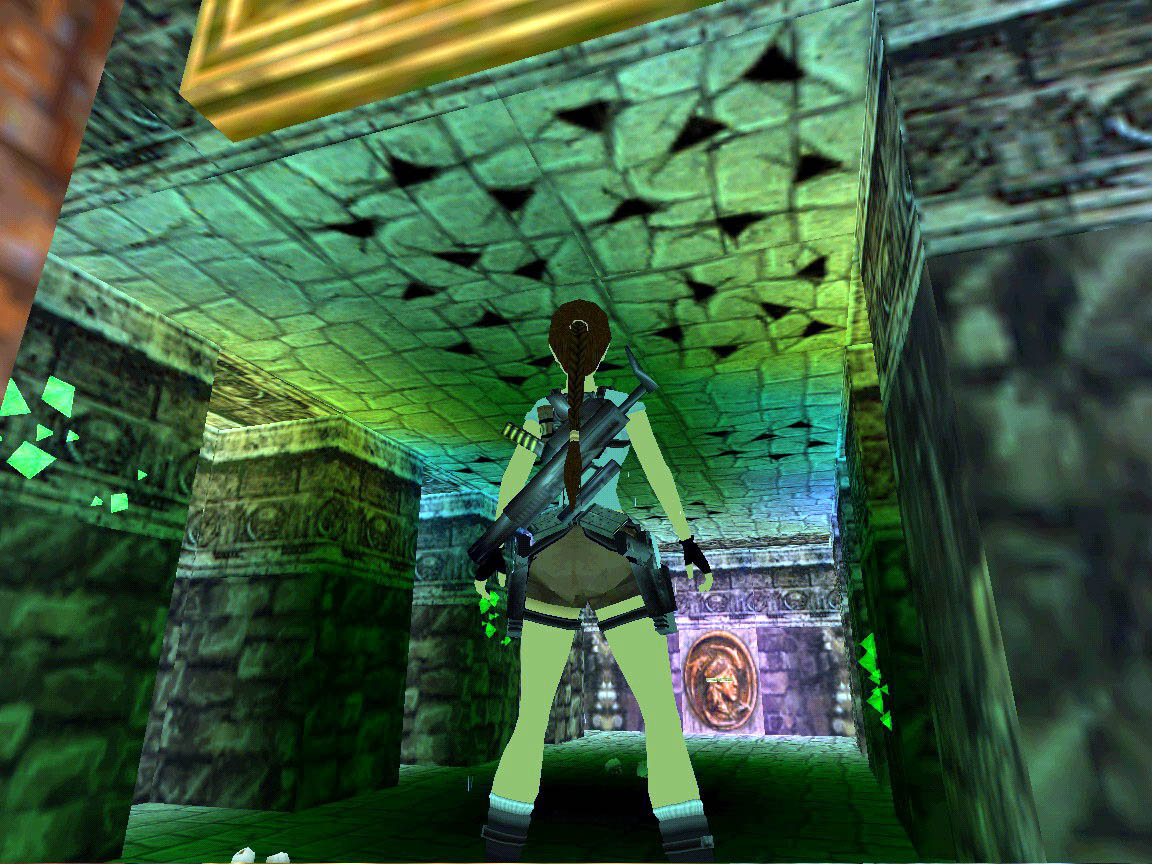
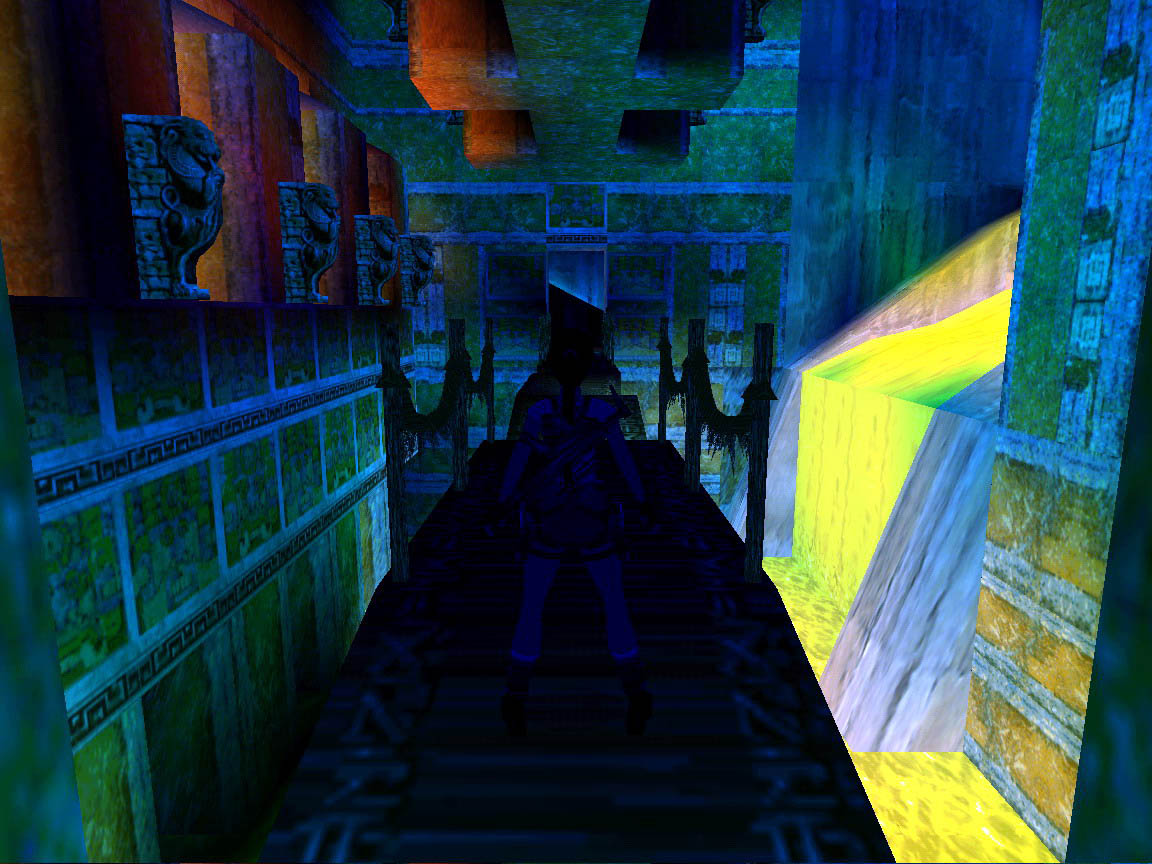
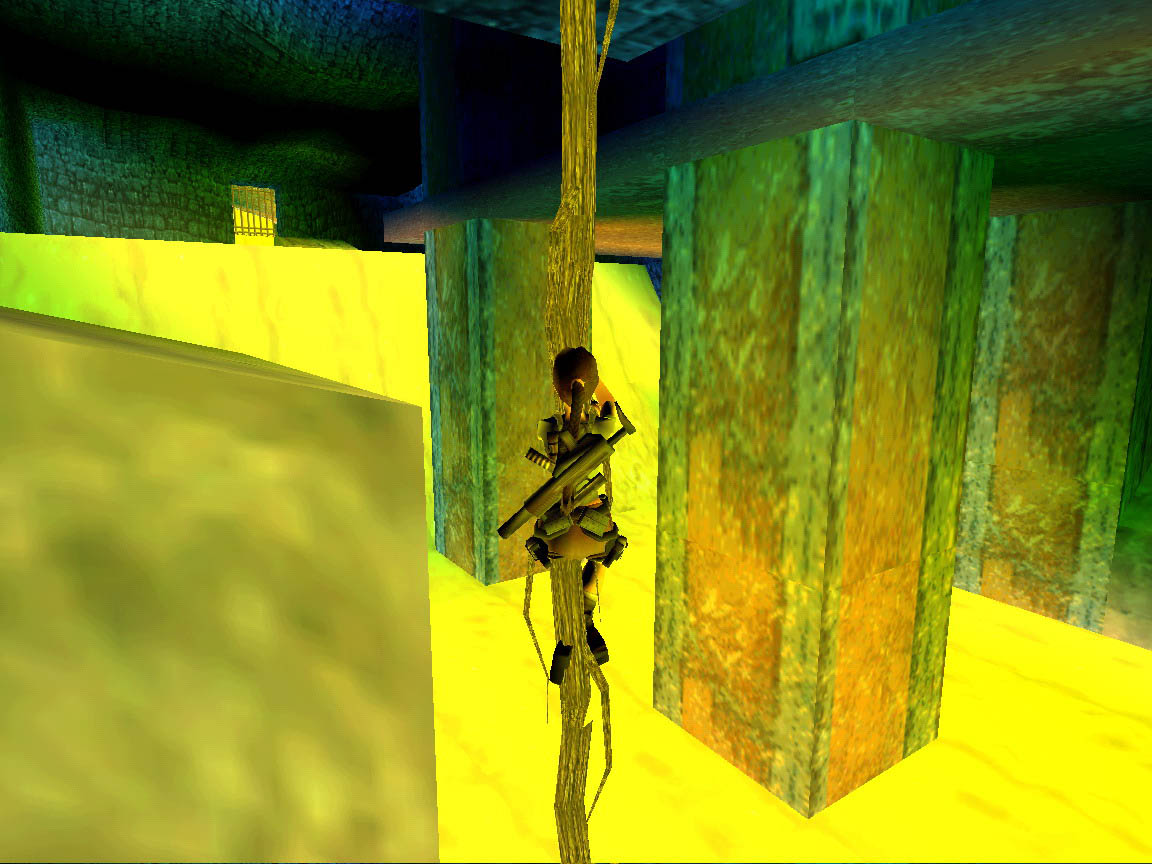
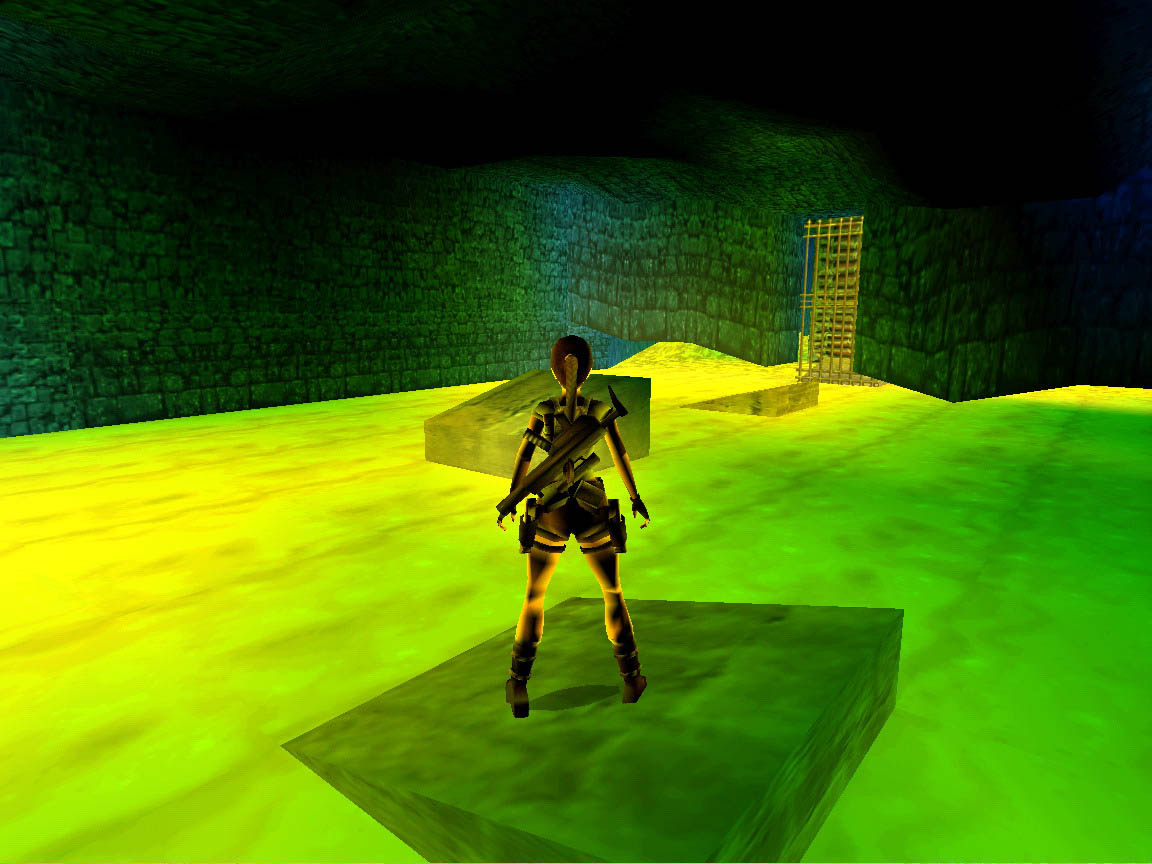
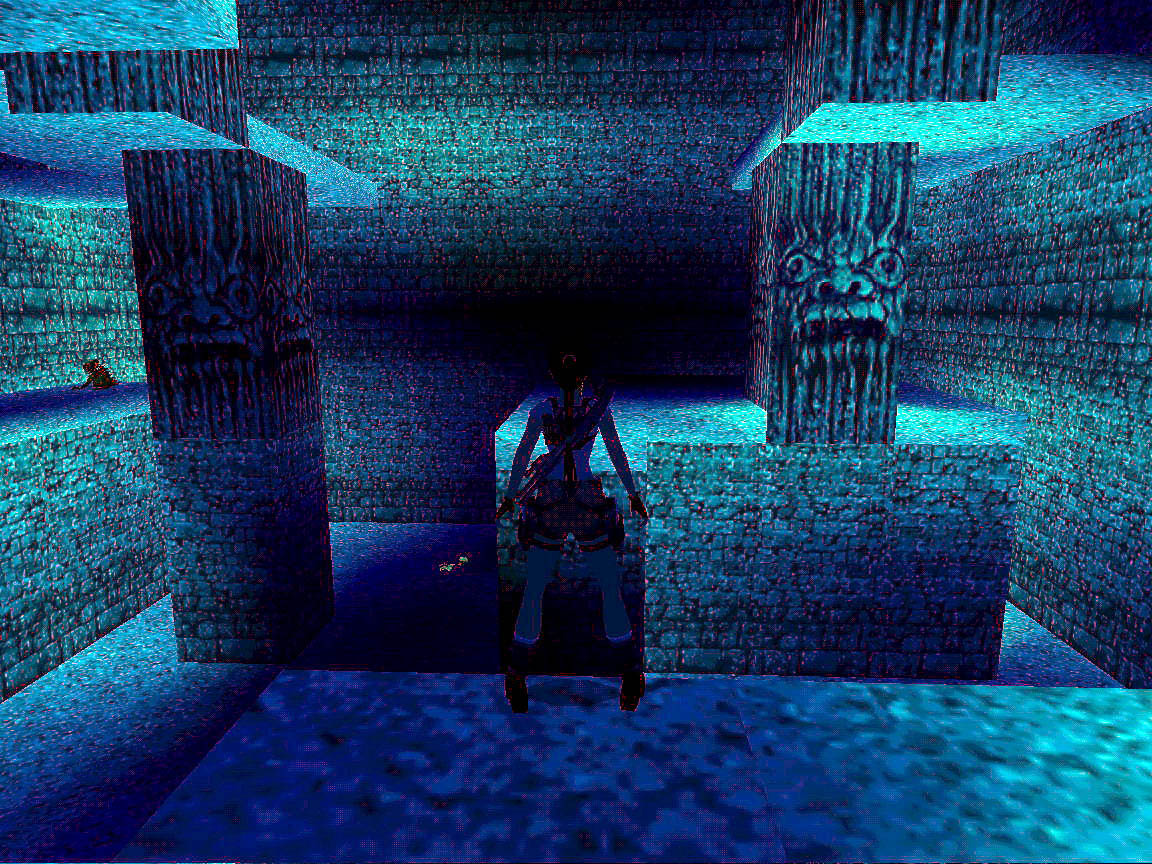
1. The Way: This is level is for warming up a bit. There are falling rocks, swinging blades and wraiths. It is important to get the MP5 and the Laer Sight, but you will also need a stone and a key for getting on. The enemies are only two more Shivas. You have to look out well in the environments, because you always get some clues about where to go or where to push moving objects. There is only one secret on the level, the Shotgun.
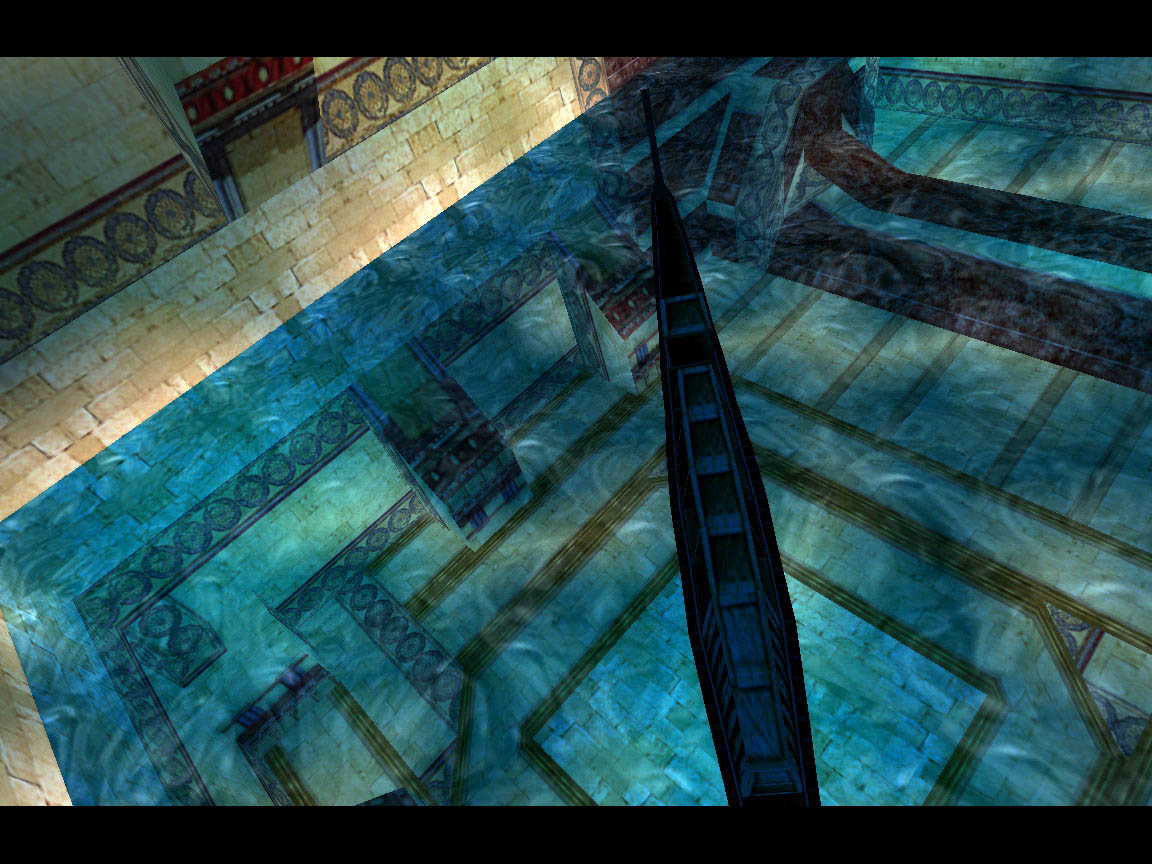
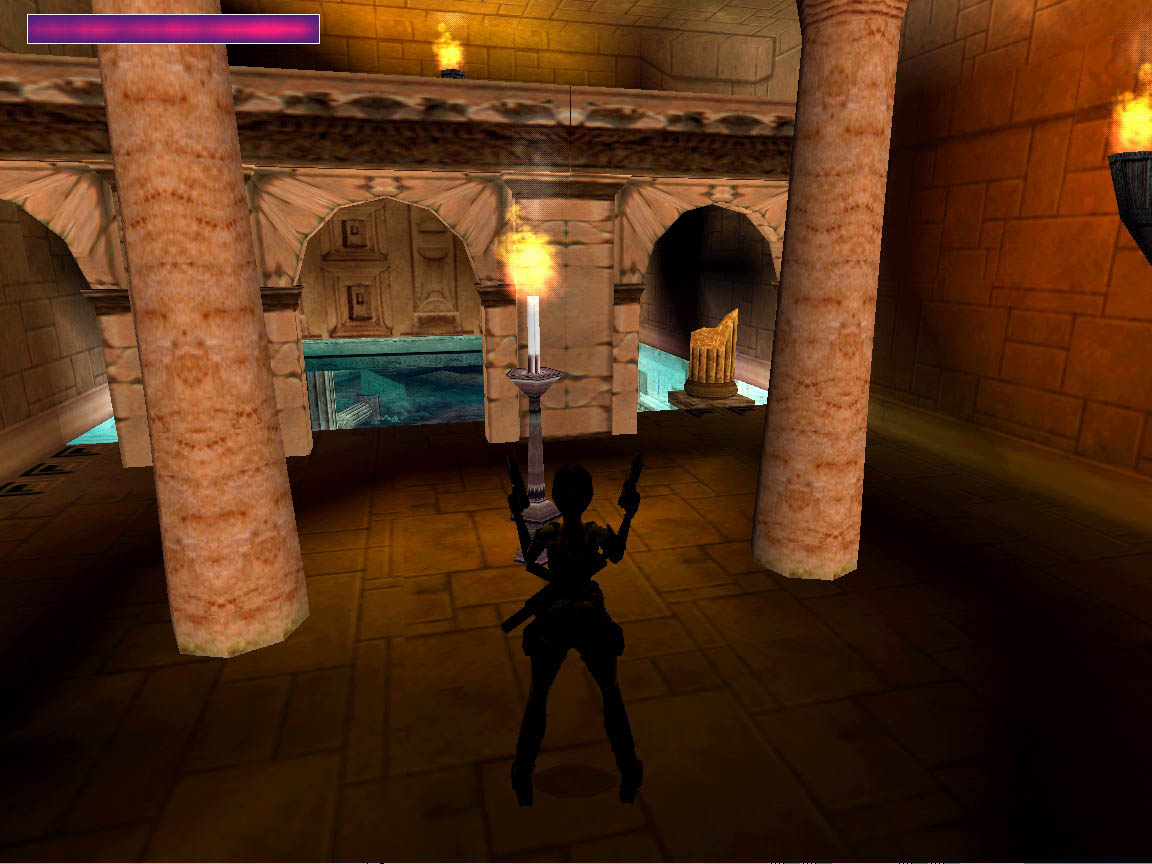
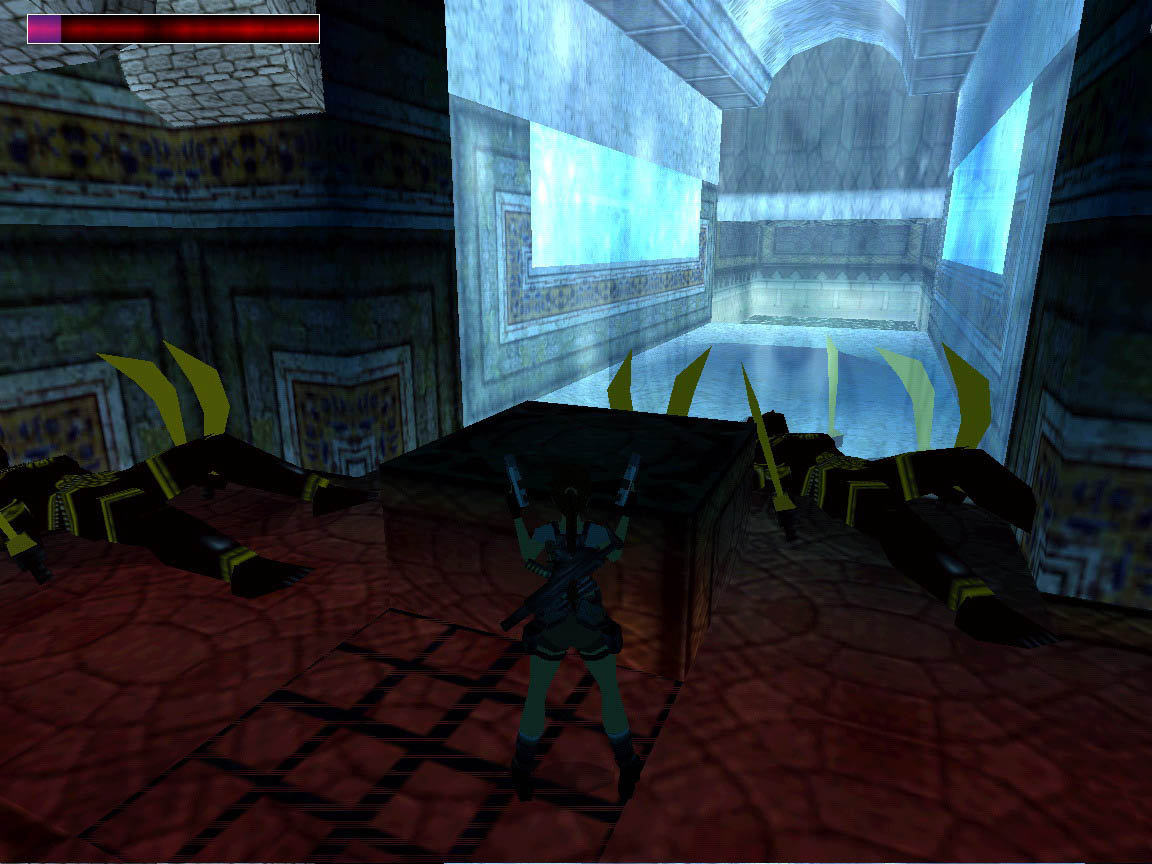
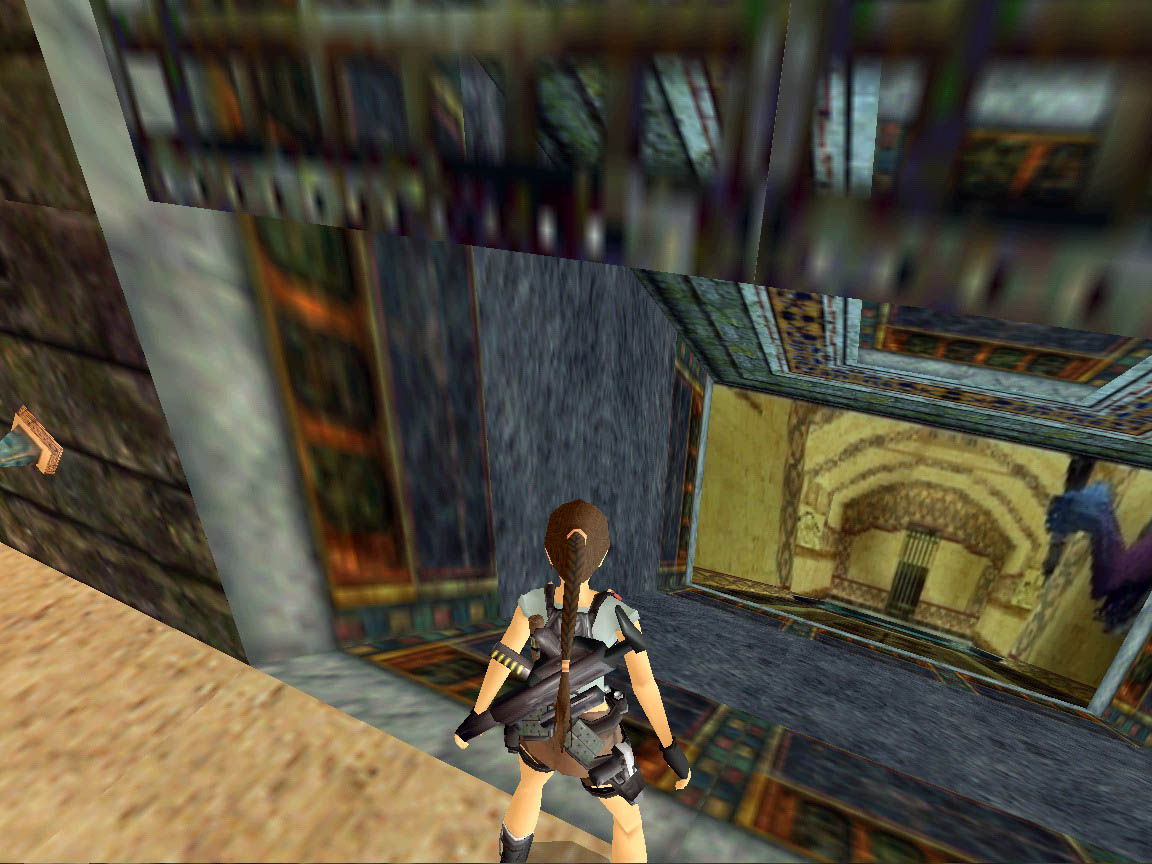
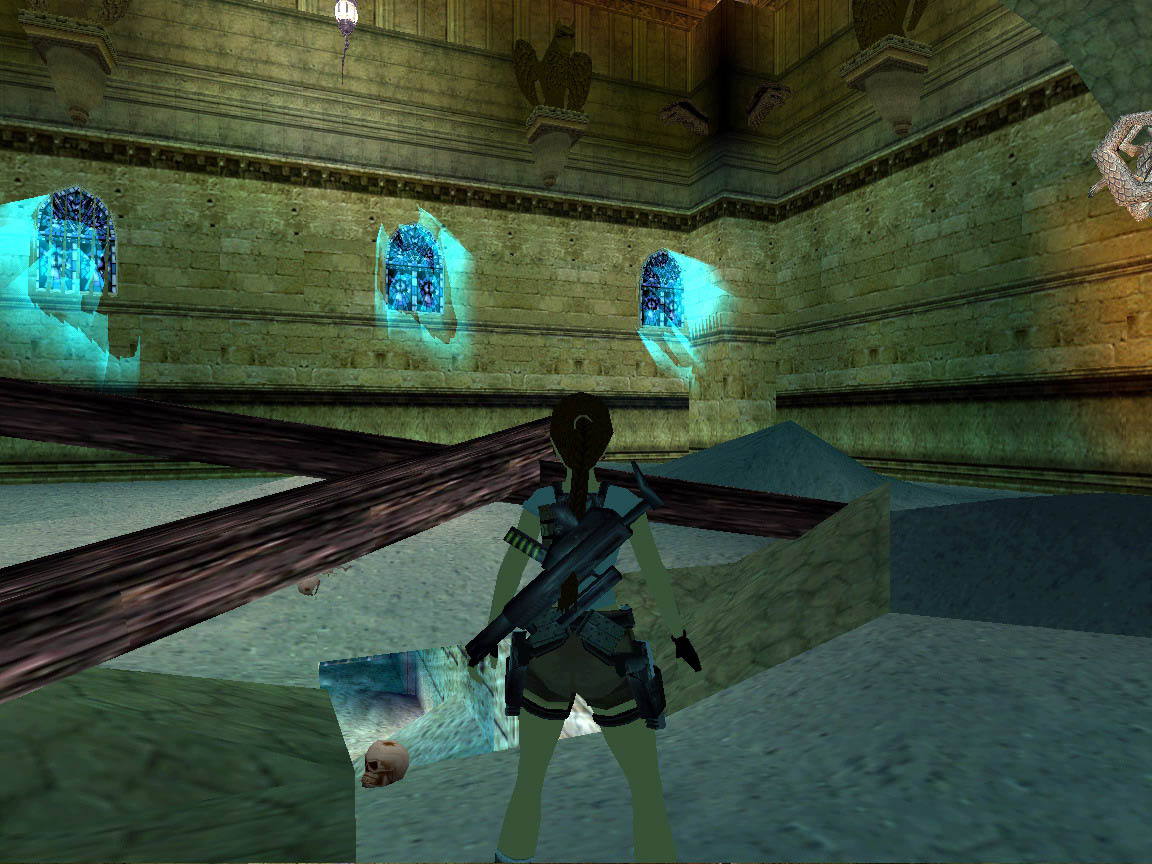
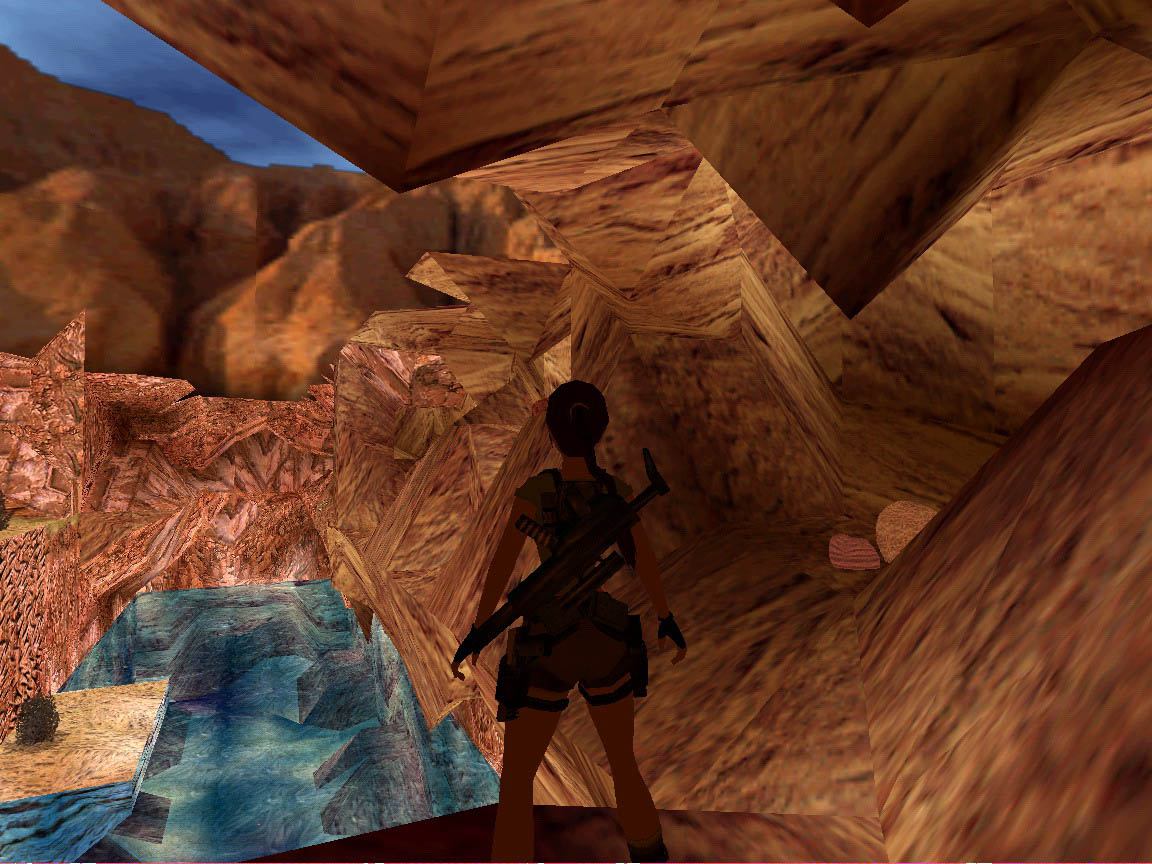
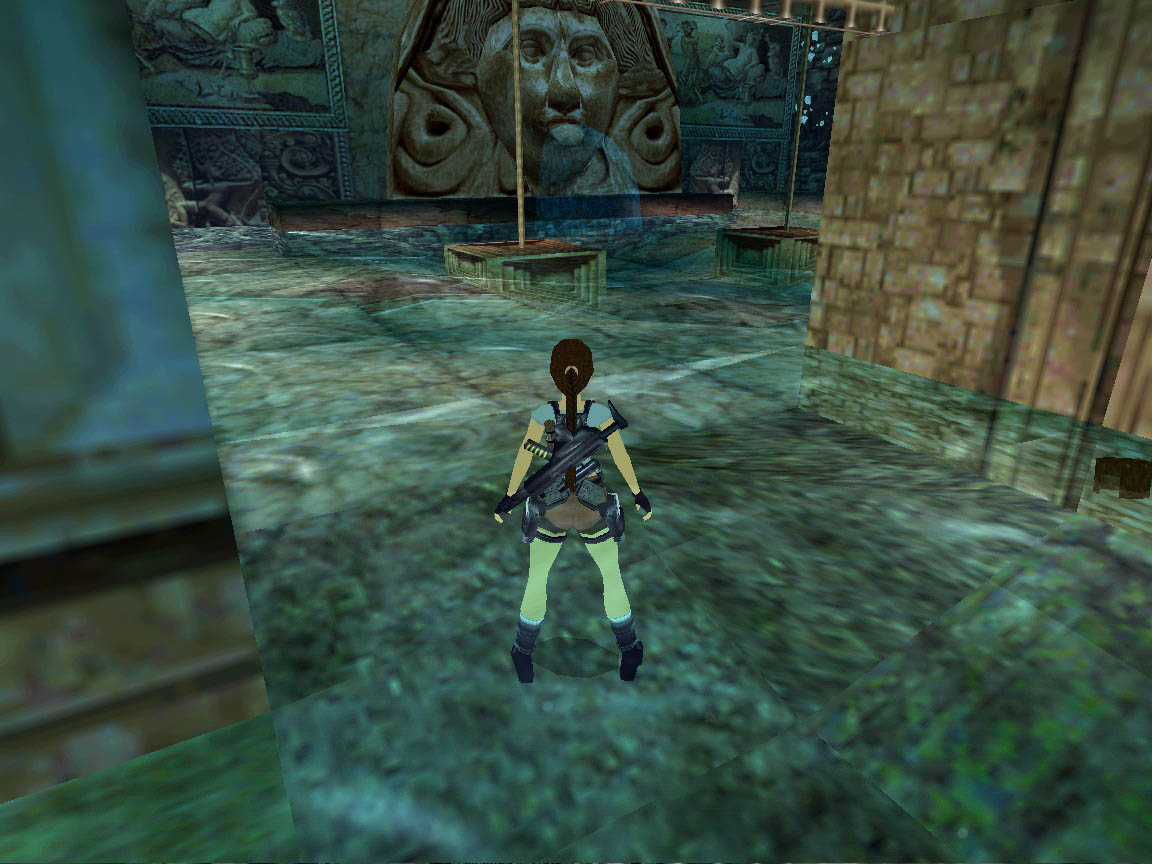
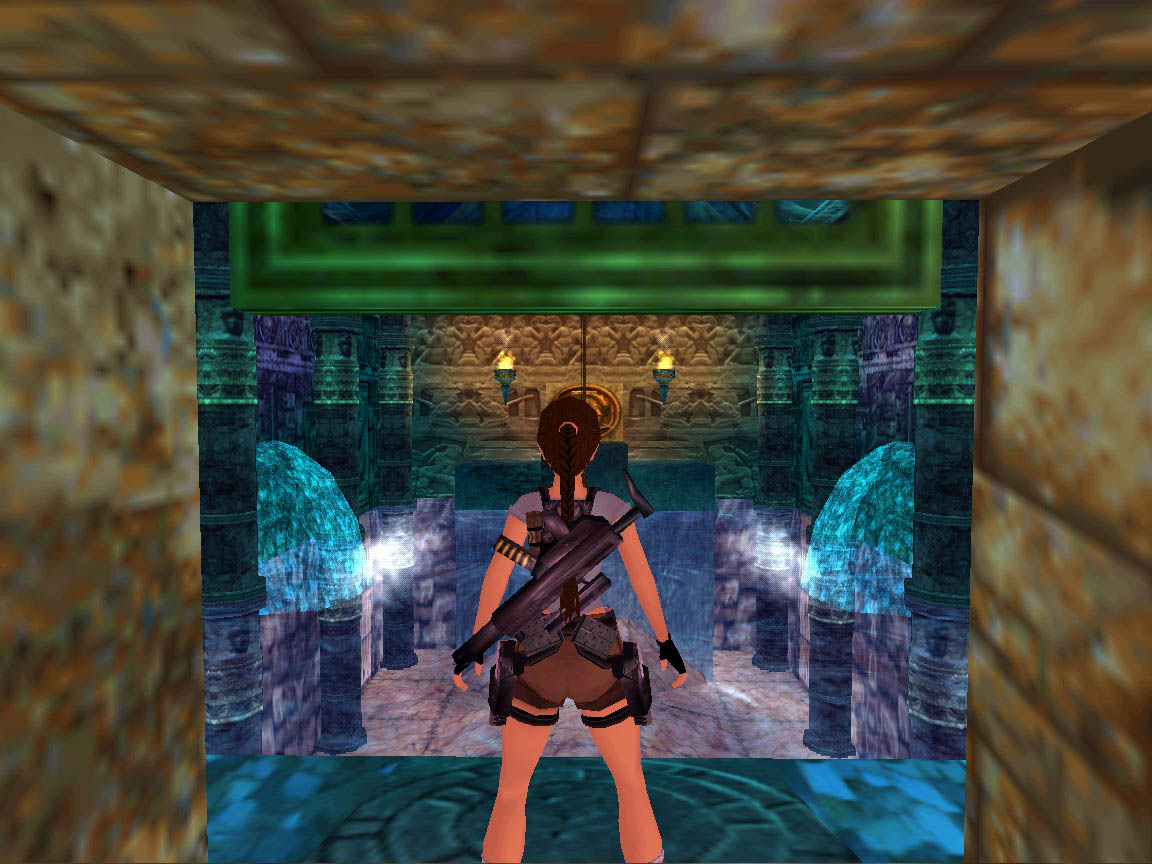
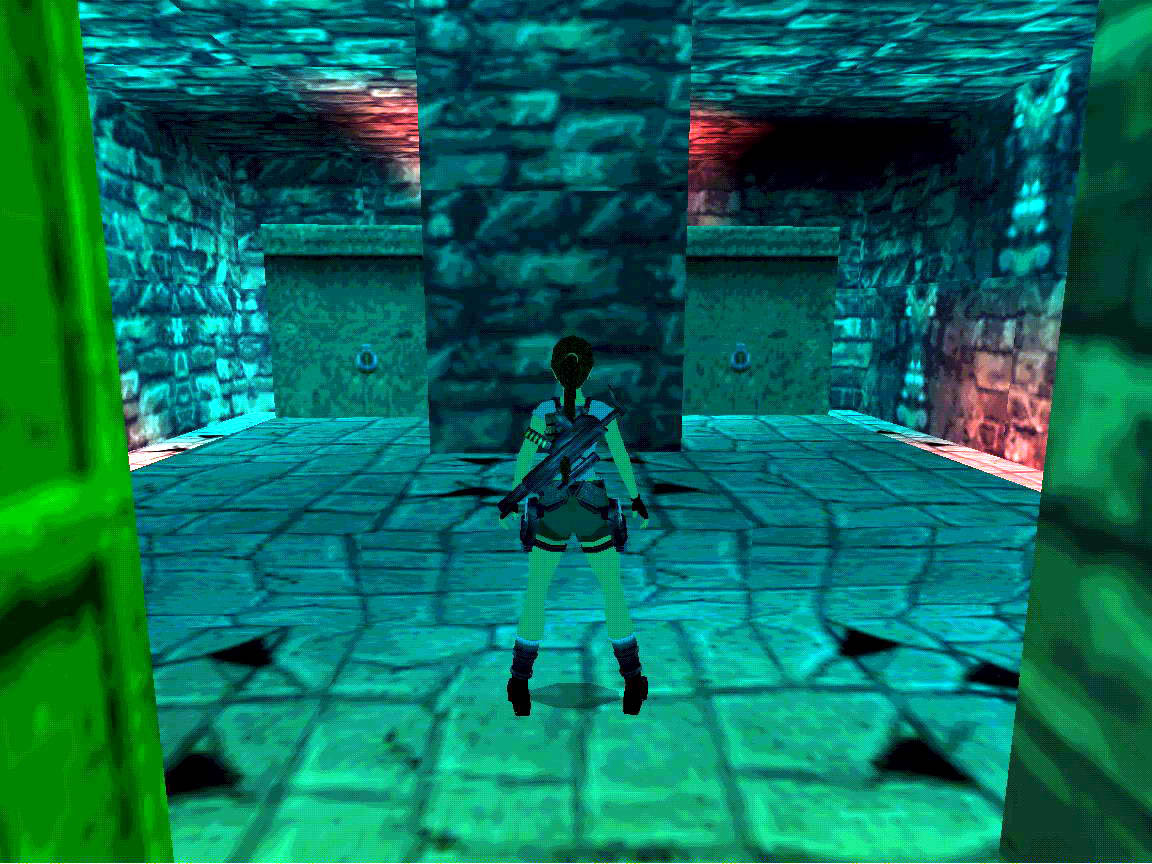
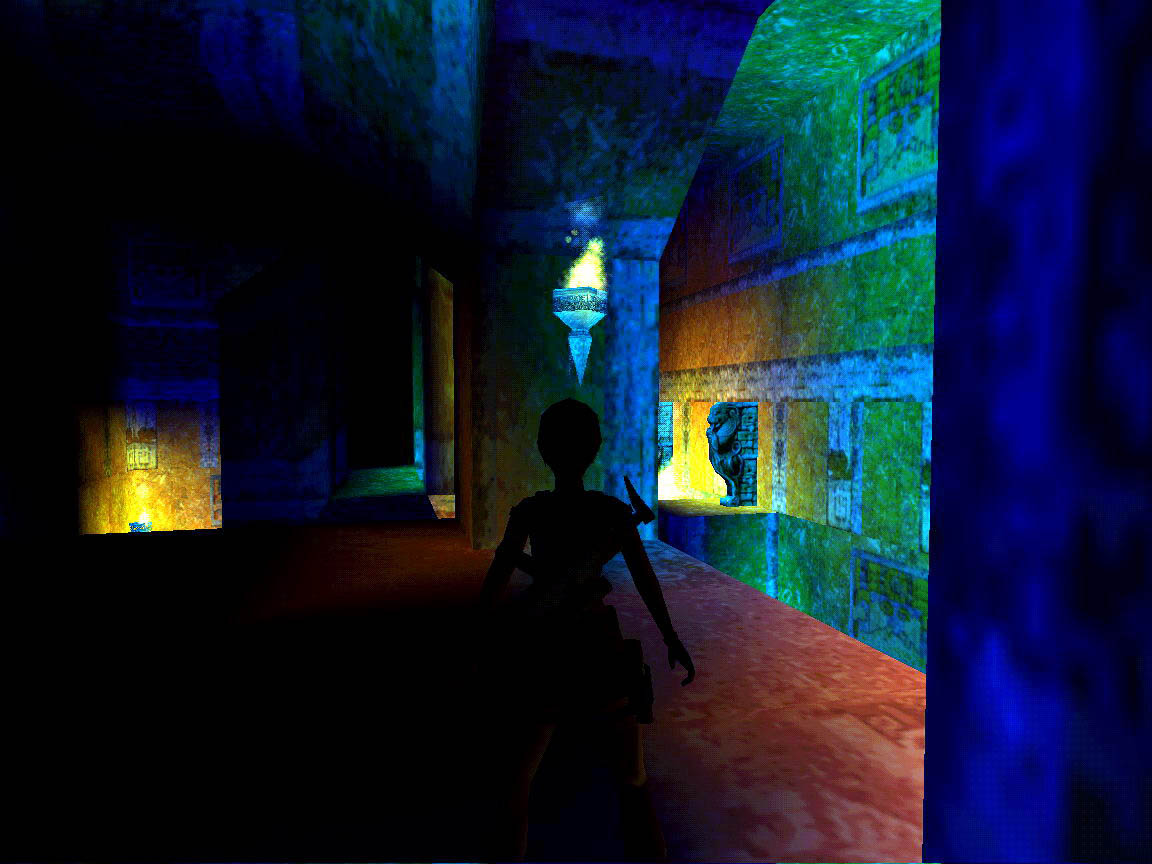
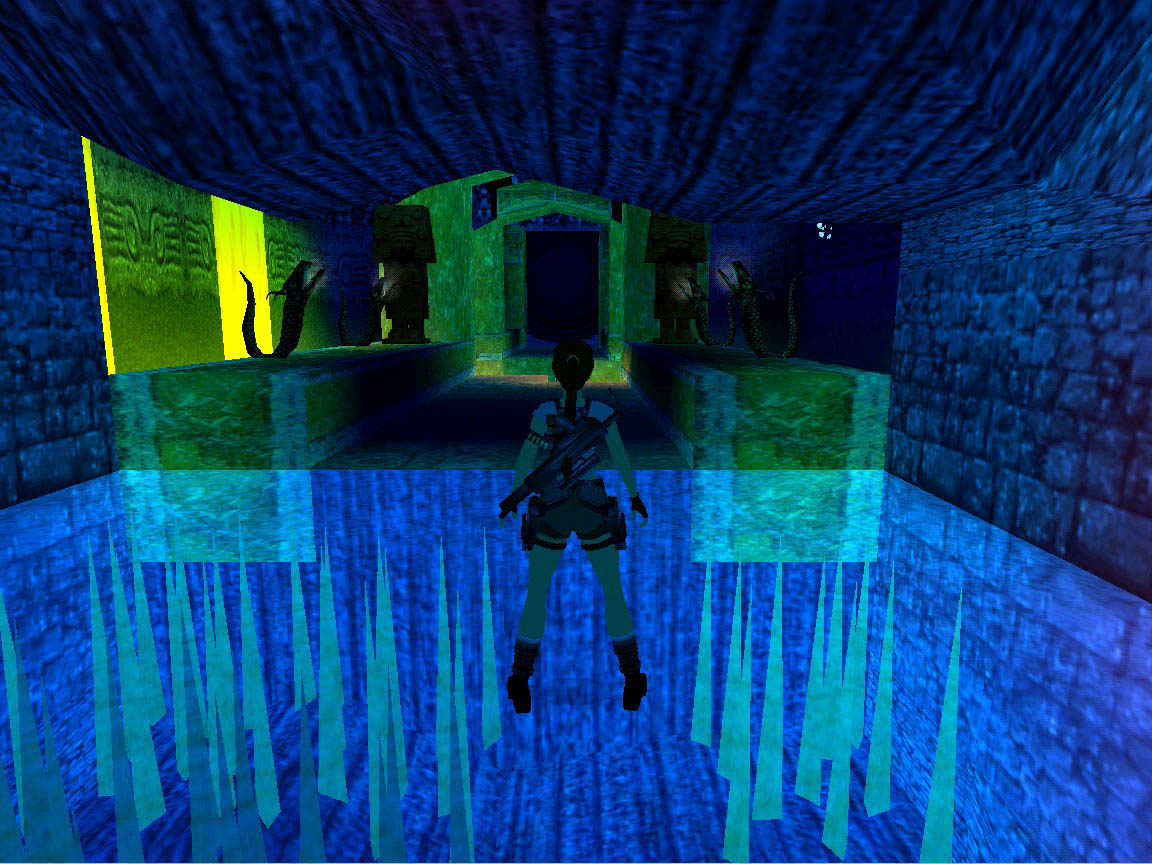
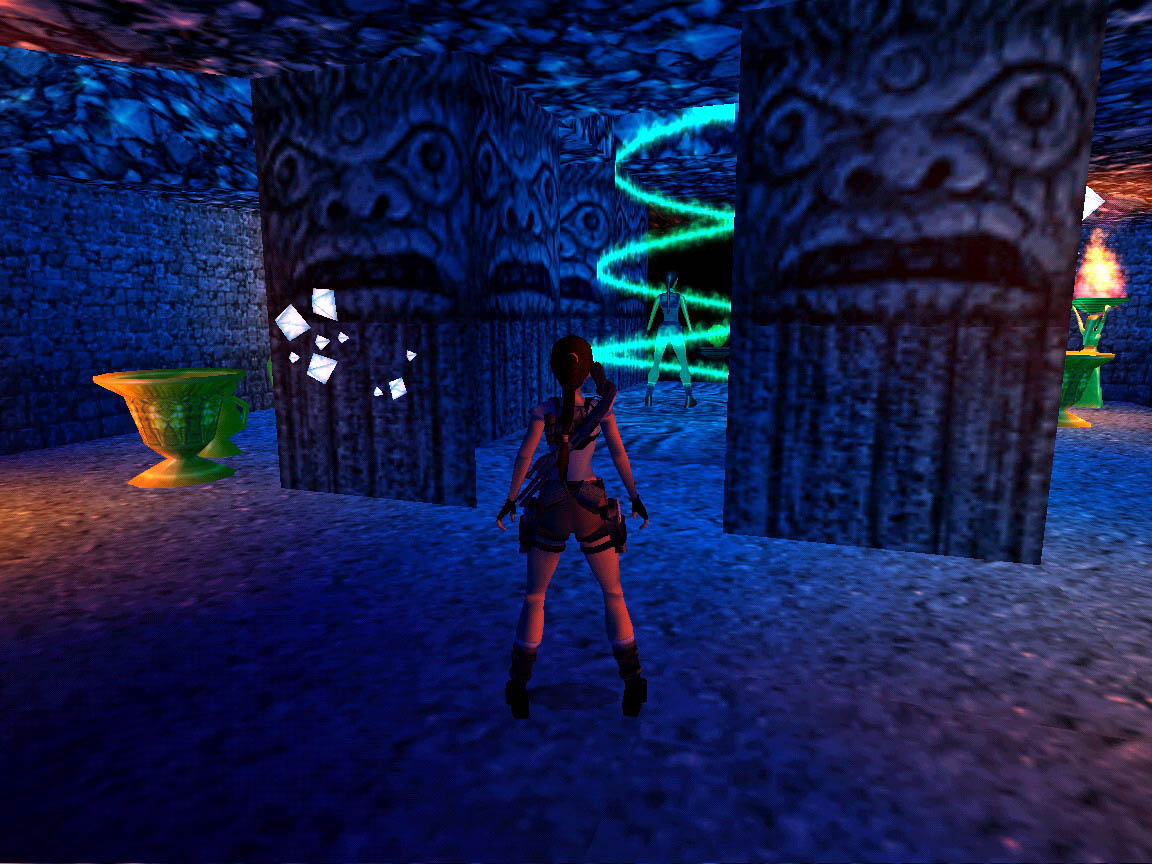
2. The Tomb of Golden Mask: This level is also great. Mostly we are exploring a main room, in a sunken temple. We have to go up and down the upper floor several times while pulling levers, but we'll get some hints where to go also here. :-) We have to walk the tightrope here too. The enemies are some bats and ancient warriors. The textures are great on this level as well. Here you get some infos for the moving of the statues also, just look round well. :) There is one secret on the level.
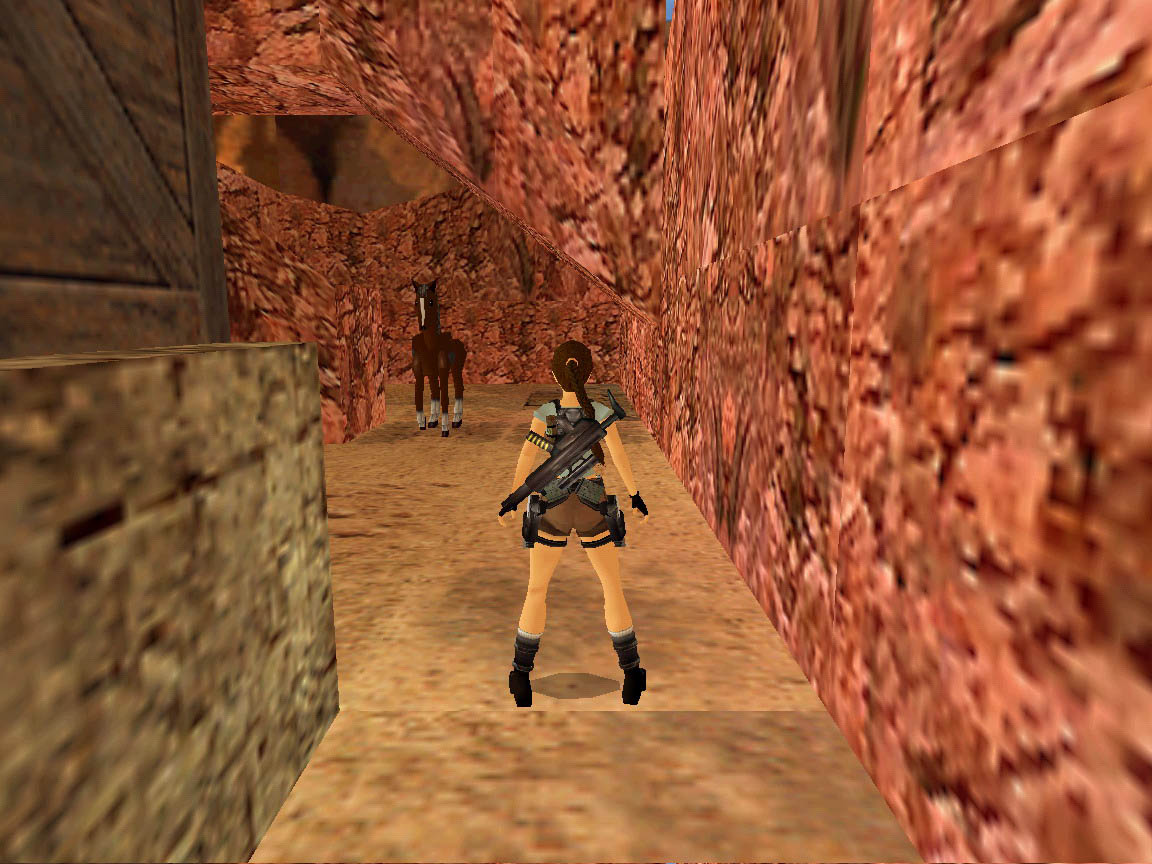
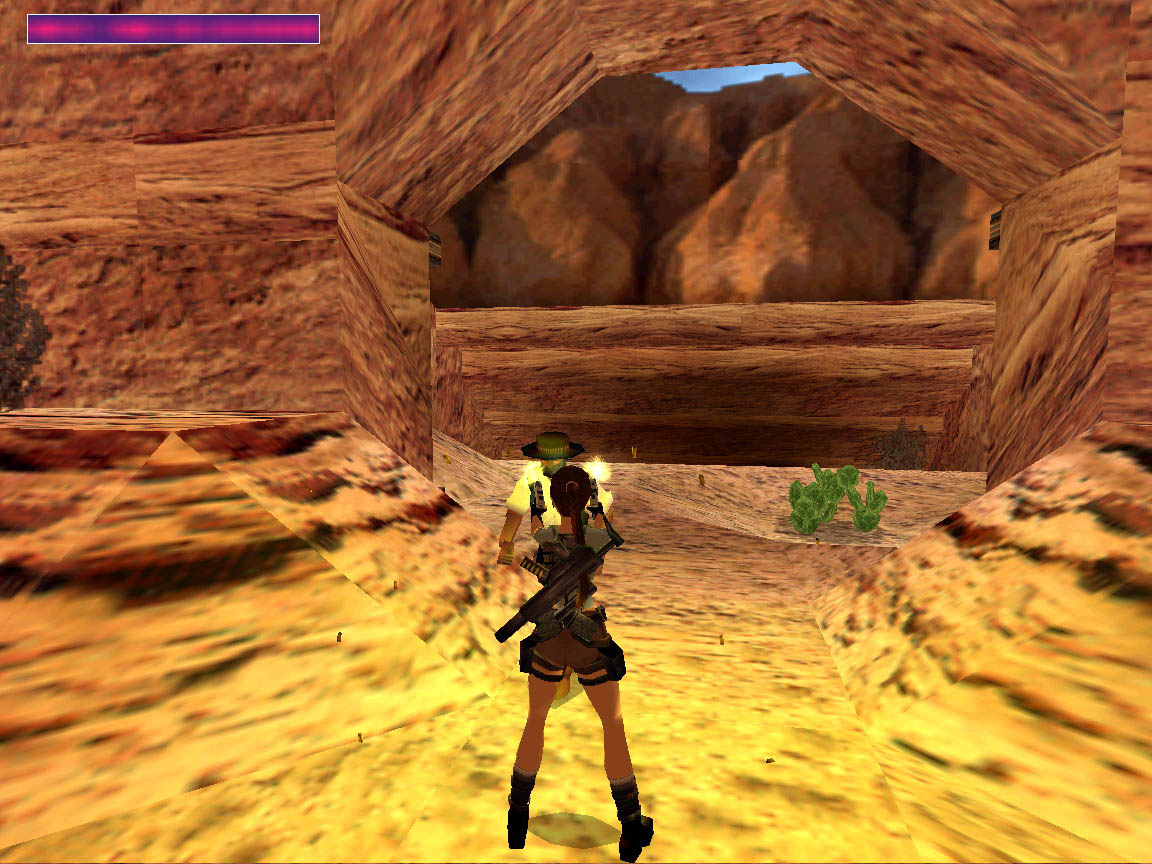
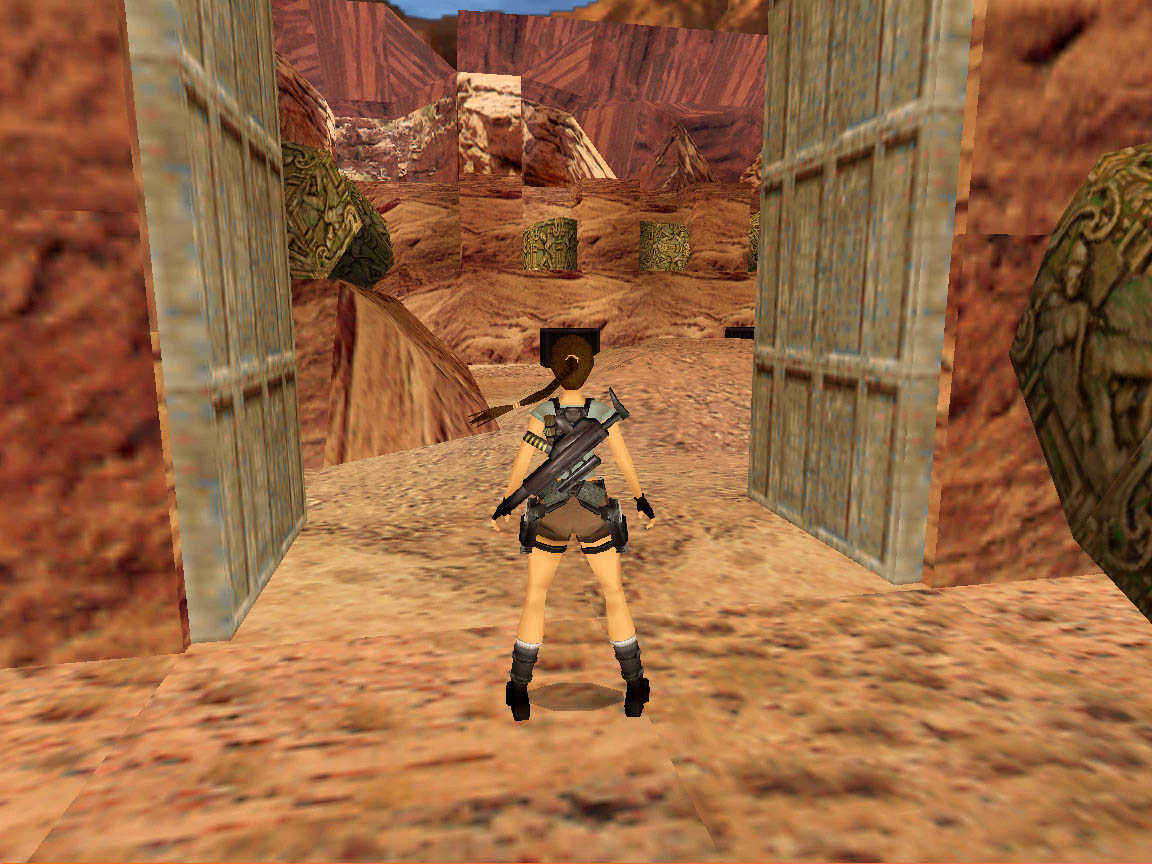
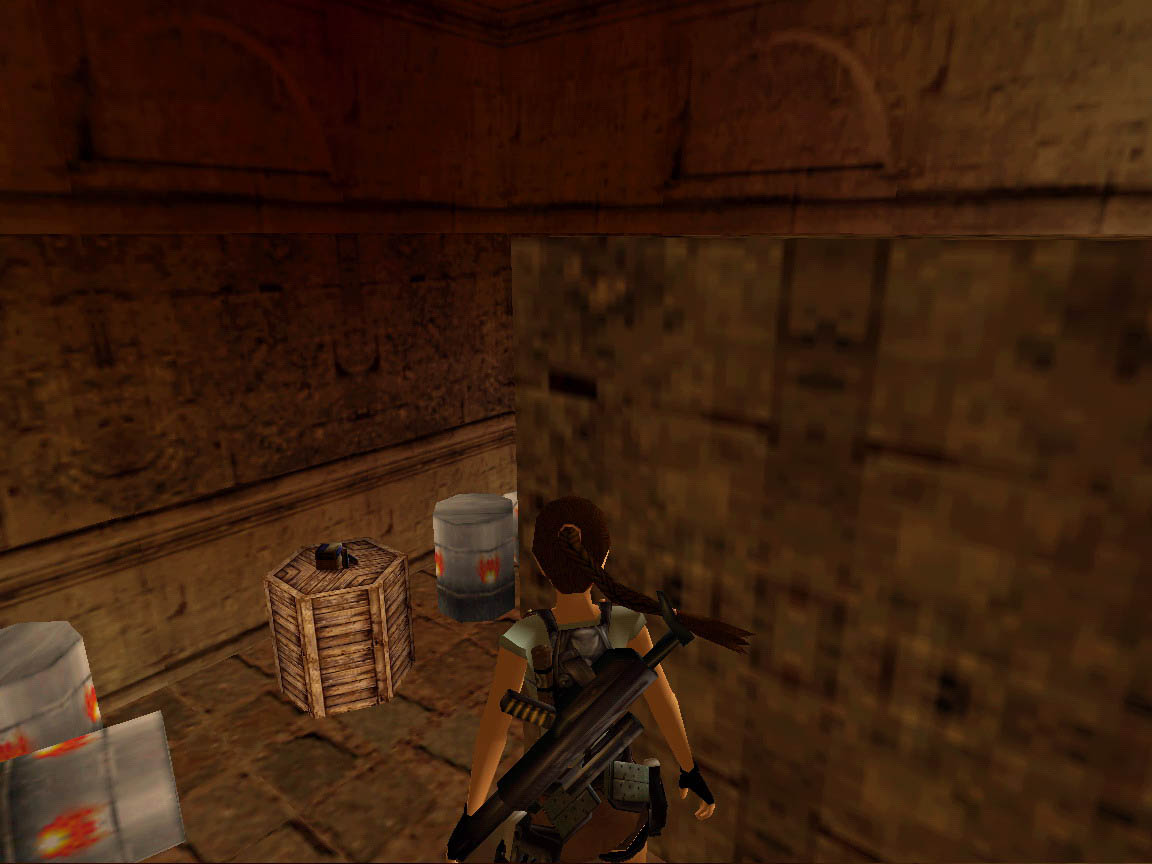
3. In the desert: I liked this level very much. TR3 Nevada was always one of my favourites. The author gave it even a little more colour. The enemies are vultures, cowboys; among them gunmen and even a horseman too. But if you blast the latter one he won't have enough time to get onto the horse again. There are also redskins with tomahawks and some snakes in the deep of an chasm. You have to find two keys in order to move on and there are two secrets too. There is a glitch at the 4th secret. If you don't look out how to jump up onto the rock, you may get stucked, so you better save before. :) Anyways, the level has a great feeling. :)
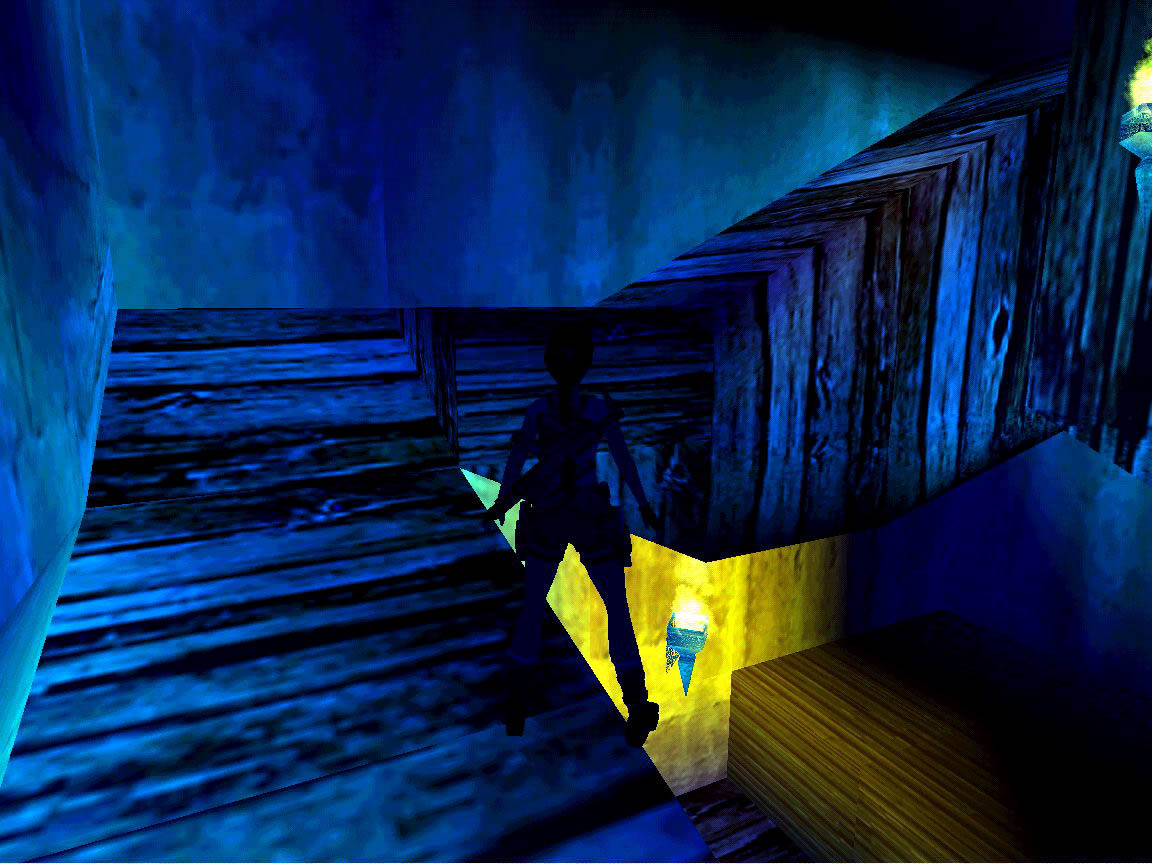
4. The Tomb: The challenges are already harder here. There are not much enemies, but there are more of puzzles and they are various. You have to pass through moving spiky bags, even underwater, and there are also timed runs and jumps on the level. You will get the Grenade Launcher in the secret, but you don't need it on this level. The textures suit the level and the are various. The last but one room of the level was a great idea. I almost fall back when I stepped onto the floortile and the skeleton crawled onto it opening the door. LOL
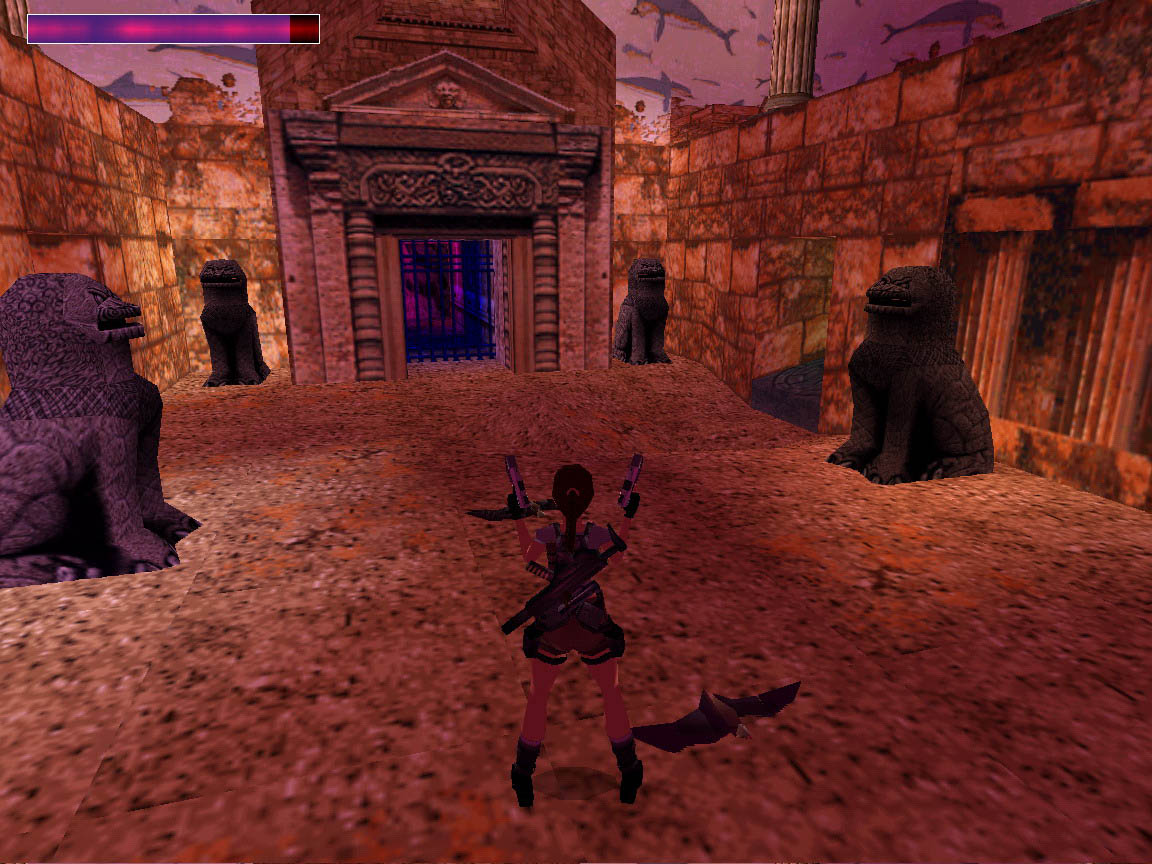
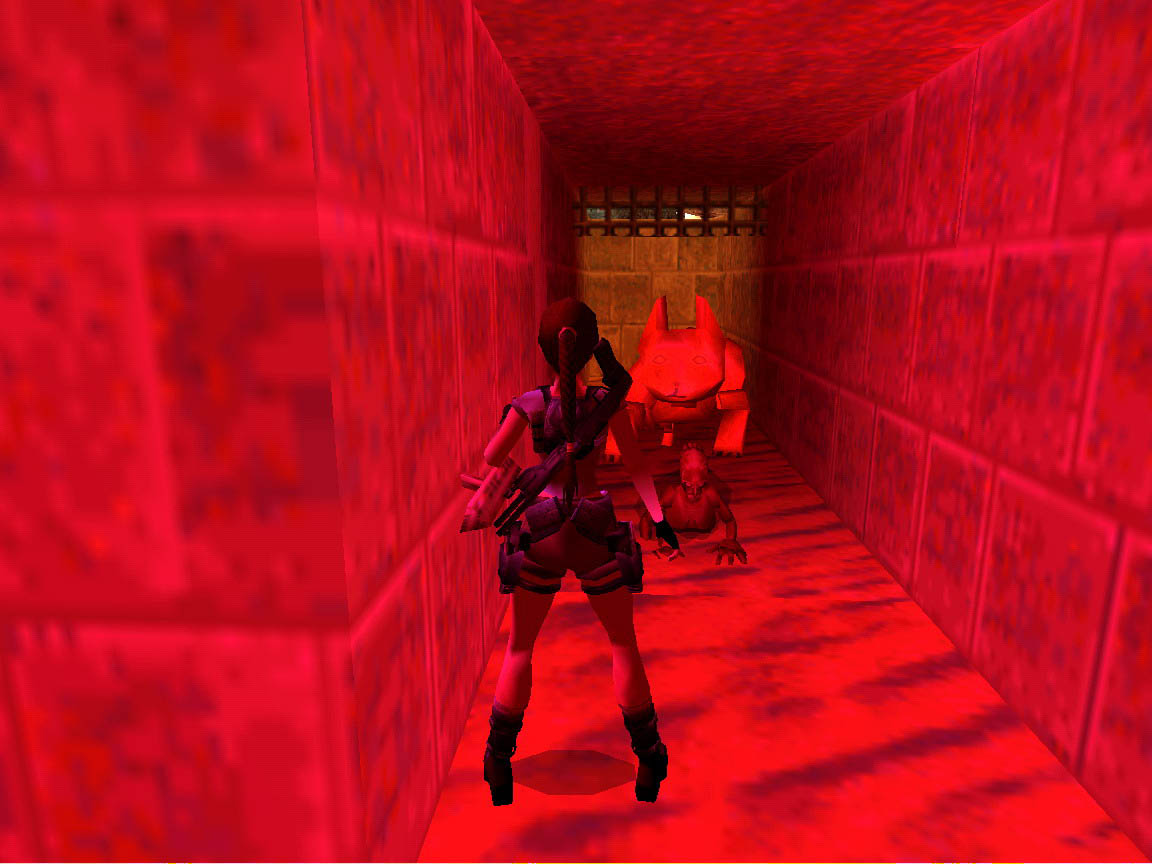
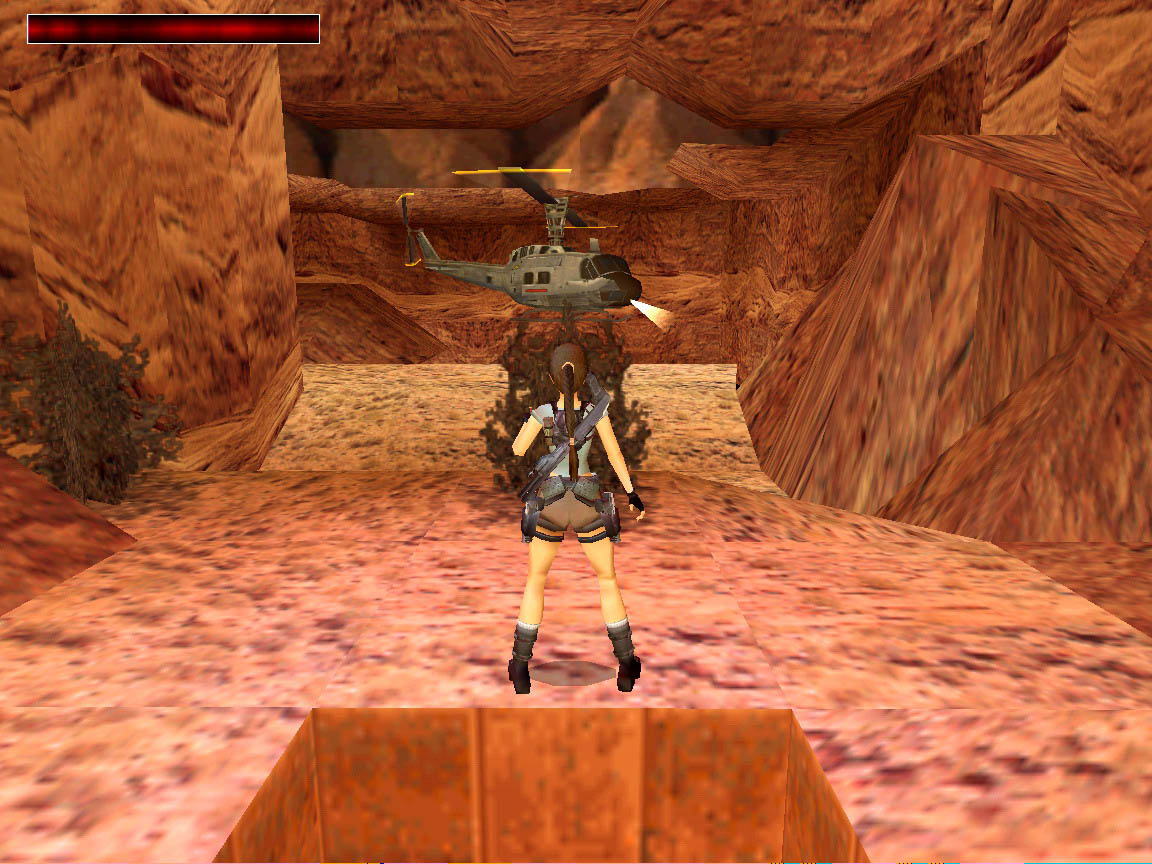
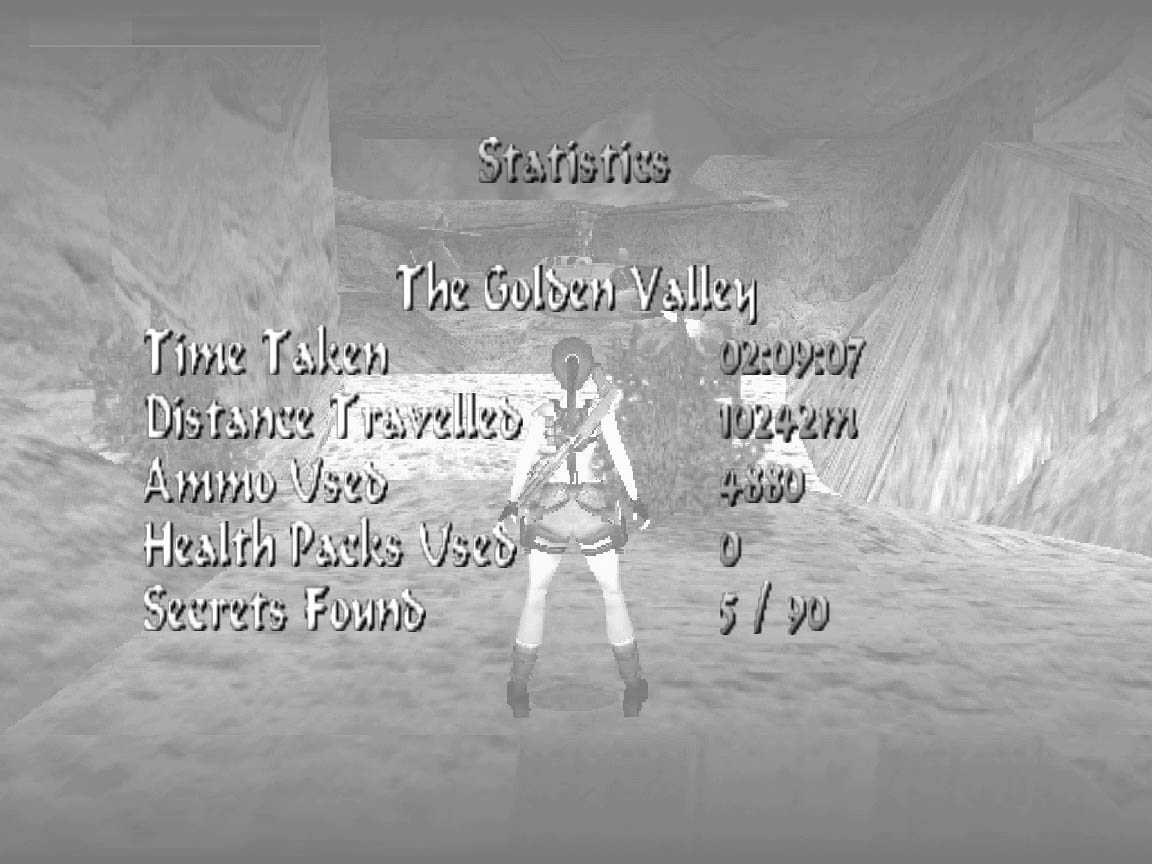
5. The Golden Valley: Now this level is hard. There are many challenges that has to be solved within a tight time frame, although the first can be cheated so it can be made without using medipacks. The enemies are bats, knights, skeletons and some immortal golden lions. Many of the puzzles are annoying, but this is something that we need a little bit. You have to run from falling balls and spiky mangles and also you have to find the way in the labyrinths before the wraiths eat us up. Neither the end of the level is easy. You have to avoid death while sliding down, and also there you need to find a way to reach the helicopter. There is a block-pushing on the level, and also something new: how to make a movable block climbable. :)
Walkthrough:
1. The Way:


 Secret 1:
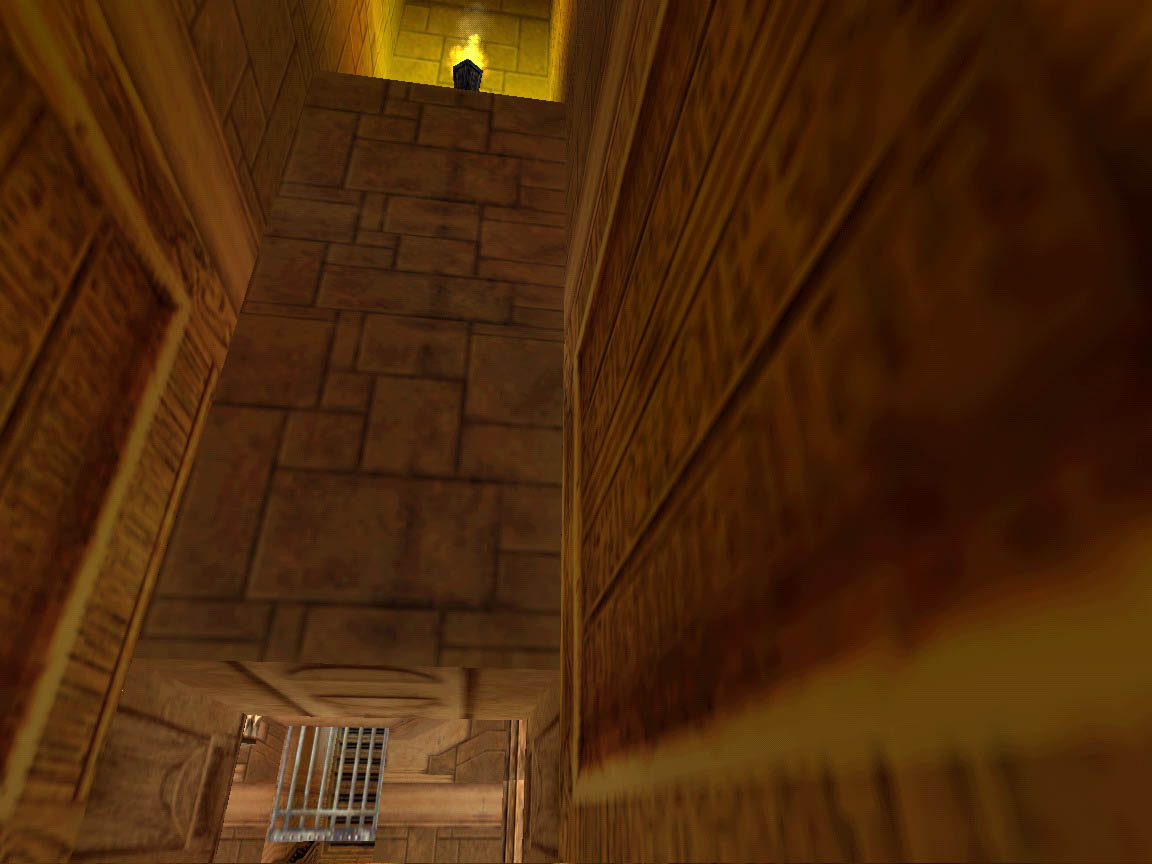
In front of you, on the wall, you can see a Lion-head with a stone in the mouth. But you don't yet have a weapon to shoot it. So go left, but be careful in the next room. Look up on the ceiling and you can see which path to take to avoid the falling stoneballs. In the newer room go right; there is no other thing to do here. In the next room you find a movable statue. Not the sign on the floor, but the one on the ceiling is important. So push it into the left corner, go through the opened grating and pick up the MP5, the ammo and the flairs. Now push the statue to the middle of the room under the sign and you will find the Laser Sight and a medipack behind the other grating. Go back to the beginning of the level, combine your new weapon with the Laser Sight and with the exploding ammo you can shoot the stone that opens the grating.
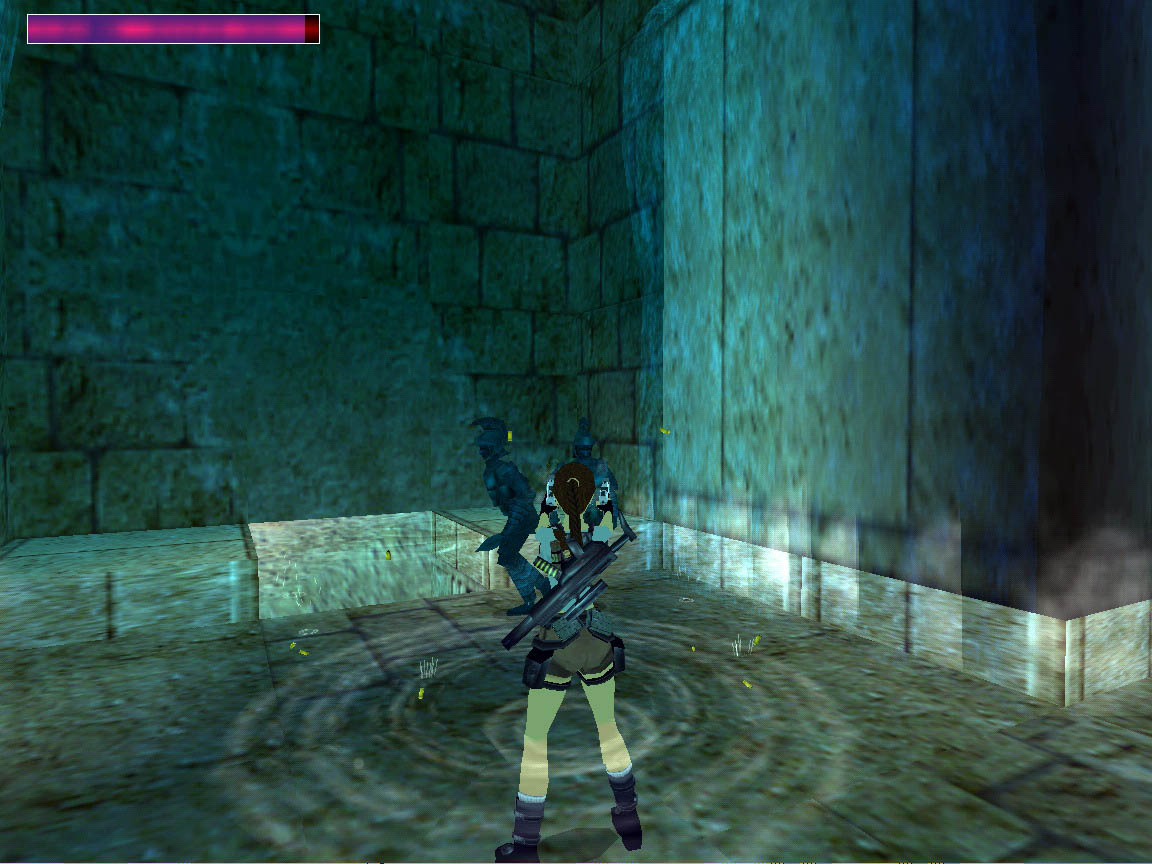
Slide down the slope, jump over the blade, swim through the pool, then after leaving the water climb the ladder. Pick up the Snake's Gem from the small pedestal and quickly get down to the water where you can get rid of the wraiths. Climb out to the shore on the other side, take the stone into its receptacle and you can continue the level. In the next room you'll have some challenges with rolling rocks. I suggest you to jump left then back and the first will roll by you. After that jump back, then right-right and at the end back to the left and you will survive this room. Enter the next small room, push away the statue to reveal a crack in the wall, crawl in and pull the almost invisible lever on the wall. Don't leave yet, instead before crawling out of here pull up on the wall to find the Shotgun in the 1st secret. Now you can go back. The grating in the room has opened. After climbing the ladder you reached two Shiva statues.
Crawl under the poisonous darts the go up the ramp taking one of the directions and jump into the small pool. Swim through the tunnel and after climbing out you reach a passage with walls of glass. You better save here. :) Two Shivas will attack from two sides and also the wall closes behind you. You can kill them using exploding ammo or the Shotgun, but believe me you can solve the task also with the default pistols. There will be no other injuries on this level and our heroine will heal for the next one. :) If you are finished with them, pick up the Gate Key in the one direction, then pull the lever at the end of the other passage that raises a grate in the room. Climb it and the ladder will bring you to the upper floor. Go outdoors and open the door in the archway using your key and slide down to the next level.
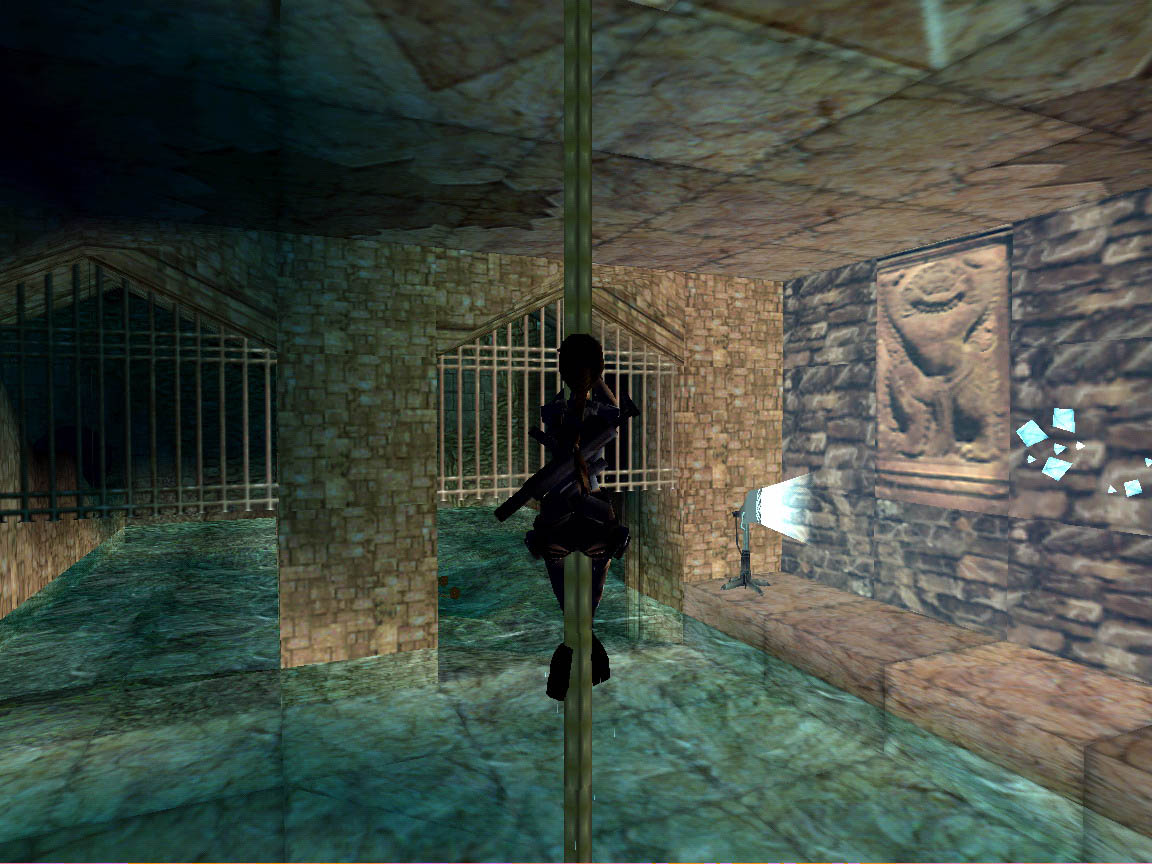
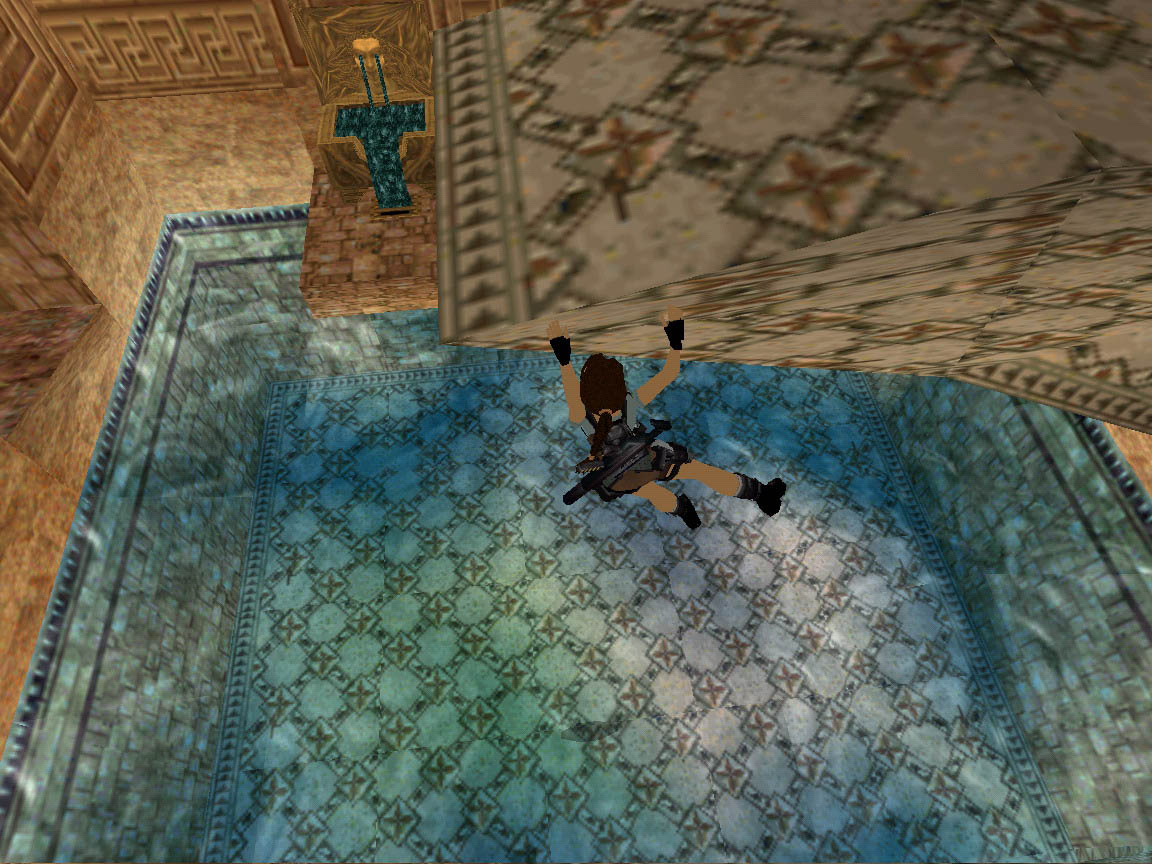
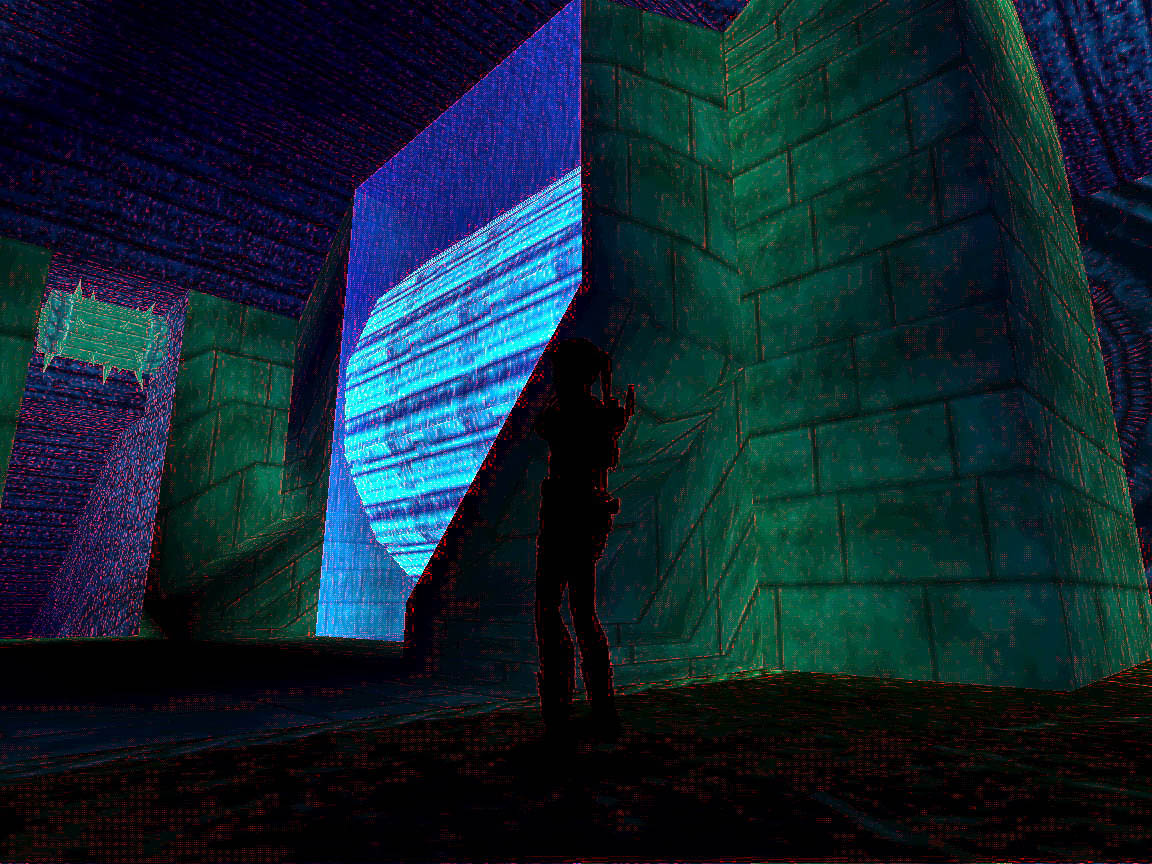
2. The Tomb of Golden Mask:

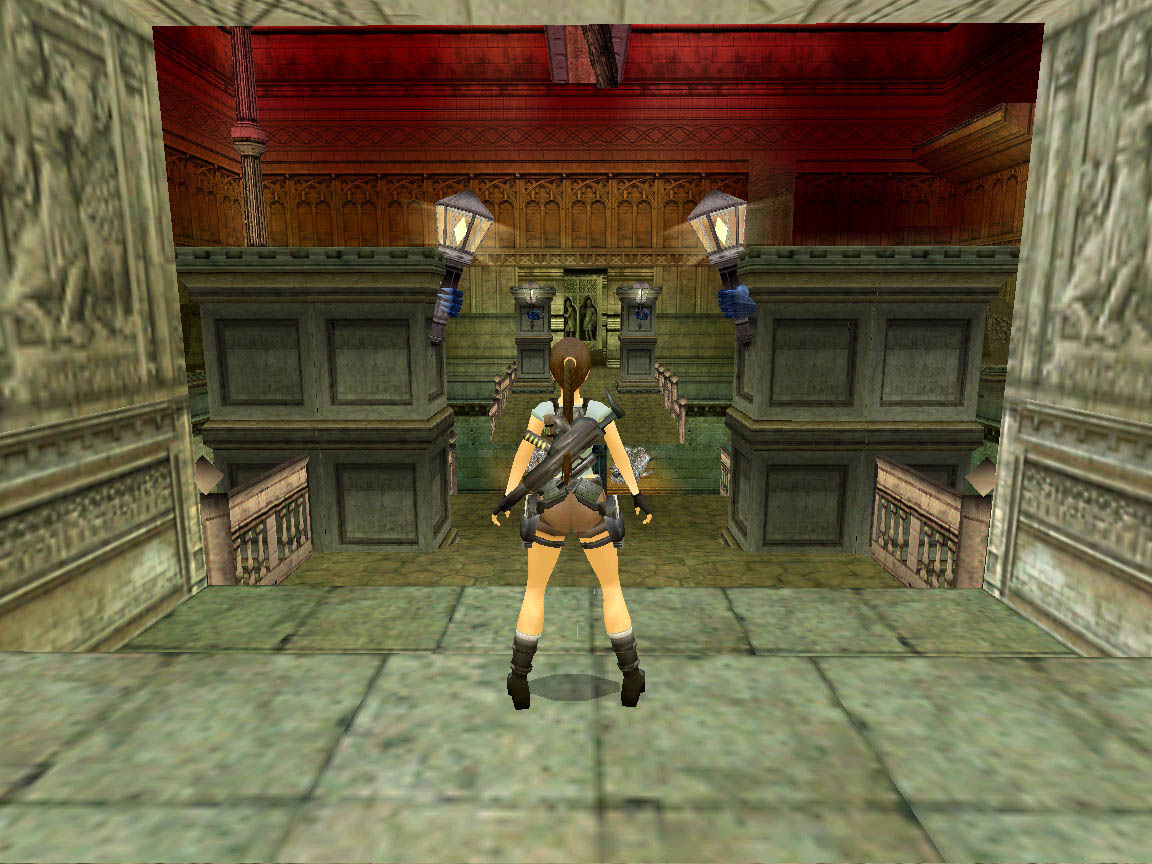


Secret 2: 
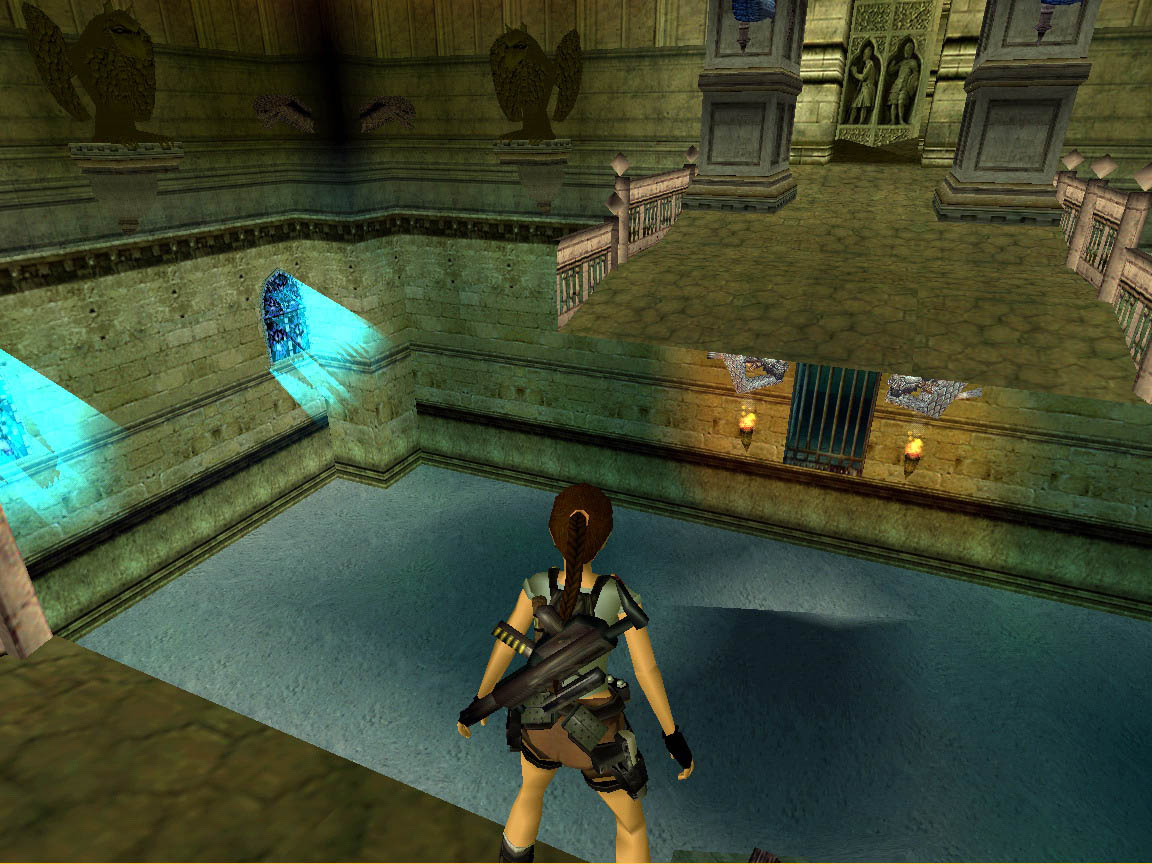
Jump into the water at the right corner of the glass-floored room, pull the lever, and climb out. Crawl through the room avoiding the poisonous darts and the passage will take you to a stacked room.
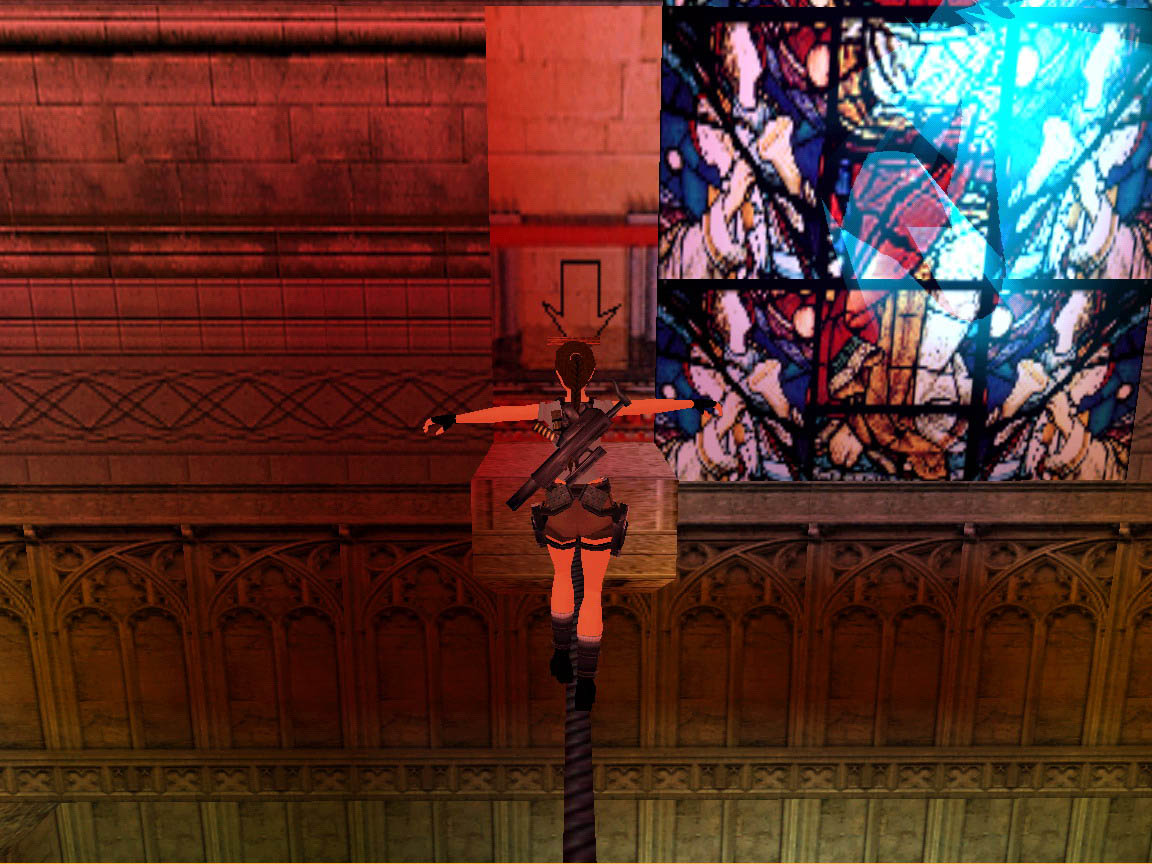
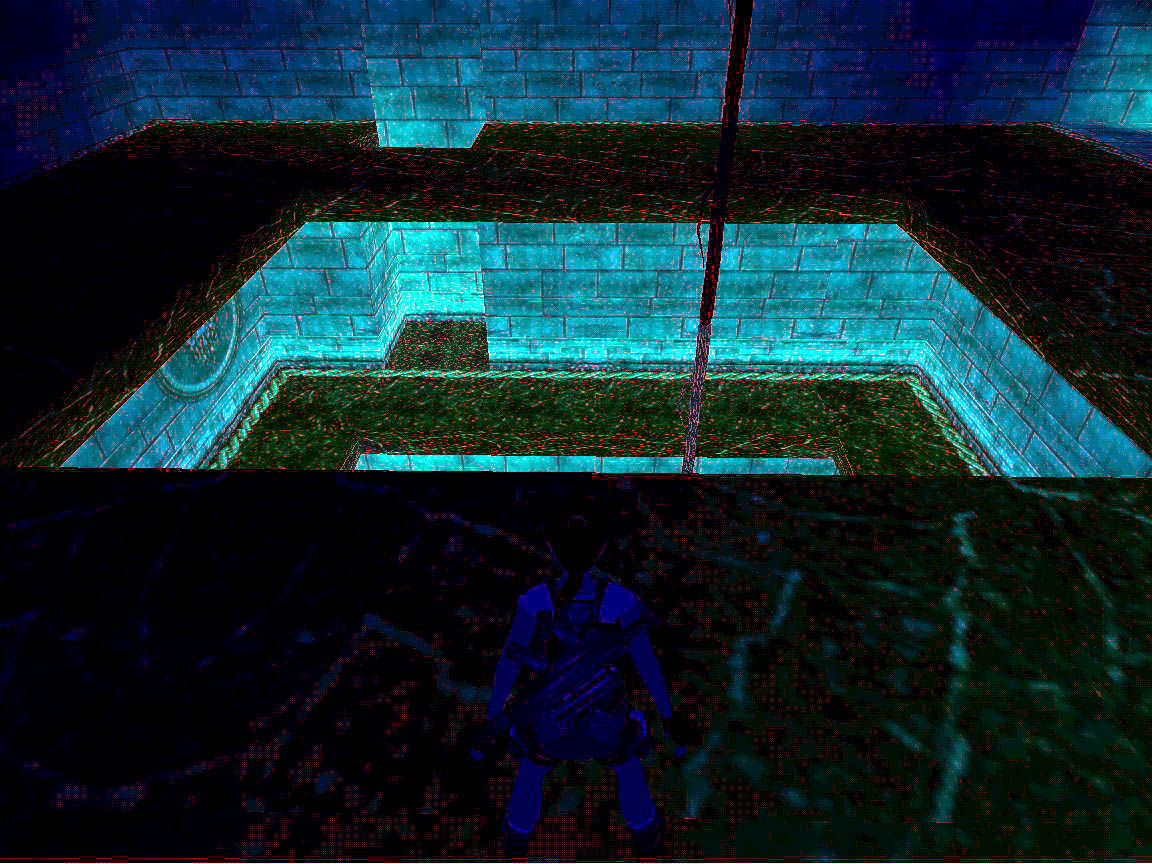
Jump over to the other side, climb the ladder, crawl through the crawlspace and in the next room go left on the ledge along the wall. Pull up to the corner and runjump over the ledges, then after jumping to the left side of the central structure walk the tightrope and pull the lever. You can see the arrow in the wall. Now you can get to the ground floor. So go back until the other side of the ruined bridge, hang down there and drop onto the block. Unfortunately you will loose some health, but not much. Crawl behind the open grate and pull the lever there as well. The arrow on the wall shows that you have to go up the floor again. But for this you can climb the block at the wall on the ground floor of the big room and this will raise a grating that will help you to get back onto the bridge.
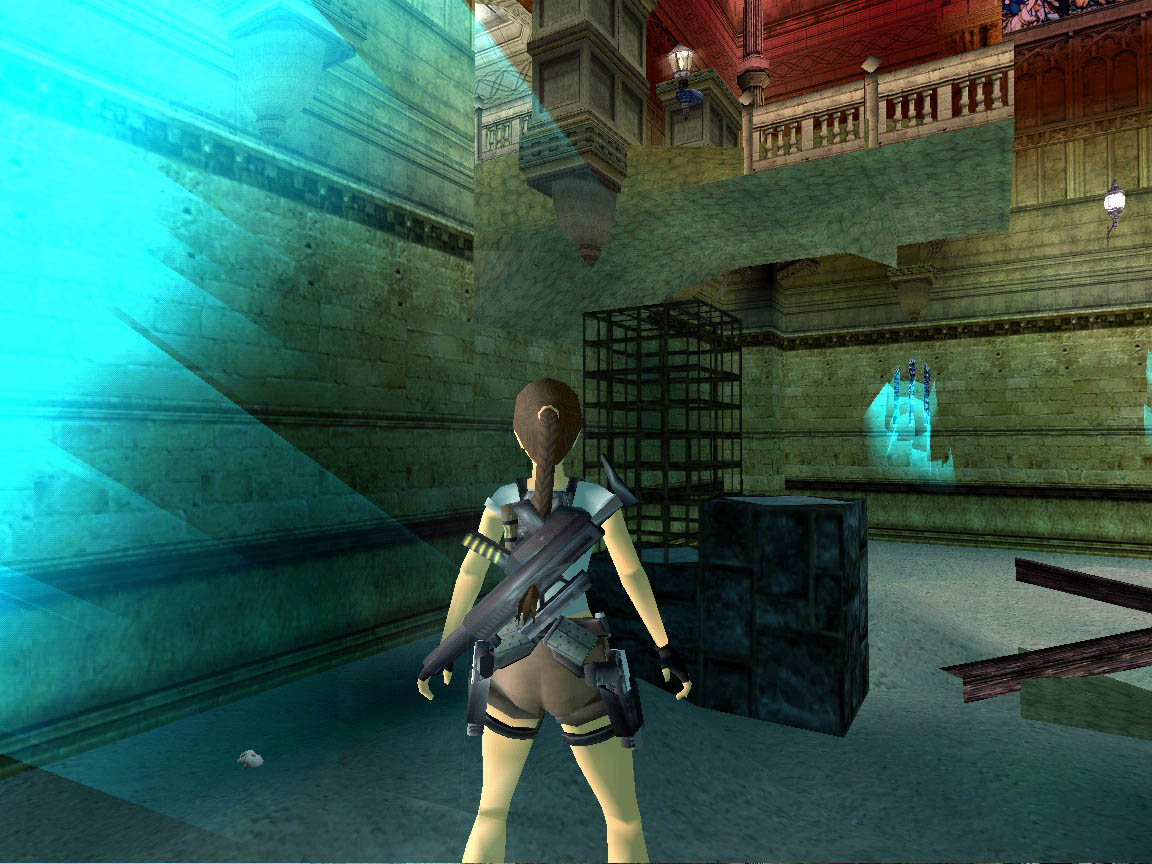
Get upfloors again and climb the raised grating on the central structure. Standjump and grab the edge of the upper cave, climb up, kill the bats and pull another lever at the corner. You see the arrow on the wall, you can go back to the ground again because the trapdoor at the sandy part has opened. But before going there climb up behind the bags in the corner and you will find some ammo, flairs and medipack in the 2nd secret.
When you reached the ground floor jump into the water, pull the lever left on the wall, swim through the opened grate and in the next room you can climb out. Shoot the two ancient warriors. These only get injured on their chests. Climb the ladder, jump over the pillars to the passage, and go upstairs. Push the button on the wall and immediately jump right because in other case you will be a Lara-decal. Go up the new set of stairs and jump into the water.
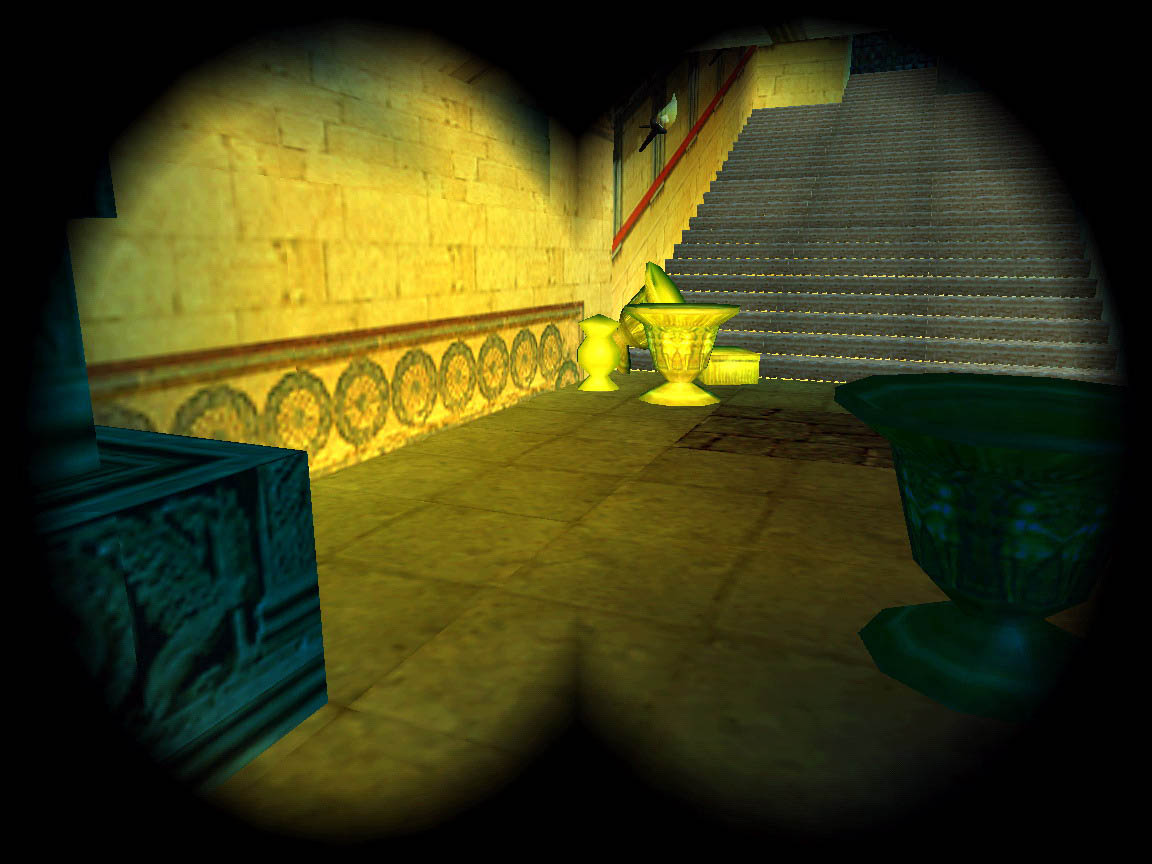
Swim right under the wooden lumbers and pull the lever on the wall. Now swim to the other side of the room, and also swim under the wooden lumbers until you can leave the water. Take your binoculars and you will see on the floor where you will have to push the statue. Go upstairs and after sliding down you will reach the next level.
3. In the Desert:


 Secret 3:
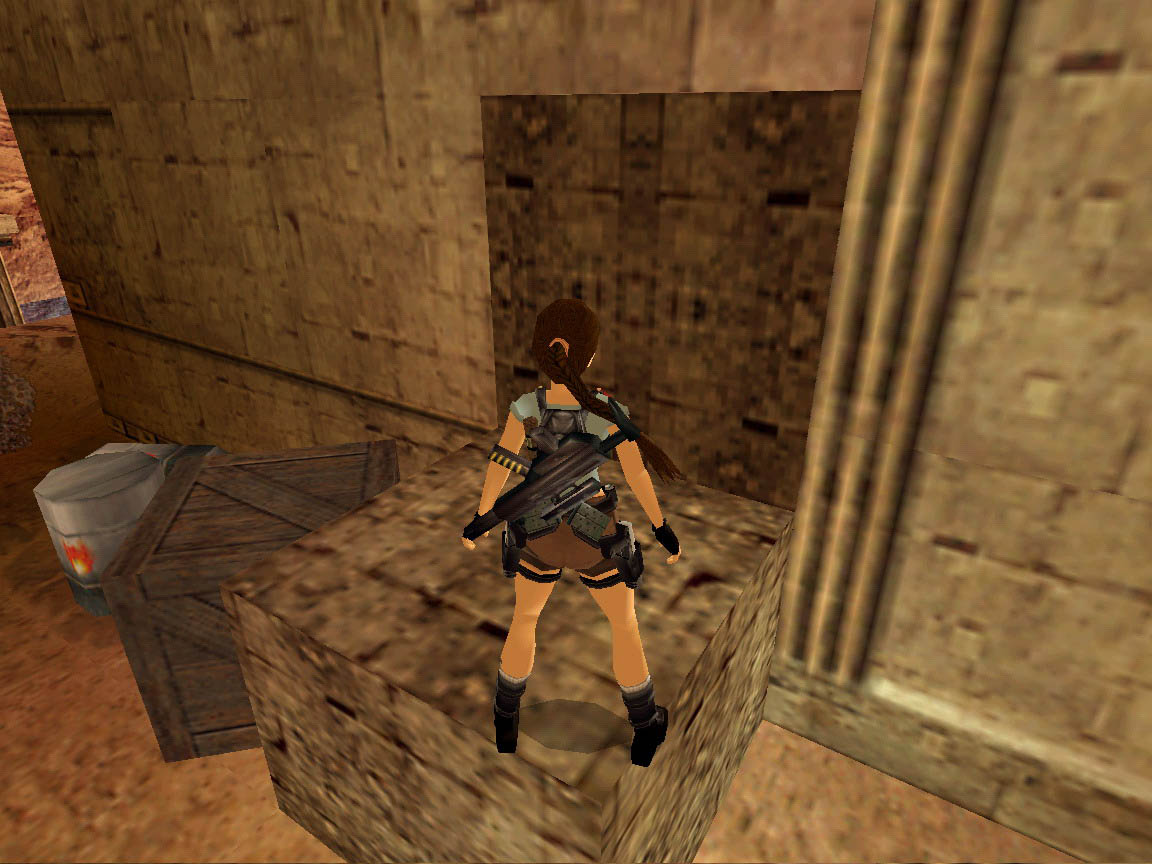
 Secret 4
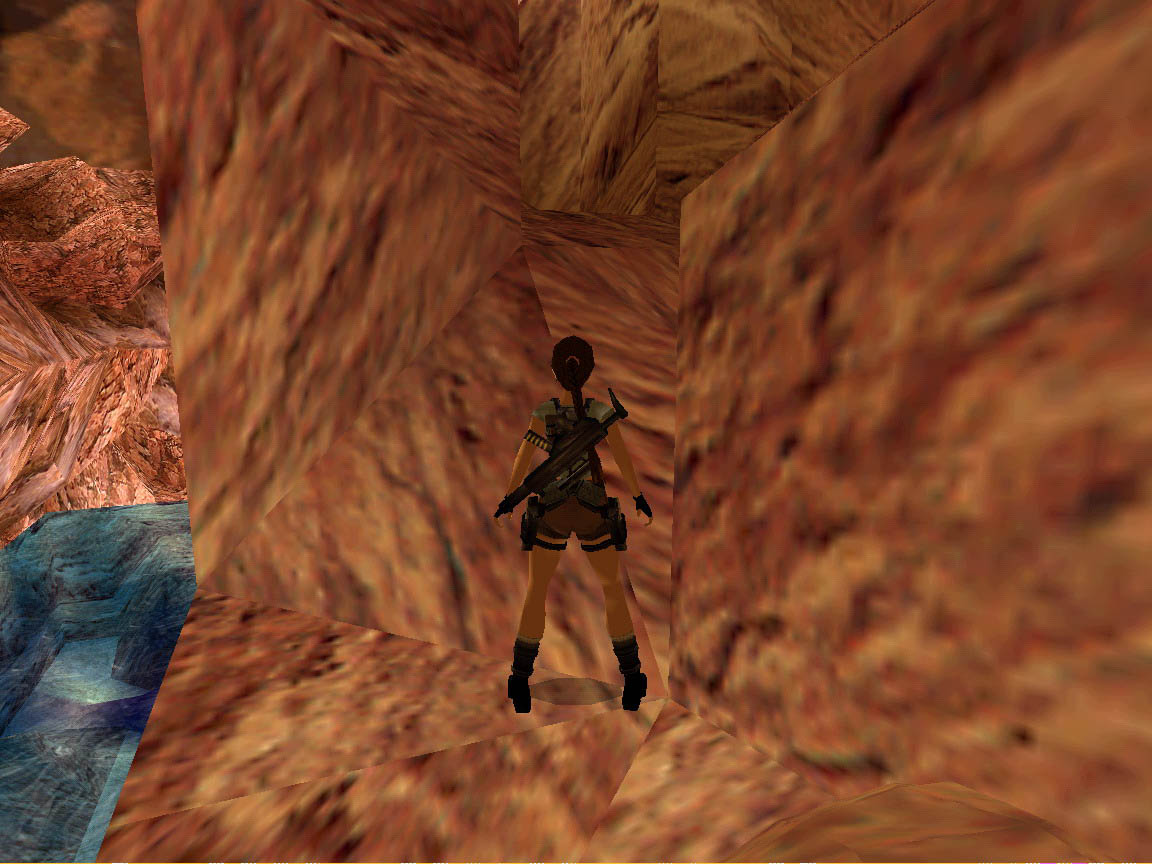

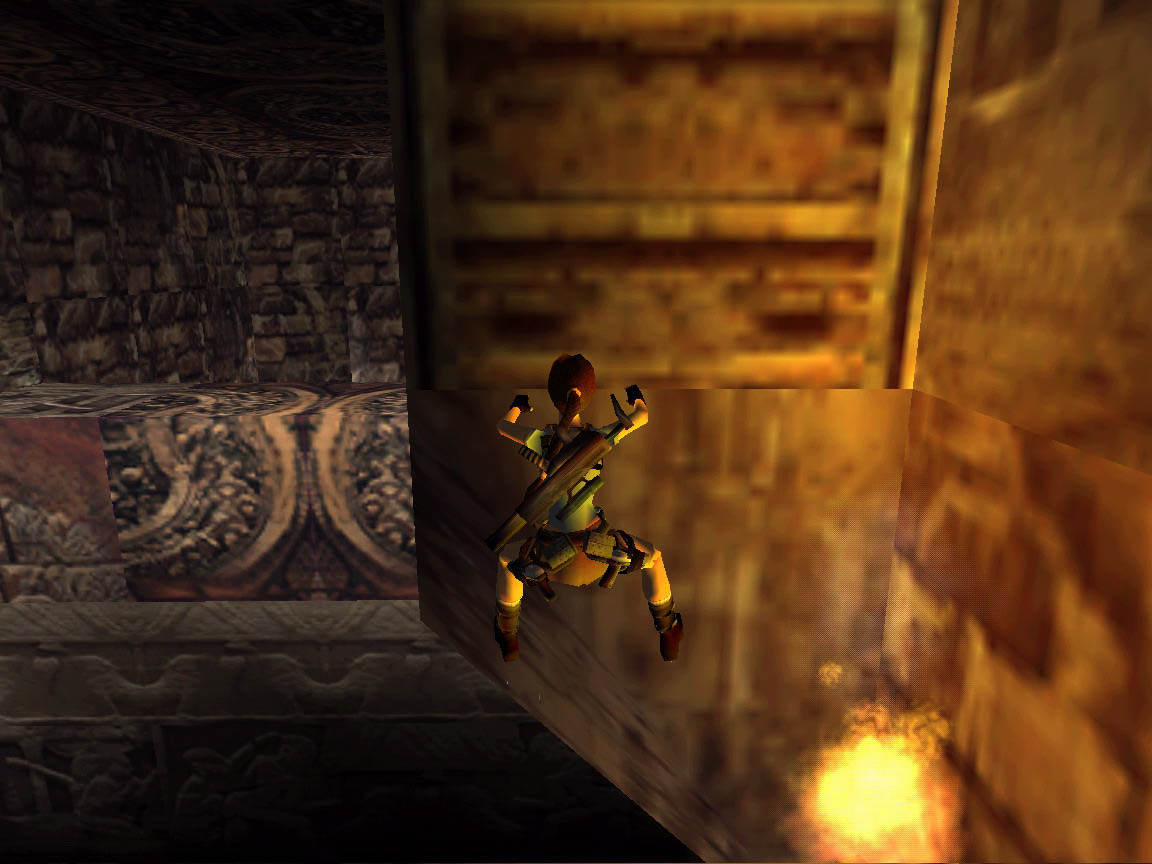
Go forward and take out the vultures. Jump into the water. At one of the corners to the left you will find a passage. Swim through it, climb out at the other side and go through the cauldron. Walk through the swamp, but don't worry, there will be no danger. Climb the rocky wall on the right. Runjump and grab the ladder on the other wall, above the crack. Climb up and grab the rocky edge after a twisted (+END) jump. Climb up and look round. Above, under the small rocky bridge you can find some small cracklings to grab. Go to the block to the left, climb up and after jumping up and grabbing the cracklings you can shimmy to the crack in the wall. There you can slide down into another cauldron.
You can see your task in the cut-scene, but before doing it you have to get something else. Go around the building and hurry to the back of it. If you are fast enough the cowboy will have no chance to take the horse and you can take him out easier. After he goes down shoot the crate on the small stage, push block into the building and you can pick up ammo in the 3rd secret.
Now go toward the pool. Jump around over to pillars to the ramp. But be cautious because some spiky balls will roll down. Go up in the middle, then along the left wall when the first stone has fallen. Pull the lever on jumpswitch on the right side of the pool and don't miss the Gate Key in the small pool either. Go back down to the small lake and jump to the open door from the first pillar.
You will face two cowboys and another guy a little bit later. After bringing them down, slide down the slope, jump up into the alcove and you will reach the first lake. Don't dive into the water yet. Jump right to the rock, slide, grab the edge and shimmy to the right until you just can. Shimmy a bit back from there and pull up. You better save here because Lara gets stuck on the slope sometimes. You have to jump onto the flat rock, then on the other side you have to slide backward and grab the edge. Shimmy to the left again to the flat part where you can climb up. You will find some ammo there in the 4th secret.
Now you can dive into the water. Climb out and climb the ladder. Go around the rocks and walk the tightrope to the other side. If it's done, open the door and you arrived to the next location.
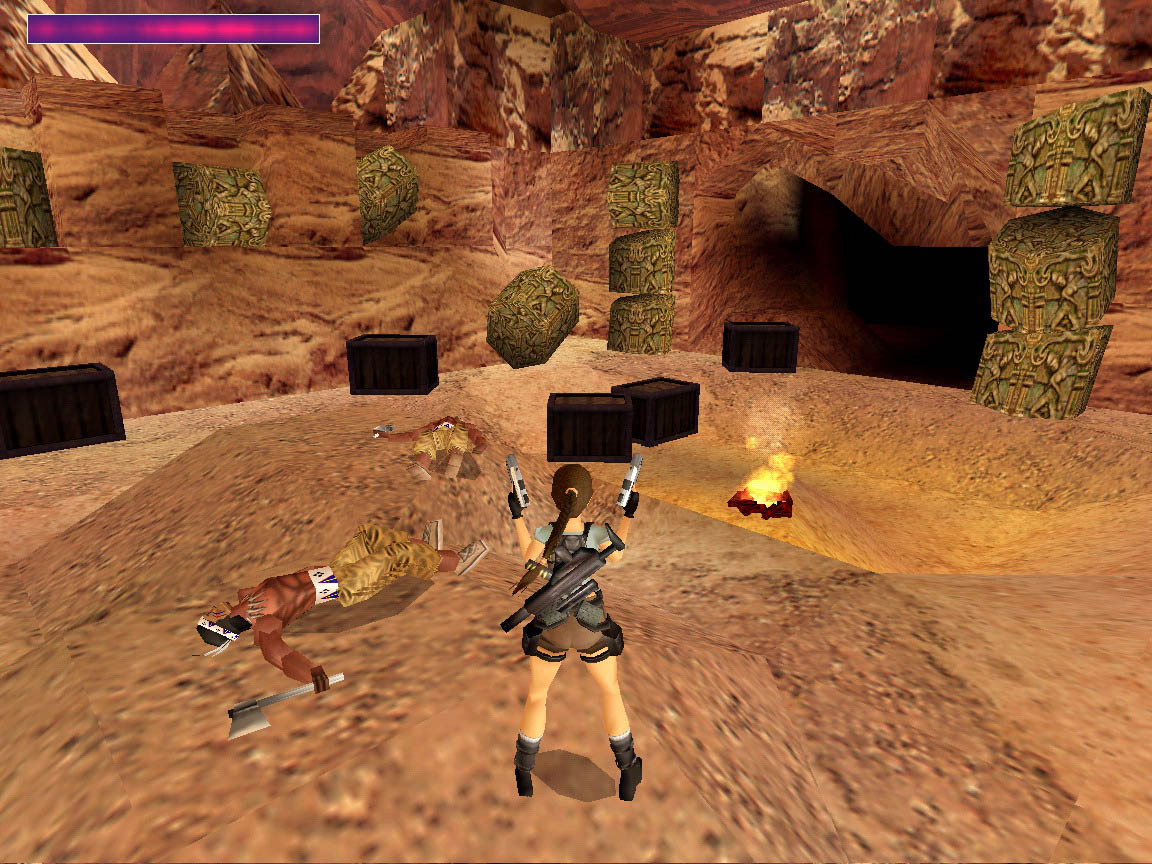
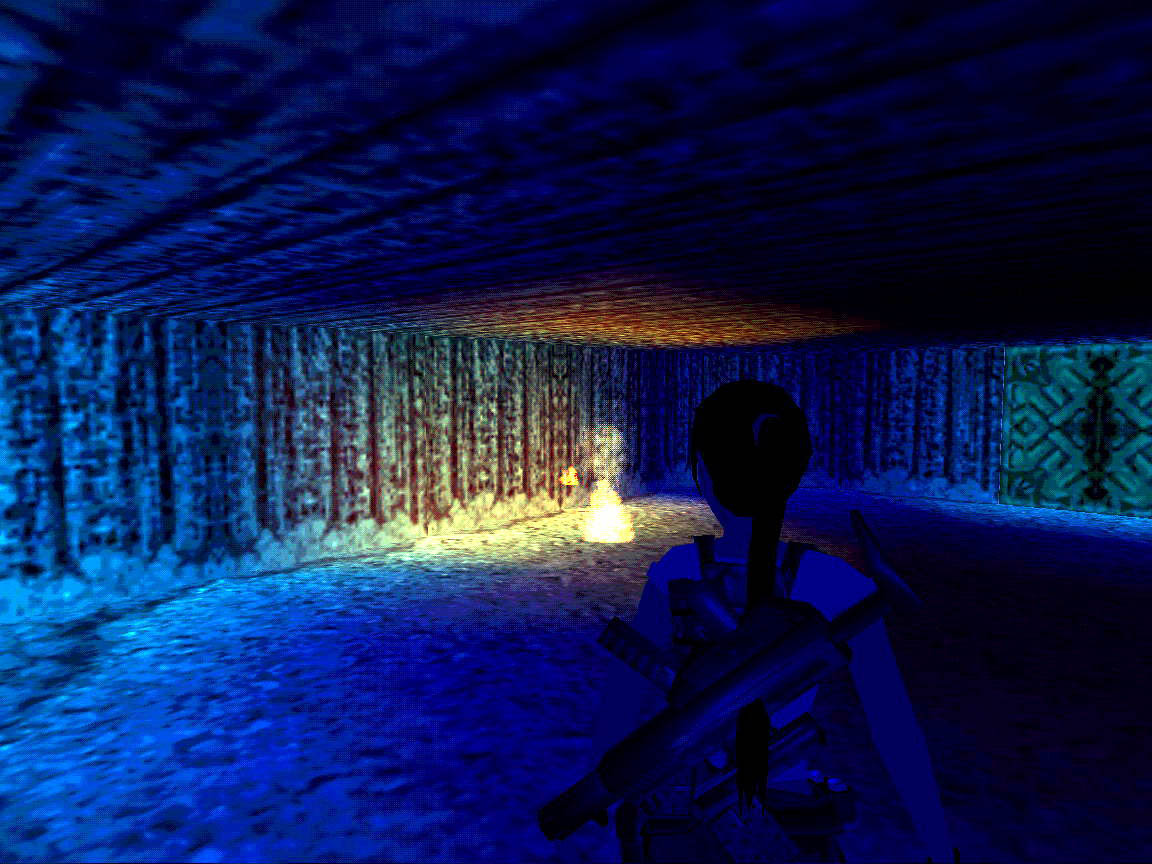
Kill the two redskins with tomahawks, and shoot the crates too because they cover a torch. This is for making things a little bit easier, but it's not necessary. Light the torch at the campfire then go through the caves lighting your way and finally drop it into the pit. If you make three steps back it will fall into the middle of the pit. Can you see the many snakes at the bottom? Well, if you still have some ammo for the MP5 you can aim and shoot them from above. But this is not necessary either because you can climb down and shoot them with the default pistols even without a scratch. Runjump and grab the ladder on the front wall, climb down, pick up the medipack and of course the TNT Key as well. Climb back up, head up to the small rocky terrace in front of you then go left to the crack in the wall. Shimmy to the left until the end and pull up. Jump up and grab the ladder on the ceiling so that you can monkeyswing to the other side. Go through the cave, but only straight and avoid the explosives on the left. Put the key into the receptacle and the rock will explode. The way forward is now open. Go there, drop into the dark passage and climb through the crawlspace to the next level.
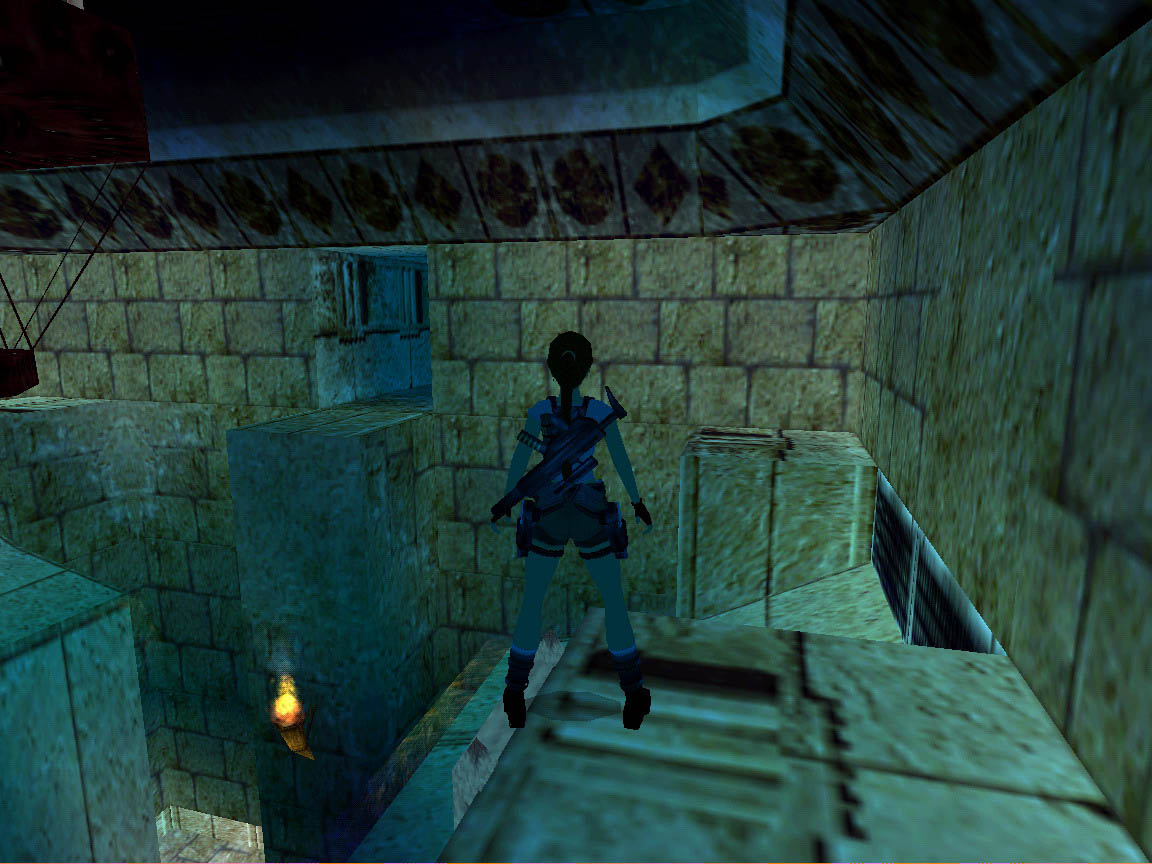
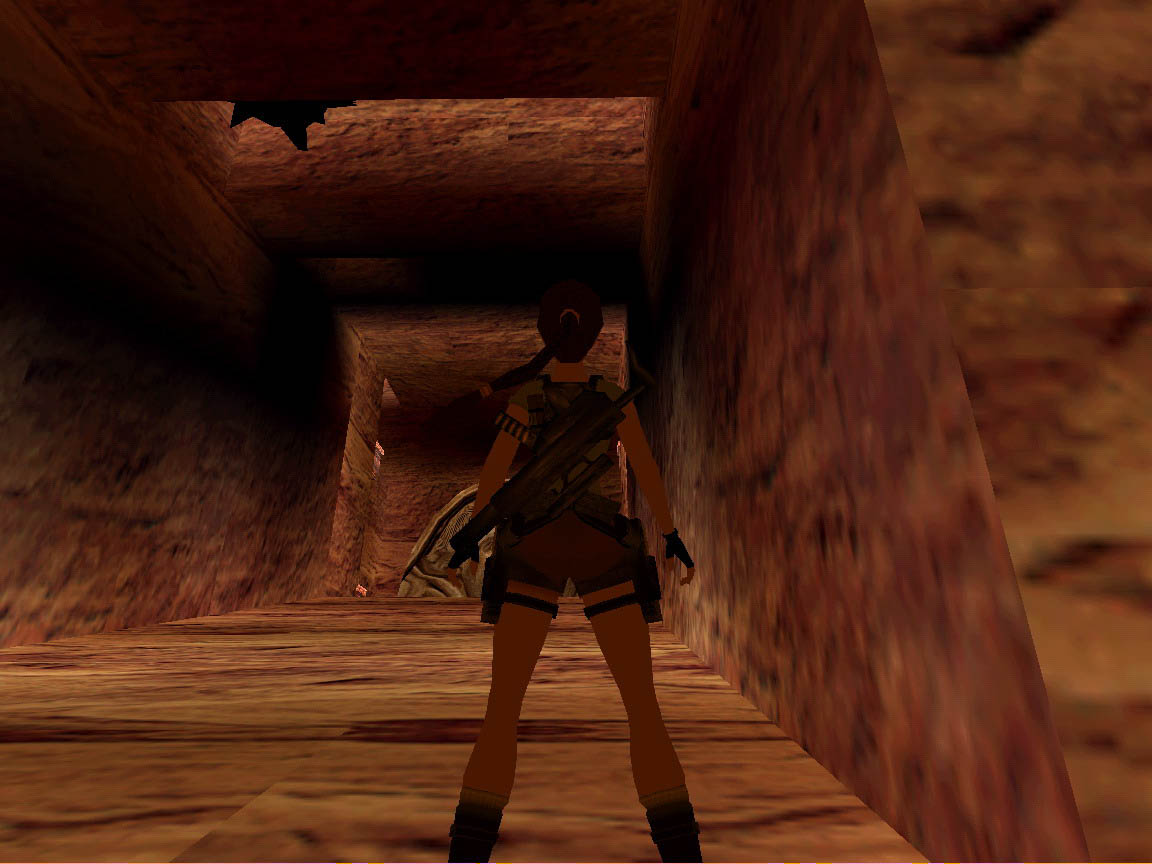
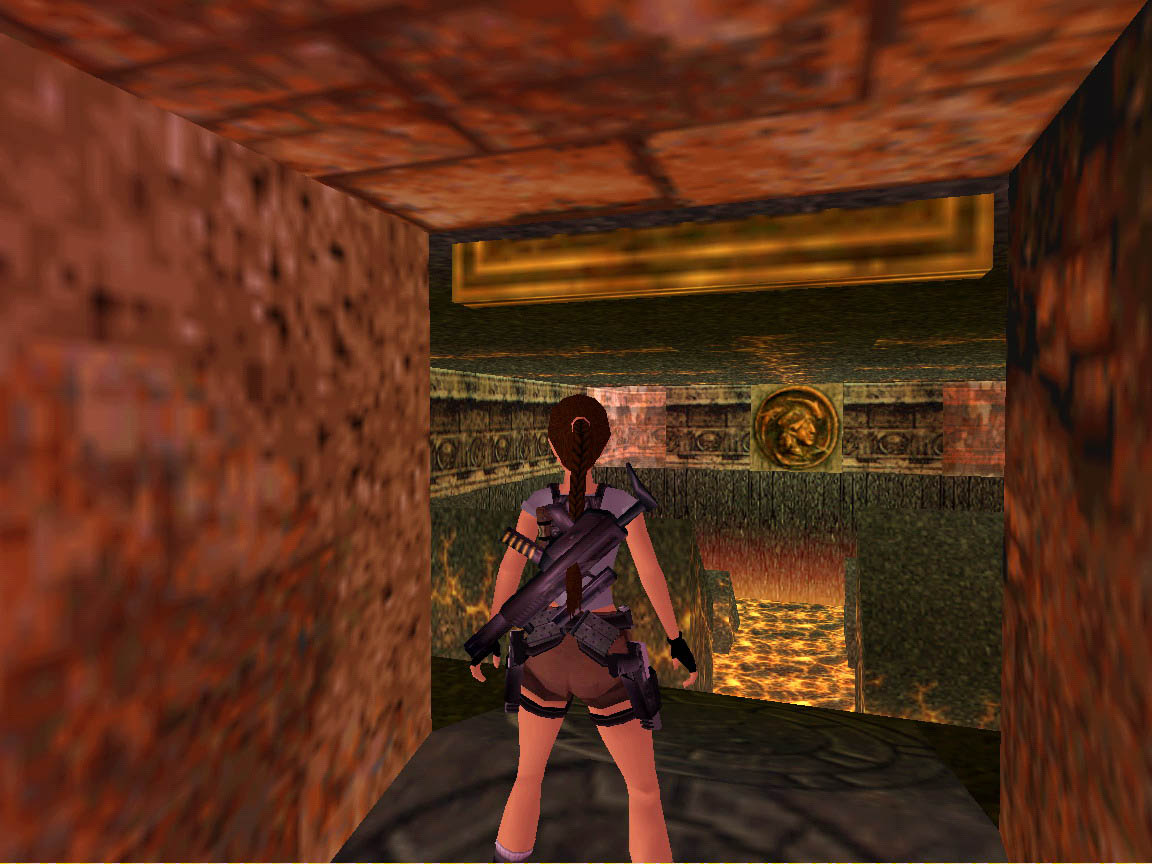
4. The Tomb:


Secret 5: 
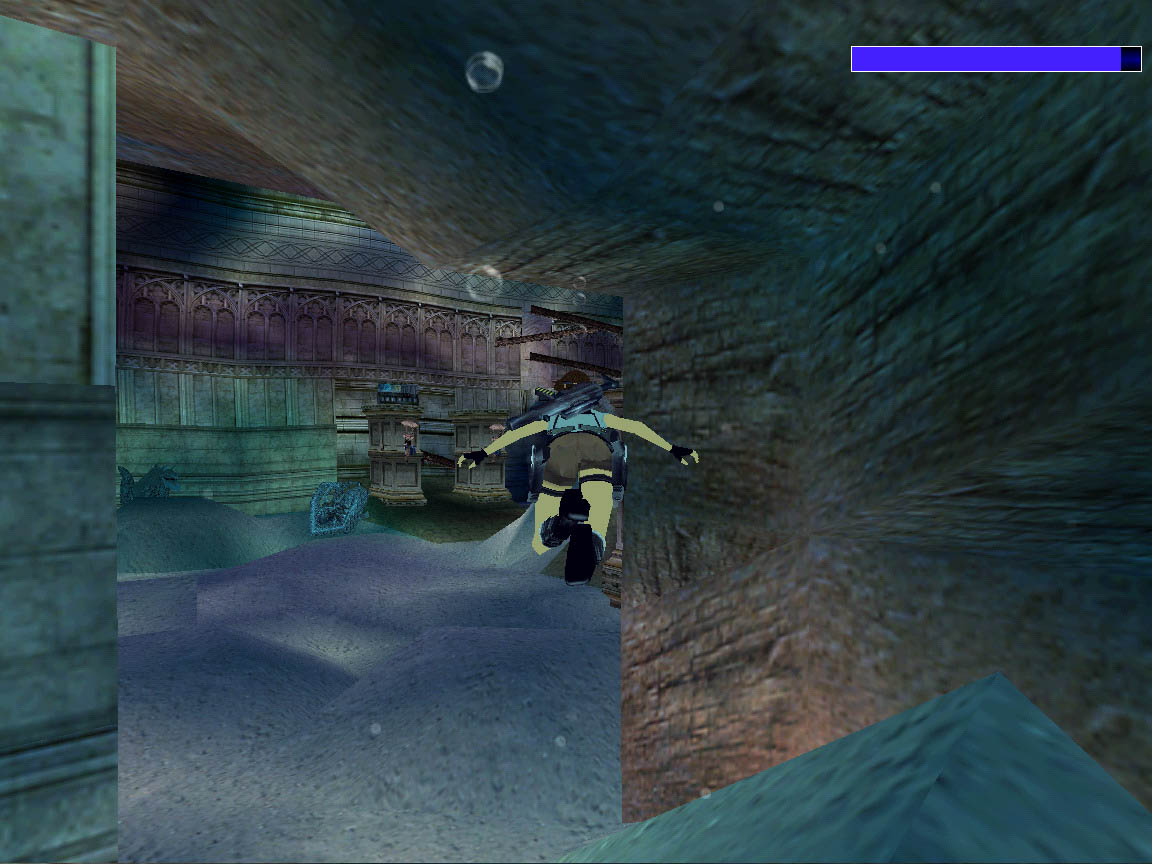
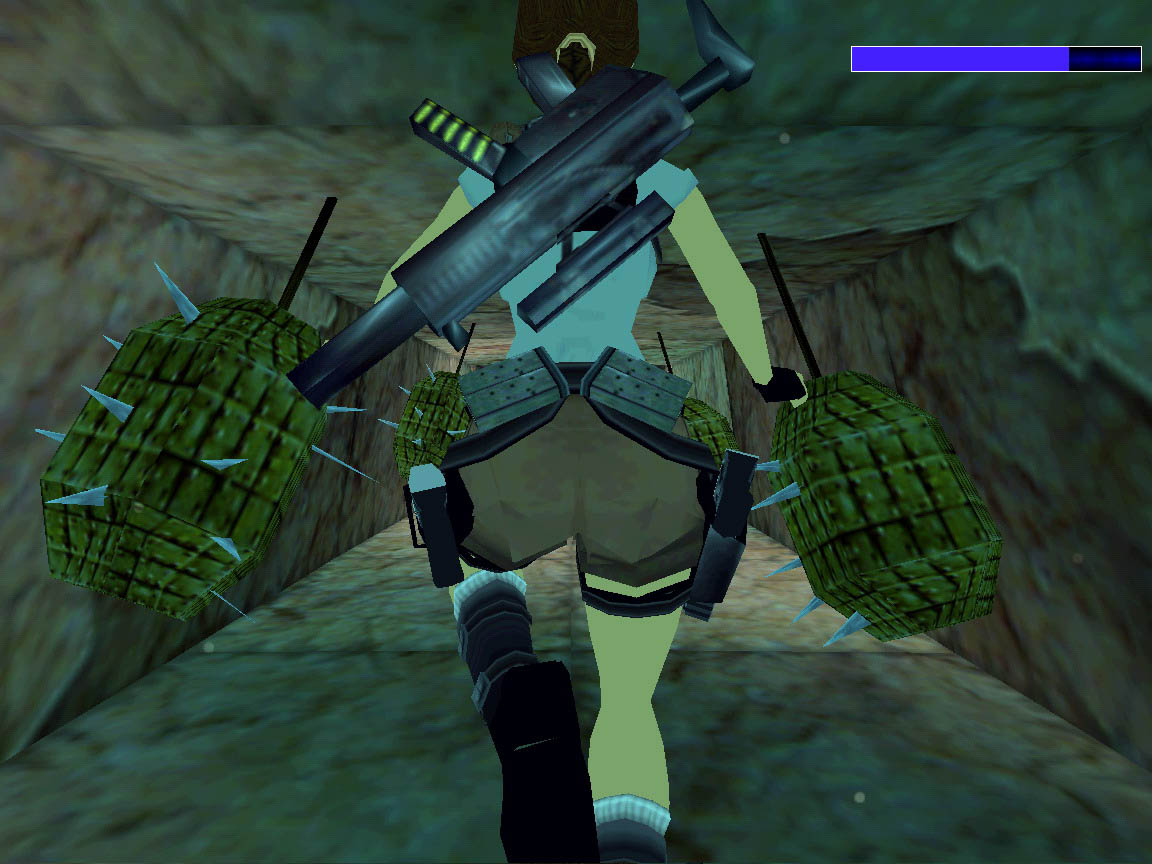
Go forward the right and jump up onto the sloped wall, but quickly jump on to the other and on to the next one before the rolling rock hits you. Before the closed grate, on the right, climb the wall. Turn and after a runjump grab the platform. Pull up, jump right onto the next and onto the one on the right side until you can finally pull the lever in the alcove. This will open the grating below. Drop into the water and swim to the next room where you can find two climbable poles. Climb the one on the right and you will find a medipack. After climbing the left one and jumping over the swinging blade you can pull a jumpswitch that will open a passage in the water in the room below.
Go there, swim and pass through the moving spiky trap. Believe me, it can be made without any injuries. When did it, leave the water and another challenge is waiting for you in the next room. You could take any paths. Jump to ehe ladder and climb down to the deepest visible stave; there you have to climb to the other side and grab the other one after a twisty (+END) jump - and so on until you get to teh other side. Climb down there into the deep; there is a ladder you can use. Look for the lever in the dark and pull it. Climb back and enter the opened grating. After passign through the passage and the swinging blades DO NOT pull the levers on the right side because you will burn. Pull only the last one, the third that is in front of the closed door - and this will open it. I suggest you to save your game here. :)
Slide down, jump over the blade and jump at the end of the slope and grab the edge of the bridge in front of you. But DO NOT pull up, just shimmy aside and only climb up directly at the wall and pull the lever there. In any other cases the spikes will kill you. Jump into the water and after swimming through the opened door pull the lever on the ceiling and pick up the Water Key. In the next room leave water.
If you climb the block in the right corner of the room, from there you can pull up onto the first pillar. Get over to the crawlspace in the corner of the room from pillar to pillar. You can reach it by pressing the CTRL button while jumping. Crawl in and climb the ladder in front of you, this way you won't burn.
In the room above watch out for the patterned floortiles; they will burn you. Your task is to push the movable statue onto the patterned floortile at the pillar. Of course, meanwile you have to avoid to be burnt. If you managed to flood the previous room by going upstairs and using your key, you can go back and swim out through the ceiling.
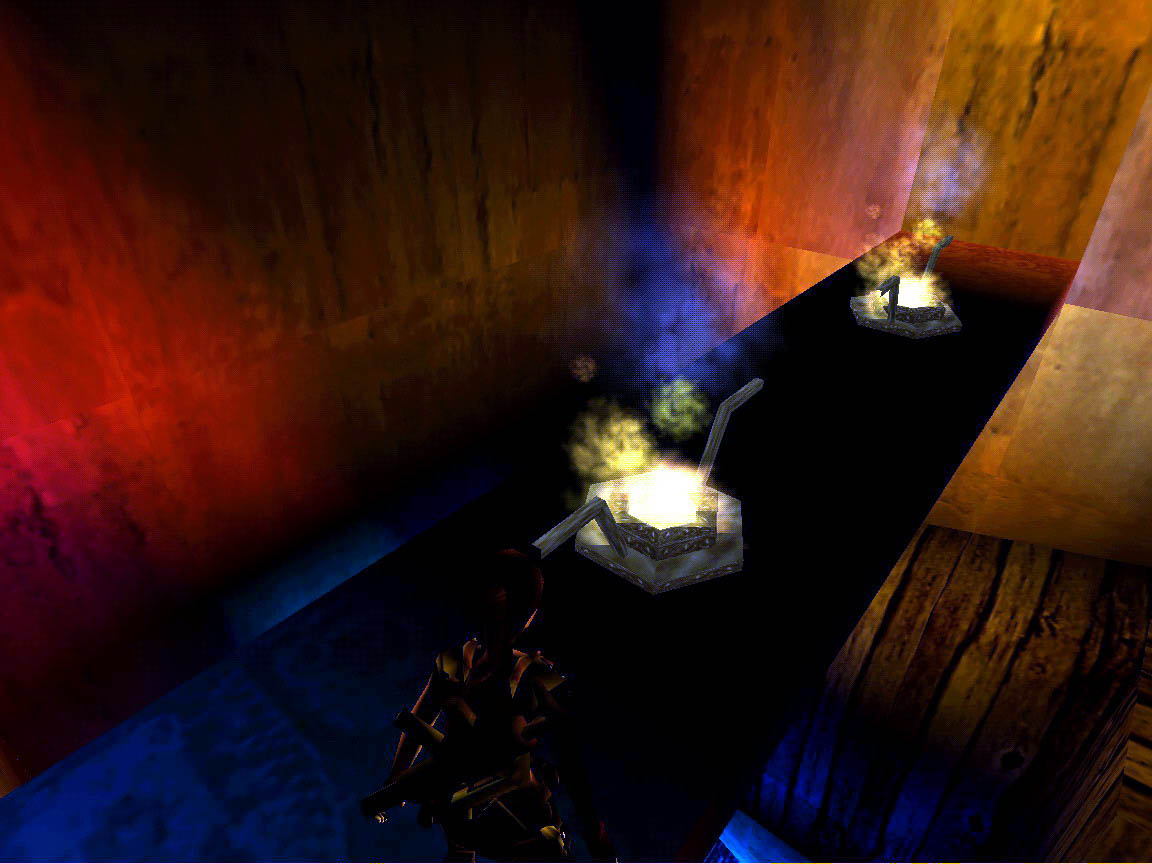
You will find a lever in the small room that will open the grating for a while, so hurry and pass through it. Slide down the slope and jump over the fires. If you reached the ground, pass through the swinging spiky bags; here you have to watch out for the burning floor tiles as well. If done, you will reach a set of stairs where you will find a timed lever. I suggest you to go up to activate the falling balls first and pull the lever only after that. Everyone can solve this on his/her own. I turned a little bit to the left, backward, then I jumped forward onto the first stair. From there to the right, forward, right, forward and I completed in time. But you will have to be cautious also there because you have to jump immediately to the pole.
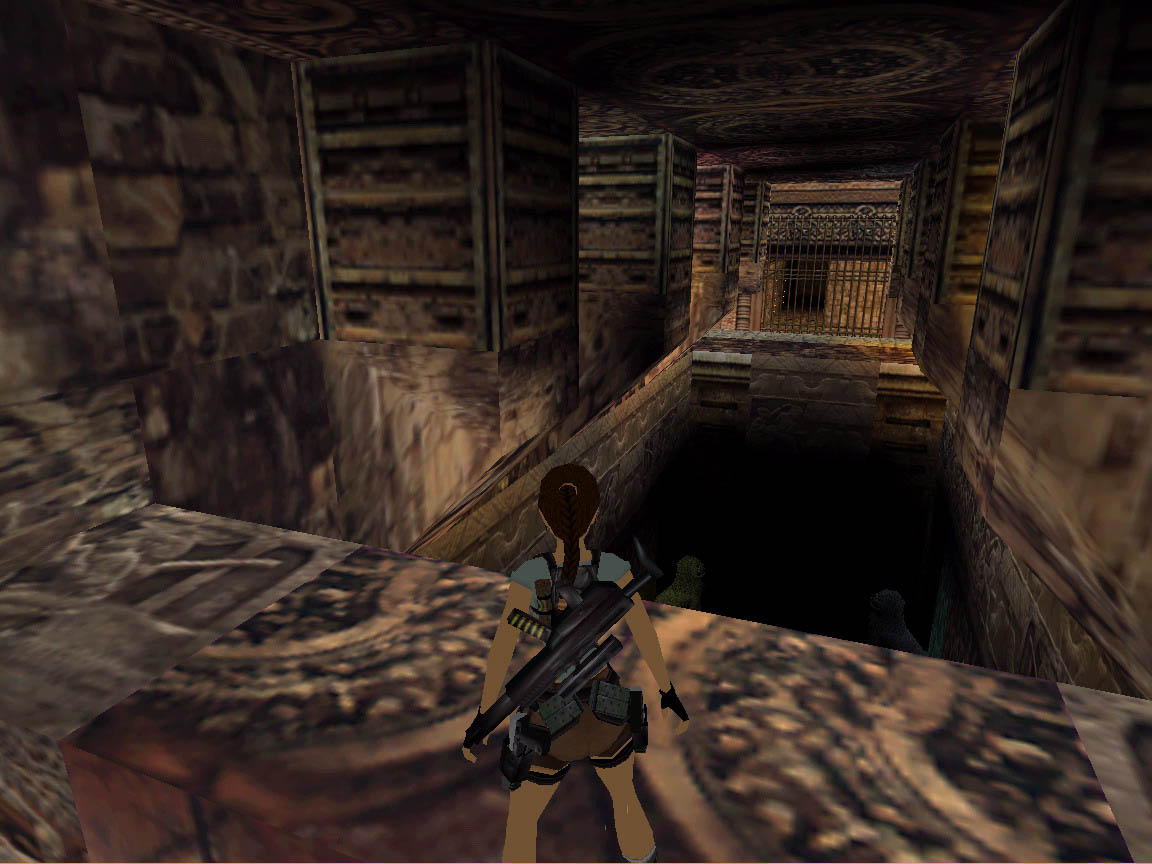
After that turn and from the proper height jump back into the alcove. There you can climb the wall and to the left into the next alcove and from there to the last one. From here you can get to the door; it is unnecessary to jump to the pole. Open the door and you will enter a room with four closed gratings.
Shoot the bats, go right and you will find a ladder on a pillar near the gate. Climb up, jump back to the balcony and go along the pillars, step onto the floortiles in the corner that will release a rope in the room. Go down to the ground, jump to the rope and swing to the other balcony. Pull the skeleton and pick up the Golden Door Key. Jump to the rope again. Now you have to get into alcove on the stage above the entrance. Take a direction that is slightly to the right of the keyhole. If you succeeded, use the key and this will open the first grating below.
Go left in the room. Slide down, jump to the next slope and so on to the other side. In the back of the passage there is a lever that opens the next grating in the anteroom. You can get back on the other side by sliding and jumping again. Behind the second grating you will reach the lever by swinging on the rope and you can open another grating. The quickest way back is to jump into the water. In the next room look up the ceiling to see how to get to the lever. Pulling in will open the last grating in the anteroom.
The challenge here is not easy either. You have to go up the ramp by jumping onto the flat parts, but you also have to jump back to avoid the rolling balls. This way you have to start again until you can finally jump into the small passage. But it's not over also there. You have to pass through the blades, then after stepping onto the floortile the way on from the anteroom will be finally open. Get back there and enter the opened grating. After some steps turn back and look up. Climb up and you will find the Grenade Luncher in the 5th secret.
In the right corner of the next room, climb the ladder to the next floor, then you can climb on after jumping to the pillar in the middle. Well, in this room I almost fall back. Step onto the patterned floortile and see the skeleton crawling onto the floortile, opening the door with it. LOL
New room, new task. Here you have to push and pull the movable blocks out of the way in order to be able to climb up to the upper floor. In the meantime you better avoid fiery floortiles. If you're done, climb the ladder and while walking in the passage you arrive to the next level.
5. The Golden Valley:


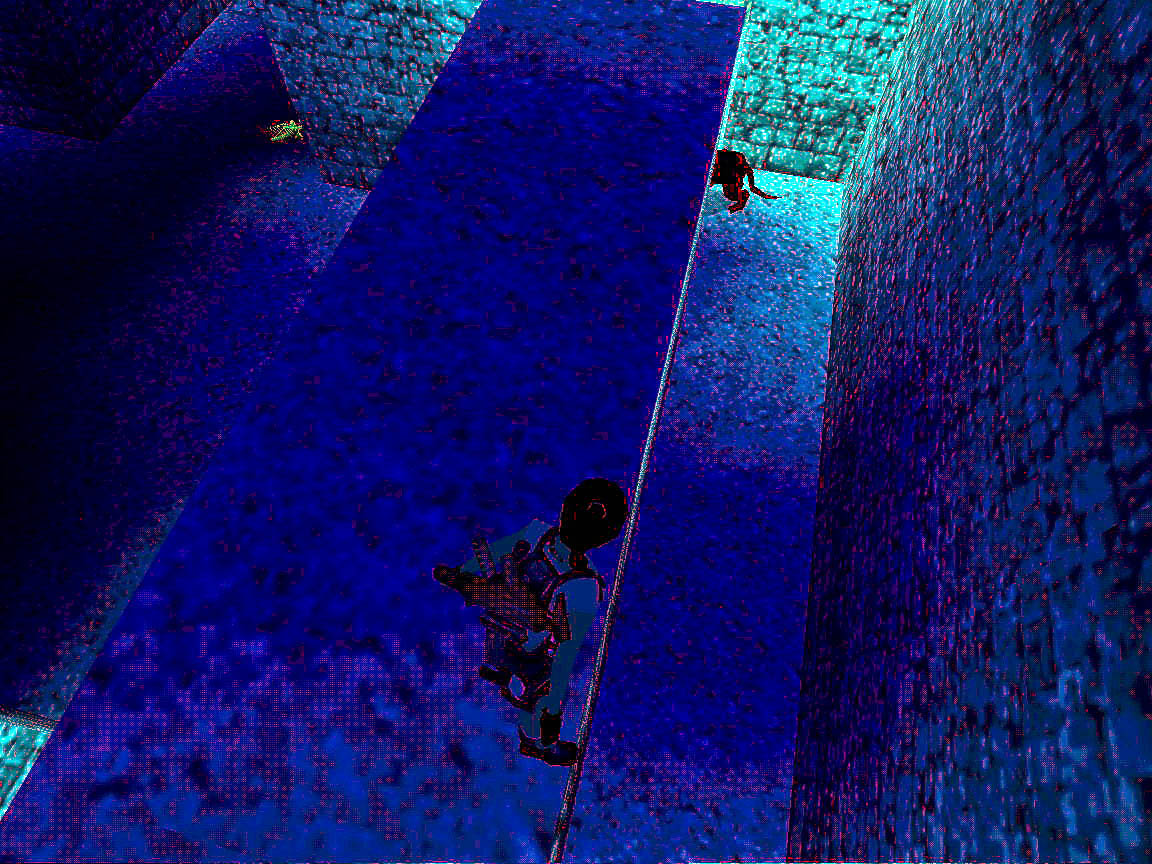


Go over the bridge, then up the ramp and jump left into the passage. You cannot pass through it because of the spikes, so jump to the platforms along the wall instead and by jumping from one to another you can get to the end of the passage. In the next small room go up the ramp, but watch out because spiky reels will fall down and you will have to run back. But they don't roll the same way. If you managed to get onto the bridge at the upper floor, jump right to the switch and save, because this will be a timed event.
Pull the lever, step one to the left, roll and jump back onto the bridge, but right after the first swinging bag. Run as fast as you can on the left side of the bridge through the slowly closing grating, roll at the last moment, grab the edge and drop onto the wooden bridge in the small room behind the grating. Go up the bridge, climb the ladder a bit then following a twisty (+END) jump grab the next bridge. Don't pull up, but shimmy left to the other side of the bridge in order to not burn. You have entered another room. (Here I found a shortcut that allows you to skip the timed run and health-loss. From the switch, jump back onto the bridge, but before the second swinging bag turn left and runjump to the burning wick at the wall in the corner. There you can climb up at the corner and after jumping onto the bridge you get to the upper floor.)
Go through the long passage, shoot the bats and save before the lever, because here comes a long timed run with many jumping. Push the lever, roll, run, then jump onto the first pillar. The task is to get over the platforms in the hot gold-river in time. Sometime you have to runjump, sometime you have to perform a simple jump to the rope without stoping for a moment. Climb the rope until Lara's head gets in line with the block on the left. Turn and jump back. Jump up and grab the ladder and shimmy to the right side of it immediately. Don't let Lara to gain a foothold, because that way you can move slower. On the other side perform a twisty jump back and hurry through the passage, then jump over another set of platforms in the gold-river and get behind the slowly closing grate.
After you succeeded, jump to the first pillar and grab the ladder, then shimmy to the other side of it. There you have to perform a twisty (+END) jump back grabbing the ladder on the other pillar. Shimmy to the other side here as well and there you can finally climb the ruined bridge.
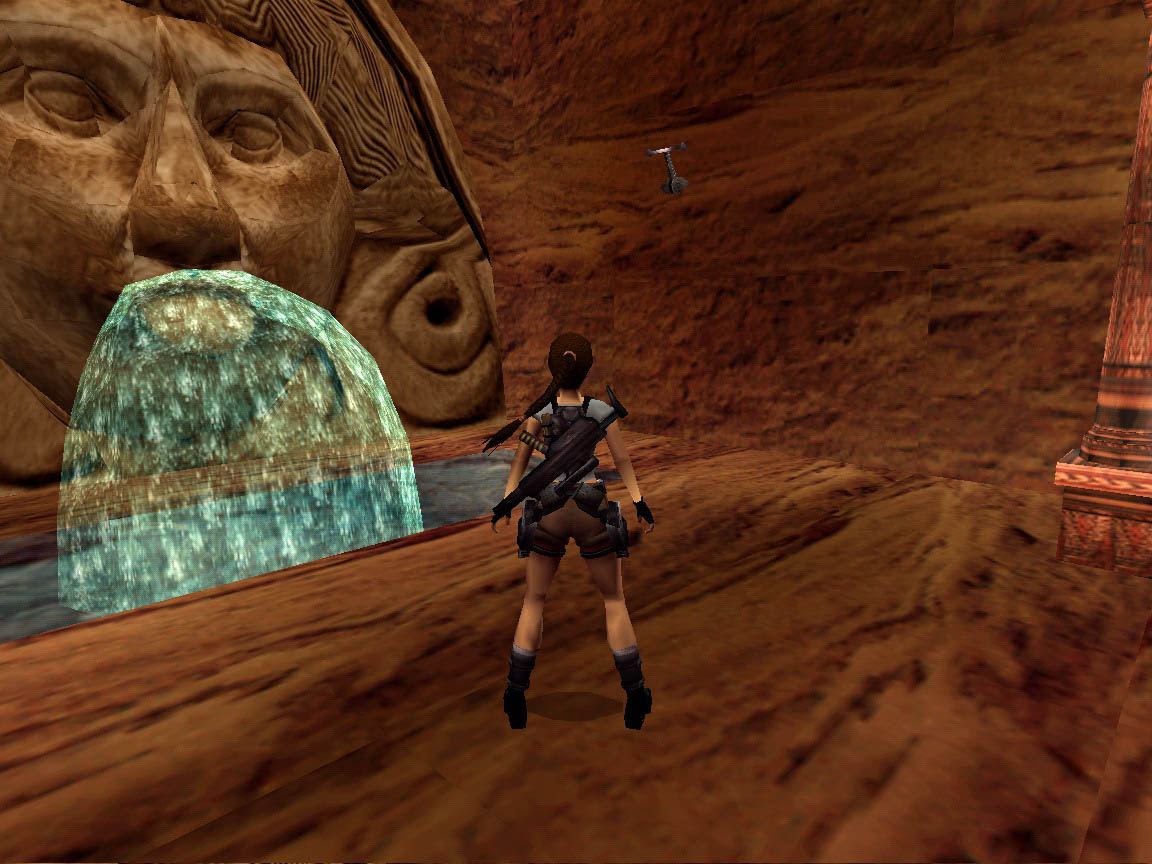
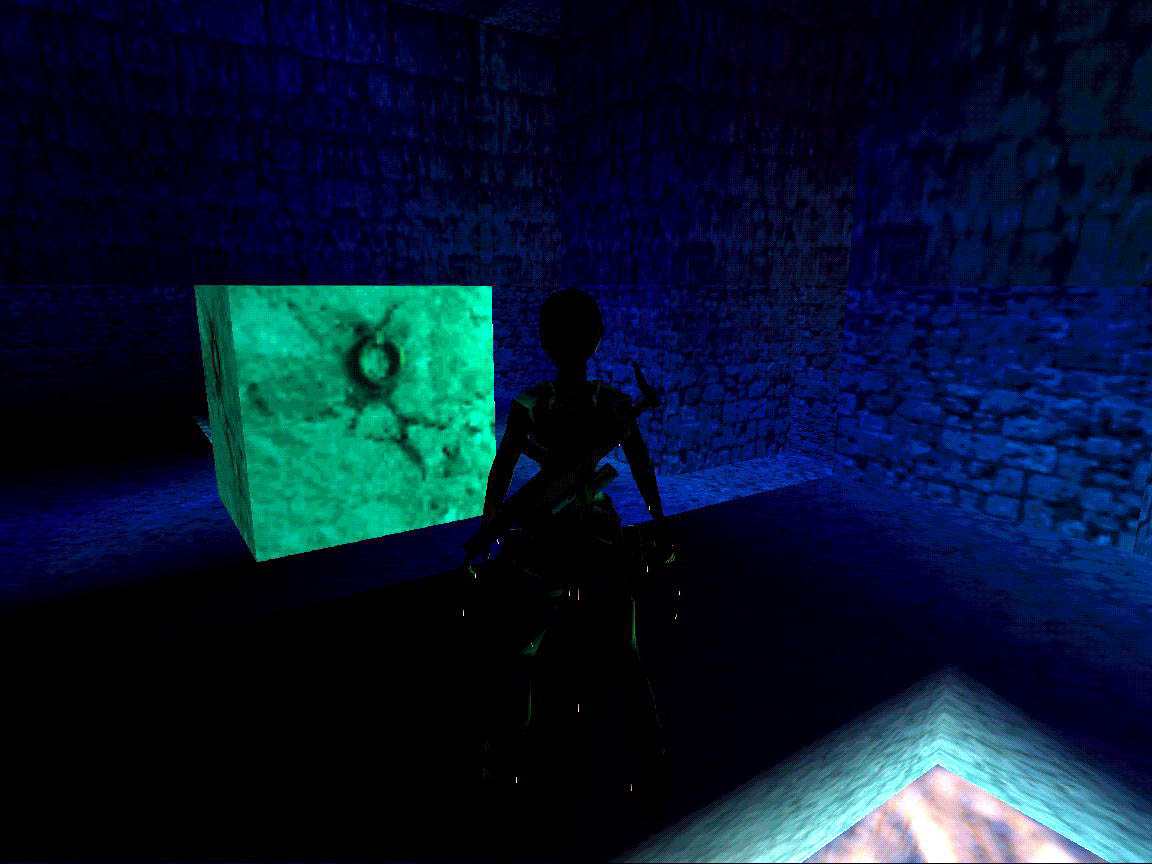
Go right first. Notice the spikes under the glass-floor; there you can see where to go. Notice and find the lever on the right wall too; this will open the grating. In the next room you can find another lever in the right corner. Pull it and a block will raise. climb up on that and below you can see where the passage in the wall is. Runjump there, clim in and you can pick up the Mask.
Go back to the ruined bridge, jump to the other side and place the Mask into its receptacle. This opens the huge round stone. You reached a stacked room. Shoot the bat. The task here is to elevate a movable statue from the ground floor and push it onto the proper floortile on each floors to move a huge stone out of the way. The elevators are controlled by switches. So slide down the rope to the ground floor and look round. You can see under the glass-floor where you have to push the statue and you can also see the swithes on the wall. Push the statue onto the elevator in the alcove and raise it to the next floor using one of the switches. Pull only one of them. Climb the pole, push the statue to its place and push it into the other elevator. Go down to the ground and check where you will have to push it on the second floor. After that use the switxch to take the statue there. Repeat these steps on the upper floor as well and the way on will be uncovered.
Go through the passage and slide down the slope. Jump at the end, then jump again and run to the right into the alcove to avoid the spiky reel. Pick up the medipack and go up the slope that lays in front of you. From here you will have to run back into the alcove from the next reel. If you survive you can finally go up into a small labyrinth.
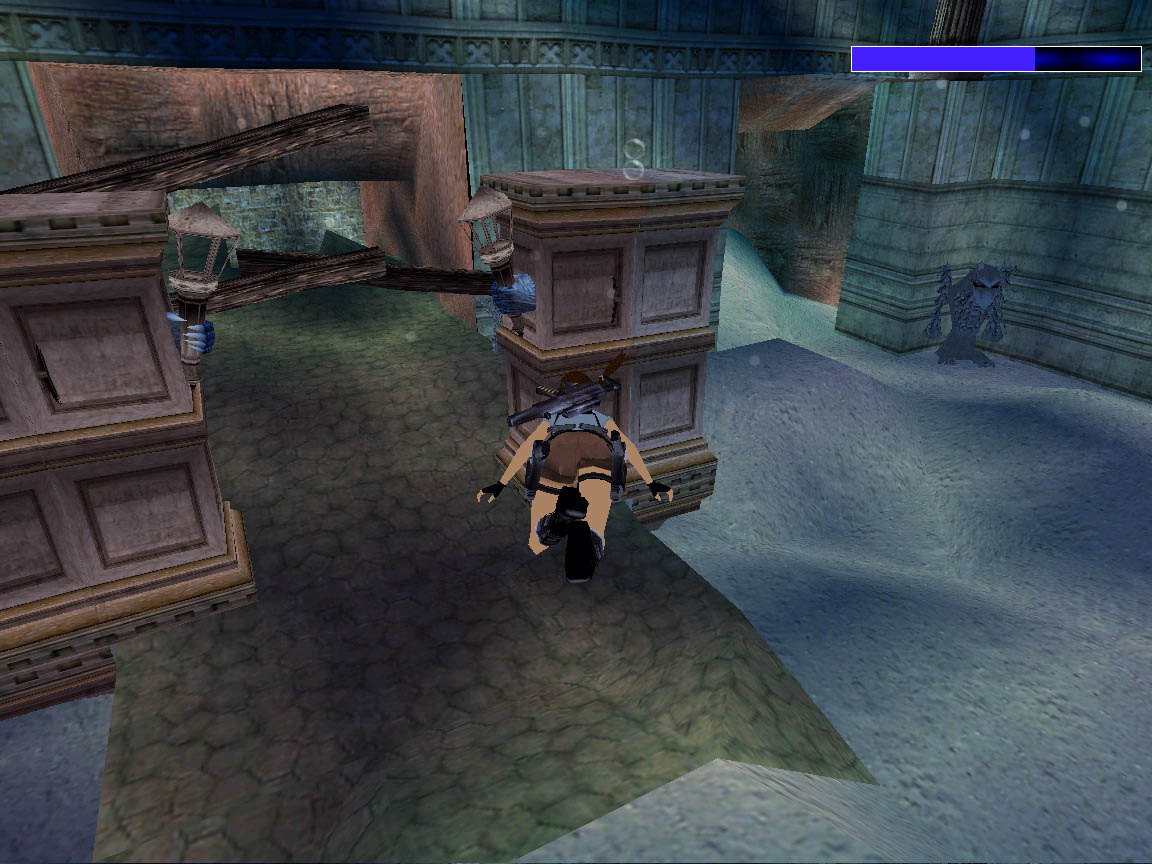
Always go left until you find a swinging ball where the passage is a little bit wider. Shoot it and also shoot the knight who guards it. :) Continue heading left. You will face another knight and a third one too. If you lure them back to the slope it will be easier to get rid of them. Slowly you will reach small room with fire. Run toward the door in front of you while two fiery wraiths appeare. The door opens. Now keep turning to the right in the labyrinth and you will reach a small room where you can find a pool to the right. Here you can get rid of your chasers.
Get out of the water and push the movable block betwixt the two pillars. What a miracle, the pushable block became climbable.. :) So climb it and to the left you can pull up into a passage that will lead into another room.
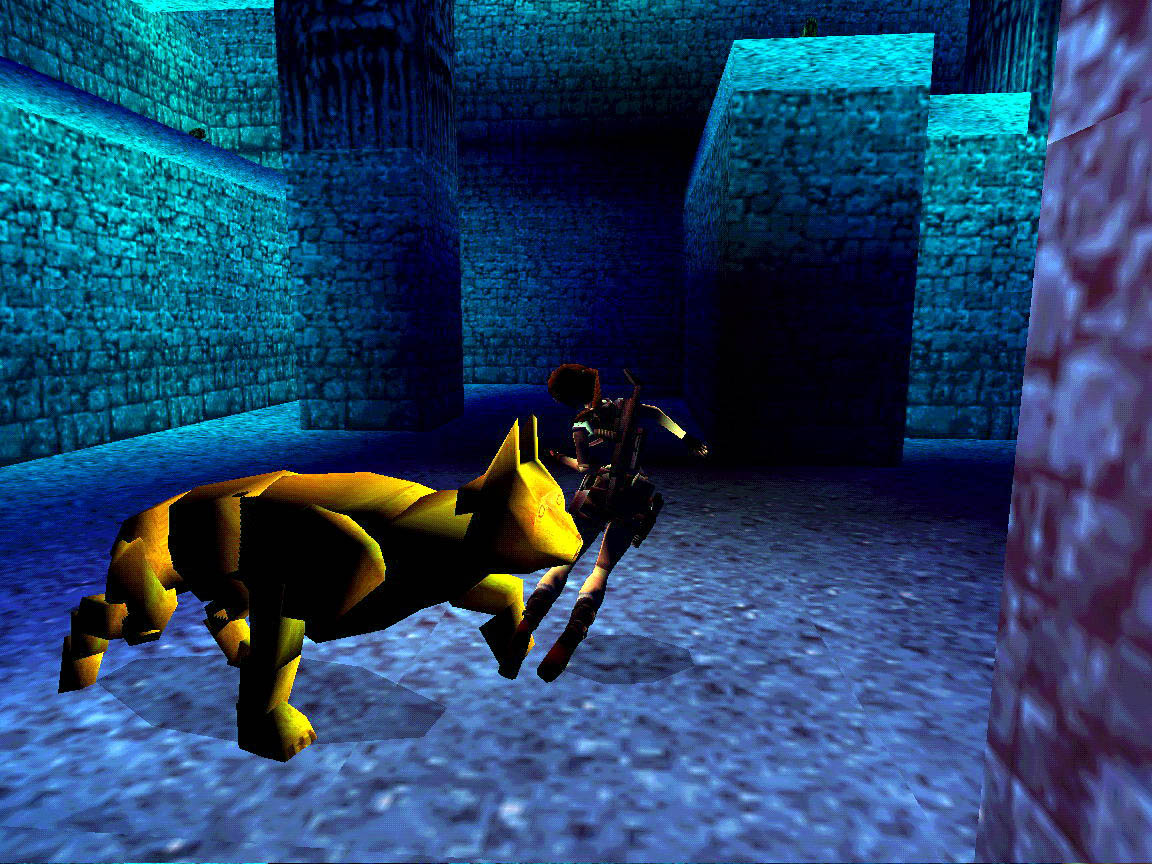
Here you have to be cautious because a golden cat and a golden bull are waiting for you. Go forward then left and you will find a ladder that brings you to the upper floor. Here you can see some beasties stucked in the floor. Don't care about them. As you jump over the platforms, some skeletons will appeare. Either shoot them into the deep or blast them. Look for a ladder on one of the pillars and climb up to the next floor. There you have to jump over platforms and shoot some skeletons again, but the goal is to find the pillar that you can climb to the top floor. Go round and you can finally pick up the Golden Mask from a small pedestal.
Look for the passage in the wall, jump there, but save before sliding down. It won't be easy, but believe me it can be done without a scratch. Slide down, jump over the blades, but during the last sliding turn in the air and slide down backward.
At the bottom you will face another golden cat. Run from it, keep turning to the right and look for the way out; for the passage where you can see a harpy sucked in the floor. Pull the jumpswitch there, climb up and you will leave this level flying on the helicopter that was waiting for you. :)
OBig http://treditor.hu/
Translated by Lacek http://treditor.hu/
Az oldalon közölt képek, a szöveges tartalom, illetve minden sajátkészítésû anyag, a © TR Editor.hu tulajdonát képezi. Azokat semmilyen formában nem lehet reprodukálni, másolni, terjeszteni, csak a szerkesztõség engedélyével.