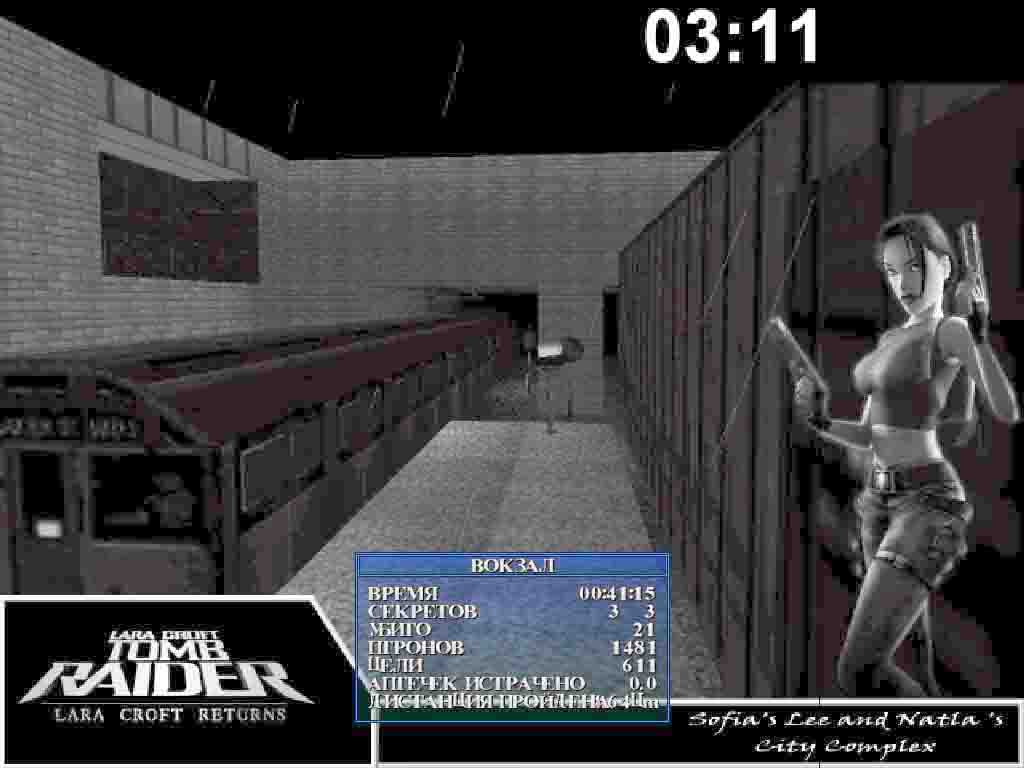
Lara Croft Returns 1.
Author: Boris Samojlenko Homepage
Download: Here.....
1. The Railway Station:

 Secret 1-3:
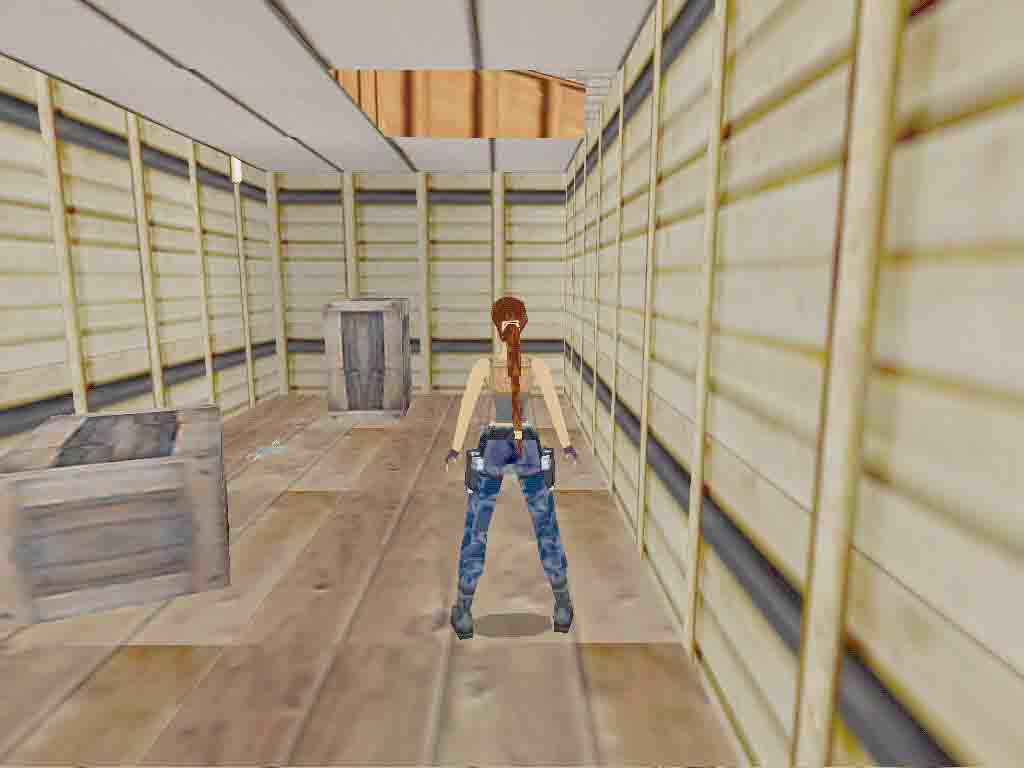

WALKTHROUGH BY ICEBERG
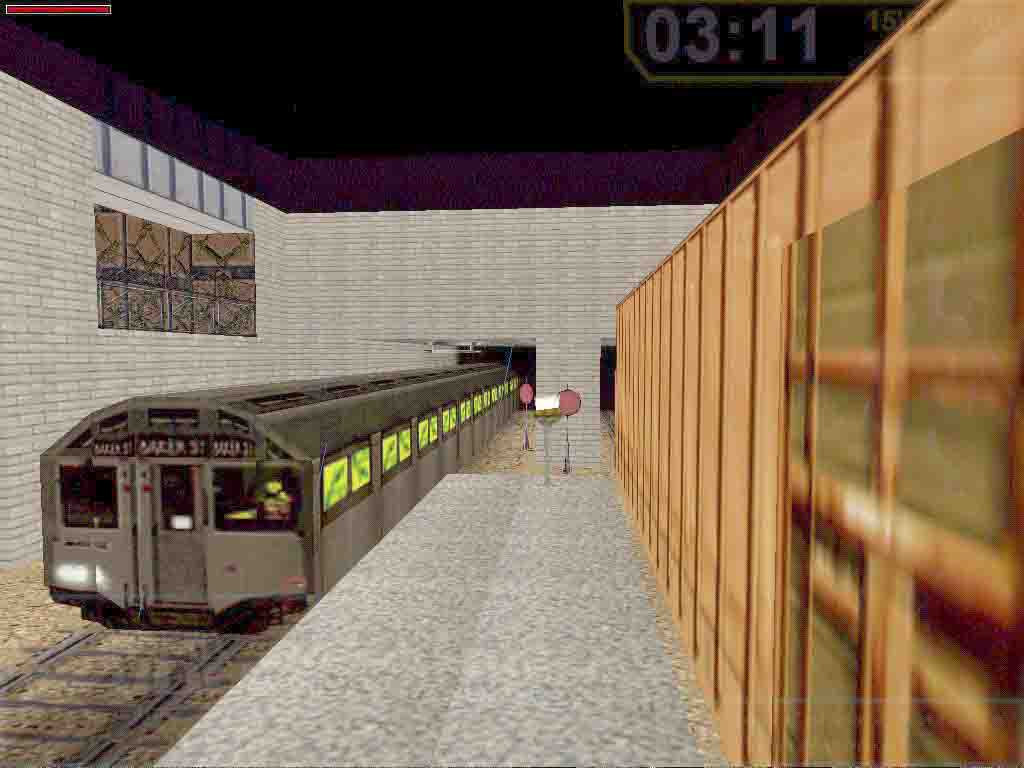
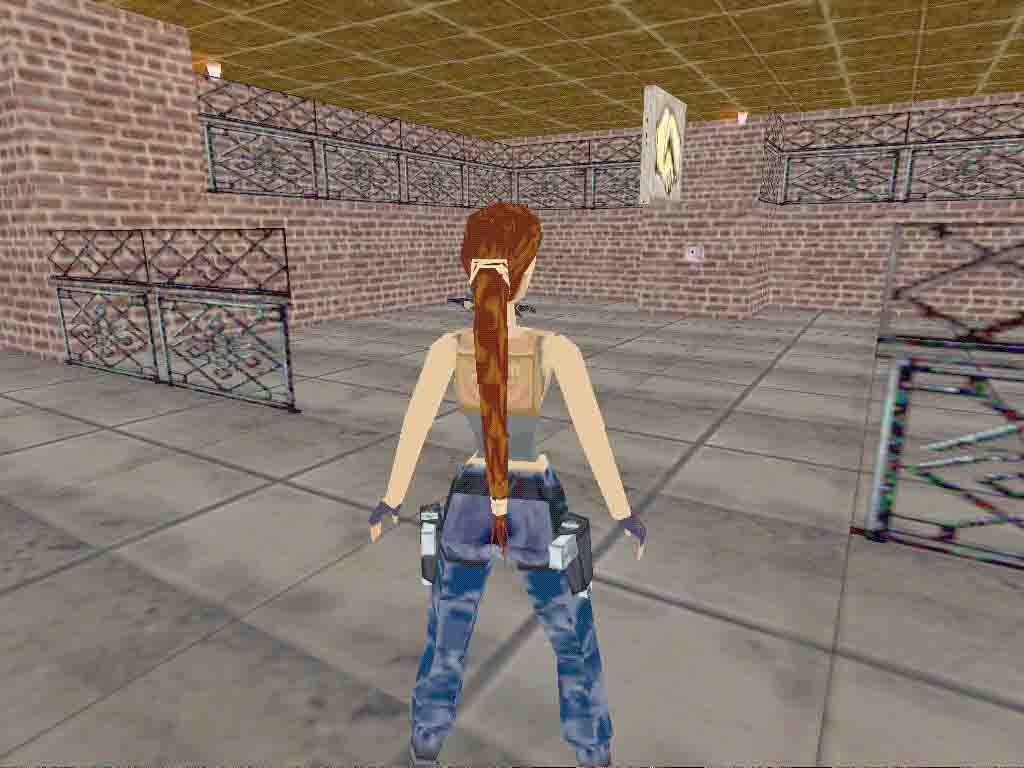
A
train passes by as an opening for the game. The action develops on a Railway
Station. Let's locate ourselves: There is a Central Building in front of which
there are 4 lanes.
Lane#1 is the one closest to the Central Building, that's the one used by
the train we just saw passing by.
Lane#2 is the next one, where three wagons are parked (orange, gray and rusty).
That's the lane near which Lara starts the game.
Lane#3 is the next one.
Lane#4 is the one far away from the Central Building.
To the right side of the Central Building (or: behind Lara), there are tunnels,
one for each lane.
Tunnel#1 is empty.
Tunnel#2 is closed.
Tunnel#3 has a train parked in there.
Tunnel#4 has a train parked in there.
To the left side of the Central Building (or: ahead of Lara), lanes #1 and
#2 end up in the "Chancer Lane - Safe Deposit" and lanes #3 and
#4 carry on into the far darkness of the night. With the exception of Lane#2,
the one with the orange wagon, all the lanes have trains parked on that side
of the Station. The trains are deadly, all of them. Lara will be electrocuted
if she touches them. The three wagons in Lane#2 are ok. Lara can climb them,
move underneath, jump in between. There are items to be picked up in the tunnels,
but some are hidden behind the trains. Until they move away Lara cannot pick
them up.
Because there are trains parked in the tunnels and Lara cannot get the goodies,
we will wait until they move away to explore them. So let's start with the
three wagons right ahead of Lara. Climb on the orange wagon, jump in, grab some harpoons (1) and Uzi ammunition (2).
Also, deeper into that wagon, there are shotgun shells (3) which also are Secret#1. Jump, hang and climb up. Once back on top of the orange wagon,
jump to the next and the next, on top of which there are some more harpoons.
Jump down to the floor, to the side where Lane#3 is. Go to the gray wagon
and look under. There is a Desert
Eagle (4) down there. Grab it, back out on Lane#3 side, turn around and look
for the small
Medi pack(5) lying on the ground by the rails of Lane#3. Hmmm... dangerous place
to make a pickup. Trains will move on Lanes #3 and #4 as Lara crosses the
area, so watch it and look for a safe place and let them pass by! The space
between the lanes is a good place to stop. Then go for the medipack, but watch
it again! More trains on the move! As a result of these train movements, Tunnel#3
is now empty, so let's have a look in the tunnels. No point in going in Tunnel#4,
there is nothing in there to pick up. Let's go into Tunnel#3 and get some
shotgun
shells (6). Then Tunnel#2 for some flares (7). Then Tunnel#1 for a small Medi pack (8).
From there we will see some rockets (9) on the floor, on that side of Tunnel#2. Let's
have them. Looking into Tunnel#2 from this side, we see a couple of rats,
and, in the distance, a switch on the wall. Go for the switch, it will open
a door somewhere in the Central Building. What about the rats? Well, what
about them? Why not carry on and let them try to follow you? Could be fun
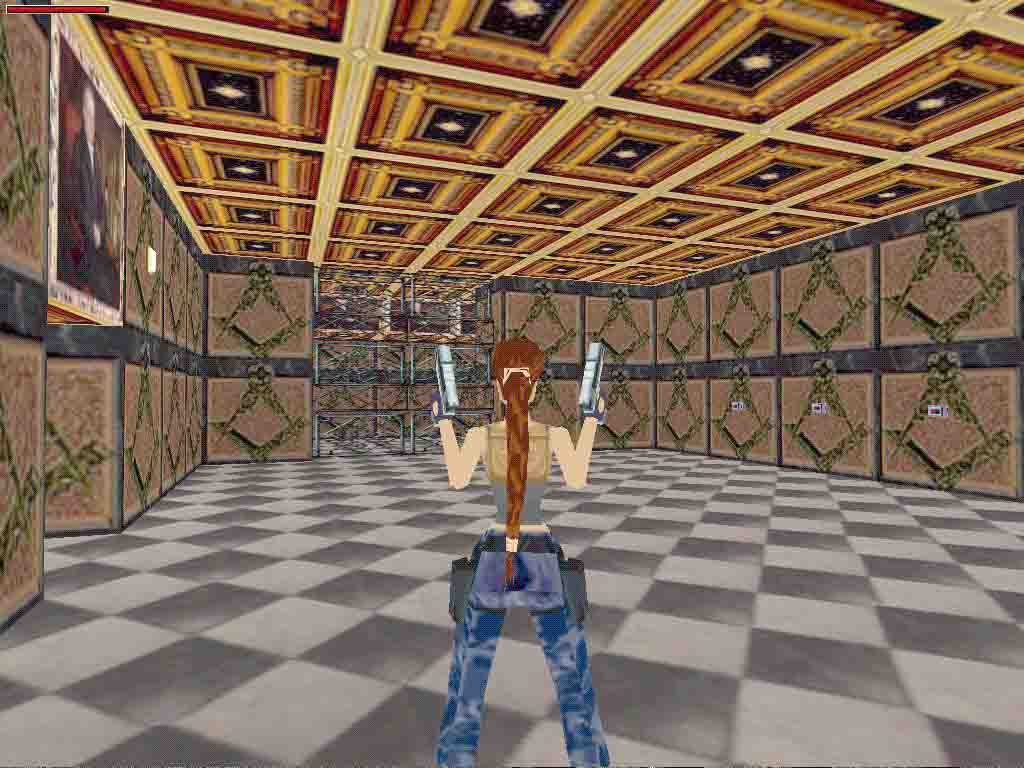
to watch them, poor things! Head for the Central Deposit. There are some goodies
there to pick up. But Lane#1 has a train parked in there. To trigger it, let's
move towards the Central Building until we listen to the noise of the train
passing by. This will also trigger a raven. Let's go into the Deposit area
and find some Desert Eagle ammo (10)
and Uzi ammo (11) in Lane#1, where the train was. Making a turn back through Lane#2
a small
Medi pack (12) will be found. Move under the wagon to pass to Lane#3. The raven
and the rats will be following Lara. The raven may be a nuisance, it makes
too much noise, but the rats will just be running with their short legs. Not
much of a bother. Lane#3 has a small Medi pack (13), Lane#4 has nothing. By now the raven may be stuck in Lane#3, lost.
So leave him there. The rats would still be following Lara. So, there was
a door opening somewhere in the Central Building when that button was pushed,
a while ago. Ok, let's go for it. When entering the building, a not so friendly
guard (1)
and his dog (2)
will "hey!" you. Well, he started it! You know what to do! While
you're at it, you may as well handle the rats
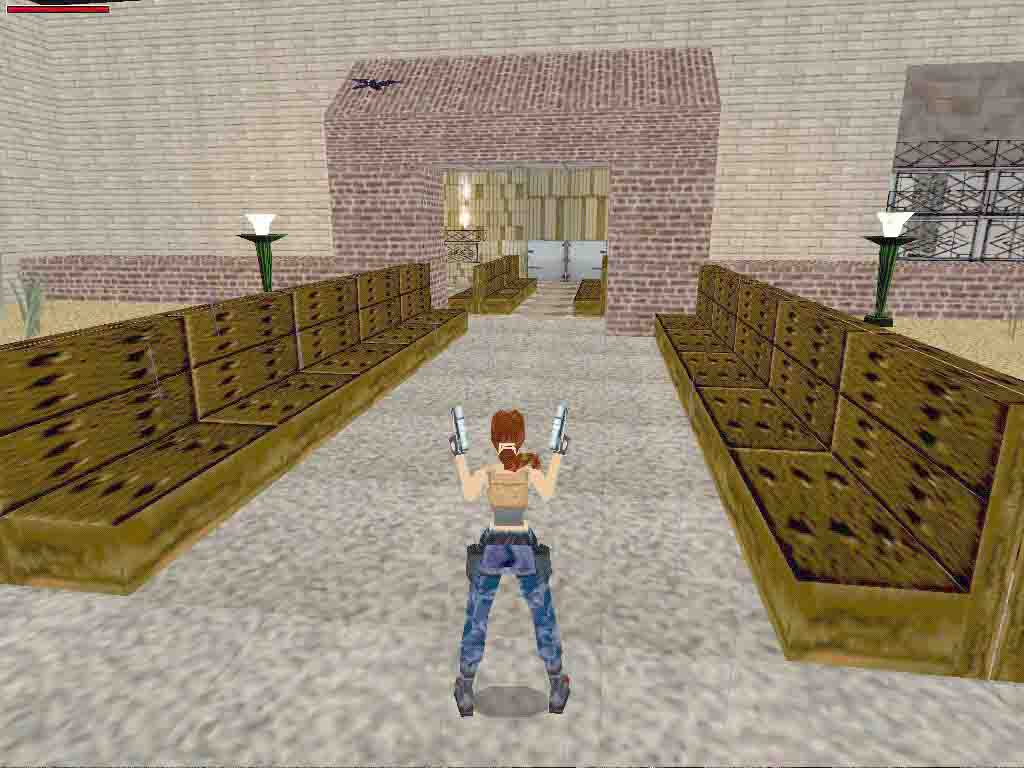
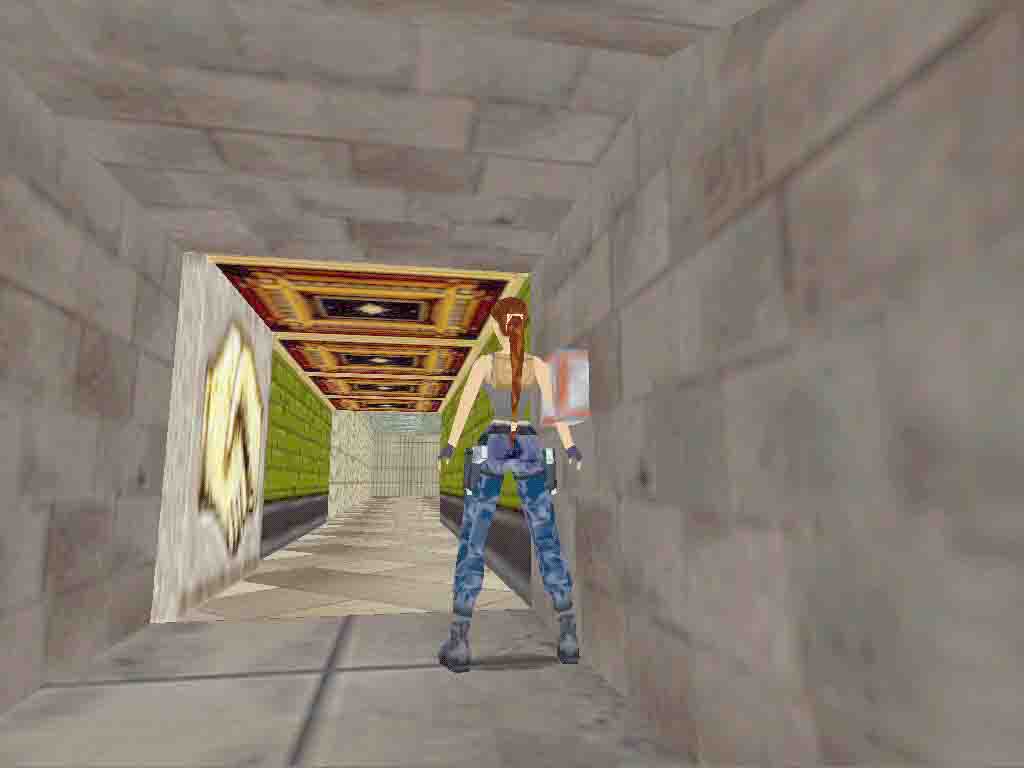
(3). The door we are looking for is inside, on the right side. In there,
another trigger-happy guard (4) is waiting Lara. Handle that, get the ammunition (14) he drops. Find the moving block (right in front
of the door), pull it out and set it aside. The opening leads to a new room.
Down to the tunnel, kill a rat (5).
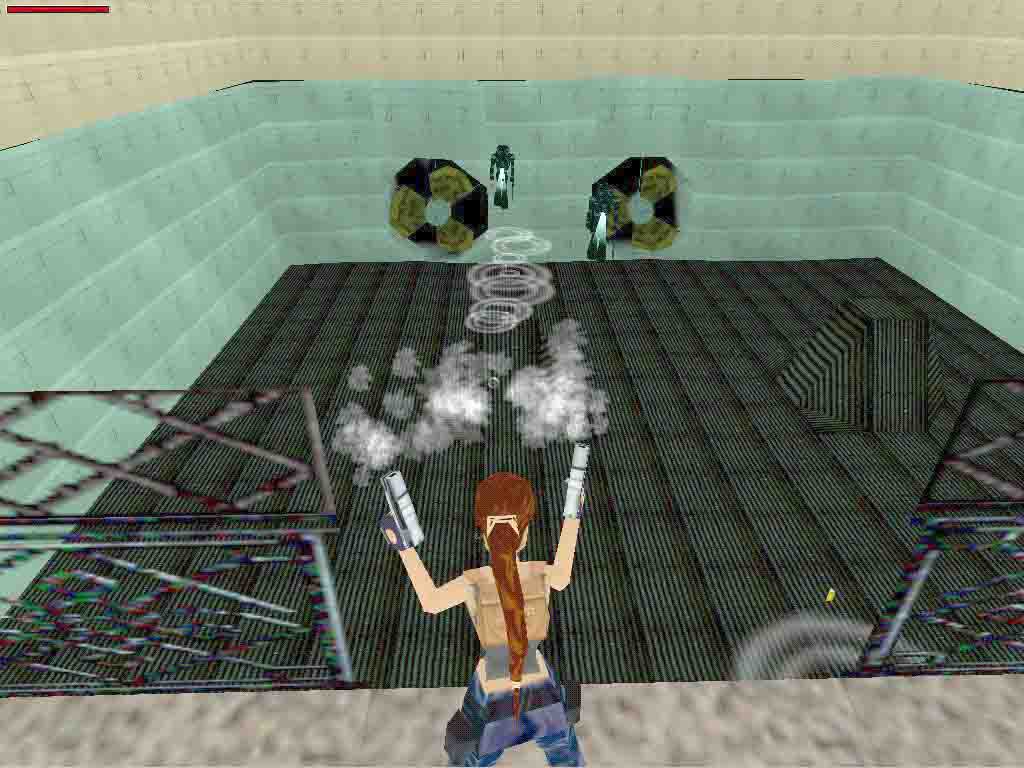
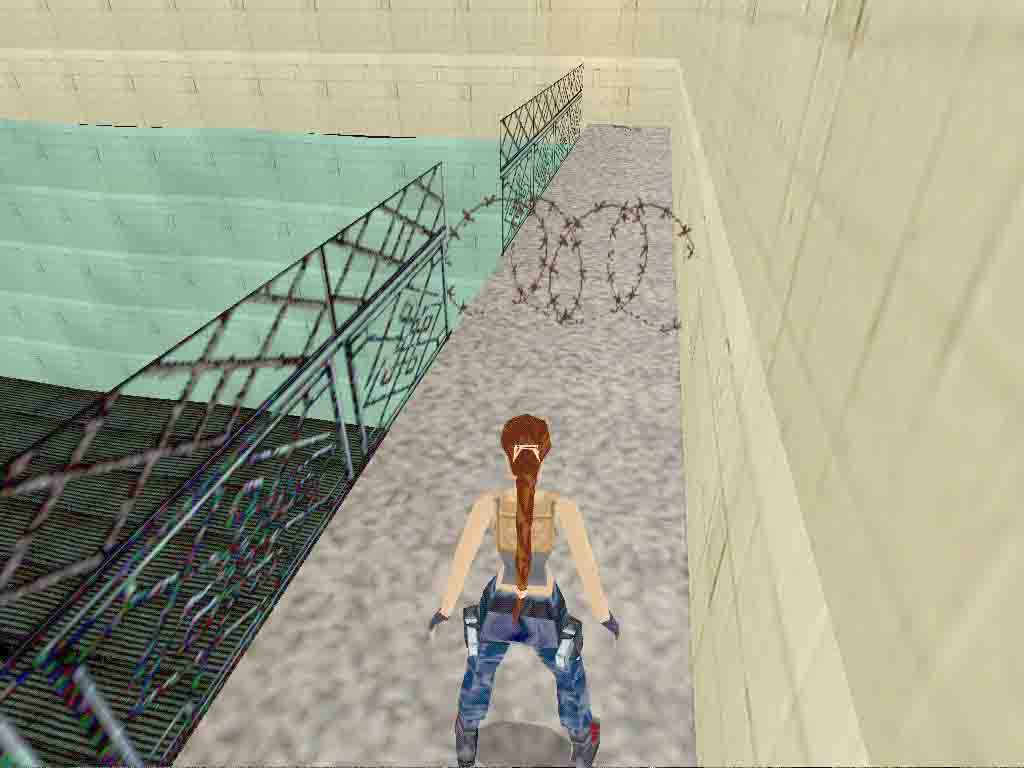
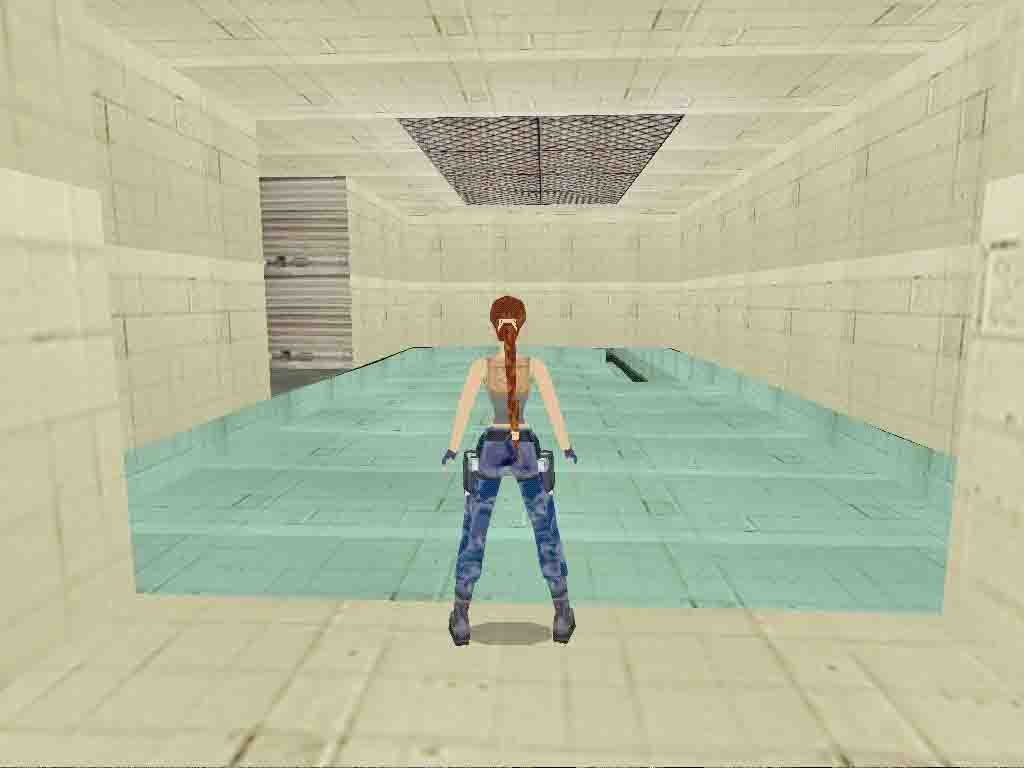
Lara reaches a huge room, with a huge flooded tank. There are two frogman (6,7) in the water. In the end of the platform, past (jumping over) the
barbwire, we find the harpoon gun (15). While running towards the barbwire, a fly-by camera will show the
tank, the propellers, we will hear a train moving. This fly-by camera will
distract you - beware of the barbwire! Define your strategy to handle the
frogman. Guns from above or harpoons in the water, that's your choice. Once
in the tank, stay away from the propellers while they are rotating fast. To
make them rotate slowly, find the underwater lever and pull it. Lara can now
swim across and find a large
Medi pack (16) and - important! - the Sledge Hammer (17).
Before leaving the tank, locate an underwater door and some more harpoons (18). Quit the tank. Quit the area through the tunnel. Back on the street,
more gun fighting is waiting Lara. Looking around, outside, there is a metal
door with a padlock. Time to use the Sledge Hammer on the padlock. ((( Now,
this could be better. For the Tomb Raider engine to recognize a puzzle like
this one, the piece on the wall must be in the CENTER of the tile, not shifted
to one side, as it is. Lara needs to be aligned with the center of the tile,
which she is not if she aligns herself with the padlock. The padlock should
really not be where it is. It should be a little bit more to the left))) To
solve this puzzle, the player must IGNORE THE PADLOCK and align Lara with
the CENTRE OF THE TILE, instead! Probably many players were already stuck
here! Go through the door, climb up. Upstairs, you'll be passing by an hatch
that will only put you back to the lanes at ground level. Ignore it. There
will be a sniper
(8), but the guy is a bit absent-minded. After the first shots he will
start moving and will eventually get stuck against a wall. Oh well, you'll
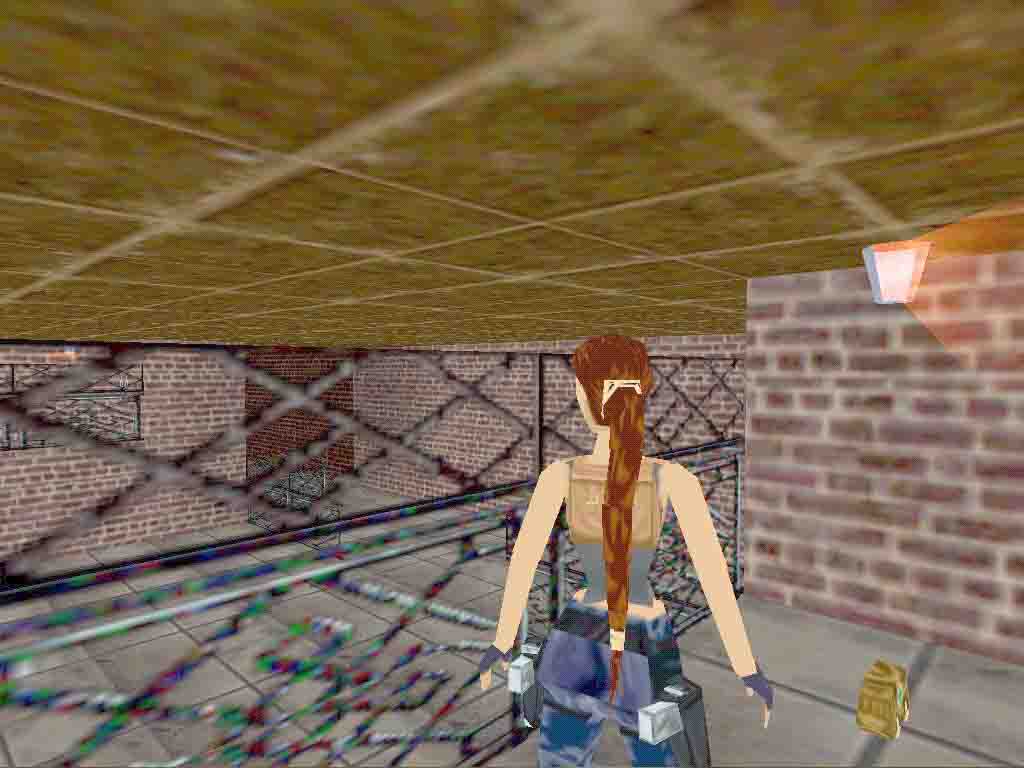
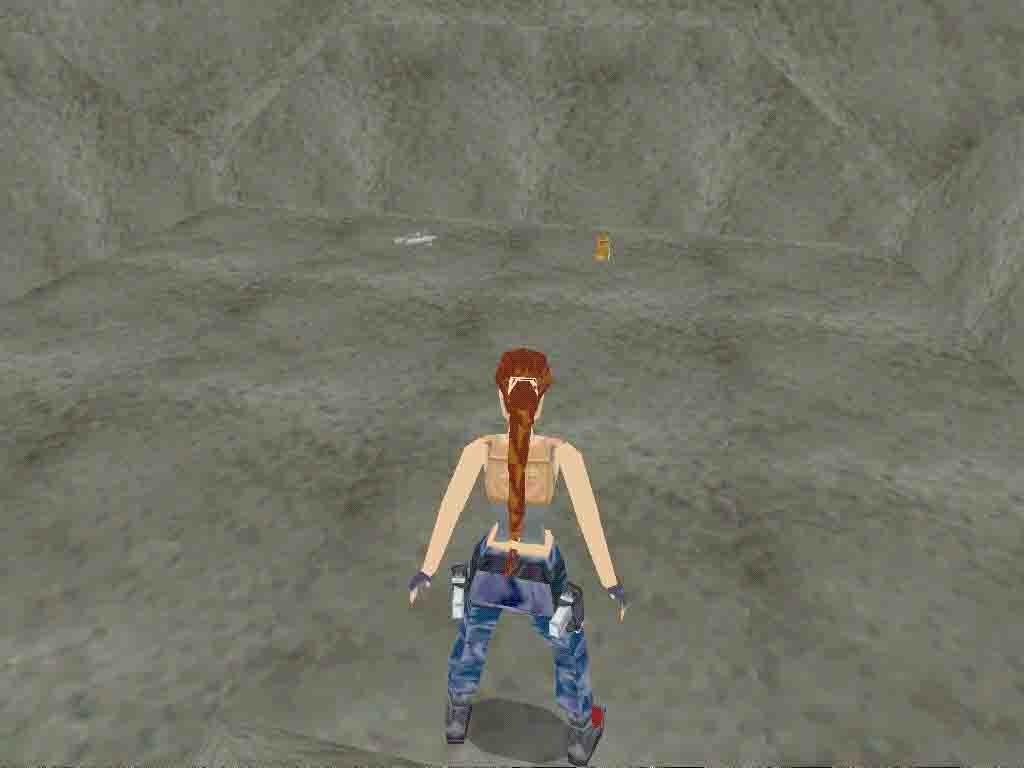
know what to do. Getting close to the outer grids and looking towards the
yellow slopes outside, you'll see some ammunitions (19). One of them cannot be reached, maybe a bug
- an invisible wall prevents Lara from reaching the ammos. But the grenades
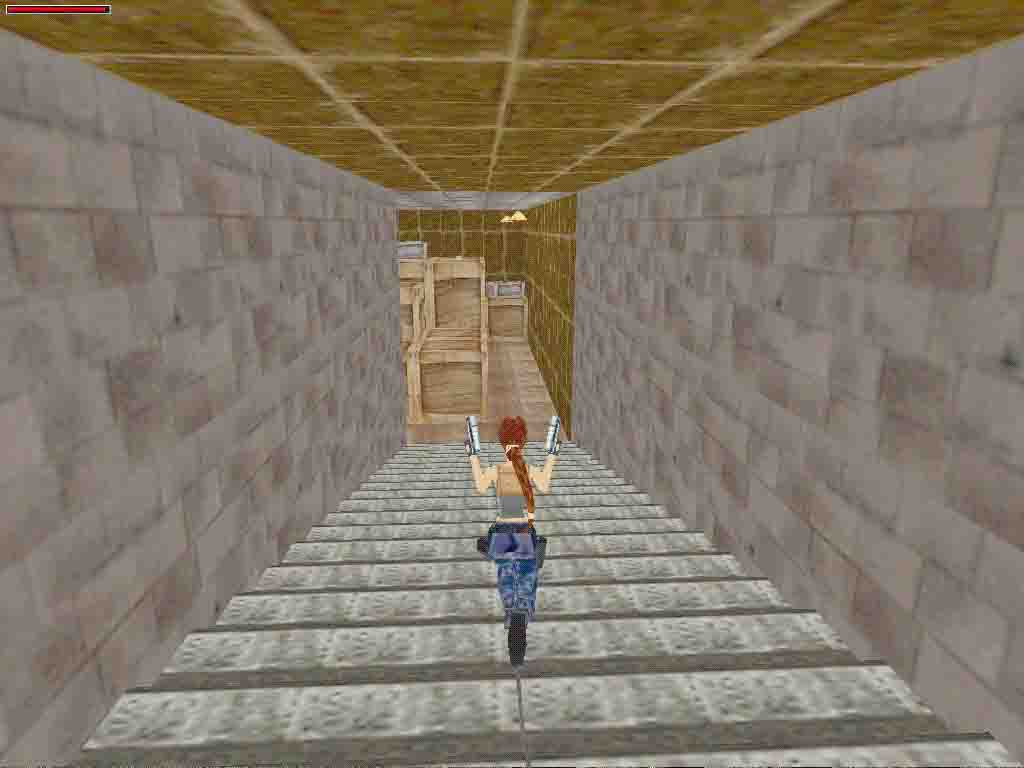
(20) on the other side can be collected. Now the switch on the wall:
the idea is to press the button and make a timed run above and through the
wooden boxes. There is a timed door on the other side of the boxes. Not too
difficult. Thanks Boris, for NOT making just another short-timed-boring-door.
((( I always cheat on timed doors if they are too tight, therefore frustrating
the author's efforts to frustrate the players. I really do not get the point.)))
Going through the door, which will close behind you, go down the stairs. Straight
ahead, on top of the wooden boxes, there is a small Medi Pack (21) and a Key (22).
On the floor, near by, some more ammo (23).
In the corridor ahead there will be an absent-minded guard
(9). Take him and press the button. Now you're back to the Hall of the
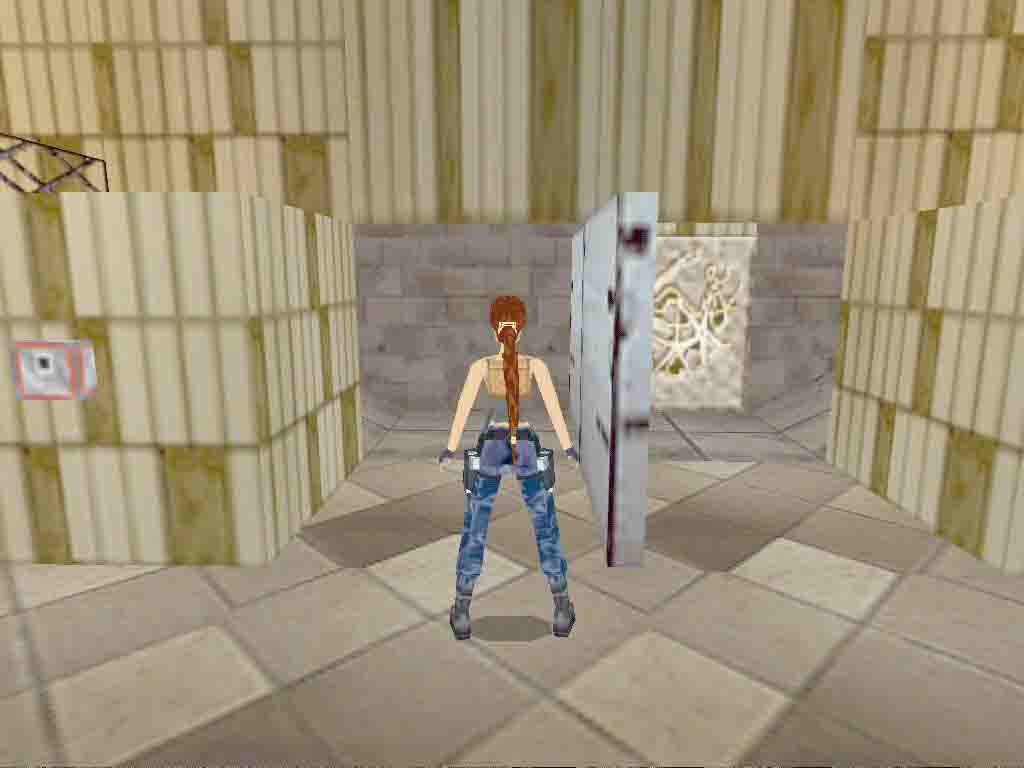
Central Building. There still is a closed door in that area, but now you have
the Smuggler's Key. Time to use it. The door rotates in such a way that it
give you a left entrance and a right one. Take the one on the right side,
you'll be back here for the left side. Caution: be aware that the fire on
the candles located in the Hall are so hot that they burn Lara through the
wall! Do not touch the walls near those flames! Up the corridor, enjoy the
view over the railways. Carry on until you reach a room with 6 switches. One
of them will open a metal door you just passed by. All the other buttons will
call a guard (10)
that we start shooting Lara. To have some fun shooting guards, leave button#4
for last... (counting from left to right) Press the 4th switch, go through
the now open door, go down, down, down, until you have two possible ways.
One of them, the one on the right, seems closed. But that's breakable, so
shoot'n'break. Look out! Barbwire! Walk, do not run, through it, until the
wall on the other side. There is a clear space by the wall. Use to make Lara
climb down safely. In the end of the corridor there is some ammo
(24), which also are Secret#2. Go back up to were the barbwire is. Walk do not
run, take the other corridor. Step on the green trapdoor, it will open under
Lara. Small drop. Slide down to the room below. Burners. Lara turns her head
to the burners. Why? Go have a look. Not too evident, but there is a lever
on the wall by the burners. How to shut down the burners? Looking around,
there will be a guard stuck in a corner, there will be a switch on a wall
nearby a moving block that doesn't move... Get the guard (11), fetch the Key (25) he drops, press the switch to stop the burners, use the lever by
the burners to open the door. On the other side of the door there is a small
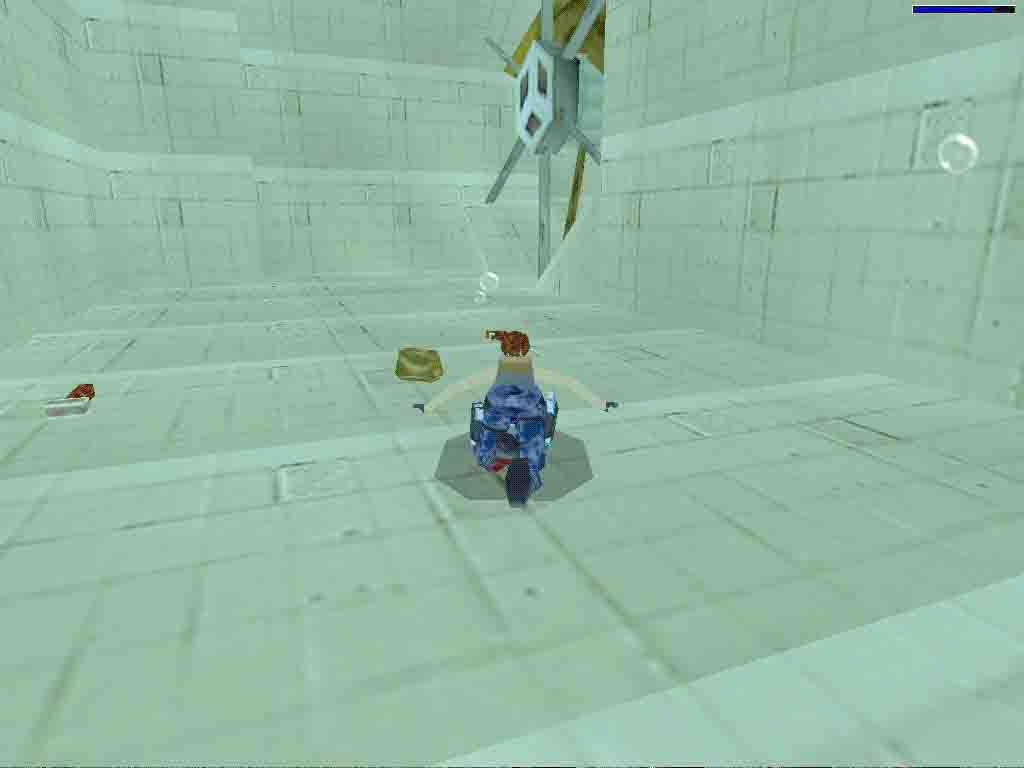
chamber with another lever. Use it. And zap! Lara is back on the water tank
- underwater. The small chamber is now flooded so all Lara has to do is swim
to the surface. Head back to the Hall in the Central Building. Back to the
rotated door, now take the path on the left side. Use the Key. A door opens
to another area. In this area all there is to do is activate switches that
will open a new door by the rotating door in the Hall. Do follow the path,
go to the first switch, press, climb up on the left side, follow the balcony,
find switch, press. Go back down to the floor, climb on the other side, follow
the balcony, find switch, press. Back down on the floor, out of that room,
back to the Hall in the Central Building. Go around the rotating door to find
a new passage. Straight ahead there is a big cashbox with a button on the
top, go press it to open an hatch on the floor. Down the hatch, find a lever
of the wall by a green trapdoor on the ground. Now, this is one of those situations
that can get you stuck. Operating the lever once changes nothing - but I can
we know that? So let's not go around the Station again and again looking for
something which is not there. The lever must be operated twice! Now the room
is flooded and a new huge passage is open. Go through it. Notice a switch
on the wall near the end of the corridor, use it, then go get a guard (12)
and a sniper (13). Take the Key (26)
that the guard drops. Go get a large Medi pack (27). Use the guard's Key to open the door to the
balconies above, go get the large Medi pack (28) on the left side and go find another button
on the right side. This will open another door in a previous room, so go back
to the flooded area and be ready to swim back to the room with the big cashbox.
However, before doing that, still in the flooded area, remember that green
trapdoor on the floor by the level? It is now open. Jump in there and swim,
swim and swim until you surface in a room with goodies - a large
Medi pack (29), and finally the Uzis (30) which also are Secret#3. Take a long swim back to the flooded area,
then from there to the room with the big cashbox. Go forward to find the newly
open door. And yet another button! Another door opens nearby. Pass this door,
that's the last one. Run to the darkness and the level will end.
End of the level.
Pickups: 30
Kills: 13
Secrets: 3
Az oldalon közölt képek, a szöveges tartalom, illetve minden sajátkészítésû anyag, a © TR Editor.hu tulajdonát képezi. Azokat semmilyen formában nem lehet reprodukálni, másolni, terjeszteni, csak a szerkesztõség engedélyével.