TR3 - TERROR CHRISTMAS
Author: David Rukawa Homepage
Download:Here..

 Secret 1-2:
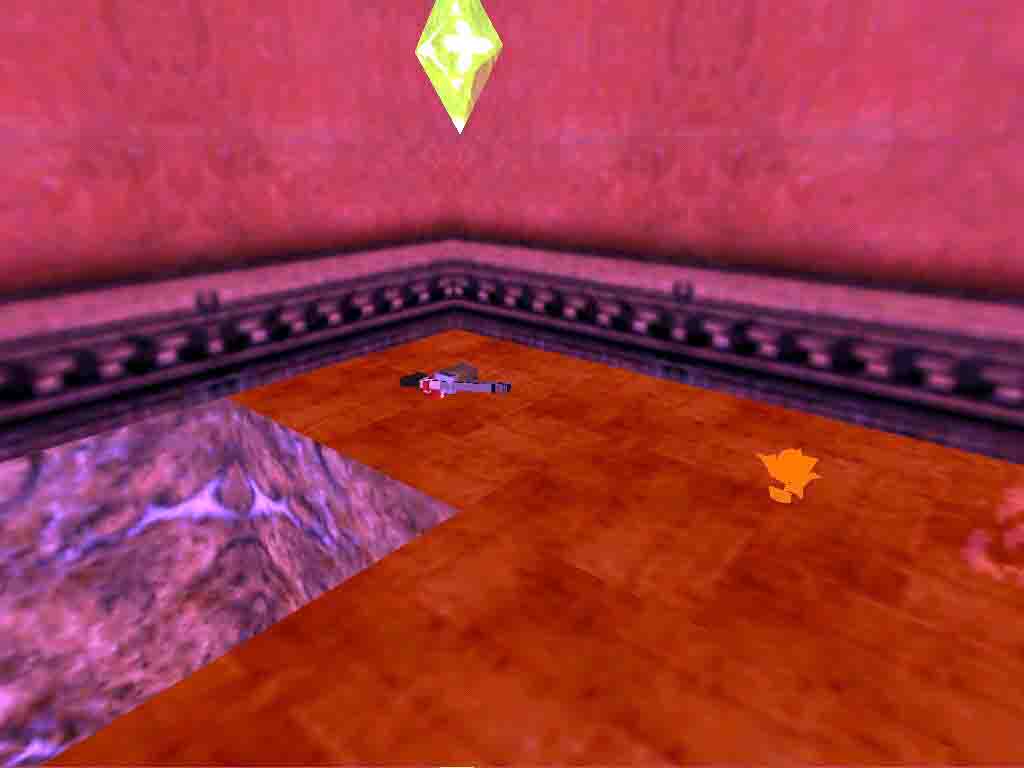
Walkthrough by Harry Laudie
Slide down the hill and at the bottom notice a crawlspace to your right. Pass it and go to the end of the cave and enter the crawlspace on the right wall. At the end, cross the water and go left into an alcove to pull a very hard to see switch. Go towards the door and go to an alcove on the left corner to pull another hard to see switch. It seems both switches are needed to open the door. The door opens so enter carefully to kill a dog (1) and a guard (2). Enter the first room with two closed doors at the end. Pull back the block in the right corner to pickup a small Medi pack (1) and some shotgun shells (2). Push the block back and press the push button on the wall to open the left door. Enter the room to kill a guard (3) who drops a Mystic Plaque key (3). Follow the stairs in the left corner and climb a ladder at the end. At the top you see in front a floating green crystal that gives Lara 50% health if you need it. To the right on top of a box are some shotgun shells (4). Also to the right is a door.
Enter the door and go to the left branch. Stop and pull out a block on the right side one time. Go around it and push the block into the corridor two times. In the hole pull another block out into the corridor. Go around it and push the block into the corridor one time. Go into the corridor to press a push button and get a cut scene of a door opening. Turn right and push a block three times to get out back to the starting corridor. Go back to the first room and see the other door open. Go to the end of the room to use the Mystic Plague key and get a cut scene of a wooden gate opening at the top of an ice column. Exit this area and go back to the first crawlspace that you originally passed. Climb in and there is a climbable ice wall on the left and in front of you. Climb the wall on the left to a ledge. Turn around and jump to another climbable ice wall. Climb up to the gate the Mystic Plaque key opened. To the left is a short corridor with a closed wooden gate. On the right are two movable blocks that you cannot move yet. Climb the blocks and enter a crawlspace. At the end you enter a cave with very large ornate closed doors at the end. On the right side is an alcove with a switch. Pull it to open the closed wooden gate you saw in the short corridor. Now go there.
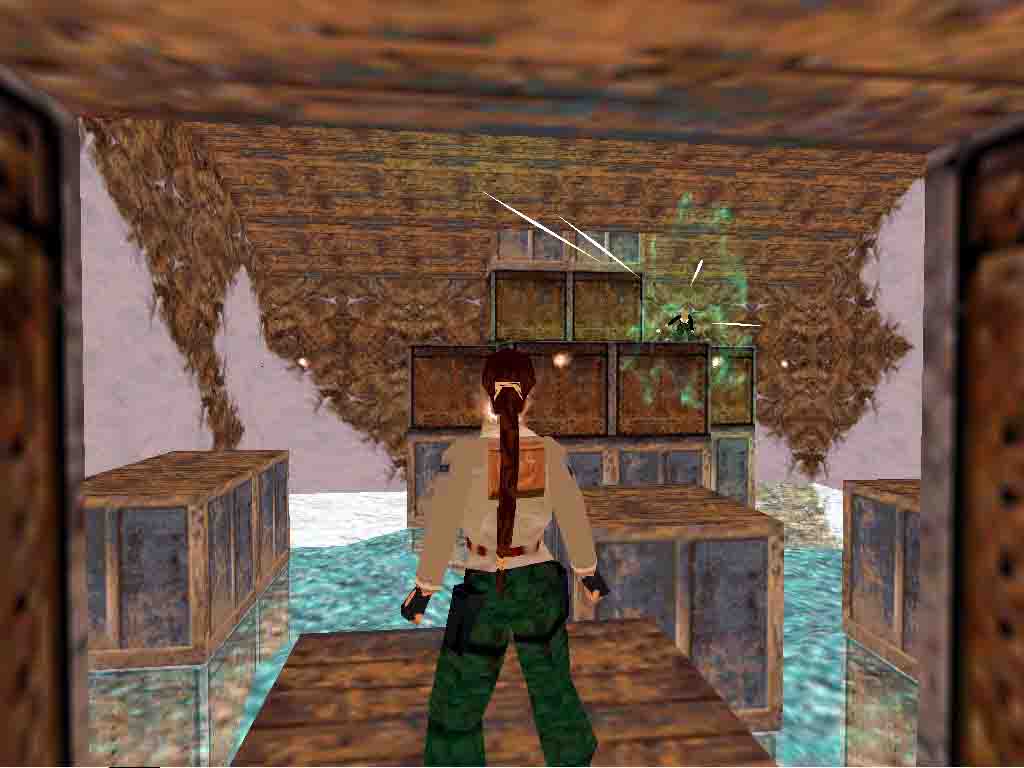
Enter the gate and kill a guard (4). In a left alcove are some shotgun shells (5). Pick up the shells and turn around. Jump to grab a climbable wall and climb up to a room. This room has a floating green health gem, a shotgun (6), shotgun shells (7), a golden rose (8) which is Secret #1 called K3, more shotgun shells (9) and a large Medi pack (10). Climb down and pull out the two movable blocks to reveal a switch. Pull it to see a wooden gate open. Go back to the starting area and climb the other ice wall. At he top climb a block and go down another ice wall. Enter a short corridor to see the wooden gate you opened. Enter and go down a short ramp to kill a guard (5). At the end are a closed wooden gate and two alcoves with switches. Pull both switches to open the gate. Enter a short corridor and look up to see an incline. Back flip onto this incline and jump forward to grab a ledge. Follow a twisting corridor and end up in a room overlooking a deadly pool. From the far right upper box Natla is shooting at you. From the walls darts are also being shot. Immediately jump to the box in front of you and Natla's shoots just hits the boxes in front of her and misses you. Jump to the far left box to pick up a large Medi pack (11). Jump back and jump into an opening on the right side. Pick up a small Medi pack (12) and shotgun shells (13). On the wall is a switch that opens the very large ornate doors you saw previously. I couldnt seem to kill Natla so go back to the ornate doors.
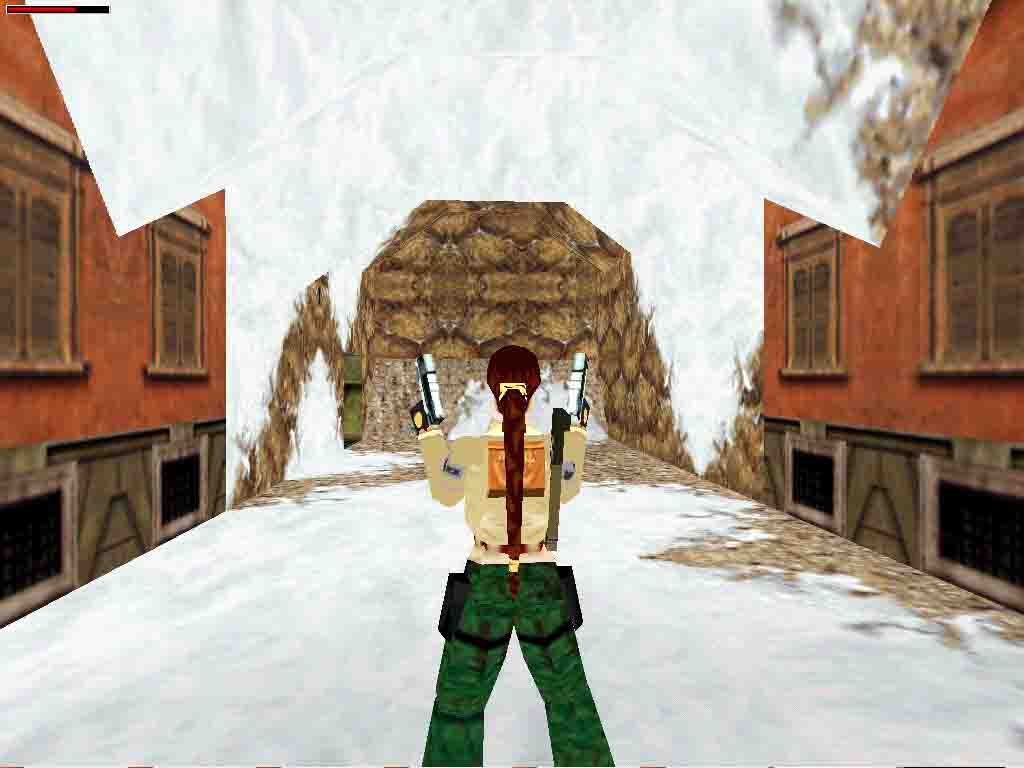
Enter the doors and it closes behind you. In the right corner is a short crawlspace with nothing in it. Go to the far left corner into a corridor with crushing hammers. Carefully pass two hammers, turn left and pass two more hammers. Pass a closed door and ahead of you is an open area with several small buildings. Natla got here first and shoots at you as you enter the area. Run forward to pick up a large Medi pack (14). Run forward and go left to pull a switch that opens a trap door. Run back to pick up a small Medi pack (15) and run behind the building on your right. Behind there, pick up shotgun shells (16) and look to the left to see the trap door you opened. Go to the right to the back wall and jump an incline into an alcove to pick up a large Medi pack (17) and shotgun shells (18). Go back to the trap door. In the doorway to the right are more shotgun shells. Look across the deadly trench to see a hole in the wall. Jump in there to pull a switch that opens the door near the hammers. Go back there and enter the room to pick up a K1 key (19). Go to the trap door and climb the ladder down to the bottom. The room seems empty so climb the box on the right side and pull up into another room. In the corner are a closed door and a lock. Use the key to open the door.
Go in and to the left into a room with three movable blocks. I found nothing under them. Go forward and hear more hammers. Enter a corridor in the far left corner and kill two guards (6)(7). Follow to the next room and you see columns too tall to grab. To the left is a short column between two tall columns. This is a movable block. Pull it out and use it to climb the column near the entrance. Work around the room and use a monkey swing. Go to the end, drop and grab and pull up to get to a ledge. Turn around and climb up to another ledge. Run/jump/grab across a gap to a ledge and go to the right to press a push button on a wall. Go back and turn right to enter a room with a deadly floor, a closed door to the left and a corridor to the right. Jump up to a monkey swing and go to the closed door and then continue to this corridor. Enter and follow through the open door to a room with ladders. Climb the left ladder and at the top back flip and grab a ledge. Shimmy to the left, back flip and grab. Shimmy left again and pull up into a corridor.
Follow the corridor through four hammers to a push button. Use it to open the door back in the deadly floor room. Carefully go down the ladders and use the monkey swing to get to the door. Enter the door and face three more hammers in a corridor. Go to the end of the corridor and push in the movable block. Go to the block's right side and push it into a hole. You see more movable blocks. Go to the nearest block in the wall and push it two times. Go to the left side and pull it into the empty room. You see another block so push it two times into the empty room behind it. Turn around and see a switch on the corner wall. Pull the switch. Go to where you entered the room and look left to see more movable blocks. Go to the last block and push it three times. Turn left and push another block two times. Go behind it to see a closed door. Push this block into a corner and go out to pull the opposite block into the same room and push it into a corner. Look back to see a switch in the empty alcove. Pull it and the closed door opens to display a switch. Pull this switch to get a cut scene of the door opening in the house at the second Natla encounter. If you move all the blocks, as I did, you find nothing. Go back to the open house door and see Natla running in circles on the ledge.
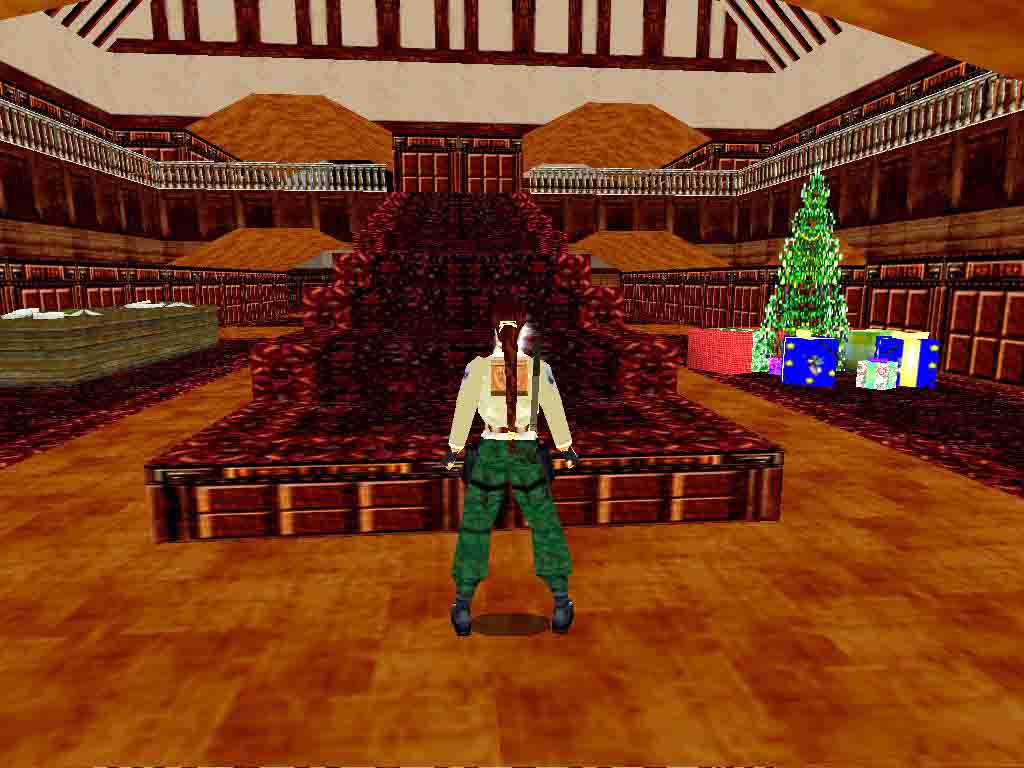
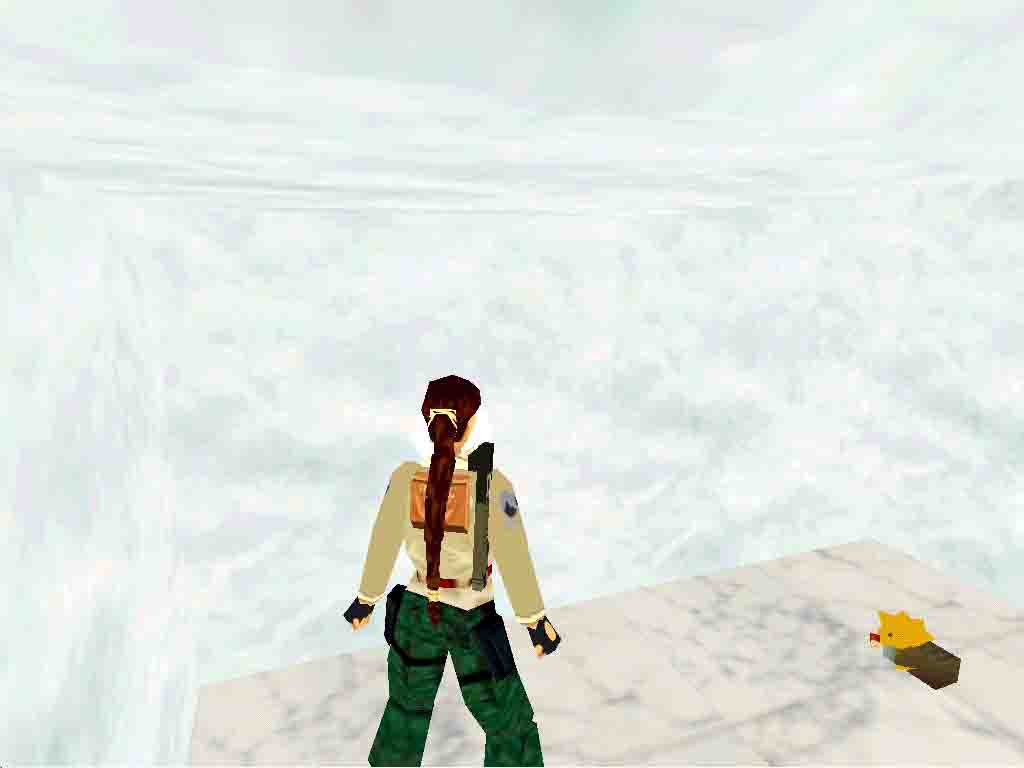
Go inside the house just inside the doorway and you see it is Christmas time. Go back outside and Natla is gone. There is a cave behind the ledge where Natla was but I found nothing there. Go back inside to the stairs and the door closes behind you. Go around the left part of the stairs to the end. You see a trapdoor on the right and a closed door in the end room. Go right to see another closed door in the corner and return to the bottom of the stairs noticing another closed door to your right. Go the left room that seems to be empty except for a TV. Go to the right room and left into a bathroom. In the left corner shower is a push button. Press it and get a cut scene of a trapdoor dropping in the corner of some room. Back to the stairs and go up and follow the left corridor to a kitchen. Press the push button on the wall to open the door. Go in and follow the crawlspace to an ice cave. You can see something in the ceiling. Go to the right corner alcove and pull up to a ledge. Pick up a half Medi pack (20) and go right to pick up shotgun shells (21) and a golden rose (22) that is secret #2. Go out to the room on the right and see a closed door, a fireplace and a bed.
Back out to the room on the opposite balcony. There is a clock, a TV and a switch behind the TV. Use it to open a closed door in the downstairs far left room. Go there to enter a room with a pool and another open door. The pool is very cold and saps Lara's strength. Go through the door and turn left to pull a switch. You get a cut scene of the bottom corridor door opening as well as the door behind you. Go there and go down the ladder. It's a long drop otherwise. Follow a corridor to a room with an alcove on the far wall and a deep drop off on the right side. Jump over the right edge, slide and grab then safety drop to the floor. Press the push button in the right corner and get a cut scene of the door near the second floor bedroom opening. Go to the left corner and climb the ladder. At the top go left and drop into the other alcove. Go back up the ladder and to the bedroom door. Go up the stairs and drop into the open trapdoor in the far left corner. You hear more hammers and see a doorway on the far right wall. Enter the doorway and follow the corridor to an ice maze.
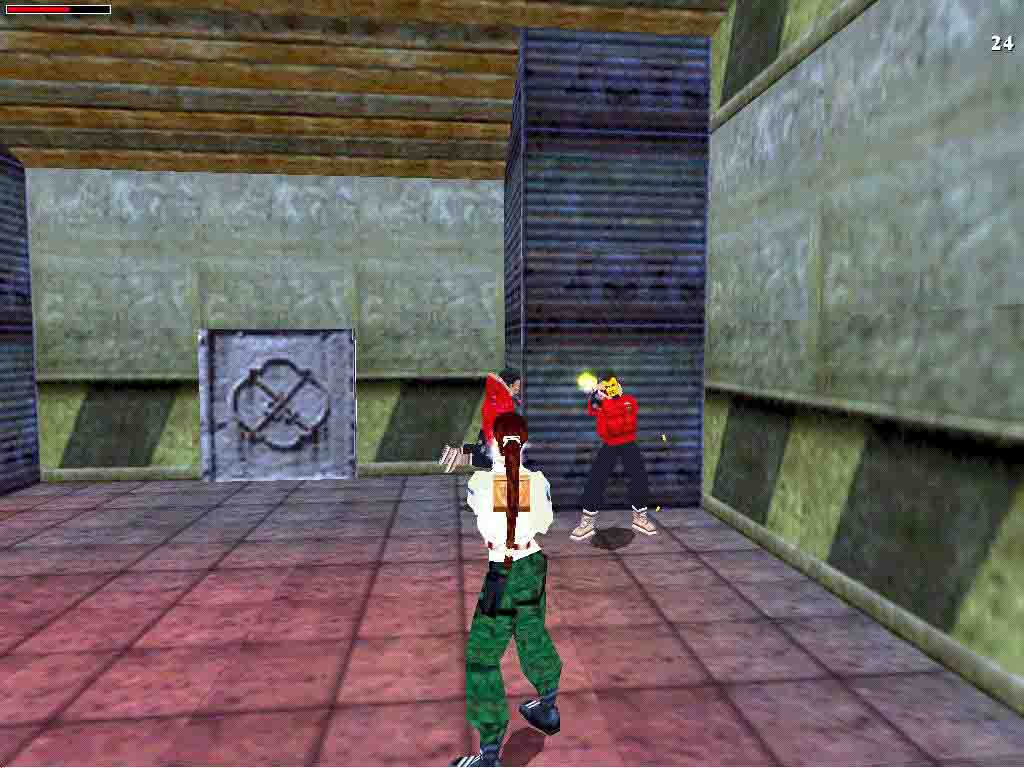
Go to the right side and follow to a switch. Pull it to get a cut scene of the trapdoor in the lower stairs corridor opening. The rest of the maze seems to be empty so go to the trapdoor; climb and back flip into the room. Go downstairs to the newly opened trapdoor. Fall into some ice-cold water and get out very quick. The room overlooks a large sliding drop. Slide down and Natla is there again shooting at you. Jump up to the block on the left and jump up to grab a monkey swing. Swing over to the block opposite the ladder. Jump to the ladder and go up a little. Back flip and roll to end up in front of barbed wire. This takes a little guesswork. Climb too far and jump too far and Lara dies on barbed wire. Go forward one step and pick up another Mystic Plaque key (23). Jump to ledge on the right and then walk through the barbed wire on the left to drop into a room. Walking gives no damage. Pick up a large Medi pack (24), two sets of shotgun shells (25)(26) and a small Medi pack (27). Go up some stairs in a corridor on the other side of the room. Enter a large room and kill three guards (8)(9)(10) Jump up on the box and use the Mystic Plaque key to open the nearby door to the outside and collapse the corridor back to Natla. There was a hole behind Natla but I could never get to it. Go to the outside and enter a cave on the right side to end the level.
End of the level.
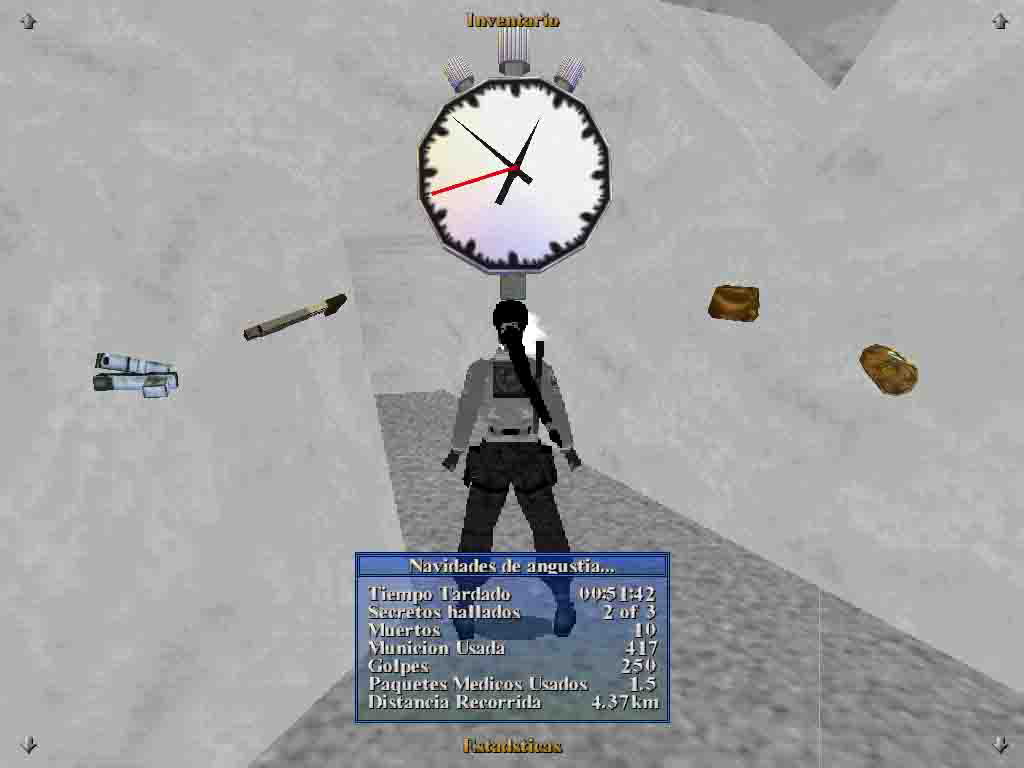
Pickups: 27
Kills: 10
Secrets: 2 out of 3
Az oldalon közölt képek, a szöveges tartalom, illetve minden sajátkészítésû anyag, a © TR Editor.hu tulajdonát képezi. Azokat semmilyen formában nem lehet reprodukálni, másolni, terjeszteni, csak a szerkesztõség engedélyével.