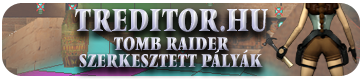
TR3 - JOURNEY TO THE SIDERAL SPACE
Author: Dario Romero Homepage
Download:Here

Secret 1-2-3-4-5: 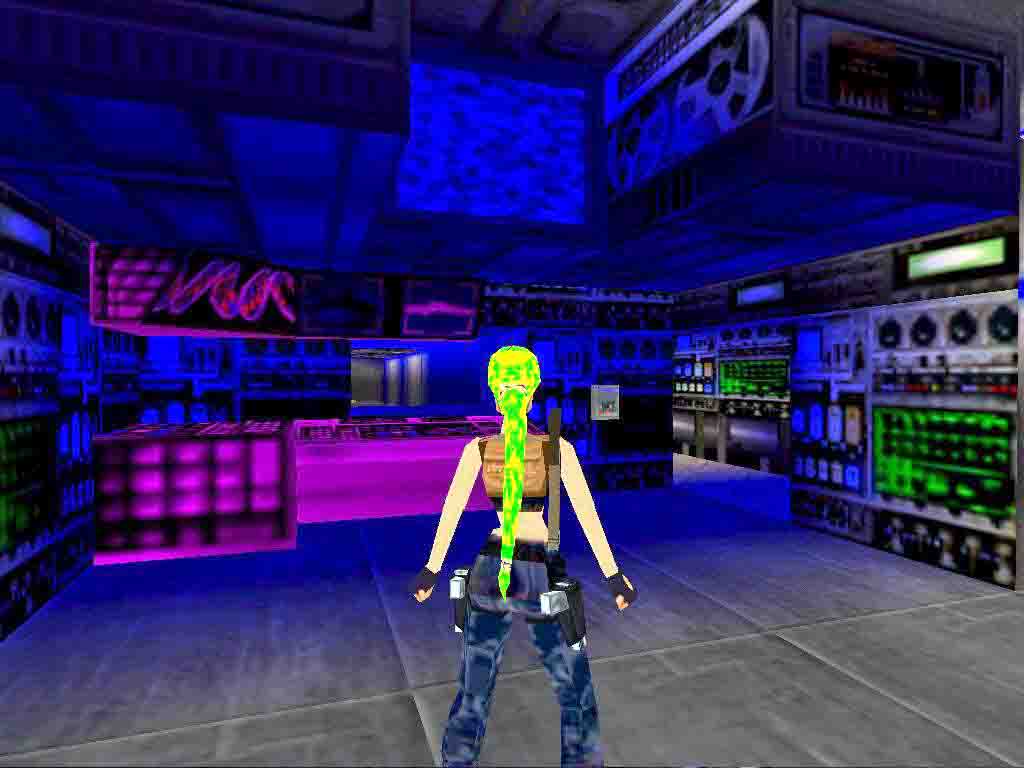

Walkthrough by Harry Laudie
This can be run using the TR3 South Pacific demo. Check the author's readme file for bugs.
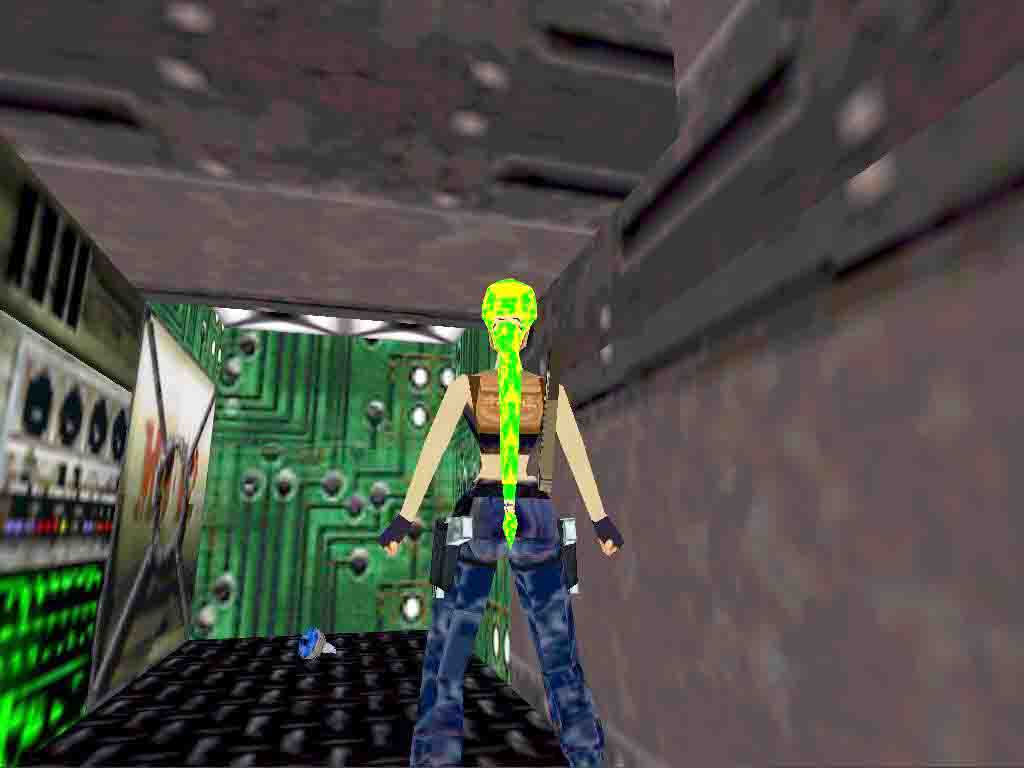
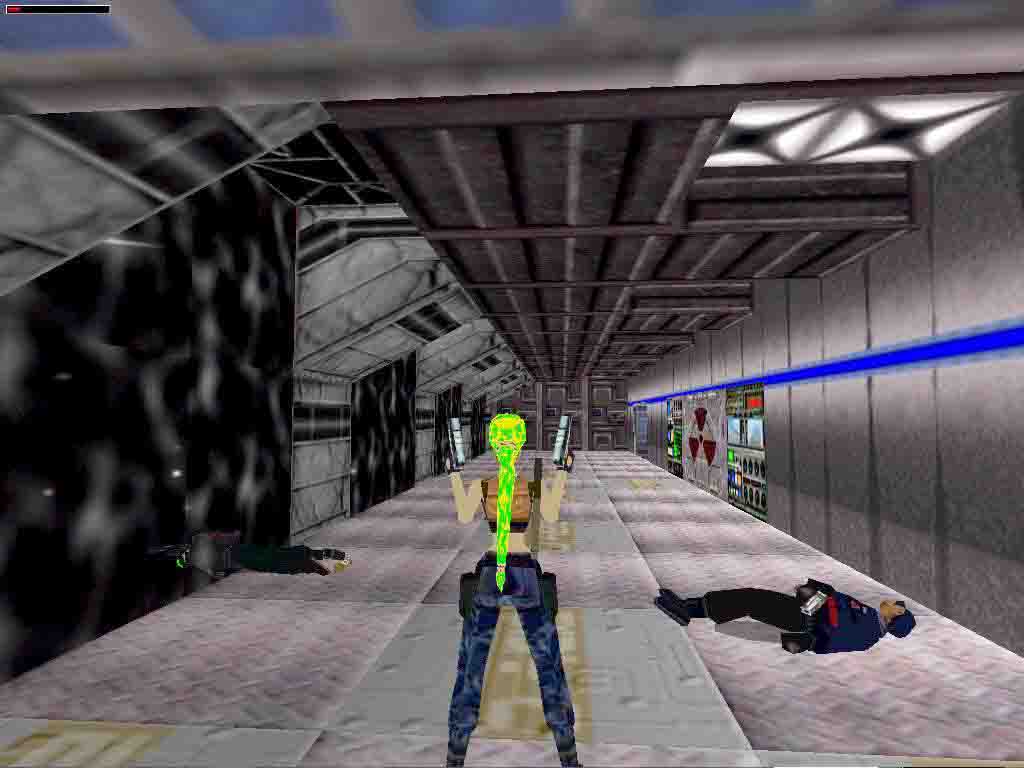
Start in a corridor and walk forward to get a cut scene of two guards (1,2). Kill them but avoid the window ledges since
they will cause damage. You can look trough one window and see a medipack
on a ledge. Quickly run through the wires and the window to get secret #1 and the large medipack (). Return to the room. Turn the corner to see a
door and an upper space you cannot enter. Go the right to an area left of
the desk to pull out a block to drag under the upper space. From where you
dragged the block is a crawlspace to enter to get a shotgun (1) and secret #2. There is also a switch that you pull to open the door you saw earlier.
Enter the door and go down a ramp. Jump up a crawlspace to get a small Medi pack (2). Down to the bottom of the ramp, push a button
to open the door. Kill the guard (3)
who drops shotgun shells (3) and push the block under a switch that opens
a trapdoor in the upper space outside the entrance door. You can go pass the
fan into a huge black space area. Do not brother with it.
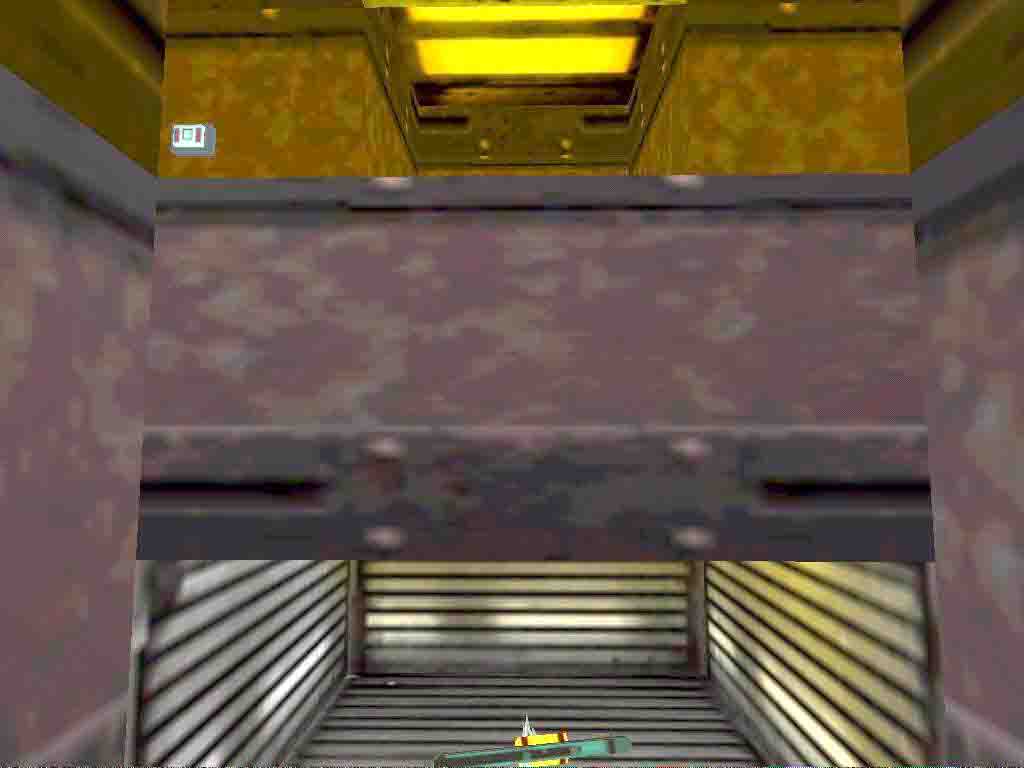
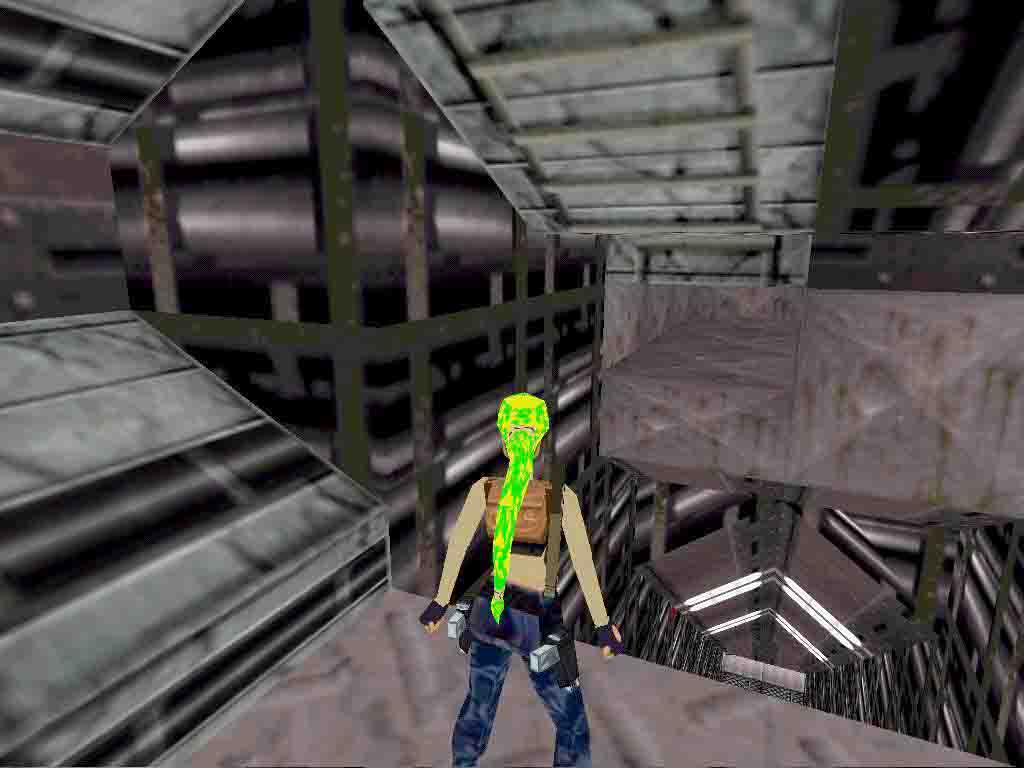
Back to the first block, pull up into the upper space, jump into the trapdoor and crawl into a duct to the end. Climb down, turn and climb down some more to get behind the fan. Beware of the dog (4). Follow corridor and press button to open the door. You enter a room with climbing ladders, two closed doors, a switch, and a pool in the middle. Kill the guard (5) hiding in the far left corner. Pull the switch to open the door beside it and kill the guard (6) who drops shotgun shells (4). Enter room and pull a movable block to pick up the disk (5) (called P3). Notice the closed gates beside it. Back to the outside room and start climbing and jumping ledges to a gray box in an upper corner. Use the P3 disk here to open the other closed door in the room. Get down to the floor and enter the door to a climbing ladder. Had trouble climbing here and could only climb up awkwardly at the edge of the ladder until near the top. At top, move to center of ladder and back flip to an upper area with two enclosed switches, a ramp to the left and another ladder on the outside wall. Climb this ladder and back flip to a track with a movable block and a running machine that will electrocute Lara if it touches her. On the far wall near a closed door is a switch. Carefully push/pull the movable block to beneath this switch while avoiding the killing machine.
Pull the switch and get a cut scene of one of the enclosed switch covers being lifted. Go back down and up the ramp. Go into the hole in front and into a crawlspace for a harpoon gun (6) and secret #3. Go back to pull the now assessable switch. Get a cut scene of Lara standing by the switch. You obviously need the second switch as well. Go up the ramp to the right and push a button to open the door. You see a lock needing a blue fuse. Go back down and up the left ramp. Kill the guard (7) and get a large Medi pack (7). Pull the two switches to open the door. Go up the ramp to see a lock needing a yellow fuse. On the way down, jump up a crawlspace to get some harpoons (8) and pull a switch. Get a cutscene of the gates in the bottom room opening go down there and dive in. Swim though a tunnel and get a picture of a rocket. Enter a large underwater room and use the harpoon gun to kill a frogman (8). Pull two underwater levers near the bottom green panels and the bottom hatch opens. Go back for air. Go back into the bottom hatch into a large room connected to two other large rooms. Go into one and swim up into a room with a switch. Pull the switch and a trapdoor opens at the bottom of the opposite room. Go there, swim down and into a tunnel up into another room. Kill a guard (9) there. There is a second frogman (10) to kill as you swim through the underwater rooms.
Look across at a medipack. Go to the right side of the room to a platform and, monkey swing across the water to another platform. Jump in, swim left and immediately surface into a room and claim a small Medi pack (9). Push a movable block to pull a switch that opens a trapdoor underwater. Kill an annoying guard (11) who falls from the ceiling and pull the block back again. Jump into the water and swim to the left back corner and up into the trapdoor. Exit and claim a blue fuse (10) (called a "serpent stone" in my game). Get a fantastic cutscene of a rocket launching. Back into the trapdoor water and up into the room. Shoot a dog (12) across the water and dive in to get shotgun shells (11) and some desert eagle clips (12). Swim back to the room where you entered the water and climb the ladder back to the ramp and covered switch area. This time go the right and press a button to open the door. Go in and use the blue fuse and the other covered switch down the ramp is assessable. The other button near the door just seems to close the door again. Pull the second uncovered switch and a gate opens besides Lara. Jump into the hole and fall into the water.
Swim down to the bottom to pick up some Uzis (13) and bullets (14) for secret #4. Swim up to the middle of the shaft and see a yellow fuse behind some bars. Look around for three underwater levers. Pull all three and a fourth lever around the corner. Swim back to the open bars to retrieve the yellow fuse (15) (called P2). Surface and pull up through the fence into the room. Back up the ladder to the ramp area and go left back to the yellow fuse holder. Use it and the door opens. As you go to the end of the corridor notice a crawlspace on the right side. Ignore it for now. Press the button to open the door at the end and kill the guard (13) who sneaks up behind you. Enter and go right and as you go into the second room, kill the two guards (14), one of who will drop a small Medi pack (16). Go right into a room with a closed gate and three pushbuttons. Press all three and the gate opens. As you enter the far end blue room, a guard (15) attacks. Kill him. Follow the corridor and notice a keycard reader on the left wall. Crawl under the lasers to the end room over looking a rocket. Pull the switch there and a trapdoor drops in the rocket room. Now go back to the crawl space you ignored before and go it.
Go through the trapdoor and kill the guard (16) at the bottom. Pick up the keycard (17) he drops (called K4). Go the other side of the room to pick up desert eagle clips (18) off the floor. Go back to the keycard reader and use the keycard. A trapdoor drops behind Lara. Drop down into the room but avoid the water. Using flat spots jump across the deadly water until you reach a water slide at the far right. Monkey swing into the crawlspace you see opposite and crawl in for a large Medi pack (19) and secret #5. Crawl back out and go down the water slide into a new area. At the bottom, go left and down a long ladder. Run to the fence at the end of the corridor and look to the right to see a keycard on a ledge. Jump up and monkey swing to that ledge and pick up the keycard (20) (called K2). Monkey swing back and climb up the ladder back to the water slide base. Go to the right into a room with a pool of water and a long corridor. Dive into the pool and swim through an underwater tunnel to another corridor.
Go up the steps and kill a dog (17) . Follow to a ladder and climb up where two guards (18,19) will shoot Lara in the back. Kill them and climb the short ladder on the far wall. Turn around and run and jump up to catch a ledge. Pull up to get a second keycard (21) (called smuggler's key). Get back down, swim back to the room and run down the corridor you ignored before. Go down and ramp and kill two guards (20,21) until you reach two keycard holders. Before you use the keycards, climb on a box on the left wall to climb a ladder. Near the top, black flip to a ledge and jump across the corridor to another ledge to get a small Medi pack (22) and secret #6. Get back down and use the two keycards. A trapdoor opens and Lara slides down to end the level.
End of the level.
Pickups: 21
Kills: 22
Secrets: 6 out of 6
Az oldalon közölt képek, a szöveges tartalom, illetve minden sajátkészítésû anyag, a © TR Editor.hu tulajdonát képezi. Azokat semmilyen formában nem lehet reprodukálni, másolni, terjeszteni, csak a szerkesztõség engedélyével.