
Egyptian Mythology Saga
Author: Luis Martins
Download: Here: Part1. Part2. Part 3. Part 4. Part 5.
Unpack all the level01-09.zip files and copy the involved level01.tr4-level09.tr4 files into the Data folder. Copy the Script.dat, English.dat and Strings.h files from the final zip into the main folder, then copy the uklogo.pak file from the Data folder into the Data folder. Run the game and enjoy!
1. Road to Echnaton's Tomb
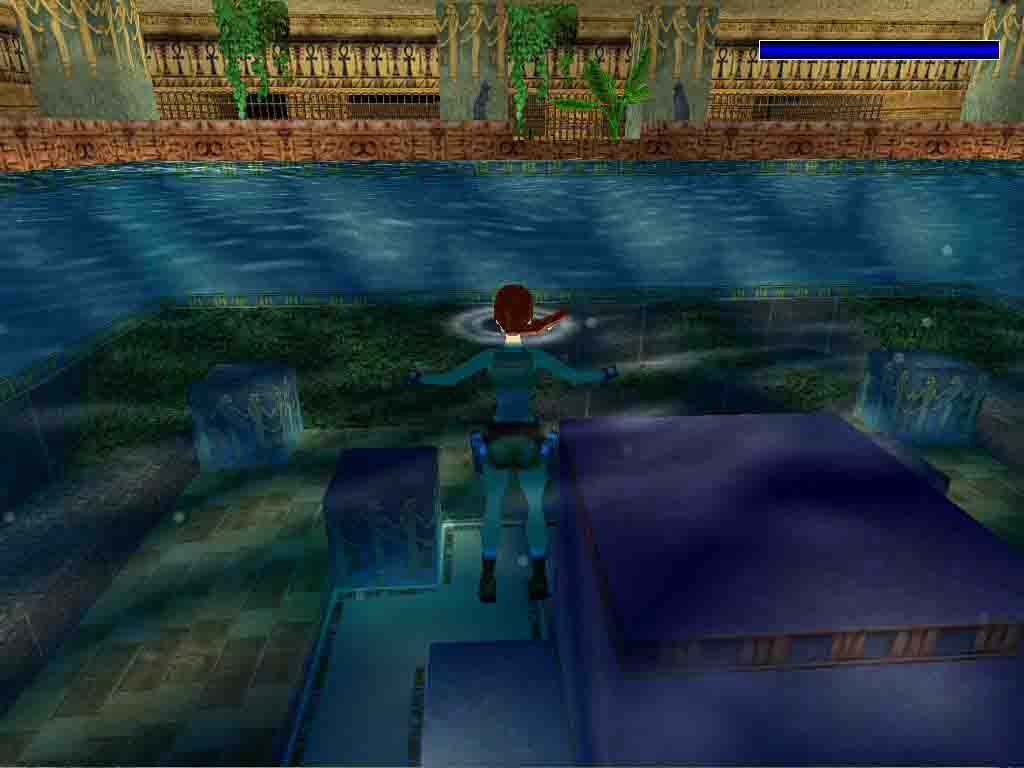
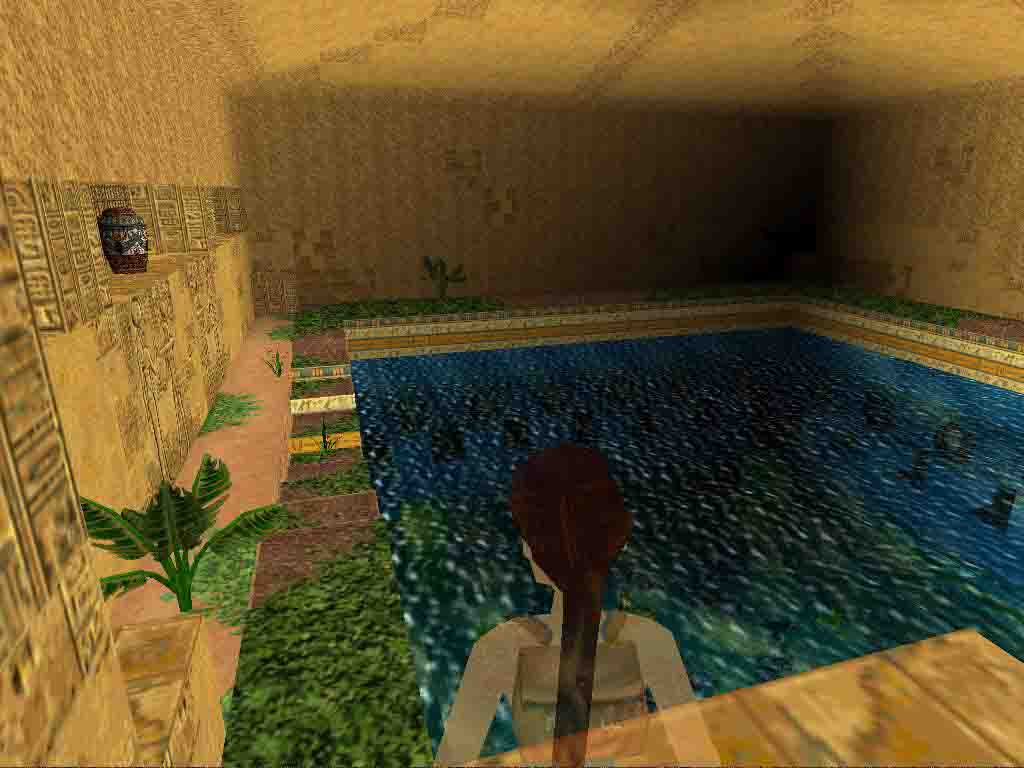
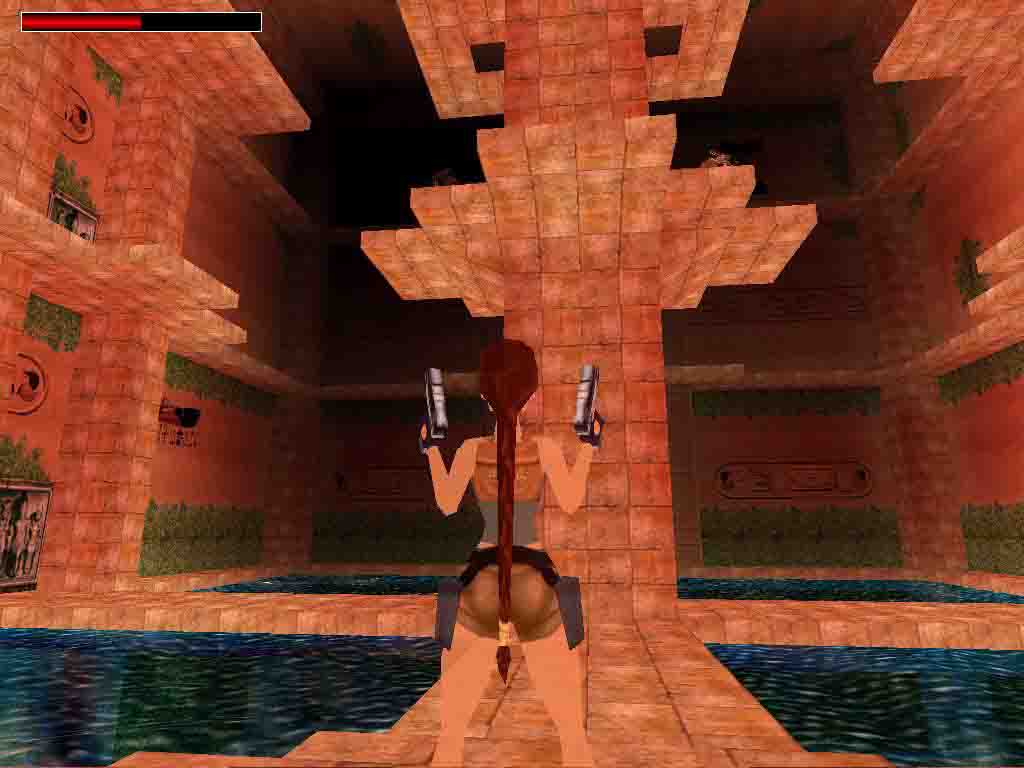
Pull off the lever on the wall next to the pool on the left side, then jump into the water. Swimming to the left get the HORSEMANS GEM at the root of the aquatic plant and use it on the storey. In the next room shoot paling, collect another GEM from the water. Now head to the opposite direction, climb down the ladder. Pull the block out of the wall and push it aside. Pull the lever inside which opens the wide, large grate you have seen when you entered. Jumping below the archways get on the other side of the new room. Find the GUARDIAN KEY and the GEM in the water. Return into the main room and going back use both of the 2 HORSEMANS GEM. Enter and jump onto the opposite side. Push the block in totally. Heading to the left push the block out too and get another crystal in the water. Return and at the end of the corridor push the last block in totally. Climb up the ladder in the middle collect the large medipack and the grate opens in the corner of the room with pool. Use your GEM there and jump into the water.
Getting to the left collect Crossbow ammo and the grate opens in front of you. Entering a new room collect the ammo from the water so one of the grates opens. Pull off the wall switch on the corridor and another grate opens. Pull in the third block to the right then to the left untill it stops. The grate inside has opened. There are some goodies on the floor hidden in the vases. Continue up to the stairs inside, then straight ahead and jump into the small pool to the left. Swimming out pull the lever which opens the door in the end of the stairs. Enter and pull the lever in the left-hand back corridor and in front of the grate swim in. Grabbing the gap in the wall swing aside and pull the lever. Now you can swim in through the open grate. Now you are in a new room.
Jump into the water again and climbing out pull the lever. Get back into the back room with the corridor where the large gate has been closed. Now it is also open. Climb down the ladder below and grab the edge of the falling floor. Pull up and pull down the wall switch. Jump to the middle to get some flares. Get back to the main gate, another door has open there. Head down to the stairs and find the GEM #2 in the crawlspace. Use it at the large gate. Enter and find the crawlspace above to the right. Pull out the block to the right and find the lever. On the floor the right-hand grate has opened. Get over onto the other side of the pool and collect the GUARDIAN KEY. Use it on the higher platform, close to the place where you have entered earlier. The underwater grate has opened. Swim out and head up the stairs. Get into the crawlspace and pull in completely the block on the floor. Get another crawlspace. After another swimming your final task is going towards the large gate in front of Lara and the first level finishes.
2. King Echnaton's Tomb
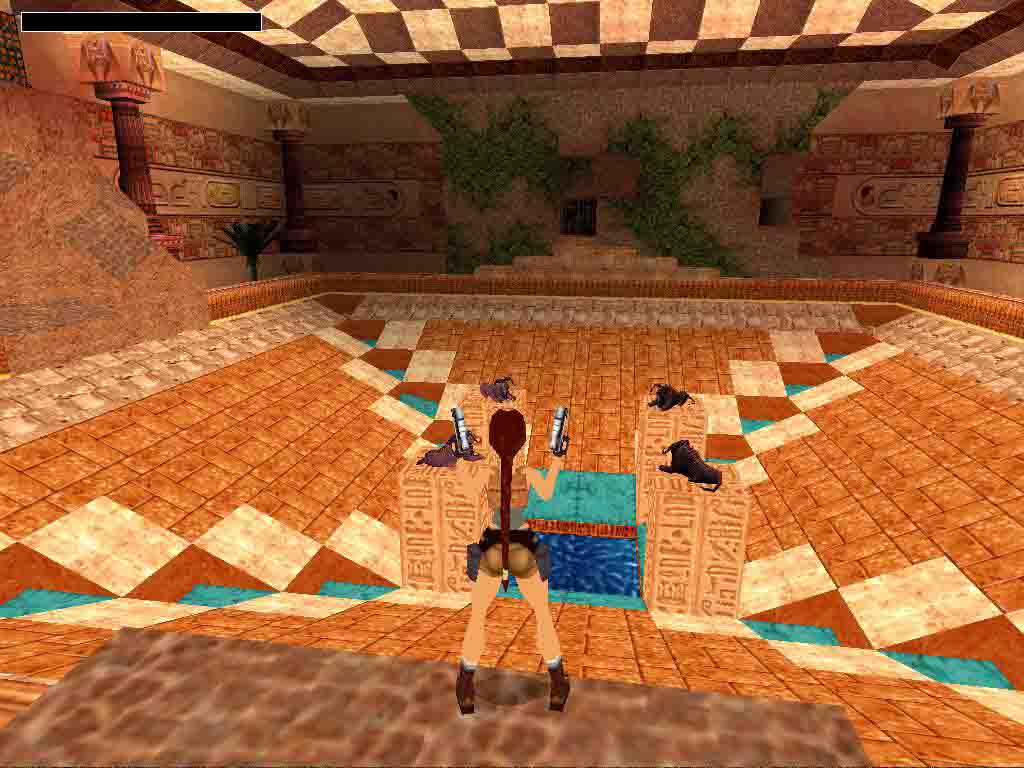
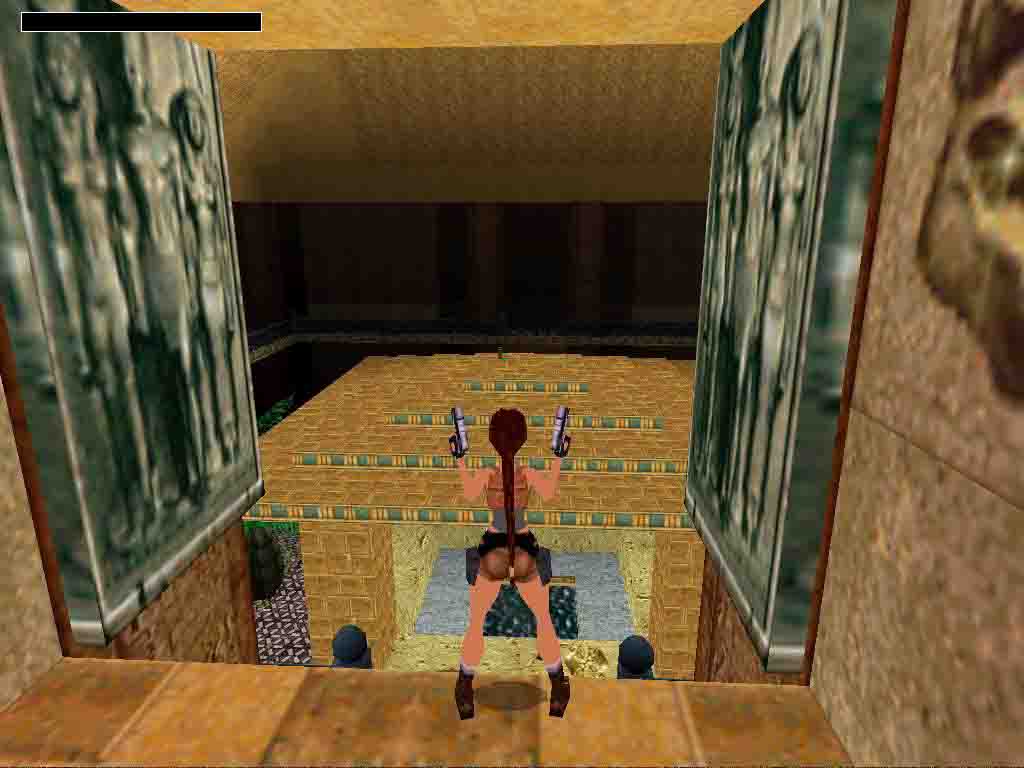
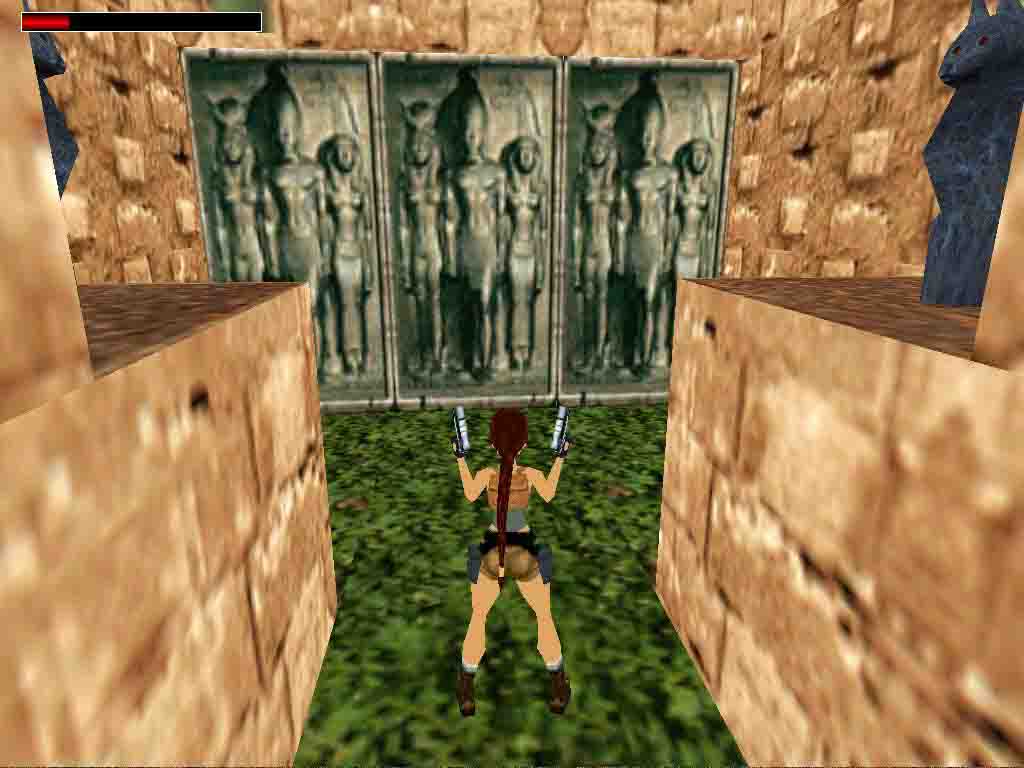
Climb up the ladder in the right-hand corner and pull the lever. The grate has opened. Enter and pull in the block in front of the junction to the right. Getting back the right-hand grate has opened. Shoot the vase and the grate opens in the opposite side. Climb up and get the telescope. Another grate opens. In the room with pool head up onto the floor, jump in the middle and climb up the wall. Collect the part of the EYE PIECE. Return to the junctions and after pulling the lever the final grate opens. Jump up while running so you can avoid the rolling ball. First continue to straight ahead, pull the lever and back into the opposite direction. You are in a room. Shoot the vases on both sides and pull the lever so the grate opens. After some crawling, swinging to the right and crawling again you are in a fresh room. Get up onto the floor next to the left-hand statue and get the CARTOUCHE which you can use in the corridor next to where you have come in. Pull the lever inside which opens a grate there where you have entered earlier.
Jump into the water. Climbing out into the opposite room step on both of the green tiles and return into the previous room. The left-hand grate opens on the stairs, get in and collect everything. Continue up the stairs, now you are in the crawlspace. After the junction continue your way in a narrow gap. In the end jump into the left-hand crawlspace and collect the STAR #1. Getting ahead you will reach a blue lightning shaft. Jump into the water and climb out. Get onto the other side and use your Star. Dont bother the tuaregs now but head to the right and to the left, collect the CARTOUCHE and get in through the first grate. Once getting inside you can kill the tuaregs. Use your new object and enter the next grate. After some swimming pull the lever and the grate in front of the Stars receptacle opens. At the junction go towards the crawlspace and collecting the STAR #2 the grate in the opposite direction opens. Pulling away the statue find a new lever, pulling it a fresh grate has opened next to the statue.
Collect the new CARTOUCHE PIECE along the way and after the crawlspace swing over to the left. Now you are at the water junction again where you can climb out next to the two eyes this time. In the end of the corridor push in the block and pull it once above. So getting back a ladder has appeared. Now you can enter the large room above. Step onto the four tiles with scarabs in the four corners and jump into the water. Collect the goodies in the passages and swimming back into the first one once again collect the CARTOUCHE PIECE #2. Get back where you have seen its receptacle earlier, swim straight ahead at the junction. Climb up the pole and collect the STAR #3. The large gate opens in the large room and shooting the vase you can swim into the new passage.
Heading to left you reach in a new room where you can use your Star. Swinging to the right you are in another junction. Find the lever to the left by swinging over then getting to the left at the junction one of the beduins drops a fresh CARTOUCHE. Push the statue onto the tiles with the well-known patterns and getting back towards the corridor with the skull and cross-bones use the Cartouche. The last door has opened. Get the CARTOUCHE PIECE #1 and use your Star. Return into the large room, a grate has opened there to the right. Swing over and collect the STAR #4 in the right-hand crawlspace. Continuing your way collect the CARTOUCHE PIECE #2. Returning to the large room use the Star. Going through some more rooms use the combined Cartouche and the Piece in the end of the level
3. Nofretete's Secret Garden
Immediately a huge scorpion attacks Lara. Fight with him carefully as there are only a few medipacks are in the level. Do the same with the bird too. I was jumping forward and back on the sloping side-wall and firing heavily. As the bird its useful to getting behind him so he wont shell. Pushing the END button and firing him constantly Lara cant loose health. Climb up the platforms, run through the falling tiles, monkey-swing on the ceiling and finally pull down the switch wall. While falling make a somersault and grab the ladder in the opposite wall. Pull the switch and you are where you have started. A nasty fire wrath begins to chase Lara so enter the door and after some jumps fall down into the pool. Swimming into one of the passages pull the lever and you can continue your way in the other one.
Climbing out find the two heads of lion, shoot them and swim into the open underwater door. After the underwater junction find the lever and the BLUE GEM which place on the side of one of the columns. Now an underwater door has opened in the small pool. Pull the lever there and after entering the next door one of the enemies drops another BLUE GEM. Get the PHAROS KNOT from the other small pool. Use it on the side of the other column in the main room. Jump into the small pool, get the BLUE GEM and the PHAROS KNOT. In the main room pull out the second stone block on the left side and find the PILLAR there. Now head up to the left-hand stairs, carefully step on the falling floor tiles and immediately jump back. After the tiles have fallen down climb down the opposite ladder. Shoot the box aside and finally collect the SCROLL. Use the 2 Pillars, climb up the ladder on the other side and place the Scroll in its receptacle. The door has opened below. Pull the lever inside and another door opens. Entering you are in a new site.
Get up gradually and pop in every places. Shoot the 2 guards below and enter the open door in the middle. Pull the lever and get all the objects you can find. Lure the fire wraiths down to the pool. Pull the switch in the gap which opens the underwater grate back in the pool. Dont forget to shoot the vase and get the CROWBAR. Pull the underwater lever which opens the three-wings gate above. Shoot the lions head inside in front of you. Get outside and using your Crowbar force open the 2 doors. Find the lever and the lions head. Dont walk but jump because if the falling floors drop down you cant get back. Now the grate inside has opened so you can collect the KEY. Now head to the corridor in front of the stairs and enter another huge room.
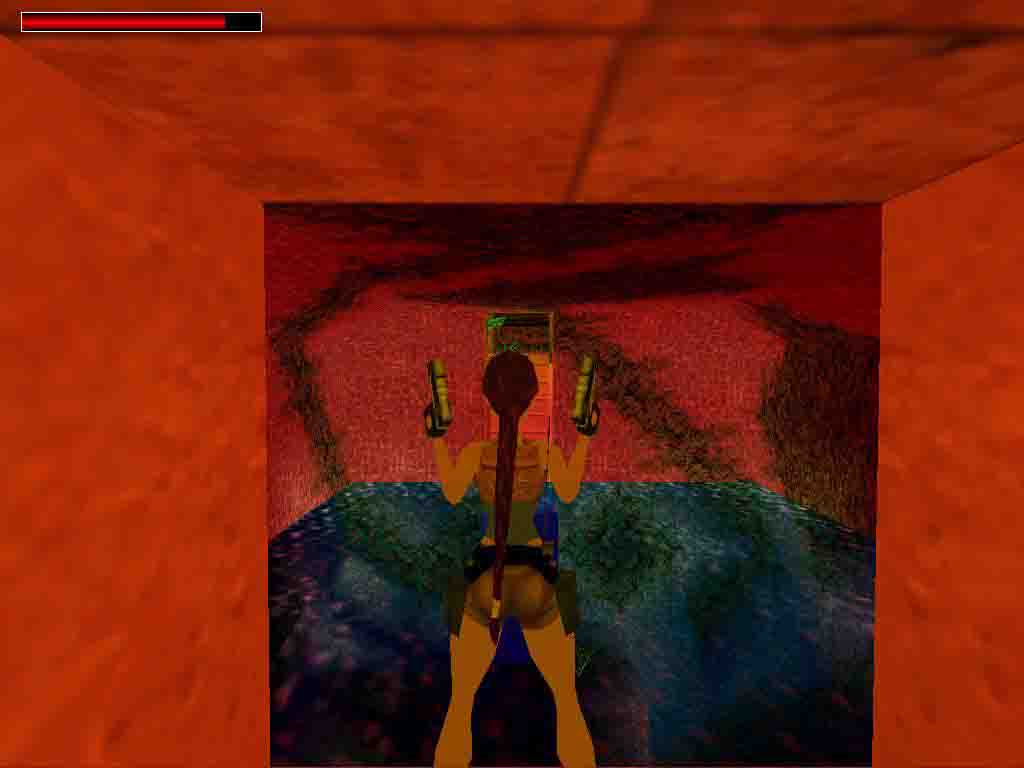
Shoot all the vases so an underwater door opens in the pool below. Pull the lever there and climbing out pull another wall switch. Jump back into the water and do the same till you can get a fresh PHAROS KNOT. Use it with one of the Blue Gems on the columns. If somewhere on the corridor you cant go on just pull the block once. Head to the last underwater gate and heading to the other direction use your Golden Serpent. The room fills up with water. Swimming to the right pull the lever and climbing out pull another lever. Jump back into the pool and swim to the left. Climbing out the level ends next to the slope.
4. Nofretete's Lost Palace
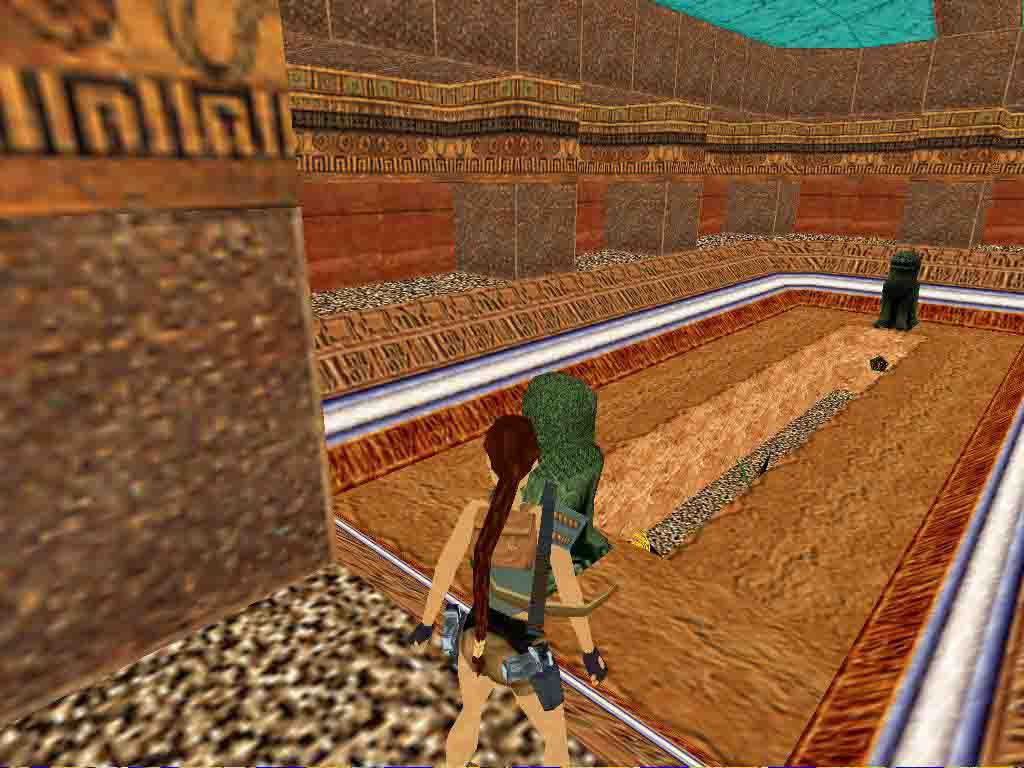
The level begins with a small hopscotch. After getting down look back to the sloping area and shoot the lions head. Do the same in the large room below, stepping to the barrier. Were you economical with your arrows, werent you? Dont use it any other tasks but shooting the lions heads. Swing to the left at the gap and shooting the other lions head pull the lever. At the sloping area shoot the vase below first which opens the door. Push in the block next to the first door and continue your way. Pull out the other one and push it completely aside. So getting back you can push the previous one once more and you can push out a new one on the right side. Pull away that and enter. After some jumps and pulling levers find the 2 parts of the Key: first the ORNATE HANDLE and then the HATHOR EFFIGY.
Now you can get down into the room below. Lure the skeletons to the back and shoot them with your Shotgun. Find the receptacle of the Keys. Combine and place them. After some jumps and pulling a lever notice the new doors opening. In the next small room force the STAR out of the wall and pull down the wall switch. Another door opens. Pull down the lever there and a block rise up outside. Climb on them and after the falling floor tiles push the button which opens another door. Get the new STAR there. Use both of them outside, behind the statues. Now you can get the first PHAROS KNOT in the last room behind the grate. In the back to the right after getting through an underwater tunnel pull the lever. On the bottom level a door has opened to the right. Swing around and pull down the wall switch. Getting on swing again and after a few jumps get the second PHAROS KNOT next to the vase. Jump into the water. On the side of the ladder the grate has opened. Pull the lever inside and do the same in the other one so a grate opens outside. Pull the lever inside and an underwater door opens. Get another PHAROS KNOT. Use the 2 previous Pharos Knots and collect the BLUE GEM from the last underwater passage.
Head into the room above where you have found the first Star. Shoot the vases in the water and find the new GEM behind the first door. Use both Gems behind the other door. Pull the underwater level in front of it to the right. Now head out into the room in front of you, a bit to the left. Climb up there and pull the lever. Pull another underwater lever and an underwater door has opened. Climbing out there pull a new lever which opens the back gate in the main room. Get to the right inside, run, jump along the falling floor tiles and push the button in the alcove. Ropes fall down from the ceiling. Reach onto the column in the middle and after going through the falling tiles push the button. Jump into the water and swim through the underwater corridor. At the junction swim to the right via the open door, pull the lever and swim back to the junction. Swim up and pull this lever underwater. Swim in both of the two passages and find some ammo and one of the SCROLLS. Notice the door which has just opened. Find the Pharos Knot there and swim back to the final door. Get the second SCROLL here. Get back into the room with ropes, over to the other side, head to the large gate and the level finishes.
5. Nofretete's Dark Temple
Walk around above and pull the lever. Find the left-hand pool and swim into the underwater passage to the left. The large gate opens next to the small pool. Inside, before jumping into the water reach up to the white block and push in. Place the Scroll in its receptacle. Get the PHAROS PILLAR in the water and climb out. Get back to the small pool where another door has opened. Swing around inside and shoot the clapper hanging from the ceiling. Another door opens. Slide down, monkey-swing and jump. Force the first STAR out of the wall. After some more jumping finally get out. Theres another closed door at the large pool. Looking up notice another clapper. Shoot it witty, backing as long as you can see it in your Laser sight. Be economical with your cross-bow arrows. Entering the door after a running jump grab the edge in front of Lara and swing to the right. Slide down and after a couple of jumps step on the switch. The trapdoor opens above the ladder but be fast as theres a timer on it.
You are in a large room now. Step on the switch in a small gap above at the back. The platform opens up. Use it to get onto the sloping area and next to the now closed trapdoor. Climb up to the right, shoot the vase and step onto the floor switch. Get back to the open underwater door. After some sliding and jumping swing to the very left side of the ladder and jump back. Force the second STAR out of the wall. Shooting the lions head the grate opens above. Jump to the left to reach the sliding area and swing to the right. Get up to the left and step on another floor switch. You are in the small pool again. Get out to the great pyramid and pull the lever in a narrow water passage. Getting back into the large pool swim over into the small pool. The door has opened there. Using your Pharos Pillar notice the small door opening on the side of the pyramid. Enter and find yourself in a greenish room. Use your other Scroll there but carefully avoid the red-hot chasm in the middle.
Theres a structure surrounded by water outside, next to the side of the pyramid in a side room. A new grate has opened there. Enter and after pulling an underwater lever one of the structures doors opens. In front of the fire-blower get into the water and find some Crossbow ammo there. You can leave the structure on the other side as there are no fire-blowers there. Get back on the other side, pull out the block and pull the lever behind it. Now place the Stars on the two sides and find a button and a BLUE GEM outside. Jump into the large pool as a grate has opened in the water. Swimming to the left pull the lever which opens a grate to the opposite direction. Collect the goodies along the way. You are in a new water room now.
Get to the pulling out block through the falling floor tiles. Reach to the floor switch which opens the door next to the button. Push the button. After a few jumps notice the switches on the floor. Get over in front of the fire-blower and if you are enough fast you can get the small medipack from another floor switch. Return to the first fire-blower which now is out of order. Jump on the ladder, swing to the left and pulling down the wall switch the door opens above. After some jumps place the 2 Blue Gems in their receptacles above and get the PHAROS KNOT next to them. Going ahead after some more difficulties and monkey-swinging pull down another wall switch. Making a somersault grab the ladder and finally you are in the water room again. The third door has opened there. Slide down, jump and swim. Get the HATHOR EFFIGY and enter a new area.
Climbing out of the water find the lever amongst the columns above. Pulling it an underwater door opens. Climb up the ladder and collect the fresh BLUE GEM. Get back out of the water and climb up the ladder. Before doing this step on the floor switch in front of the ladder, in a small alcove. It opens up a small platform above. You can jump on it from the ladder. Push the statue on the signs on the left then to the right and enter the open grate to the left. Place the Pharos Knot in its receptacle and head to the open door in the room. Get onto the platform in the middle and pull the statue on both of the 2 signs. The underwater trapdoors open outside. Find the BLUE GEM and the other part of the Key behind them. Jump over to the ladder, there are no spikes there now. Get on the floor. Place the Scroll and the combined Key. In the next room step on the head-patterned floor tiles and place the GEMS on both sides. The door in the middle opens. Find another moveable block inside. Pull it in completely and after getting through the crawlspace pull the lever. Slide down and step on the floor switches. You are in a new room now. Jump until you can get out on the other side. (NOTE: Pushing the arrow keys while jumping Lara move sideway too but DO NOT hit the CTRL button!) Head up the stairs, pull the lever and a grate opens. Walk over to the other side of this room and the level ends.
Unfortunately you cant enter the South America lever from here so run it from the New Game.
Walkthrough by OBig from TREditor.hu
Translated by Petunia from TombRaider.hu
2003-04-21
Az oldalon közölt képek, a szöveges tartalom, illetve minden sajátkészítésû anyag, a © TR Editor.hu tulajdonát képezi. Azokat semmilyen formában nem lehet reprodukálni, másolni, terjeszteni, csak a szerkesztõség engedélyével.