
BtB2010 - The Power of the Dragon
Author: Matie..eMail
Download: Here BTB 20010 Package
Story:
On an early, foggy morning Lara was in her thropy room. She was standing
in front of a display case with the title 'The Dagger of Xian'. The dagger
was one of the most interesting and powerful artifacts - The Dagger of Xian
can give the powers of a dragon to the person who drives it into their heart.
Suddenly, the telephone rang. Lara went out of the thropy room to pick up
the phone. Before she could say anything she heard a nervous voice talking
very quickly.
'May I speak with Lara Croft, please?'
'It's Lara Croft. How can I help you?'
'The heart of the dragon... It must be destroyed!'
'The heart of the...'
'Dragon, dragon! It must be destroyed with the Dagger of Xian! It'll take
the power from the heart. The dagger has been in the dragon's heart for too
long. Its soul has been surrounded with the ancient power and became too strong.
When the dagger has been ripped from the heart of the beast, it didn't become
dust, it just shrunk. Some monks have hid it, but it has been found by the
Fiama Nera. The heart must be destroyed or the dragon will reborn!'
'And do you know where it is?'
'It's under the Opera House of Venice. Be very fast, your time's running o...'
'Hallo? Hallo?'
Next day Lara found an article in a daily newspaper about the Opera House
of Venice, people are saying that it is posessed by ghosts. Another article
has been written about a man, who was a member of the Fiama Nera and was killed
while talking to someone on the phone. The reasons and the murderer are unknown,
however Lara suspects that the man's murderers are the members of the Fiama
Nera. Now they surely know where Lara will go and they want to stop her.
Lara travels to Venice and the adventure begins...
Walkthrough:


Secret 1:
.Secret
2:
Secret 3:
Secret 4:
Secret 5:
Firstly, make sure you have the original (2000) title.tr4 in the data folder to avoid possible crashes. There are 5 secret bags to find in the level, they are not necessary for progression or to finish the level.
You are welcomed by a first elegant camera
fly-by. Your main goal in this level is to found two roses so to access the
theatre. The particular order for the two roses quests is not important.
CROWBAR and FIRST ROSE
Just in the direction where Lara is looking,
on the ground is a different tile, which in fact is a circular trapdoor. Go
place Lara on the side of the trapdoor, and looking East, and make action
to open it. Jump in the hole of water. A closed door is at the bottom. Pull
up out of water into an alcove and pull the wall switch. Return in the water
and notice in the middle of that underwater corridor the Underwater Switch
on the right wall. Before pulling it , let us go for the first secret. Swim
farther and notice on the left a wooden door in the water. Pull up out of
water above that door and get the 1st SECRET
BAG. There is another alcove on the other side: go there and pick
up the Crowbar.
Return to the UW lever,
and pull it to open the wooden door. Swim there (if you are curious you will
notice by trying to pull up into the secret alcove that the secret is not
accessible anymore) into a short underwater corridor, pull up out of the water
to the right, into a moody corridor and a room with steam emitters. Kill a
Rat. You also have to endure mice that you cant kill with weapons (you can get rid of
them by diving into the water a few times if you want but that is not really
necessary). In the room with steam emitters , shoot the white box on
the wall near the corner, place Lara in front of it , and make action: she
will take Wires with the crowbar. Go
to the opposite corner of the room and climb the ladder. Pull up, behind you
and beyond the hole near a fan, are Glock 17 ammos.
Enter the bigger room; notice a floor lever
on the left , and a wall pipe on the right which needs something to function.
It is better to pull the floor lever first, then go to the wall pipe in the
corner and place the Wires by pressing the Action key. A door opens to a crawlspace
and a steam emitter is on. Enter by the open door into the crawlspace. Jump
over a big pipe and at the end, place Lara on the right wall facing West and
jump up. Lara grabs and opens a ceiling trapdoor. Pull up in the room above.
Pick up Uzis ammos on the right , then
go to the left. Shoot the window with the pistols; you are back outside on
a little bridge overlooking the starting area. Make a long jump with grab
to the long ledge ahead. Pick up a small medipack. At the end a diagonal jump to the
right to the next white ledge, and another one to the orange roof with the
handle of a zipline.
Take the zipline to go across, at the end keep pressing the Action
key, Lara will automatically grab the roof. Shimmy a bit to the right and
pull up on the roof. On the left are shootable windows.
Before shooting them, jump and grab the red awning . Pull up and to the right,
you can make a diagonal running jump to land on the top of a closed white
hanging bridge. And from the top of this bridge, you can easily make a jump
down to a small stony area North with the 2nd
SECRET BAG. To return, jump and grab the wall on either side, shimmy,
pass the corner and pull up on the top of the white hanging bridge, then with
a diagonal running jump you are back on the top of the red awning. Go down
and now shoot the windows and enter the building. Kill a white gunman (these guys are tough gunmen, so to
not lose much health, a strategy is to shoot at them, hide behind pillars,
and when they show up, shoot at them, hide again, etc
). When that foe is
out of the way he gives you a big medipack;
notice a painting in the wall opposite the broken windows (this painting is
in fact a door), and a corridor on the right side, at the end of which is
a wall switch. Pull the switch, another baddy shows up in the room, a black gunman,
those are easier to kill. This one will give you Uzis
ammo when dying. Jump into the alcove that was behind the door/painting
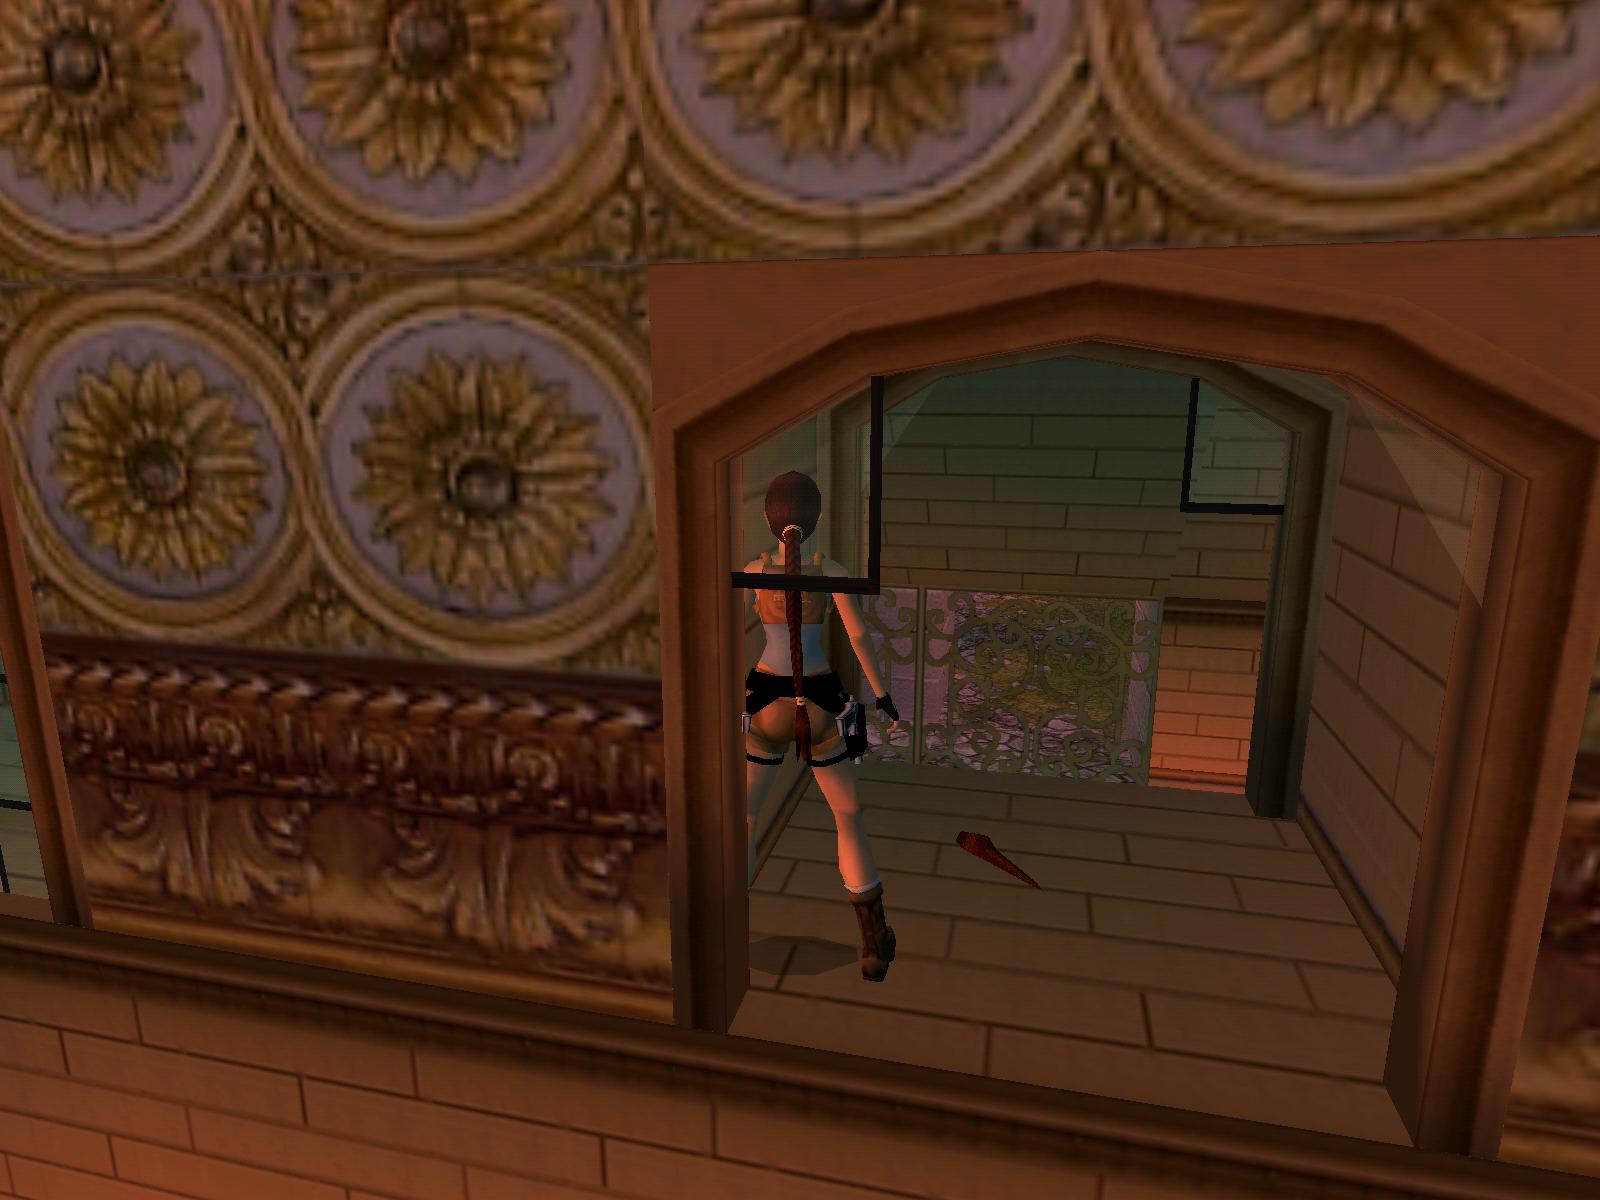
and pick up the 1st ROSE.
THE WATERSKIN
Now that you are done here, return to the broken
windows, and safely go down to the starting area. Once at ground level , face
North and shoot the windows of the building. Enter here and jump on the table
(Lara can stand on them) and pick up the Glock 17 Revolver. (The windows on the side of the room
can be shot too, and you can explore a bit of a canal but there is no real
need to do that). Get out of the building back to the starting area. It is
time to explore the town.
Go East and into the canal, swim forward
and get out of water to a large garden on the left, a garden with a few crosses.
If you go forward, Lara will look at something to the left, then something
to the right and up. Go left where the crosses are; you will notice that one
is smaller and a bit darker: you can pull this one once and get the Laser
Sight that was under that cross. A burst of action music hints
of danger: a white gunman shows up, kill him quickly with the
Glock 17 Revolver. Combine the Revolver with the Laser Sight
and shoot the bell hanging at the top of the right wall: you hear a door opening.
This door is located just behind you, on the other side of the canal. Jump
there and climb the ladder.
Go forward in the corridor, you are soon
overlooking a courtyard which has three floors. You are currently at the middle
floor, and there is nothing to do here. Your only next step is to go down
at the lower floor : the courtyard below. Pull up the 2 wall switches East
and West, a door South opens. Enter a dark storeroom with 3 floors, the door
closes behind you. You can pick up Uzis ammos
on a crate, notice a different tile in the middle along the South wall, a
ladder in a corner, and a table with a mirror on it in the opposite corner.
This object is movable: move it to the different
tile, which is in fact a high raising block. Once it is placed, go behind
the ladder N-W. There is a block with a wall switch. Pulling it opens a trapdoor
in the ceiling of the middle floor of the storeroom. Now to reach that middle
floor you can of course use the ladder, but you can also reach it by a jump:
place Lara on the switch block looking South-East and make a running jump
with a bit of a left curve and grab the floor of the middle floor. Pick up
a small medipack on the crate in the centre. And go on
the white block in the corner. Face West and pull up at the upper floor by
the opened trapdoor. Kill 2 bats. Pull
the wall switch located on the East wall: that raises the block at the lower
floor, which consequently rises the movable object to the middle floor. Go
down safely to the middle floor and pull the movable object once, onto the
different patterned tile. That opens a door at the upper level. Return there.
Then climb on the crate before the swinging
crate, and hop with a standing diagonal to the right crate ahead. From this
one, make a running jump with Action to land in the opened door. Pick up the
Bundle of Keys, and press the button
to open the exit door. Go there by the way you came: jumping and avoiding
the swinging crate. Turn left and go out: you are at the upper floor of the
courtyard (the door closes behind you). Go left or right, to the other side
and use the Bundle of Keys to open the door North. In the small corridor,
kill a Bat, go to the end and pick up
the Waterskin
on a crate right. Return outside, then left or right, and from the broken
bridge go down safely to the middle floor of the courtyard, then to the exit
North. You are back overlooking the canal.
[Note: At the bottom of the courtyard there
is some water where you could fill your waterskin, but that would imply too much of redoing, and that
is not necessary as you will be able to fill it when you will need it. However,
if ever you choose to fill your waterskin here,
you will have to flip again the two switches at the bottom of the courtyard
to reopen the door South, then climb again the middle and the upper floor
of the storeroom, flip the button in the alcove where you picked up the bundle
of keys earlier to reopen the exit door of the upper floor of the storeroom,
and from the upper floor of the courtyard, go down to the middle floor of
it, then take the exit North.]
THE SECOND ROSE
It is time to explore the town farther Eastward.
Dive into the canal and swim East. At the end, notice a wooden wharf where
you can pull up, but you need a yellow key first, so continue swimming North,
on the right is a section we will explore in a moment. Continue swimming North
and pull up on another wooden wharf. Climb the ladder, at the top shoot the
windows and the black gunman in the
room. Pick up the Yellow Key and Glock ammos on the table. Go back on the balcony, and
with a running jump, reach the balcony North. Shoot the windows and enter
a small library. Pick up Uzis ammos,
and on the right at the end use the Crowbar to open a wooden panel/door and
pick up the 3rd SECRET BAG. Return
to the balcony and dive in the water, swim South to the wharf seen before.
Use the yellow Key to enter a house. Kill a black
gunman, pick up the Uzis on the table on the right, and on the left
pick up the Blue Key in a corner.
Go out and turn right and right again, swim
to the wharf East. Pull up on it, you are at the beginning of a bigger water
area. Turn left and jump to a wharf where you can use the blue Key. The door
opens and you can push the double doors behind by pressing the Action key.
Pick up the 2nd ROSE in
the little room. Go out and to the right there is another wooden wharf South
where you can pick up Uzis ammos.
Now it is time to reach the other side of
the bigger water area. Swim there and kill 2 dogs from a safe distance. Fill up there the Waterskin and go use it on the Water element receptacle along
the right wall. You hear a door opening. Go East in the big entrance of a
long hall. Ahead is the door you have just opened, but firstly go to the right
and to the end of the long hall and shoot the last window on the right. Pick
up the 4th SECRET BAG in the alcove.
Now go to the other side of the long hall, pass
the entrance , and shoot the 2nd window on the left. Pick up a
Torch in the alcove. Go down and to
the opened door East to a garden. Save your game. Beware that as soon as you
will have passed the door, a camera will start showing two rolling balls coming
towards Lara. You can control Lara while the camera shows the rolling balls,
quickly run to one side of the garden, left or right. There are a couple of
fires on the ground, light your torch and go back to the long hall. Light
the wall torch at the South end of the hall by placing Lara at the highest
part of the square: an opening has appeared at the other side North of the
long hall. Go there and pick up the 5th SECRET BAG. You can now throw the
torch away and return to the garden by the opened door. Go to the right and
place the 2 Roses.
THE THEATRE
As you enter, another elegant flyby shows
the next place to raid. Obviously you will need a Mask you dont have yet.
You also have may noticed a button on the left wall at a floor that is yet
unreachable. From the entrance make a jump to a small ledge left, then to
the next balcony. Pick up Glock ammos.
Jump back to the small ledge between the two balconies. Make a long jump South
to grab the first chandelier. Then monkey swing to the next chandelier. Make
another long jump to the wooden platform South. Pull down the wall switch:
a door opens in the North-East corner at ground level. Go down there: a harp
is on a square patterned golden tile. Pull the harp to the West until you
find the same square patterned tile at the centre of the theatre. A red door
opens in the South-West corner and a flying phantom
appears. Kill the creature with the weapon of your choice, then go by the
opened door. At the end behind a couple of crates, in the corner pick up Mask piece 2. As you return, a Blue Wraith appears. When youre back in the theatre,
you notice that a rope has appeared. Go to the West side and make a roll,
make a running jump East and grab the rope. Turn 180 degrees and swing to
the upper floor West. Go right and pull a Jump Switch on the West wall. A
Fire Wraith appears, neutralizing the Blue Wraith,
and a wooden trapdoor has raised in the North-West corner.
You can easily make a jump to the trapdoor. Place
Lara on the North-East corner of the raised trapdoor and make a standing jump
with Action to grab the rafter North (this rafter is a bit difficult to see
without using the binoculars or a flare). Then go right on the rafter. Pick
up a small medipack, then go right again, then left on the
large rafter East. Now you have to make a running jump down towards the ledge
East where the button is, while pressing the Action key. Go push the button
on the East wall, that opens the floor at the centre of the theatre, revealing
a small pool of water. Go down and dive in to pick up Mask
piece 1. Now you can combine the two pieces of the Carnival Mask
and place it on the stick receptacle South. The trapdoor behind you opens.
Go in the hole and slide. At the end, save your game before a plinth blade,
and a room with breakable tiles over deadly water and fire emitters, and a
swinging spiked thingy. Time a jump along the right wall over the plinth blade.
Stop at the entrance of the room. Jump to the breakable tiles left, run and
jump to the right on another breakable tile at the exit of the room. After
a short slide, jump over a hole and run in the next corridor, a rolling ball
is following but you are soon safely out of reach, and can quietly pick up
the Heart, which triggers the end of this good adventure
in
Images, and savegames: OBig
Az oldalon közölt képek, a szöveges tartalom, illetve minden sajátkészítésû anyag, a © TR Editor.hu tulajdonát képezi. Azokat semmilyen formában nem lehet reprodukálni, másolni, terjeszteni, csak a szerkesztõség engedélyével.