
The Spear of Destiny (La Lancia del Destino)
Author: Ale8730
Download: Here
Story:
It is a morning like many at Lara's Home, when she mysteriously finds on the table a note, signed by her father: "Lara .. if you're reading this note I will probably be dead. I had a last wish before dying, but I never managed to complete it: I learned about the existence of a powerful and unique artifact that can cause good and evil, the Spear of Destiny, and if this would end up in the wrong hands, I am sure that humanity could disappear forever and the owner of the artifact to become master of all galaxies. Restore it before it happens. I only know that it exists in China in a remote area .. sorry, but I can not tell you more. RJC" Lara, puzzled about the identity of those who had left the note, sets out in search of the Spear of Destiny...
Walkthrough:


Walkthrough by Phil Lambeth, using notes provided by Tom
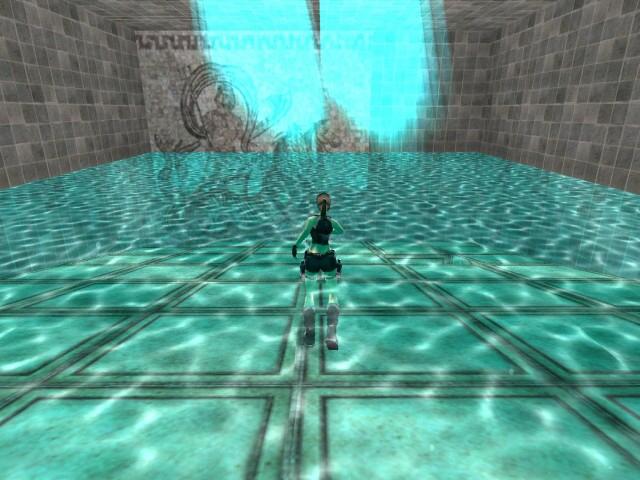
Level 1: ACQUA SACRA
Lara drops down onto a stone slab high up in a steep shaft. Turn right and take a leap of faith down to the SE corner. You'll fall into a slightly deeper area so that you won't die. Note the closed trap door and wade out onto the stony beach. Activate the jump switch in the S wall to open the trap door. Side flip left and swim down into a shaft where you see another closed trap door. Pull the nearby underwater lever to open it, then swim down to a still lower area. Look up to find the ceiling lever and pull it down. Go back up for air, pull out onto the stony beach and find that the N gate is now open.
Hop up onto the grated area N and find three jump switches. Two of them are traps, so activate only the far one on your left. The next N gate opens, so jump up to grab the crawl space and pull up into it. Crawl forward and crawl forward to trigger a looping flyby. Hit the look key to stop it and run forward to the water. There are two shafts in the sloped floor, both of which are presently blocked by trap doors. Activate the jump switch in the E wall to open the trap door in the NW corner. Swim down that shaft and open the N door near the bottom by pressing the action key. Pull the underwater lever at the end of the passage to open the trap door at the bottom of the shaft. Go back for air, then swim all the way down the shaft, open the E door, swim inside and pull down the ceiling lever in the next room.
Swim back up for air and find that the trap door in the shaft near the E wall has been lowered. Swim down the shaft. There are two doors to be opened here. Beyond the S door is a large medipack. Open the S door and pull the underwater lever to open the E gates. Swim into the short passage and pull up into an outdoor area. Push the floor lever to open the gates behind you. Hop up onto the N ledge, turn right and drop down into the palm tree enclosure. Pick up the NATURE STONE next to the palm tree and pull back out onto the ledge.
Pull up N to a higher ledge and turn right to pull up onto a slope. Back flip and keep the jump key depressed as a flyby takes you on a visual journey up the tall shaft. Use the winding staircase to get as high as possible, then take a running jump and grab N to the next block. Pull up left, twice, and follow the stairs to the end, take a running jump W, and finally a running jump and grab to the golden bridge. Pull up and head W down the passage. Pull up left and follow to another outdoor area. Push the floor lever to open one of the trap doors, then activate the jump switch before jumping into the water below. Go down the shaft near the E wall and find that the first gate in the E passage is now open. Pull two underwater levers (Lara might balk at the first one, but keep trying) to open a path to a dark room. Pull out, light a flare and place the Nature Stone in the W receptacle. The gate opens to your right, so enter and slide down to the next level.
Level 2 - TOMBA DEI DEMONI
This level is extremely dark, but it's also mercifully short. After you slide down the slope, light a flare and note the TORCH at your feet. Activate the jump switch to your right to open the gate, pick up the torch and light it just inside. Drop the torch briefly to push the floor lever to open the NE gate, then pick up the lighted torch and jump into the NE passage past the waiting mummy. Open the next gate by pulling down the wall switch, then continue through the passage (passing several caged mummies along the way) into a huge, dark and mostly empty room. As you enter, note the flame high up in the W wall. Explore the interior room for a number of flare pickups (I stopped counting at 10). You will also awaken a few more mummies as you run about the room. Be sure to go all the way to the NE corner for a NATURE STONE. After you've shot as many mummies and picked up as many flares as you want, go over to the W wall beneath that high torch and climb the wall. Pull up and locate another TORCH on the ledge near the NW corner. You can light it to find your way around better up here.
Go all the way around to the E side and locate the jump switch. Jump up to activate it, then climb back down to the floor (all the walls here appear to be climbable). Exit SW and find that the N gate in the previous room is now open. Hop down into the depression and climb the E wall up the long shaft into some daylight. Pull out, insert the Nature Stone in the receptacle to open the gate, and step through into the next level.
Level 3 - GARDINI SACRI
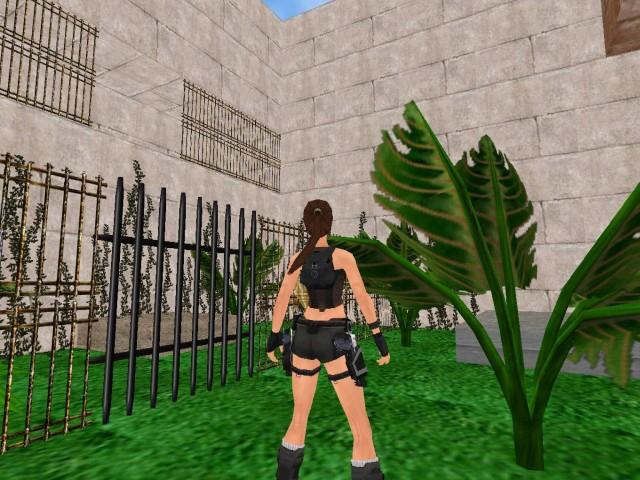
You emerge in a bright outdoor area. Hop onto the ledge and pick up the shotgun ammo, then jump into the E water hole and pull down the ceiling lever. Swim W and around the corner to pull down a second ceiling lever. Pull out E through the opened gate and push the floor lever to open another nearby gate. Pick up the SHOTGUN lying next to the bowl stand. Crawl back into the water, turn around and pull out W. Turn left and go out through the opened gate. Run through the passage and jump into the water. Swim left around the corner and pull out onto the steps that jut out from the water. Jump N to the ramp and run up to the top. Drop down into the trench and push the floor lever to lower one gate and raise another, then climb back out SE.
Run straight down the ramp and jump into the water on the left side of the underwater fence. Swim down to find a NATURE STONE hidden in the SE corner. Pull back out, run up the ramp, drop down into the trench and push the floor lever back to its original position. Pull out SE, turn around and take a running jump and grab N to the ledge. Pull up into a new area. Move a couple of the crates away from the NW corner and insert the Nature Stone in the receptacle you'll find there. A trio of trap doors opens to your right, so go there and drop down into the water. Pull the underwater lever to drain this area and open the SW trap door. Drop down into the water and open the door in the NW corner (which you then blithely toss away). Swim inside and up a long shaft, and open the door in the NE corner. Pull the underwater lever inside and quickly swim back down and up for air. Return to the previous room and open the door in the N wall. Swim down and follow the trench to a maze-like underwater area.
There's a large medipack in the SW corner, shotgun ammo in the NW corner, another large medipack in the near NE corner and another large medipack as you continue swimming E. In the far NE corner is a ceiling lever to pull down, look S for more shotgun ammo and return for air. If you wish to come back, there are two more shotgun ammo pickups as well as another large medipack. When you're through exploring here, return to the shaft and swim into area where you can see some plant growth. Pick up the ERBA SACRA in the small enclosure. The name, but not the symbol, shows up in your inventory. Swim down the nearby shaft and follow to an opening where you can pull out into an outdoor area.
Jump up and down to shoot the suspended ball, then enter the N alcove for the CARICA (which I assume is Italian for key). Use it in the keyhole to open the E gate. Enter the small enclosed area. There's another CARICA sneakily hidden in the plant against the N wall. Pick it up (you may have to side flip to get between the other plant and the open gate) and use it on the facing keyhole. I'm not sure what that accomplished, as I didn't need to use the second Carica to continue in the level. Get on the cement slab and pull up E onto a ledge. Turn left and follow the long passage to a dead end, turn around and pull up into a higher passage, and run N up the ramp. Continue making your way upward until you hear the familiar warning sound. A pair of horizontal blades are spinning overhead, so pull up after they've gone by. You hear another burst of warning music as you step forward E, then three boulders start rolling down toward you. The one directly in front of you is slightly ahead, so it's a fairly easy task to weave your way between the first and second boulders as they roll past you. Once beyond them, continue E up the slope to find another area with blades and boulders.
What I did was to face SW, hop onto the ledge to trigger the boulders and immediately run forward to the safety of the upper step before the boulders reached me. From there, jump into the opening in the W wall and follow the passage to a pair of dangling balls. Shoot them both to open a gate, then continue through, pick up the large medipack and safety drop (or jump into the water below if you trust your accuracy and want to avoid taking any loss of health) to a previously explored area. Get into the small garden area, stand in front of the bowl facing E and use your Erba Sacra to open the gate. Step out onto an invisible surface and be taken to the next level.
Level 4 - LA LANCIA DEL DESTINO
You're in another garden area. Fight your way through the weeds until you reach a gap at the E end of the fence. Note the raised platforms and a fixed platform in front of a keyhole in the NW corner. Safety drop to the floor at the cost of some health. Push the floor lever to raise most of the platforms overhead. Turn around and look up to see a crawl space in the wall. Climb up to it, pull inside and crawl a ridiculously long distance to a CARICA, then crawl back, get onto the wall and shift right or left, then climb all the way back up (right through the fence, since the platform is still down in front of the gap). Get on the E platform and take a running jump and grab to the fixed platform W. Pull up and use the Carica in the keyhole to lower a trap door down below. Turn around and run off the edge of the platform, grab the wall and climb back down. Jump into the NW water hole and swim until you can pull out into an area with a bunch of overhead platforms. The one in the SE corner can be opened, so stand in the water at the near edge, facing E, and jump up to open the trap door. Pull up to the next higher level and do the same thing in the NW corner. Pull up to the next higher level and note the phalanx of boulders N. Pull up onto the ledge, walk slowly up the ramp toward the middle boulder, and the moment they're triggered simply back flip to safety.
Climb back up onto the ledge, go up the stairs as the cage lifts, and take the LANCIA DEL DESTINO from the top of the pillar. Go back down, stand on the lips of the floor mask facing S, and use the Lancia del Destino to be warped to the final level.
Level 5 - I CANCELLI DELLA LIBERTA
Look behind the NE palm tree for some shotgun ammo you don't need, then find a hidden EBRA SACRA in a plant near the SE wall . Use it in the bowl, facing N, and the gate ahead and to your left opens. Go inside and find another EBRA SACRA in the plant near the E wall. Use this one in the nearby bowl to lift the last gate, then go inside to bring the level to an unceremonious end.
Az oldalon közölt képek, a szöveges tartalom, illetve minden sajátkészítésû anyag, a © TR Editor.hu tulajdonát képezi. Azokat semmilyen formában nem lehet reprodukálni, másolni, terjeszteni, csak a szerkesztõség engedélyével.