
The Museum
Author: George Maciver (George M)
Download: Here
Story:
Lara can't even visit a museum without getting into adventures . . .


Walkthrough:
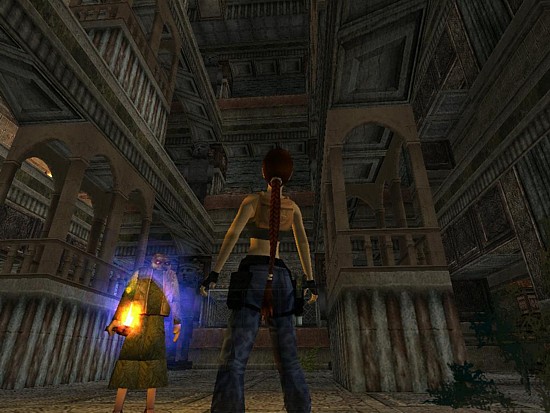
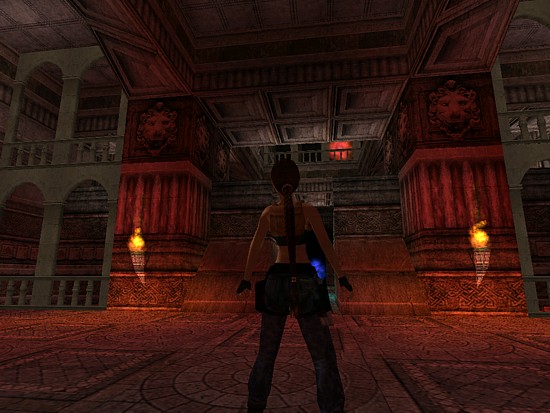
Watch the flyby and when you start, pick up the Flares
near the statue at the N wall.
Jump into the opening in the floor and slide down. Another flyby shows you
how huge this complex is. Go straight and to the right see a blue light. When
you walk into to it Lara gets transported one floor up.
One floor up.
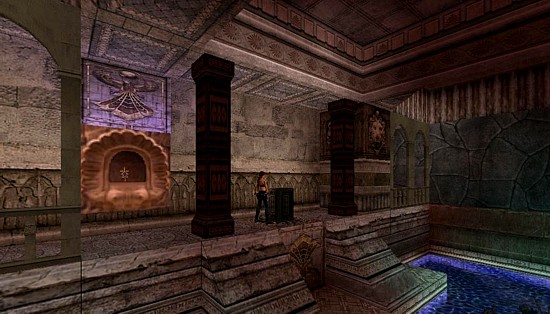
Go E and shoot the glass cover and pick up the Lasersight
from the pedestal.
Behind the balustrade SW is the Shotgun.
Now go to the W and again shoot the glass cover and retrieve the
Revolver. Pick up Shotgun
ammo SE, behind the balustrade and use the lever that is on the wall.
Enter and get a Medipack and Revolver ammo. If
you ever run out of Revolver ammo you can return here and find another pick
up.
Go back to the bridge and turn left (N) get the Revolver and Sight and
shoot a brass ball. Go back to the W and enter those open doors on the right
(N). The next doors do opens when you approach and when entering the next
room jump up a ledge W for Flares.
Go up the stairs, and use the lever on the right (W). Another double
door opens. Go back to the bridge. Run to the E and to the right (S). Run
through, up the stairs and through the glowing red object and get transported
one floor up.
The Red Museum Key
Grab the Flares. Jump over the balustrade and
go N. The guide is waiting for you, run after him to see what he does and
when he is finished go to the S side, into the shallow water and in the opening
S.
There are two levers in there they both lower some spikes in the room in the
N. So make your way over there and use them.
Go back to the S and in the SW, just before the shallow pool is an opening.
At the end turn around and climb the ladder. Run over the roof and hoist yourself
up onto the wooden bridge.
Go N and climb onto the pedestals of one the statues that are aligned on the
wall and from there jump to the roof S. Go to the middle and take a running
jump to that small gazebo and get the Red Museum Key.
Green Museum Key
Safety drop down and go over to the wooden bridge and drop down on the roof;
climb down the ladder. Jump over the balustrade and into the red glowing light.
Run back out this room and use the Red Key on
the receptacle on the E wall.
The doors N are open now. Step into the green glowing light and again you
are transported.
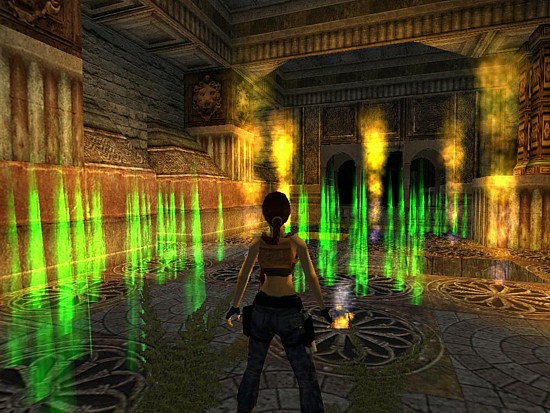
Go N and be careful as there will be spikes popping up. Keep going and avoid
in the next part the flame emitters. In the NE corner is a pedestal and get
from there the Green Museum Key.
Make your way back to the green light but for now pass it and follow through
and make your way to the other side. Almost at the end there are also emitters
and spikes popping up. The pit you see on the right has
Secret # 1, KitKat. Climb out facing W and continue your journey.
At the end you can place the Green Key. You see
a camera shot.
Purple Museum Key.
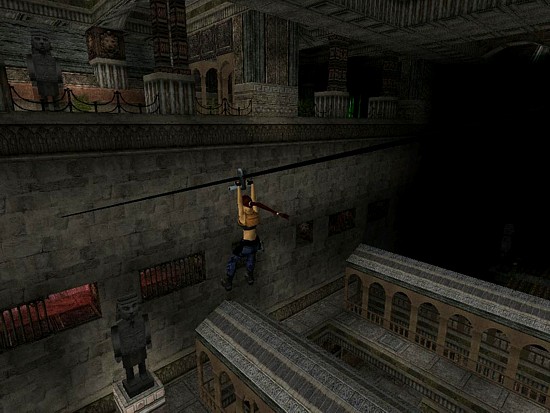
Go to the zip line and slide down. Get down on the ground and shoot the two
nasty dogs. Watch out for those marked tiles on the floor. More dogs show
up and when you are at the end of this room is a lever on the right around
the corner. If you want another secret go to the N again and find almost near
those green spikes an open window on the left (W). Jump to the rooftop on
the left and run to the opposite side and jump in the windowsill. Go to the
S and at the find Secret # 2, Aza. Of course
a very nosy dog appears. Go back to the windowsill and jump to the roof and
into the other building, run all the way to the end and jump into another
windowsill on the right then jump over to the roof of the building W. Hop
over the balustrade and get the Purple Museum Key.
Blue Museum Key
Drop to the ground and place the Purple Key S.
The door on your right is open. Enter and watch the flyby. Jump to the other
side and climb down the ladder all the way to the ground floor. The guide
is waiting for you.
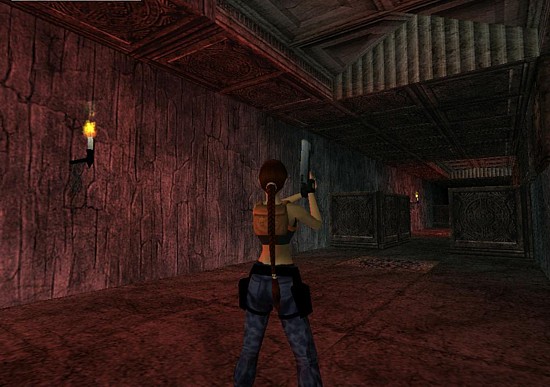
Once down go W and shoot the glass, pick up the Blue Museum
Key. Go E and again shoot the glass and pick up a Torch.
Go to the pillar NW, stand behind it facing E, back flip and jump onto the
pillar. Drop the Torch there (use the 1 key or throw the Torch against the
head of the statue and it will bounce back onto the block).
Back to the ground floor and use the lever that is in the NE corner. The guide
can be very curious so if he stands in the way, just lure him away and use
the lever quickly. Get back on the ladder and get of at the first floor. Jump
to the other side (N) and again and pick up the Torch from the pillar. Jump
back with the Torch up (S).
Look to the SW and you can jump to that ledge and from there to the walkway
again and then next to the fire where you can light the Torch (stand in a
corner). Go back to the N and ignite the fire there.
Throw the Torch on the ground and climb down the ladder, use the lever and
go to behind the pillar SE and back flip/jump on the pillar with the Torch.
Drop it and climb the ladder after using the lever and shimmy around the middle
part (as well as the bowl with fire) to get to the pillar. Pick up the burning
Torch and ignite both bowls in the same way you just did previous one.
Jump back to the S and use the crack to shimmy to the ladder. You probably
better jump first to the ledge N and from there jump to the ladder. Climb
the ladder all the way to the top. If you want the last secret face NE and
just jump (with Ctrl) toward that balcony down and get Secret
#3, Gerty.
Back to the ladder and climb all the way up then jump over the ledges to the
exit and go out.
Back to the wooden bridge and half way jump on the roof and get back to the
balcony with the red light and jump in.
Get to the bridge and jump into the blue light. In the poolroom place the
Blue Key left of pedestal at the W wall. Now
finally you can get your hands on the Skibblerz Stone
and watch the end fly by.
Walkthrough
by G&D Productions ![]()
Az oldalon közölt képek, a szöveges tartalom, illetve minden sajátkészítésû anyag, a © TR Editor.hu tulajdonát képezi. Azokat semmilyen formában nem lehet reprodukálni, másolni, terjeszteni, csak a szerkesztõség engedélyével.