
The Dawn - Taishan Episode
Author: Jackie Wu (GeckoKid) Website
Download: Here
Story:
This level set is what I created more than a year ago and turned out not
great so I abandoned it. Also it was supposed to be the long-gone 'Big Project's'
level, but it didn't happen. Today I digged it up, but unfortunately I have
lost the project and the script files. Then thanks to Justin (who makes the
Dark Skies series),he helped me to decompile the scripts, so I can fix the
bugs in it.
Select the level 'Sea without Waves' from the menu to start the game
This level wasnt meant to be like this (a little buggy and unfinished), but because of the missing .Proj files there was no way the author could finish the level, its still nice to play and there are great looking places here.
Select New Game -> Sea Without Waves - START ME FIRST to play, otherwise you will be playing the levels without a proper storyline.
These levels are huge in a wide canyon area, Ill give some directions there, but if I didnt find anything I just say to follow (cant state every turn in these canyons).
1- Sea Without Waves 1.(Start me first)
Jeep ride.
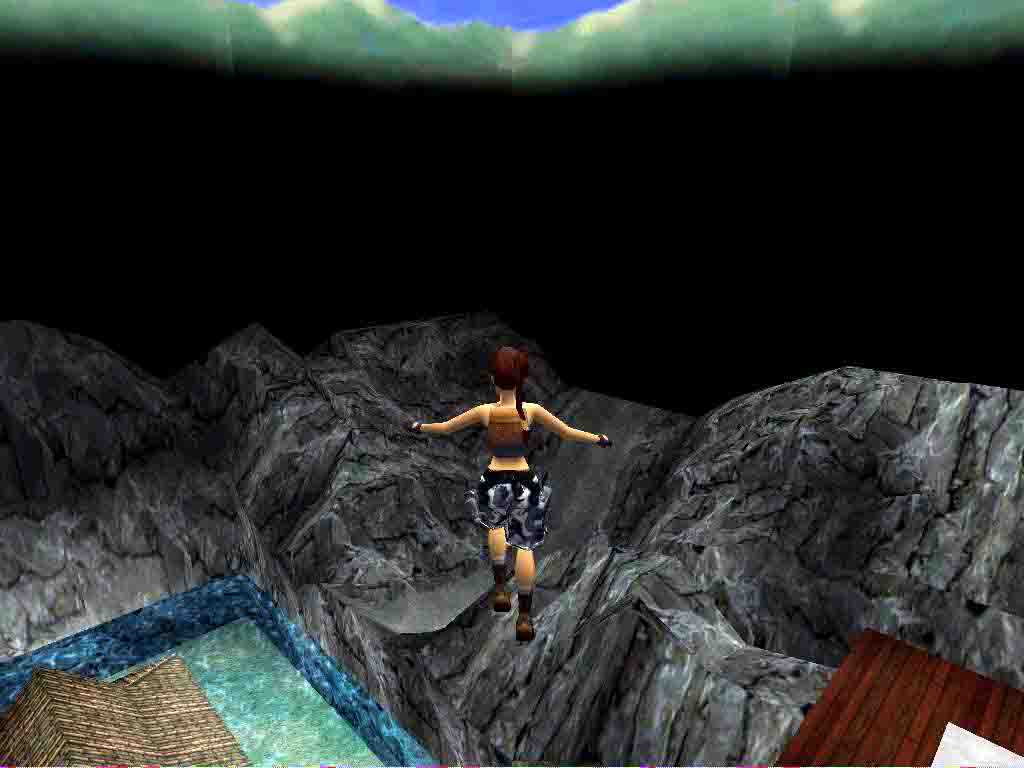
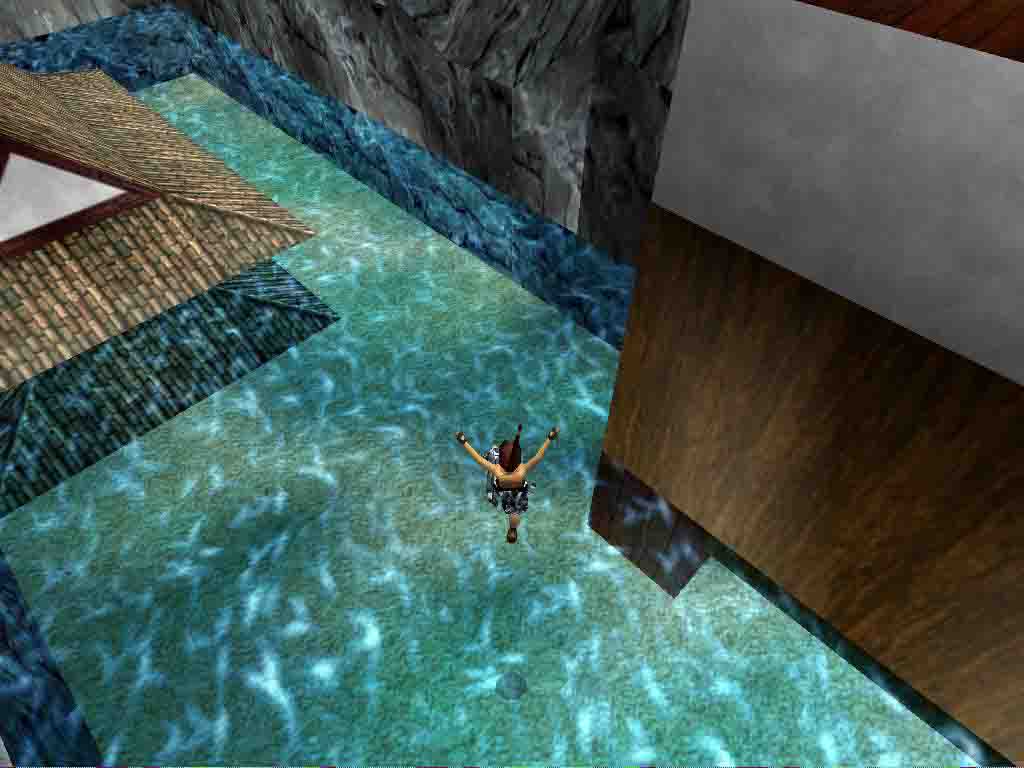
Lara drops into a pool near a submerged pagoda, look under the SE building for a hole you can swim up in, get the Ignition Keys inside and go to the S side of the building to take the Jeep out for a ride, back it up from the bridge and head N, L in the end and speed up to jmp to the sunken pagoda and over its roof to go up the hill, speed up again to do a double jmp over the canyon and steer R, go up the caves and line up for the next jmp over a rock-bridge in the dark/huge cave follow the trail around a big Laguna and finally go L to follow that canyon to a jmp, go through a narrow purplish tunnel and one more jmp will get you in front of a cave with water, the ride ends here.
Leave the jeep and swim through the cave to climb up on the other side, slide and go to the next level
2- Sea Without Waves 2.
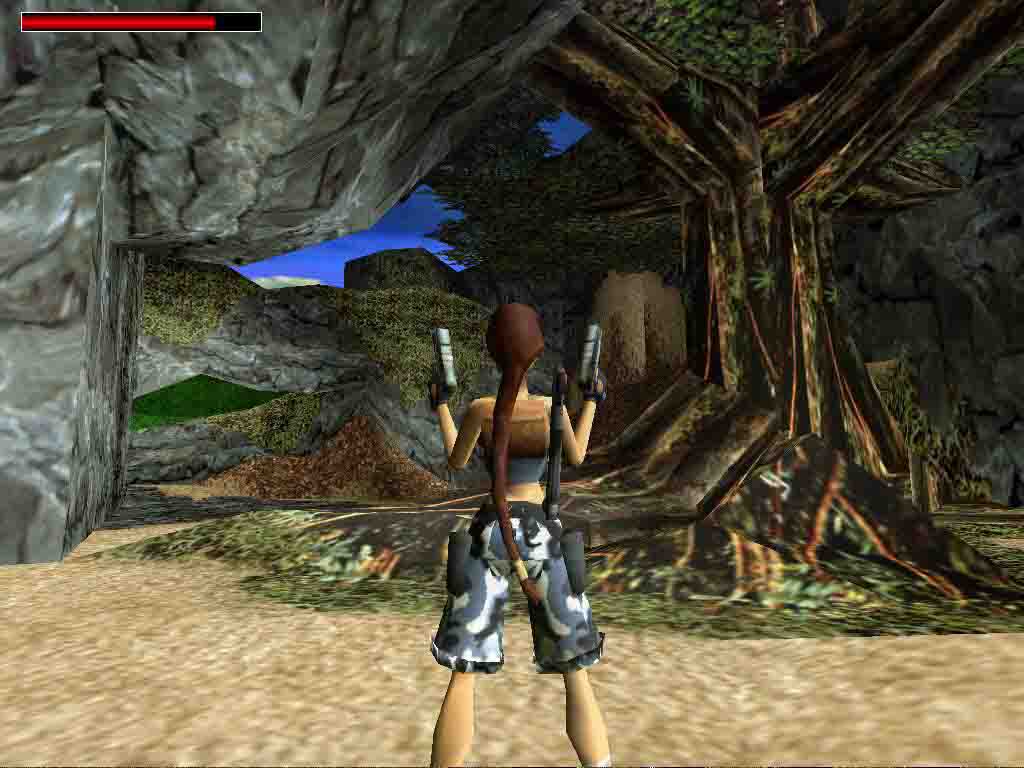
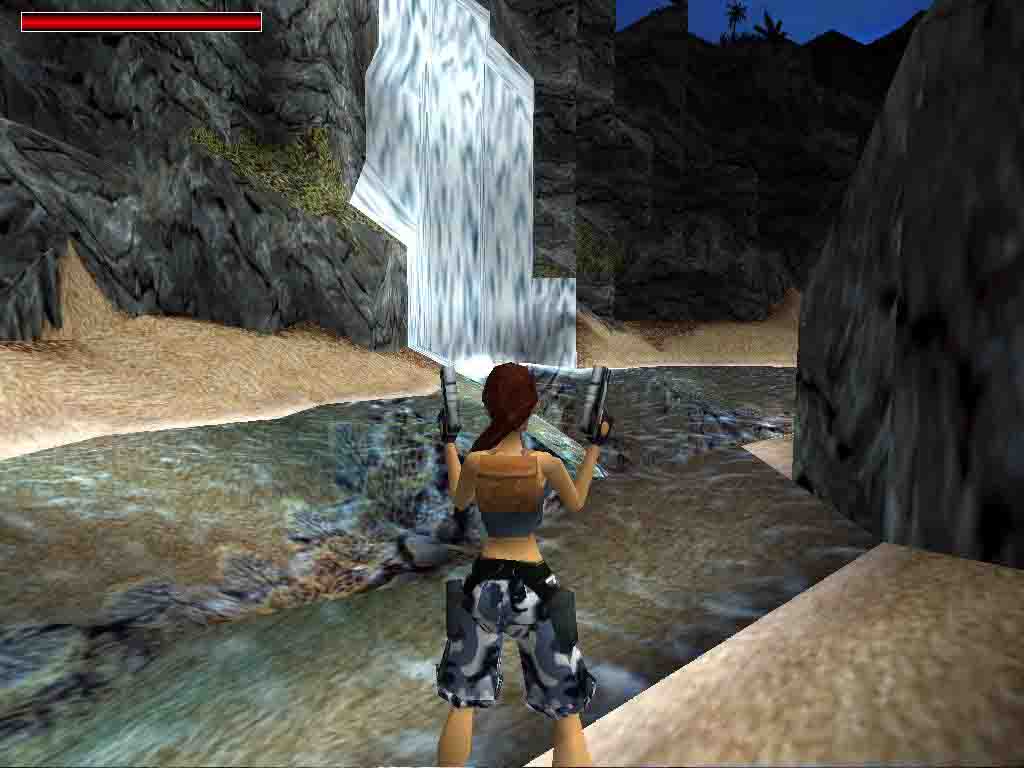
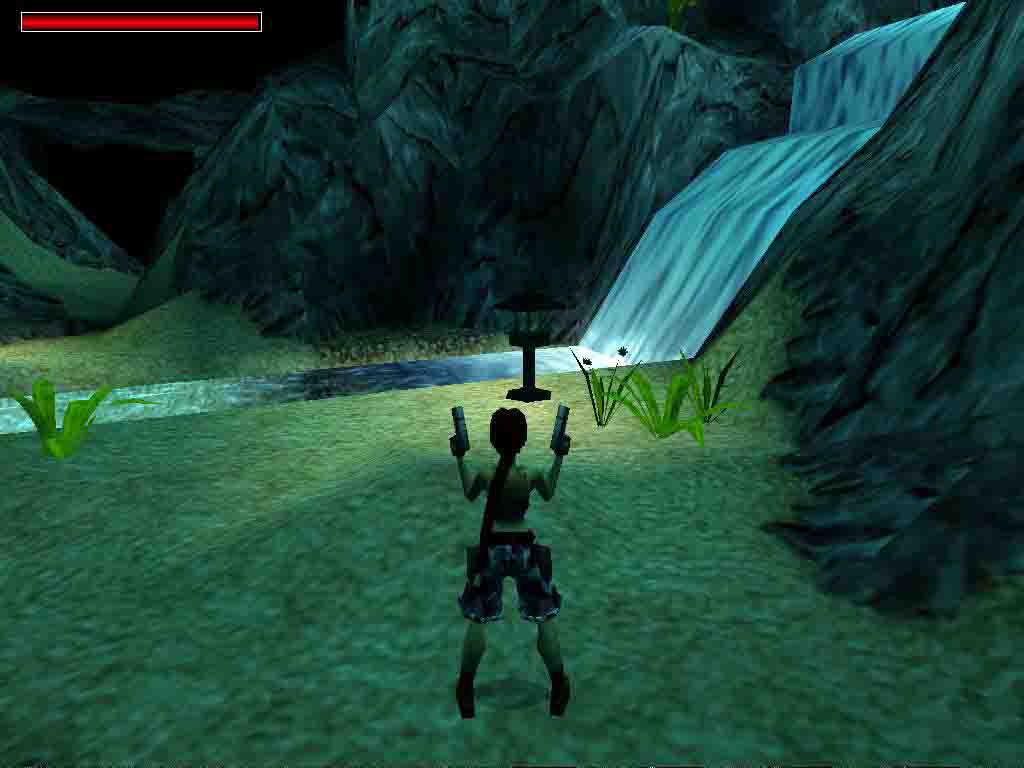
Look out the opening and see that nice Lizard below, as soon as you run onto the ledge to the L it will take off to the NE, follow into that corner and stand facing N, backflip to a sloped rock and jmp/grab the N ridge, pull up and backflip to a ½ MP. Go into the SE canyon and follow to a very beautiful valley with a river and waterfalls. Go W to the waterfall there and under the fall is a tunnel, with strong current, swim in and find the narrow hole where you can find another ½ MP (one of the extra challenges the author put in).
The River valley.
Follow to the E and at the wider area take the R hand (SW) side of the river, into a cave behind a waterfall and go stand behind the sloped block in the S, so you can pull up and immediately jmp/grab the MS go forward and end up in a CS, go in to get Secret #1, MPs.
Head back out of this cave and past the waterfall you can climb the R hand bank of the river, go to a cave in the SE and shoot a Tiger coming out. Go into a small triangular hole N and then to the E side of that cave, shoot a Bat and Lara will look up, climb the pillar with the plants and runjmp to the E, stand a step back from the next green pillar and backflip/jmp/grab the sharp sloped pillar, go R a bit and pull up. Immediately jmp with a R curve from the top of it to land on the ledge, shoot another Bat and runjmp to the SW ledges and follow the cave to a wide area. This is the top of the River valley.
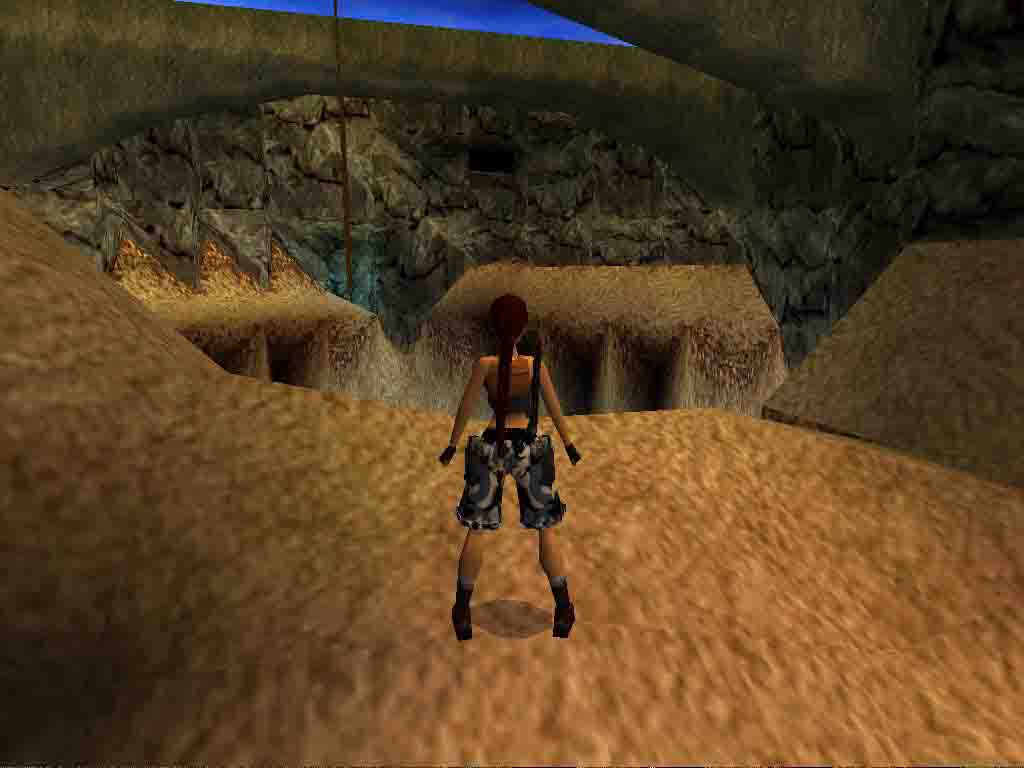
Top of the River valley.
Runjmp to the tree and go over the branches to the SE corner. Jmp to the pillar there and get up, grab up to the crack and shimmy all the way past the entrance of the area, to a pillar below. Runjmp/grab to the pillar N of here (theres Ammo on a ledge to the N, if you want it you have to jmp there and make your way back up through the canyon to this ledge) and go inside, there are Boulders rolling from side to side, get past them with standjmps (its safe in between them). Jmp over the sloped end and slide down into the lower cave, follow to a staircase in the rocks, more Bats and a Deadly pool beyond.
Runjmp to the pointy rock in the pool and then to the sandy ledge L, follow that side to a cave where you can go over to the NW corner to get into the CS, go L and there are 2 passages with Rotating Knives. They both lead to the same place, so take your pick and get through the Rotating Knives (a sidejmp or a roll from standing real close). Crawl through a low crevice and go get some Flares in the end, climb up to the R at the flares and shoot a Tiger coming around the corner.
Go on to a wider area and shoot two more Tigers, go to the NE corner and find the opening in the N wall, pull up and jmp around the corner (Spikes in the pit) go up and over the next pit (dont try to get the Shotgun) to a burner, run past it and get the MP and Ammo, duck to avoid the Dart-trap. Go back and over that pit with the booby trapped Shotgun and out to go to the W, runjmp into the next cave over the lowest part of the ridge there, get the Ammo lying to the R and go back. On the R hand rock face is a ladder, climb it, go over the W ridge to the N wall and runjmp into the opening there.
3- Sea Without Waves 1 - part 2.
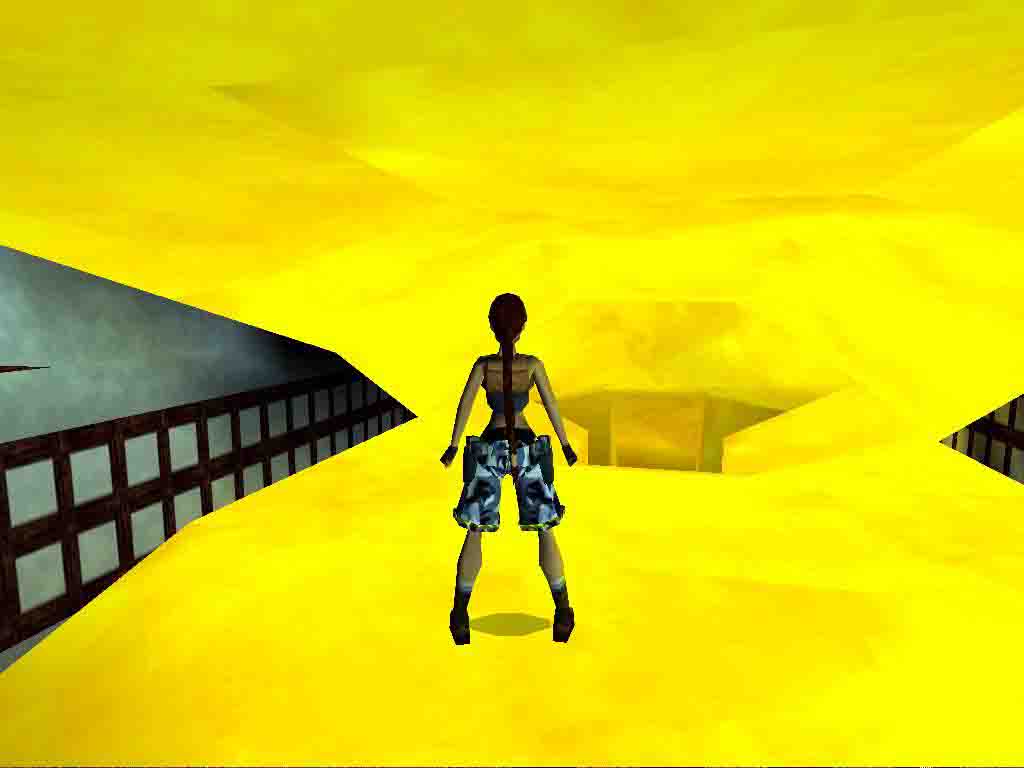
Follow the cave to a sandy slope and 2 Boulders will come down, quickly get to a safe spot (L around the pillar and up the sloped ledge for instance) and wait till the danger is gone, go up again and come to that deep pit you crossed with the Jeep before, the flyby kicks in (way down is that rock bridge). There are 2 ropes to cross the pit to the other side, on the second rope you can turn R a bit to spot a CS up in the rock wall, swing a bit R of the CS and try to land on the triangular ledge under it, grab up and go in for Secret #2, a MP, but thats not all, go on through the CS and into an area with a tree, around the tree are several Ammo pickups and the Shotgun. Go back through the CS and drop to the triangular ledge stand as far in the NE corner as possible and do a runjmp with a L curve to land in front of the opening S of here. Go in. Slide down and follow the tunnel to an area with a pagoda and the flyby will show you the surrounding area.
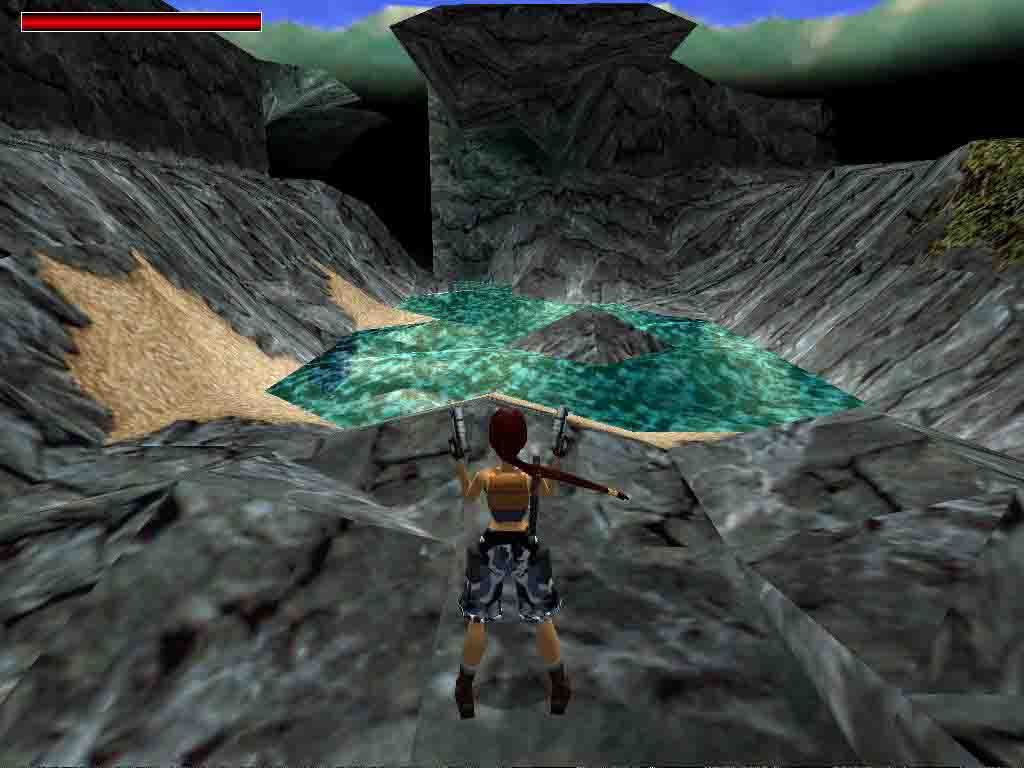
The Pagoda Lagoon.
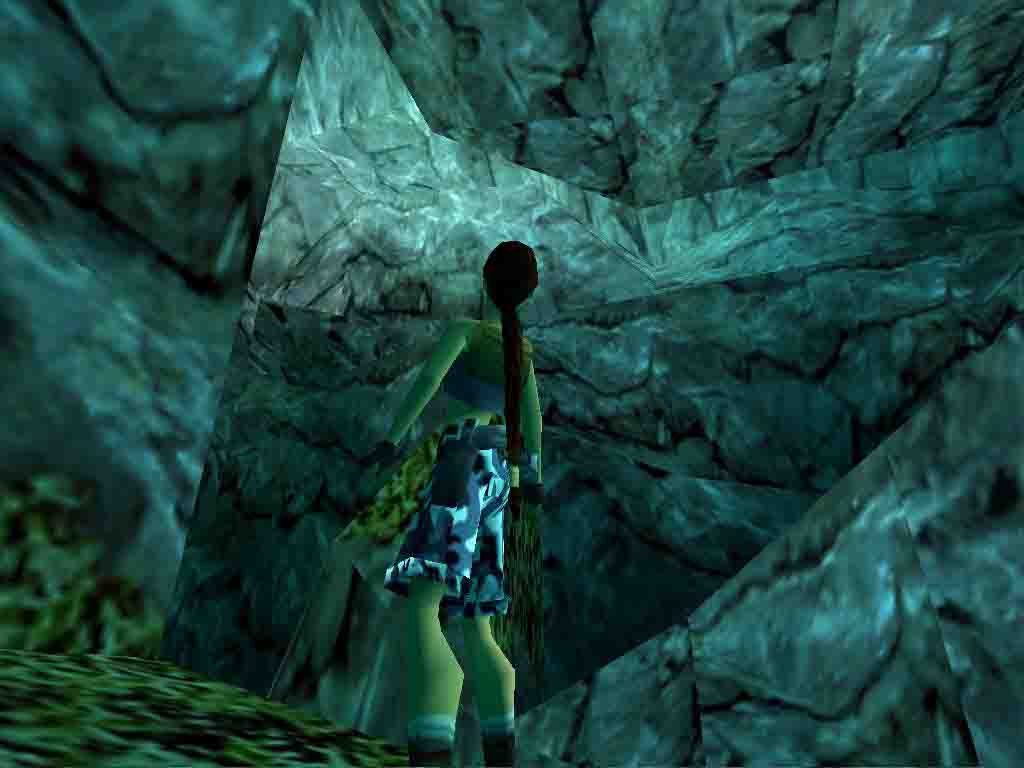
Run with a R curve out of this crevice so youll slide backwards off the waterfall and grab the edge, drop/grab to the cave under the falls and go in for some Goodies. Runjmp out and swim L a bit and to the shore in the SE, so you can take out some Crocs from safety. Dive back in and go N to the wall under the pagoda, swim to the hole and get the ½ MP, roll and swim back out, climb the nearby rock to take out another Croc. Into the hole again and L.
Theres another Croc inside, swim quickly into a tunnel L, the one after the small tunnel near the bottom and get some Ammo and a MP there, go back to lure the Croc out to the Lagoon, where you can shoot it and now go for that small tunnel, follow to where it goes down and then to a wider part, straight is a tunnel where you can get some more Ammo. But better go L and through the crevice to the tunnel that goes up to an air pocket, get some air and go back for the Ammo in that tunnel, theres some at the air pocket too, NE of it, a Croc will make things hard. In the cave at the air pocket are some Bats, then go to the ladder and up to the top. Backflip/roll/grab the ladder behind you and go up, R around the corner to the top, dont pull up, just backflip/roll/grab and pull up to slide down to a ledge up in the Lagoon.
Climb up to the L and go all the way around the Pagoda to get a MP and Ammo, then enter and shoot a vase to the L for the Flares inside, a couple of Bats show up, go out the back of the room and shoot a Bat and a Croc, go to the NE corner of the yard to get some Ammo next to the building, climb the rocks in the E and go L, jmp/grab to the roof and go to the W, jmp over the side roof and go get some Ammo in the end, then return to the side roof and runjmp/grab over to the S roof to get Secret#3, Ammo. Drop down from the roof and get back on the wooden balcony under the roof. Go into the cave to the W, over a rock ledge to get the Revolver there.
Try to shoot the Croc in the water below and dive in, swim into the tunnel in the SW corner, go as high at the ceiling as possible, because Boulders will come down here. Climb up in the end and go up into the L passage, drop into the lower passage to go to the next level.
4- Taishan 1.
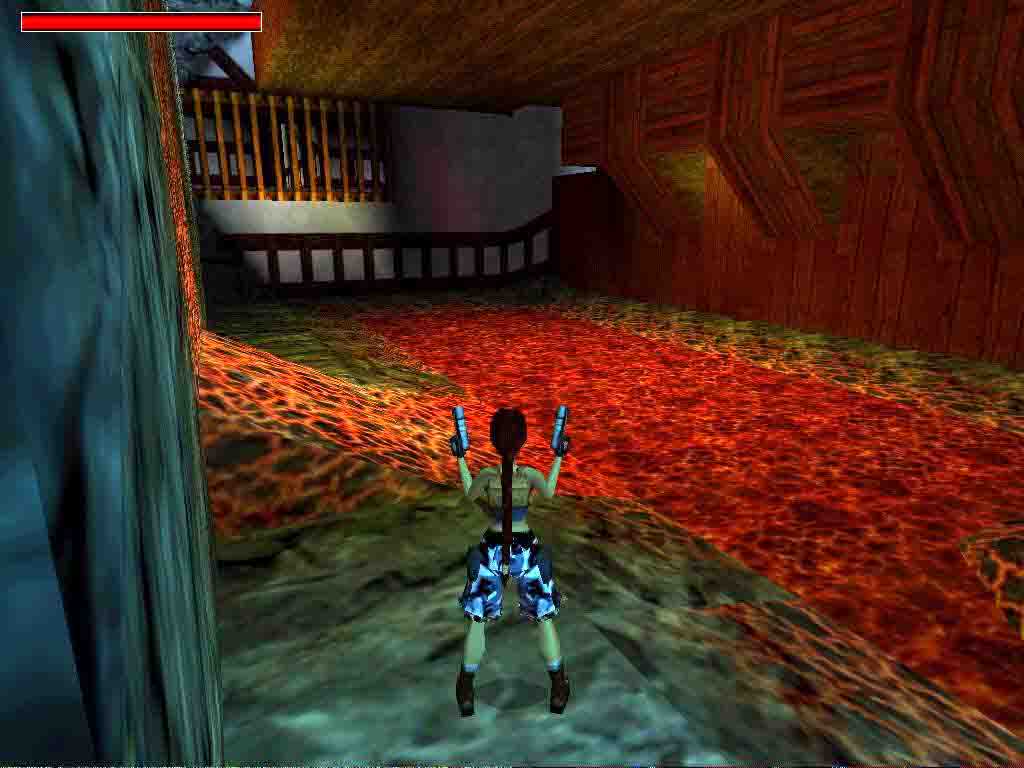
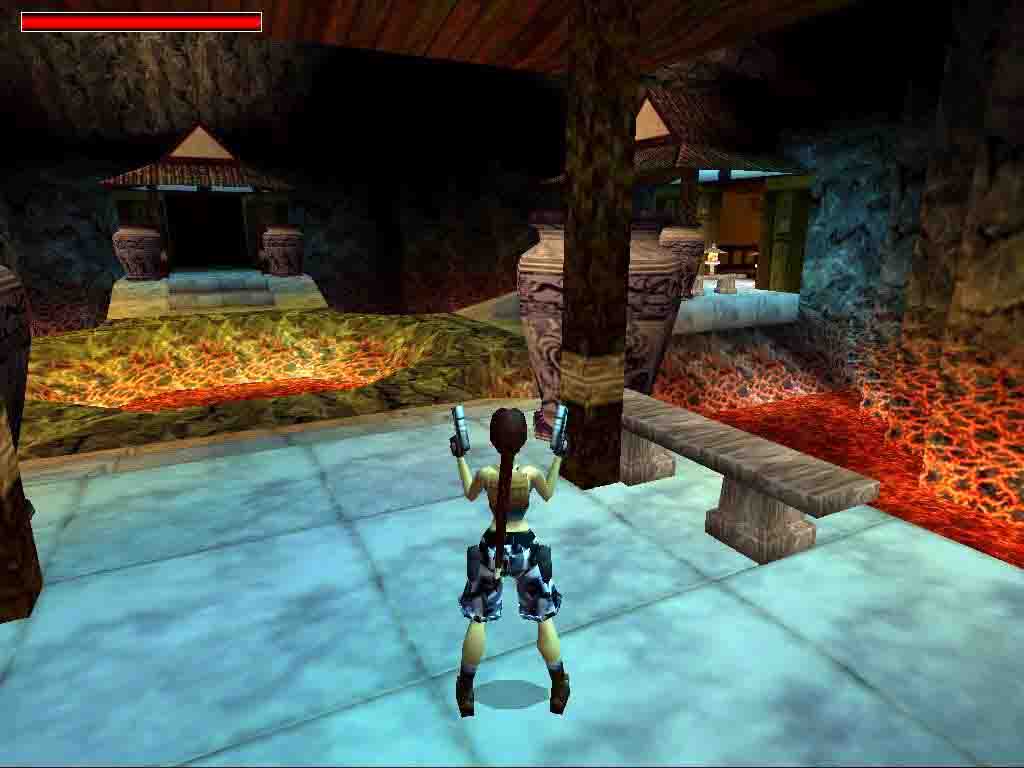
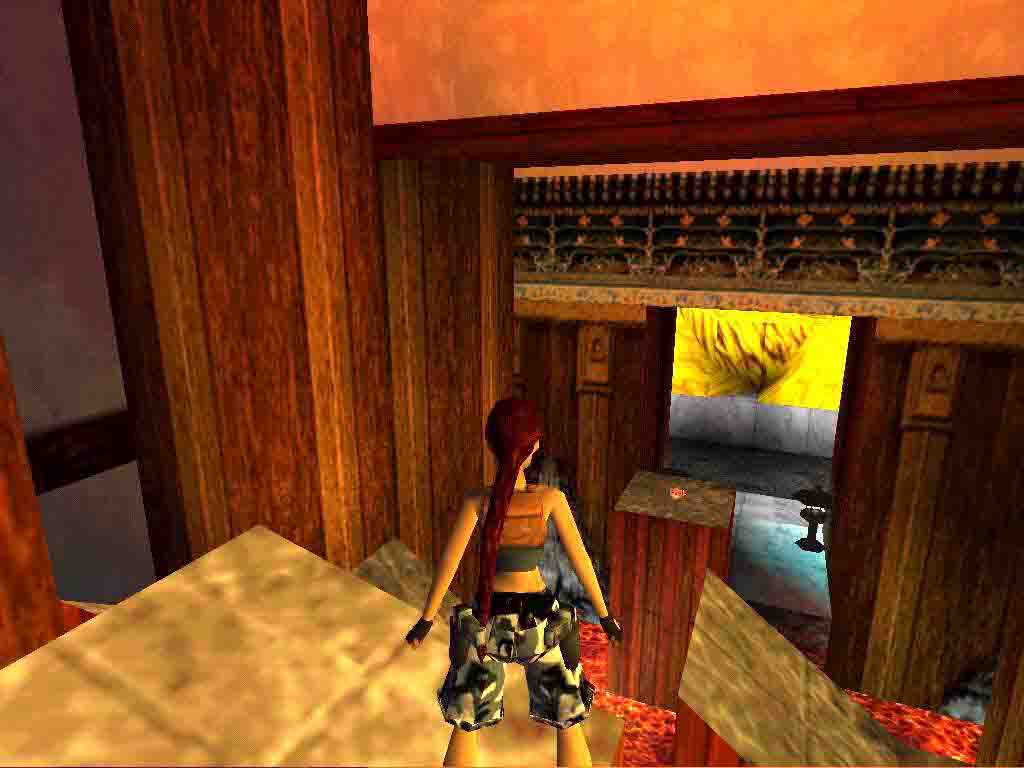
Follow to another house with a Lava floor. Go S and runjmp over that dangerous looking lava part, go up the ladder and backflip to the attic, go to the NW corner and drop into the lower passage, follow down to where you are at the lava again, dont go in, but look up to the R and climb up to the passage there, in the end is a lever that will open some big doors in the other side of the lava room, head back through the passage you came from, up the stairs and climb back to the attic. Go straight S and down the ladder, turn and climb the ledge to the open doors from standing L and using Ctrl only. Go out to the Purple Diamond room.
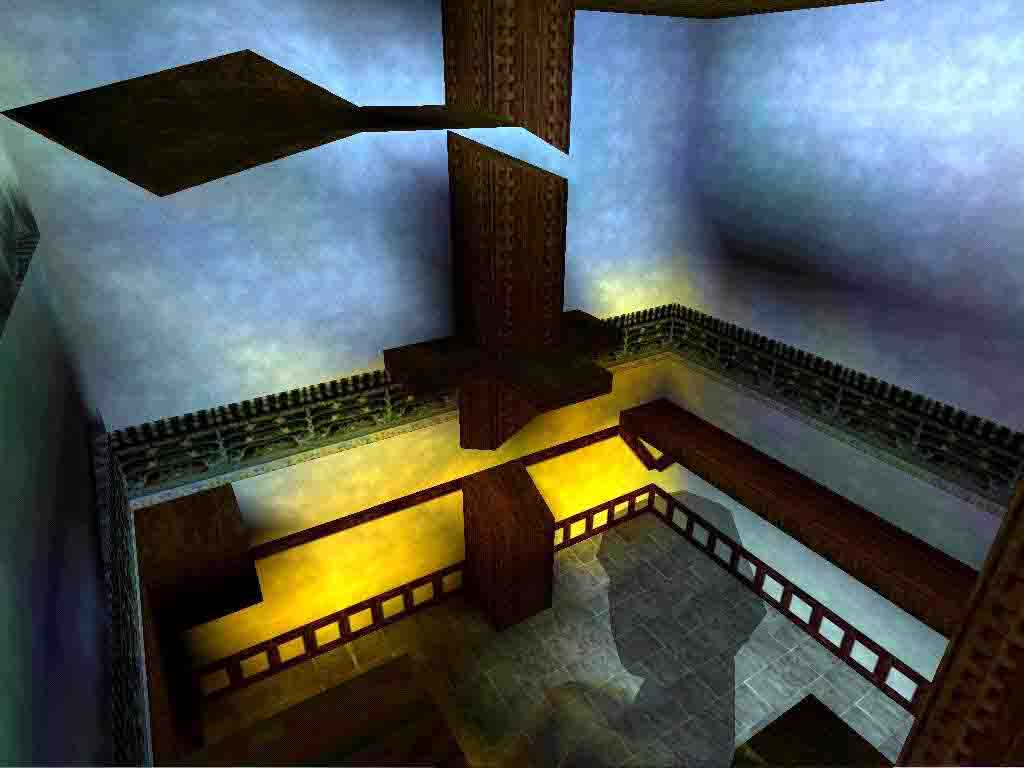
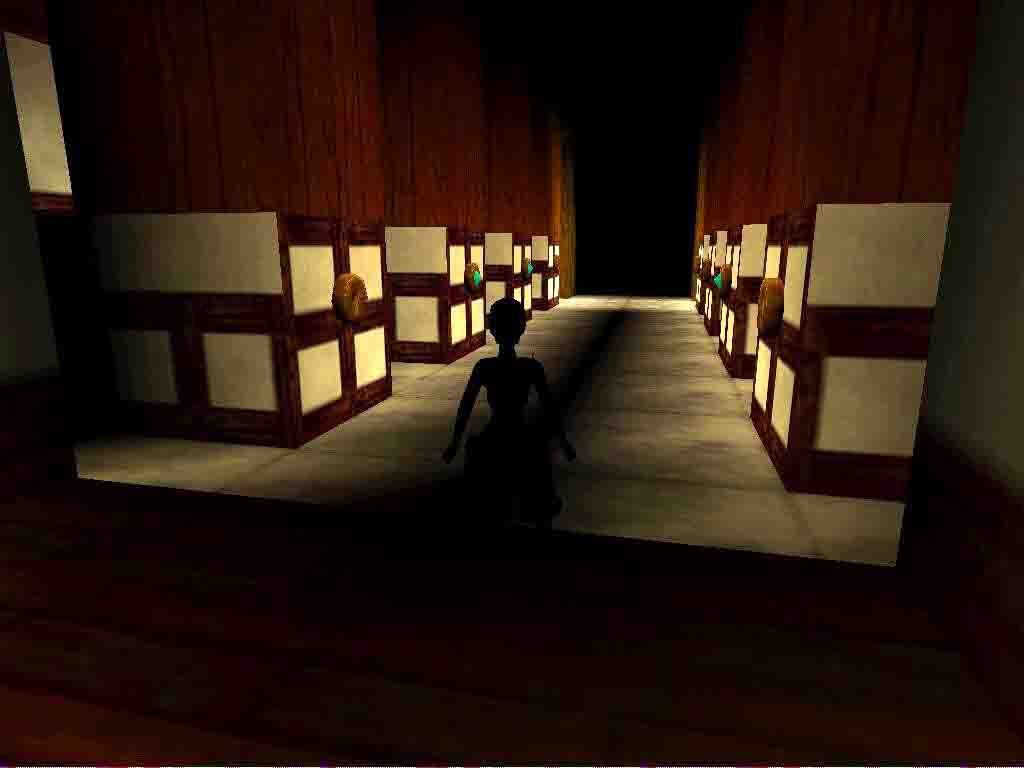
The Purple Diamond room.
There are 3 more passage leading from this room, go to the S one and enter. There are 2 pillars here, pull up on the sloped L (E) one and backflip to the other, stand on the low side and jmp/grab the MS in a S direction. Go into the E passage over the spikes and to a crossing of rooms.
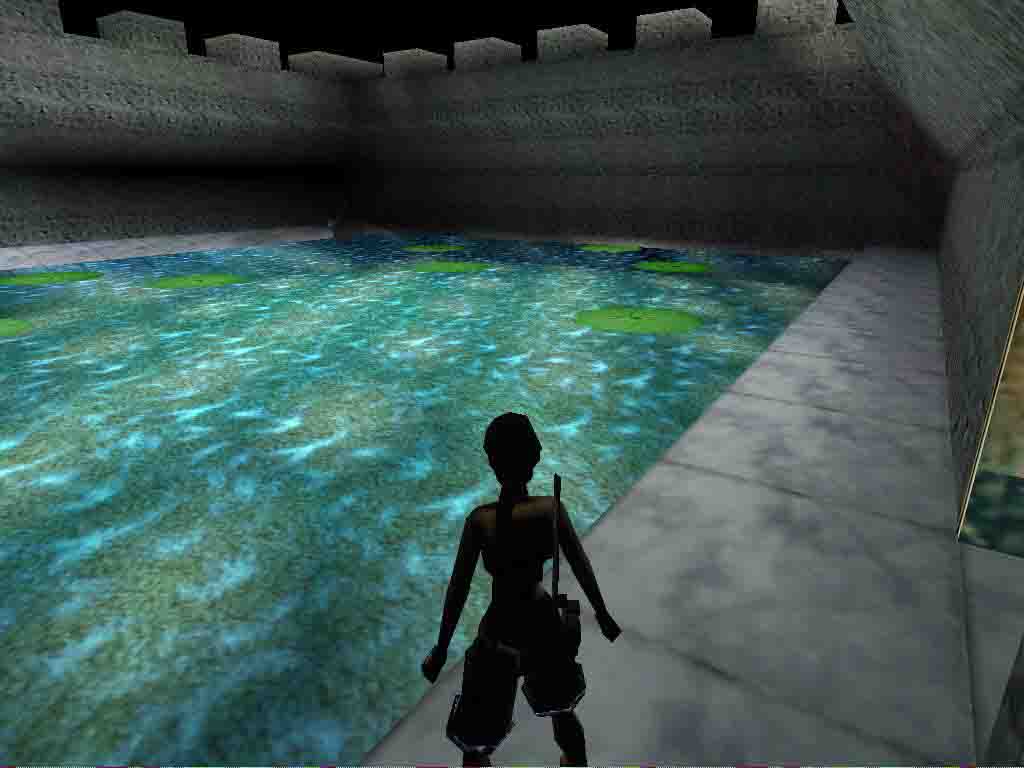
The 1st Horsemans Gem.
Go L and to the end of the room where youll find a CS up in the R hand (E) wall, you cant climb in due to a small bug. But if you type D O Z Y on the keyboard, Lara will fly and you can steer her through the CS to a pool. Hit the walk key and she will be in the normal mode again. Go L and find a lever in the corner that will open the door on the opposite side of the pool, getting there will require some long runjmps over the green Lotus leaves in the pool. (If you happen to step into the water the door will close and you have to start over.)
Pull the lever, turn around and go back to the entrance a bit, jmp to the closest leave and then follow the route to the NE leave, from there to the grey floor and go over to the door to get the 1st Horsemans Gem.
Go back over the pool, through the CS and to the crossing of rooms W and go L into the E passage, follow to a big room with pillars, climb the one on the L and runjmp onto the E walkway, go R and runjmp to a ledge on the pillar W of you, then a runjmp/grab to the ledge in the next corner and grab up to a crack in the W wall, go shimmy R to the next ledge and runjmp to the ledges on the first pillar, jmp around to the other side and grab up to the crack (in the corner) shimmy around the L and you should be going around the corner to a crack in the wall, but that wasnt possible in my game so I used DOZY again, go to a wider opening in the N wall, pull up in and stand with your back at the wall, looking out and runjmp with a sharp R curve to grab the crack in W wall, go L till you can get up on the ledge and runjmp/grab the crack in the pillar E, go around L and pull up. Turn around to standjmp/grab the ledge at the opening in SE corner.
There are 2 burners in passages leading to a room with a big Dragon statue. Runjmp past the R hand one and swim past the 3 Sharks and along the bottom to the R side of the statue to find the tunnel leading down inside, climb up, backflip to a ledge, runjmp/grab to the ladder and go up, from almost at the top a backflip/roll/grab to a thin ledge, turn around and standjmp/grab the next ladder to go almost to the top where you can backflip into a passage that leads out to the Dragon statue, runjmp/grab the open mouth of it and go inside, run through the bowels to reach a wide square with houses, (if you want a ½ MP, climb down and go to the NE corner and inside is a ½ MP to the R, go back to the ladder and climb to the hole in the wall)
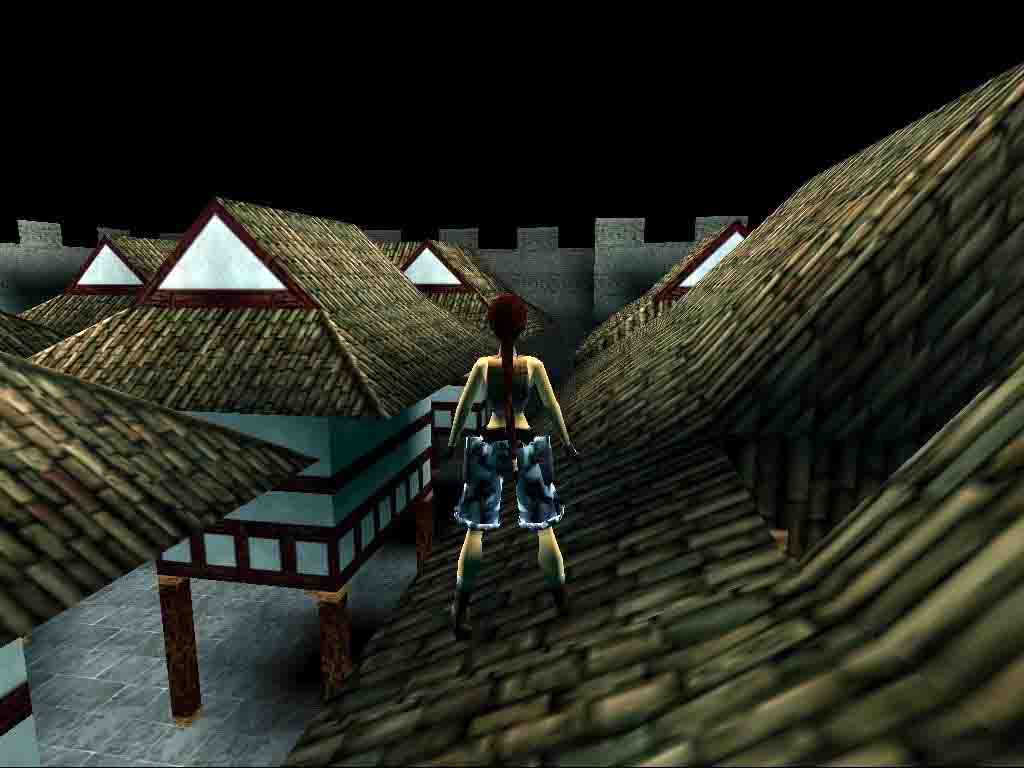
The Village, 2nd Horsemans Gem.
Runjmp out of the hole to the R and grab the edge of the roof upon sliding off. Go R around 2 corners and to the 2nd square from the corner, pull up there and backflip/roll/grab the other roof, go L and around one corner and to the end at the next corner (where you see the grey wall L) backflip/roll/grab again and go L around two corners till you hang R of a door below, backflip to the flat part of a roof and go into the house to get the 2nd Horsemans Gem. The door opens in the other house, runjmp/grab to get in there and spot the CS in the grey wall from the other side of the house, jmp/grab and go in, climb up L at the end and you are on the city walls. Follow the trench, go L/L/R and to a sloped passage in the N side. Slide backwards and grab the edge to safety drop back into the crossing of rooms.
The 3rd Horsemans Gem.
You will land straight
in front of the passage you have to go in now, so follow the passage up to
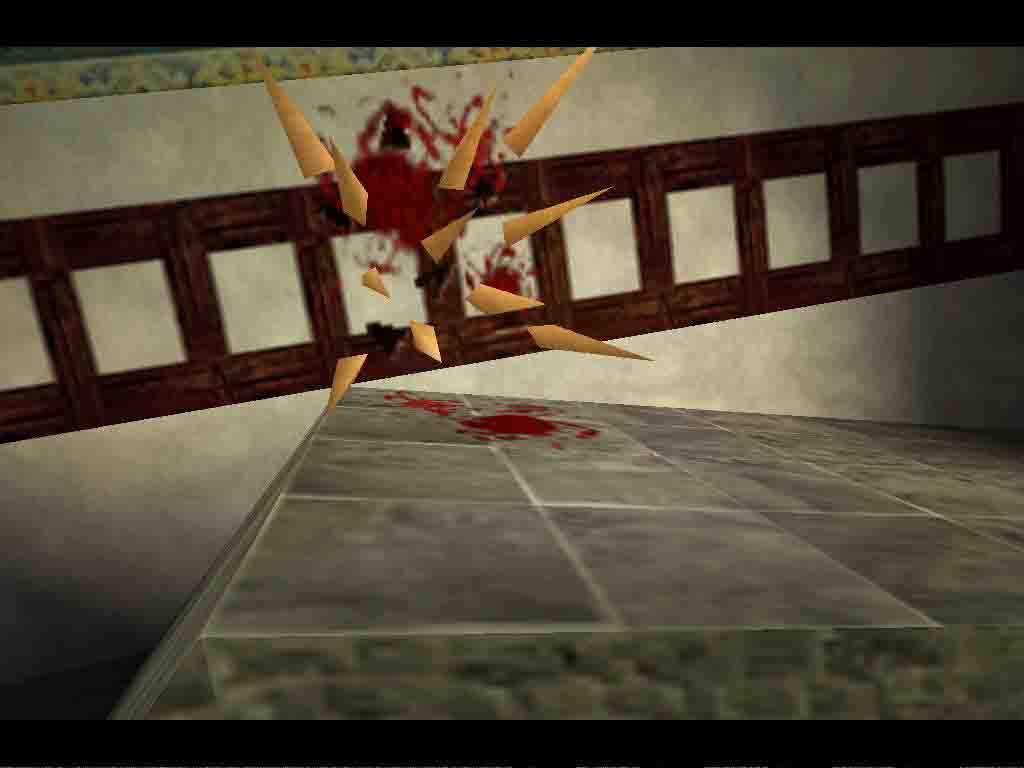
an opening S and come to a room with 2 Boulders over a slope and a deadly
pool, go around the pool to the NW corner and the Boulders will drop, revealing
nasty blood covered Spikes ( Jackie: the story is that Lara is being followed, but
the dawn was never released so its left to be a mystery...)
Slide down the long slope and go to a room with the 3rd Horsemans Gem
on a pedestal, expected some Spiketraps here, but didnt find any, go get
the gem and climb the NE pillar, runjmp/grab into the opening in the N wall
and go up the ladder. Backflip from the top into a passage that leads to another
slide back to the crossing of rooms and now you face the exit with the Spikes.
Theres no way back but DOZY, Jackie says, but there is
Spikes.
Stand one hop back from the Spikes and start sprint when you expect the Spikes to go up, this way youll sprint through the Spikes while they retract again, in the end a roll (hit Alt key) before they go up again and you can get through like this with only minor health loss. Go N and back to the Purple Diamond room.
The W side is for after you got all the gems, so first go across to the N door and follow to the end and jmp over one of the trenches to go up in the NW opening in the wall, in the upper passage is a deep shaft that will bring you to Taishan 2.
5- Taishan 2.
Climb up the ledge (on the safe L side) and go L an bit, in the opening between the two pillars N is a sloped pillar, sidejmp to it from facing W and keep jmping the pillars/slopes to where you can grab a pillar with a L curve, do a runjmp/grab to the pillar under the ledge to the S, turn around and jmp/grab straight up (takes a few tries to grab that ledge). Go over the pillars along the wall to the ledge in the N, drop from that one to the pillar with the Ammo and go N.
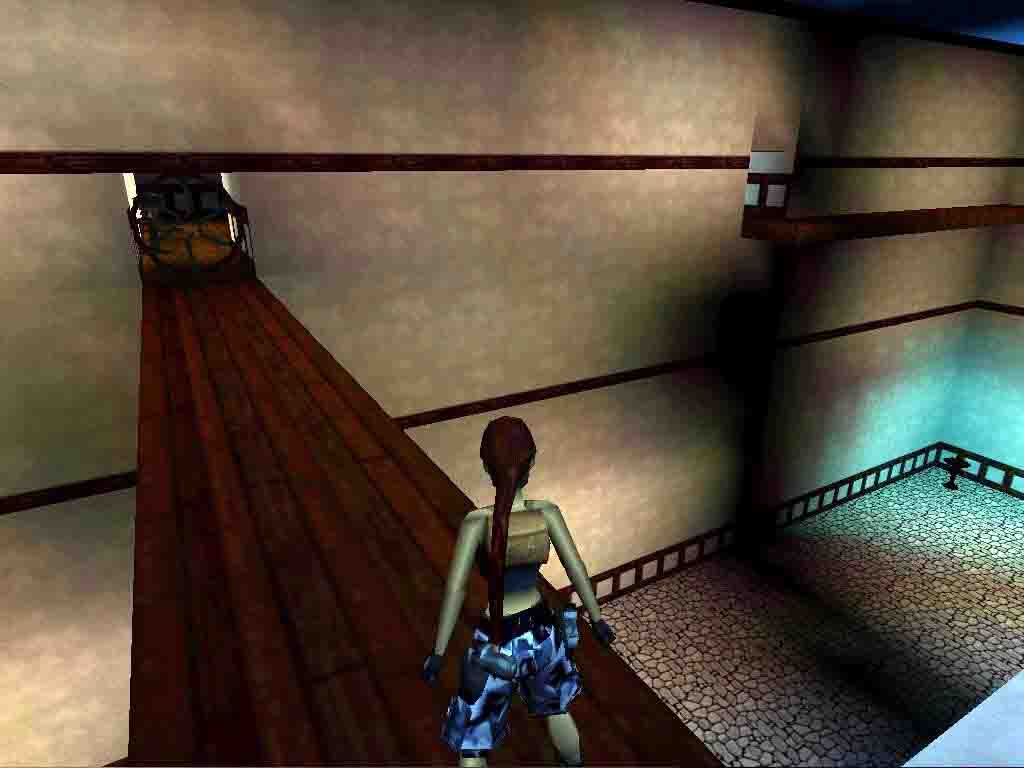
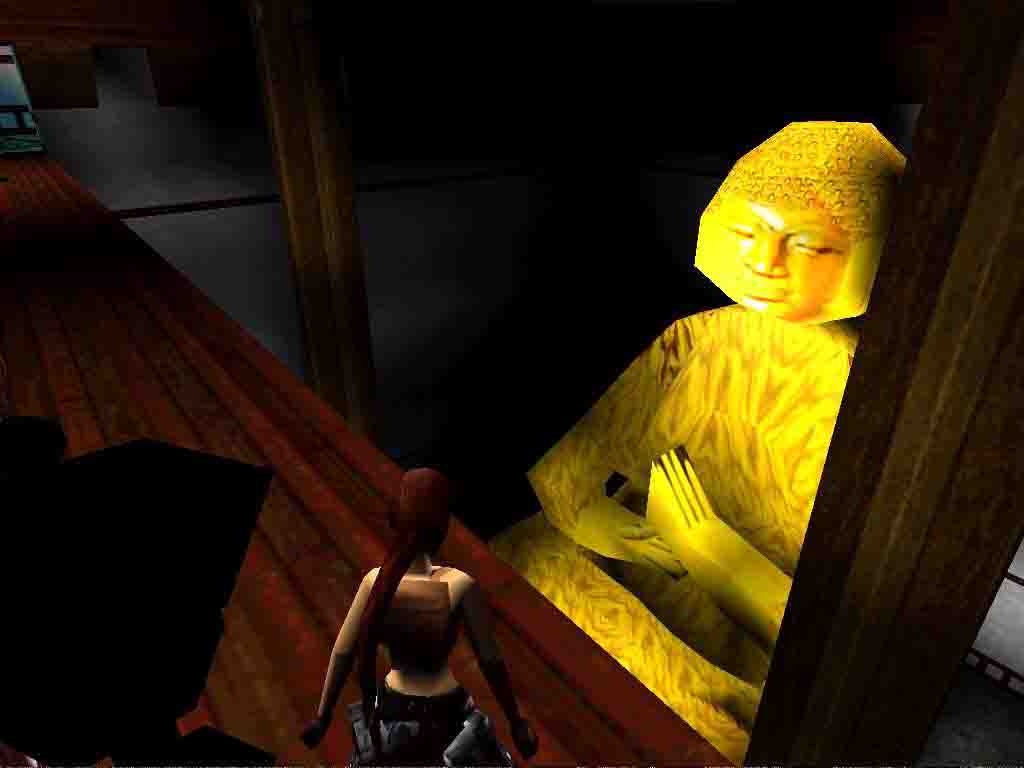
Theres a big old Buddha statue. Go around the back and climb into a CS there to get Secret #4, the Shotgun and Ammo. Drop back out and go R (W) go along the Buddha and jmp onto one of his crossed legs, go over the legs into his . to get a ½ MP there. Back up to the legs and to the E, you can climb up L to the R arm and from there a runjmp/grab to the opening in E wall. Go into the building in the wide area and R, to the SE corner of the moat. Theres a small tunnel leading under the building, keep going L everywhere and end up inside (Now the door opens, bit late ) go up some steps to climb to the upper walkways, jmp into the opening S and turn around, jmp/grab the ladder and go to almost at the top, backflip out onto the S side roof and go over the bridge to the Rotating Knives.
Get through the Knives with a sidejmp or stand close and roll. Go L into the NE corner for some Ammo and then W, theres a ½ MP on the floor, better crawl to it as a Knife ball drops from the ceiling. In the SW is a passage with another Knife ball, go follow that passage and just around a corner a Boulder will drop, hop back into the corner and it will not hurt you. Go out to a walkway overlooking the houses and head to that opening in the W. Head through the top of the Buddha room to a canyon and follow the canyon to a river (great atmosphere). Runjmp over the river and follow to a big Temple Wall. Go into the SE corner before you go through the Wall and face N in front of the rock there, climb up and jmp forward to a flat part under a hole in the E wall. go in for Secret #5, Ammo, go back out and through the Wall.
The Pharos Pillar.
Go to a building on the R, grab up to a roof on the N side and look for the opening in the W wall. From this roof, standing on the edge of the 2 different coloured roof parts, you can do a long runjmp and grab the R hand side of the opening, slide in and jmp over the gap to get the Ammo, jmp back and safety drop into a room where the Pharos Pillar stands in a pit with 4 Boulders. Go into the pit and stand on a corner of the pedestal, ie facing NE or SE, grab the Pharos Pillar and hold backflip while Lara is in action, so youll backflip away just in time. Go to the E side of the room and up the block, open the hatch and go up to the temple grounds again. Into the NE passage to some Spikes and the next part of your quest.
6- Taishan 1. part 2.
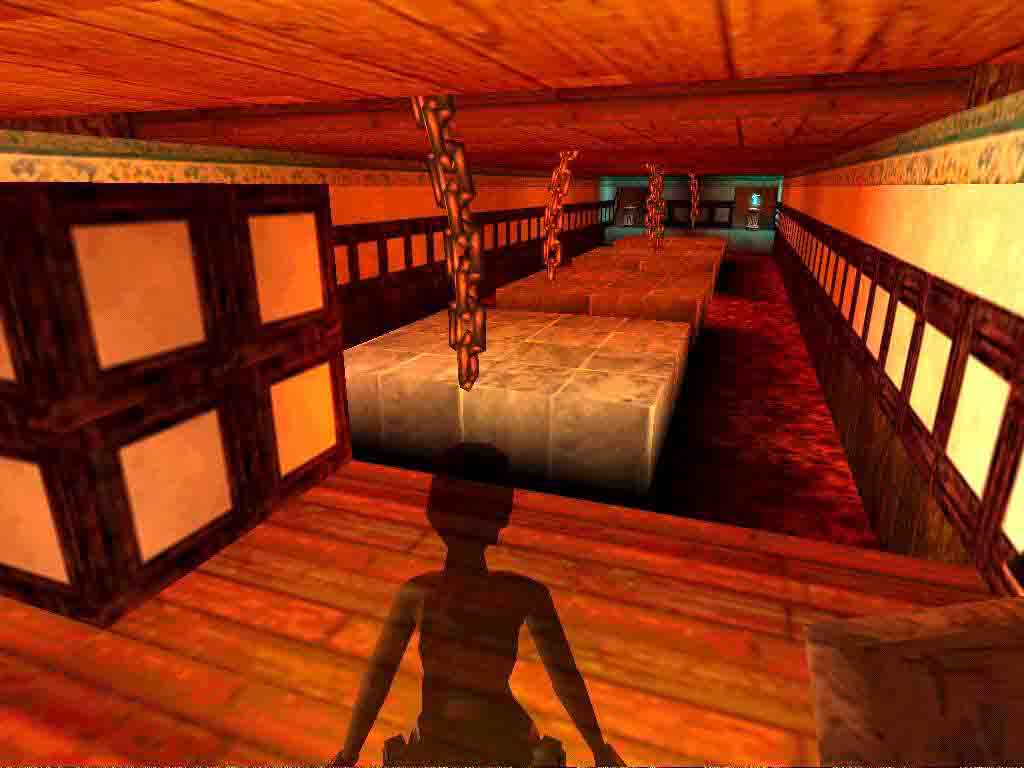
Steam blowers start to make things even worse, run through and try to get to the spikes while they are down, the next slope passage has a Boulder-trap, sprint down and to the L, but stop just before the next Spike-trap, both sides are the same so take your pick and runjmp through (or sprint). Light a flare to spot the pushblock in the back passage and push it in to go in the Chain room.
The 4th Horsemans Gem.
Go R past the block and standjmp/grab onto the 1st ledge. Go on like this and the last jmp is a runjmp/grab, get the 4th Horsemans Gem from standing on the side and quickly hop back as a Boulder comes down the passage go for the ½ MP behind you and look up that passage, theres a Burner on the 1st ledge and theres an opening to the R, standjmp up from the R side of the passage and immediately side jmp R. Youll land on a sloped block and you have to go backwards to grab the edge.
Pull up and backflip to the next sloped pillar, keep jmping till you land on a flat ledge in the lava pool. Turn S and jmp to the block on the wall, go R and jmp to the ledge under the walkway, grab up to that walkway and head N, see a ledge with a pushblock in the NW corner, runjmp/grab over and pull it as far as possible, drop/grab back from the ledge and shimmy L to the other side of the block to push it to the Tile that will set two Boulders free, they will break the floor open in the SE corner of the room. Runjmp/grabs over the walkways to the W and down the slope to that hole in the floor at the end of the slope, safety drop down and land back in the Purple Diamond room. Go into the last W door and place the Gems there in the empty receptacles, you have one short. So this is the end of the levels as Jackie wasnt able to finish them. Pity
10-03-2005.
Walkthough by Dutchy*with the help of Jackie to clear up some things*
Az oldalon közölt képek, a szöveges tartalom, illetve minden sajátkészítésû anyag, a © TR Editor.hu tulajdonát képezi. Azokat semmilyen formában nem lehet reprodukálni, másolni, terjeszteni, csak a szerkesztõség engedélyével.