
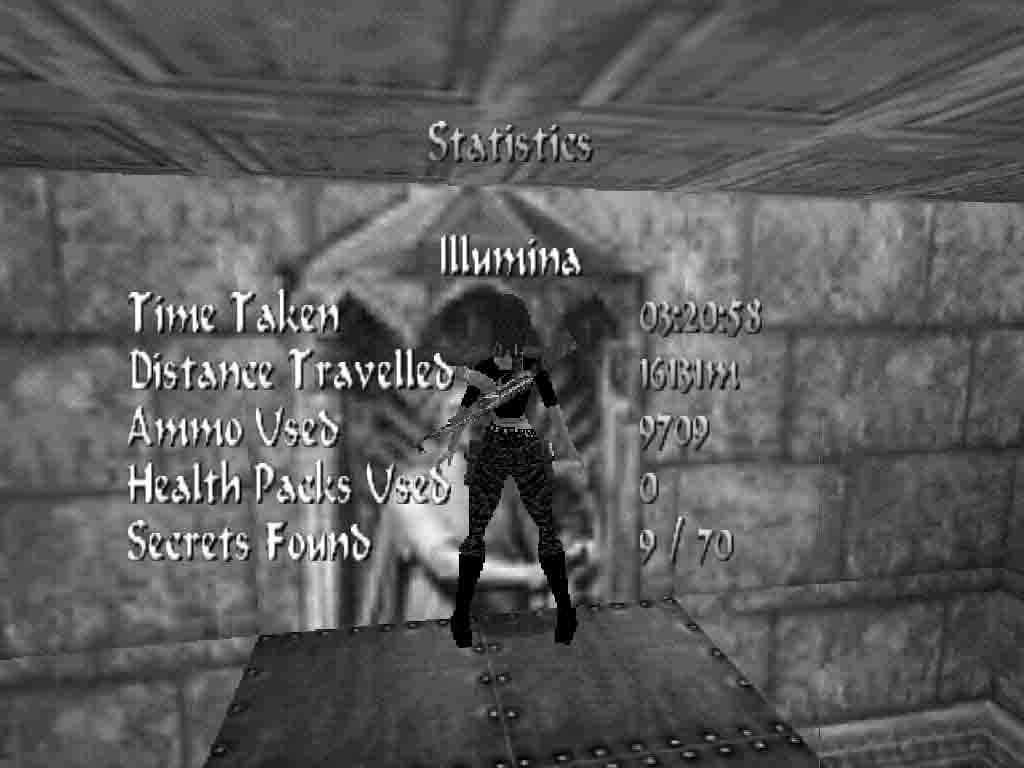
Sudeki
Download: Here
Story:
For thousands of years everything had been going smoothly in the fantasy world Sudeki. But then came the time when war broke out between the good Tetsu and his bad brother. The powers of the Good competed against the Bad and, to the surprise of all, the final battle ended in a draw. The result was that Sudeki was divided into two parts and suddenly, two worlds in two spheres existed which were nearly identical. The one is Hasklia, the world of the Good, the other is its dark mirror image Akloria. After that ruined incident thousands of years went by in which Hasklia and Akloria developed separately. However, in the end at this millennium the borders between God and Bad started to fall to pieces. It all begins with the attack of the population by unknown creatures in some rural regions of the kingdom Illumina. As the attackers cannot be located, the people want to protect at least the capital Ilumina, a magical shield for protection is developed. However, for it the people still need some crystals... Lara starts looking for the four crystals?.. There`s 2 Secrets in Illumina 2 Secrets in Shadow World 3 Secrets in Castle 1 Secret in Inside the Castle 1 Secret in Metal World All together: 9 Secrets.
Walkthrough:
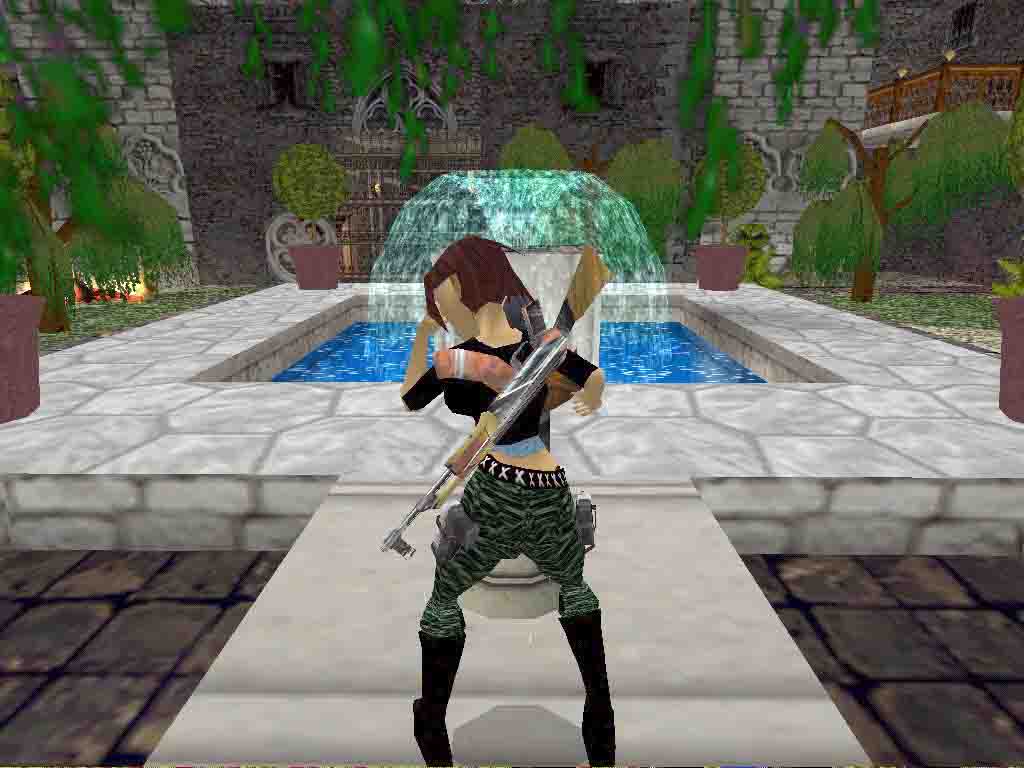
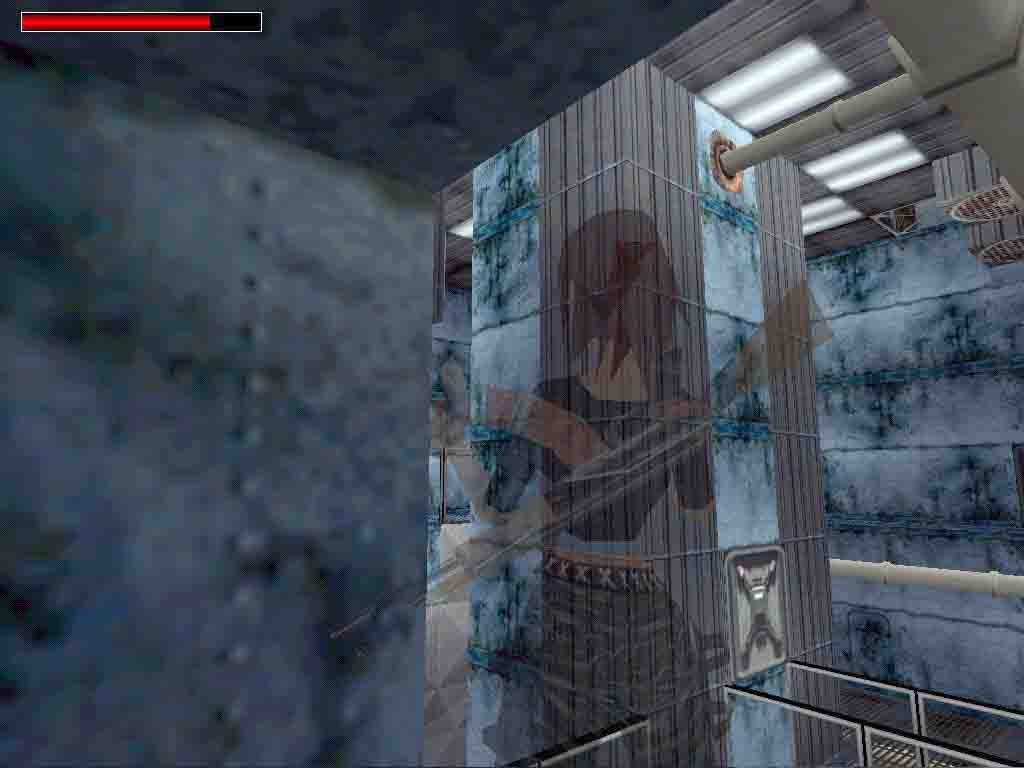
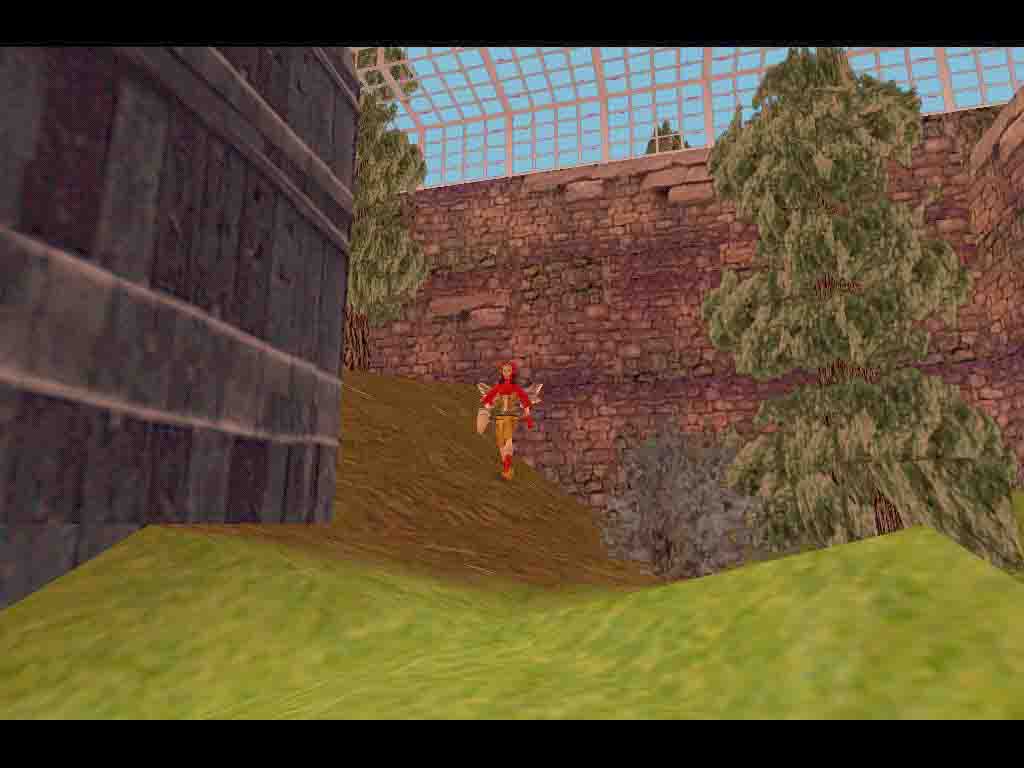
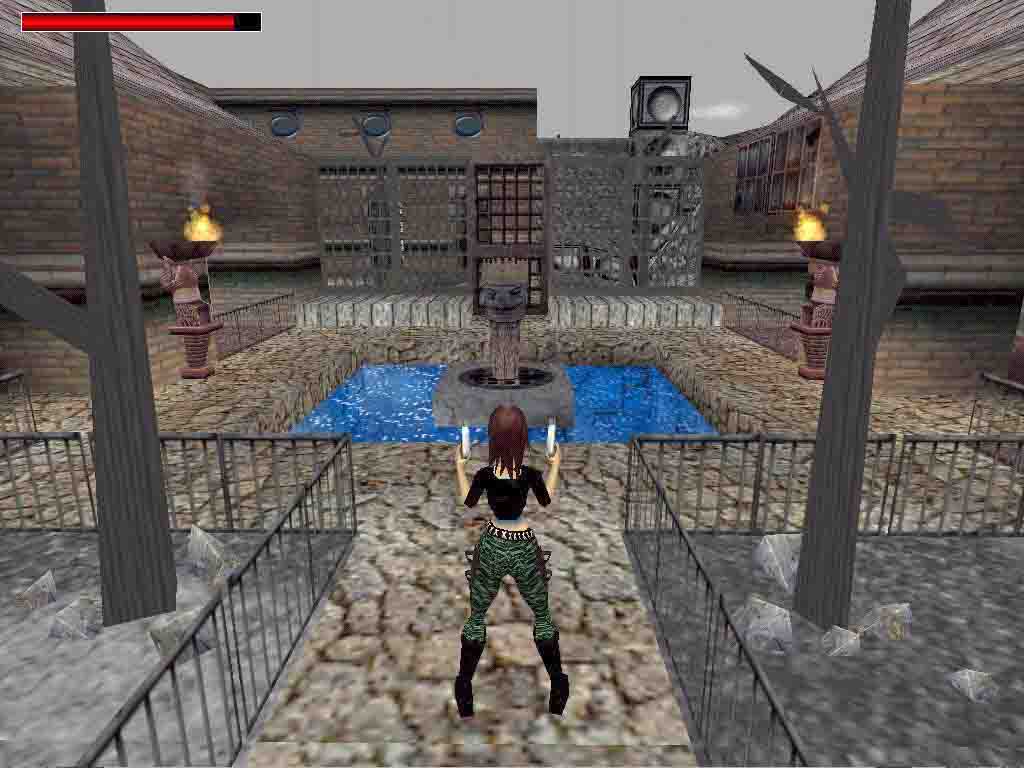
Level 1 Illumina (part 1).
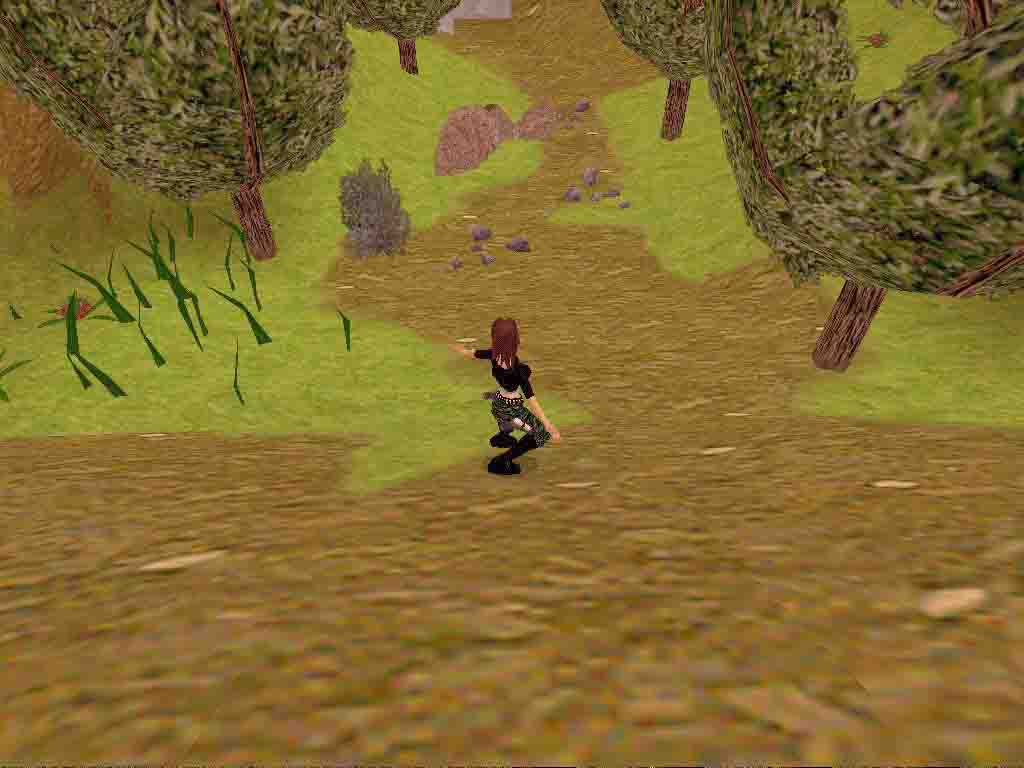
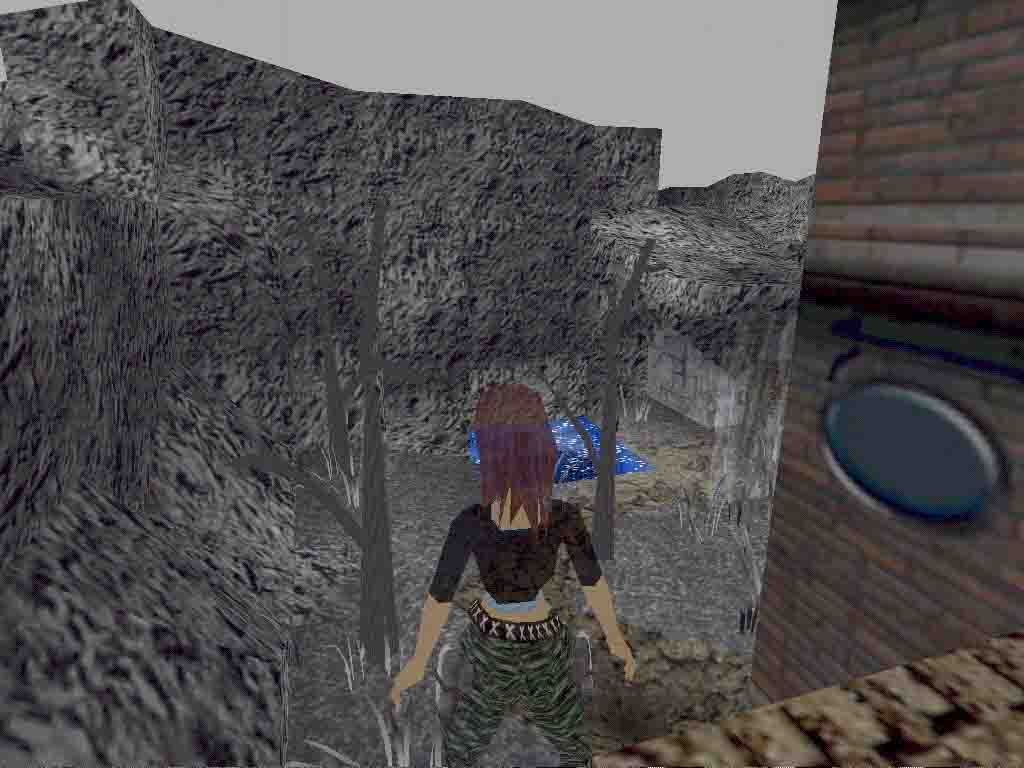
Secret1-2: 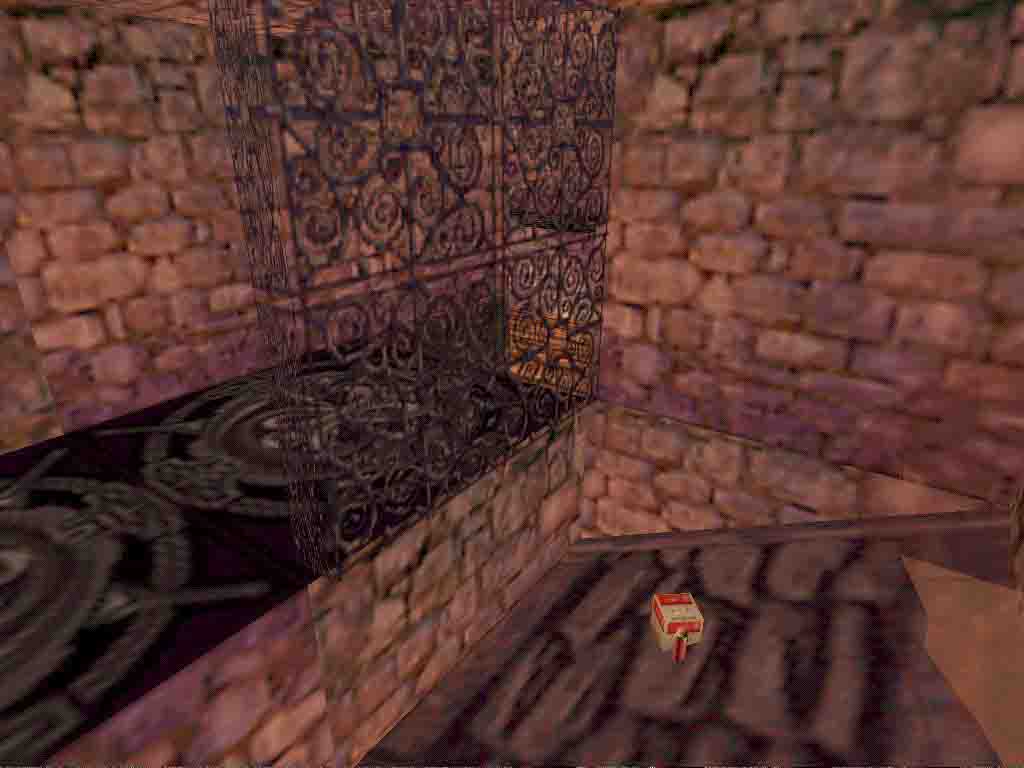
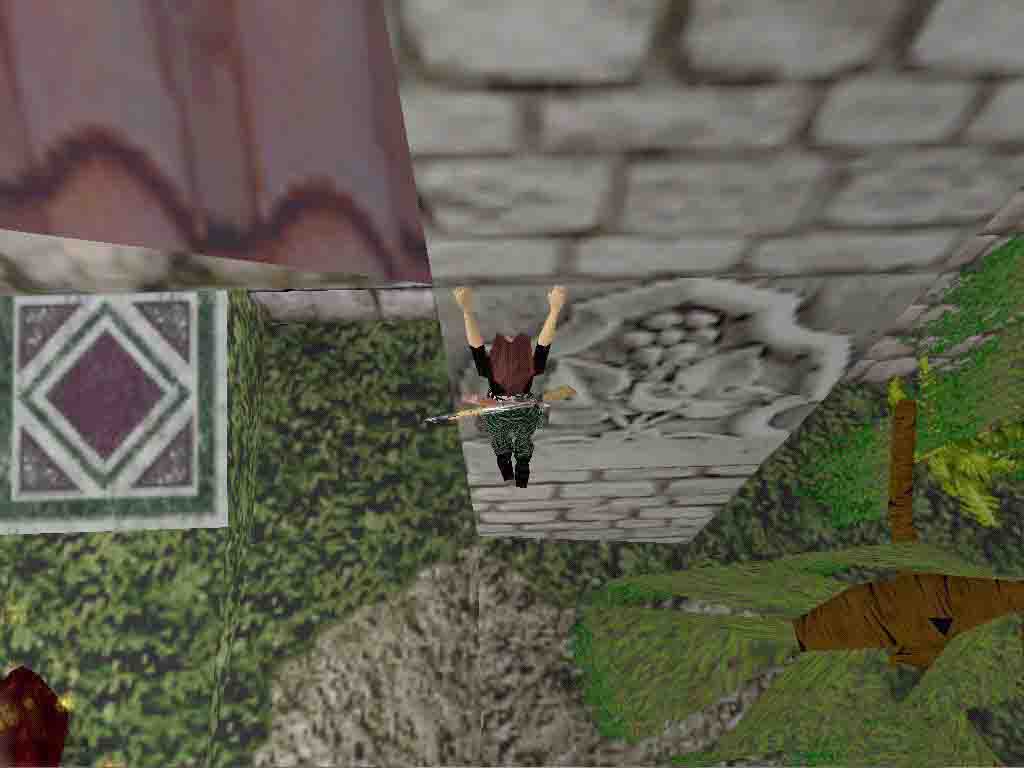
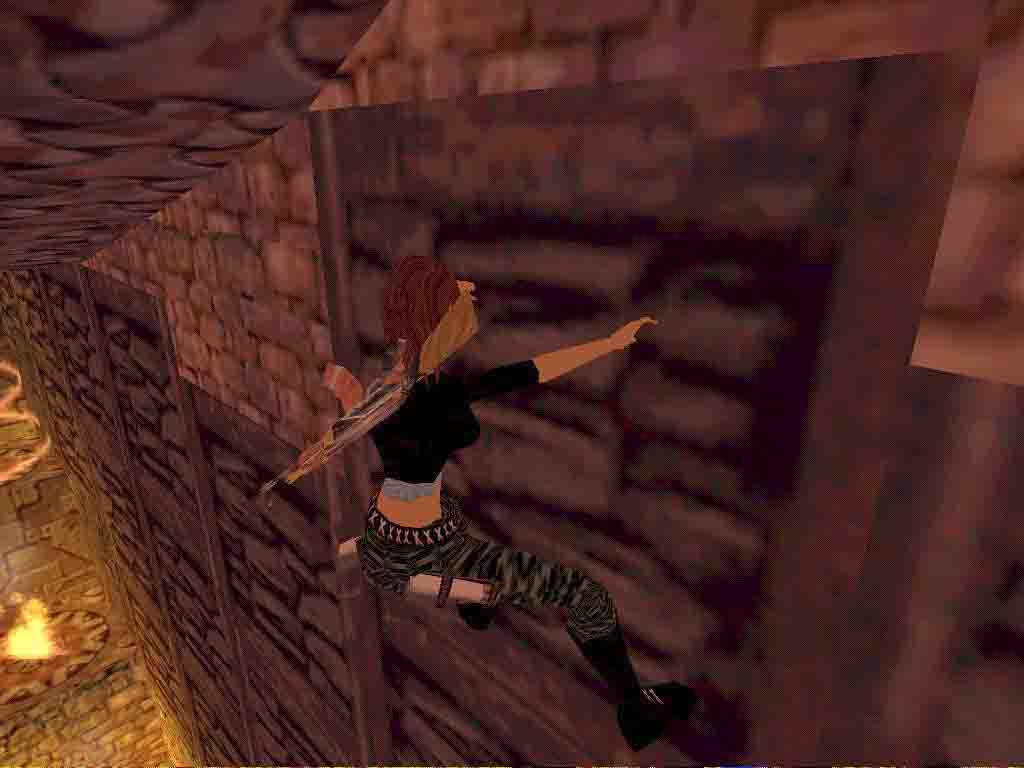
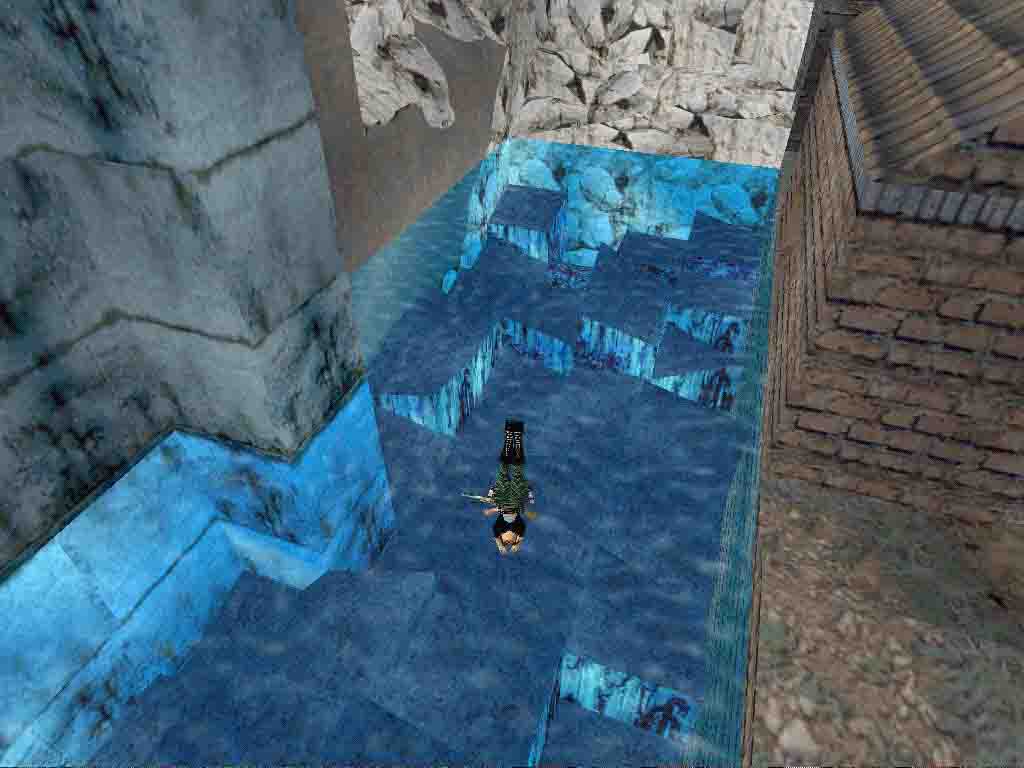
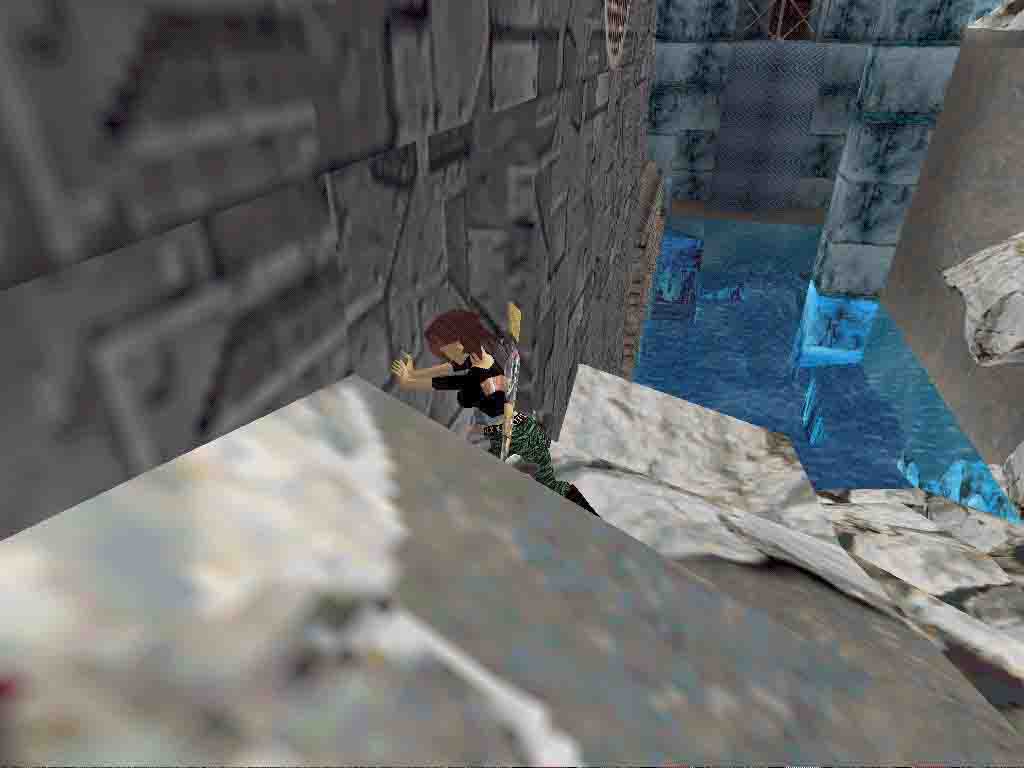
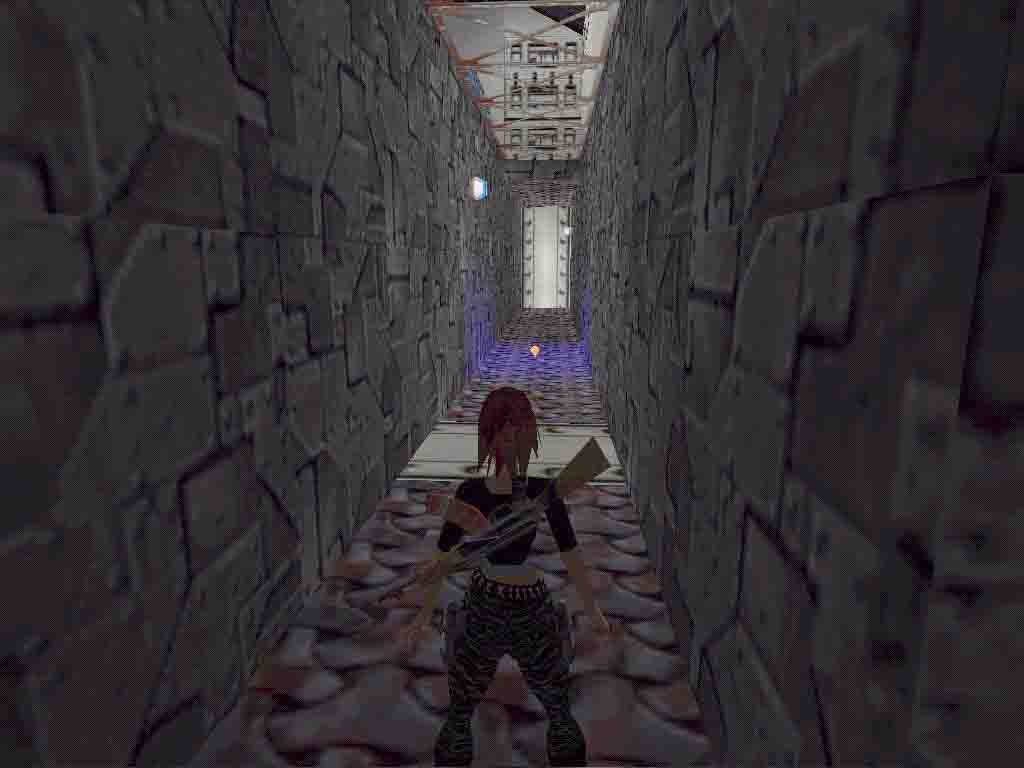
Lara slides into a valley, follow down to those grey rocks between the walls and climb up and over. Did you notice that turtle in the valley?
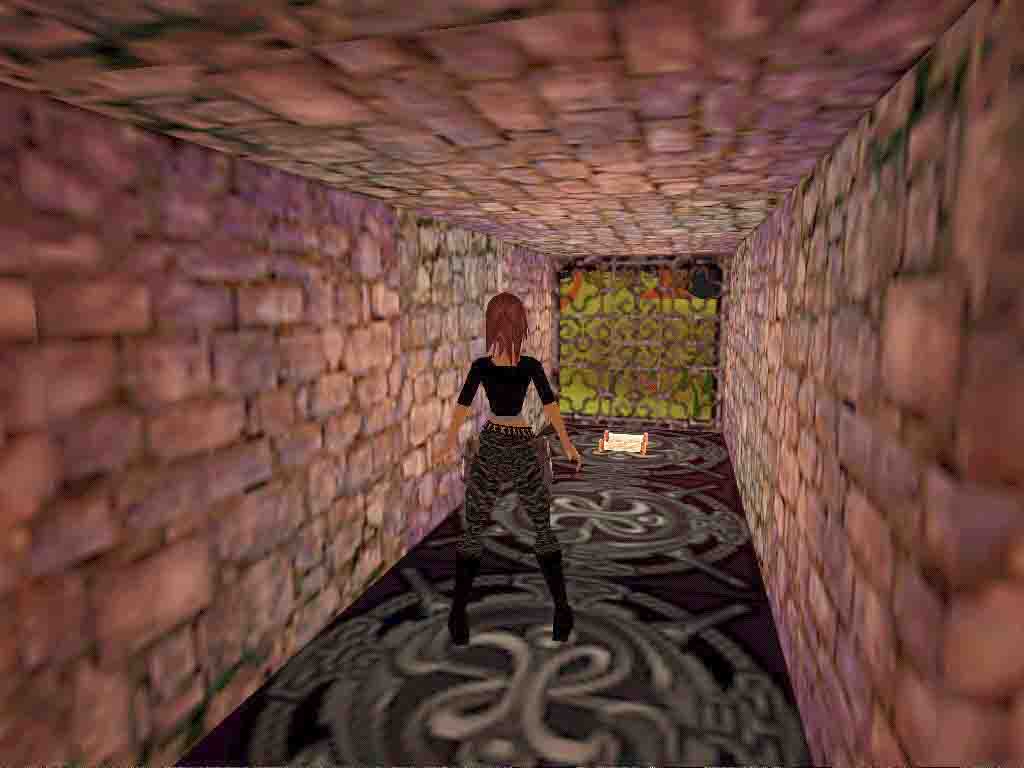
Down in the courtyard at the other side is a closed gate, go left to the SE corner and find a pushblock in the E wall get that out to enter the passage and pick up the Old Letter there (screen of a gate opening up), examine it and reads:
To save Illumina you need four Diamonds which are hidden in four different worlds, Search them!!
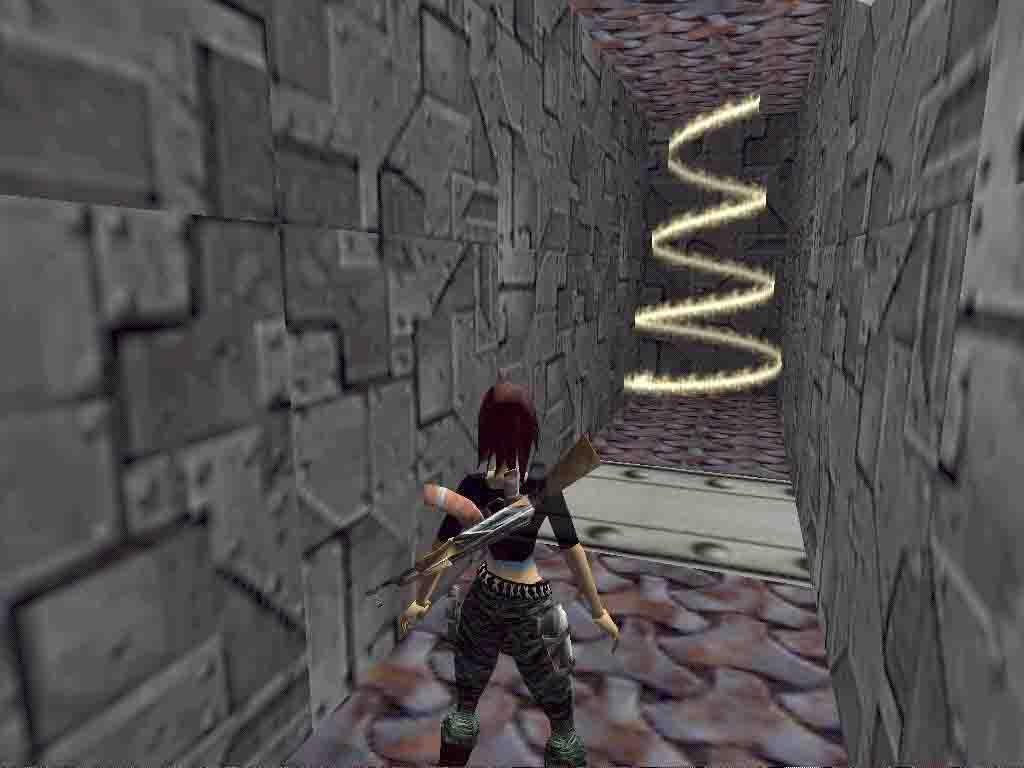
Go back out and push that block into the SW corner, get a screen of an extinguished fire. Go to the NE corner of the courtyard and up in a passage where the open gate is, get Secret#1, the AK47 Ammo there and go back a bit to the open gate, look up to find a ladder in a shaft, climb it and backflip/roll/grab, shimmy left along the ledge to just around the corner, climb under the low ceiling and crawl right to jump into the passage N, throw the lever to open the gate below. Just run out of the passage and jump/grab the ladder to get down and go to that gate W on the courtyard.
Im sure there are more ways to go through the rest of the level
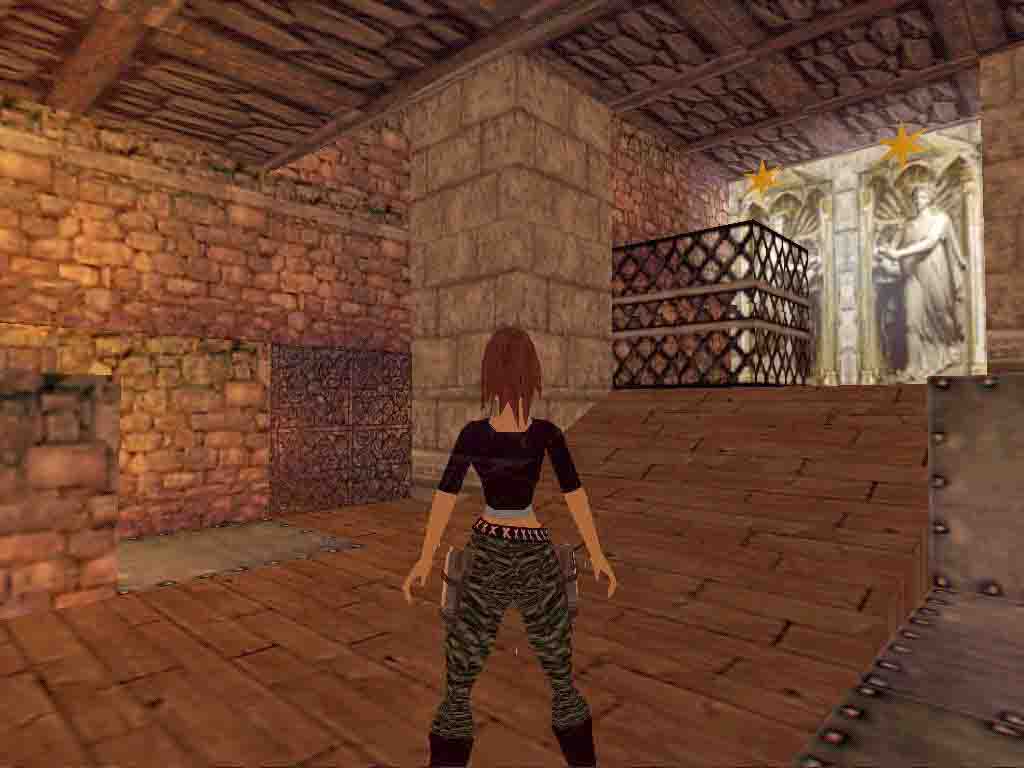
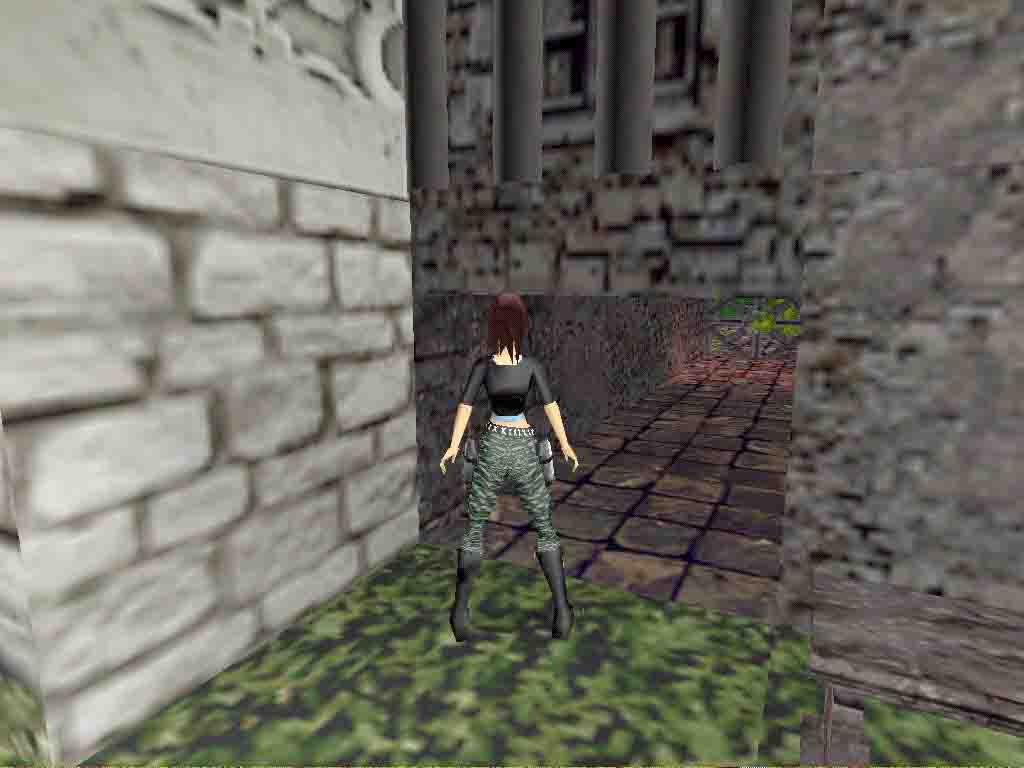
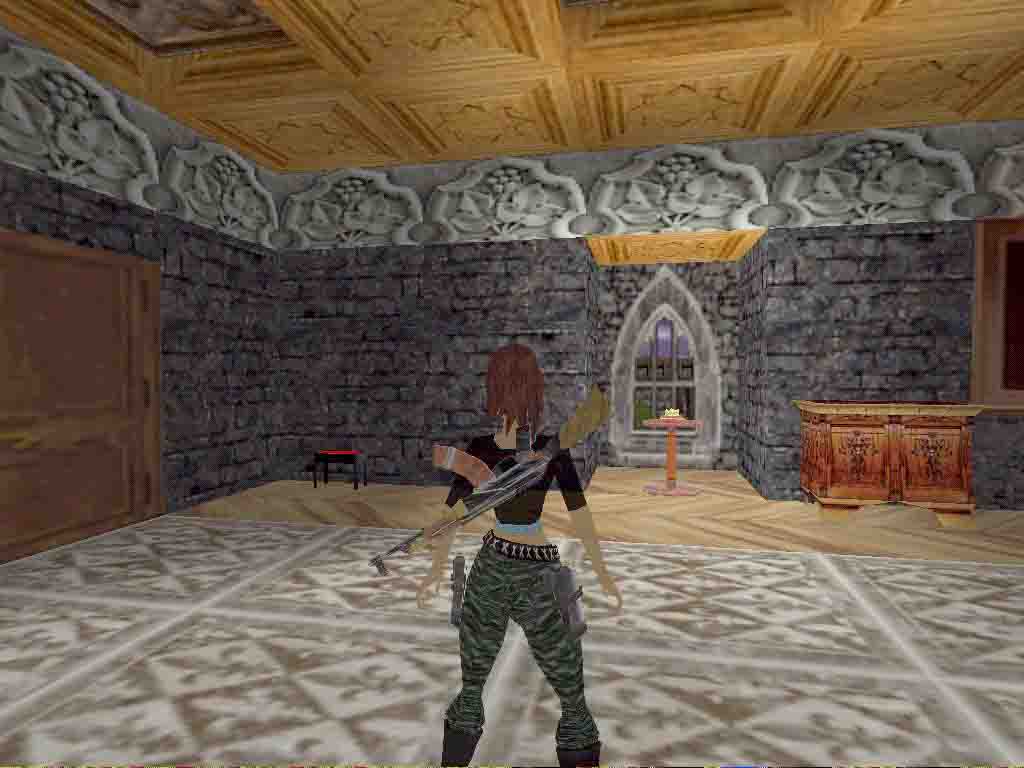
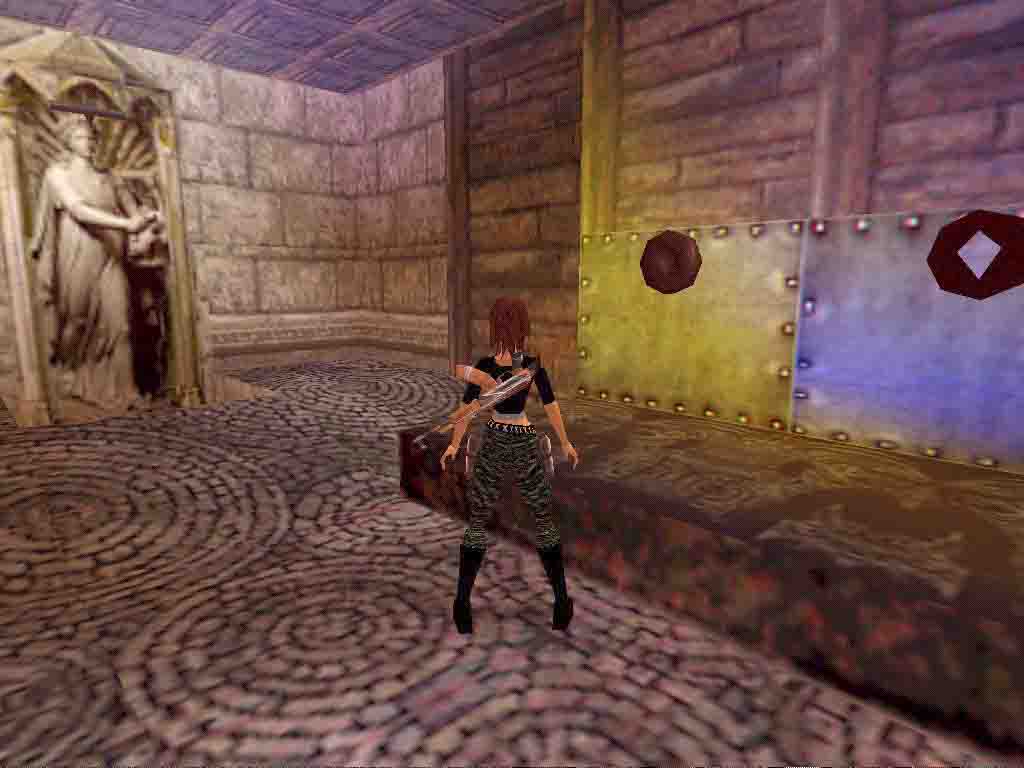
Village Square.
Youll come to the Village square, to the W is a Pillar with a flame on top and to the right of it is a house where 4 Diamonds have to be placed later.
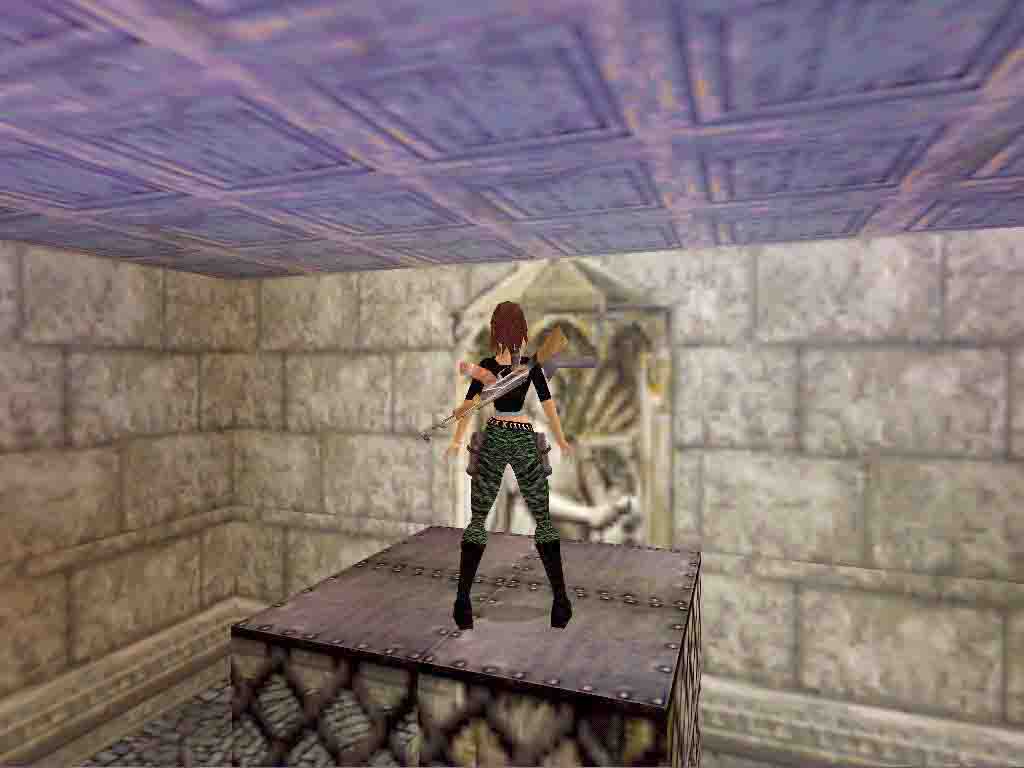
From here it is up to you where you go first, but this is how I did it, the green lines will indicate the entrances to the different levels.
From the Pillar with the Flame, go back E a bit and left up the hill between the 2 houses to an opening in the wall, follow the tunnel to a teleporter and run in
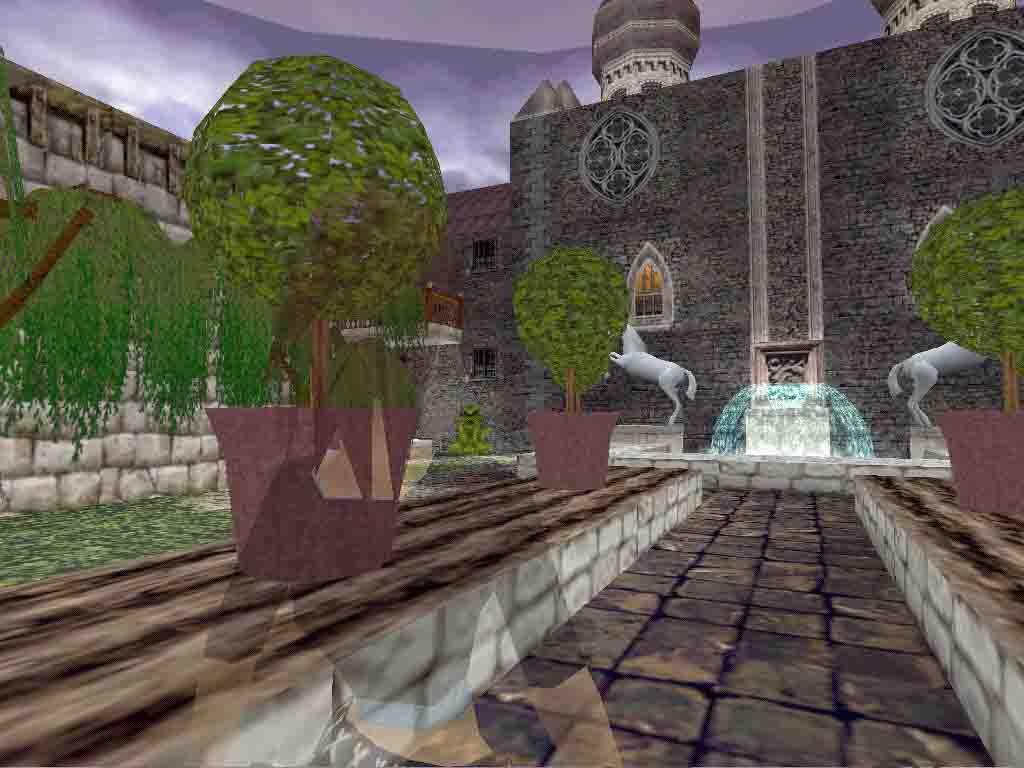
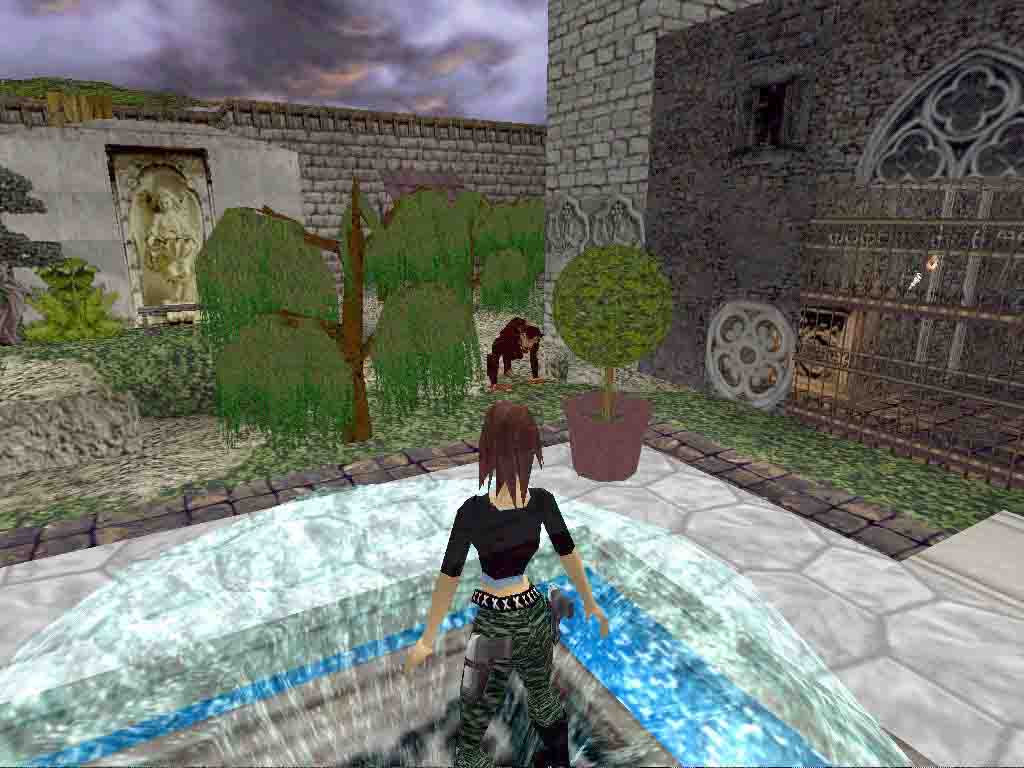
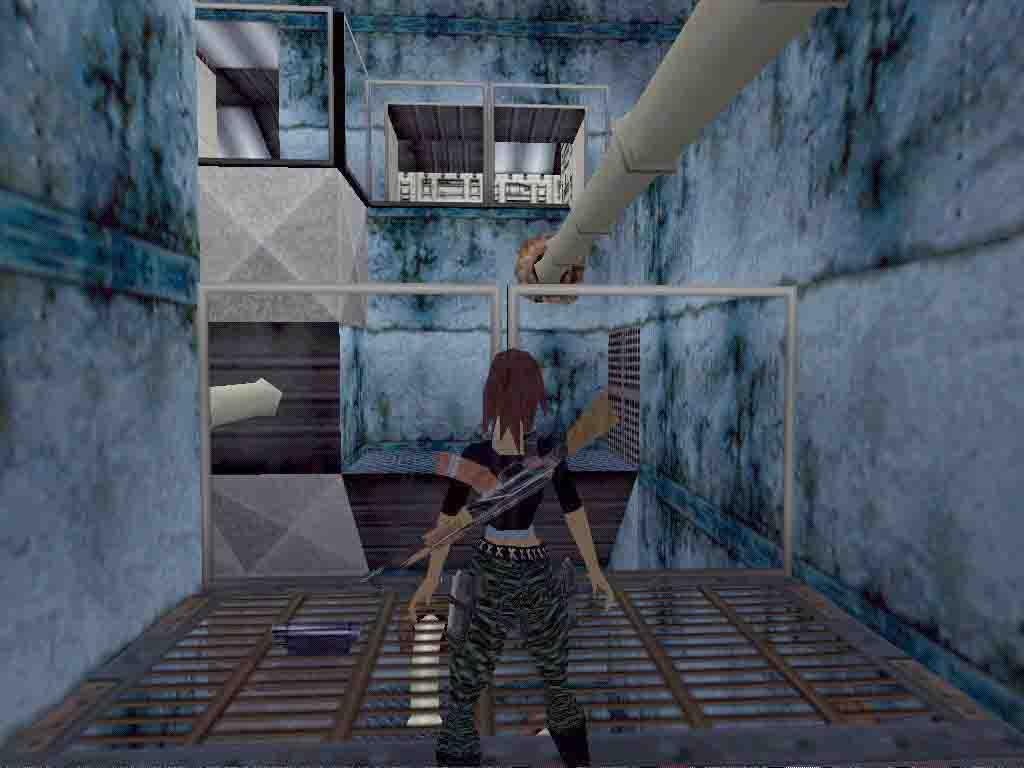
Level 2 Castle.


 Secret 3-4-5:
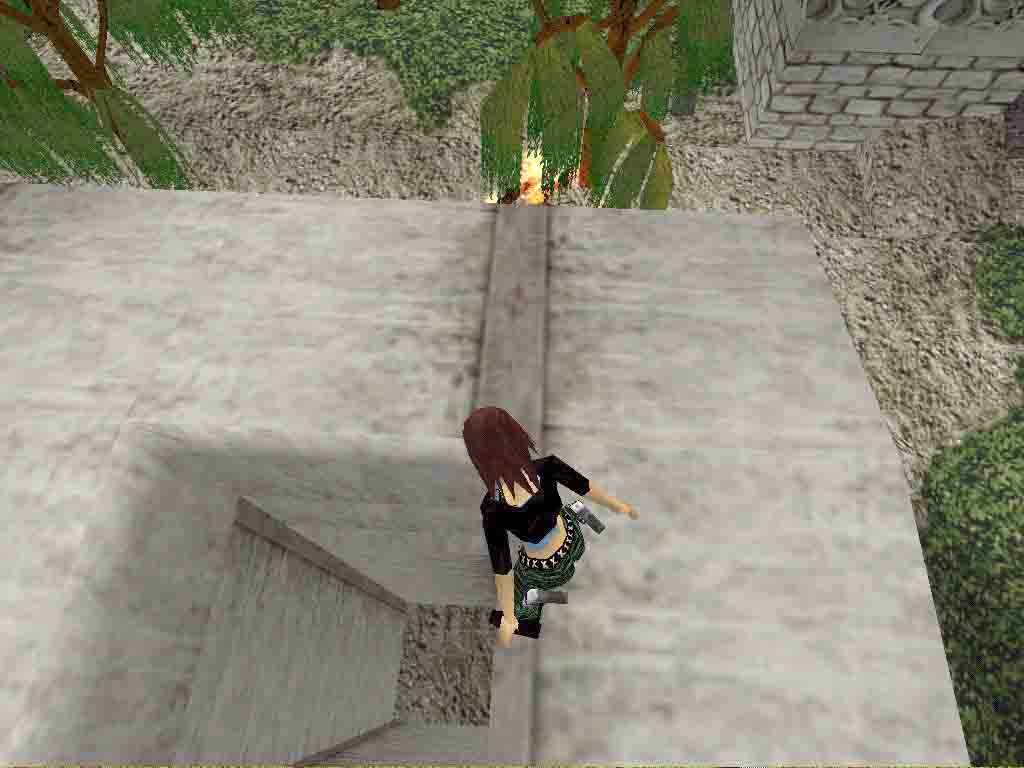
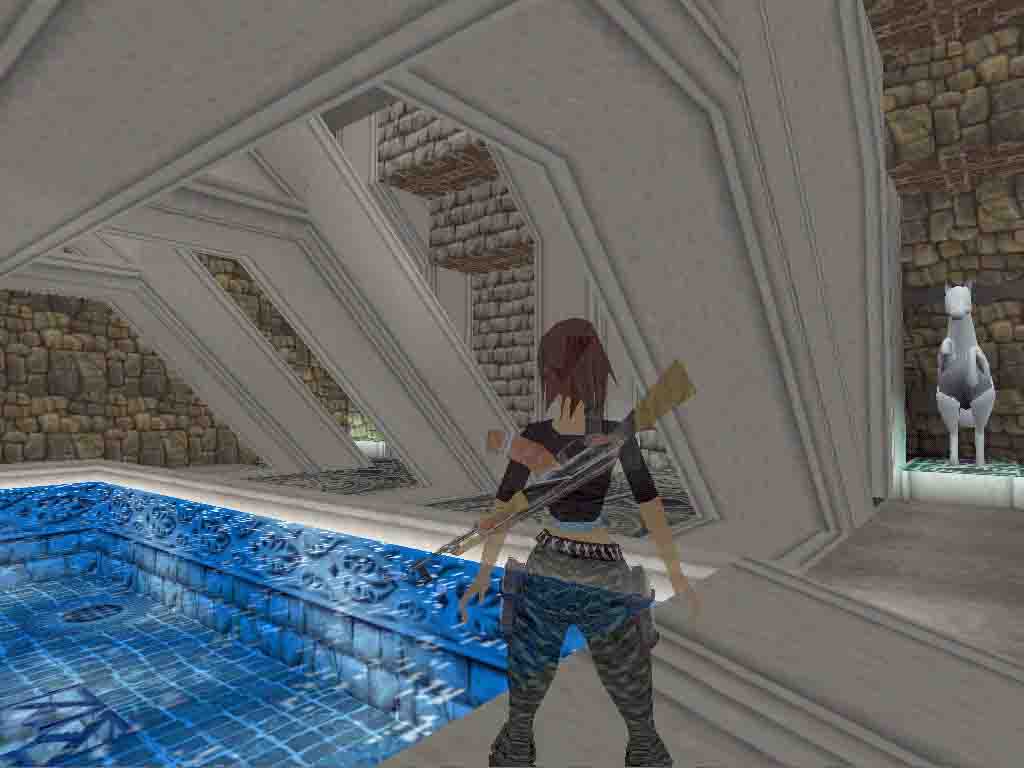
Go to the fountain with the horses and left there to the NE corner, climb a block and use the Jumpswitch there, go back to the pool and find and UW gate opened up. Dive in and swim right/left/right at crossings and get the ½ MP at the gate, roll and swim into the second left, left again and out at the air pocket, get the AK47 Ammo and dive back in, swim N to a fountain and climb out, 2 Werewolves will attack. What I did was jump onto the fountain in the pool and stand at the edge to shoot them (if you stand in the middle youll see no blood and arent harming the creatures).
Head SW from the pool and see a small closed gate with some pickups (AK47) behind it, turn left and look for the climbwall SE, go up till you can backflip to a balcony and get the AK47 Ammo. Then throw the switch on the wall and see that small gate. Jump back to the ladder and get down to the square, to get to those pickups well need to get back to where this level started, so go back to the pool. Dive in and swim left/right/right/left and climb out at the horses fountain, go NE and find the open gate right next to the pillar, go in for Secret#2, the AK47 and AK47 Ammo. Get back to the pool and swim back to the other pool, climb out E and go to that little white building to the left to climb up to the roof of it from the NW corner, go down the ladder in the building and get Secret#3, a MP below. Climb back out and get down from the roof.
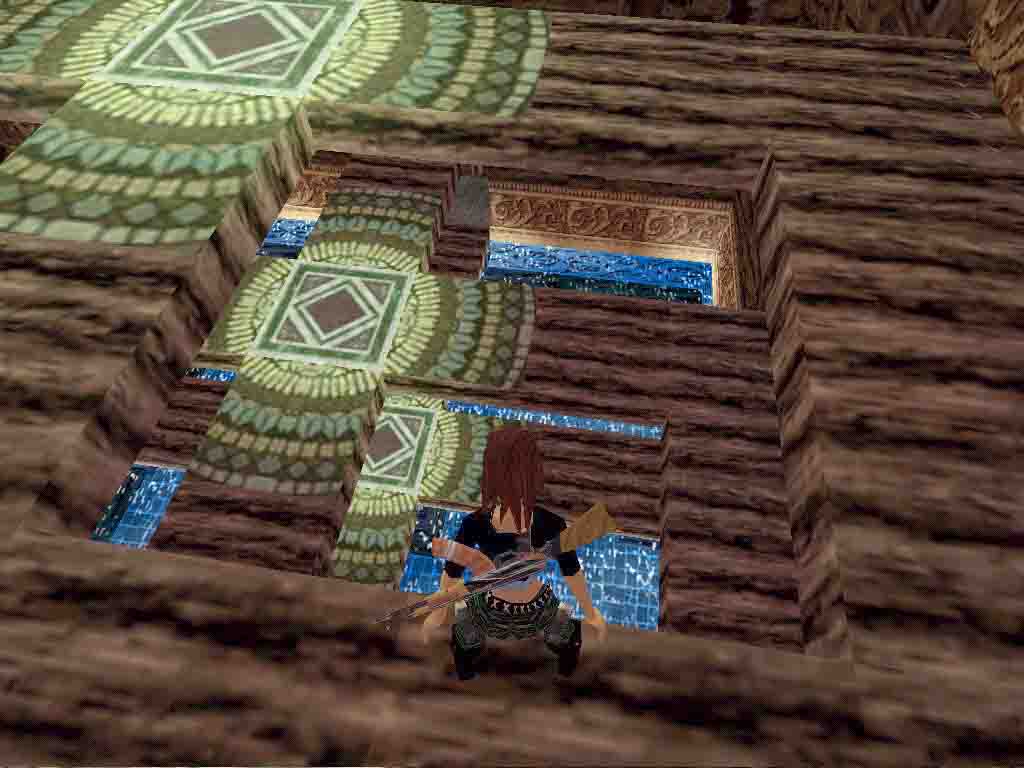
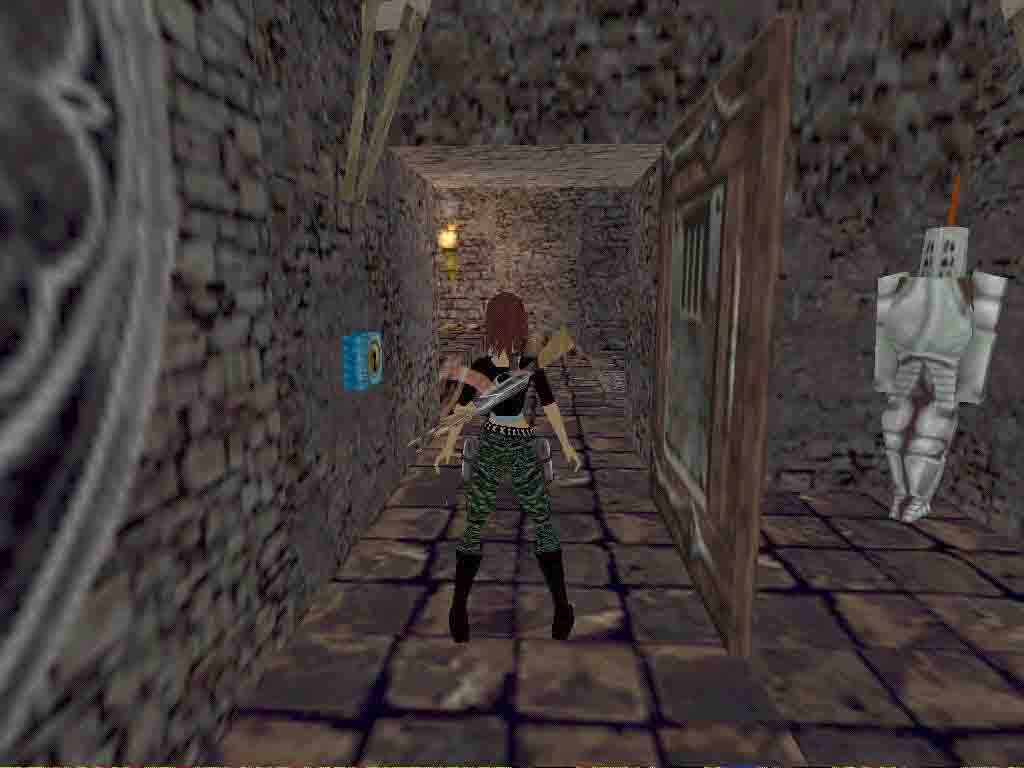
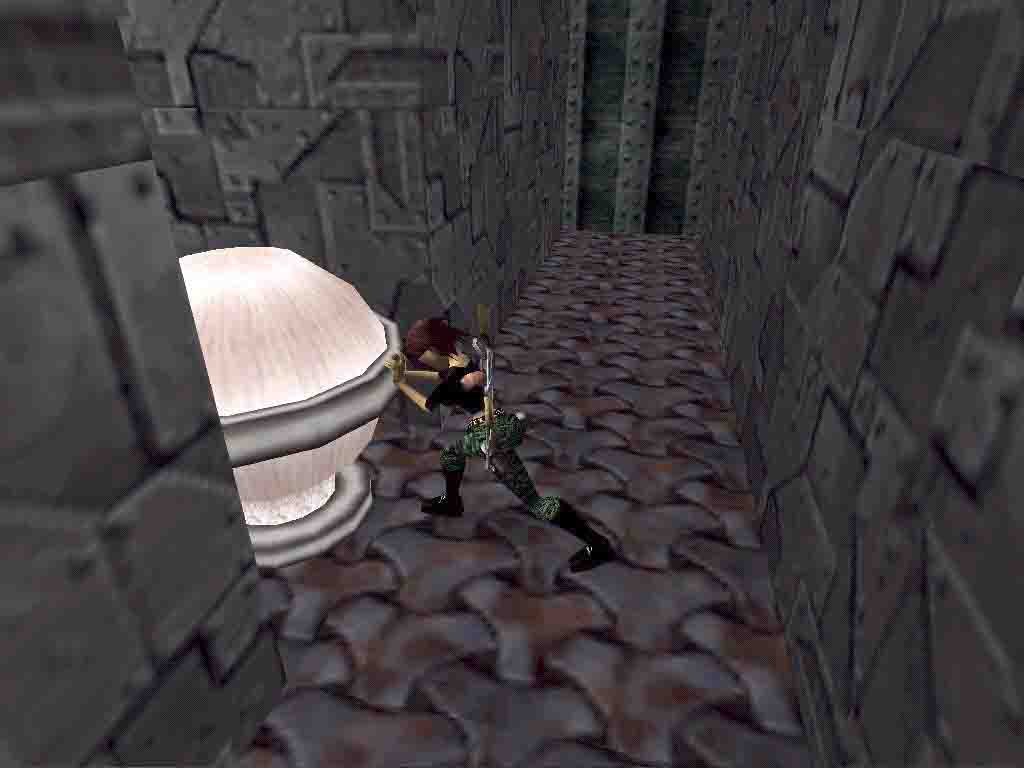
The Labyrinth.
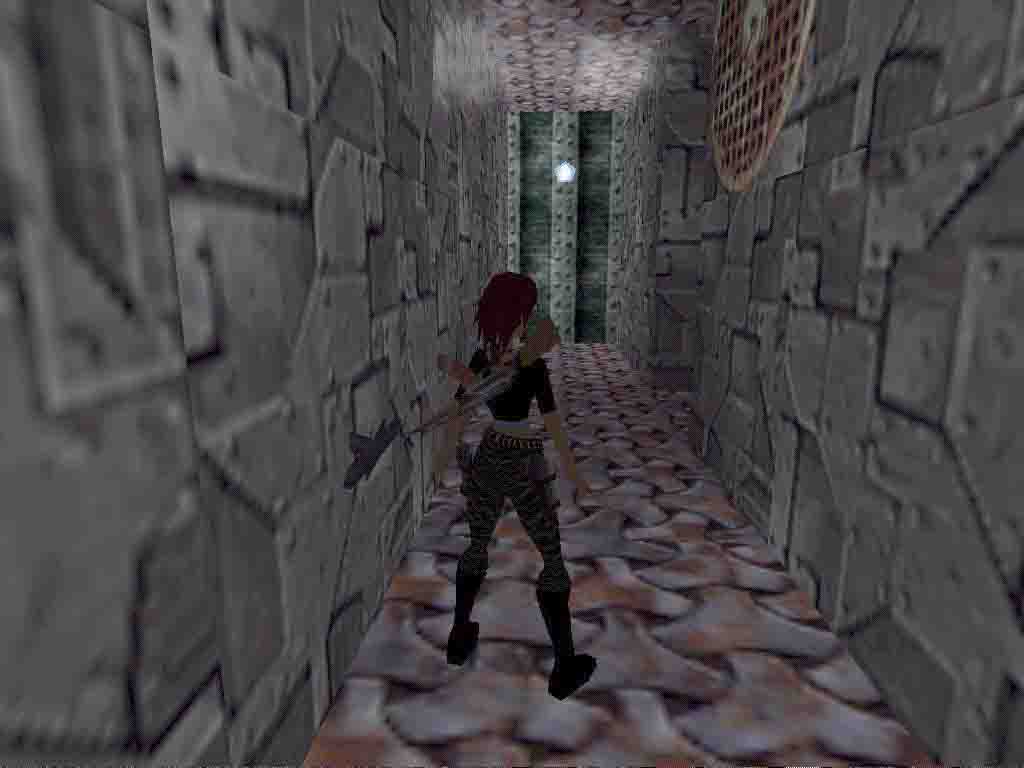
Now head N and along the left (W) wall to find a pushblock near the end, push it to get into the passage left and go around to get to a passage behind the block. Follow in and go left and hop down into the next passage, coming to a hole with Spikes, go stand back a bit and run in when you expect the Spikes to be down on landing, immediately roll and get the ½ MP there, then climb up NW, follow the passage to a closed door and go left to climb up N (you could have taken the last MP without jumping the Spikes, but this was more fun wasnt it?).
Apparently you have to go left at the crossing and then to the S, follow to a drop off into a lower darker passage, look up for an opening in the ceiling after the bend in the passage, turn around facing E, stand under the Jumpswitch and backflip up onto the slanted floor behind you, jump/grab the Jumpswitch (opens Secret door) and go W follow to a room with crossed bridges.
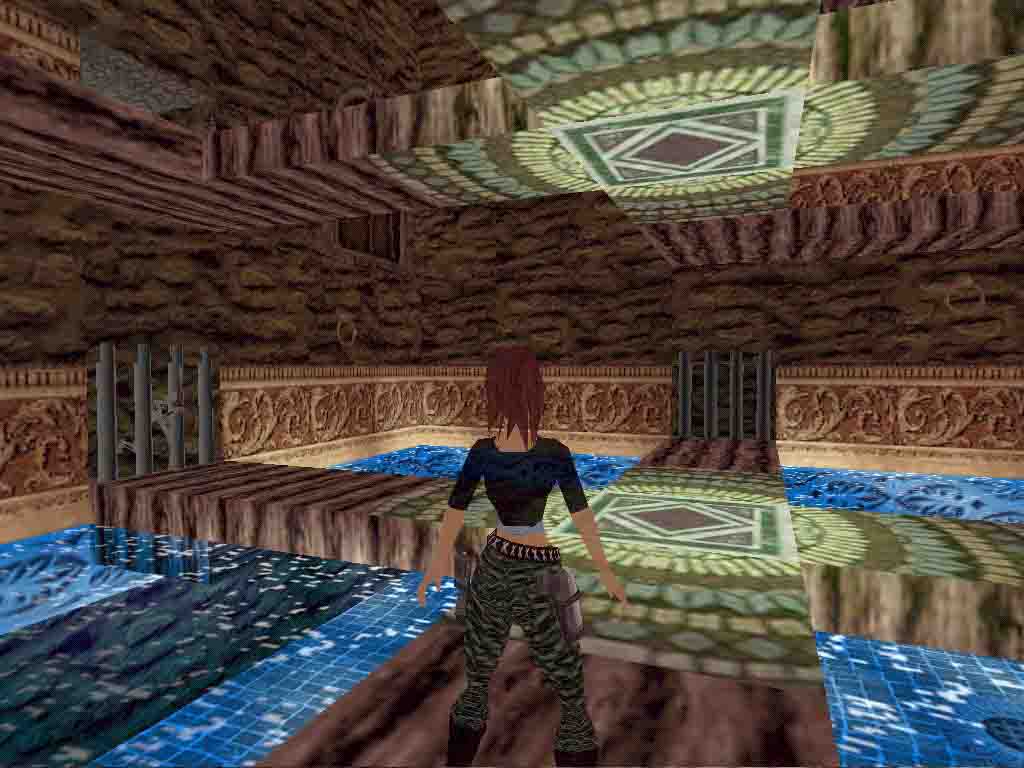
Crossed Bridges for the Pool Key.
Go over the bridge to the closed gate N and shoot some Bats, then dive under the bridge and look for the UW ceiling lever, pull it to open the gate W and let a Skellie out, climb back on the bridge and outwit him so he will be standing on a side bridge so you can shoot him into the pool. There is no reason to open the gate E, so enter W and go into the NE corner in the back. Look up and only use Ctrl to grab the crack, shimmy R to where you can pull up and youve reached the 1st floor bridge. Go into the passage S and right around the corner (left is the Jumpswitch you used before) and get Secret#4, AK47 Ammo.
Go out and spot the 2 Crystal balls over the Snake statues, jump up and shoot them with pistols. The gate N opens up. Go in and wait at the Spike-pit, stand right and aim for the left side of the wooden ladder on the opposite side of the pit. Runjump and grab the ladder and go up to the top. Then 3 steps down and right as far as possible, now backflip/roll/grab and end up in an alcove. Face N and runjump/grab out of the alcove to hang on the monkeyswing ceiling, turn right and follow to the ledge, dont drop, just go on and right around the corner to land on the top ledge at the 2nd floor bridges. Go out and onto the corner ledge to get the Pool Key. The gate below opens up, so dive down and enter that gate N.
Follow in with care as there are Knife-traps in there, the first one is easy, just stand against the right hand wall and walk slowly around the corner. Walk up close to the next blade and face the wall. Side jump when the blade moves aside and do the same at the next one, just right around the corner is a switch to open the gate and a flyby will show a block raised in the garden. Go out E and follow right to the pool, left there and to that block. Climb it and a Were wolf shows up. Go shoot that first as he can climb the block too and then standjump/grab to the balcony W, climb up the roof W and go NW to jump over the top to the roof W, go to the W side and pull out a block, the right hand one, go behind it to use the switch that will fill up a fountain in the NE corner of the garden. Get down from the roof ( a runjump down into the fountain pool below is possible, or make it a nice swan dive with Alt+Shift) and head for that water.
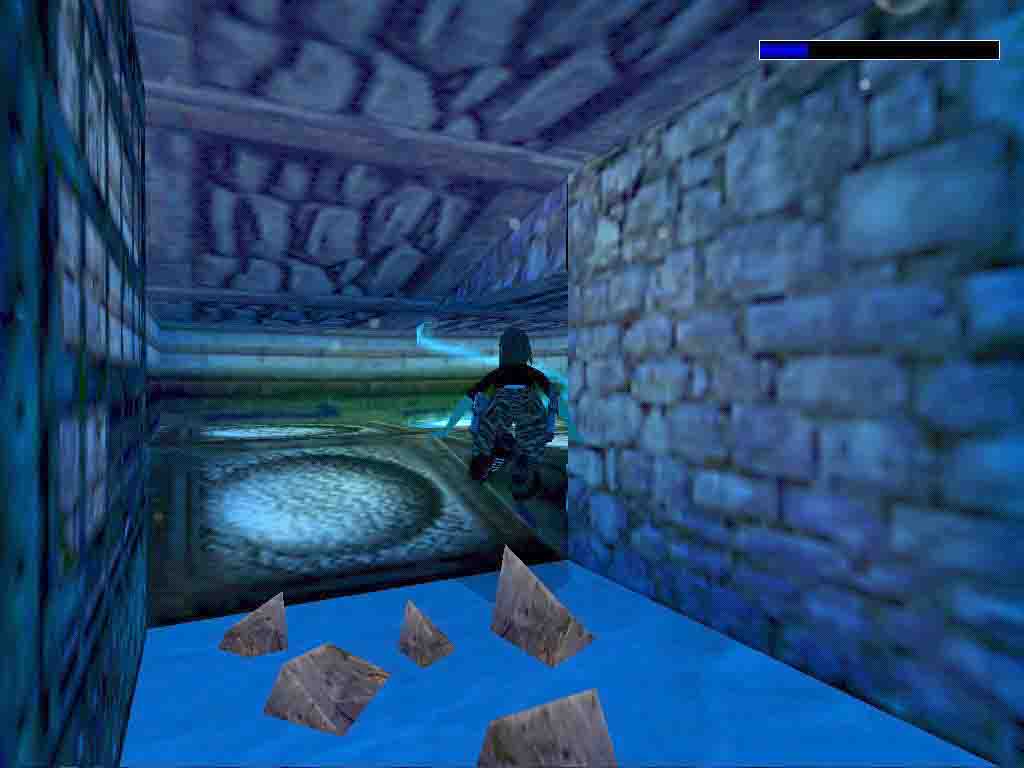
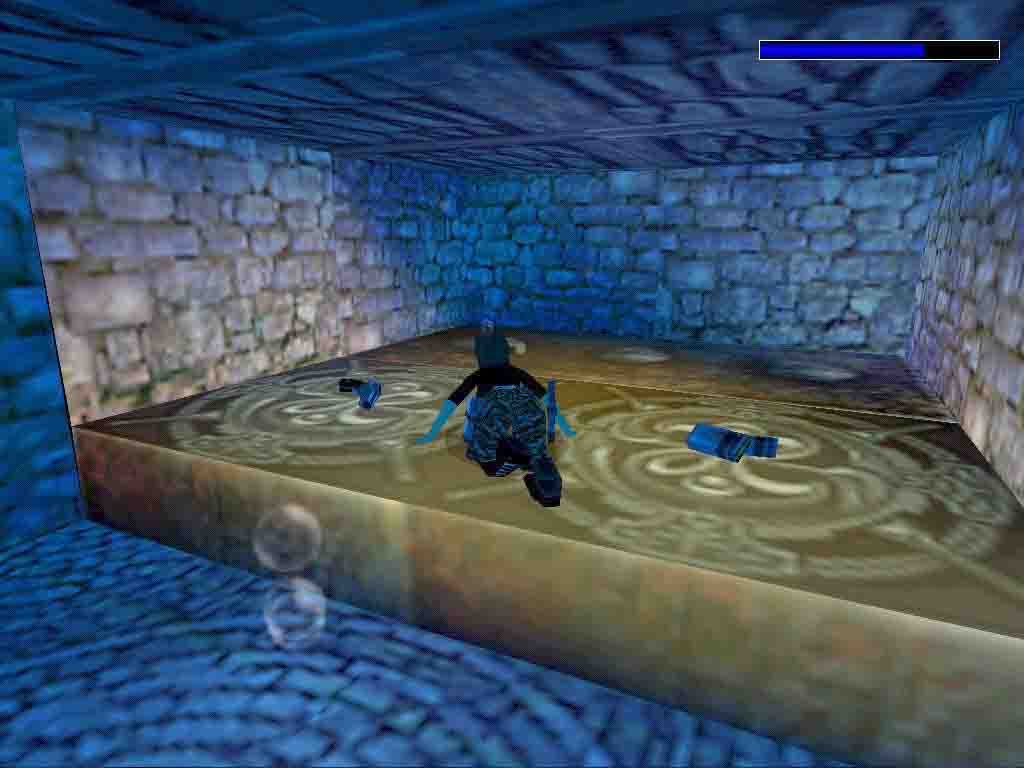
Swimming
the Maze. 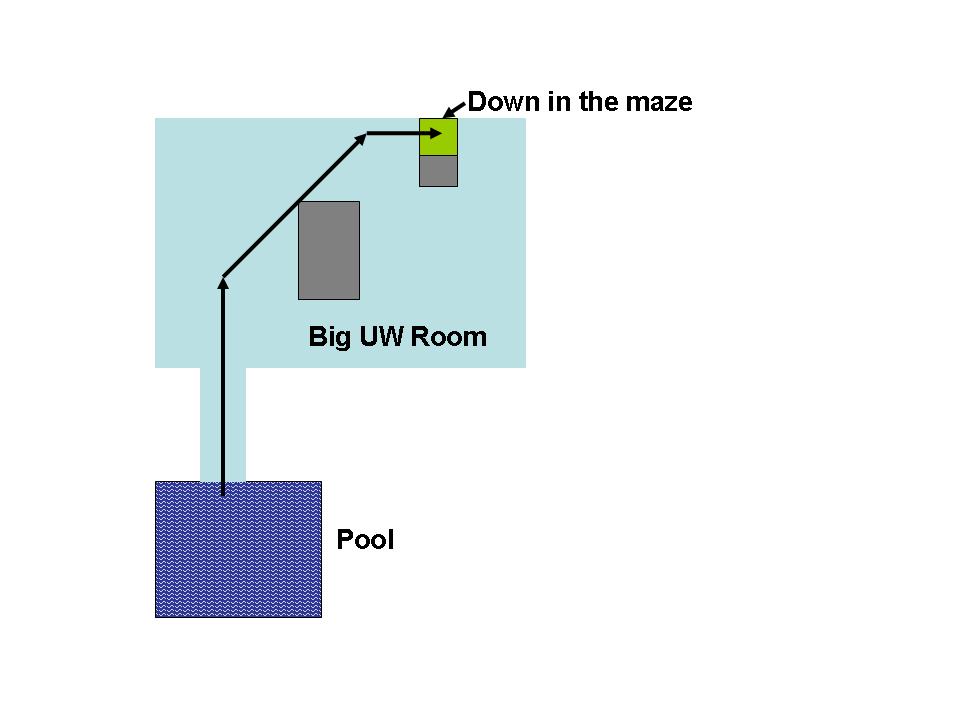
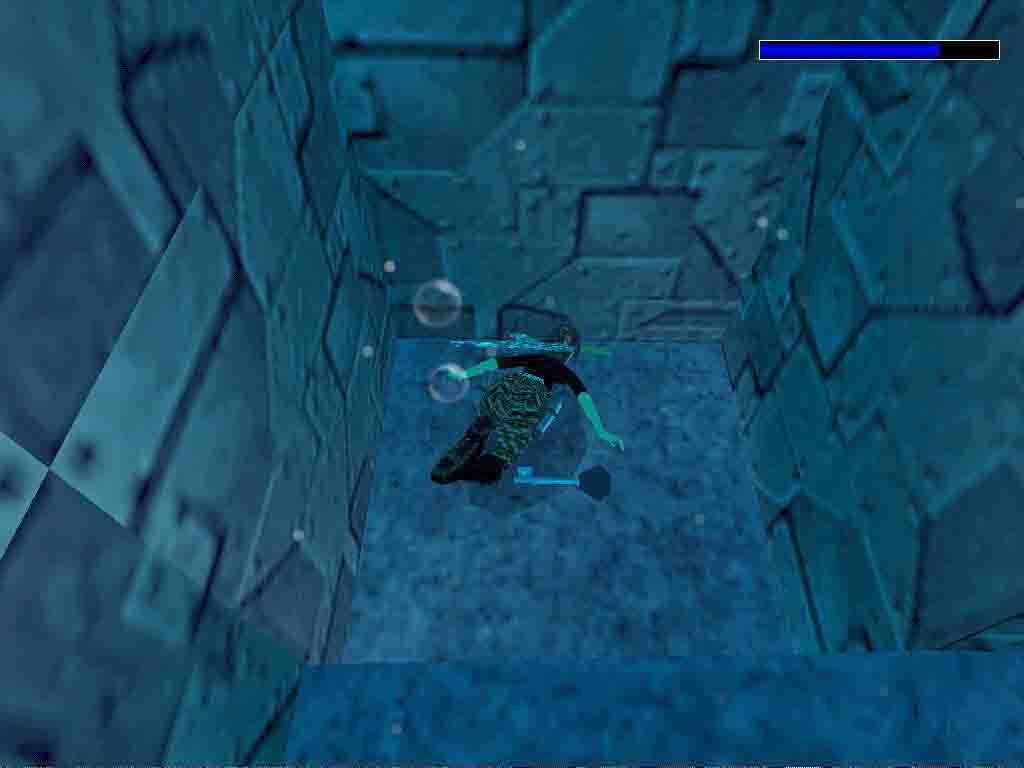
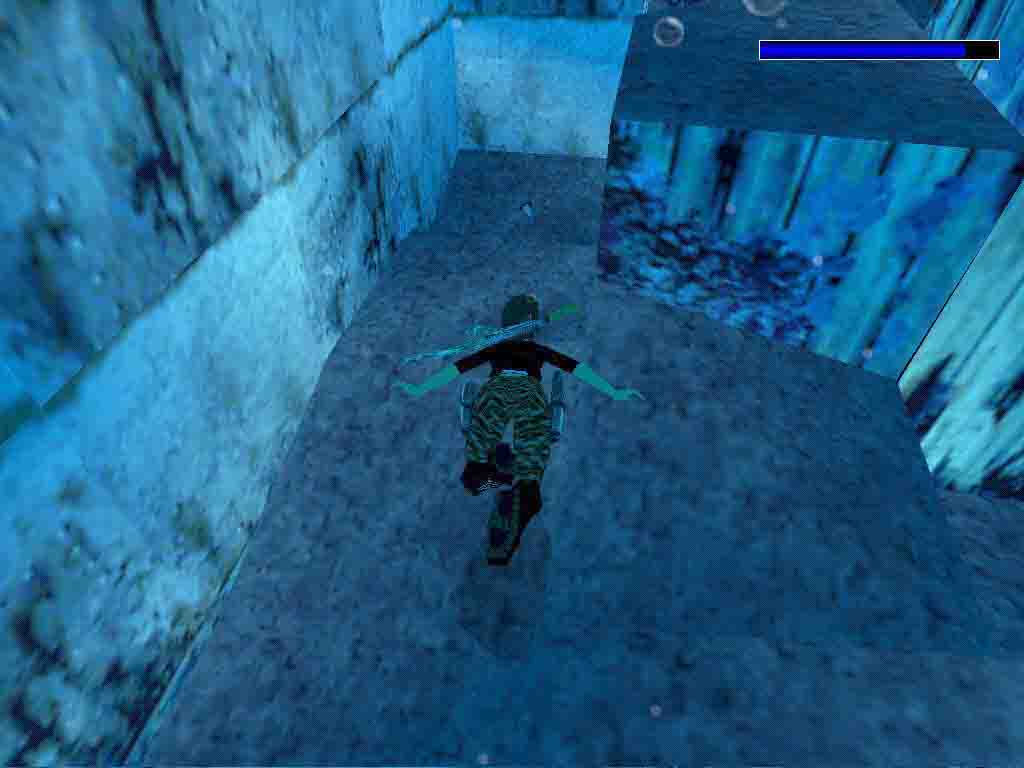
Its a nasty maze and youll probably drown a couple of times before you get it right, but its not too hard, swim straight into a bigger room and head straight and right a bit past the big block and to the back wall. Right and down in the hole next to a block. Follow going right where possible and up through a shaft, ending up in a small room with a fence, close to that fence on the right hand wall is the UW lever (opens up a gate), immediately start turning right while in the cutscene and swim back down the shaft, go right where possible and you should make it to air just in time.
Up on the Ledges.
Save there and turn around, dive and swim right where possible to end up at the open gate. Follow into a high room with ledges, grab up to a ledge NW from standing on the tip of the rock on the floor, shimmy right to pull up and turn SE. do a runjump/roll onto the slanted ledge there and jump/grab to catch the ledge NE, jump SW and get up the ladder to open the gate there with your Pool Key.
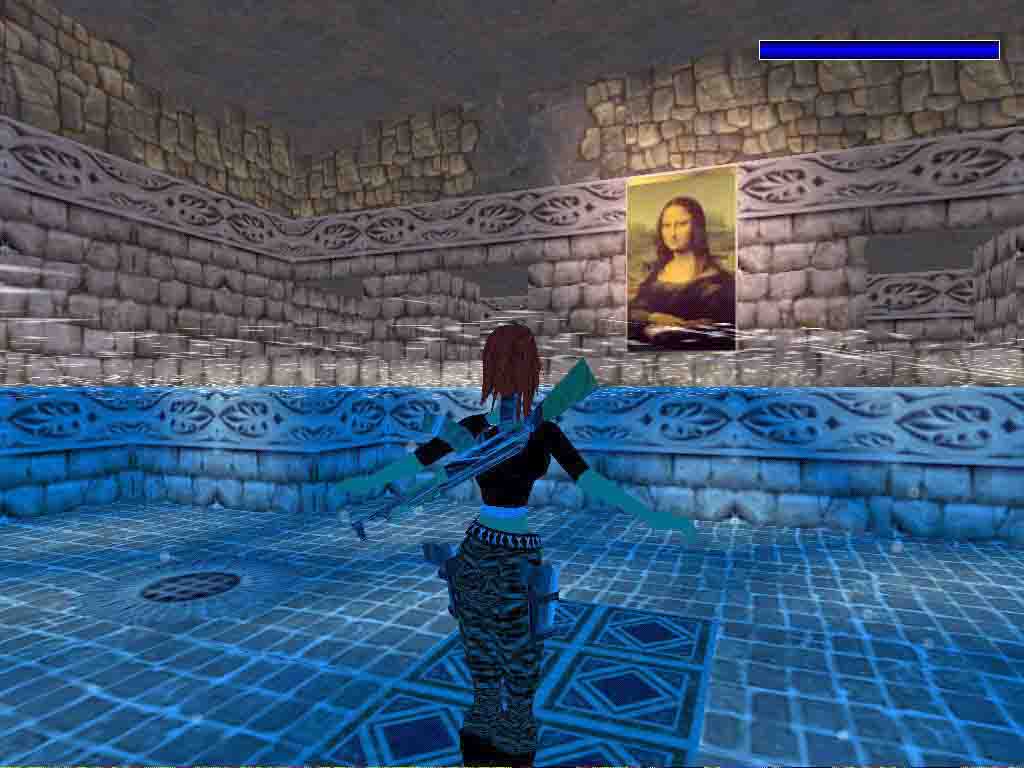
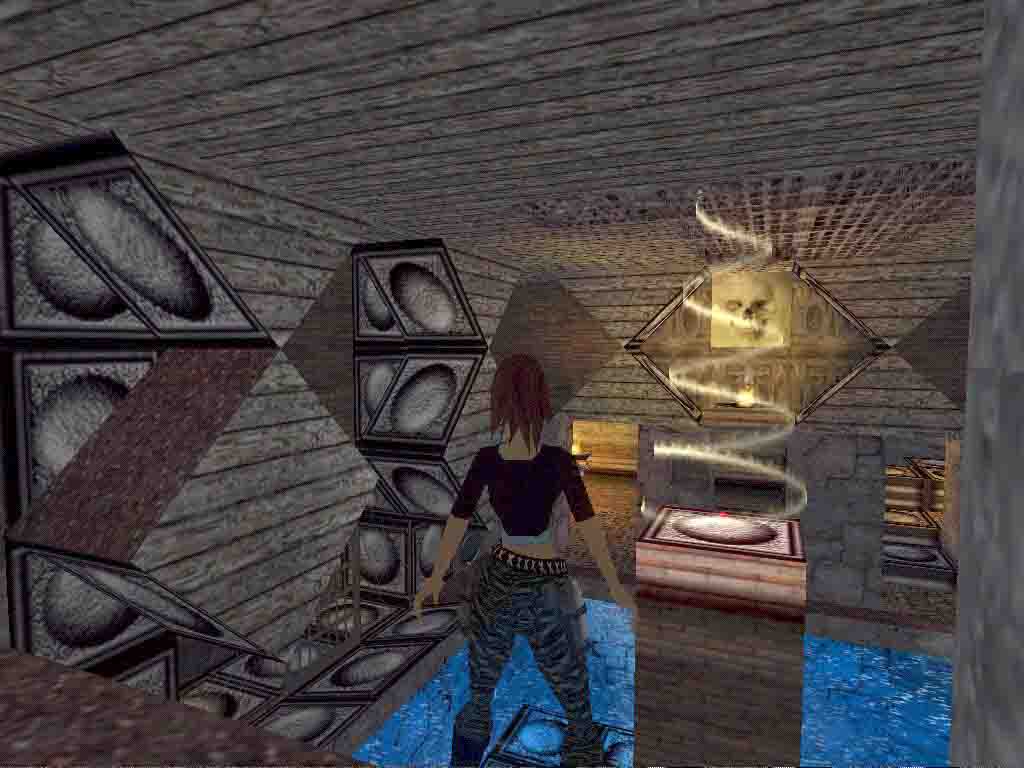
The Pool The castle Key.
Go to the back of the pool and over to the SE horse statue, behind it and on the right hand wall is a Jumpswitch, opening up an UW trapdoor in the pool. Go back out and dive into that open trapdoor, swim through to the Mona Lisa room. Climb out near the painting and find 4 switches in the back passage. Use only 2, the first and third from the left and blocks go up in the Mona Lisa pool. Get on those blocks and hop into the opening W and turn around at the grey wall. Climb the ladder and backflip onto the upper ledge, throw the switch at the fence and a block rises in the Pool room.
Go swim back to the Pool room and climb out N, go to the horse statue NW and pick up some Flares in the alcove up N on your way over, hop past the statue into the space behind it and climb up to the crawlspace left, go through to use a switch raising another block in the Pool room. Go to the block S and runjump/grab to the one N, hang from the E side and pull up. Now roll and youre lined up perfectly for a long runjump and grab in the last moment to the white ledge over the pool. Go left and crawl under the slanted beam to get a ½ MP and then go get the Castle Key from the ledge S. The flyby shows you youll have to get back to the Castle.
Drop into the pool below. Climb out N and go out N. down the ladder, jump/grab down onto the slanted ledge N and drop to the floor, go out NE and come to the maze. Just swim right where possible and up a shaft to that big room, NW there and through the tunnel W to the fountain pool. Head to the pool at the Castle and on the N and S side are 2 pdestals with black birds, stand at the tail of the bird and use the switches (yes, Lara will turn the birds) and the castle gate opens up. Go in and use the key on the lock you saw before. Entering will bring you into the next level.
Level 3 Inside the Castle
 Secret 6:
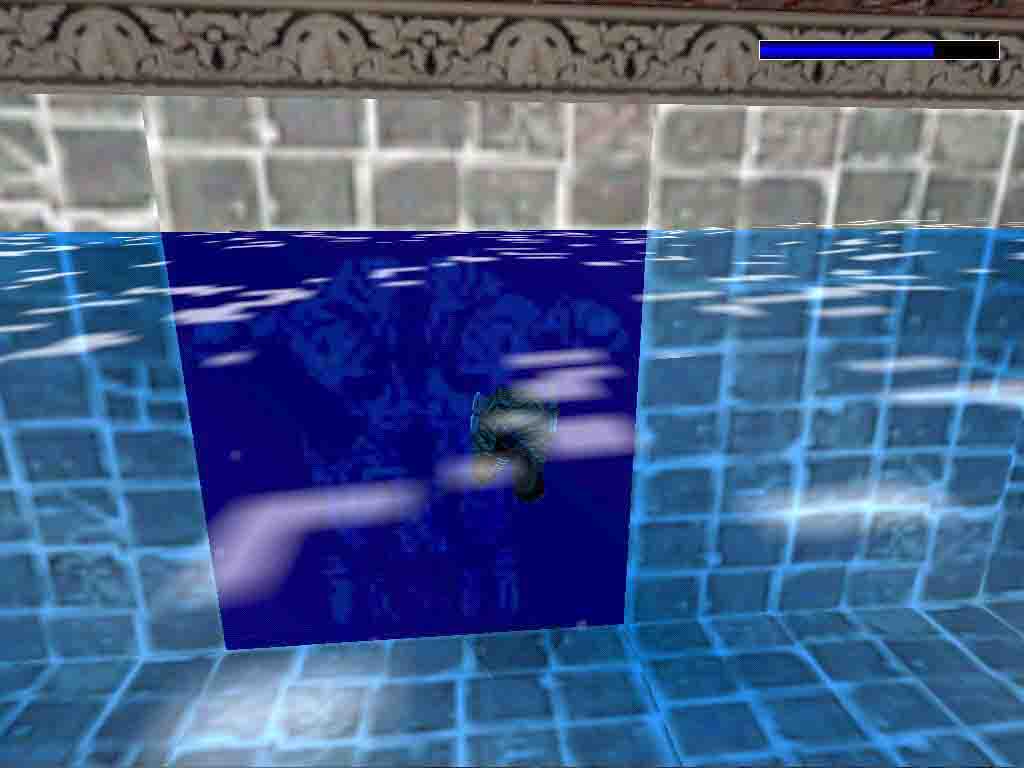
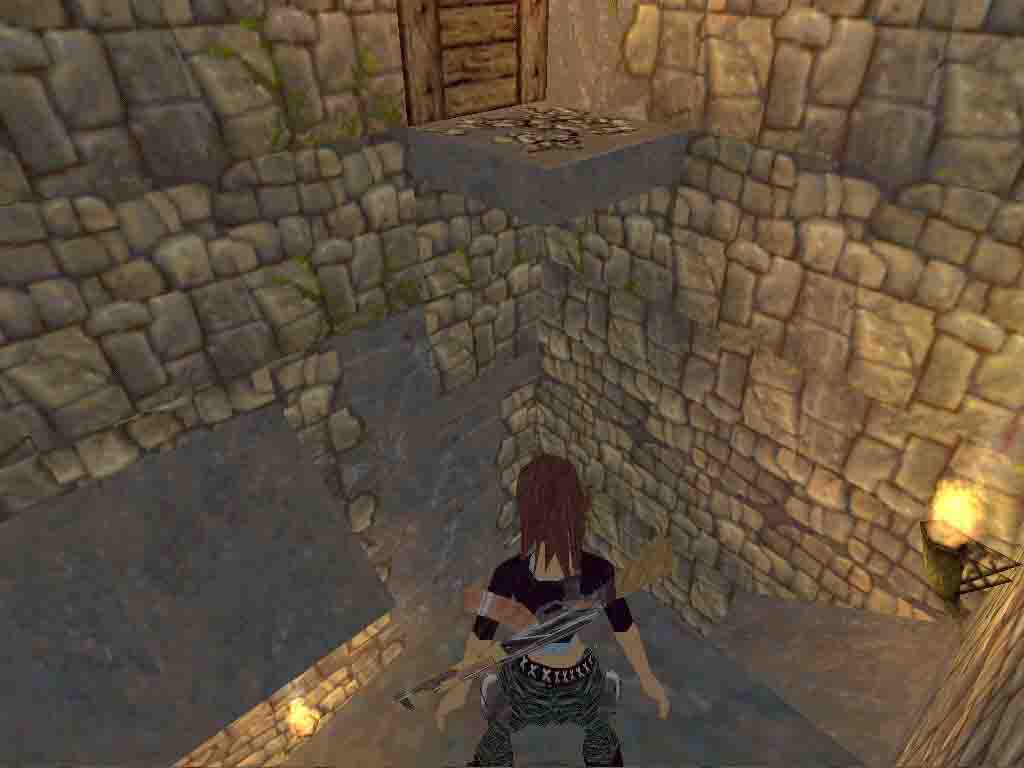
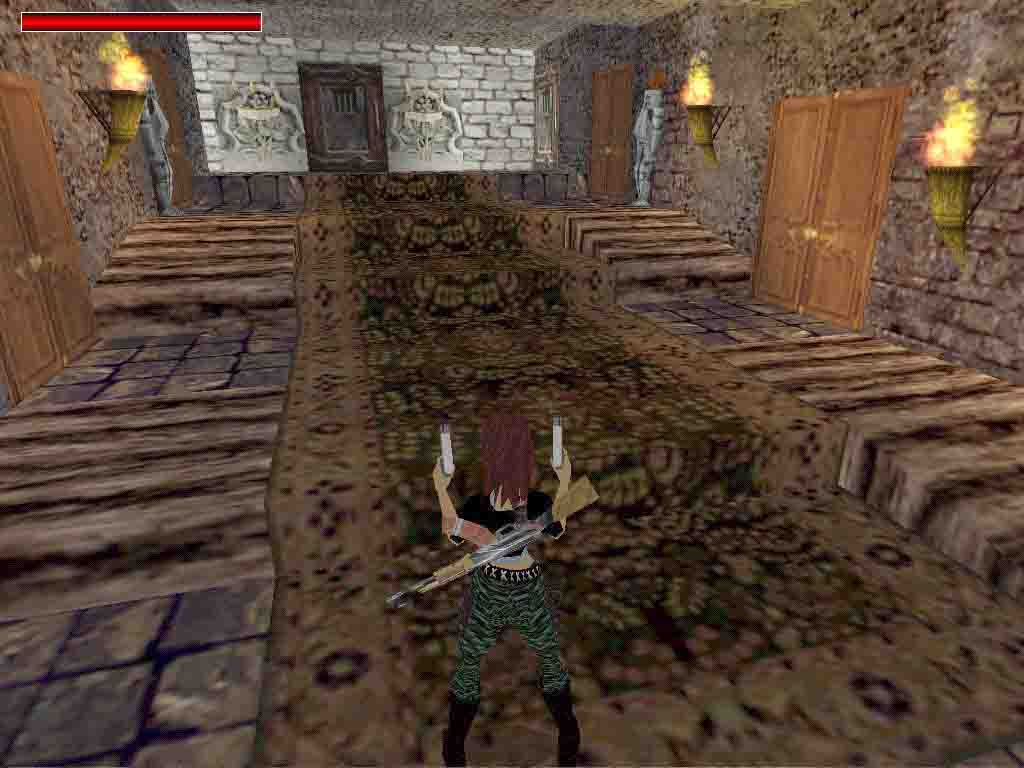
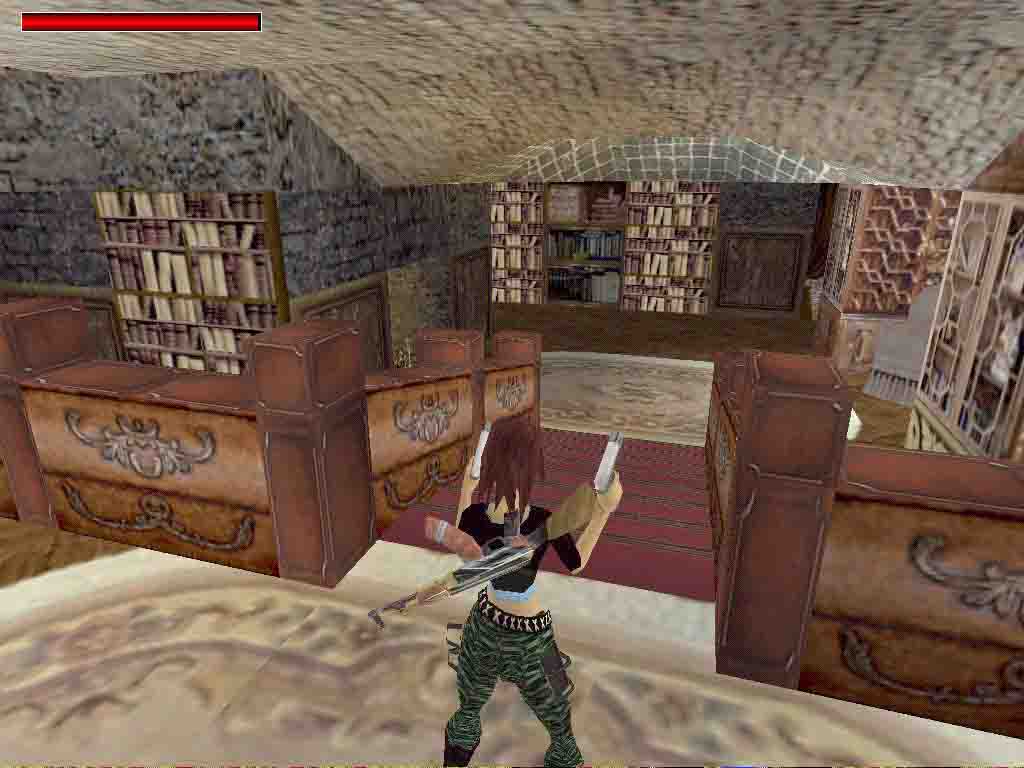
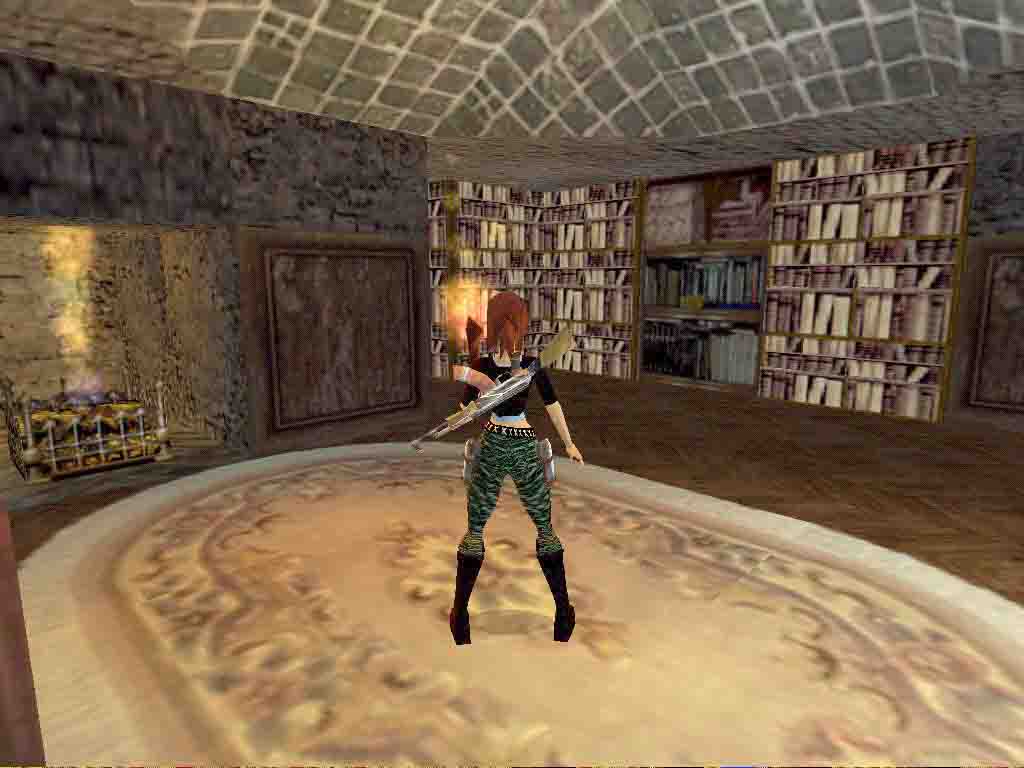
Youre at the base of the stairs in the castles entrance and at the base of the stairs is a trigger tile opening up the door to the right on top of the stairs, just do runjumps up the stairs and you should have enough time to get in. Shoot some Bats in the next passage, leading into the Library. Go down the stairs there and left to the fireplace, its burning with an interval giving you a chance to run past it into the chimney. Look up and climb into the crawlspace, down the other end into a Study.
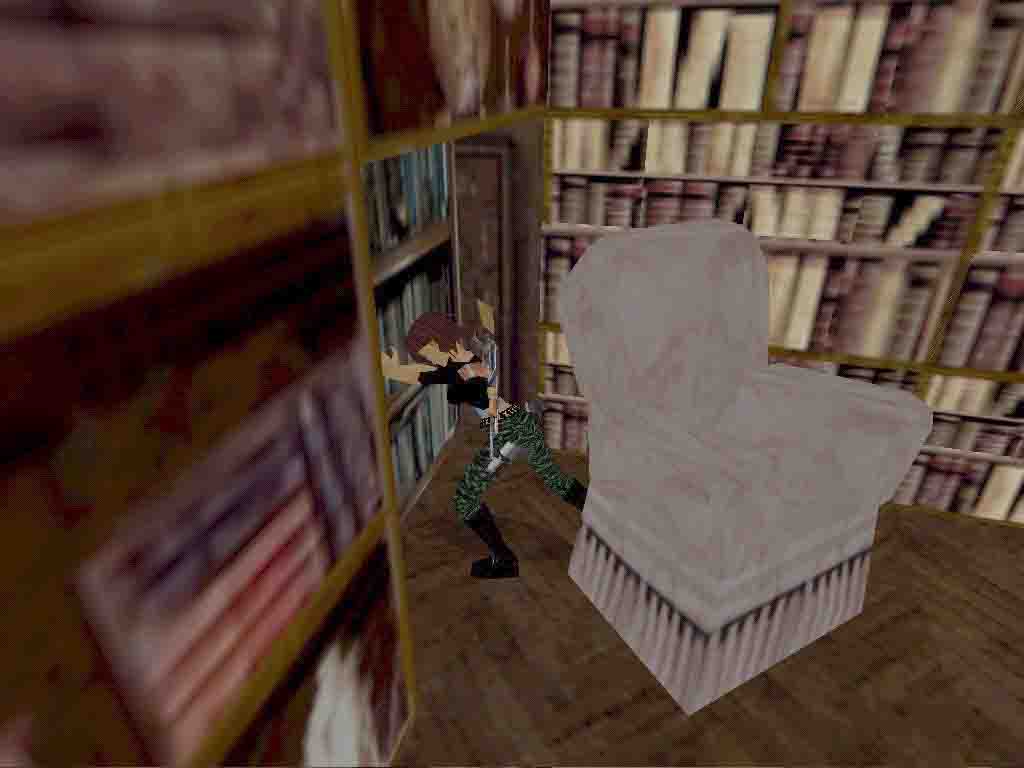
The Study.
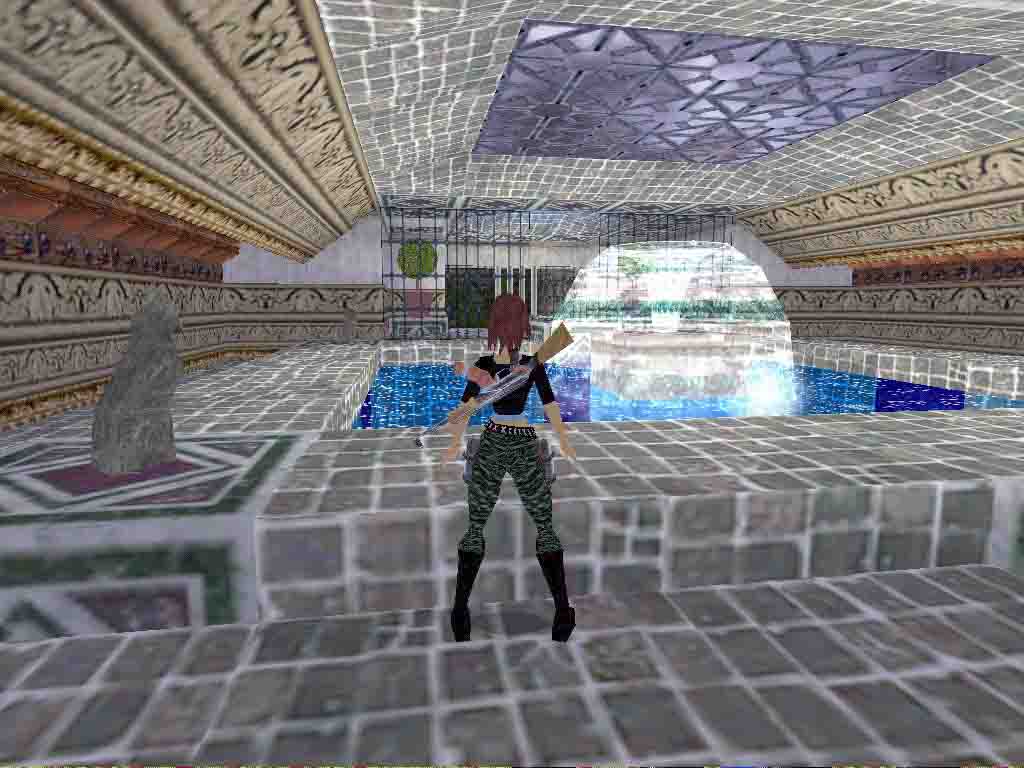
Go behind the chair SE and push the bookcase in as far as it will go. Turn left and push the wall panel in so you can enter the pool room to the right. Go around the pool and go into the room E, to the left is a hole up in the ceiling with a Jumpswitch in it, the block under the switch has to be raised first, the trigger tile is the fountain in the middle of the pool. So stand W of the pool and runjump onto the fountain, do a running jump to the E room and turn left to hop onto the raising block. Jump up against the N wall and grab the Jumpswitch, the gate E will open up.
Go into a small garden and run right to hop onto some crates, shoot the Werewolf and then go look for a small roof over the entrance, stand on the higher floor and grab up to that roof. Shimmy right to a crack in the pillar and right around the corner to use a Jumpswitch there. Go SE from the switch and find a lowered block in the wall, go in and follow left to the top of a staircase, a Wraith shows up. So run back fast and through the garden to the pool W to get rid of it, enter the same place again and head down the stairs this time.
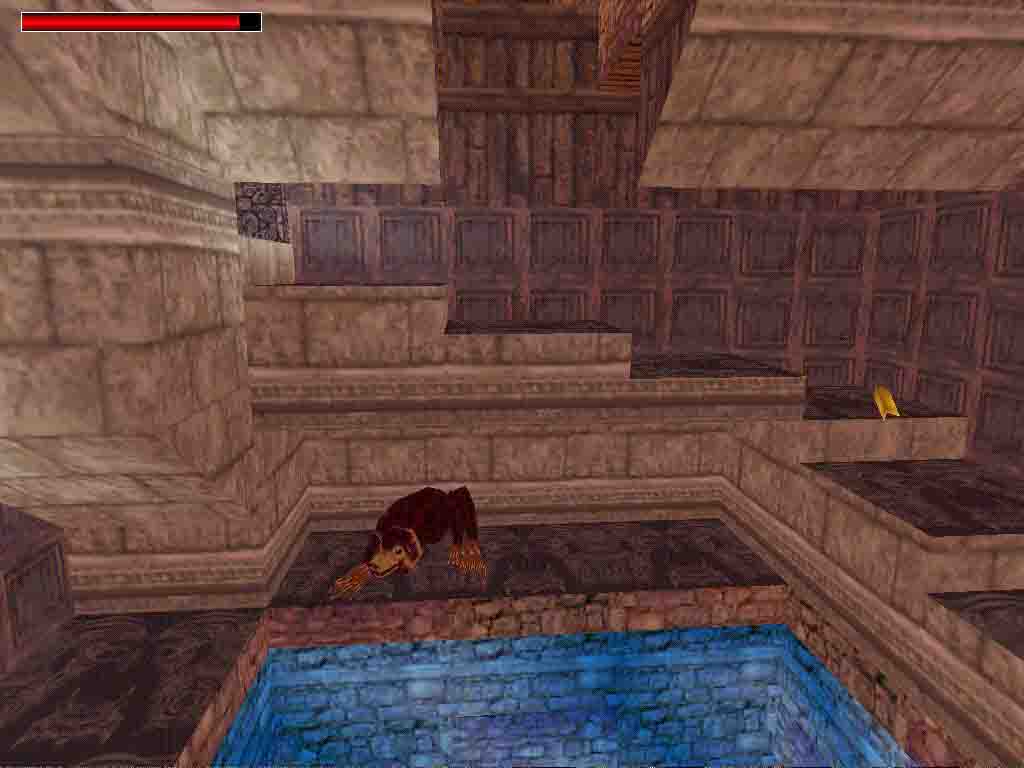
Hazardous Basement, the Crown Jewel.
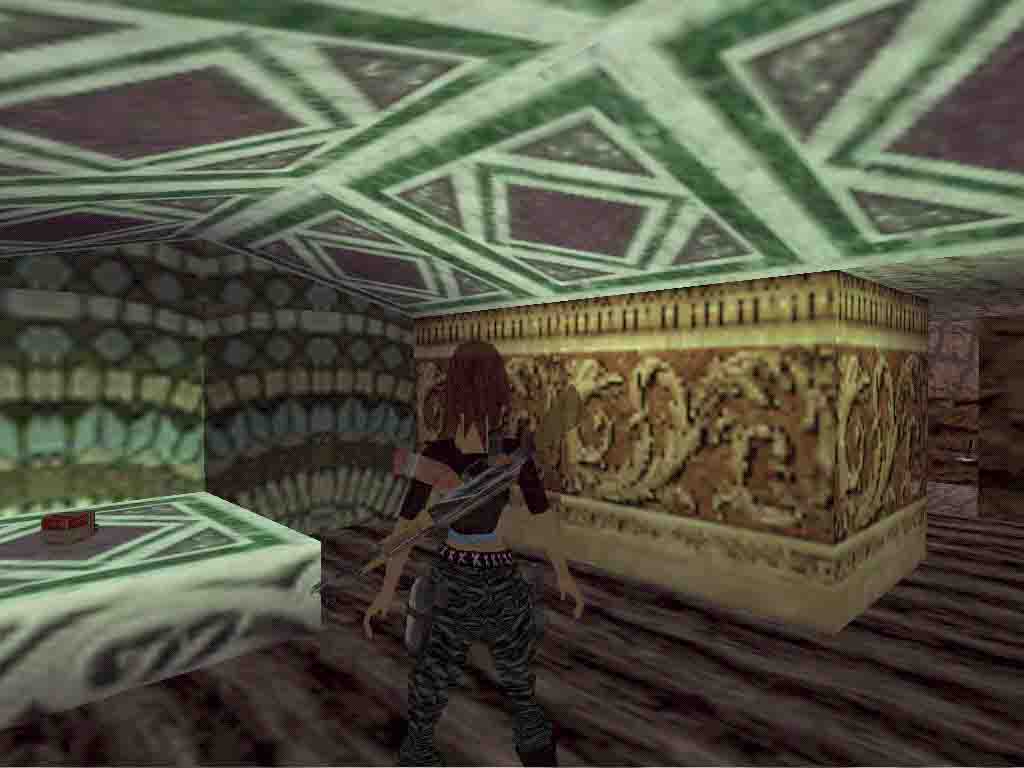
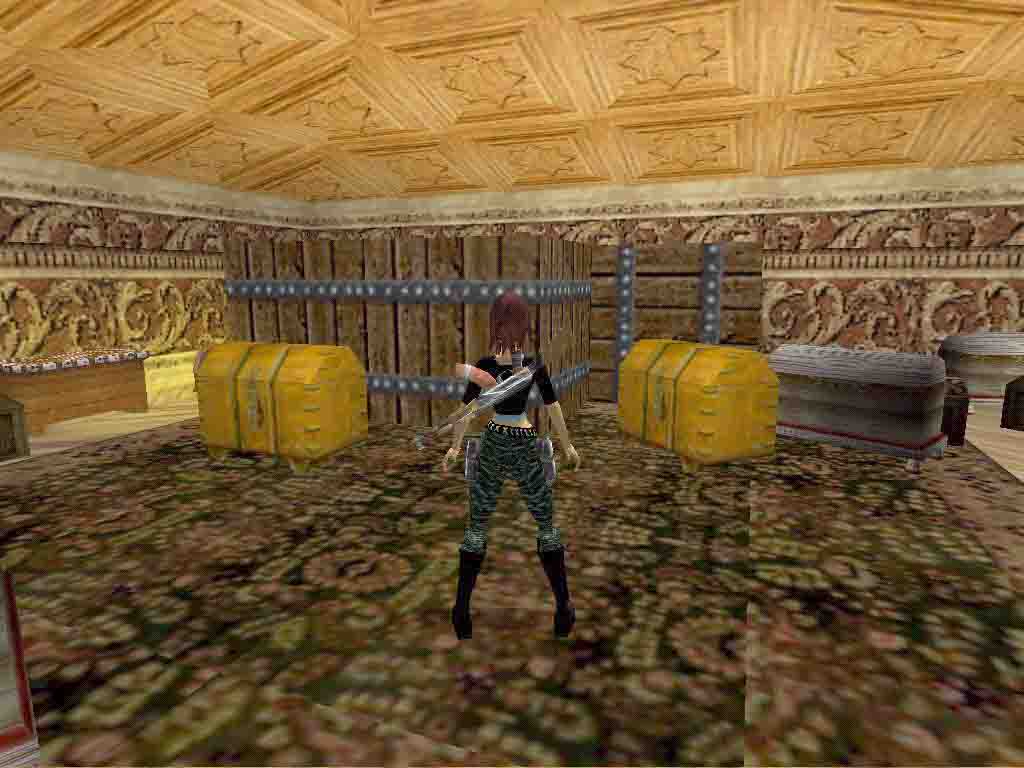
Just around the corner are some Scissor-traps, time them and run through to the last one in front of a slide, save there and run through, slide to just before the flame and jump/grab to the ladder over the flame. Climb up into the passage above and follow to more Scissor-traps, the second one has to be passed with a standjump/grab as theres a pit behind it, finally youll end up in the treasury, between all the boxes are 2 light brown chests you can open up. One immediately to the right (½ MP) and one in the back to the right and inside that one is the Crown Jewel.
A Wraith will show up immediately, turn right and climb up onto the crates along the N wall, walk and standjump/grab into the opening N between the crates (the ceiling is too low to just run in). Sprint to the end and climb out into the pool room, get into the water and swim into the blue (swim-through) panel N to get Secret#5, a MP. Swim back and climb out W to get back through the passage to the study, climb back into the crawlspace to the fireplace and run out past the fire, go left and into the Throne room NW, place the Crown Jewel on the stand you saw in the earlier flyby and see another door open up at the entrance stairway
The Torch.
Youll need a Torch in that new place, so go out to the Library and to the fireplace. To the left of it is a small passage and on the floor is a Torch, pick it up and light it wherever you like, at the fireplace or one of the many burning wall torches. Get back E to the entrance stairway, light the walltorch NW and go into the open door on top of the stairs E, to the end and light #2 there, then go back a bit and into the passage right, light #3 and the door opens up. Go into the room and to the bathroom E, in the bath is some AK47 Ammo.
The Castle Diamond.
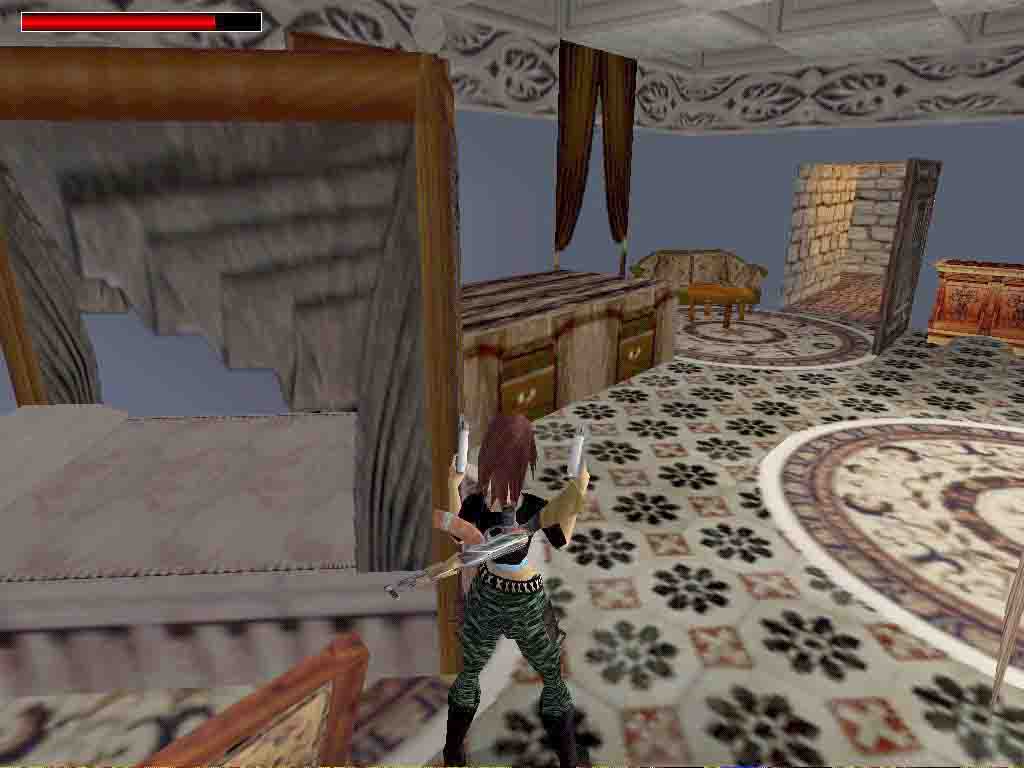
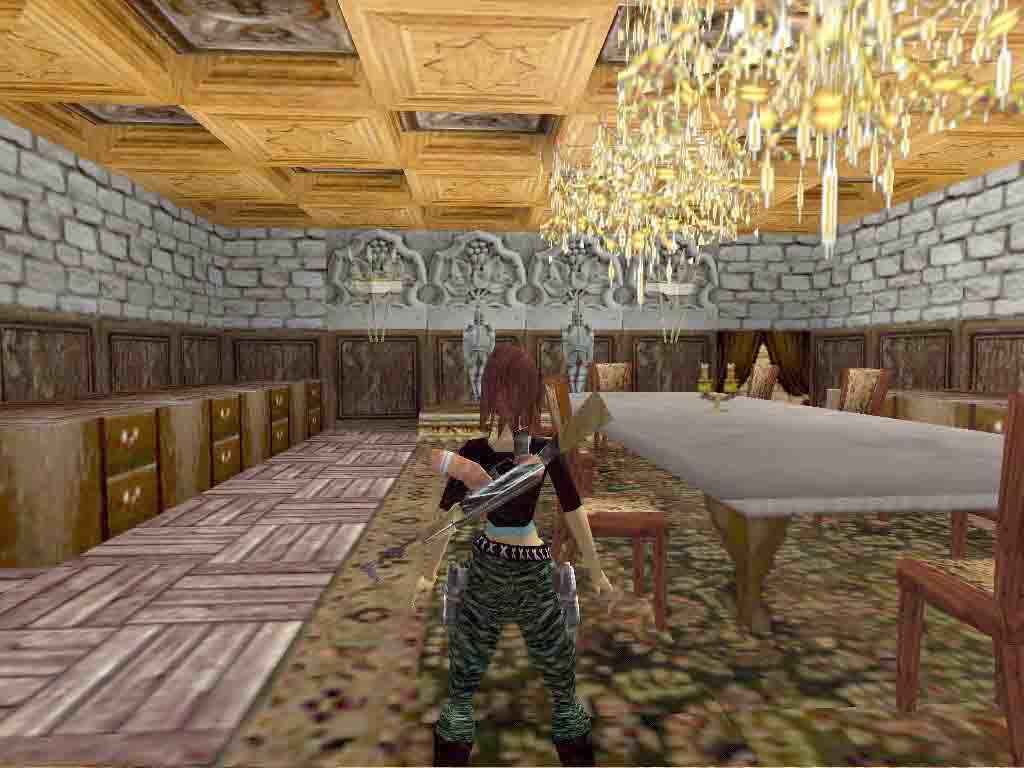
Back to the bedroom and into the NE corner, theres a hidden passage under the bed, just run in (you could take the Torch to give you some light, but youll soon have to leave it) and climb up at the end, push the wall panel in front, revealing a switch, throw that to open the NE gate at the entrance stairway and go to the dining room S, in the NW is a ½ MP and SW is the exit, go through the curtain and W through the passage to the stairway, to the right into the open gate NE. Follow the passage up to where a flyby kicks in, in which you can see if you cleaned out the place ok. Then pick up the Castle Diamond and the level ends.
Level 1 Illumina (part 2).
Slide down to the village square and go to that Pillar with the Flame.
Head S from the Pillar with the Flame and straight to the tree standing against the S wall. Turn left there and spot a part of the ground slightly different from the rest, its the entrance to an underground place, drop in from the E side and climb down the ladder, go up to a slide while the gate closes behind you. Slide down and jump/grab up to the wooden monkey swing above, go right to the climbable wall (dark wall) and climb left to the teleporter beam, the level changes.
Level 4 Metal World.
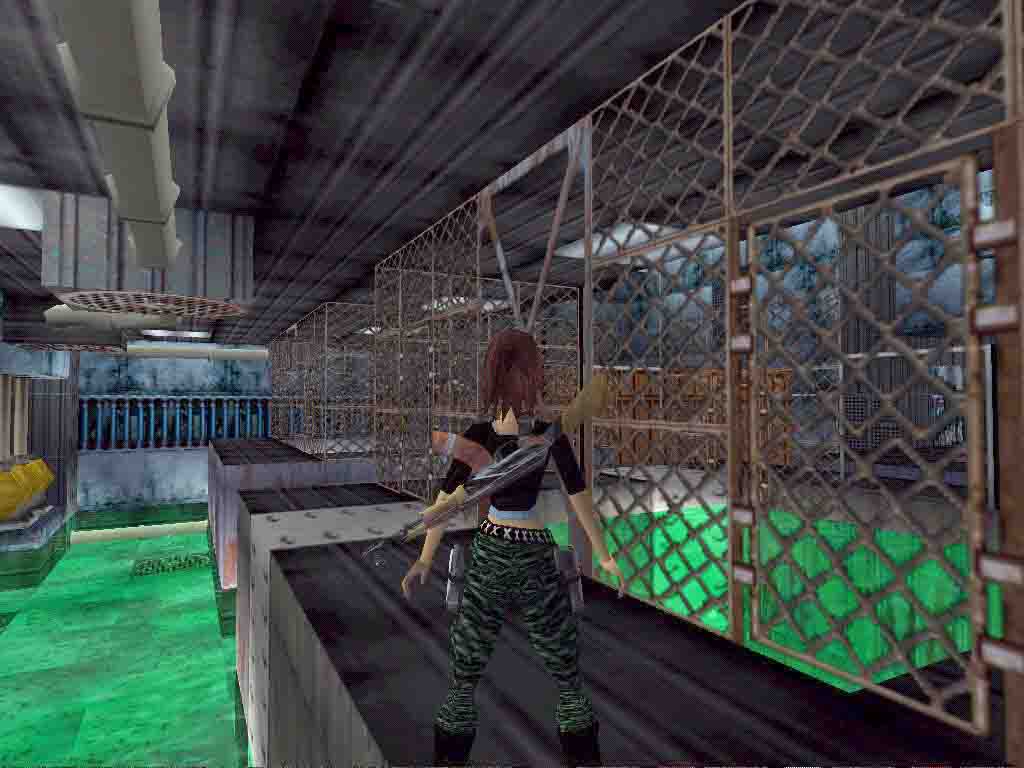
 Secret 7:
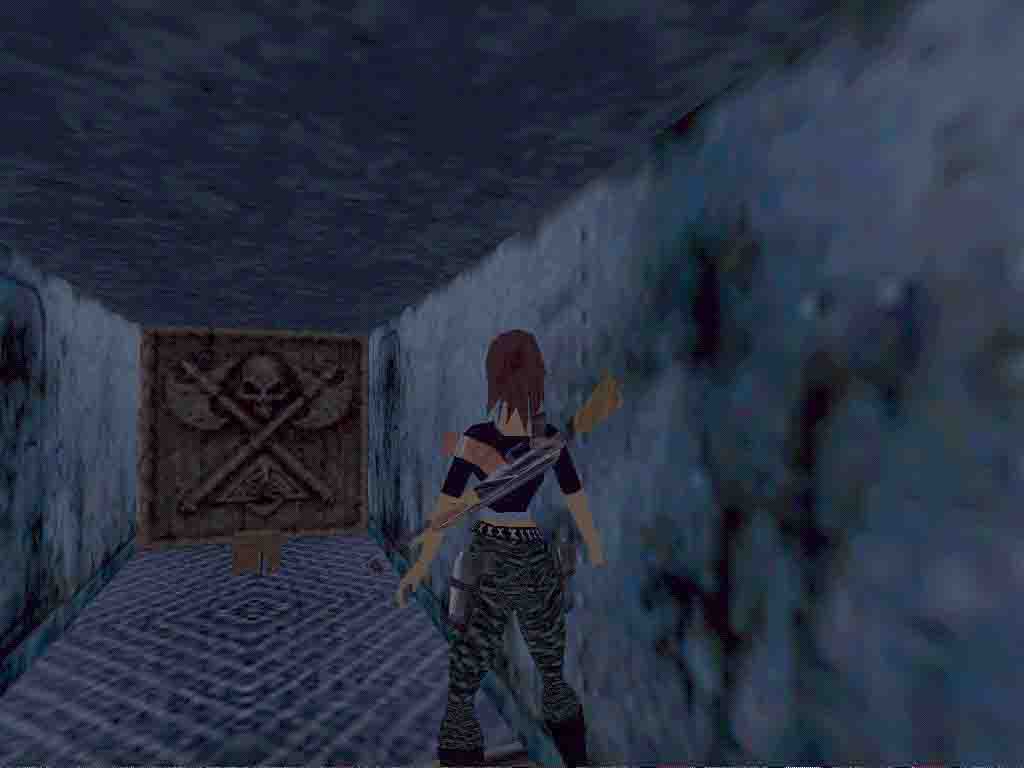
Metal Maze.
On the place where you stand at the start of the level are some Flares. Grab them, light one and head straight through the passage while pillars lower for you. At the crossing, go left and left again, look closely at the right hand wall just past the steam blower to spot the light switch, turning all the lights on in this dark maze.
Turn back and head N through the passage, past the one you came from and come to another crossing, turn right and pick up the ½ MP in the next corner, go S and look up right at the second lowering pillar. A Jumpswitch, lowering a pillar and raising a block instead. Go back to where you picked up the MP (N) and turn left around the corner, going W youll come to that block. Climb it and up right into a crawlspace, get past the steam-blower and drop out on the other side, spot a motionless Robot in the other end of the passage. The pillar will rise in front of you.
From standing against the block hop back once and turn left to push the block N into a small room till you can go left around it, not too far into the room as you have to push it into an alcove to the right.. While pushing that Robot (Horseman) will come for you. You can choose to take him on in the small passage or first put the block in the alcove so youll have more room to move, jump/roll over him when you reached the end of the passage hopping back while shooting. All depends on how quick the Robot finds you. With the block in the alcove another passage opened up to the N, go in and left at the crossing and passing a fence with a lever behind it youll end up on a walkway in a Metal Canyon.
Metal Canyon.
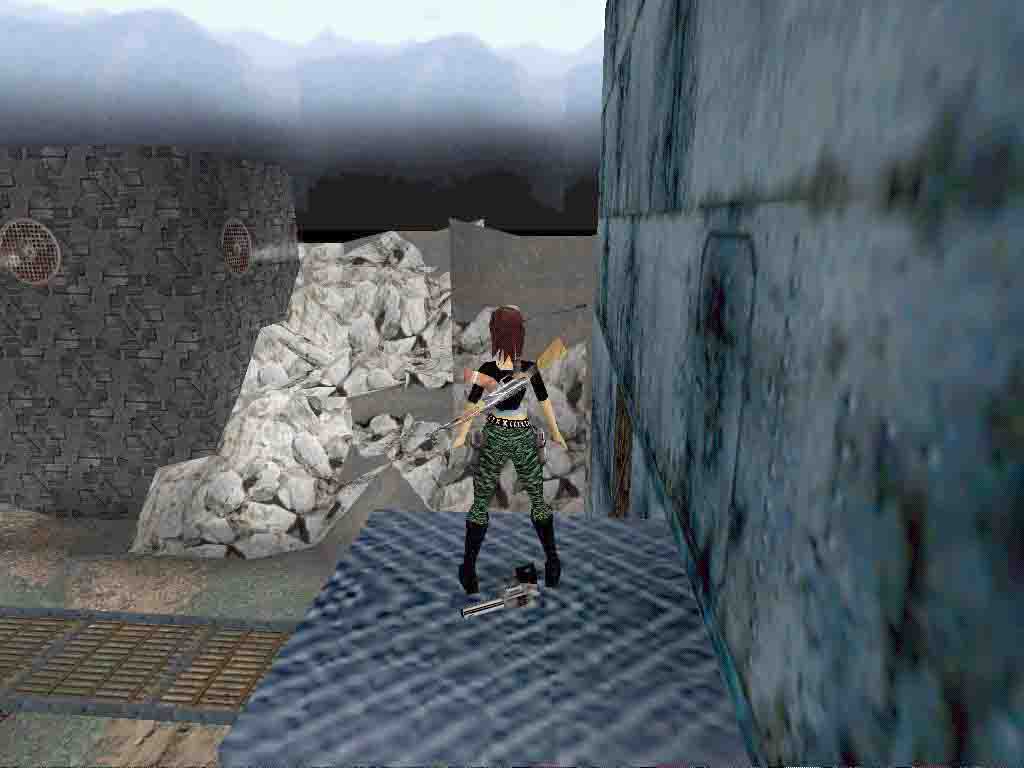
Drop from the walkway and head to the lake N, dive in and go get a ½ MP in a pit in the bottom E, then swim up and to the E side to climb out, climb the rock-fall E along the grey wall and just under the last rock is a pushblock in the grey wall. Push it till you can enter left and follow down to that lever you saw earlier (trapdoor opens in the Canyon). Go back to the Canyon and on the S side a Cyborg (Demigod) will be waiting for you and you know how to deal with those, get up real close and duck, then shoot him with pistols till he drops.
The Main Door Key, Revolver and the Magnetic Key.
Now look for the open trapdoor revealing a waterhole, dive in and swim W, then right into the NW corner to pick up the Main Door Key there, get out of the water and head NW to the lake, jump in and swim over to the N side, right there and find the Magnetic Key in the corner near that pillar. Swim to the W side and climb out near the grated pillar and climb the grated pillar to the walkway above. Go S and get the Revolver there, run off the S side of the walkway to land on the one below and drop to the ground, go SW and climb W over a rock, behind it is the Keyhole for the door there.
The Factory, the Lasersight.
Go down into the big room and to a fusebox, there are glass panels, sidejump over the one N to the walkway N and go around the corner to pick up the Lasersight. Get back over the panel to the fusebox and place that Magnetic Key to open doors in the central structure. Runjump/grab to the opening and walk up to the other end, look SW and runjump to the walkway there, get the Revolver Ammo and runjump/grab back to a ladder under the door you just came from.
Climb straight down as far as possible and from hanging on your hands, just drop/grab the opening to get more Revolver Ammo. Climb back up to the door you came from before and left past it to get above the door (yes the blue wall is climbable too). From about one square above the door (Laras hands on the thin line) you can backflip to a platform with openings W, go into the room beyond and in the NW corner is a Jumpswitch opening up a door in the NE corner of the big room.
Run over the walkway to the NE corner and duck at the Cyborg to shoot him. Go into the passage and follow to where a flyby shows you the Toxic Waste Facility.
The Toxic Waste Facility.
Runjump/grab to the walkway near the fence N, go left and at the end a right curved runjump around the right hand corner to land on a walkway between the basins, run of the N end and go right, straight into a passage to a Valve, turn it and get a screen of one of the basins. Go back. First right and pick up the Flares there. Then climb up W to the walkway above and head to the W side, over that basin there you can see an orange basin with a Cyborg running around, you dont have to shoot him, look up in the right hand wall over the orange basin and spot a climbwall with a crawlspace.
Technical Room Key.
Shoot the grating covering the crawlspace and then just runjump and grab the ladder on the orange basin and climb up. Turn right and standjump/grab to the climbwall. In the crawlspace is the Technical Room Key. Just drop from the crawlspace and this basin is filled with clean water, climb out and runjump straight E, go to the N side of the walkway and from a silver tile you can runjump/grab to the Main-frame N. turn right and runjump to the one NE to get the AK47 Ammo there, drop down and go to a Keyhole on one of the Main-frames along the N wall. Use the Key and the nearby trapdoor will open up, climb down the silver ladder and head E in this tunnel. The block straight in the end is a pushable, push it and go left into the passage. Here you have to turn Valves to open up new passages and finally find a Secret and open up the Toxic Waste Control Room you saw in the flyby before. Start with the 2 Valves to the right, one lowers a block behind you and the other one a block left (N). First go N and left and find 2 more Valves, the one to the right looks different, a block lowers to the W. go there and to the end, where another Valve is to be found.
Turn back E and go into the first left, follow to the N and right around a corner to a (Blue) Valve, turning it will show that basin you saw before. Go back through the passage and head S till you bump into a grating on a crawlspace, shoot it while ducking with your head in the grating and go in to crawl onto a Trigger tile with the same marking as that different Valve, a block lowers. Crawl out and head E, right and one more right into that passage opposite the first valve you turned, go all the way to the end and youll find Secret#6, a MP and AK47 Ammo. Turn around and go back E. right and back to the entrance tunnel, climb the silver wall and backflip off when you reach the floor level, go into the open gate NE and follow up to the Control Room. Shoot the Cyborg and in the SE corner is the last (Blue) Valve to drain the SE basin below as you can see through the window.
Go back down the stairs and a Cyborg will come running into the passage, shoot him while hopping back and then go to the Basin area, climb the wall S and jump to the drained basin. Side jump over the glass panel (after checking the health) and here you can climb the NW silver wall to get a ½ MP you might have seen already. Go back down and head into the tunnel W, push the block in the end till it wont go further and turn left, a block will lower, go through to where the tunnel drops. Go left a bit and a pillar W will lower. So head W and left around the corner into another maze.
The Metal Illuminas Diamond.
Take the first passage left and go past a passage with blue light to the left, in the end of the passage youll find a Globe, pull it out of the passage and to the one with the blue light, once it is on the marked tile youll get a screen of a pillar in the passage opposite the one youre in now, go back W and at the end left and into the next passage left, go past another blue light in a left passage and in the end you first have to go right to find a Jumpswitch on the left hand wall, this will lower a ledge near the blue light. Turn around and get the 2nd Globe, move it to the marked tile in the blue light and see that pillar go down, return W, go right everywhere and find the Metal Diamond. Go straight to the pillar ahead and step into the teleporter behind it. Climb back up the ladder to the Village square and head over to the Pillar with the Flame.
Level 1 Illumina (part 3).
Head W from the Pillar with the Flame and come to a lake.
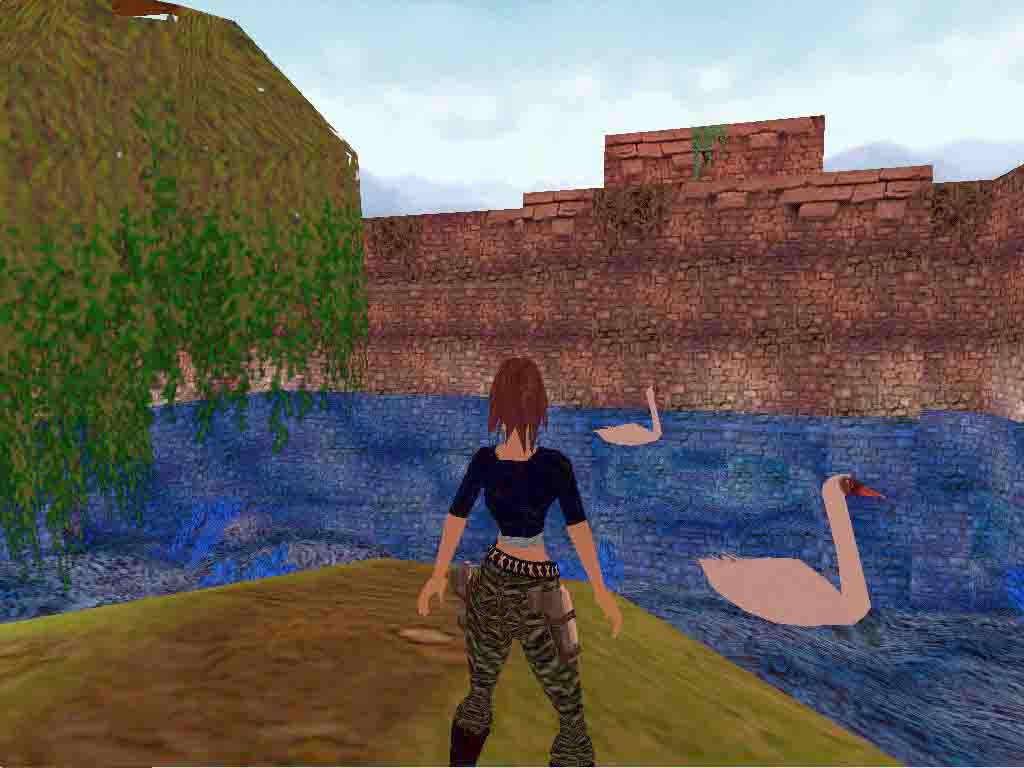
Swan lake.
Dive in with the birds and swim to the N side, (Do I have to tell you to Save with a lung full of air before you swim in?) Theres an opening in the corner of the walls, swim through the small tunnel and safe close to the Spikes, Save facing the left side of the Spikes in the tunnel and swim through as soon as the first Spikes go down go to the corner and sharp around the left before the 2nd Spikes go up again, get Secret#7, Revolver and Ammo. Swim back to the Spike tunnel and Save before you swim in, go as soon as the first Spikes are up and keep on going till youre through.
The Purple Illuminas Diamond.
Back in the lake go to the W wall and into the left hand tunnel (theres noting in the others), follow the right hand wall and go into the first opening right, left there and up in an air pocket, turn around and save. Swim out and go left, in the W wall are 4 alcoves you have to visit in order to use the 4 UW levers. Keep an eye on the air supply and return to the airpocket when needed. After the 4 levers are done a gate will open in the N end of the tunnels, swim through to a lake where you can climb out at the palm tree.
Runjump to the E and land in a valley, go E and along the left hand side and behind the second tree is a climbable wall. Leading up to a crawlspace, get in and at the crossing take the right hand side and drop into a shaft. Swim N and just follow E till you can climb out on the E side of a room, there are 2 Golden Stars pinned under a overhang in the wall, shoot them and go to the block with the fire N, grab up to the left corner (near the pool) and pull up on the block, carefully turn left and standjump/grab up to the monkeyswing, go to the end and drop/grab to catch the crawlspace. Pull up in there and throw the lever, drop back out and youll land on some stairs.
Turn left and go up, to the right through an open gate and start shooting a Werewolf. When he/shes down youll notice a grated block in the room, this one has to be lowered, remember the 2 Gold Stars you shot before, standing on the block you can shoot 2 more and the block will go down. Turn to the S wall there and pull out the right hand block once, then pull the left hand one twice and go behind them to get the Purple Illuminas Diamond. A gate opens in the S wall, go out and onto a walkway over the pool. In the far N of the valley is a ½ MP on a walkway if you like to get it before you swim back S through the lake. Into the tunnel and basically just follow going left where possible (except for the opening to the airpocket), past the UW levers and come back to the Swan lake. Swim over to the S wall and Save in front of the opening there.
Swim into the opening in the S wall, go right and into a small gap to the left, go left/right and swim S, follow right around the corner and then just follow the left hand wall everywhere and you will swim into a room with a teleporter.
Level 5 Shadow World.

 Secret8-9:
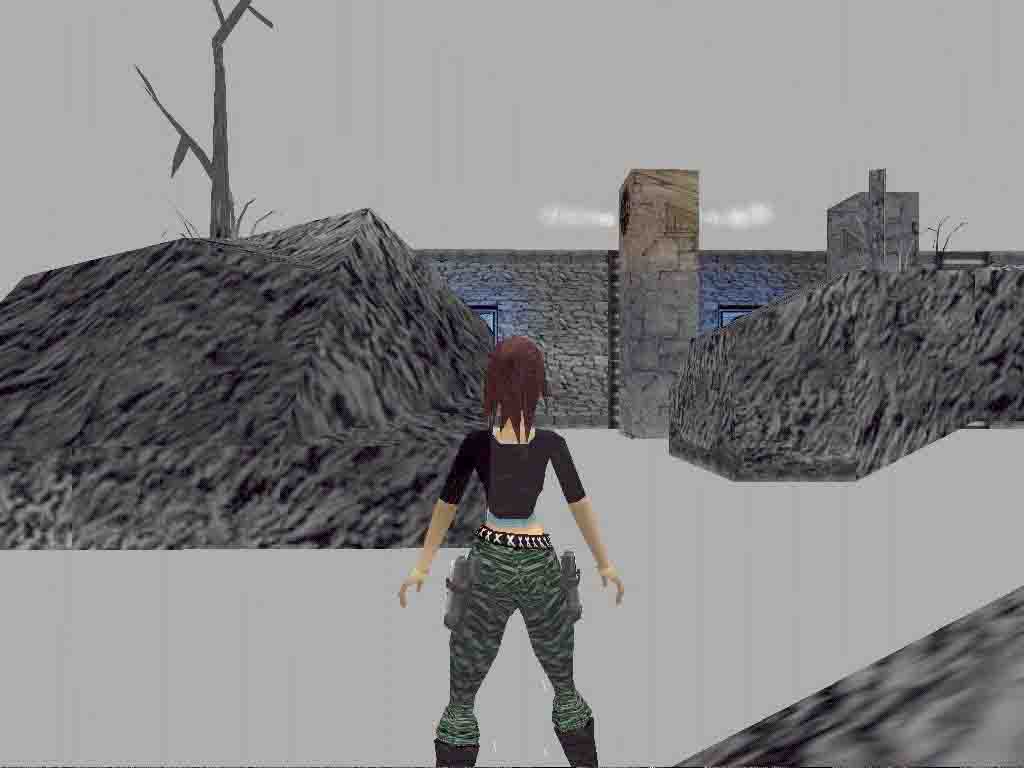
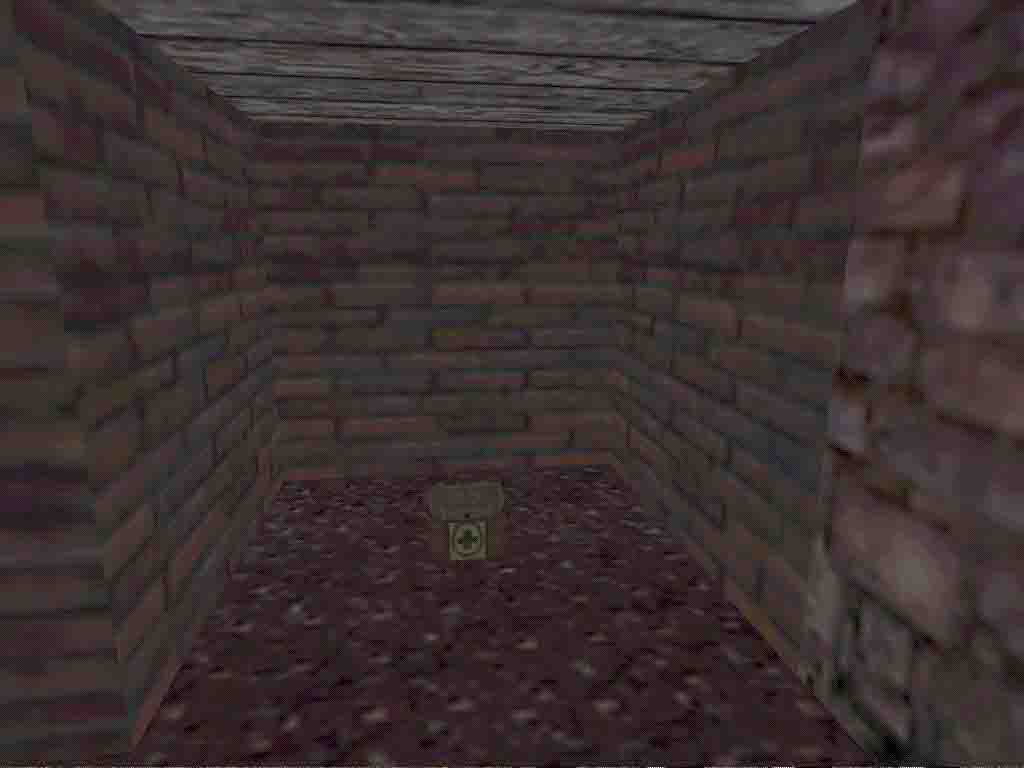
A howling wind, islands floating in a dense fog. Go down to the SW tip of the island and runjump over to the corner of the next island, to the NW is another, back up and run over the triangular ledge to jump/grab the next island. Walk along the right hand side and to the very corner, the next jump can be a bit tricky as there is a slanted ledge on the next island, take a step back then hop back and runjump with a grab so you wont overshoot your target, the flat corner of the island, hop N over to the bush and pick up a ½ MP there. Then climb to the top of the island and runjump NW to that dead tree in front of the buildings entrance.
Hot Entrance.
There are many steam-blowers in this passage, just start sprinting from the dead tree and you wont be harmed much. Theres an opening to the N of the pool, go in and left into a storage room, a Key is needed here, for now you can shoot the left fence S and get the AK47 Ammo, go out to the pool and to the black gate W. The gate will open up, when you go in a Werewolf will attack, take him out and go to the S. Theres a room with pillars and there will be a lot of Spiders too, take them out as youll find them (best just run around a bit and back to the open space) When you take the right hand opening S and go to the end, then look up left behind the last pillar youll find a Jumpswitch, throw it to open a trapdoor somewhere. Go back to the pool square and into the opening S, just stand there a bit shooting all Spiders and then go in and have a look in the passage left. That open trapdoor is there and theres a ladder going down the shaft. In the tunnel downstairs is a gate and its Timed
Timed Gate.
The switch for the gate is located on the E wall in the store room W (right) from the entrance to the square, find it and Save there after topping up the health.
Throw the switch, turn left to run E into the passage and just before the trapdoor you have to roll, so youll fall in backwards to grab the ladder. Just let go (climbing down will take too long) and turn left when you land, sprint down the passage to the gate and hit Alt while sprinting so youll roll though the gate before it closes.
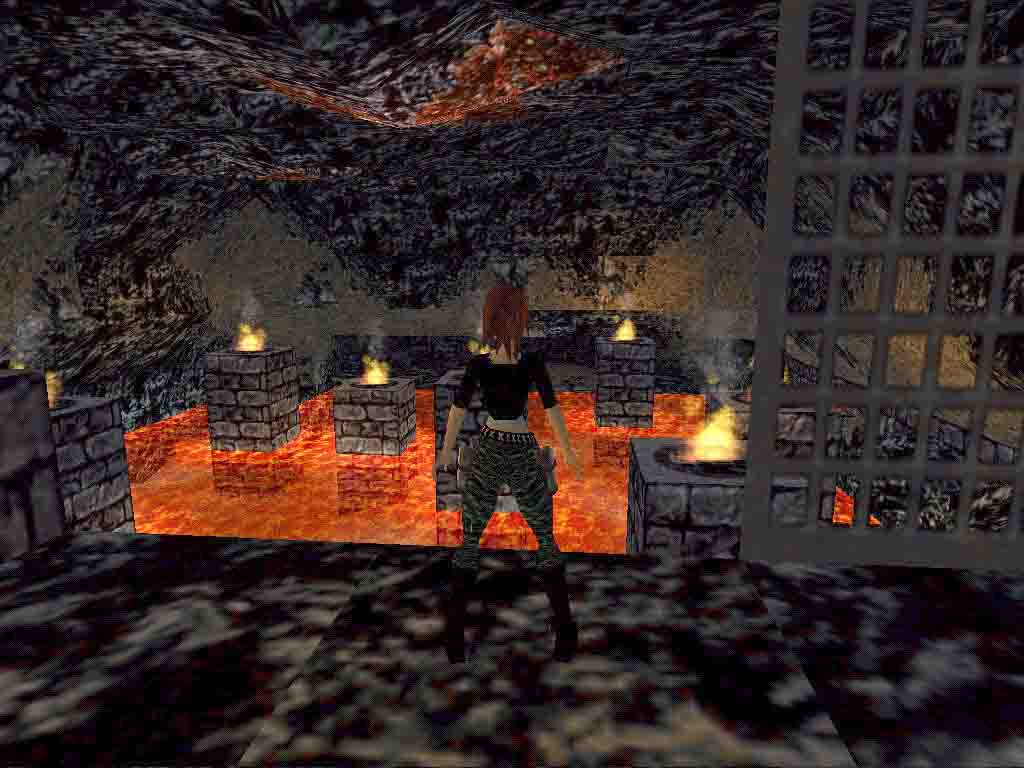
Lava
Jumps. 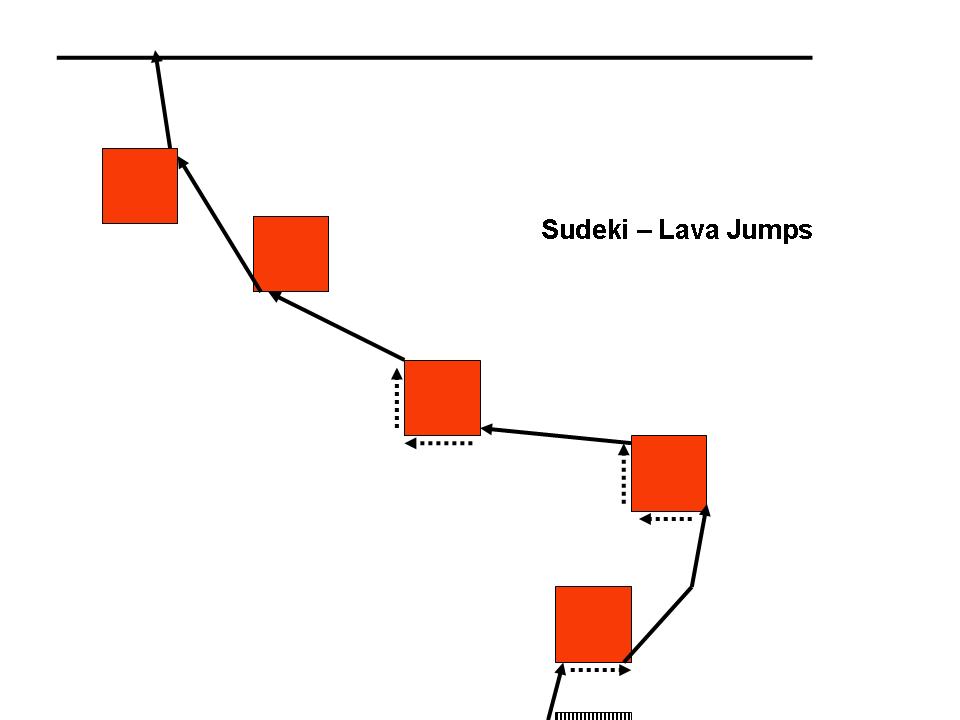
Go pick up some Flares on the blocks in the left and right hand corners, then go to the fence on the right hand side, stand left of it and standjump/grab to the first of the burning pillars. Shimmy right to the corner and pull up, face SW and standjump with a left curve around the flame to grab the next pillar, shimmy left around one corner and pull up on the next corner, turn around facing the next pillar and standjump/grab to it. Shimmy left around one corner and again pull up on the next, be sure to stand as far as possible in this corner, face the next pillar and you have to standjump with the forward key pressed to land almost in the far right hand corner, youre almost too close to the fire so be careful. What I did for the next tricky jump was face E and turn left a bit so you can do a right curved standjump up to the corner of the next (higher) pillar, drop/hang from the side and shimmy right, from that corner you can do a standjump (grab last moment) into the crevice S.
A Warm Welcome.
A Huge Spider (and a couple of small ones) will come to greet you, just get with your back into a corner of the black rocks and shoot them. Go into the tunnel E with the spiders web, stop just around the corner before you walk onto the break ledges, look with the Binocs to spot the ledge up left, run over the right hand side of the ledges and curve left in the end to jump and grab that ledge.
Timed Gate.
The switch is timed and will open the gate right next to you, Save and throw the switch, then hop back turning left so you end up on the corner of the ledge close to the gate which will be just behind you. Simply backflip and you are in the opening, take a hop back before the gate closes. Go into a Lava cave and get some Flares along the W wall, then jump up to a ledge SW, go up to the S wall and finally jump around the right hand corner to a ledge SE. In the alcove is a ½ MP for you. Get back out and onto the ledge along the W wall, from there you can do a standjump/grab to a crawlspace in that wall, shimmy along the first pit and get a ½ MP on the left hand side of the next pit, finally youll come to a pool with steps, go up the steps and jump over to the ledge with the lever N. Throwing the lever will drain the pool on the square near the beginning of the level
From the NW corner of the ledge you can runjump into the passage in the N wall, shoot the Spider and slide down the slope in the end to end up back at that nasty timed switch. Go outside and shoot a Werewolf, then drop into the pool and throw a switch on the E wall. To open a gate in the passage N from the square. Climb back out and go into the N store room, straight into the passage leading to a basement with a big cage holding a Huge Spider.
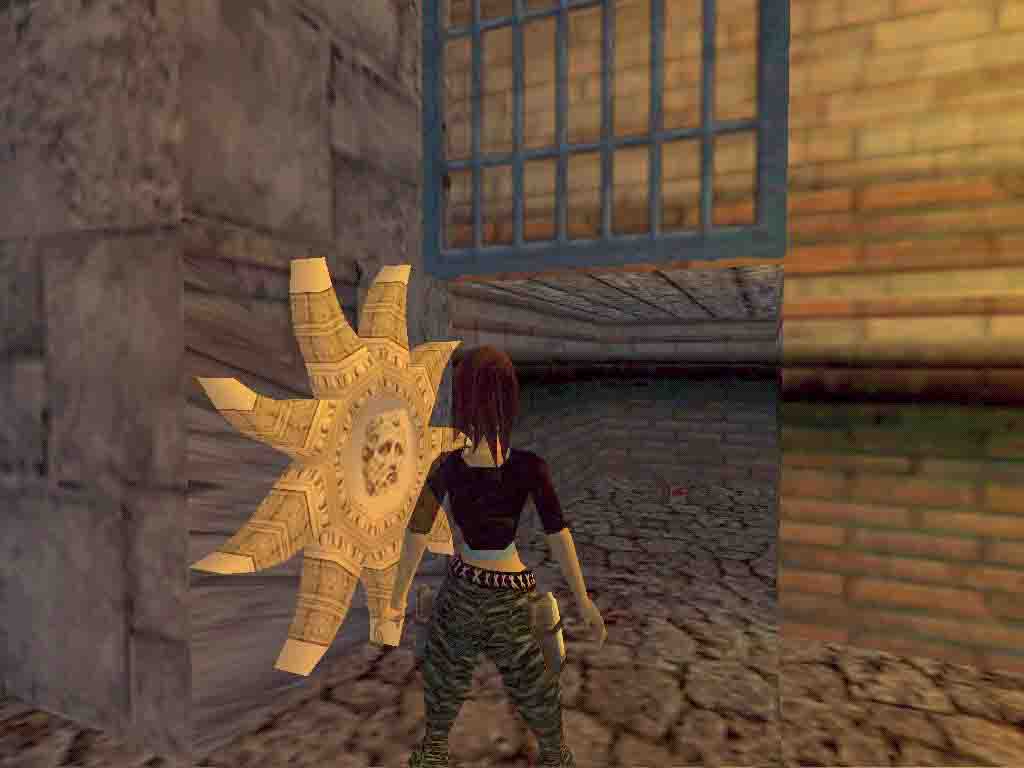
The Shadow Key and the Cross of Shadow.
Go left and to the W wall where youll find 2 blocks with flames on top, go right to the second one and grab up to the corner close to the W wall, turn to grab up to the ledge above and walk onto a Skull tile, a screenshot of a block going up. Run off and go W, climb the block and throw the switch there to open a trapdoor for later. Hop back and turn right a bit, now jump/grab up to the ledge over the switch, shimmy right to where you can pull up, push the block E all the way in and get Secret#8, a MP.
Get out of there and to the N side of the basement. Get onto the second step from the bottom and throw the switch there (only the 2nd switch from the left as the rest will kill you). That Huge Spider will come for you so shoot when it comes in sight, while you stay on that step. Now go around the W side of the cage to the open cage SE and enter, get a ½ MP to the left and go through the spiders web into the passage W, look up and find that open trapdoor, climb the N wall and follow the passage to the ladder down into the other cage, get some Flares in the E side and the Shadow Key in the W side of that cage, climb back up and down into the S cage, go out and follow the stairs S back up to the N store rooms, go right and use the Key there (as indicated in the flyby). Get the Cross of Shadow from the open gate and head out to the square, go W through the black gate and straight to the W wall, turn right around the black blocks and get the Flares there. Turn around, head S and go into the first opening W, more Spiders will appear, just go right around corners to end up at a ½ MP, return and head S through this Pillar Maze, after the second pillar to the right and find the gate in the W wall, open it by placing the Cross in the receptacle left.
The Stone to the Secret.
Immediately upon entering 2 Werewolves will attack, take them out jumping around and head to the SE corner, face the E wall and backflip/jump/grab the ledge above, go backwards into the crawlspace and drop into the lower passage to get the Stone to the Secret there, get back out and drop to the ground, head to the small pool W and stand in the NE corner of it, facing E.
Another UW Maze.
Save and jump up, then swim into the narrow tunnel, follow to a wider tunnel and go left, look up in the SE corner and swim into the shaft and then just follow the tunnel keeping along the right hand wall, when you reach another wider tunnel go straight over the circle tiles and follow the narrow tunnel to where you can swim up for air in the end.
The Red Illuminas Diamond.
Going towards the Pillar with the Illuminas Diamond a Huge Spider attacks and after taking care of it you can go into the SE corner first to claim your next Secret. Open the gate with the Stone and go in for Secret#9, AK47 Ammo and a MP.
Head N along the right hand (E) side of the pool and straight into a place with burning blocks, walk up against the N wall and climb up to the corner of the left hand block, turn to grab up to the ledge above and turn S to runjump to the ledge there, From there you can runjump (no grab) onto the pillar in the pool and get the Illuminas Diamond. The teleporter will take you back to the Swan lake. Go straight to the burning pillar and left into the house to place the last 2 Diamonds there. A caged block will rise in the same room, climb it and throw the switch. The flyby will show the magical shield for protection is activated and the villagers can return to their homes .
29-09-2006.
Unauthorized
walk by Dutchy ![]()
Az oldalon közölt képek, a szöveges tartalom, illetve minden sajátkészítésû anyag, a © TR Editor.hu tulajdonát képezi. Azokat semmilyen formában nem lehet reprodukálni, másolni, terjeszteni, csak a szerkesztõség engedélyével.