
Back to Basics 14 Skellycombs
Author: George Maciver (George M)
Download: Here (Complete_tr4 148MB)
Skellycombs level + Revised Catacomb Wad
Story:
Lara is wandering around an old Temple that's been turned into a museum when she discovers something interesting. She just can't keep her hands to herself...
 Secret:
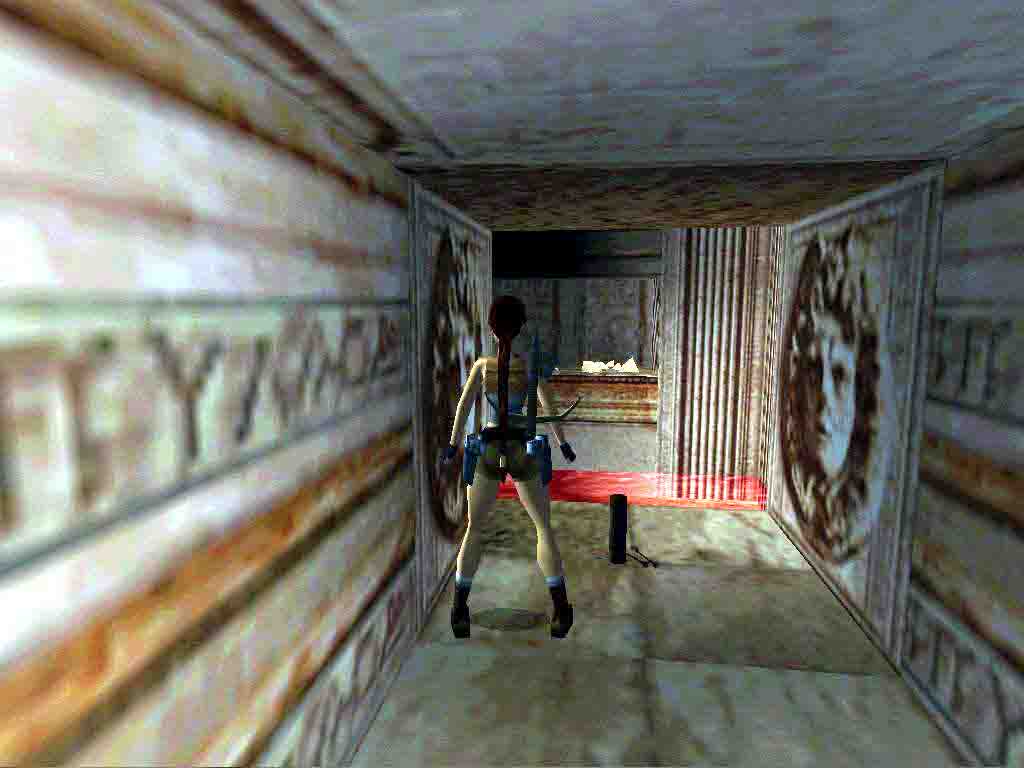
MS=Monkeyswing, CS=Crawlspace, MP=med-pack.
Some names are in Red for later reference.
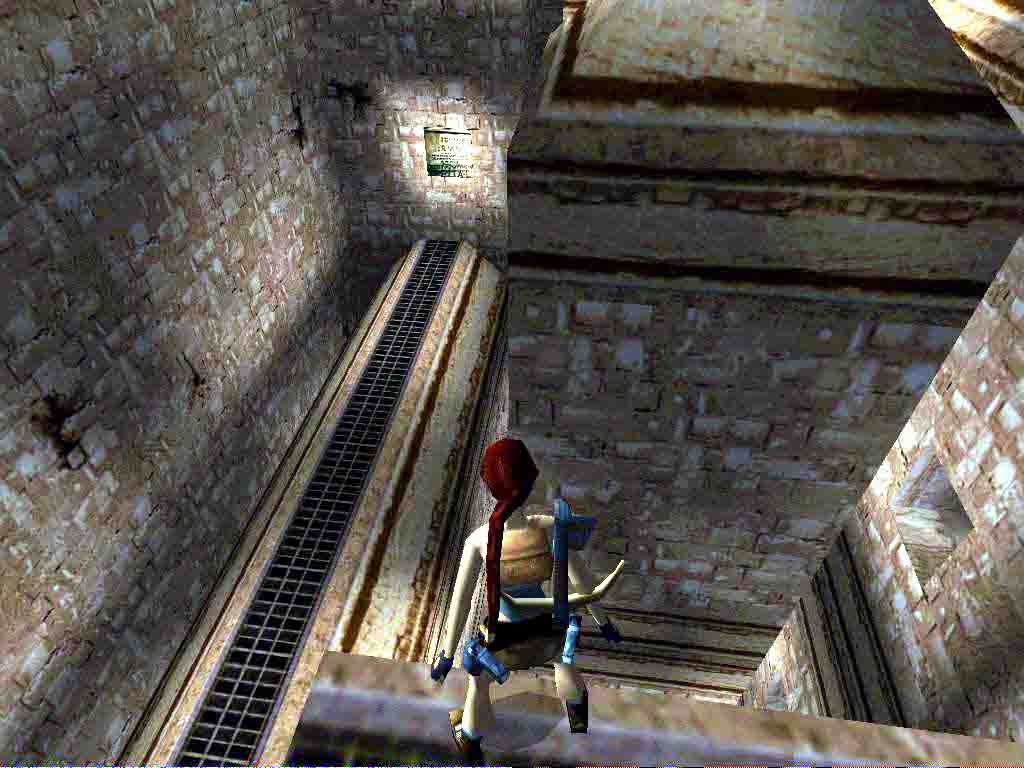
1st Room.
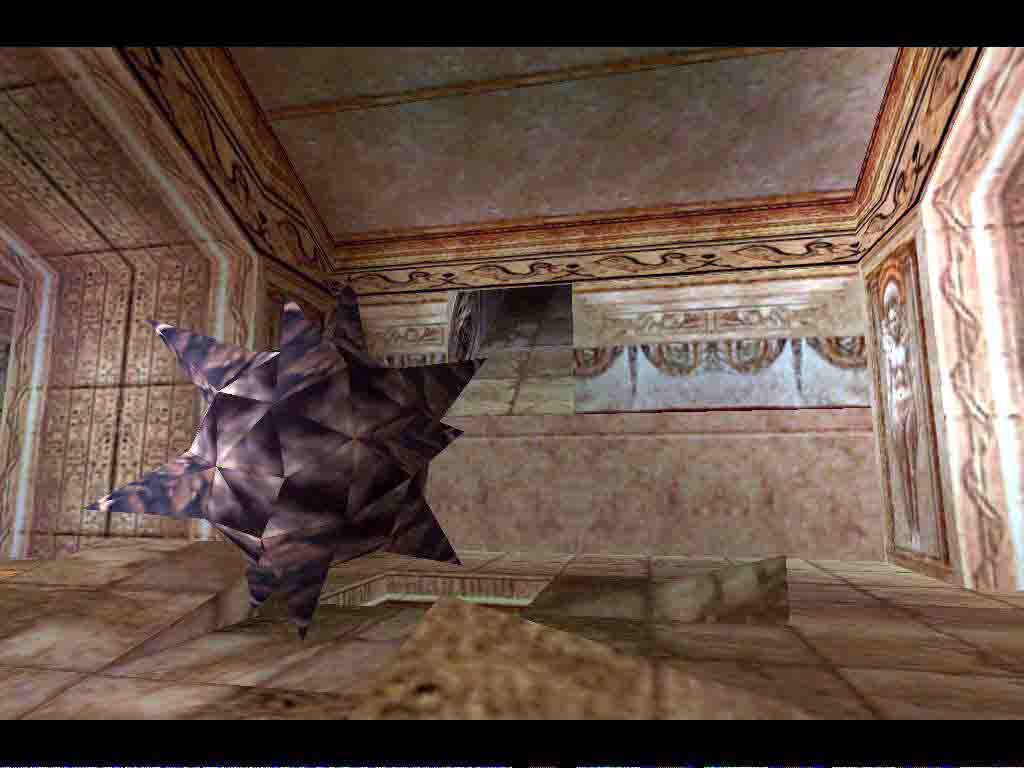
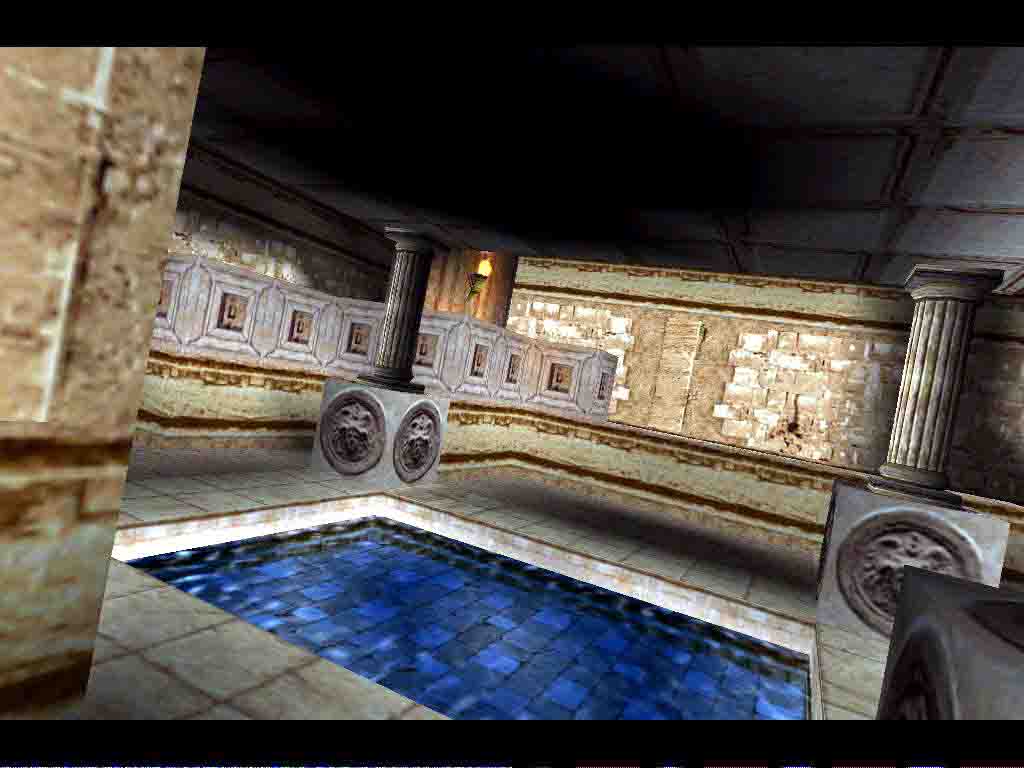
You are in a large room, turn around for the Flares and go to NE for some more Flares. Head into the room S of there and past the pool to a pillar standing in the L corner, pull that to the face Tile SW of the pool and a flyby will show the events that follow, a Skellie runs over a trigger Tile and releases a Boulder that cracks the floor S of you open.
Drop in and slide into the water, follow the tunnel to a large room with a lot of closed doors.
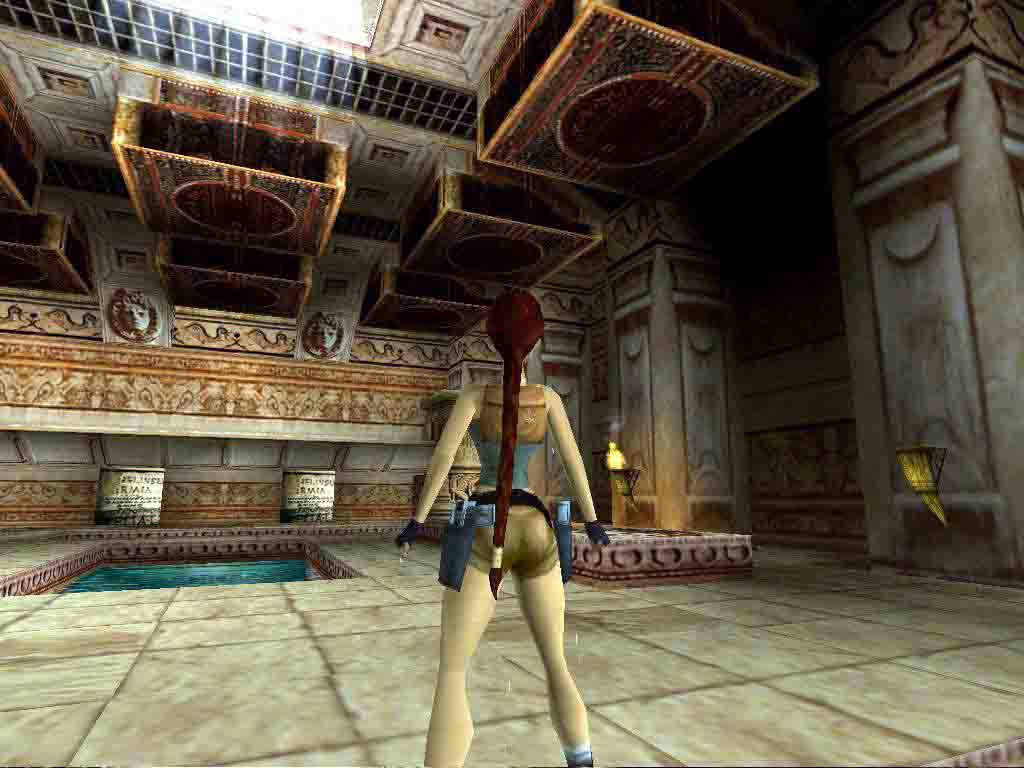
Main Room.
There are 2 doors (1) (2) E of where you get out of the pool, one door (3) N and 2 doors (4) (5) W near the other pools. Theres a pillar and a receptacle for a Star, push that pillar to the face Tile on the other side of the ledge and door (2) opens, get the ½ MP L of where you stand and go to the opposite S side for some Ammo. Head for the W door and go into the Bones rooms.
The Bone rooms.
In front is a closed door (exit later) go L and head N, to the L is another closed door, head for the pit in the N end and drop in, go in the passage to a basement where you see a Bird statue, go R and to a water hole, dive in and swim NE, to the R around the corner to find the Lasersight.
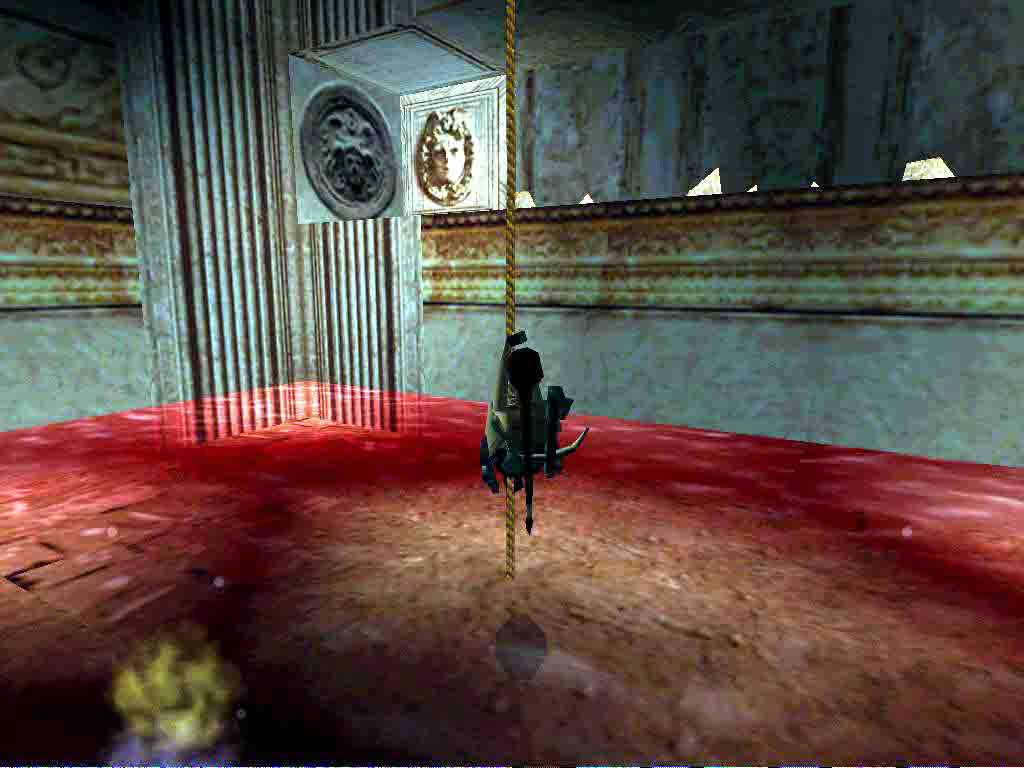
Go in and follow to a lava-pit with rope, jump/grab the rope and swing to the L side (at the button) as the rest of that ledge is Spiked. Push the button to open a door (4) in the Main Room. Jump back to the rope and swing to the L most side of the exit, as the burners will give trouble if you swing over them. (Or dont go down all the way on the rope and swing/jump/grab the edge of the exit) Go back up and when you climb up to the floor, L and L up to the door to the Bones room. Go N a bit and L at the floor grating, exit through door (2).
Spike Basement.
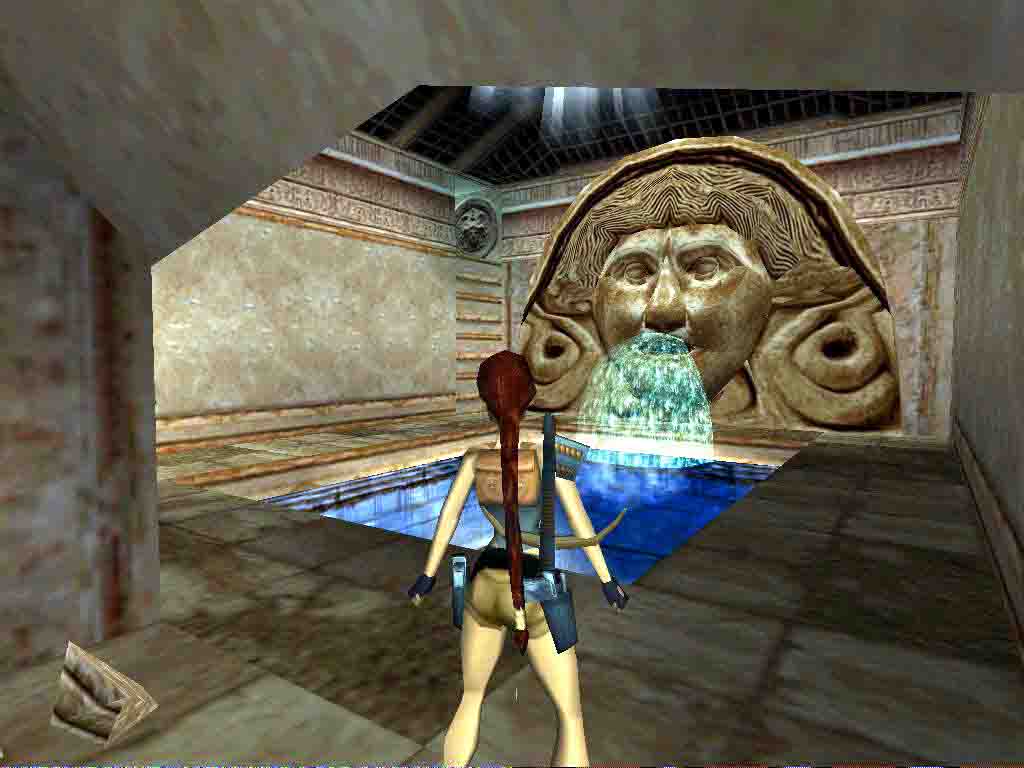
Head to the W side and enter door (4), drop into the pool below and climb out, go into the passage and you know already that those piles of rubble are deadly, so avoid them. Go past the passage L where you have to run into a bit later in a timed run, go into the next passage R and R into a room with a pool and the exit of this basement up in SE the corner (later).
Stand in front of the lever and save. Pull and a Skeleton appears, ignore and roll fast, runjump once (to get past those Spikes) and go R and L/ L, back through the main passage and into that R hand passage, L at the end and quickly runjump over the L corner of the pool, up the stairs and if lucky into the door just in time. Get the crowbar in there and head back, L in main passage and all the way to the N, L and around the pool to get the Golden Star. Head back through main passage and L into that room with the lever, climb up to the opening L of the face and go up the pole, backflip to the block and the exit door (3) to the Main Room opens.
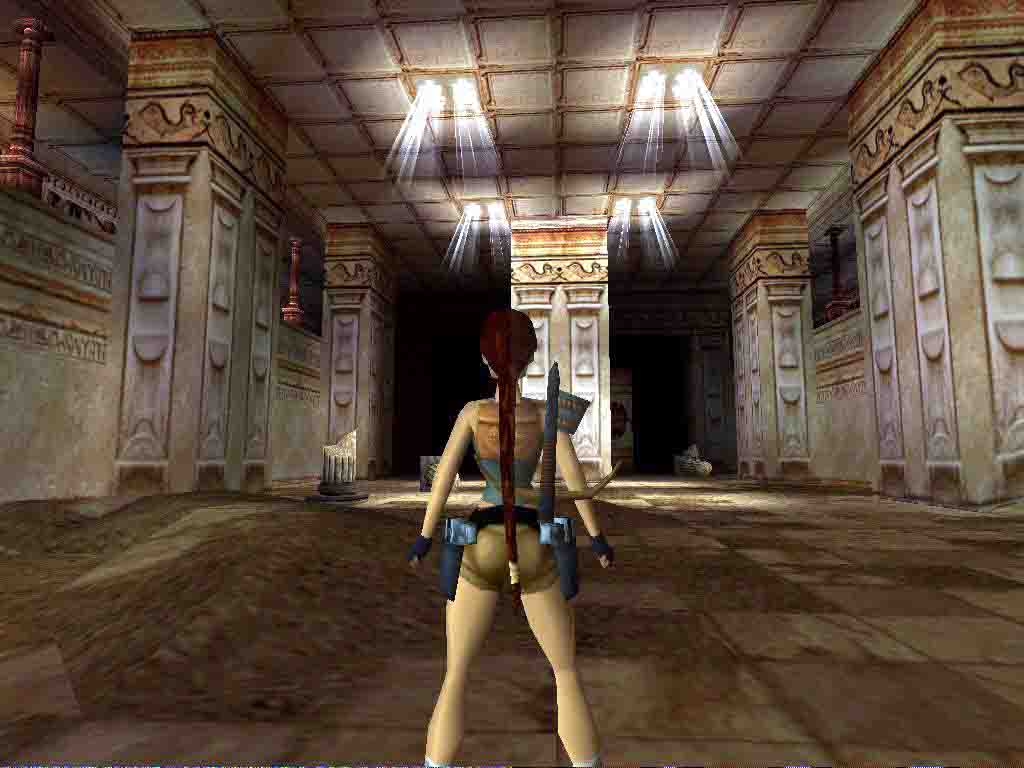
The Huge room and Horsemans Gem.
Go to the NW and place the Star to open a door (5). Go into a huge room with several brick structures with passages. Go L and follow to a 1st lever, go W and along the passage there. Past an opening youll get back to later and come to a pool. Go R and to the end where youll find the 2nd lever L at the pool, go N from that lever and R at the next pool. Throw the 3rd lever for the door that will open up the way to the top of the room.
Go back to that W passage and into the opening in the L wall, go up to a ledge where a Skellie tries to stop you, jump past him and go around the corner to a jump (with grab) over the lower passage, follow the passages over gaps and to one where another Skellie roams around, go to the end of all the passages and once on the E side there is an opening around the corner to the L. Runjump/grab to that with a sharp L curve and go up the ladder, backflip of and climb the block S, look SW for an opening in the next structure and runjump (no grab) into that one.
Follow to the W side where you come to an end, runjump to the ledge on the roof and see the door (1) in the NW corner go L and past a door (2) L and hop over the Skellie, jump to the button L of the roof and push it to open door (2), hop back on the roof and run to that door, curve R and jump/grab to the opening, get in and follow to a jump over another gap, in the end there is a sloped wall in front. Runjump to it and go R to the flatter ledge, climb up R and go R, look for a ledge in the wall going W and runjump onto that one, go up the ladder in the end.
The Top.
Go to the W side, and look to the R, you can runjump/grab to a roof N and shimmy L around 2 corners. Pull up and backflip/roll/grab the next roof N, go around the L to the 2nd corner and pull up to the flat corner, turn NW and standjump to the Gem pedestal, go get the Horsemans Gem and standjump back to the flat corner last roof.
Opening the escape route.
Shimmy to the E and around the corner, at the next corner (SE) you can backflip to another roof with a flat top, go E and runjump down to a ledge with a button in the NE corner, push the button to open door (1) and a Spirit comes out to play (this Spirit will chase you to the end of the level and you will not make it due to the lack of MPs so you will have to backtrack to the only Bird statue in this level), backflip from the button, hop back grabbing the edge and drop from the edge of the floor to the block below and run forwards to the ladder, go down and roll, drop down from the end of that passage and roll, run to the S, up the block L and back into the Main room.
Over to the E side and into that L door in E wall, and L to the pit, down and into the Bird statue room. Leave the Spirit there and go through the S passage. If you want the Secret, go down into that hole in the floor again at the end of the passage, L of where you climb up to exit, go to the Spike Basement. Just before the pool is Secret#1, Ammo.
Go back up, up the ledge L and L to the door that opens, at the grated floor L and through the door, over to the W side of Main room, down again into the Huge room. Go along the L hand wall and back to the W passage in the end, up the R hand passage and follow all the way to that NE corner with the ladder again, runjump into that SW opening again from the block, follow to the end and runjump to the roof with the Skellie, go R and jump up to that open door NW.
Back in 1st Room.
Follow to a door that will open up, youre back in the 1st room on the S balcony, sprint E and to the end, go L and runjump/grab over the pillars to the N side balcony, go l and sprint to the end where you can place the gem to open the door next to you, go in and be sure to get those Explosive arrows as youll need them in a bit, push the button in the end and roll, get out and drop to the ground floor of 1st Room, go W and out the big door that just opened, hop over the ridge and enter the new challenge.
Skellie Room.
There are 5 Levers you have to throw around the room in order to open a door in the W of the room, first thing is to arm the Crossbow with the explosive arrows. : - ) 4 of the arrows are needed at the levers, the rest you can use as you please.
Go to the pool in front and L to the SW corner, get up onto the low wall and runjump/grab to the pillar W, youll grab a crack in it, go around R or L. pull up and shoot the Skellie, throw lever(1) and head N. Stay on the L side a bit and you can spot the ledge with the purple light in the next corner, runjump past the L side of the pillar and shoot the Skellie, throw lever(2) and runjump back to the ledge you came from, head back and try to runjump to that low wall E again, run to the end and hop on the block, shoot the Skellie and throw the lever(3). Turn L and climb up the wall next to the lever, run and jump to the N roof and go to the far NE corner (red light), drop down to the corner ledge and runjump over to shoot the Skellie and throw lever(4).
Go drop down to ground floor and shoot all Skellies bothering you, go back to that low wall and L, to the ladder again. Up and turn R, jump/grab up to the MS and follow to the pillar W, go L a bit and into the opening there, theres a room with a lot of rubble on the floor, so watch out as they are all Spike-traps, look for the ledge in the wall to the R and jump in there, now you can go around to lever(5) and throw it to open the exit door down W in the Skellie room.
Finale.
Go out and runjump down to the L so youll land on the ledge near the lever and run N. about halfway down to the N you can runjump (with grab) into that W door and follow the sloped passage to the end of the level.
07-01-2005.
Walkthrough Dutchy & Gerty.
Az oldalon közölt képek, a szöveges tartalom, illetve minden sajátkészítésû anyag, a © TR Editor.hu tulajdonát képezi. Azokat semmilyen formában nem lehet reprodukálni, másolni, terjeszteni, csak a szerkesztõség engedélyével.