Searching for the Lost Diamond (Alla ricerca del diamante perduto)
Author: Ale8730
Download: Here
Walkthrough:
Walkthru by Harry Laudie
[Note]
1. There is no compass.
2. When you die and reload the savegame, the game crashes to the desktop. However, you can restart the game and load the required savegame successfully.
3. I think the script language may be Spanish (Carica = Load?). I will make up a word to describe the pickups when I find them.
4. The author included a savegame but I did not need it.
[End note]
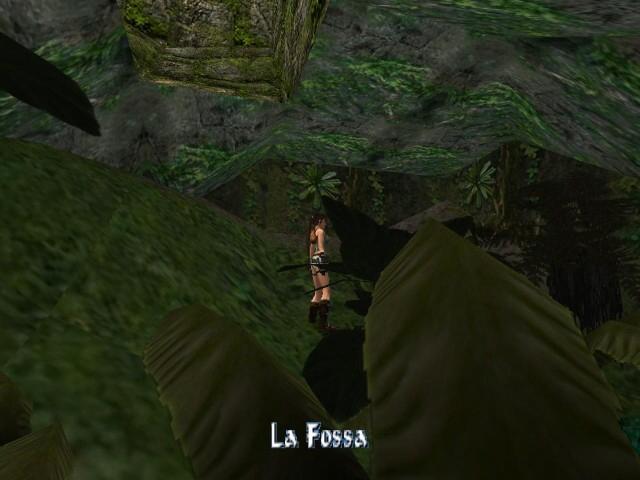
La Fossa
You drop into a cave from above. In the corner of the cave is a pool of water. Dive into the pool and swim down into a hole in the corner. Swim in the middle of the shaft as you can get stuck near the sides. At the bottom, swim through the leaves and into a side underwater tunnel. Stand up in a water trench. You can go to the shallow end and use your pistols to shoot four snakes without leaving the water trench. Get out of the water and go to the plant in the far right corner. Pull down a well-hidden wall switch behind that plant. You hear a trap door drop open. Go to the other side of the room near the middle and pull though an open trap door in the ceiling.
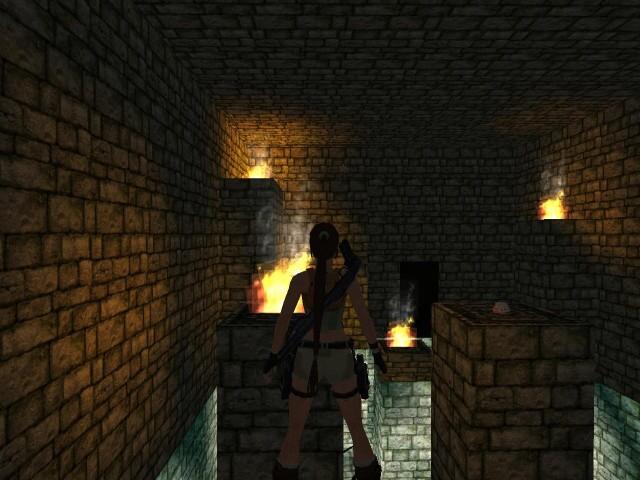
You are in small dark room. You should see two wall switches and some moveable blocks. Go into the very dark corner of the room behind you and pull back a moveable block. Go behind the block and pick the Carica (gear wheel). The other two moveable blocks seem to hide nothing. Pull down the left wall switch. You get an overhead view of a trap door dropping and a block rising. The right wall switch just seems to raise and lower that same block. Pull up onto the raised block and enter another dark room.
In this dark room you can see two blue moveable blocks and two fancy tiles. Move the blocks onto the tiles. The only fit one way because the blocks are in a channel. After each moved block you hear a gate open. Run inside the open gates as far as possible. Turn to the right and use the gear wheel in a wall receptacle. A third gate opens beside you. You face a pit. Slide forwards down the very steep slopes and you should land with no damage. Pull down a jump switch on a side wall. You get a cut scene of a gate opening.
Dive into the water. Swim straight down and through the leaves at the bottom. Swim into a bottom crawl space and pull up at the end. Follow the new tunnel to a closed gate. Turn to the right and pull up onto a higher block. Turn to the right and pull up into a higher alcove. Turn to the right and use the floor lever. You hear a gate open. Get down and go through the two open gates. Climb onto a block.
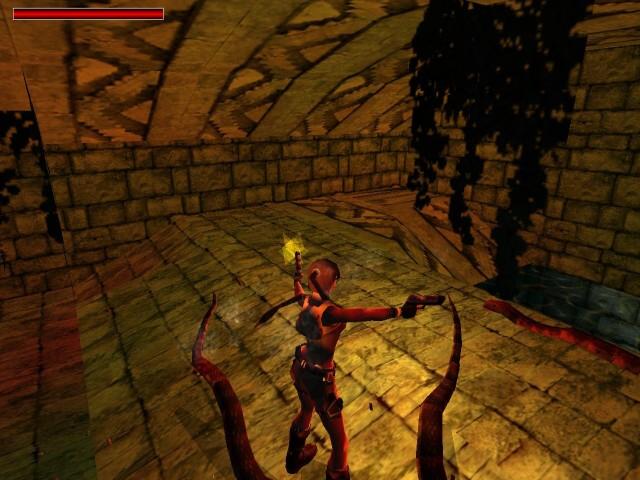
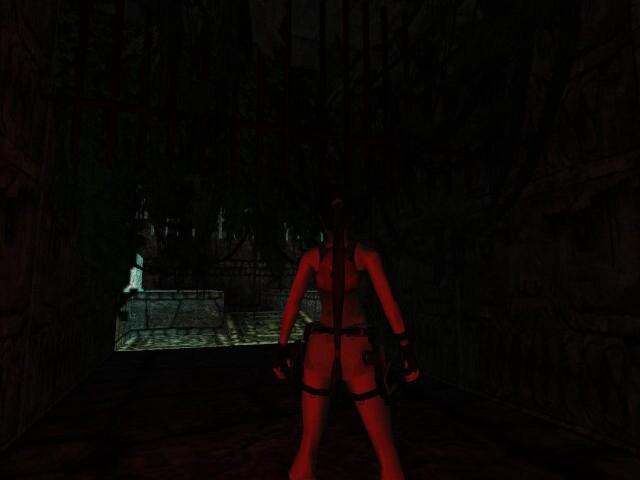
Jump to grab the ladder in front of you and climb to the top. Pull up at the top and Lara is red. Turn around and jump across the gap. Pick up the Carica ( yellow key) from the floor. Go back to the ladder and climb down. Go back into the tunnel and climb back up to where you used the floor lever. Hop onto the sloped block beside it and pull up into a higher room. Go behind the plant at the wall and use the yellow key. You get a cut scene of a gate opening. Turn left and go the middle of the wall. Jump up to grab a ledge through the ceiling. Pull up into a tunnel. Go to the end of the tunnel and pick up the Carica (crystal skull) for secret #1. You can use pistols for light if you have used your three flares. Get down and return through the two open gates again.
Climb the block and drop on the other side. There is nothing under the moveable block in the corner but you use that block later. Go through the new open gate. Enter a small room and pick up a small medipack, large medipack, and flares off the floor. You can see spikes behind the closed gate. Go back and pull the moveable block into the room. Place the block on the center tile and the gate opens. Go through the tunnel and stop in the room with the spikes. Loop around to the right and climb the wall. When you can see Lara in the light, back flip onto a ledge. Pick up six large medipacks, three small medipacks, seven red shotgun shells, four blue shotgun shells, and the shotgun for secret #2. Be careful as the hole in the floor has the same texture as the floor. Climb the wall back down to the room with the spikes.
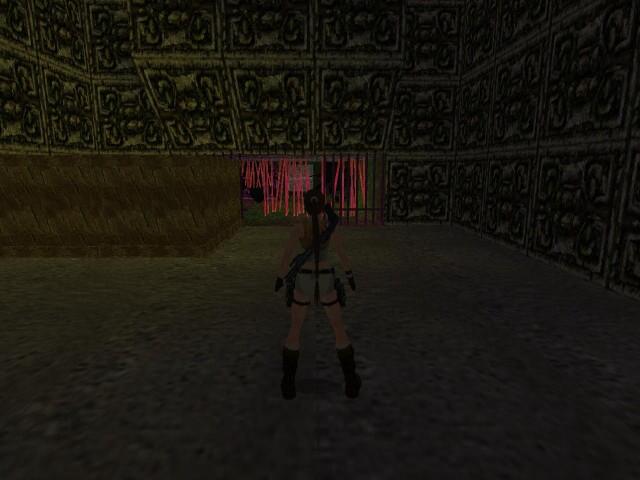
I could not find a pattern to the spikes noving up and down. I just sprinted down the middle of the room and took a lot of damage. The gate at the far side opens when you get near it. You enter another dark room, of course. To the right of your entrance are four fancy tiles. There are four moveable blocks in that room. The first block you move onto any fancy tile opens the gate at the back wall. I moved all four of them just in case something else happens.
Go to the open gate and shoot a dozen snakes in the water. However, a few snakes somehow got over the edge and got in the room with Lara. If you fall into the water, there is a platform in the corner to pull back up into the room. Run and jump to the column with no fire. Pick up a large medipack and a small medipack. Run and jump to grab a higher column near the wall. Pull up and pick up a large medipack and a small medipack.
While the columns have fire on them, you can pull up on the corners of the column with safety. Run and jump diagonally to the short column with the fire in the middle of the water. It may a few tries to land on the closest safe corner. Drop and grab the edge. Shimmy left to an outside corner and carefully pull up. Stand jump to grab the column near the wall. Shimmy to the right and around the corner. Stand up in the safe corner near the higher wall. Jump up to grab the higer column. Pull up onto the safe tile to the left. Stand jump to the safe tiles on the columns at the other wall to the right.
Place the crystal skull in the receptacle that you find there. You get a cut scene of a door opening near you. Drop into the water and pull up into the open doorway. Run into the outside light and the level ends with a final crash to the desktop.
25-sep-2010
Az oldalon közölt képek, a szöveges tartalom, illetve minden sajátkészítésû anyag, a © TR Editor.hu tulajdonát képezi. Azokat semmilyen formában nem lehet reprodukálni, másolni, terjeszteni, csak a szerkesztõség engedélyével.