
Playtime
Author: George Maciver (George M)
Download: Here
Walkthrough:
CS=crawlspace, MS=monkeyswing. MP= med-pack.
The Red Stone.
From the yard youre on, enter the opening in the W wall and follow to a room with a shrine, on the shrine is a receptacle, go back into the passage you came from and youll hear an earthquake, now return to the shrine room and see the N wall came down, enter the new passage and find The Red Stone. Well obviously that has to be placed on the shrine, so go back and put it in the receptacle, 2 Wraiths appear, run back through the passages to the yard and straight ahead to a new opening in the floor, just drop in and get rid of the Wraiths.
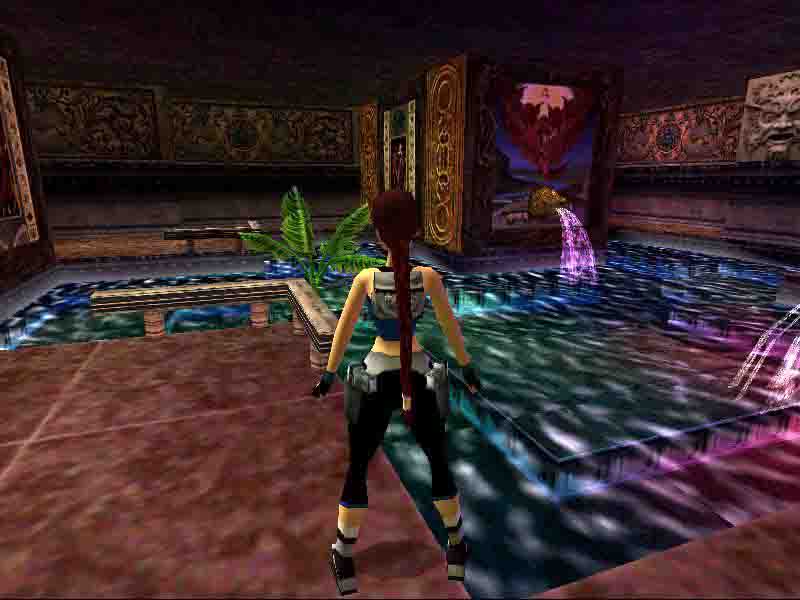
Pool Room.
Go get the Flares NE and then go along the E wall to the S, on the ledge is a MP. Get into the water there and go SW to get Tablet Piece 2, return to where you got the MP and dive into the small tunnel under the ledge, swim quickly to the next room and try to get out fast, shoot that Fish!
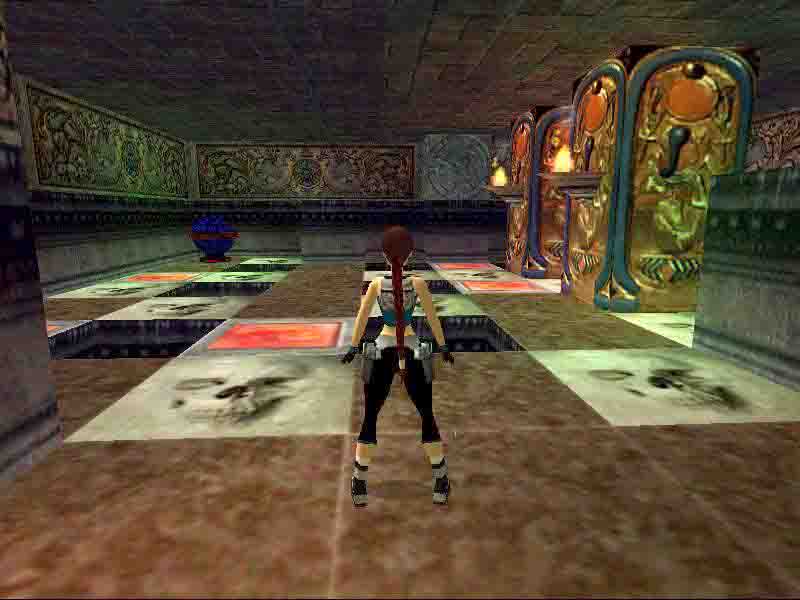
Puzzle Pool.
Go S and find the Puzzle floor, hop over the Skull tile (deadly) and go over the central path to the Globe in the far corner, pull it out of the corner and hop/roll over the Globe to push it onto the first red Tile, pull it back once and then squeeze between Globe and wall (go as far as possible and hit Ctrl) and push it to the central path, over to the N after you dealt with the Wraith (to the pool N, deep part where the tunnel is) After the N red Tile, pull the globe S again and to the SW Tile, then far NE and back to the central W Tile. 2 more Wraiths, and after that the Globe can be moved onto the W room Tile by going over the SW corner (Lara can even squeeze between a pit and the Globe, makes things a bit easier). Better save before you push it to the last Tile that will open the door W. Deal with the 2 Enemies and be careful you dont step onto the deadly Tiles. Get the MP, dropped by one of them and enter W to a room with a Skellie on a ledge above.
Skellie Pool.
Go L and into the next room and go R to a pool, runjump with a L curve to a ledge along the pool and go up to the alcove in W wall, from the alcove a curved runjump/grab to the wall NE and dodge the Skellie while you run N and do a runjump/grab to the pillar R at the end, pull up and quickly jump to the pillar NE and get Tablet Piece 2, the pillar you just came from is now burning, so drop down to the floor and head S, through the small room and up to the ledge with the Skellie again, now run to a red Tile SE and that will stop the Flames on the Pillar N, so get to that pillar again and pull up, quickly roll and runjump with a grab in the end to the balcony SW. Combine the Tablet parts and place The Tablet. A trapdoor opens in the hole behind you. So hop back and drop down, throw the lever and a door opens in the Pool room.
Leave NW and swim back to the Puzzle pool, get out and shoot the Fish first, then dive in to the NW tunnel and swim back to the Pool room, go to the NW and find the open door in the N wall. Follow through the Lion Pool (go N) to the gates that will open for you, out into the yard and NE, follow the passage through a CS and go S to the end, where youll see red light coming from an alley S, a Knife-trap in the entrance. This passage is for later, go on to the E and find another passage with a Knife-trap. Stand on the L side, about one step back and face the inside of the L wall a bit, hop back and do a runjump bouncing off the L wall and you should get across with little damage. Follow to the end and go into the building, get the MP to the R and then go up into the passage S
The Blue Stone.
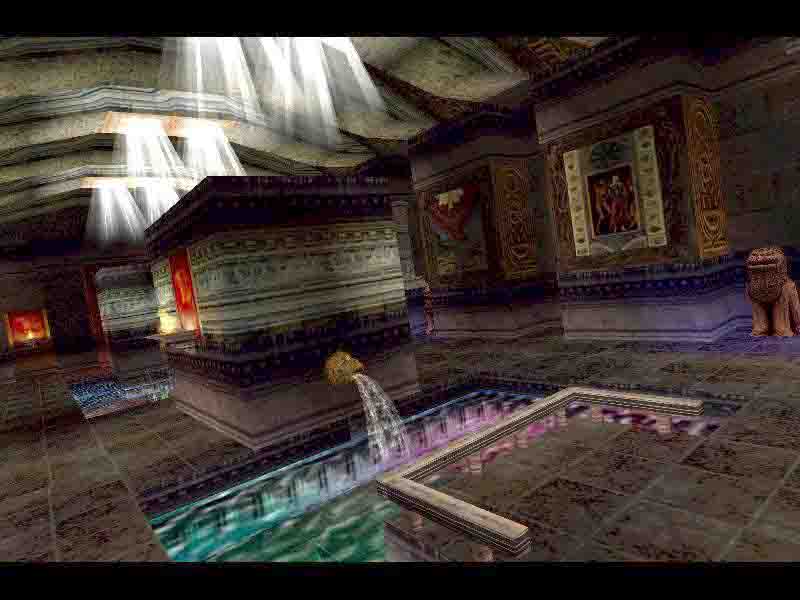
Go down a ladder and follow the long passage to another ladder and backflip into a room with the Blue Stone on a pedestal W, save before you take it! 2 nasty Wraiths show up, you have to run to the ladder, drop down and sprint back the long passage, up the ladder there and hop onto the higher floor, run into that small pool where you got the MP before. Most of the times the wraiths burnt Lara while climbing up the last ladder, so before I went up, I ran back a bit and then returned, got onto the ladder and that time it worked, I could reach the pool to get rid of the Wraiths in time.
Now you have to trail back a long way, over all the grassy areas to the Lion pool and S to the Pool room. place the Blue stone in the receptacle NW and pull the Globe out, push it onto the burning red Tile at the pool, quickly hop into the pool taking a MP if needed. Now go to the open gates E of the pool and get a ½ MP in the NW corner, then go into the SE passage and a flyby through a large room takes over.
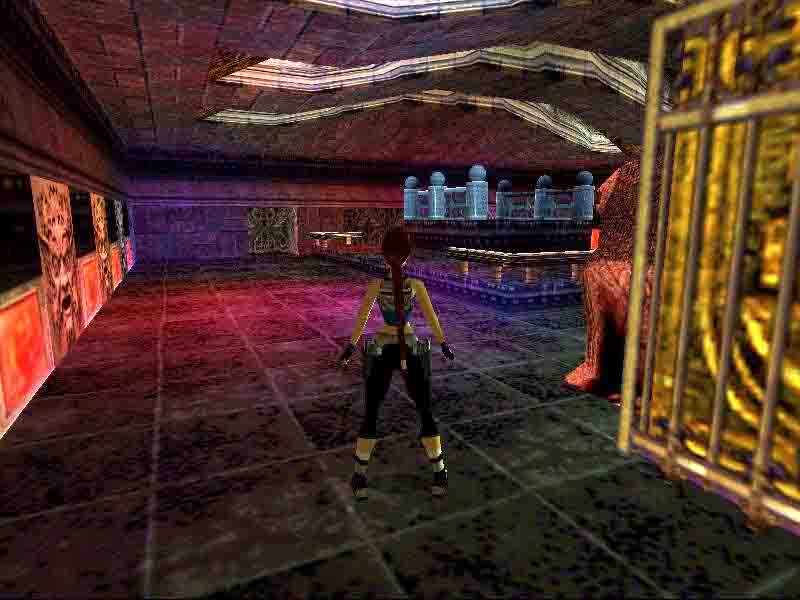
Large Room.
Go to the NE corner of the room and into the hall there, go up the steps to a closed gate, shoot the vase and return to the lower hall, a block went down in the NW corner, go into the pit and crawl through the CS, climb up E and come to the Labyrinth.
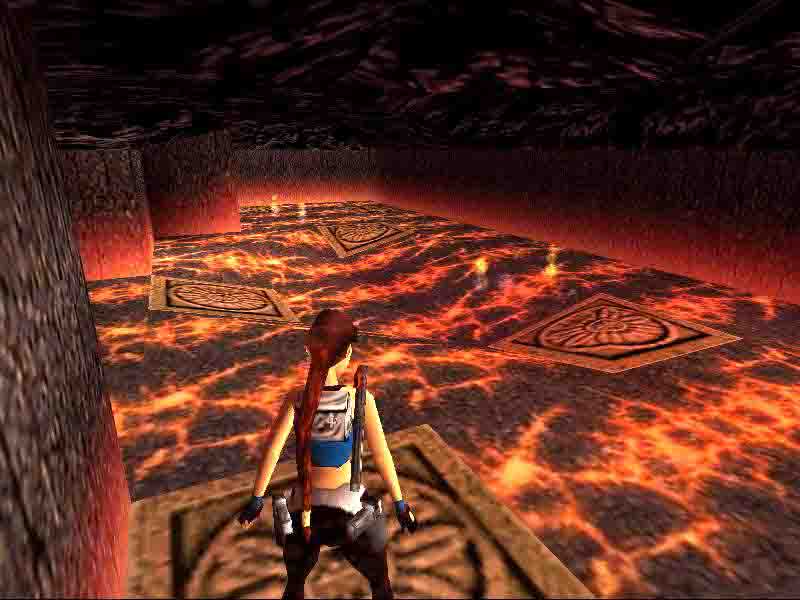
The Jump Labyrinth.
Stand on the corner SE of the ledge and runjump/grab to the pillar E and do a L curved runjump/grab into the opening NE. go on jumping NE like that and come to a pillar in a pit with an opening in the wall far NE, a runjump from corner to corner (no grab) will get you into that opening, walk E and standjump with a grab in the end into the opening NE, follow this passage all the way to a lava pit with a pillar that has a ladder, jump/grab the ladder and go to the top, turn R and start shooting the Wasp coming around the corner. Jump W and follow around to where you go E again (Wasp+Bat), jump SE twice and then turn to the N, a long runjump around the pillar N to a ledge behind it.
The Uzis.
So stand where you can just see the corner of that ledge and runjump/grab to it, go on to the next one N, the path goes on N, but first jump to the E and follow to the end, where you can pick up the Uzis and Ammo and a ½ MP in the corner, go back W and follow the path to the N again. Somewhere you have to runjump to the NE again and follow the path in and standjump/grab to a ledge with a lever, pull up in the L corner and throw the lever to open gates in the hall. Drop from the ledge to the lower path and head W, follow to the pit with the ladder and go back up, jump W and go to the end of the ledge, drop down, save and get the MP in the corner there, then run to the exit SW fast and drop into the lower passage, crawl back to the hall and go E, up the stairs where you shot the vase before, those gates opened up
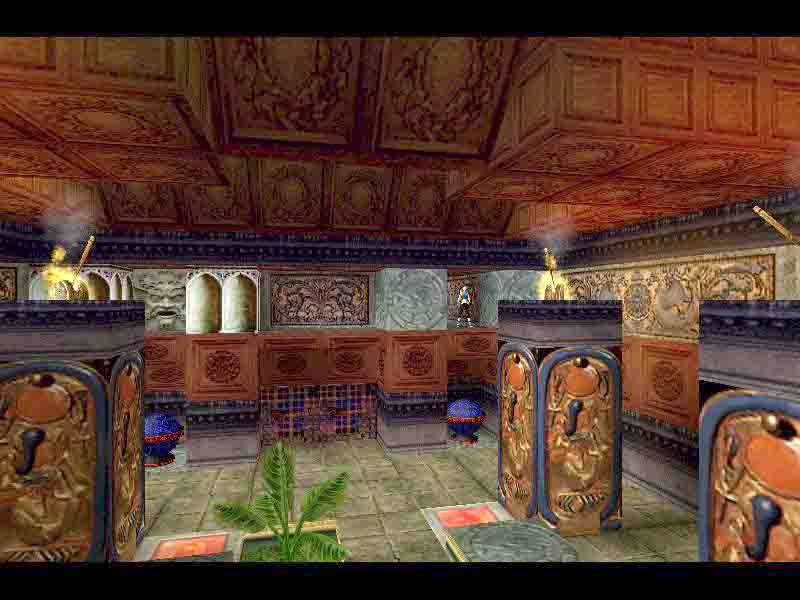
Vases and Traps.
You need to shoot 4 of the 8 vases in the dark alcoves in the walls to open a next gate, because the other vases will trigger enemies. From the entrance, going clockwise through the room, shoot #1 and #3 N-side, then #6 and #7 S-side and go to the vase in the SE corner, shoot that vase too and the nearby E gate opens, go in and come to a deep pit.
The Shotgun.
Go to the S side and dive down, quickly swim into the tunnel S. If youre fast you could get the Shotgun in the end SW corner and roll, then go down into the hole in the bottom go L and swim up R in the next channel, get out and shoot the Baddy, if you didnt get the Shotgun, kill the Fish and swim back for it (shoot the Fish anyway). Shoot a vase in the N alcove if that didnt break already (lowers a next block) and go to the gates NW, they will open for you.
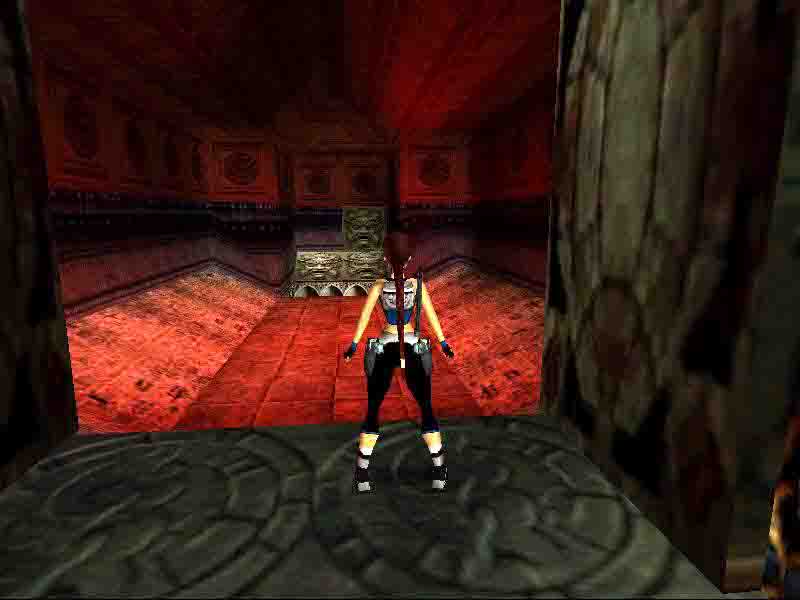
The Torch.
Enemies appear, deal with them and go up the stairs to another hall, look in the SW corner for the lowered block and crawl into the CS. Follow to a red room, go carefully along the R hand wall and turn R into the passage and follow up to Knife-traps. I stood facing the R hand wall and sidestepped up close, then did a sidejump over the Knife (the second one same MO), check your health before you safety drop down the end of the passage. Shoot the Skellie off the floor and get MP and Torch.
The Eye Piece.
Drop from the floor and go NW, back to the entrance of the Large room, taking the Torch. Hop up into the higher passage and light your Torch just around the L corner, go back to the large room and up the steps E, light the Lamp L at the gates and they will open. Go in and take the Eye Piece after you dropped the Torch near the gate L, a gate opens in the grassy areas and the exit of this room opens too, take the Torch and enter the Puzzle pool. Go S and at the Tile floor you can hop onto a block W, go into the open door W and R in the Skellie pool. Just under the pillar N (that burning one) is another Lamp for you to light, another gate opens.
Leave the Torch and go back to the Puzzle pool, go N and into the pool NW, swim through the R hand tunnel back to the Pool room, go N through the Lion pool and up the steps to the grassy area, head NW and find the open gate.
The 1st Secret Key. (an Expert room)
Save here I would suggest. Then stand one step back from the Lava and hop back, now runjump to the first Tile, standjump to the next and do two runjumps diagonally across, then standjumps again to finally come to the entrance of a cave, shoot the Dog and go straight, look for a CS up in the R hand wall (between 2 pillars) and climb through, follow the next passage up to a room with the key on a burning block. Go up on the block in the NE corner and face SW, do a runjump onto the sloped block and slide/jump/grab the burning ledge, shimmy L and pull up on the safe ledge, turn NE a bit and standjump/grab the crack in the pillar. Shimmy all the way L to a passage N and go up, turn at the top and grab up to the passage above, go up to the Knife-trap and jump over. From the opening to the room, you have to do a L curved runjump with a grab in the end to land on a ledge L, whats that fool doing here?
The Red Stone.
Now do a runjump NW with a R curve and a grab in the end to land in a lower alcove N, turn around and runjump SE around the block over the Skull Tile and grab to get into the alcove L, from there and L curved runjump/grab to a cracked pillar S and shimmy to the CS R of it. Follow sliding down backwards and doing a safety drop into a room, get the Red Stone and drop out from the hole in the floor. Land back in the cave and go to that CS in the N wall again, follow back up to the 1st Secret Key from the ledge thats now safe, go back the way you just came and E in the cave, turn R in the end and climb the ledge to the opened exit gate, go E over the grassy area, into the building and through the CS, drop and follow to the S end. This time take the first Knife-alley (S one) and do a runjump over the L side of the Knife, go to a gate L and open it with your Secret Key (theres another gate in the other side of this room, but since you can only pick up one Secret Key at a time, I did this one first, well go back for the other key later, but after opening the first gate, you could always go and get the 2nd Secret Key now. Look below where to find it.).
This Secret room is an Expert room, meaning the jumping is real tough!
You could always leave this Secret alone and go to the last part of the walk to the part where you proceed with ** Using the Red Stone.**
1st Secret Room.
Go in and runjump around the corner to grab the ladder on E wall, climb into the opening E and go L into the next passage to another Lava-pit, runjump into the alcove NE and from there a sharp R curved runjump (banana jump) into the alcove in N wall, turn E and jump up to the alcove E (same corner) and stand on the NW corner of that alcove, turn facing W and take one step L from the wall, standjump W and curve R in the end into an alcove in N wall, past the pillar, Now one more jump and its a banana runjump around the R corner to the opening in W wall. Go into Secret room #1 and get Ammo, a MP and go up on the block last to get the Shotgun after you saved, you have to step to the NE corner of the block and standjump/grab up into the opening in the ceiling, 2 Wraiths making things even harder. Run through the passage and drop down at the start of the Secret room, go R and run out and into the pool fast
The 2nd Secret Key.
Now you can open the opposite Gate (if you didnt already, now is the time to go get the 2nd Secret Key).
Go out and runjump over the Knife-trap, go back N and through the CS, out of the building and L over the grassy area, S into the Lion pool and go along the R hand side to the open gate W of the pool. Get the 2nd Secret Key and return all the way to the gates to the secrets. Open the W side now and just go in, nothing scary here. Get Secret#2, the Goodies and head back out.
** Using the Red Stone.**
Jump the Knife-trap and go E to the other Knife-trap and into the building in the end, place the Red Stone on the ledge and the gate opens N, go to the next challenge.
Burning Levers and Globes Puzzle.
(Found a small shortcut here, if you do like I say, youll probably dont have to move the 4th Globe.)
Take one of the Globes from the S wall and move it to the red Tile near the SW pillar (this is the shortcut, because an extra pillar flame extinguished), then pull it off again and move it onto the Tile near the NW pillar. The next Globe to the NE pillar, three pillars are safe now. Hop on the block near the entrance and jump up to the entrance, runjump to the SW Pillar and shimmy around the corner to pull up at the lever, throw it and from where you stand after using the lever, turn SE a bit and walk back to do a curved runjump (grab in the end) to the alcove L of the entrance in S wall, then go to the NE corner of the alcove and runjump/grab to the corner of the still burning SE pillar.
Pull up in that corner and turn around, standjump with no grab into the next alcove S, from there a standjump sharp R and a grab in the end to get into the opening in E wall, face NE and standjump/grab the ceiling inside that E room go to the N side and turn L to drop/grab to the opening there. From that opening a runjump to the nearby pillar and use the lever, from where you stand after using the lever, turn NW a bit and walk back to do a curved runjump (grab in the end) to the alcove N and from there to the NW pillar. Throw the lever and a simple standjump into the alcove with the lever in N wall, throw it and drop to the ground floor.
Get a Globe out of the newly opened gate S and put it on the Red Tile under the SE pillar, go up to the entrance and go over the S alcove to jump to that SE pillar, throw the lever and drop to the floor, go to the room E and see the doors opened E. (So I never used Globe#4, if in your game a flame is still burning, put the 4th Globe on the last red Tile and be sure you did all the levers on the pillars to open the doors in E room).
2nd Eye Piece.
In the passage is a pit, runjump over the pit and get into the alcove with the Trigger Tile, turn around and from the Tile a runjump back over the pit (the floor just out of the alcove is too steep now). An opening appeared in S wall, close to the pit. Go in and get the 2nd Eye Piece. Return to the Globe room and take the MP one of the baddies dropped.
Now you have to backtrack all the way to the Skellie Pool, short directions: Out of this room SW, through the Knife-trap outside and follow to the N, through CS, grassy area, S through Lion pool into Pool room. through UW tunnel to Puzzle Pool and W there into Skellie pool, go to the alcove W, so you can runjump/grab up to the Skellie wall (Skellie must have run off the wall, cause hes nowhere in sight).
Turn around and go up to the floor SW, take out the baddies and open the door W with the Combined Eye Pieces. If you return to the Skellie pool, there will be 2 more baddies and they drop ½ MPs. Now you can leave through the Horus Door
21-09-2005.
Unauthorized
walk by Dutchy ![]()
Az oldalon közölt képek, a szöveges tartalom, illetve minden sajátkészítésû anyag, a © TR Editor.hu tulajdonát képezi. Azokat semmilyen formában nem lehet reprodukálni, másolni, terjeszteni, csak a szerkesztõség engedélyével.