
Jungle Ruins 3
Author: George Maciver (George M) -- Todd Shurtz -- Scott Ginn
Download: Here
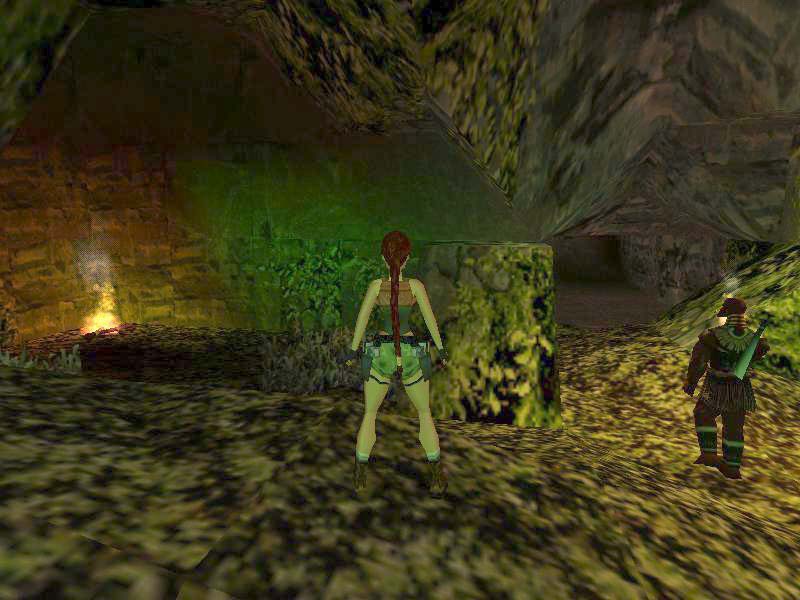
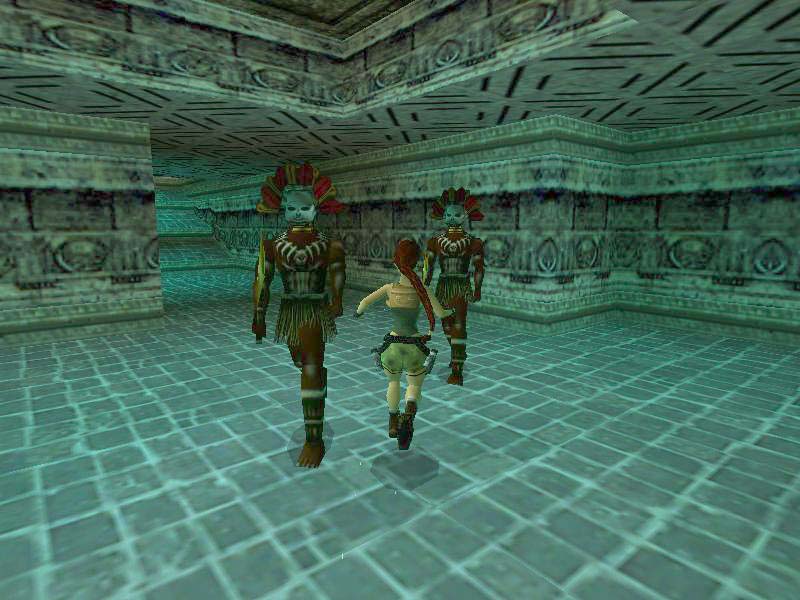
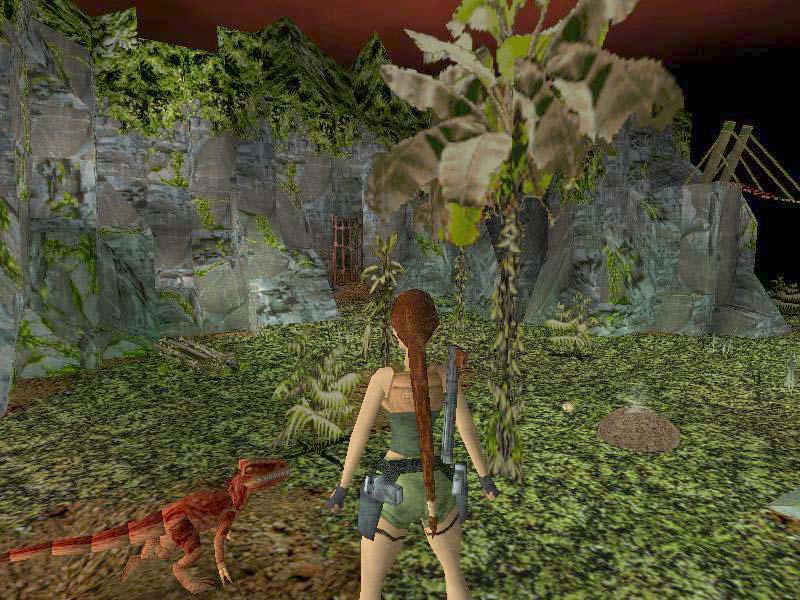
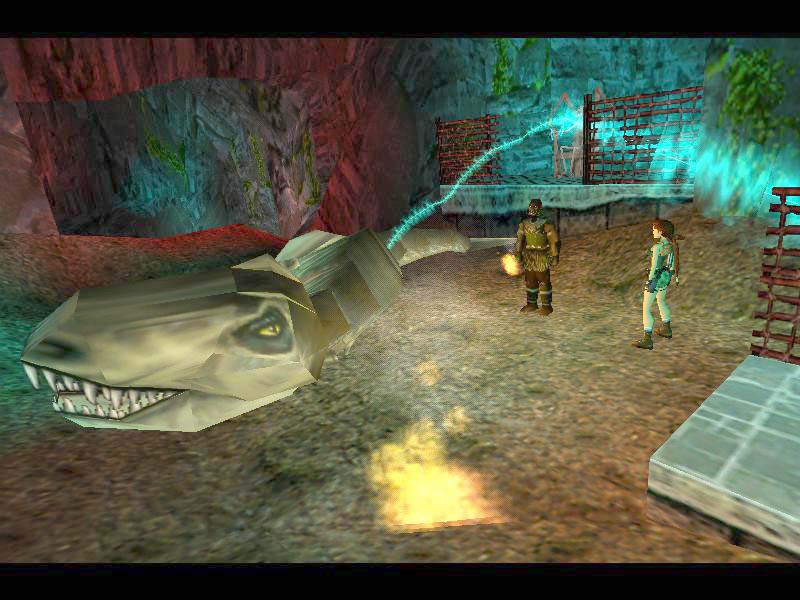
The flyby shows the caves you may have visited when you were here last time, in Jungle Ruins II and a Native is following her very footsteps, slaying a Raptor while hes at it. He lights a signal fire and summons Lara back to the Jungle
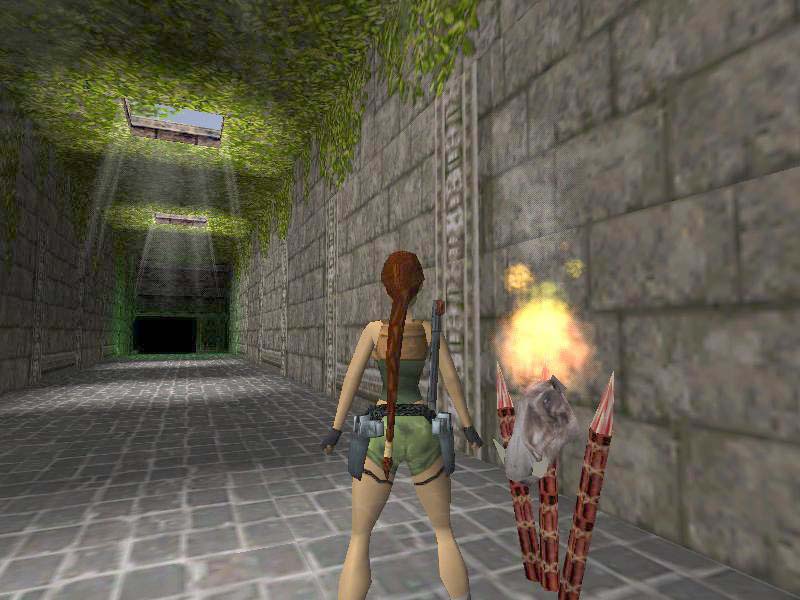
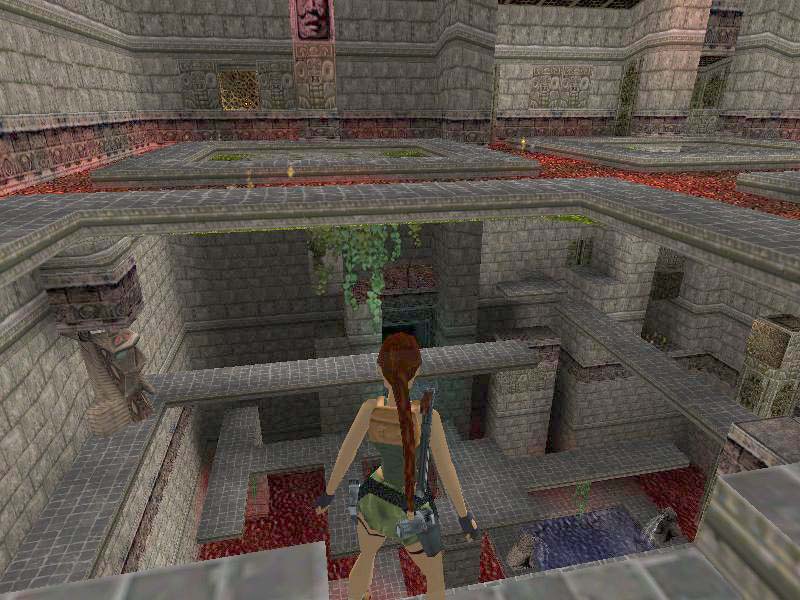
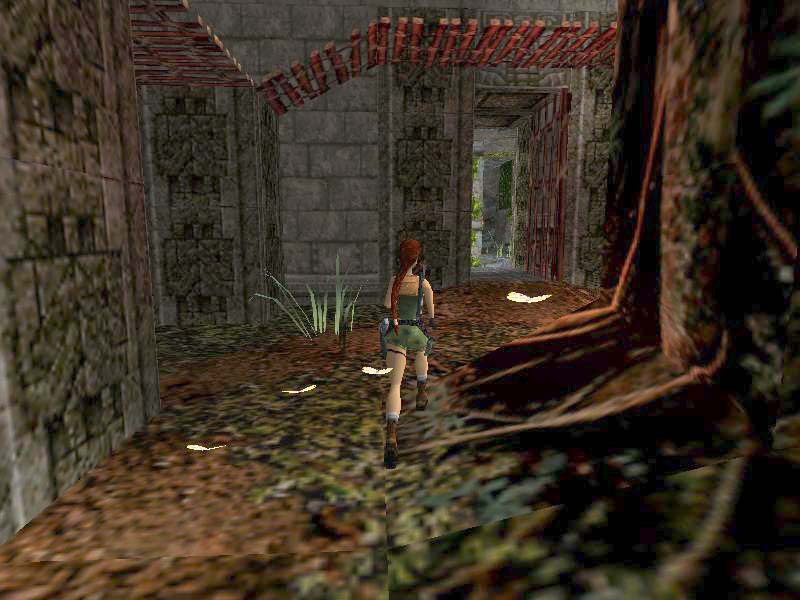
Lara bails out of the chopper and the level starts.
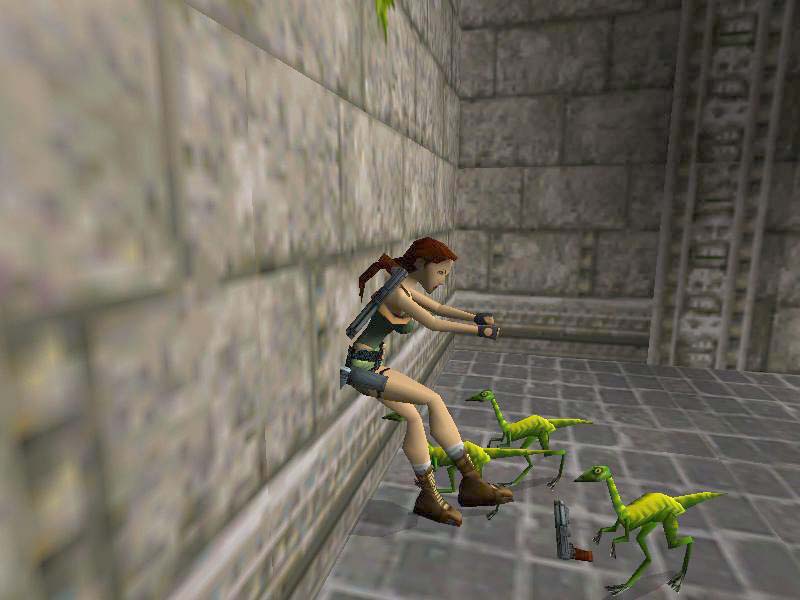
We will not mention all enemies to keep up the surprise element, only relevant ones will be mentioned.
Story:
Lara has been to the Jungles before. But never like this. The crazed natives are delirious with fear, stalked by an unimaginable terror. Hushed whispers round the campfires are of a white female ghost which legends say will come to haunt them. But one of the natives doesn't believe the whispers. He has spoken to the wise old men in the caves and he believes she will come, not to haunt them, but to help them escape the real terror in their midst. One day he hears sounds in the sky and runs through the Jungle Caves to see. At first he is afraid. But when he sees the white female descend from the sky, he decides to show himself to her, to seek her help in saving his village and to offer his help in solving the many intricate mysteries she will encounter. And thus begins one of Lara's most terrifying adventures, a quest that will lead her back to a place she has visited before - a place where she will face the terror and her ultimate challenge.
Level 1 - Return to the Lost Caves.

Mbutu.
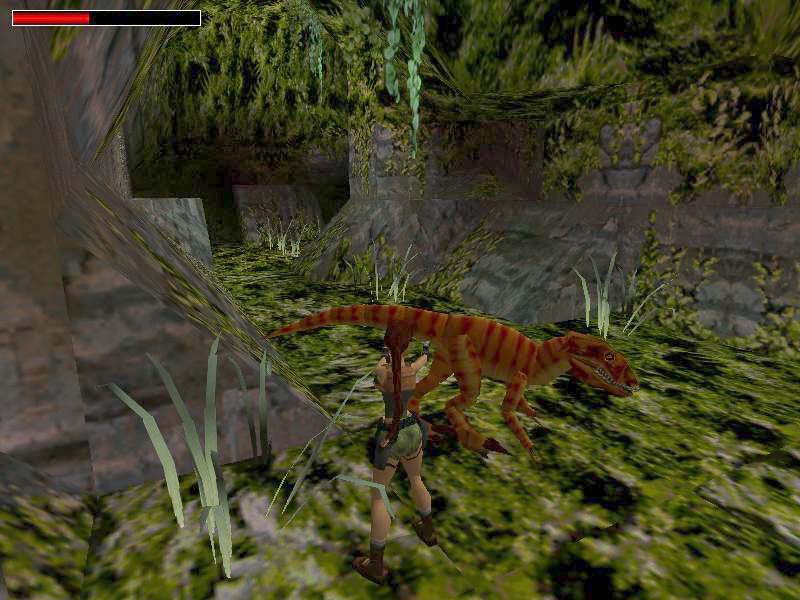
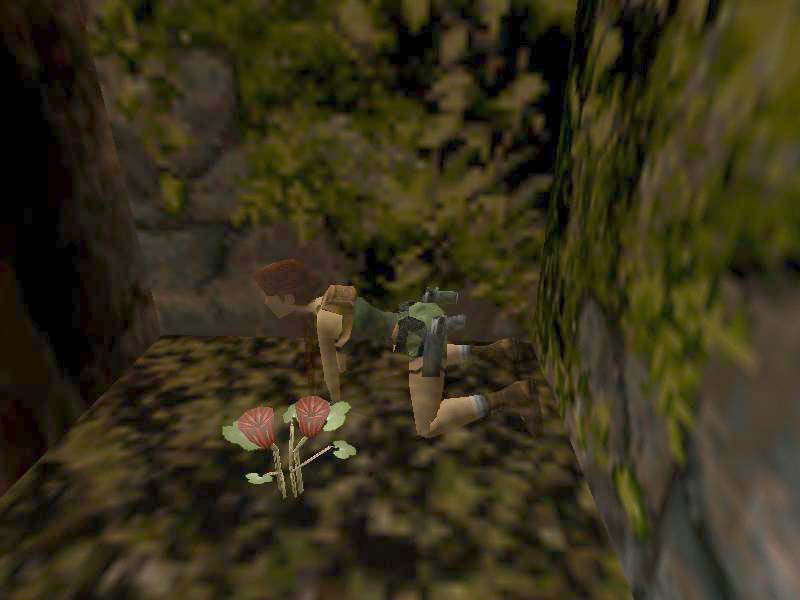
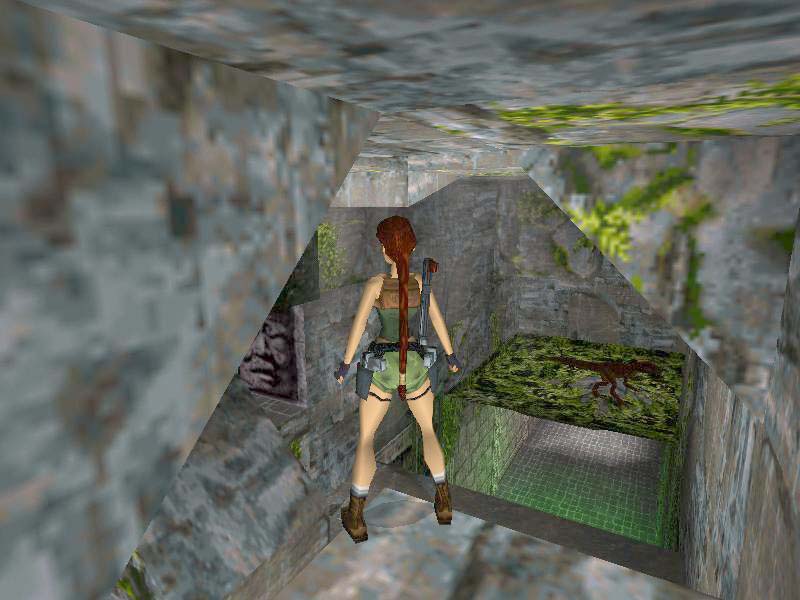
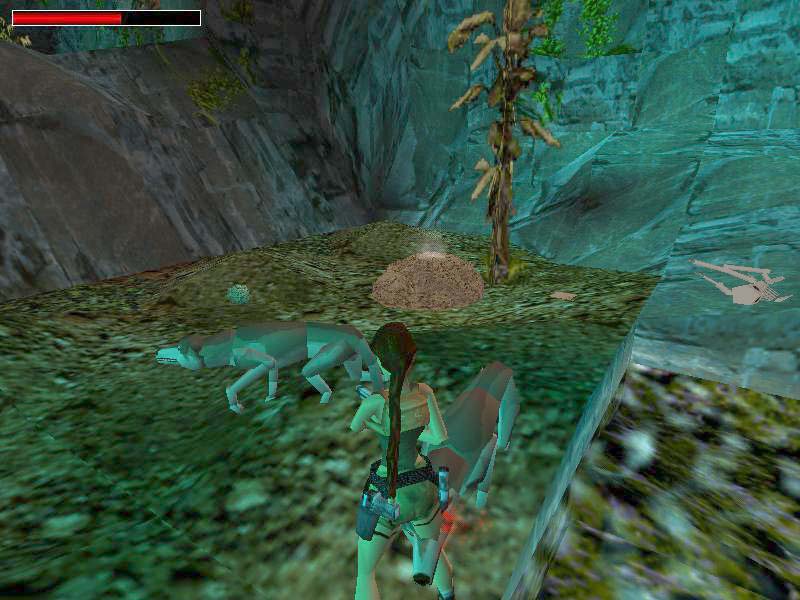
After a flyby you can pick up some Healing Herb (1/2 MP), the friendly Native (Mbutu) will light his Torch and you can just follow him into a cave, he will find the passage he came from blocked, go up to him to have a look too and will lead you to a pushblock W. Push that in for him and follow again through small passage hidden in the vegetation, in that room with the stairs down, he will go around and light all the wall torches to open a door at the bottom of the steps, while hes at it, you can check the NW corner for Flares hidden in the undergrowth, then go down the steps and see the door open up after Mbutu lit all the wall torches. He will then lead you into a large cave with a Raptor attacking, Mbutu stops at a block to the R, hop on and let him take care of that creature. After he lit the torch at the pool, a trapdoor will fall on the N side of the pool.
The Tightrope Cave.
Go up to the slope under that trapdoor and jump to the ledge underneath, face W and backflip to a sloped ledge, jump/grab and pull up on that rock, backflip again to a ledge with an alcove, turn S and do a runjump/grab to the lamp post sticking out of the pillar, hold Ctrl to swing around and then jump to the next that will give you a swing to a ladder on the face of a ledge, grab the ladder and go up, careful theres a hole in the ledge. Before climbing that ladder, you first have to raise a trapdoor in that MS, so jump around the NW corner to the ledge with the tightrope W and walk the rope to the N side, drop from the N side of the ledge and make your way along the W side of the pool to the S and from there a runjump with a bit of a R curve to a sloped block E from that ledge, grab the edge on sliding off and shimmy L to pull up on the rock ledge.
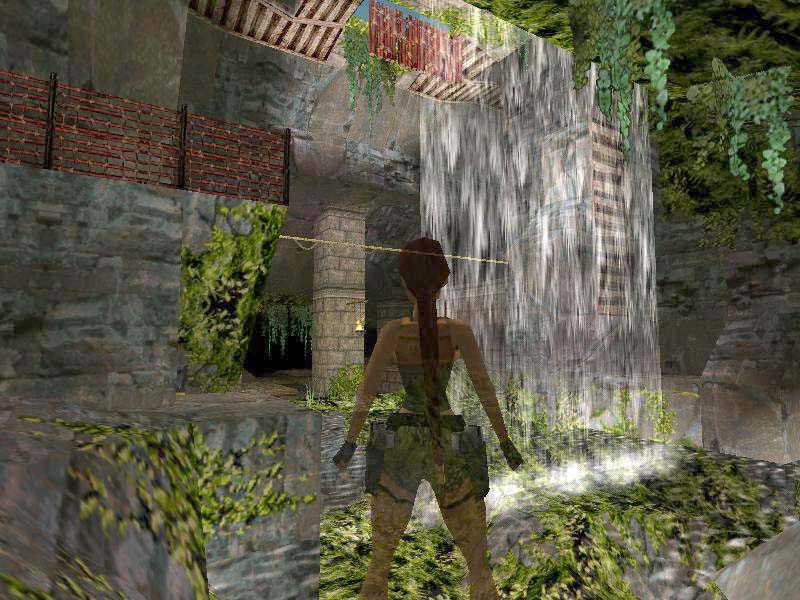
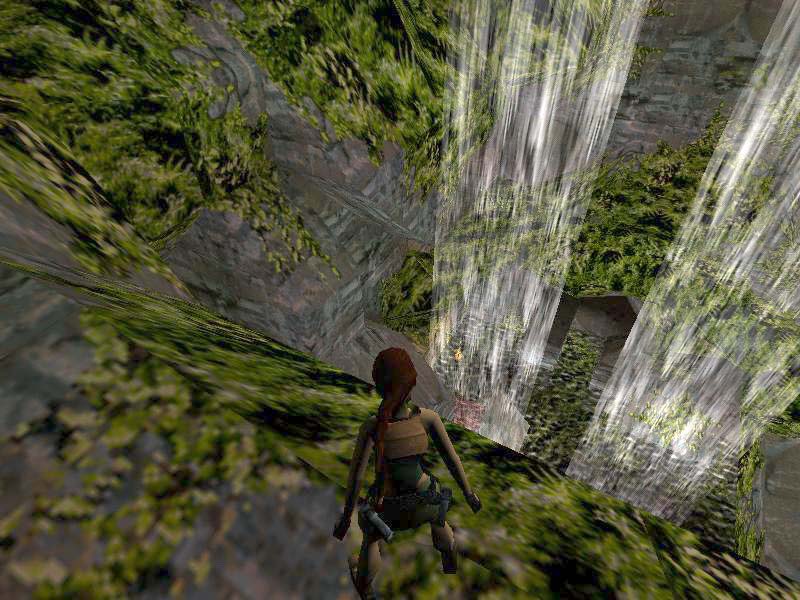
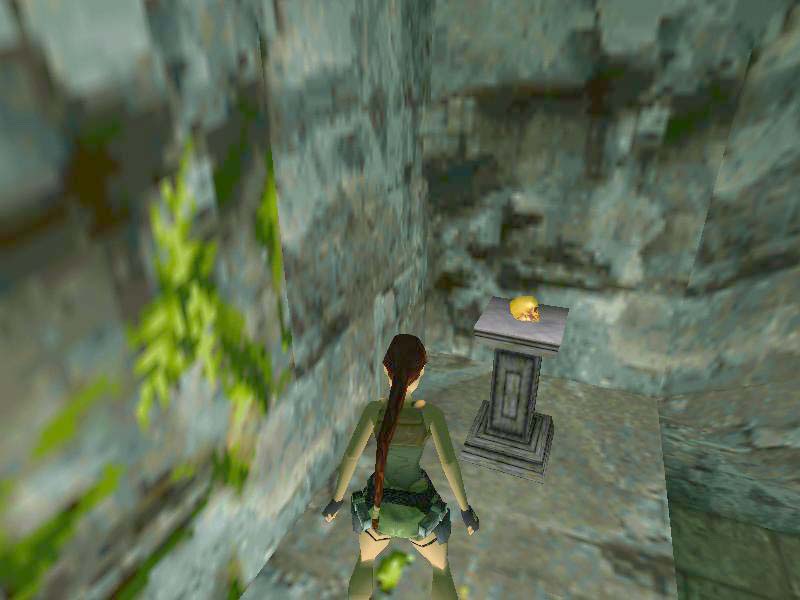
Turn L from pulling up and standjump/grab up to the ladder over the pool, go up to the top and look SW to see a pulley on a ledge, standjump with a R curve and grab to go under the low ceiling, to land on that ledge, use the pulley to raise the trapdoor in the MS. Runjump and grab the ladder again and now go up to the top, turn NW and runjump into that waterfall cave, go to the N side to runjump/grab to a ledge with Secret#1, Ammo, a Healing Herb and the 1st Golden Skull. Go jump back to the S side pillar with the ladder and from there a standjump around the SE corner to land on the ledge with the hole. Climb up the SE block and grab the ladder, go R around the corner and up to a ledge, theres that MS. Follow to the N side and pull the switch there to open the gate where Mbutu is waiting. Go back over the MS to the trapdoor and drop into the pool below, now go out after your friend and come to another cave, a colony of Bats attack (little tip here, save/reload and the problem is solved)
Bridge Canyon.
When you finally catch up with Mbutu, he will be waiting at a wall torch, to the L is a ramp and in the middle of the ramp a block. Jump on the block and Spikeballs will crash down. Go tell your friend he can come now and go to the Bridge Canyon with him, a Bamboo bridge has to be unfolded. Climb the blocks L (S) and from the top one you can see a rope hanging down in the canyon, do a runjump/grab to the swing pole and swing/grab the rope.
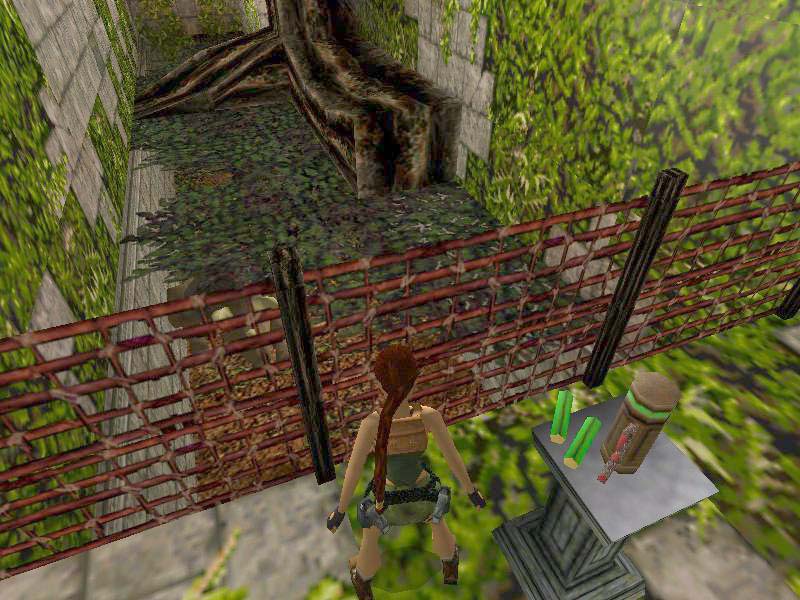
If you like to have the first Secret, you have to swing to that platform up L on the other side, otherwise look in the paragraph below to continue. From the platform you can enter a passage W and that will lead to a room with Spiketraps. Slide down and jump onto the block with a switch on the side (later), standjump to the opposite NE corner and go down a ladder to where Secret#2 is, the 2nd Golden Skull. Climb back to the ledge and runjump onto the switch block. Climb up S and slide back to where you started, get back on the rope.
Go down to the end of the rope and turn around, spot the Jumpswitch on the pillar R of the swingpole. Aim a bit L of the switch and swing to it (at least I had to), activating the switch will retract the Spikes below and a trapdoor closes in a room well go to now.
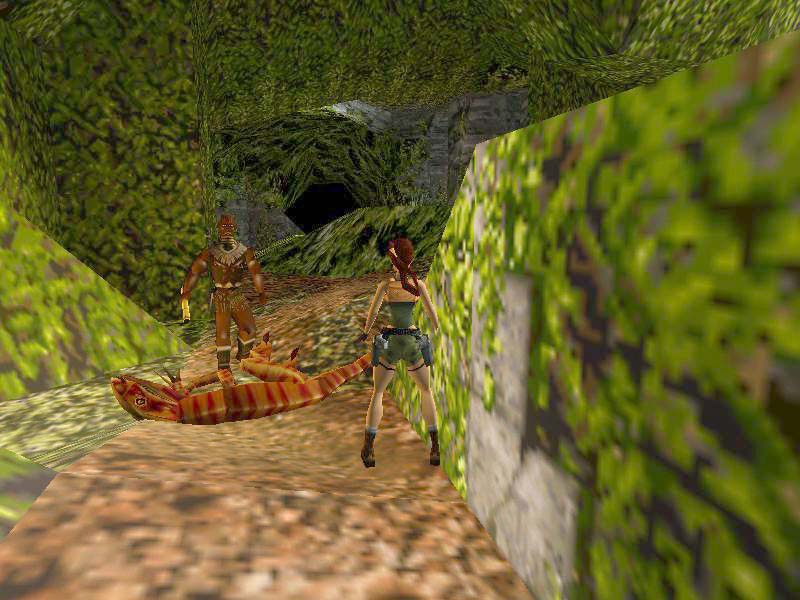
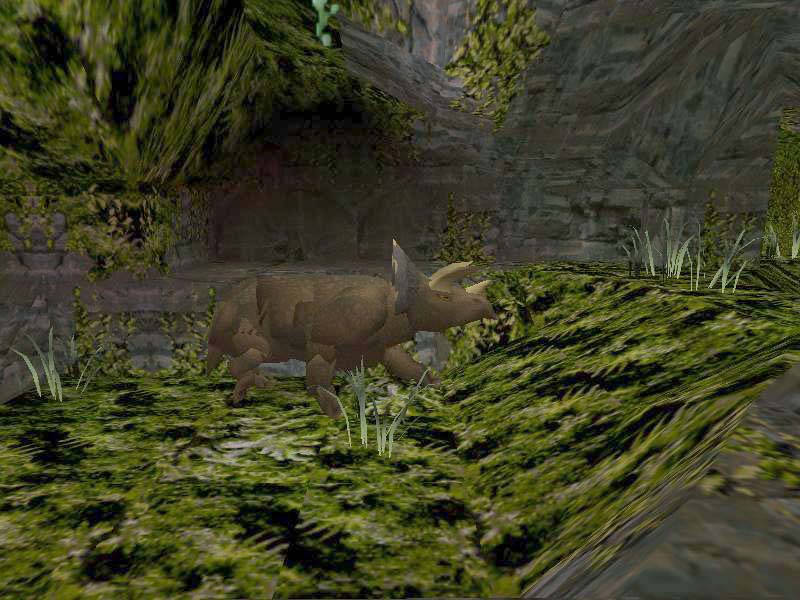
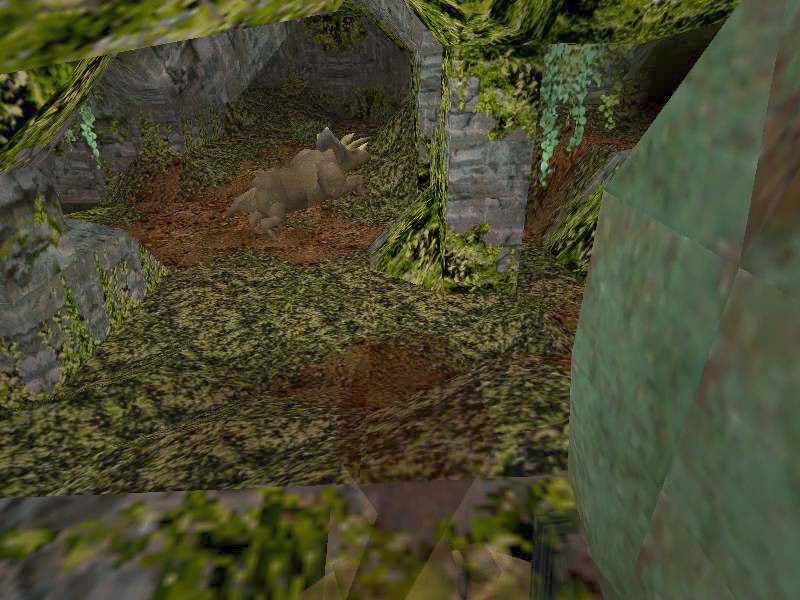
First grab the Flares where you stand and runjump to the NE sloped ledge, keep jumping the slopes and end up at a ladder NE, go up to the N bridge ledge and climb the ladder there, go into the W passage and follow to a slope in the room with the raised trapdoor. Just slide down and use a now accessible switch on a block (the Bridge unfolds) Hop on the block and go into the S passage to slide back to where your friend is waiting, cross the bridge and he will open that stone door for you. Just follow him to the R (L passage leads to a Triceratops pinned in a lower canyon) and follow through the caves to where Mbutu goes into a small room with a Key hole and a closed door of course.
The Cave Key.
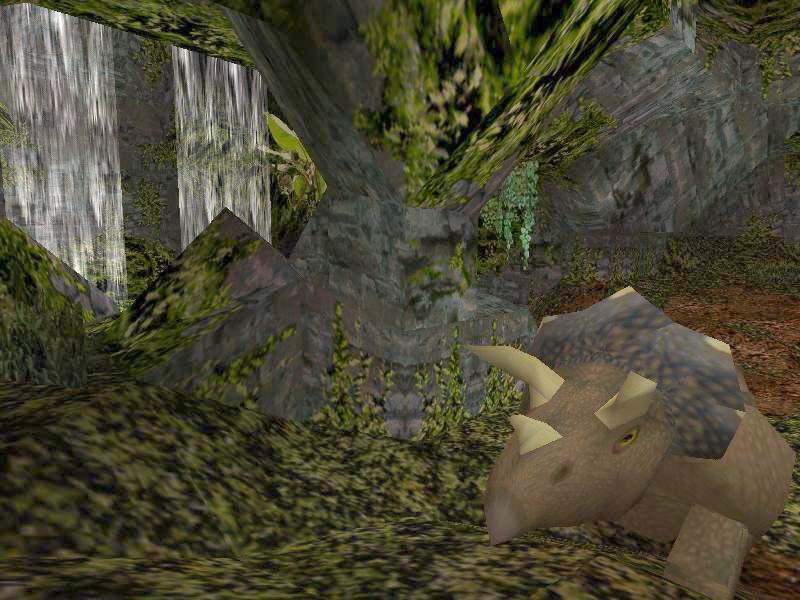
For the Key you have to jump up to a ledge N in the cave outside the small room, pull the ring on the rope and see a door open up, slide down and head S, stay on higher ground and go over that ledge L of the trench to follow to the room W, where that door opened. Go over the branches of the tree to the ladder S and go down to get the Flares and Cave Key there. Looking down you will spot that nice Triceratops roaming around below. Now that you have the Key, you can head back to the small room where Mbutu is waiting, open the door by using the Key in the lock and follow him into the Huge Cave. A flyby kicks in and your friend will quickly disappear into a far cave.
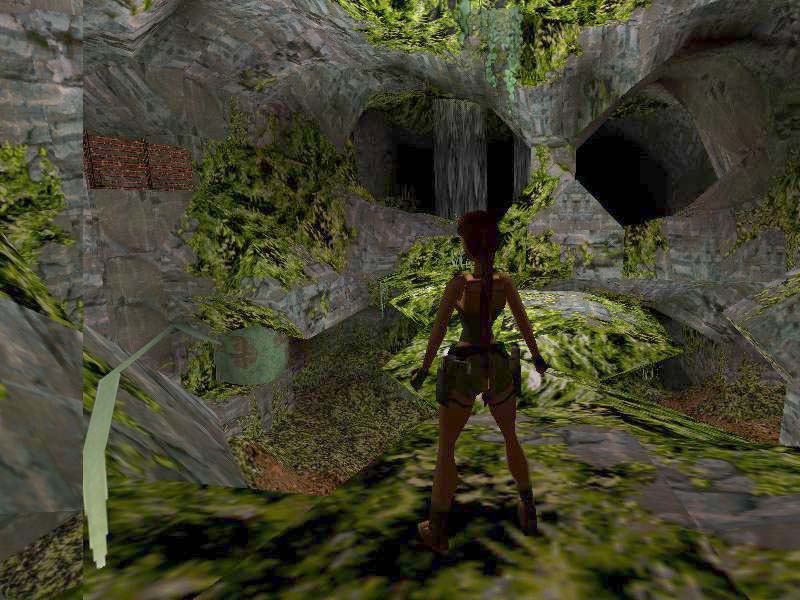
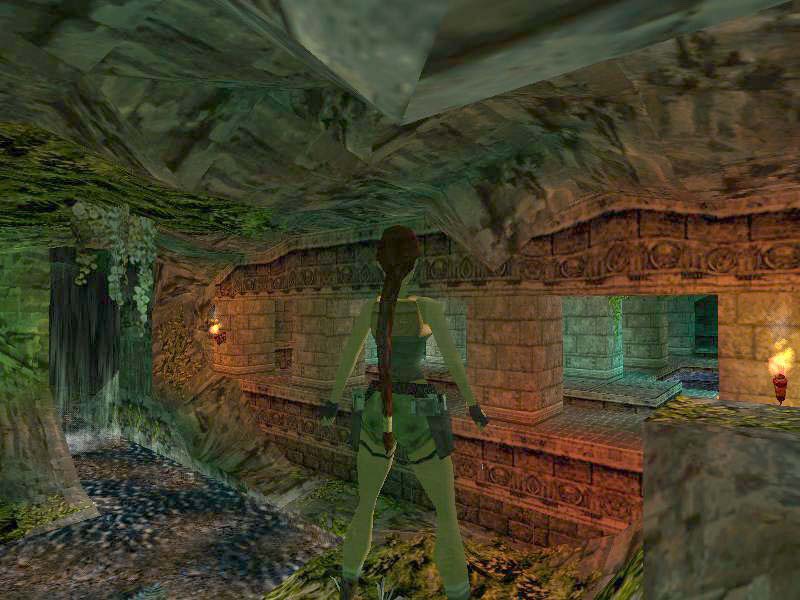
The Huge Cave.
Were you to follow him (route with all the burning torches), youll find him waiting at a closed gate. So well have to open that gate, go onto the rockledge ahead and where it gets wider you can runjump onto a sloped ledge N, just slide off backwards and land on a block under the rockledge, turn around and find a keyhole. Go down from the block and head W to a even deeper part of the cave, go down a ladder and slide to a lower W ledge. Look L of that ledge and spot the small triangular ledge below, remember that you can climb out there! Now dive into the pool and swim N underneath the wall torch into another cave and wait for the Snakes to appear, they are quite deadly, so dont linger and swim back fast, luring them to that triangular ledge, climb it and shoot the Snakes.
Then
jump onto a ledge on S wall, look W and spot a swingpole with a Jumpswitch
on the W wall 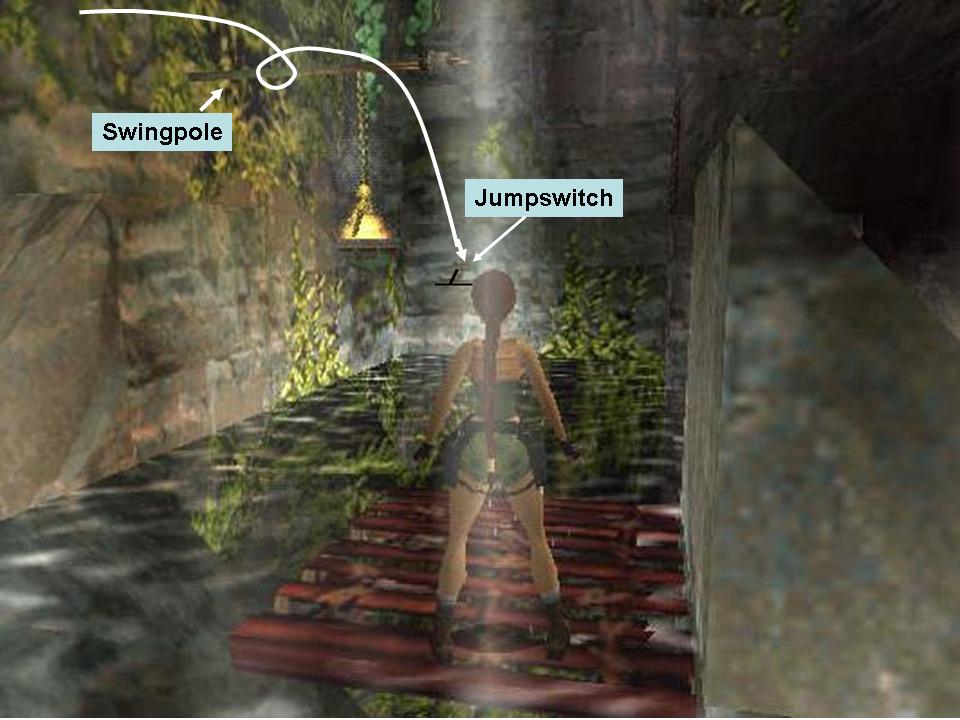 do a runjump with a L curve around the lower ceiling and swing from the pole
with a L curve so you will grab that switch (1st for the trapdoor).
Now swim back to the N cave and go L where you left off last time, on the
back (W side) of a pillar there is an UW lever, pull that and the trapdoor
will rise. Swim back and climb the trapdoor, now you can runjump/grab to a
block W (with the bamboo fence) and turn R, runjump to the N under the higher
part of the ceiling and go out R to where you can runjump/grab the rope, swing
once to the 2nd rope and then swing to a dark ledge E to get the
Flares there. Runjump/grab back to the rope and turn R to do a swing
to that ledge with the wall torch N.
do a runjump with a L curve around the lower ceiling and swing from the pole
with a L curve so you will grab that switch (1st for the trapdoor).
Now swim back to the N cave and go L where you left off last time, on the
back (W side) of a pillar there is an UW lever, pull that and the trapdoor
will rise. Swim back and climb the trapdoor, now you can runjump/grab to a
block W (with the bamboo fence) and turn R, runjump to the N under the higher
part of the ceiling and go out R to where you can runjump/grab the rope, swing
once to the 2nd rope and then swing to a dark ledge E to get the
Flares there. Runjump/grab back to the rope and turn R to do a swing
to that ledge with the wall torch N.
North Cave.
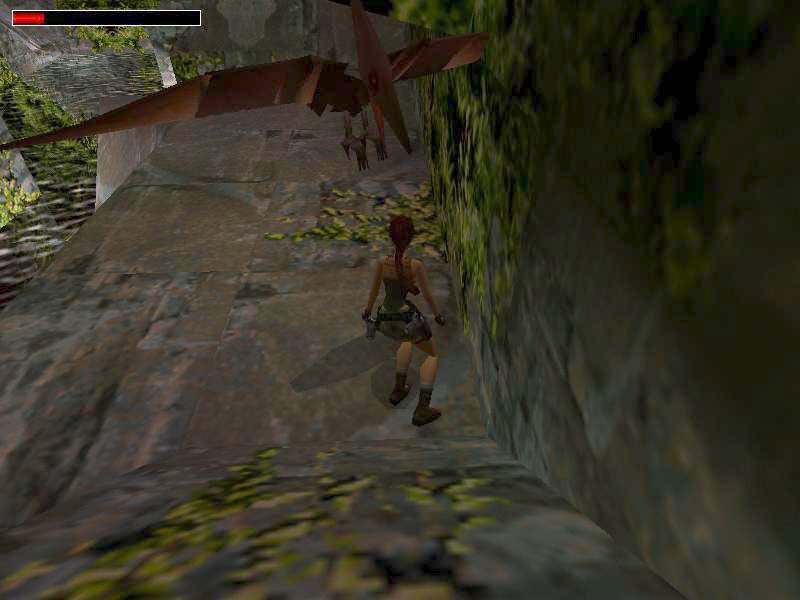
Look for a pillar with a crack on the R hand side, runjump/grab to that crack and shimmy L around corners to end up over a ledge; drop and go runjump to a N ledge. Get into a corner as a Pterodactyl will attack. Look up S and already spot that pulley you have to get to. Now continue to the W and turn L to jump/grab to the slanted top of the pillar with the UW lever. Hang L and pull up over the top. Slide and jump to the ledge S, go follow R and around the W back to a ladder N, from the ladder along the W wall again to end up on a ledge S that is close to some ladders on the same wall. just run off the S side and grab the ladder, go climb L till you are on the ledge leading to the pulley, when you use it, the gate where Mbutu was waiting will open up.
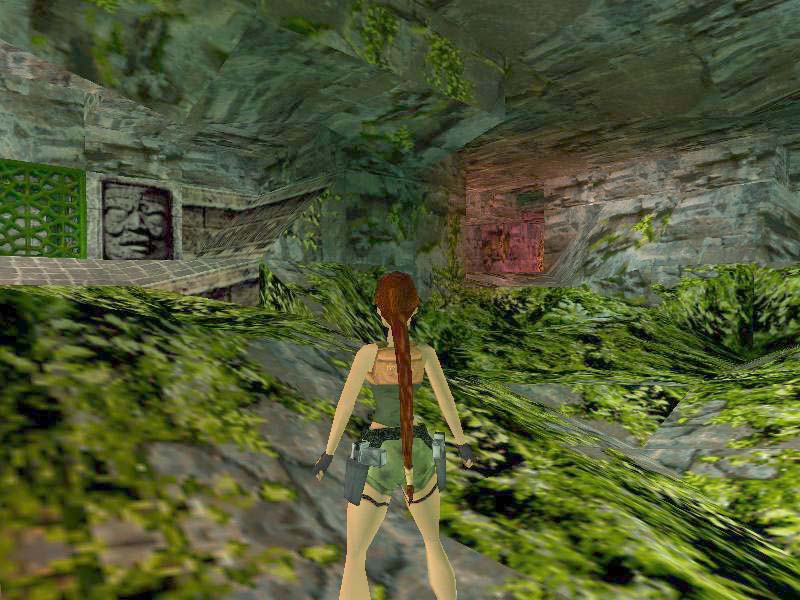
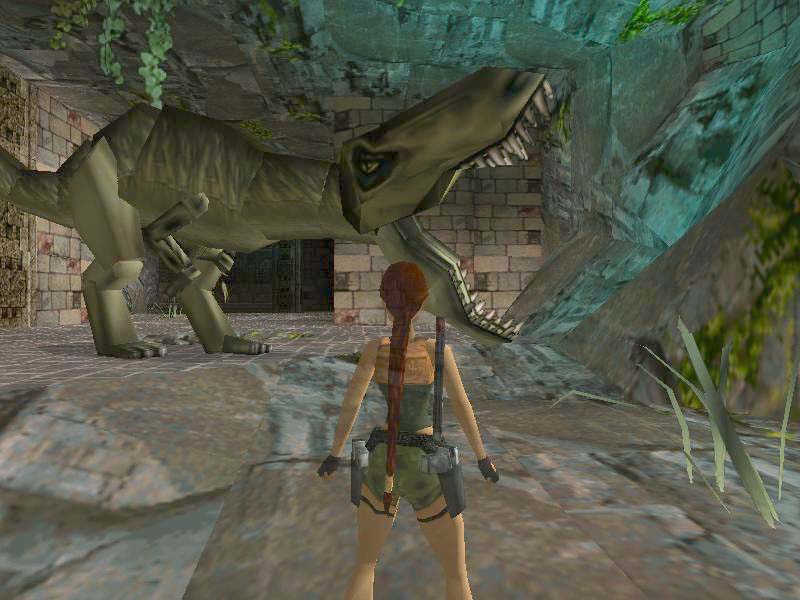
Dive into the water below and swim back to that triangular ledge, jump up to that ladder going up E and go over the rockledge to the E, turn T when you come at that pillar with the keyhole and head to a Boulder on a S ledge. Climb up the block L and jump/grab a rock ledge W, shimmy R around the corner and do a backflip or just shimmy till you are back on the rockledge. Go L and then head N into the cave Mbutu went in before, and just before you go around a L corner in that N cave, look NE and spot a Healing Herb up on a dark ledge, runjump there over the smallest gap to get it, jump back to the path and continue following the burning wall torches and go into dark tunnels, go through the open gate and at some point a flyby will show your friend cant wait again and will rush ahead. Just follow the tunnels (one more flyby, this of a T-Rex with her cute little friends) and come to a crossing where you see a green cave ahead, going L here will get you into the same cave Mbutu disappeared into.
Level 2 - Caves of Water.
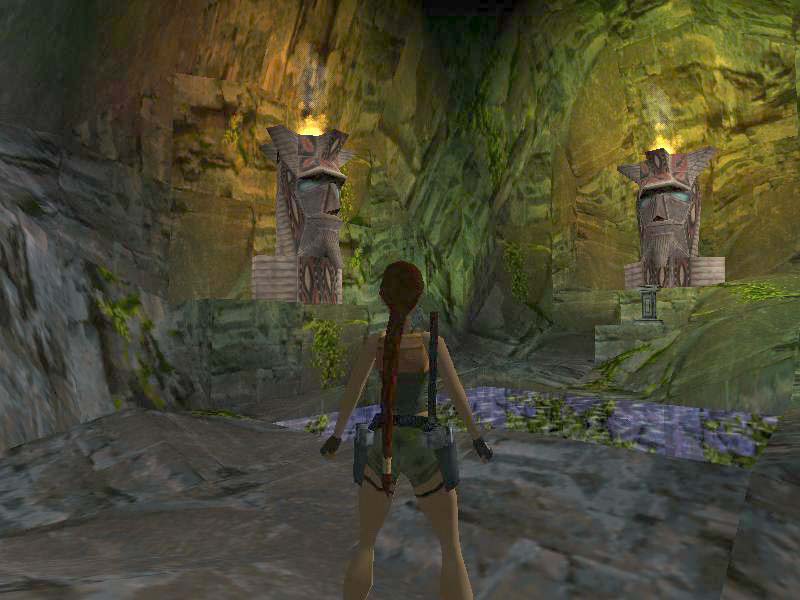
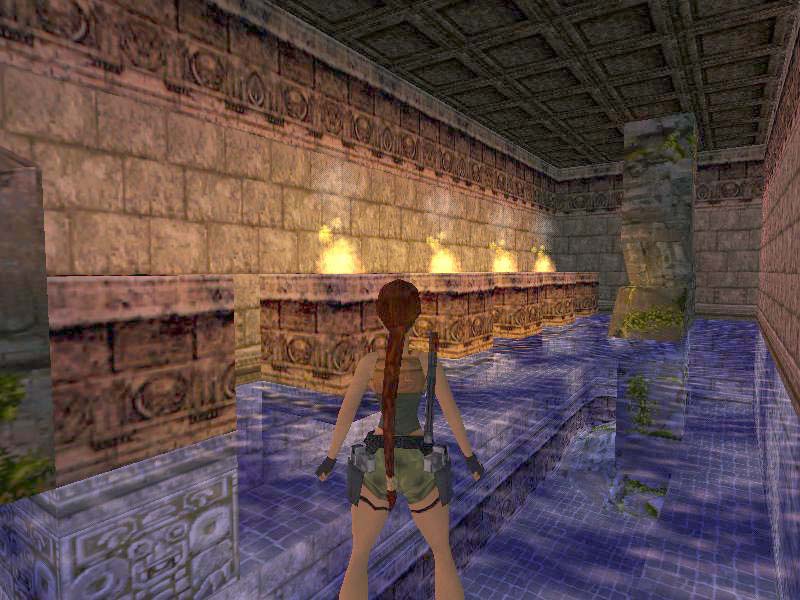
The gates will drop shut as you come into the Caves of the Masks.
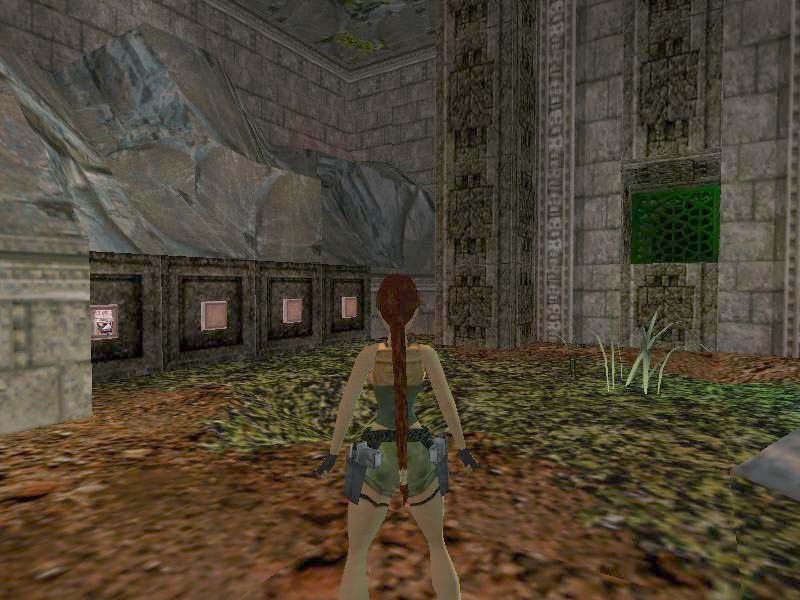
Caves of the Masks.
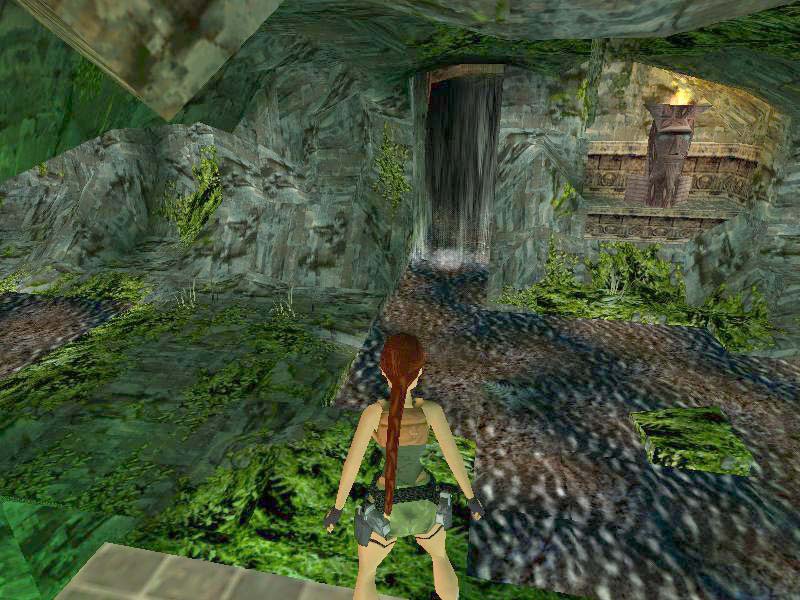
Turn R in the Entrance cave and follow the path N to another cave with a waterfall N, go down there to pass under the waterfall and follow the river to where it drops down a gulley, go down into the pool below and swim R around the corner, in that SW corner is an open trapdoor in the bottom. Swim down and immediately to the L into a small alcove, where youll find Secret#3, Ammo. The current is strong, so swim back fast and go back up through the trapdoor, you can climb out NE go over the rock ledge to the SE and slide down into the lower cave. On the E wall are 4 receptacles for Masks and theres a closed gate S, up in the SE corner is a Healing Herb and you can reach that by going L of the receptacles and jump up to the flat ledge, climb up S and jump up to the SE to a ledge next to the pillar. Now a few jumps over ledges and get the Healing Herb. Slide down and head N, then L to the W end of the canyon and find a switch in the SW corner, the switch will open a gate somewhere near a pool on the way to the find one of the Masks.
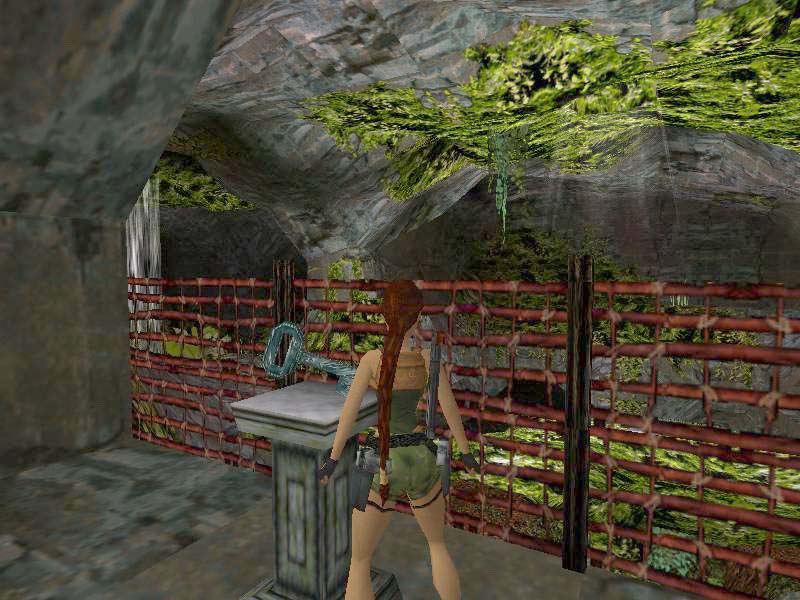
1st Wooden Mask.
Go E and to the L youll find a rock formation and over that rocks is a MS. Go to a brick ledge on the SE corner of the rocks and from that ledge you can jump to the rocks and get to that MS, go over to the higher rocks at the waterfall and go over to the bright S side and into the passage SW, climb the ladder and youre back at the top of the waterfall. Go into the building W and there are some pools. Just go through one of them and youll get a cut scene of 2 Natives waiting for you. Down the W steps you go and have it out with those guys, after the battle you can find some Ammo in a niche and in the one next to it is a switch that will open the N gates. Go in and follow to a reddish cave, in the R hand corner youll find the 1st Wooden Mask on a pedestal and in the NW corner a Healing Plant (MP). Return back to the hall with the pools and before you leave, notice the Skull on the N side of the entrance and also a gate up in the N wall of the Waterfall cave.
2nd Wooden Mask.
Go down to the water and head back S through the waterfall and turn R (W) to another pool, in the NW corner is an opening in the wall, leading into Statue hall, jump up there and be careful not to go too far in because theres a nasty Spike-trap. Runjump/grab straight over the Spike-trap to the opposite opening where you opened that gate before. Go straight over the rock bridge over the pool to the opening W and enter with care
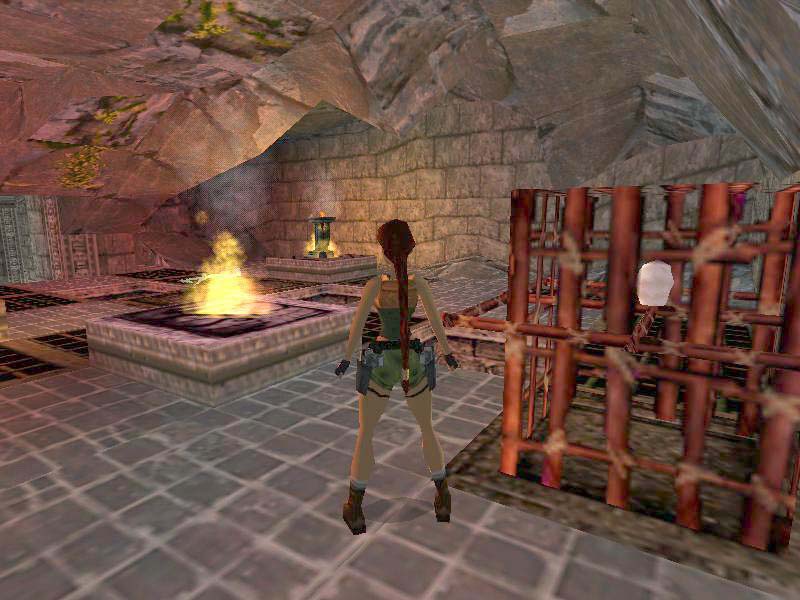
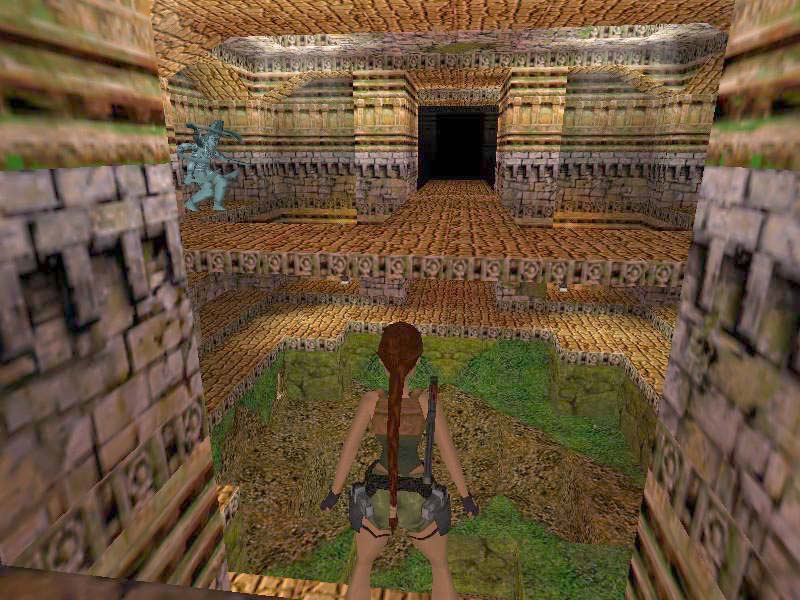
Spike-traps and Burners.
Turn L and hop onto the higher floor, all those grated Tiles are Spike-traps and also in the pits are Spikes, so carefully go past a Skull on a burning pedestal to a Bamboo cage with a Skull in the back and pull it S once, then push it to the dark Trigger Tile and the first set of Spikes will be de-activated, watch carefully which ones are down and push the cage to the next Tile, go on like this till you had all those Trigger Tiles and than you will see the one burning ledge has extinguished, its another Trigger Tile, so watch out for still live Spike-traps and step on that Tile to open a Bamboo hatch up in the NE corner. Climb up and the hatch will close. Go over to get the 2nd Wooden Mask from the pedestal in the E side of the room. A gate opens up in the Entrance cave. Now go stand on the N side of the ledge with the pedestal and hop backwards, to grab the edge of the ledge, look for the Jump switch there, drop/grab to activate it and land in one of the pools below, climb out W and go back into the room with the Spike-traps, that pedestal with the Skull is now safe, go get Secret#4, the 3rd Golden Skull. Go out of the room, over the rock bridge and go back E, jump/grab over the Spike-trap in Statue hall.
3rd Wooden Mask.
Go back to the E cave with the waterfall and climb on a ledge in the NE corner (close to that statue) and jump over the ledges along the E wall and up onto the ledge N with a L curved jump. In the Entrance cave is that gate youve opened (W), go in and come to a path along a pool (dont fall off or you have to go around again) and go to Mbutu whos waiting in the SW corner, follow him into the next rooms and find some Ammo SW while he opens the next gate for you. Go in after him and through a small gate to a cave, he will wait there for now, go into the cave with the 3rd Mask and climb a ledge W to go S and do a runjump SE to land on the ledge with the 3rd Wooden Mask, in the E side of the room is a Monkey head lock, but no Key, climb the ledge R of the lock and follow with a jump to a passage NE, follow that passage to the obvious Monkey Key ;o). Go back and put the Banana in the Monkey lock to open an UW gate in the place we have to visit for the 4th Mask.
4th Wooden Mask.
Dive into the pool and go swim through the tunnel E and just around the L corner is that open UW gate on your R, swim in and follow to where you go up to a small cave, jump the ledges to get onto the NE corner ledge and grab up N to the cave above, again go up N and go up to a reddish opening with a waterfall. Go get the 4th Wooden Mask there and the Shotgun too finally . In the other end of the cave the water drops down into a lower lake, drop down too and climb out E, find yourself in a cave with a Statue and a closed gate, go out E and R into a greenish cave, find a Jumpswitch on a pillar E and use that to open the gate to a Secret room. Go back into that last cave with the Statue and find that room N, inside is Secret#5, Flares, a Healing Plant and some Ammo. Go out and in the SW corner of the cave are more Flares to find.
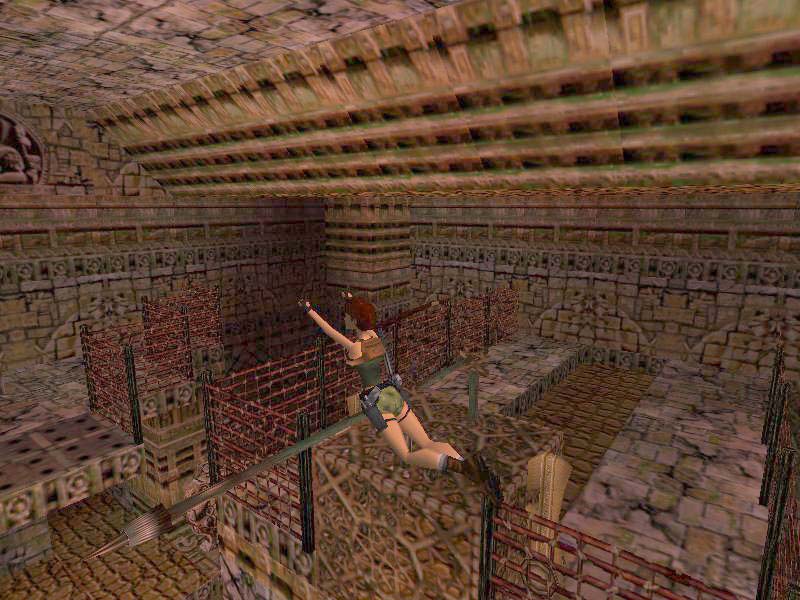
The Floodgate.
Now
youre finished here, go out E and L to follow back to the Entrance cave,
go down to the Waterfall cave N and underneath the waterfall to drop down
into the pool down E, climb up E and go over the rocks to the SE corner to
slide back to the receptacles for the Wooden Masks. That gate S will open
up, so climb in and come into a large Hall. Go all the way to the S end and
find Pillars with Burners on top. One of the pillars (S one) has a ladder
on the side, climb up to the top. But dont pull up yet, release Ctrl for
a bit so Lara will hang and shimmy into the L corner, pull up there and turn
L to see the Burner on the other pillar is off 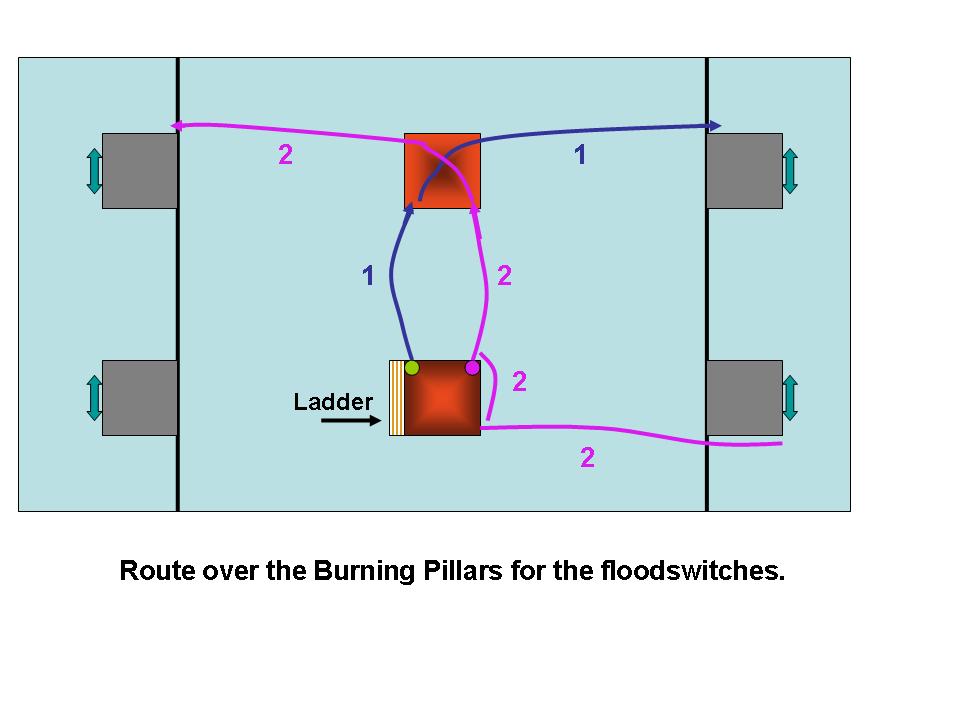 . Standjump/grab to the L side of the N pillar and pull up fast, do a R curved
run over the pillar and jump to the E ledge, grab the edge and go up to pull
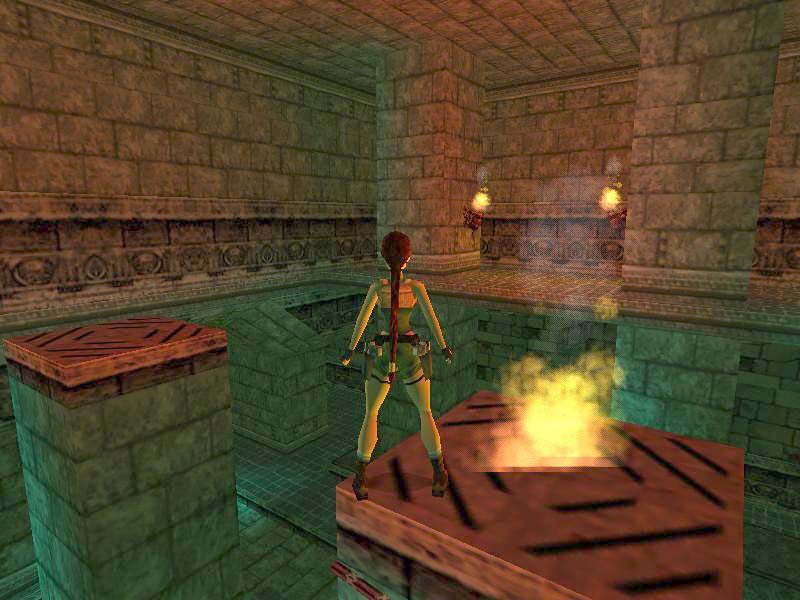
2 switches on the back of the pillars (screenshots of that trapdoor
where you got the Secret before).
. Standjump/grab to the L side of the N pillar and pull up fast, do a R curved
run over the pillar and jump to the E ledge, grab the edge and go up to pull
2 switches on the back of the pillars (screenshots of that trapdoor
where you got the Secret before).
Now you have to do the same for the W ledge, so runjump/grab back to the S pillar and stand on the R hand (NE) corner, standjump/grab to the R side of the N pillar and pull up fast, do a L curved run over the pillar and jump to the W ledge, grab the edge and go up to pull 2 switches on the back of the pillars and the trapdoor will close. The flow of the water is blocked and the whole lower Cave system will be flooded.
The Skull Key.
Dive in the water and swim E, go L around that N pillar and see a block on the bottom of the hall, just past the block you can swim up in a hole in the ceiling, climb out and get Secret#6, the 4th Golden Skull. Dive back in the water and go N out to the Receptacle Cave, you cant go back by the waterfall route, so swim to the NE corner and go up in a cave, follow the S tunnels back to a cave with the Skull Key on a pedestal, get it and go to the N exit, follow the tunnels to the greenish cave at the entrance gate to the Entrance Cave (to the R) and it will re-open for you. Go N again and down to the Waterfall cave, go through the waterfall to the N cave with the building and climb up on the N side of the entrance ledge, put the Key in place (in the Skull) and the gate in the N wall of the cave opens up. Getting there requires some jumping of ledges, starting in the SE corner of the cave and work your way around to the open gate. Follow the tunnels and caves to where the level changes.
Level 3 Temple of the Snake Stone.
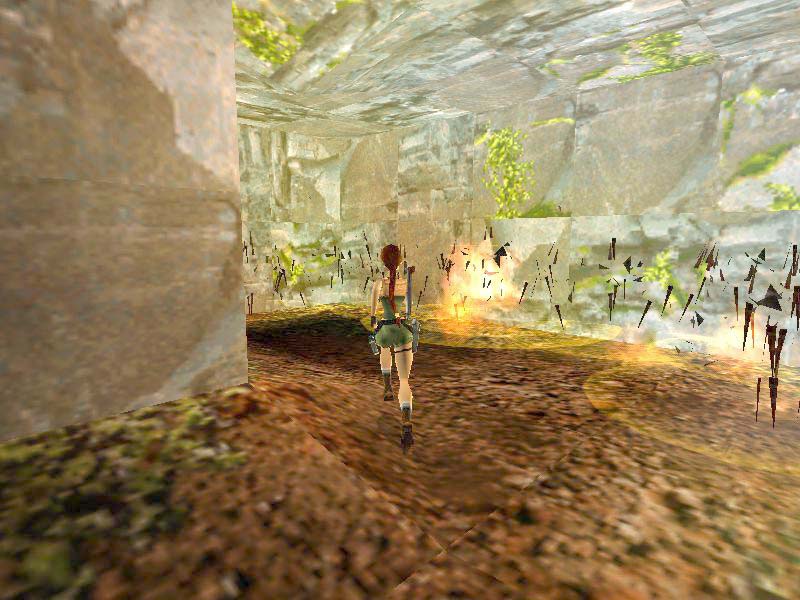
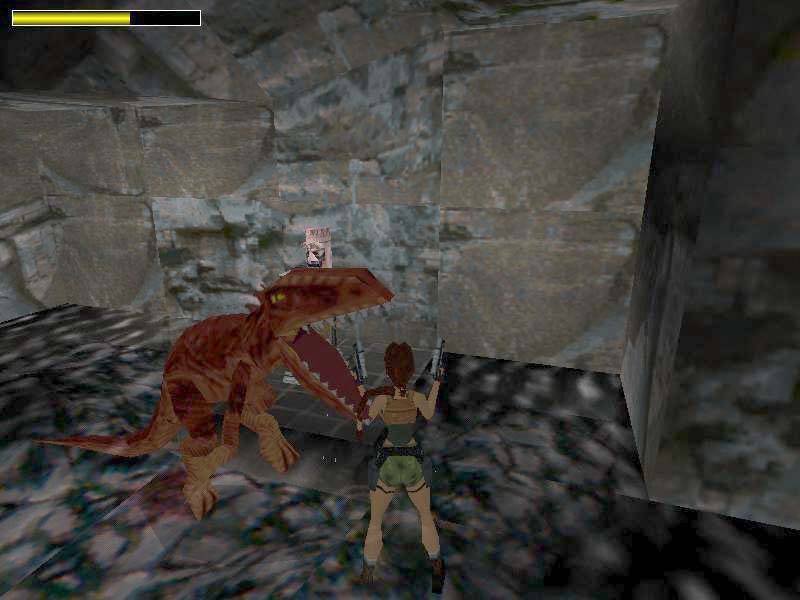
Follow the tunnels to a pickup of Flares and a Healing Herb and continue to come to a cave where a whole row of Boar heads on stakes explode, giving you a clue as to what lies ahead. Next comes a slide down into a lower area, but turn around before you do that to grab the edge and do a safety drop to a pillar below, climb down and head N into a Wide Cave. Go R and into the far SE corner, a cut scene will show a tunnel somewhere, get the Healing Herbs to the E of the Skellie and then the Skull Key S of the Skellie and a swarm of Beetles will show up, just run like the wind and over to the far NW corner. Hop onto the corner ledge, turn R and from there jump into that tunnel you saw in the cut scene. Follow up to a Skull lock and use the Key there quickly, a hatch opens up to the L, go grab up N fast and come up to a Burning Boars head.
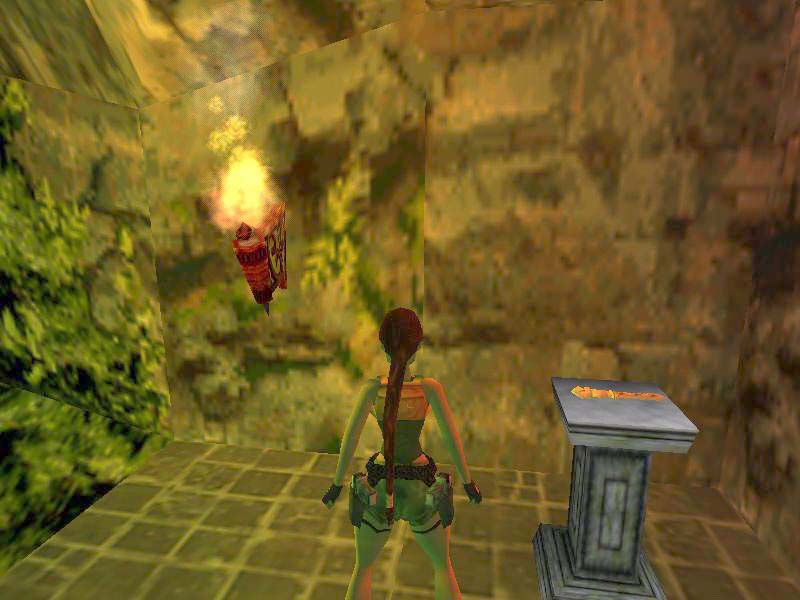
The Torch.
Go L into the wide passage there, follow to a room with another Boars head S and on a N ledge is another one and that one has to be shot so you can take the Stake thats left behind and then head into a lower tunnel S, crawl and drop into a gap, climb out on the other side and go up a ledge N, shoot the Boars head there and claim the Boars Head. Head into a passage SW and find a Torch on a pedestal, get it and return to the CS E. Stand in front of the hole at the CS and hit the space bar so Lara will throw the Torch in the CS, climb in after it and throw it out in front of you (hit the Spacebar) to get it back through the CS and to that Burning Boars head in the wide passage E. Light the Torch there and head back again, in the room with the CS tunnel you can now light that Boars head on the S side ledge and hear a door open up, that one is upstairs and well go there now. Leave the Torch here and head back through the CS to where you found the Torch, head into the N passage and come to a pit, runjump to a ledge to the R and place the combined Stake and Boars head between the 2 Stakes there and a block will rise to the R.
Climb up to a passage above and follow out to the top of the wide passage. Here youll see the open gate N, but also some Ammo on a ledge in the corner L of it, stand on the most E side of the ledge facing N and run off while holding grab to land on that ledge, pick up the Ammo and runjump around the sloped block to the E ledge. Theres a Raptor roaming around E and you can already soften him up by shooting him as many times as possible from out here, then climb into the open gate N and throw the switch to open the gate where the Raptor is patrolling, and also the water starts flowing to the lower level so that level will be partly flooded. Drop down to the lower level and swim through the familiar CS to the Torch room, go wade N and in the now flooded pit at the Boars head stand is an UW lever on the NE corner block, pull that to open a gate in the room where the Raptor is (or was) roaming around.
The 1st Dino Eye.
Swim to an opening NW and climb into a room with something on the stove. Approach that fire and it will extinguish, go get the Dino Eye (a gate opens in the Wide Cave) and go back out to the pool, climb up in the block to get up to the top of the wide passage where that raptor is.
Now you have to runjump to the Raptor ledge and take him out. Enter the area behind the S gate and swim L around the corner to find an UW lever that will raise a block under the open SE gate. Climb up and get in there to take Secret#7, the 5th Golden Skull. Go back to where the Raptor was and drop from the edge of the waterfall, go to the Burning boars hear E and the trapdoor will open up on approach, go down and luckily the Beetles are gone, notice that Dino head E (probably needs a Dino Key) and head down the tunnel to the Wide Cave, cross over to the SE corner and climb the block to the open gate.
Dino Caves.
Follow to a place that looks like the spot you saw in an earlier cut scene, where that Mommy T-Rex was running around with her little babies. Go L (S) and at the S wall turn L and find a pillar with some Healing Herb growing on it. Go down from the pillar, look W and spot an open door with a still closed gate behind it and then head W, follow till you hear big footsteps and roll, sprint back W and all the way to the W cave where that gate behind the open door should also be open now. Inside youll find the 2nd Dino Eye on the stove, get that and wait for Mommy T-Rex to step aside (seems you cant kill her), so you can sprint back E and a bit L in the 2nd room to go out to the exit. In the Wide Cave you have to return to that N tunnel you came from before.
If
you want, heres a detour for a Secret, otherwise skip this paragraph: Going
N from the T-Rex gate youll pass a pillar on your R hand, go around the pillar
and standjump to a ledge, turn R and aim for a sidejump L to the very corner
of a triangular ledge over the top of the rock, go up to the highest point
of that ledge and standjump onto the pillar with a L curve, landing on the
lowest corner 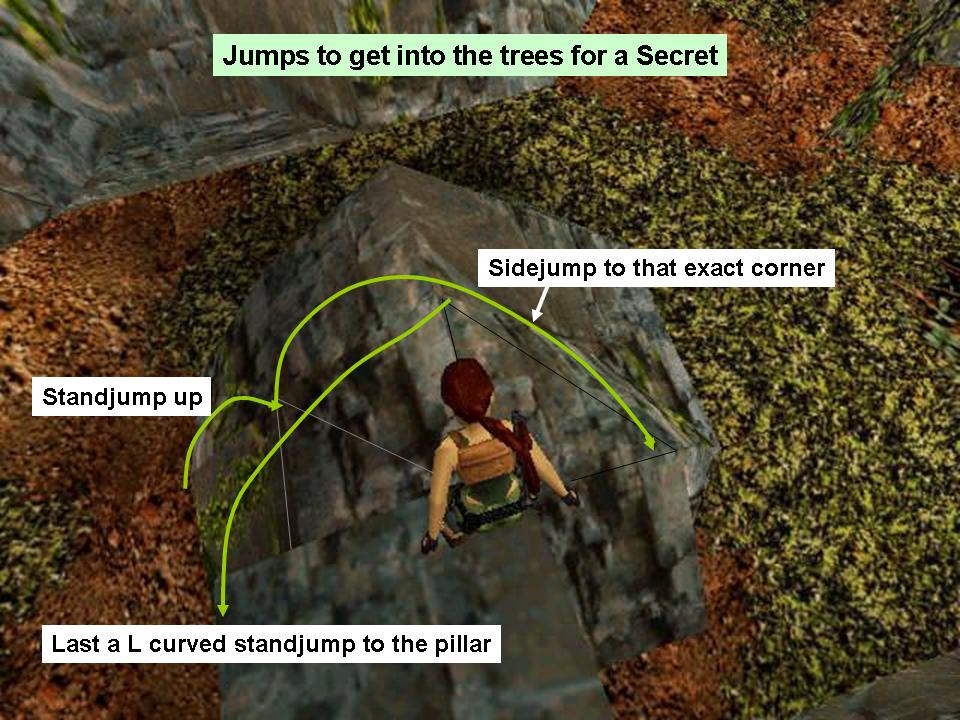 . Grab up to
a branch from facing S and standing on the highest point of the rock pillar,
go over the branches around the S side, the E side and then N with a nasty
jump here:
. Grab up to
a branch from facing S and standing on the highest point of the rock pillar,
go over the branches around the S side, the E side and then N with a nasty
jump here: 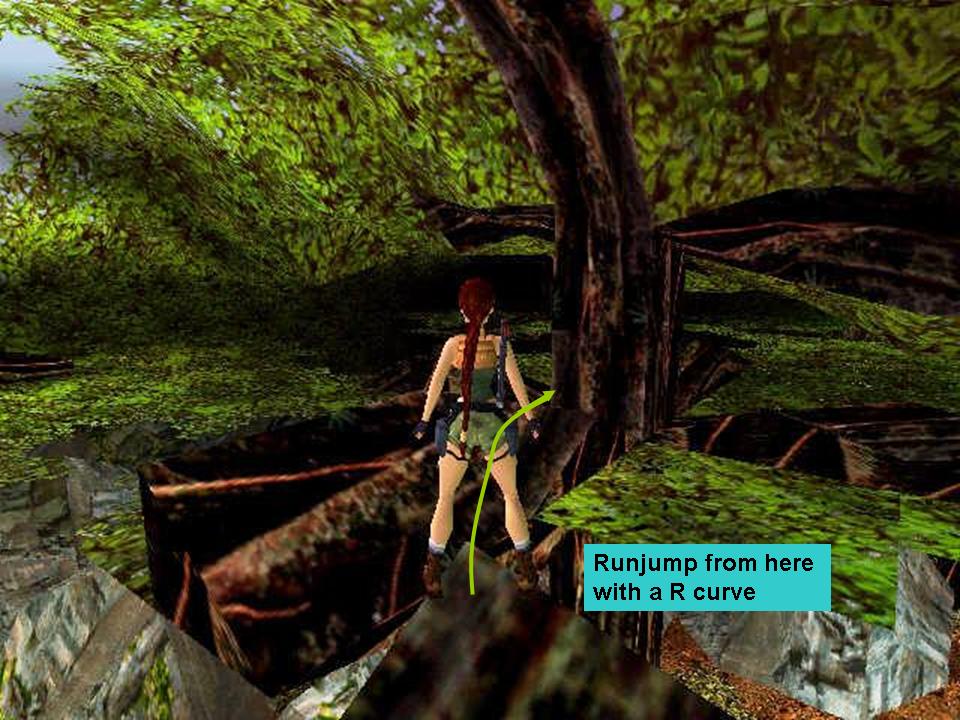 to the far NW corner to get Secret#8,
the 6th Golden Skull on a branch sticking out to the S there.
Safety drop from the W side of the branch to a rock below and go to the NW
Tunnel again.
to the far NW corner to get Secret#8,
the 6th Golden Skull on a branch sticking out to the S there.
Safety drop from the W side of the branch to a rock below and go to the NW
Tunnel again.
Go up the tunnel to that Dino head in the cage, combine the 2 Dino Eyes (yes, they can be combined) and put them in the head, those big heavy doors below N slowly open up (great FX)
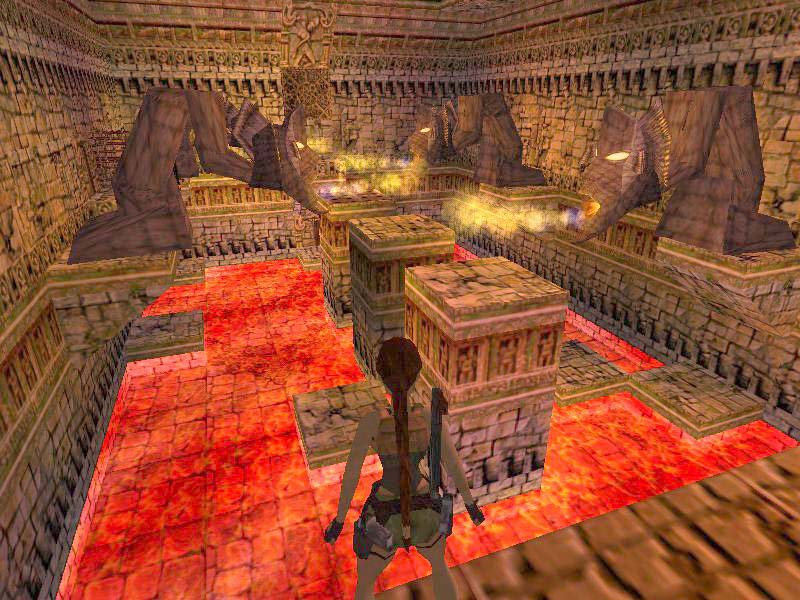
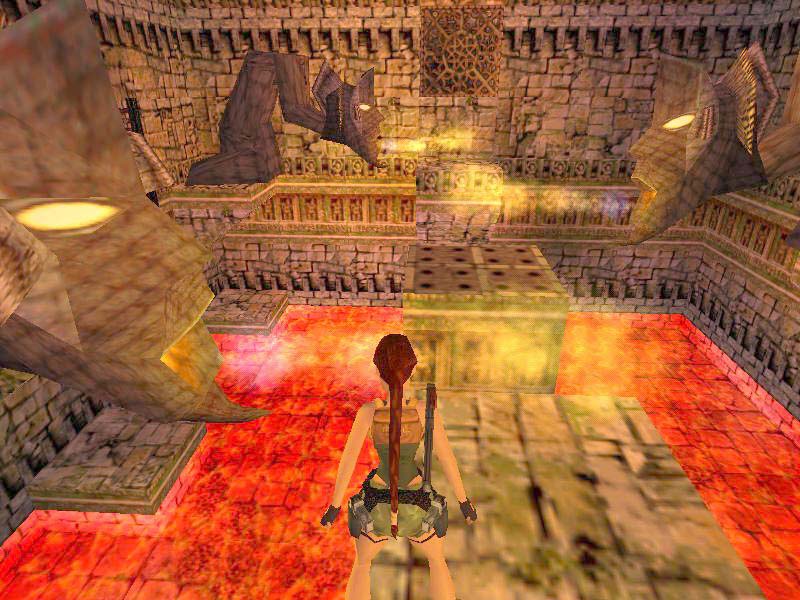
Lava, Ledges and Levers.
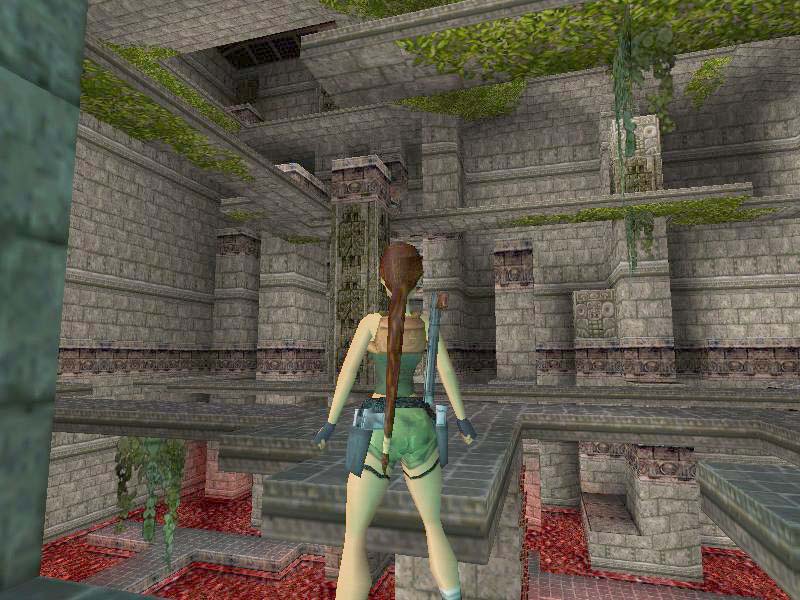
Go down the slope and enter the new rooms, Ill give general directions finding your way over those ledges is up to you. On a single pillar on N wall is a ledge and from that ledge you can see a grassy alcove behind a raising block, runjump/grab into that grassy alcove and drop down to a ledge below. Hop back and grab the edge of the ledge. shimmy L along a crack till you can drop onto some safe Tiles at the end of the crack, go into the passage L and follow to a hall with a lever in the L corner. Throw the lever (#1 for the raising block) and in the back of this place is a room well get to later after raising the water level, opposite the lever is a Dino Eyes receptacle.
For now you can return to the Big room and shimmy back along the crack, from the ledge a jump to the ledges in the Lava and head over to a pillar E of a small pool. The E side of it has a ladder, go up to the 1st floor again, and go L, find the block ledges L of the entrance and climb up, the last one a standjump/grab to a ledge with a Bamboo fence. Throw the lever (#2) there to raise that block and safety drop down to the lower block ledge, jump to the ledges and hear over to that raised block near the grassy alcove N. Jump onto the block and then jump/grab to one N and L of it, climb up R and turn around to jump to a pillar there, then over to the ledges, on a wider pillar near the NW Statue is Secret#9, a Healing Plant to be found.
Timed run for the 1st Dino Eye.
Go over the ledges to the switch on S wall, that switch will raise some platforms on pillars and from those you can get into the opening SW (to the R of where you stand), but the platforms are Timed. So save in front of the switch, pill then roll, sidejump L and run to jump to the next ledge, curve L and jump/grab to the platform, landing on the R hand side and pull up quickly, run with a L curve over the pillar and jump/grab to the second pillar. Pull up and hopefully jump up to the ledge before the platform drops. Walk slowly onto a corner of the burner Tile and the fire goes out, get the 1st Dino Eye.
Now you can runjump out to the R, so youll land in the pool on ground level (didnt find another route so ) and go up the pillar e of the pool again, onto the raising block N and to the upper ledges. If you dont want the Secret, skip the next paragraph.
Timed run for a Secret:
Go over to the Timed switch if you want the next Secret and do the first part of the Timed run again, but now when you pull up on the second platform, run forward while holding grab and on the moment the platform goes down you should land over a Burner ledge on a ledge beyond that to claim Secret#10, another Shotgun to the R and a Healing Plant to the L. From the safe ledge behind the Burners a diagonal runjump over the Burner and land on a ledge below N. Go over to the raising block N to make your way up to the upper ledges again.
The 2nd Dino Eye.
Head S to the Timed lever ledge again and look down E, run of the ledge holding grab to land near the Burner ledge, walk slowly onto a corner and get the 2nd Dino Eye, then jump down into that most convenient pool below. Make your way over to that ledge with the crack NE and shimmy to the room where you can use the Dino Eyes on the Dino Head, the water level in the pool of the N room rises, go S and dive in, climb out NE to get some Ammo from behind the pillar there, then dive in again and swim into a tunnel W and turn around once inside the room at the end, climb up on the R hand side of the ledge with the lever and throw it to raise another block in the Big Room.
To the Top.
Go back to the ground floor of the Big Room and to the ladder-pillar E of the pool to go to the raising block NE, up to the block N (and L) and now see the opening R is blocked by that new raising block, jump/grab to the pillar W and runjump/grab to the raising block E, climb up to the top of the room on N side and go all the way over to the SW corner where youll find another Timed switch that will open the first of 4 Timed gates up there.
4
Timed Runs.
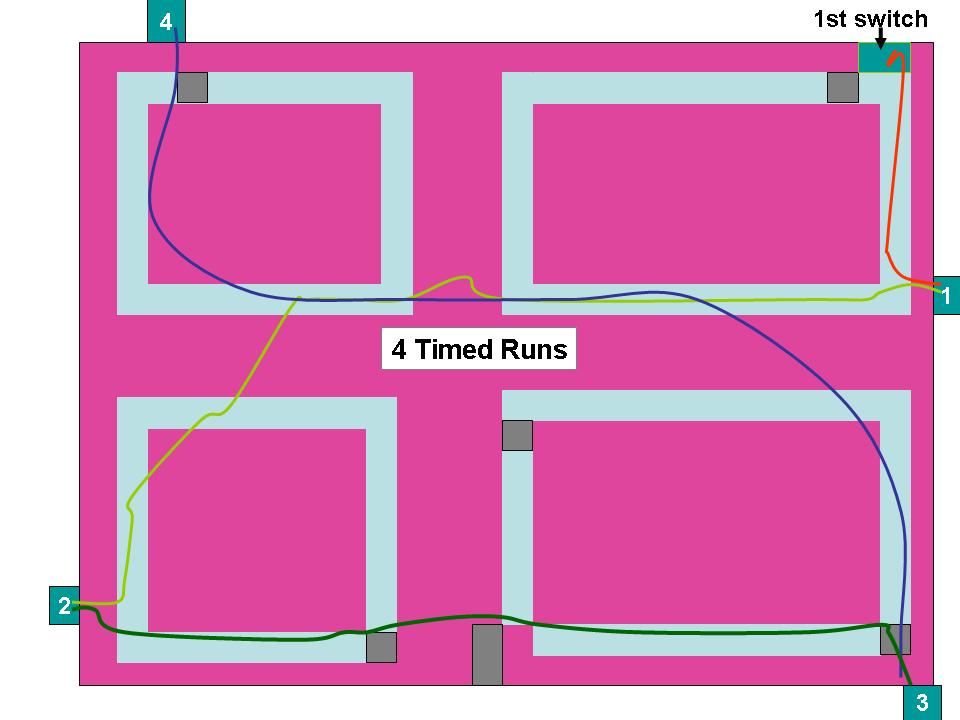
1: Gate W- Save in front of the switch and pull, backflip with a roll and run back N to do a running jump L up into the first gate L (W wall), get another Shotgun to the L and go to the Timed switch in the W passage.
2: Gate NE- Save in front of the switch and pull, backflip with a roll and sprint to the exit, jump to the ledge going E, sprint where you can and jump over to the E ledges, then a cross over jump to the ledge L, aim straight for the gate and then jump over the corner to cut off a bit, jump up into the open gate where a Raptor is waiting to say hello. Pick the Healing Plant growing in the NW corner and go to the switch in the E passage.
3: Gate up NW - Save in front of the switch and pull, backflip with a roll and sprint to the exit, jump to the ledge with a bit of a R curve and follow the ledges along the N wall with runjumps. Just run close L past the high block there and jump over the lava to the W side ledges, running over the corner and runjump again, the last one onto the L side of the block in front of the open NW gate and curve R to do a running jump/grab to the opening, pull up and go in, but not too far as theres a nasty Pit in that room, no Goodies this time Go to the switch N.
4: Gate SE- Save in front of the switch and pull, backflip with a roll and runjump over the Pit, just run out of the L side of the opening curving L and land on the block. runjump S and the over the corners and ledges to the second one going E. follow that one and cut corners to get to the ledge along E wall, run to the gate and jump in, stop immediately as there are several Burning Tiles inside. Walk over the corner of the first, then jump over the others and one more careful walk will get you in the passage to a deep shaft.
The Snake Stone.
Its a nice drop down into a pool and theres your Snake Stone on a receptacle N, get it and go to the other side of this nice cave to throw the switch. Once again Mbutu will show up and he makes a bow in front of some big doors and theyll open up. The gate R of you also opened up, so go out and follow to the big doors NE in the Wide Cave. Your Guide is waiting so go follow him again through dark tunnels and he will open a small gate. Go into a cave with a lake, looks like Mbutu cant swim as he will stay behind (Hate that, always think I forgot to do something there). Swim across the lake and enter the tunnels there, go either up R or follow the L side to the same place where the level will change .
Level 1 Return to the Lost Caves part 2.

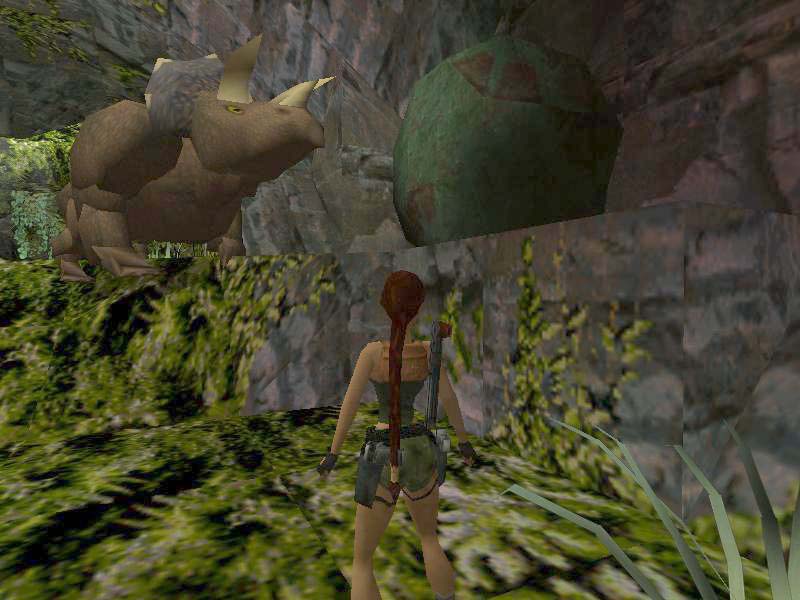
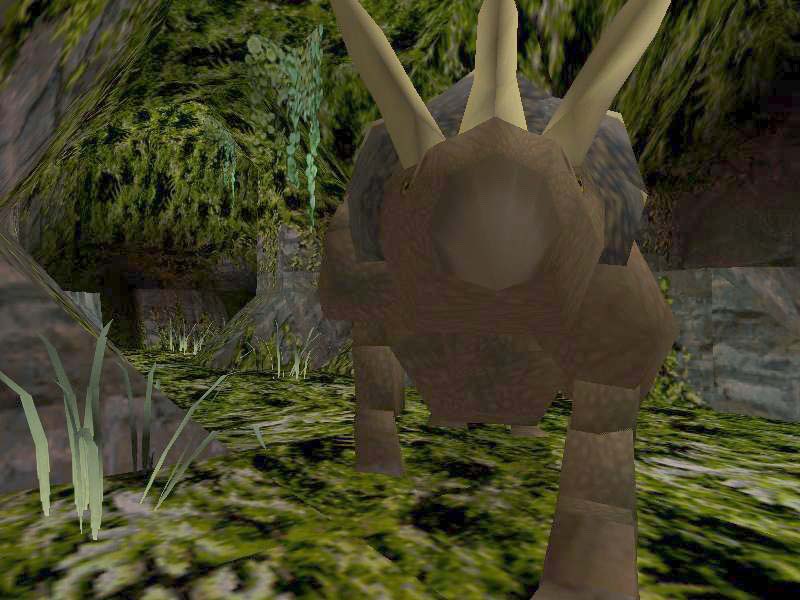


Triceratops and Boulders.
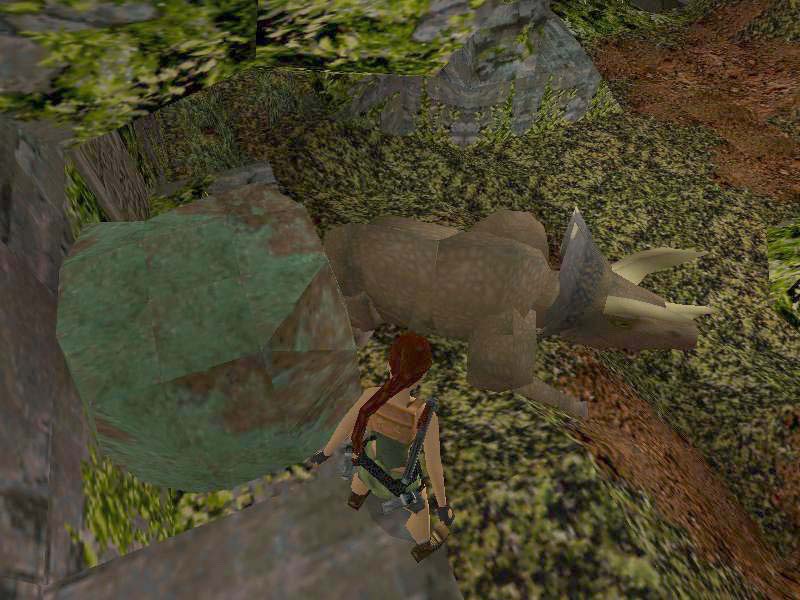
Go on through the tunnels, down a slope to a small door that will open up, go L down the ledges and find a Healing Plant in the corner there, then head W and past a big Boulder (remember that one) on a ledge to the R, go on till you come to a crossing of caves (S is to the 1st level of the Triceratops Pen, N is to a close gate for now) and head straight W into the cave with the ring on the rope. Go L and now head down the trench, follow to a Snake Stone receptacle next to a gate. Place the Stone and the gate opens up . The huge Triceratops will come out and you have to take him/her back up the sloped trench to the Cave with the ring and out to the R, at the crossing straight intro that cave with the Boulder. Now you will have to manoeuvre in such a way, the Beast will have to move that Boulder aside for you, so you can use the switch behind it (to open gates N). It will take a few tries, so be sure to Save when you get close to the Boulder with that Beast on your tail.
Once he moved it, you can quickly use the switch and gates open up in the N passage of the crossing, so get back to the crossing and go R into an area where the gates opened up, to the R on a small mound is a Healing Herb, but take care the Beast CAN also climb the ledges. Now run into the open gate and just to the R in a little incline are Ammo and a Healing Plant, now follow the tunnel down to the Huge Cave (familiar territory), go L to that other Boulder that has to be moved. Best way was to get the Beast on the W side of the Boulder and lure him to it from that side.
Bronze Key.
When the Boulder is aside, you can claim the Bronze Key in front of a closed door and head N from there, behind that pillar under the overhead rock bridge is that block with the lock, remember? Stand on the E side against the block, facing W and backflip/jump/grab up to the lock ledge, use the Key and the door opens where you got the Key before, so go up the ledge at the Boulder and into the passage to come to a shaft with sloped blocks.
Silver Key.
Face the S lower block and jump up, backflip and keep jumping to the R till you land on a flatter ledge behind you, turn around and go up to the Silver Key. Go back down and into the Huge Cave, head W over a rock bridge and find a gate in the SW corner, open it with the Key and enter, just follow the passage
Level 4 Temple of Shiva.


The Masks Section.
Drop down in a hall with a grated floor in the SW corner is a trapdoor (youll pop out of that one later) and head out W to another hall with a set of those Big Doors, climb a block SE and jump/grab to a ledge W, go R and pull the pushblock on that ledge once, drop/hang from the ledge and shimmy R past the block, grab the MS and head over to the N ledge, throw the switch there to open the Big Doors.
The Shiva Temple.
Enter
the 1st Hall and find a dry pool, with a trapdoor and an
UW lever (obviously for later), drop down in the dry pool and grab that grey
1st Shiva Mask. Go up to the NW corner and pick the Healing
Herb, then climb out W and go to the 2nd Hall, to the
R, where the 2nd Shiva Mask can be found, theres
one down those steps too, but you can get that later. Now head into the passage
NW and come to the 3rd Hall, a gate opens up N and a Native
is shooting you from the opening. When he drops he will leave a Key behind
you van collect later, then a Native in a W opening opens fire and he drops
something too, near a switch. Look in the SE corner for a Skellie lying there
and pull it away by the Skull, jump over the remains and get the Shotgun,
now go up the Mound in the NE corner (do a sidejump
from here: and then jump W to the ledge on N wall and that gate drops shut, but on the
ledge in front of it is the Gold Key. Take that down and to the 2nd
Hall, down the steps where you can now collect the 3rd Shiva
Mask and in the back is a gate that can be opened with the Gold Key.
and then jump W to the ledge on N wall and that gate drops shut, but on the
ledge in front of it is the Gold Key. Take that down and to the 2nd
Hall, down the steps where you can now collect the 3rd Shiva
Mask and in the back is a gate that can be opened with the Gold Key.
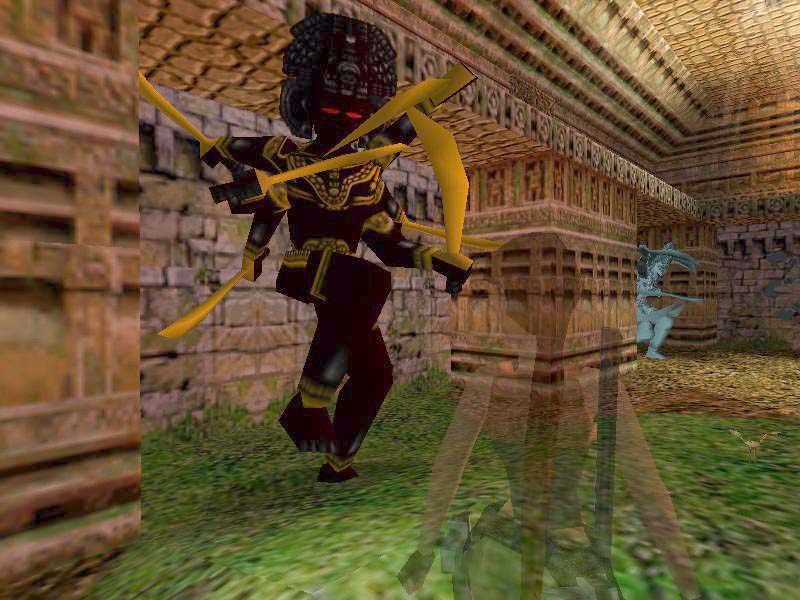
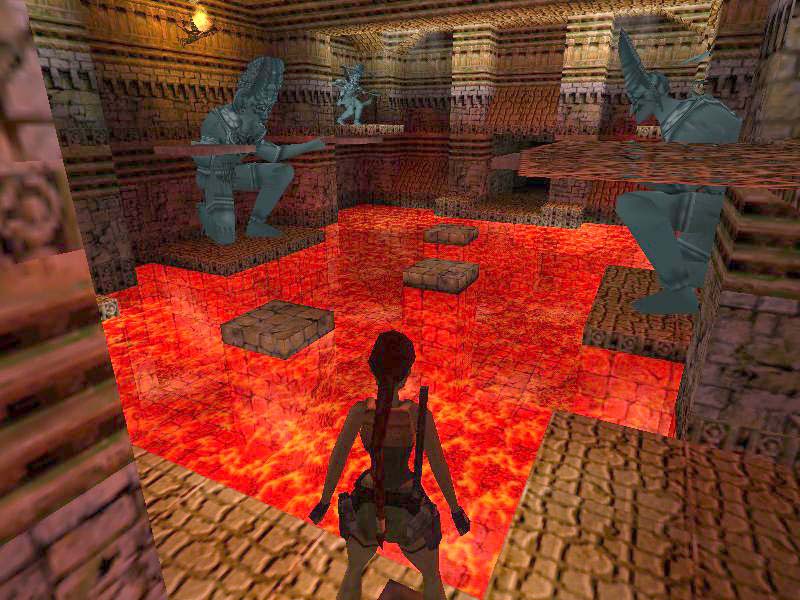
Statue Hall.
In the 4 corners of the next hall are pushable Statues, they go on the Tiles at the Pillars next to the entrance and the pillars next to the Big Doors W. If you do the SW one last, you hear a trapdoor open up close by and that trapdoor gives way to the top of the central structure with the Bamboo fences, a ladder is to be found under the trapdoor in that same SW corner. On the structure is a grated block with a swingpole on top, pull/push it to the N end and it will be firmly locked in place, go down to the ground floor and up a block in the N side of the hall, turn L and jump/grab up to the ledge, runjump to the ledge W and get up on the higher ledge that was burning before, face E and time the Burner on the block to do a runjump/grab to the swingpole and get across to the other side. Start the run when the Burner is on for about 5 counts and you will just get across before it starts again.
Head to the N and follow the passage up a ladder to come to where you look out into the 3rd Hall. To the L is the 4th Shiva Mask dropped by the Native before and the switch can be used now also, a cut scene shows a Shiva waking up and you have to shoot her so magic transparent blocks will appear in the 3rd Hall, so drop down from the ledge and go shoot her by hopping backwards with her following you (if she puts the swords across the chest, you cant harm her, so dont waste Ammo on trying, but get her to raise those arms again).
After the Shivas demise, you can go up the NE mound again and to the ledge on N wall, stay away from the burning statue and time the standjump to the first block then a running jump to the second, landing on the R hand side, another standjump curved R will get you into the passage S, leading to the top of the 2nd Hall, where two of the Masks can be placed on the headless Shiva Statues (sidestep carefully to the front of the statue). The other two go on the Statues in the 1st Hall, E of here and the pool below will be flooded. Go down from the ledge (or just dive down) and jump into use the UW lever in the SW corner and open the trapdoor with it.
UW
Labyrinth.
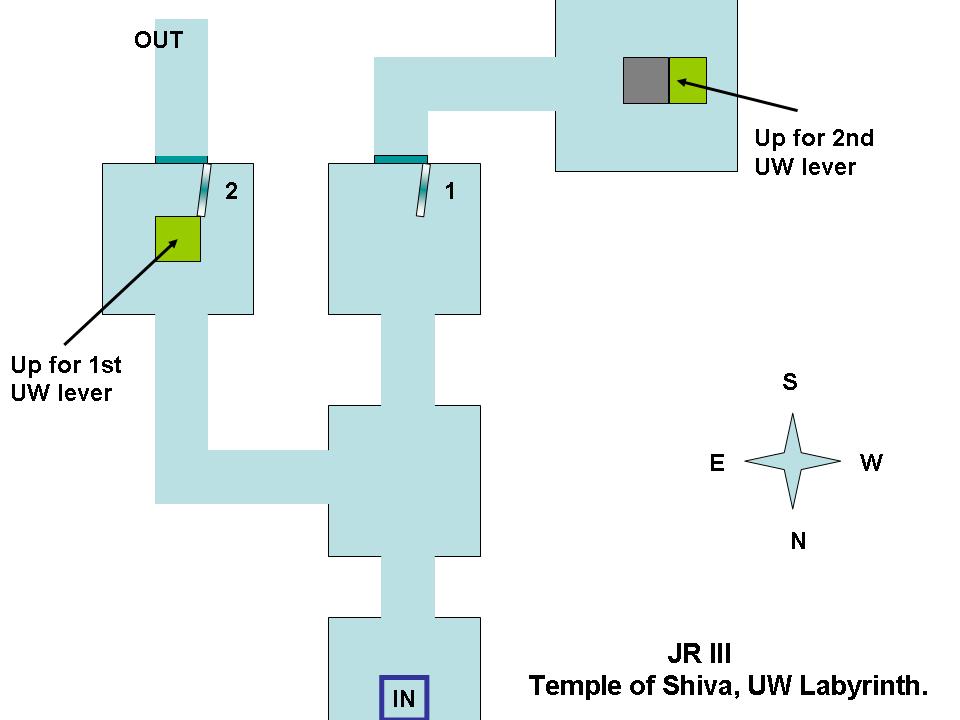
Face S and Save before going in, swim down and straight (S) to go L in the second room, stay high and go up into a shaft in the 3rd room. In the end of that tunnel is the 1st UW lever. Roll and swim back for air, dive in again and swim straight S to the open door (1) and follow to a room with a pillar, behind the pillar and up in the ceiling is the 2nd UW lever and that one will open the UW door in that first room E, so swim back there and go into the open door, up to get some air and climb out on either side to standjump/grab around the corner to a ledge there (W). At the crossing is a trapdoor, and L and R are 2 passages with burning statues, crawl under the flames to the 2 switches, 1 on each side and pull them to open the trapdoor. Drop down to the Swords Section.
The Swords Section.
Go to the W end of the room and two of the Shivas will wake up, shoot them and grab the Right Scimitar and a Silver Key. In the W end, on the wall of the alcove one of the Shivas was in is a switch, throw that to open that gate up N in the 3rd Hall, go to the E side of the room, climb the ladder over the entrance and go over the ledge to a door NW, open it with the Key. Follow the passage, down a ladder and come out at the steps in the 2nd Hall, the W Statue over the steps needs a Sword or two, place the one you have now or later. Head into the 3rd Hall and go up to that gate N, drop down and go to the Push block Puzzle.
Pushblocks and a 1stTorch.
Theres a block in the SE alcove, pull it out so you can enter the passage behind it.
Before you continue (meaning moving blocks onto Trigger Tiles), you can go get a Secret now and the Key for a Secret later on, if you do this later the Key will not be available anymore: Go into the passage the block came out and find a closed hatch in the ceiling, in the E wall under the hatch is a push block, push it till you can go L down from the bridge and into a passage E, in the back past the 2 gates is a Jumpswitch around the L corner, use that to get the Secret#11 sound and open that N door on the block and go into that room. Go to the back of the room with the Shivas and one of them will revive, shoot her and collect the Secret Key, in the middle of the room on the grass is a Healing Herb. Now return up to the bridge and to that first push block in the W room.
Move the block onto a Tile NW and a trapdoor closes so you can now get the second block in the NE alcove and pull it as far as it goes, then go around it through the passage SE, opened up by the 1st block and push block 2 on the second Tile (a platform goes up on the bridge), look in the back passage for a hole (notice the trapdoor in it) in the floor and get Flares and Ammo from it, now return to the push block on the bridge.
Use that raised platform to push the block S onto the Tile behind the block and a platform goes up over the hole where you got the Ammo before, so go back in the passage and pull the N block once, return to the E room and jump from the bridge into the NW corner, theres an unlit wall torch, but also a push block in the corner, push it in till you can access the switch, pull the switch.
The Torch and Left Scimitar.
The hatch opened up in the passage, so go back to the W and up to a room above, find a Torch on a pedestal to the L and an unlit wall torch. Take the Torch down to the Bridge room, go back down to the lower room N and into that E passage where you used the Jumpswitch before. Back into that N room with the Shivas and use the blocks there to get up to the upper walkway, go over to the wall torch S and light your Torch, a Shiva wakes up when you get close to the now closing exit. Go deal with her, pick up the Left Scimitar, go back up to the walkways and find an open door W, inside is a switch that will re-open the exit.
Theres a Healing Herb on the ground floor somewhere, so take it before you leave taking the Torch, go back to the room with the water and jump back up to the bridge, from the platform a jump to the ledge NW to light the 1st wall torch there, back to the bridge and a runjump to the ledge SW for the 2nd wall torch. Jump back to the bridge. Now its back to the room upstairs, where you found the Torch (jump up to the N from the highest point of the floor) and light the 3rd wall torch, a gate opened in the lower E room N side. So go back onto the bridge and drop the Torch (dont need it anymore), you have to move that push block on the bridge onto the raised platform N first. Go down from the S side of the bridge, into a door that opened there and throw the switch to drop the platform and the block falls into the water below, so go down again and into the lower room to mover the block to the NW Tile and the S door opens in the E passage.
The Hot Room.
Slide
down a slope into a hot room and go down to the SW ledges, jump to the one
under the Burning Head and run onto the next. Mind the low ceiling here and
there and follow the ledges to the switch on E wall. Throw it to de-activate
a Burner Tile and go back to the W, up to the entrance ledge and face the
first Burner pillar, standjump/grab on the right moment to the 1st
pillar 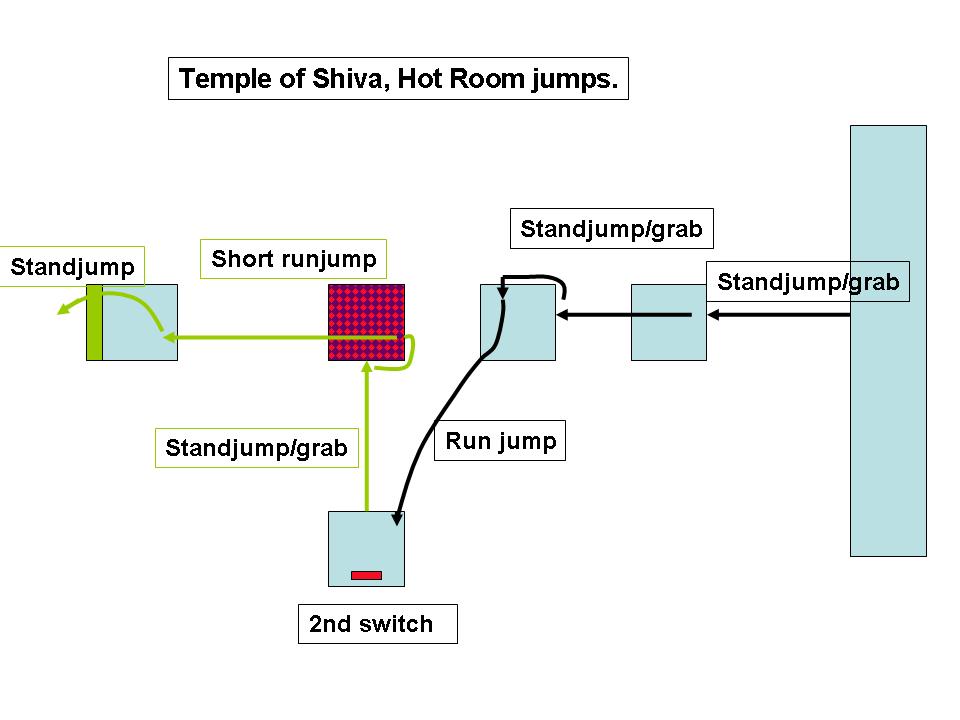 and when you expect the Burner to stop, pull up a standjump/grab to the 2nd
pillar, go around the R hand corner to a bit past the middle and pull up when
you expect the Burner to stop runjump with a R curve to the ledge with the
switch on the L hand (S) wall.
and when you expect the Burner to stop, pull up a standjump/grab to the 2nd
pillar, go around the R hand corner to a bit past the middle and pull up when
you expect the Burner to stop runjump with a R curve to the ledge with the
switch on the L hand (S) wall.
Throw the switch to open the door in the W and standjump/grab to the extinguished Burner Tile pillar, shimmy R round the corner and pull up when you expect the burner to go off, runjump with a grab (short jump) to land on the near side of the last pillar and standjump up into the open door fast. Follow the passage to a room under the first passage of the level, with the trapdoor, go up the ledges and throw the switch on the back of the block, to open the trapdoor. Climb up to it and out to familiar territory, follow back to the 2nd Hall and go to that Shiva Statue on the ledge over the stairs to place the 2 Scimitars. A big door opens in the Statue Hall below, but first its time for that Secret, go to that small gate in the S wall and open it with the Key. Go in for Secret#12, the 7th Golden Skull, there are Flares and Ammo in the alcoves. Go out and drop from the ledge into the lower staircase, go through the door W to go through the Statue Hall to the now open doors W and finally arrive in a room with a Lava lake and Huge Shiva Statues, holding up break ledges.
Shiva Room and 2nd Torch.
Go over the ledges in the Lava to the opposite side and head into a CS in the R hand (N) wall, pick up the Torch from the pedestal and go back to the Shiva room, throwing the Torch out in front of you. jump back to the E over the ledges and go through the statue room to the 2nd Hall, up the stairs and L to the 3rd hall, up that NE mound again (sidejump) and carefully standjump to that burner on the ledge. Light your Torch and go all the way back to the Shiva Room and into that CS where you got the Torch. Light the wall torch and a trapdoor closes, so you can move the Statue to the Tile E (a platform rises in the Shiva Room). Take the Torch out with you and go straight into the S CS. Perform the same things to get the Statue on the Tile and drop the Torch (dont need it anymore), go out and climb a block to the L of the CS, standjump/grab the platform and walk up to the other end, standjump/grab the 1st breakable ledge in the Shivas hand and pull up to runjump/grab to the second one, hang where you can do a runjump onto a ledge in the SE corner and from there a standjump with a sharp R curve to a switch (#1 for the W door) Jump down to the entrance ledge and go do the same thing on the N side of the room, throw the switch (#2 for the W door) and the door in the W will open up.
Jump over the Lava a last time and get into the new passage. Up a block and follow to where the level changes .
Level 5 Return to the Lost Valley.


Drop down the shaft into a River and let the current take you down a waterfall, climb out in the SW corner, go up the blocks along the W wall and into an opening N, follow the tunnel to the River you just went through. On the corner of the ledge, near the water is a Healing Herb growing, jump across the River to that opening with the closed gate and then jump back to the W side, theres a closed gate and it can be opened by shooting the cover off the standing Oil lamp, go through the bypass and jump across the River again, then go R over the River bank and jump to a block SE, shoot another cover from the Oil lamp and return to the N, jump to the opening (closed gate) NE and across to an opened gate NW.
Follow through to a cave with a central pillar, go in straight and L around the pillar. In the corner of the W side the floor is a little higher and you can grab up to the ledge N of the pillar, go around with standjumps and end up on the ledge S, jump/grab up to the Jumpswitch there and see Mbutu is back again, he will open that first gate at the River for you. Go back E to the entrance of this cave and follow to the River, this time carefully drop out backwards and the current will take you sideways to the L and there youll find a Healing Plant on the bottom of the River, grab it and climb onto the ledge L (S).
Plant Cave.
Go back through that bypass W and come to where you can jump over the River to that open gate E, go into an area with a big tree, on that tree is a big Plant of some kind and in the NE corner is a pillar, face it and backflip to a sloped block, jump onto the pillar and go R, when you are close to the tree, Lara will look at that tree rather strongly, just go off that brown Tile and step on again, now you can line up for the runjump/grab to the Jumpswitch on the tree and the gate will open in the cave with the lake where the River runs into. So head back out and go either over the W bank and climb down or just dive in and go with the flow.
To The Lost Valley.
The open gate is S of the lake, follow the cave to the Lost Valley, right in front (S) of you is a pillar you can climb, youll return here in a bit, so remember. First go R (W) and follow the lower path through a brick passage (Wolves) and come to a cave with a dead mans remains. Next to the Skellie is a piece of paper, pick it up and examine it to read:
This place man! Watch out for the T-Rex and his little mates, never figured out the big plants, but I think they need fertilizing before they will flower . Oh by the way, theres unlimited Ammo lying around the Temple, I think you might need it.
1st Piece of Dino Dung.
The dead man must have written that in his final moments, look next to that big pile of steaming Dino Dung for a Piece of Dino Dung you can pick up (for that plant later). In the N side of the cave is a Healing Herb, then go back to where you came from and now you can climb that pillar S, up the next ledges and pick a Healing Herb to the R, then go over the rocks with the red glow and down into the Lost Valley.
2nd Piece of Dino Dung.
Go straight S and find the 2nd Piece of Dino Dung (to the E is a closed gate), continue S and pass under a broken Bamboo bridge, a bit further on to the R is an opening in the wall, climb in and follow through to a high cave with a pool to the L and some rocks you can climb all the way up to an opening SW. Heres a pool with Burner blocks.
Timed Burners and the Revolver.
Dive into the pool and swim L/L into a short tunnel under the entrance ledge, throw the UW lever and swim back, climb onto the entrance ledge and see the first Burner is off, runjump to that block and Save while standing face to the wall and a bit R of the middle, now do a series of side jumps R and end up on a safe ledge in the far corner. Turn around and jump to the ledge with a ladder on the pillar, go up to a room with a statue and to the L of the Skellie is the Revolver. Go down to the pool below and swim back to the entrance ledge, go down onto the block just under the entrance and look N to spot a CS in the wall, runjump/grab and get in there to get Secret#13, the 8th Golden Skull.
The Lasersight.
Go back and safety drop out of the CS, from the block youll land on a runjump down into that pool below and swim through the tunnel to where you can climb up in the end under a waterfall, turn sharp R after climbing out and go up that rock just next to the waterfall, past a bamboo fence and stand on a ledge so you can jump/grab to a crack in the W wall. Pull up in and go into the far R (NW) corner of the cave to find a switch that will open a gate near the Broken Bridge. Go back out of this cave and down to the Valley floor, head N and just past the Broken Bridge to the L is that gate you opened, follow the tunnels through to where you look out over the Valley, to the R you can spot the waterfall and also a ledge in the corner, runjump sharp R around the corner to that ledge and drop/hang from the L side, shimmy L over a crack and climb the ladder around the corner, go up to a narrow ledge and turn around to standjump with a grab into the opening of the waterfall. Go R and L and follow that cave through to a closed gate to the R, beyond that gate is a Skellie and also the Lasersight. Walk out to the opening N and a cut scene shows an oil lamp across the Valley.
3rd Piece of Dino Dung.
Put
the Lasersight on the Revolver and have a look with the Binoculars first,
the lamp is just R of the highest point R of the Bridge 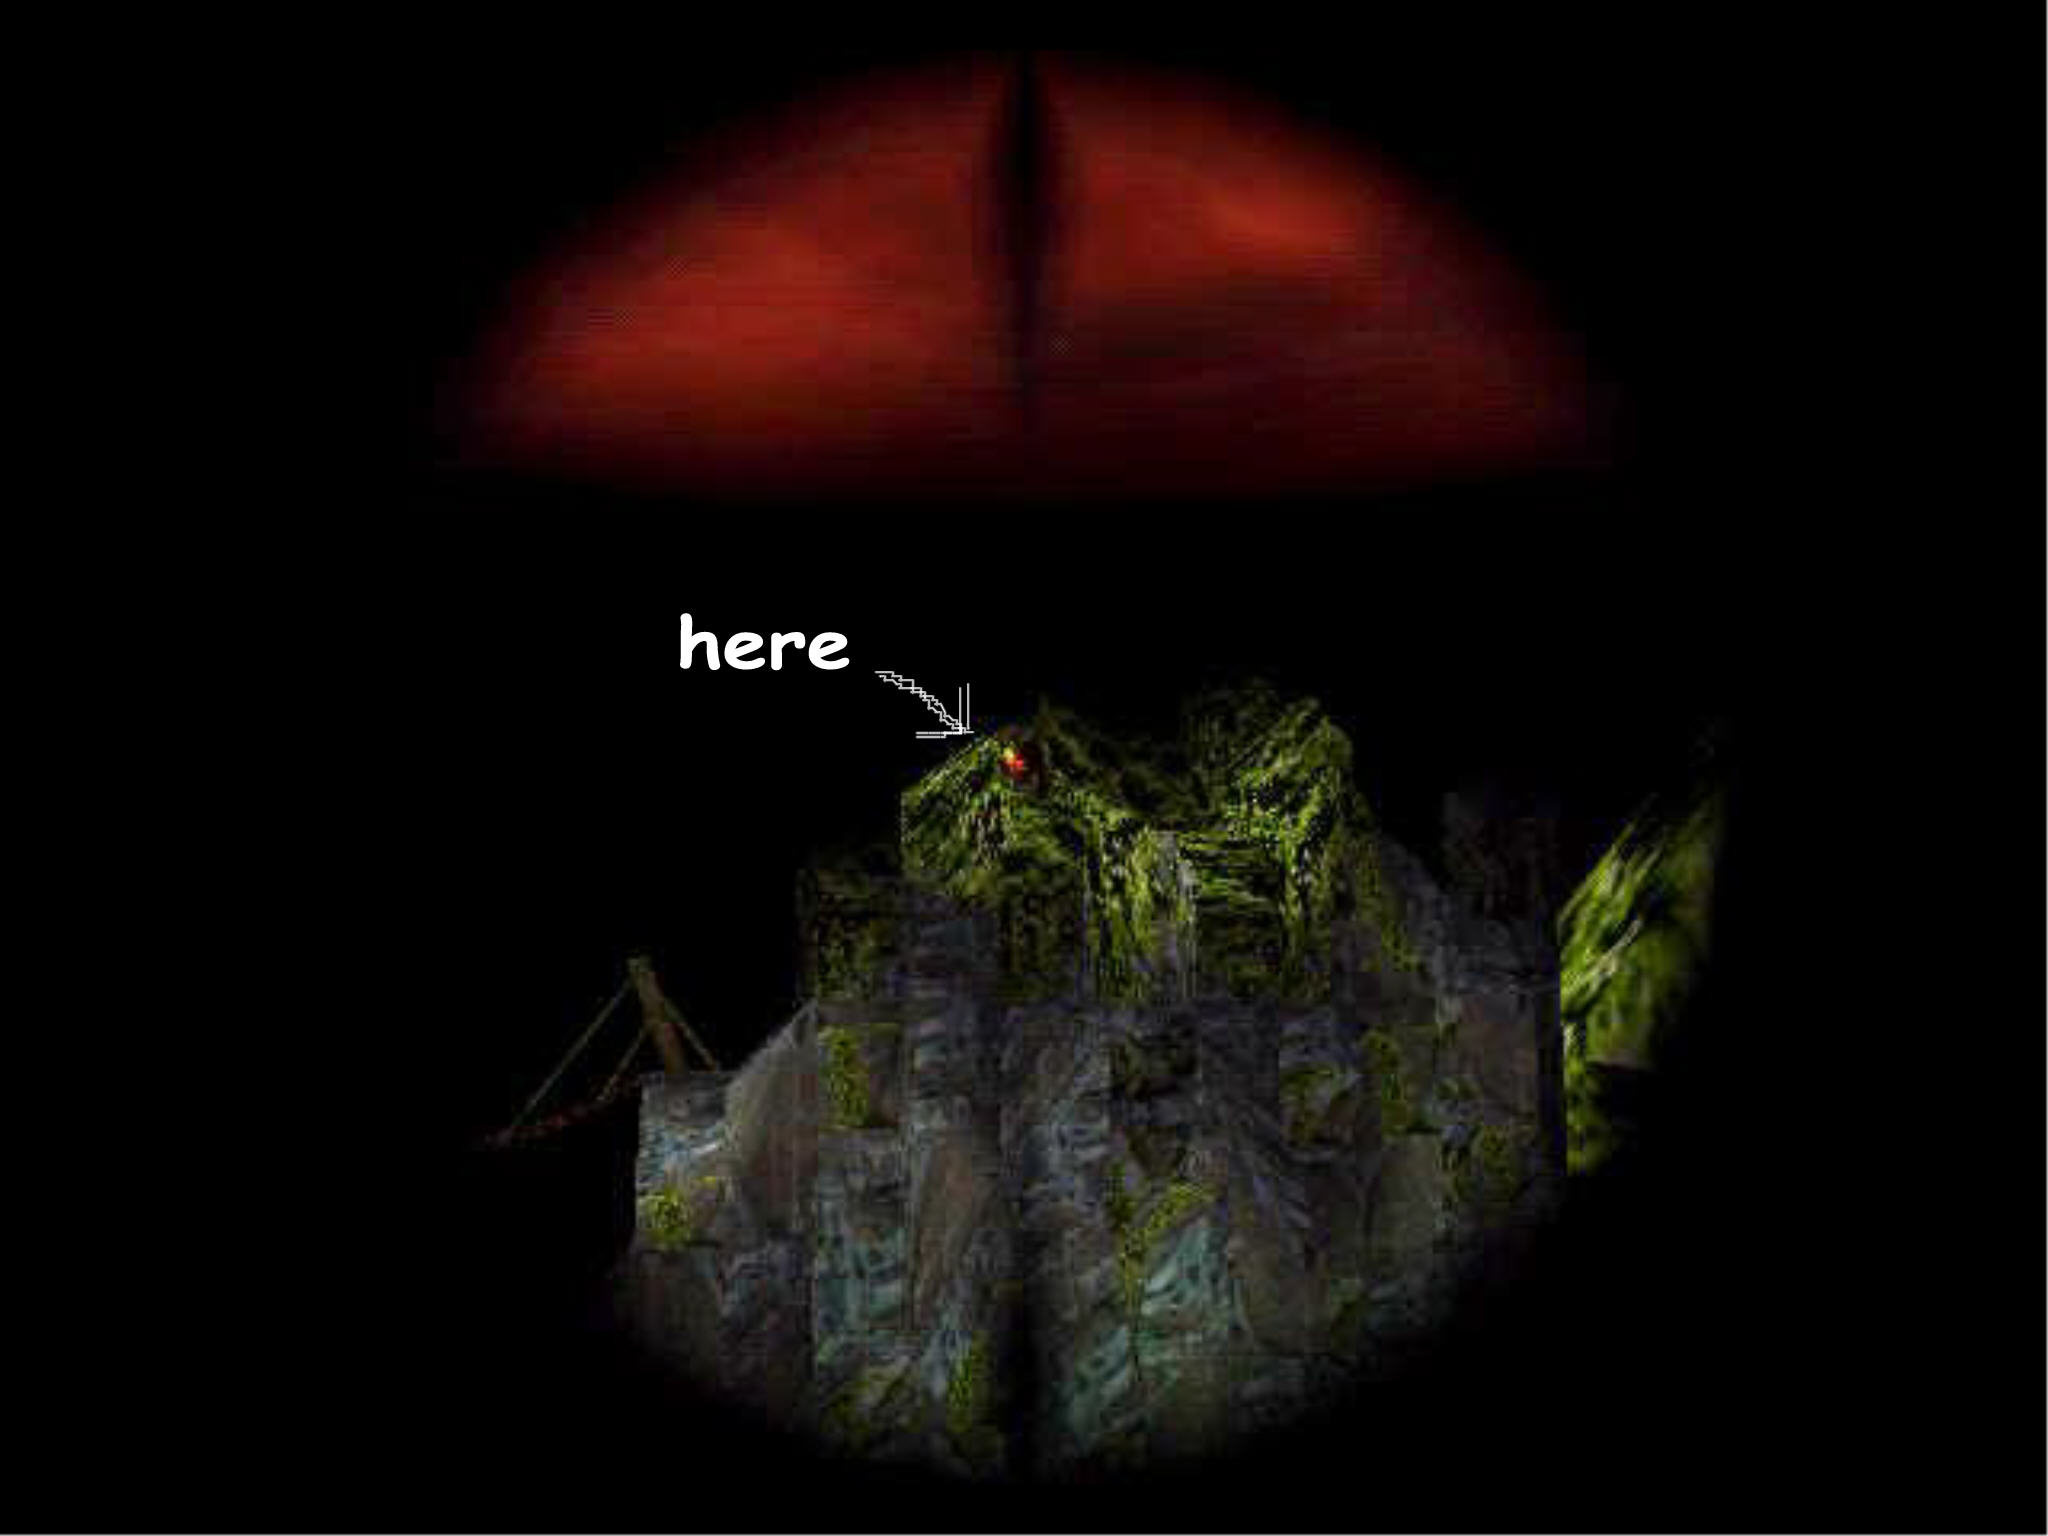 . After you got your bearings, shoot the lamp and that gate opens back where
you are. So go back inside and L into the open gate, a dark room with a lever
and the lever opens that second gate at the River (where the level started).
Go back to the N opening and drop down to the ledge at the waterfall and make
it down to the Valley floor. Head E and find a poor soul in a chair go E a
bit more and theres a big plant, beyond that a small reed plant. Turn towards
the rocks S and climb the rock there, turn L and standjump/grab to a ledge
E, then a runjump/grab and from that high ledge a jump to the roof of the
temple, go over to the N side and grab some Ammo, head back to the
S side and runjump/grab down into the entrance of a cave S, landing in the
L side of the entrance, shoot a Raptor and go get the 3rd Piece
of Dino Dung. Go back out of the cave as you cannot reach that cave up
W anyway.
. After you got your bearings, shoot the lamp and that gate opens back where
you are. So go back inside and L into the open gate, a dark room with a lever
and the lever opens that second gate at the River (where the level started).
Go back to the N opening and drop down to the ledge at the waterfall and make
it down to the Valley floor. Head E and find a poor soul in a chair go E a
bit more and theres a big plant, beyond that a small reed plant. Turn towards
the rocks S and climb the rock there, turn L and standjump/grab to a ledge
E, then a runjump/grab and from that high ledge a jump to the roof of the
temple, go over to the N side and grab some Ammo, head back to the
S side and runjump/grab down into the entrance of a cave S, landing in the
L side of the entrance, shoot a Raptor and go get the 3rd Piece
of Dino Dung. Go back out of the cave as you cannot reach that cave up
W anyway.
4th Piece of Dino Dung.
Go back to the Temple entrance. Theres another steaming Dino Heap, pick up the 4th Piece of Dino Dung and just L of the steps (NE) is a Healing Herb, you dont have to go into the Temple yet, thats for later.
The Jungle Skulls.
Now you can return to the River, thats all the way W, then turn N and follow to the entrance of the Valley where you can climb back up L and over to the red rock, down the other side and n again to the cave with the lake, up that path along the W wall and into the River cave N, jump into that Plant Cave E and go up that same pillar NE. go to the W side and hoist up to the branch above, go to the N side branch and put some Dino Dung in the basket, go to the S branch and do the same, turn around and see the Plant opening up, walk up to it and grab the 1st Jungle Skull. Go down to the floor and out to the River, make your way through the W bypass and over to the second Plant Cave NE. Inside you can climb a block in the middle of N wall and runjump/grab to the tree, climb up and around the corners to the S side and backflip to a ledge, jump to the E and W branches to put the Dung in the baskets and jump to the N branch to get the 2nd Jungle Skull.
The Temple.
You have to bring the Skulls to the Temple in the Lost valley, so go back down and dive into the River, climb out of the lake and go into the S gate and straight to where you climb up to the red rock, over the top and all the way to the end of the Valley, L there and up the steps into the Temple. Theres a big T-Rex running around, cant kill her; just stay out of its way .
In the back of the temple is a pool, dive in and to the N is another Shotgun in the reeds on the bottom, then swim into a tunnel down SE and up in the end, in that temple Room are the 2 receptacles for the Jungle Skulls (NW&SW), in the back of the room is a closed gate where you can see another Skull receptacle. After placing the 2 Skulls, you can see a gate opening up back in the Valley. So head back out through the water and to your T-Rex buddy, quickly go R from the steps and to the N wall of the Valley, up the block to the entrance and go in to the tunnels leading up to the Bridge, runjump/grab over the gap and follow the passage to a drop off. Safety drop into the lower cave and standjump SW to the ledge next to the statue, go into the CS and follow to the N room where youll find Secret#14, the 9th Golden Skull.
The 3rd Jungle Skull.
Go back out of the CS and drop into the lower cave, to the E is the cave where you found the piece of paper before, now go S and come to another cave with a switch up on a S ledge. When you throw the switch, Mbutu will appear in a passage over the statue and he will light it so the gate opens up. Go in and follow to a small cave where Mbutu will show up again to open the next gate for you (great help that guy)
In the next cave is the Jungle Skull on a ledge to the L, pick it up and the Statue will be lit to open the gate in the Temple.
Back to the Temple.
Go to the N and follow to the cave where you found the piece of paper before, go N and then R to the cave where you can climb up S to the red rock, over the top and into the valley, stay on the L side and find the closed gate there, just past it is a small waterfall, to the L in the alcove is a Healing Herb, then go back to the Temple in the end of the Valley (didnt see Rexie this time). Follow through to the room in the back of the temple and place the Jungle Skull. A Flyby will show Mbutu, finally rushing things and he will wait up for you at the Skellie in the chair.
Rex Tooth of Power.
So
head back out, go W till you meet Mbutu and wait for him to open that gate
S, go in and come to a dead T-rex after your friend opened up more gates,
he will try to revive the T-Rex and lucky you, he cant! The gate in the beginning
of the Valley opens. Go to the N wall and climb up the ledge to get the
Rex Tooth of Power (so no one can revive him anymore?) and Mbutu gets
nervous, follow the same tunnel back to the Valley and go NW, go under the
Bridge and then NE and to that gate you saw before, follow the caves NE to
where you can hear the sound of the Chopper waiting for you, say goodbye to
your companion 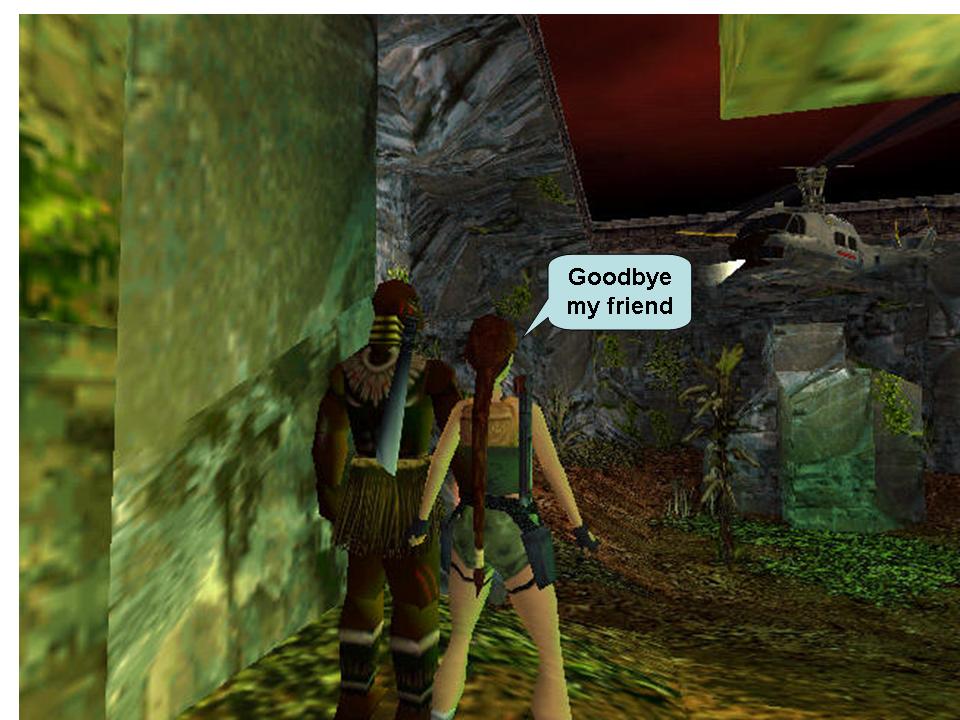 and make it for the Chopper
07-11-2005.
Unauthorized walk by DutchyAz oldalon közölt képek, a szöveges tartalom, illetve minden sajátkészítésû anyag, a © TR Editor.hu tulajdonát képezi. Azokat semmilyen formában nem lehet reprodukálni, másolni, terjeszteni, csak a szerkesztõség engedélyével.