
Jungle Ruins 2
Author: George Maciver & Todd Shurtz
Download: Here
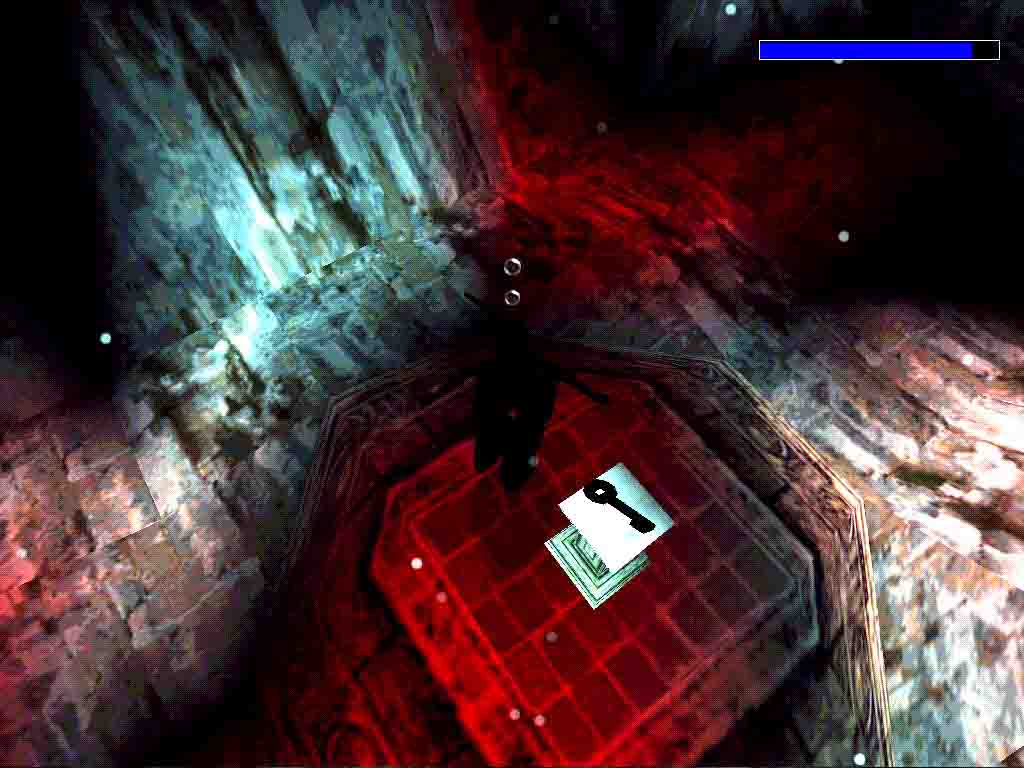
Notes: Don't save while using a key or the door will not be open when you reload, save before or after using.
The jungle drums are beating and Lara has heard them. They come to her while she is
sleeping. She is restless and she knows she must go back to the jungles.
Unknown to her, the power of the sun disk which she released in her first adventure
has unleashed a power that has crazed the natives. What is it that they are hiding?
To find out she must return to the Jungle Lake, find their village and then destroy
the evil which they now worship before it destroys them.
(theres no need to shoot the brown Monkeys you meet, but they sure are anxious to play, only the black ones are nasty)
We will not mention all the enemies Only the relevant ones.
Story:
The jungle drums are beating and Lara has heard them. They come to her while she is sleeping. She is restless and she knows she must go back to the jungles. Unknown to her, the power of the sun disk which she released in her first adventure has unleashed a power that has crazed the natives. What is it that they are hiding? To find out she must return to the Jungle Lake, find their village and then destroy the evil which they now worship before it destroys them.
Level 1- Return to the Jungle Lake. (George Maciver)
 Secret:
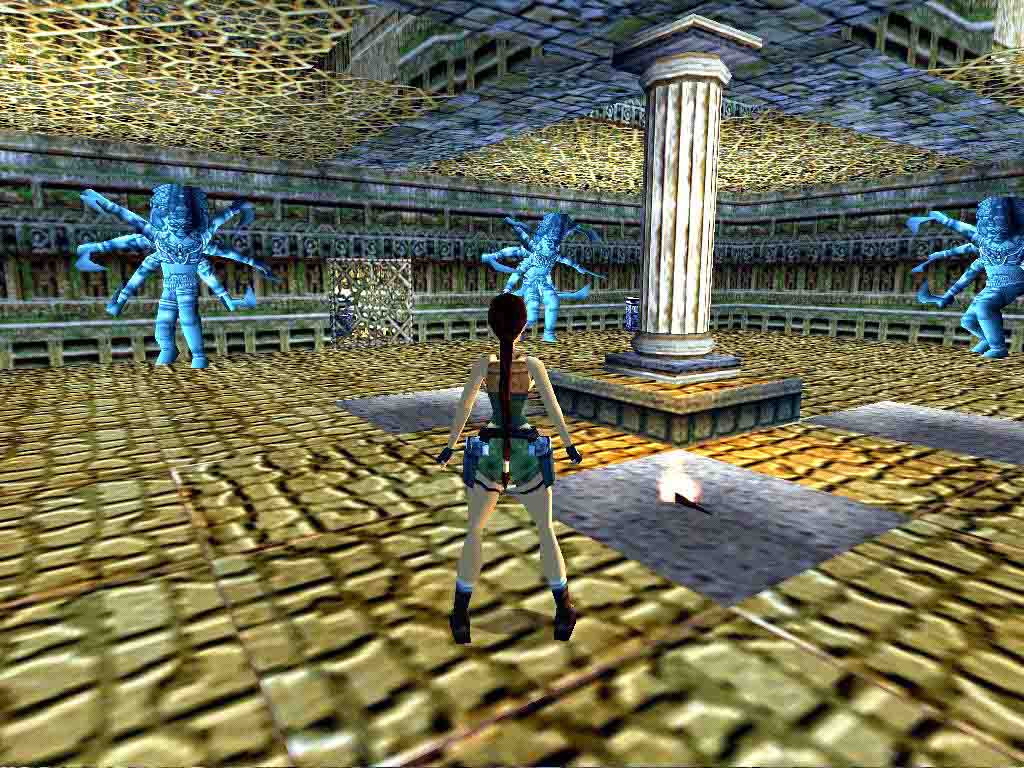
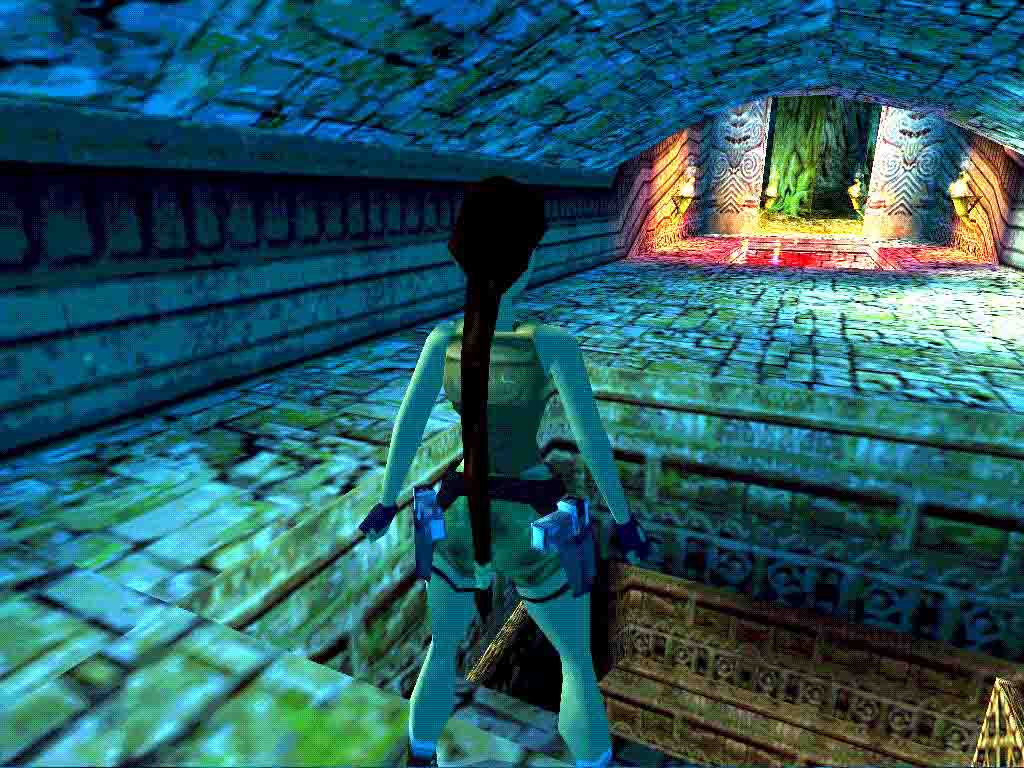
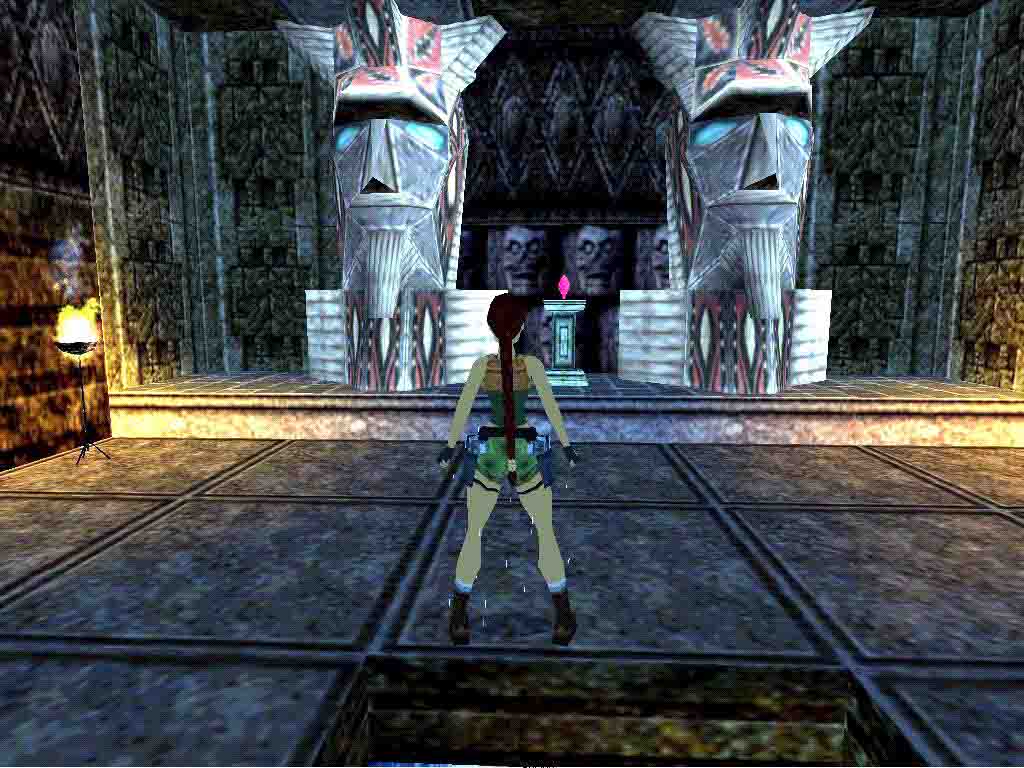
Lara just bailed out of the chopper
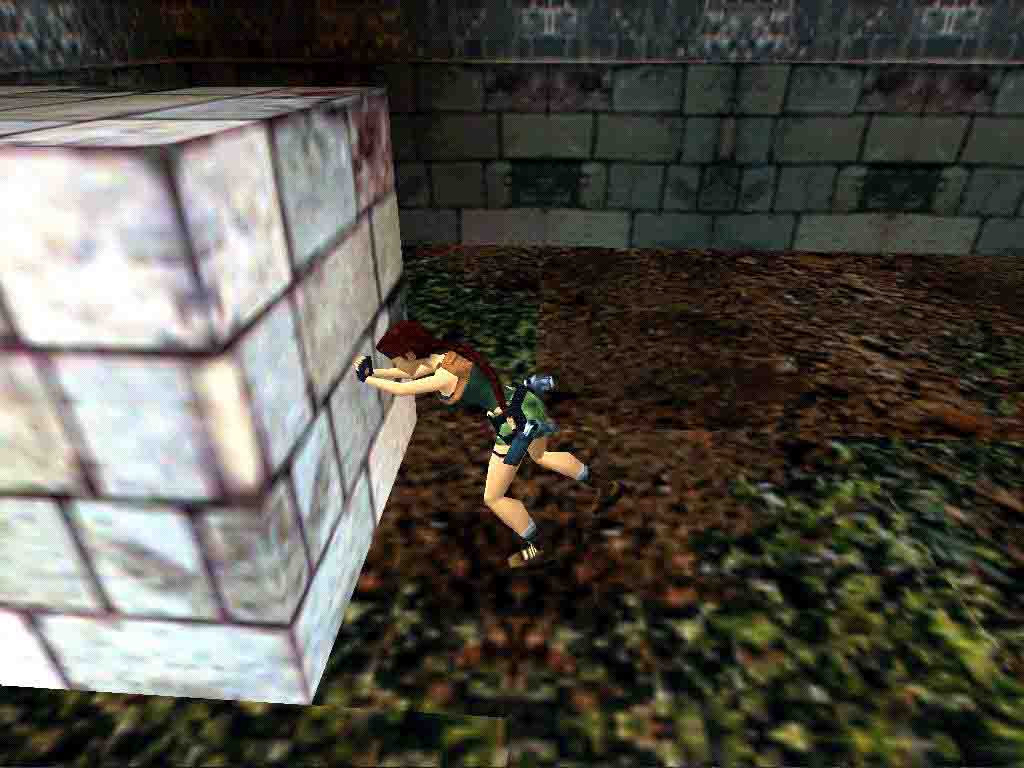
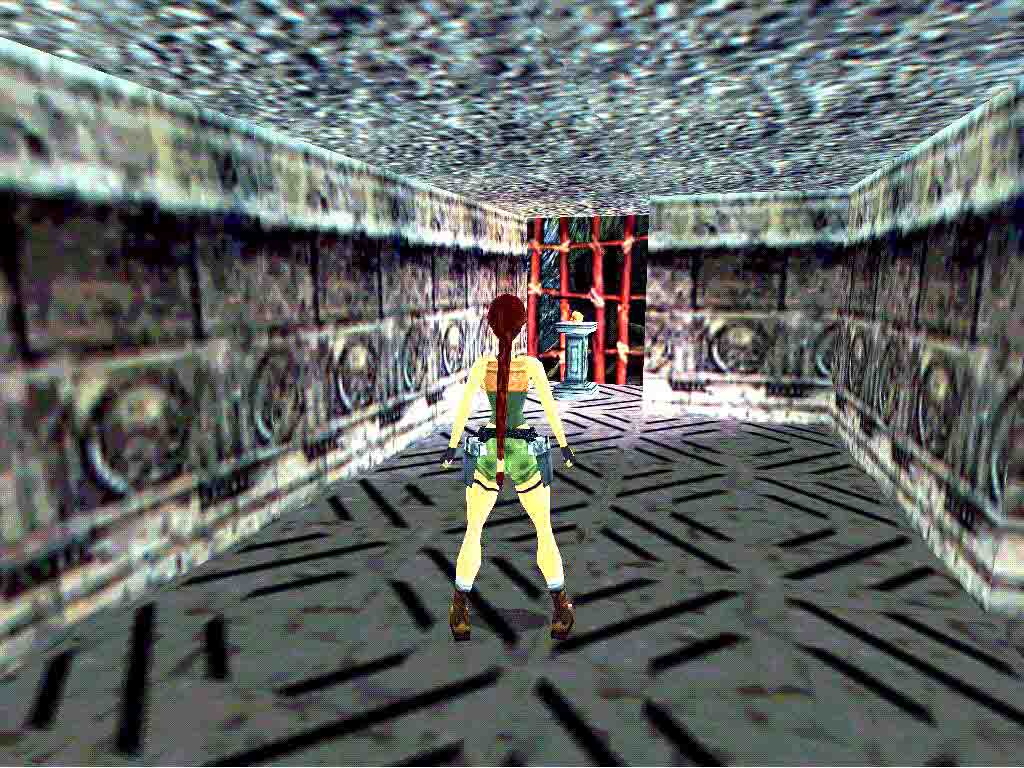
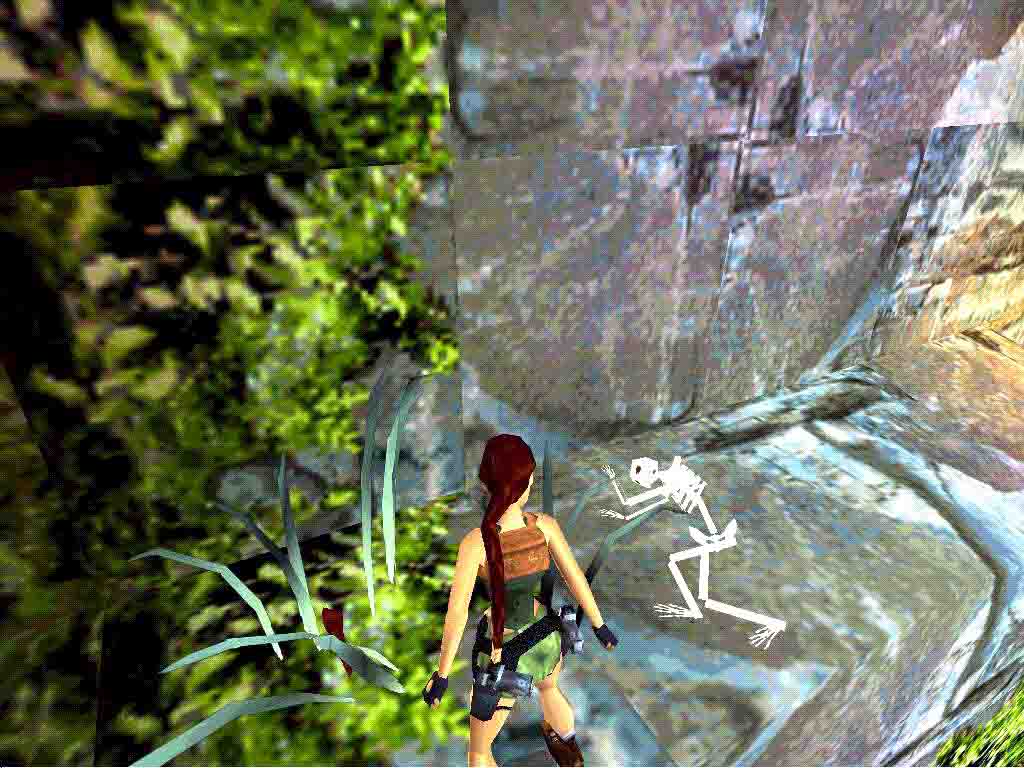
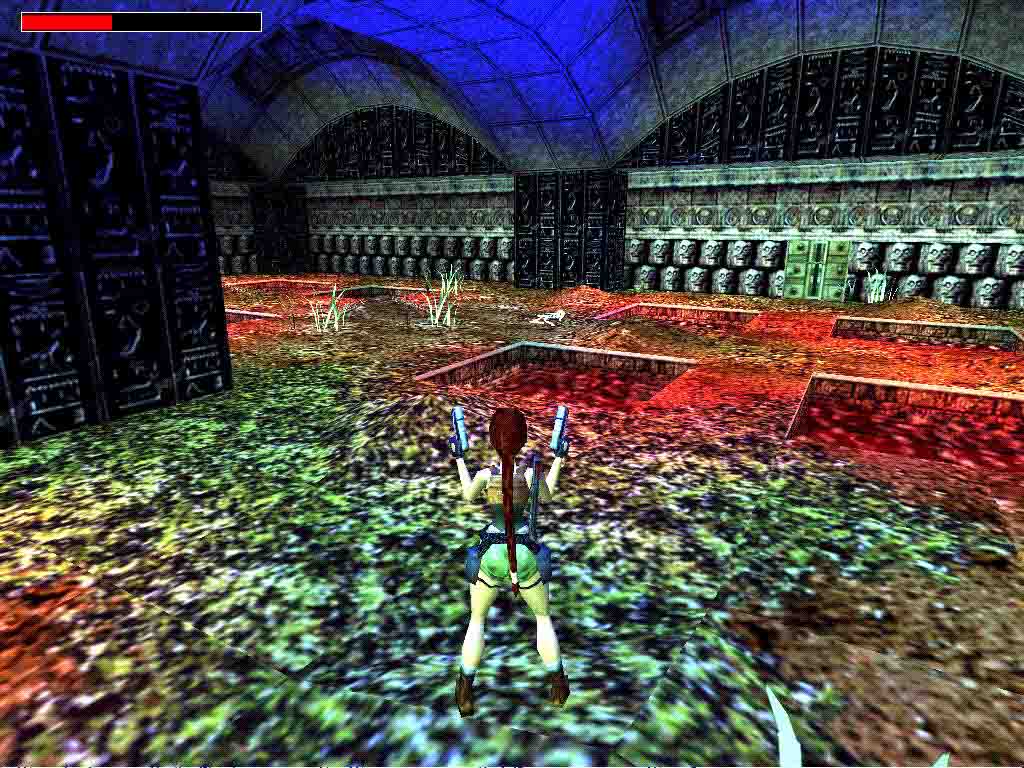
Go into the building E and the door will open for you, go find some Flares next to the Campfire and head up the E path and more doors open up. in the room with the electric rays is a door in the W wall, go in and just around the R hand corner is a switch that will open a door at a lake. Take the Flares from the E end of the room and head out, go to the open door E and walk up to the Lake.
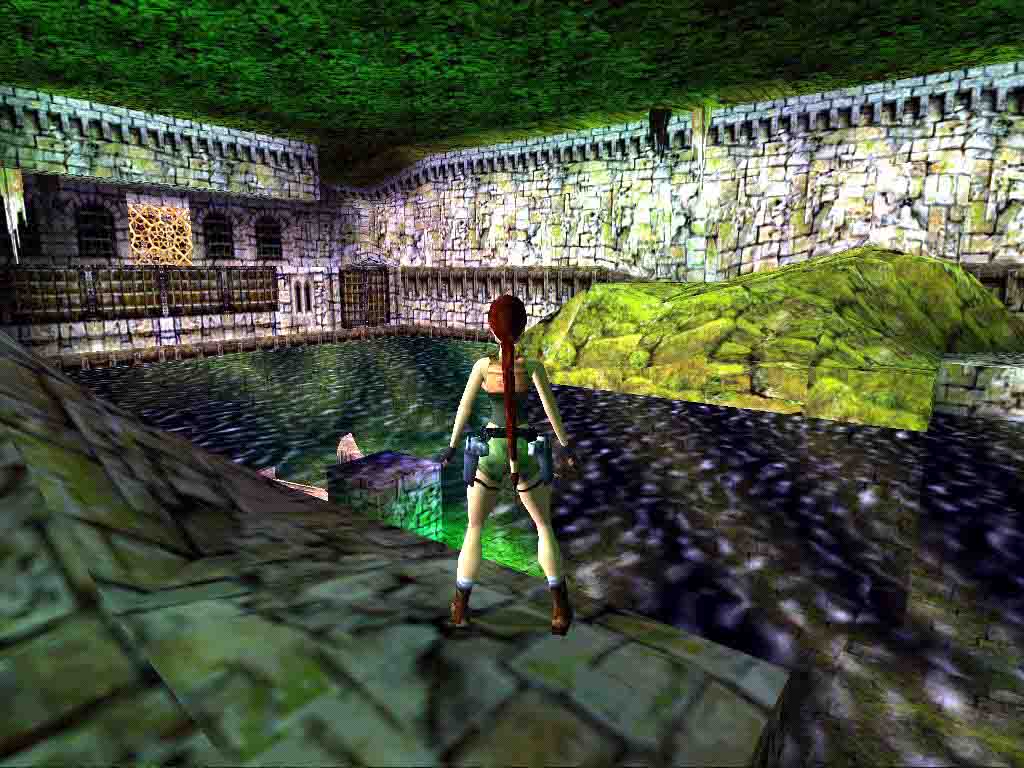
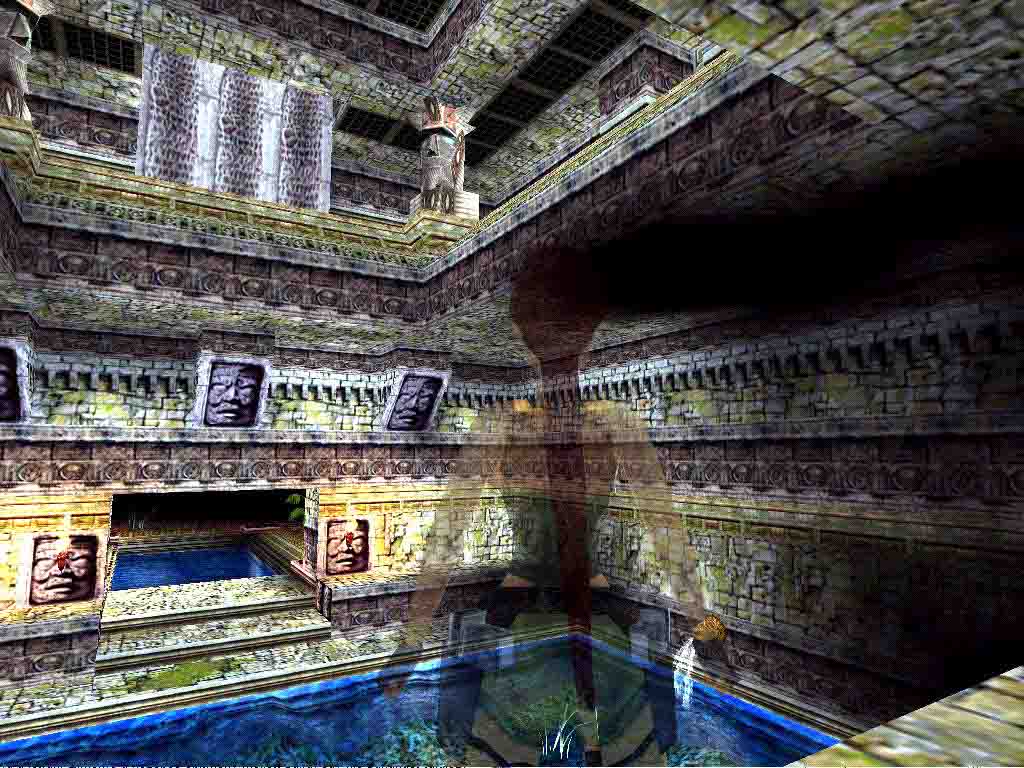
The Lake.
Dive in and swim N, go into the first L hand opening and climb out, turn and try to take out the Fish. jump up to the NE two times and jump onto the N ledge with a L curve, so youll slide off backwards, grab the edge and shimmy R. Go to where you van pull up. slide to the end and jump/grab the ledge in the opening, go to the N and on the lower ledge (notice the closed NW gate from which you will turn back later) Runjump up NE and go over like these ledges to the E and finally runjump to a ledge in the E wall, jump over the gap, then go over the broken wall and runjump up to the next ledge and watch for some plants hanging from the ceiling, under the plants are Spikes. So shimmy past and come to another closed SE gate.
In the end of the ledge you can grab the vegetation above and monkeyswing to the W end, past the plants (Spikes below) and drop onto the green covered rock. Go to the blocks W and climb up to the highest one for the Uzis and Ammo. Dive into the lake and go E, on top of the block near that closed gate is the Jungle Gem, take it and swim W, then R and L to climb back up where you did before and take out another Fish, jump back up to the NE and from the highest block a runjump over to the central Island with the Monkey, go to the SW corner for a ½ MP and then go into that small structure to place the Gem.
1st Golden Skull.
The SE gate opens and also an opening in the NE wall appears. So head for the (same) place where you can climb out of the lake again and all the way along the N and then the E wall to that open gate SE, go in for Secret#1, a 1st Golden Skull. Dive in the lake again and swim to the familiar point to get out and get to that opening in N wall. A flyby shows you around in the second part, the Waterfall area.
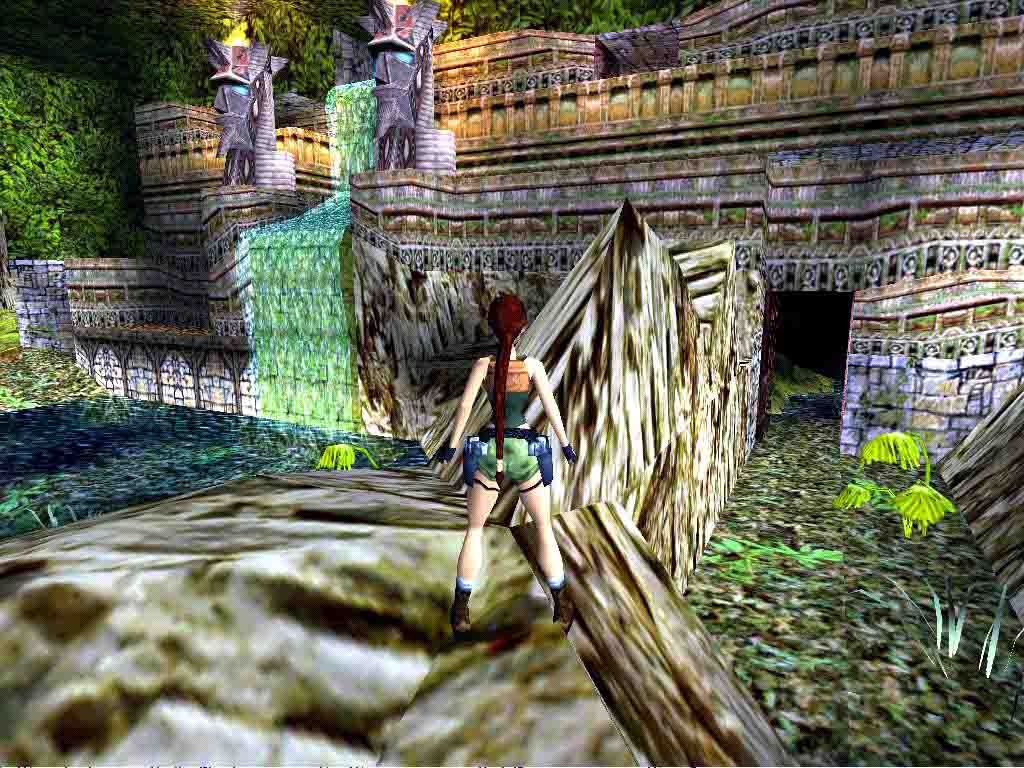
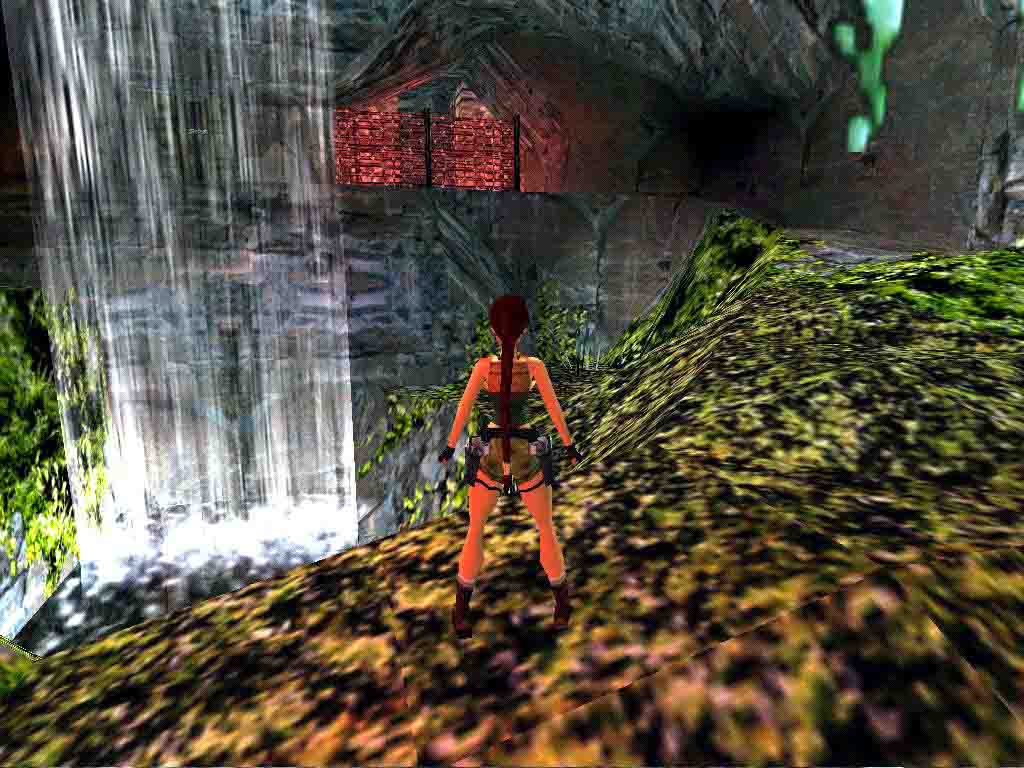
The Waterfall area.
Go to the W lake and jump onto the rocks N, go up to the E wall and from there to the branches of the tree, jump to the ledge with the red light E, pick up some Flares and push in the middle block, a gate opens, so head back over the tree, jump to the rocks N and go down W, into the open gate.
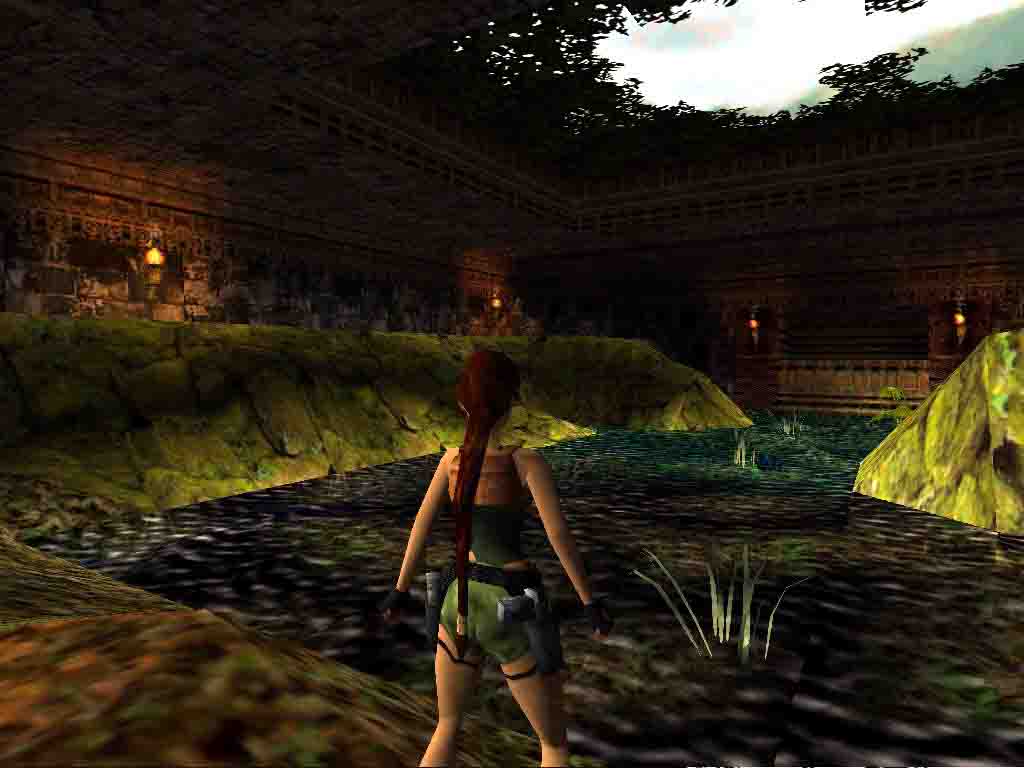
The Shallow pool.
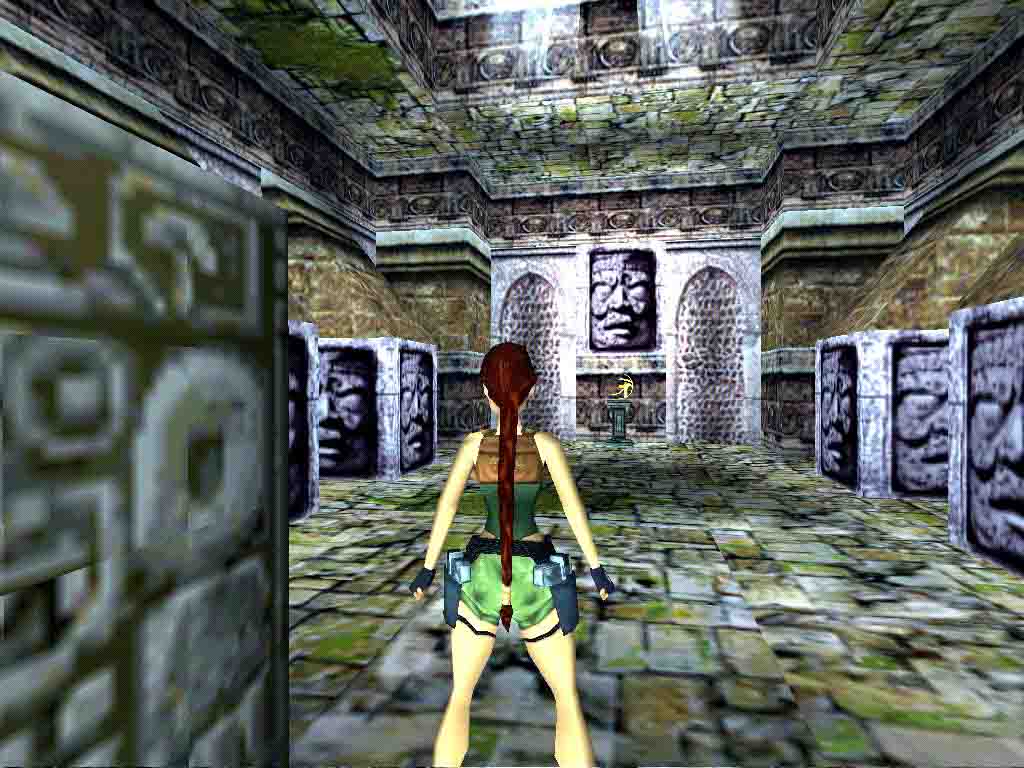
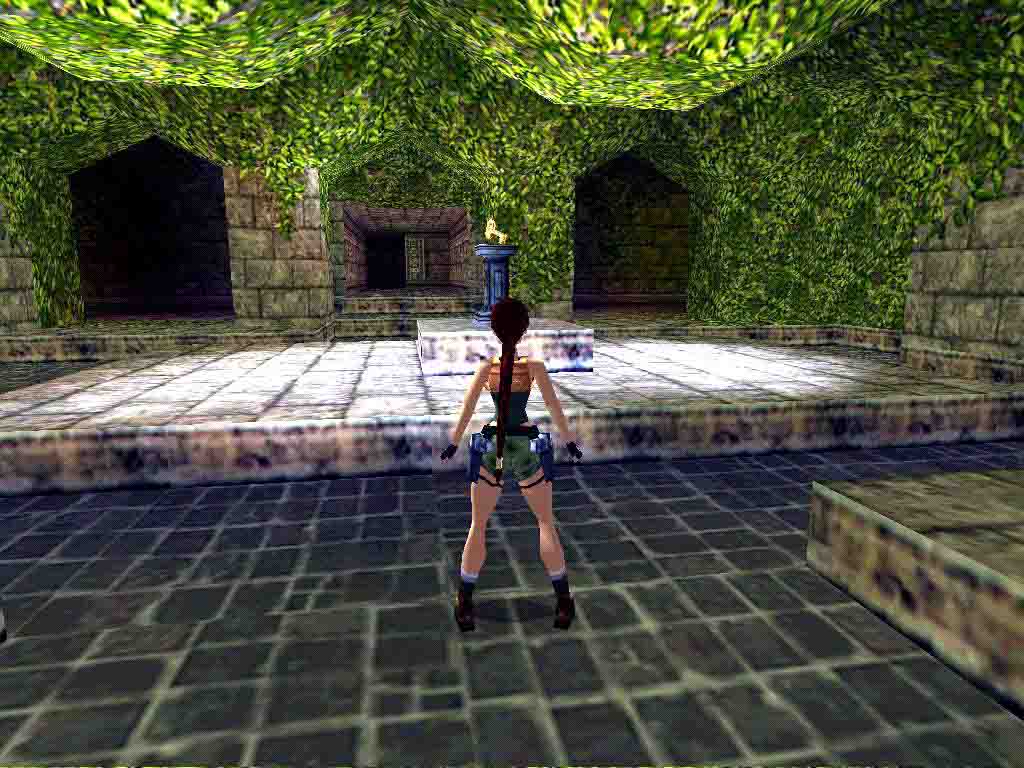
In the new area is a shallow pool with a Croc. Go to the W side and climb up, follow the passage to a room with mysterious music and Statues, at the corner of the death pool is a lower ledge with a switch and that will open a trapdoor in the waterfall area, so go back to the shallow pool and out of the wooden gate. Climb up R over the rocks and head S, into the opening in the wall there and that trapdoor is to the R, follow the passages down to a room where somebody already placed the Timeless Sands on the statue and head out into the W caves.
Follow to the end, and find an opening in the NW corner, go to a room with a ladder and a closed trapdoor on top and go into the room L to get the Torch. Head back out through the cave to the room E where you saw the first Statue and light the Torch here. Walk up to the Statue and it will catch fire, go back into the cave W. look for an opening in the S wall, hop in there to light the 2nd Statue. Go out and to the room with the ladder and trapdoor to light #3, the trapdoor opens.
Drop the Torch, go up and follow to another ladder, from hanging at the height of the Golden fence, a backflip/roll/grab to land in a passage. Go to a CS that will get you next to the Waterfall (L) drop out to the Waterfall and climb up W, dive into the vertical water and climb out in the next passage, mind the plants and go over to the pedestal with the Jungle Gem, head back to the water to get rid of the Wraith and then into the CS N, near the water, follow to where youll drop near the wooden gate NW, go in.
Hop onto the S ledge and SW are some blocks, get onto the MS ceiling and head over to the N side ledges, go around those plants to the E and look to the R for the ½ MP. Then open the N gate with the Gem and go to a drop off into a room with shallow water, 2 Shivas will appear when you head W, shoot them and look for the Golden and Silver Shiva Keys where they dropped. On the back of the W pillar is the lock for the Silver key, climb up the pillar close to the lock and do a curved runjump/grab to the SE to the ledge with the statues, grab the MP and drop down, climb the pillar from this side now and runjump/grab to the SW alcove to use the switch there, now go out and onto the pillar again to runjump/grab open NW gate.
Follow to the room with the death pool and the switch ledge, runjump to that ledge and go out of the room, follow back to the Waterfall area. Go up the rocks to the E wall again, into the tree and to the red ledge, runjump S and then to the alcove with a Star receptacle and the lock for the Golden Shiva Key, the Key will open that gate SW near the lake below, drop backwards from the ledge and head SW.
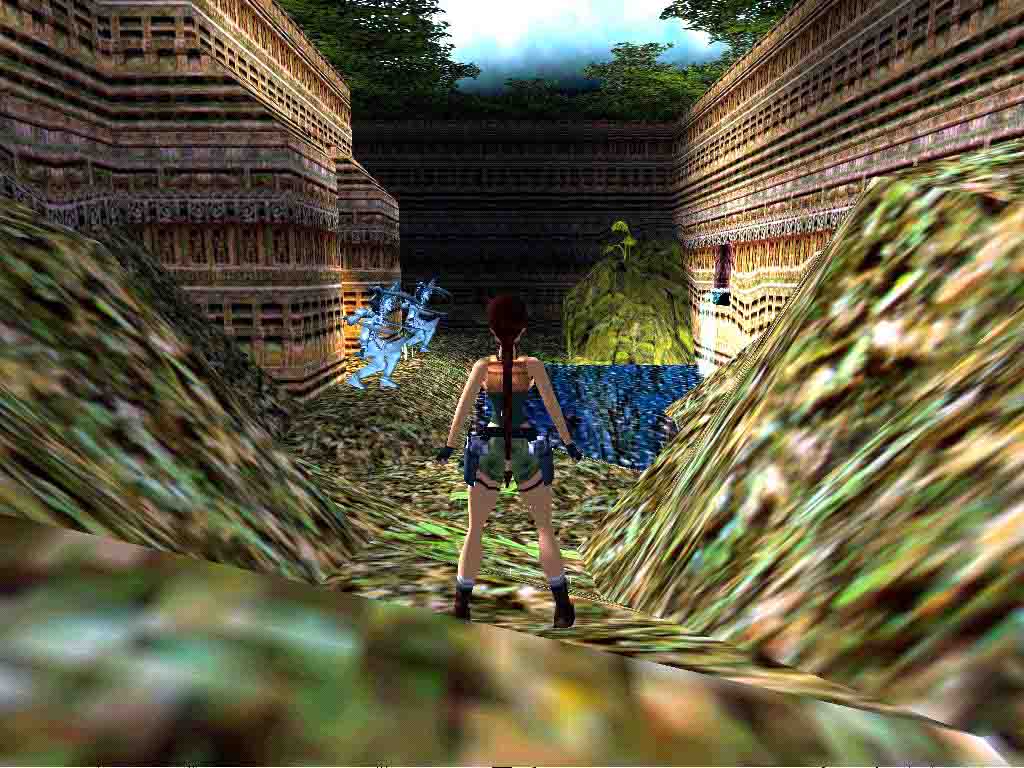
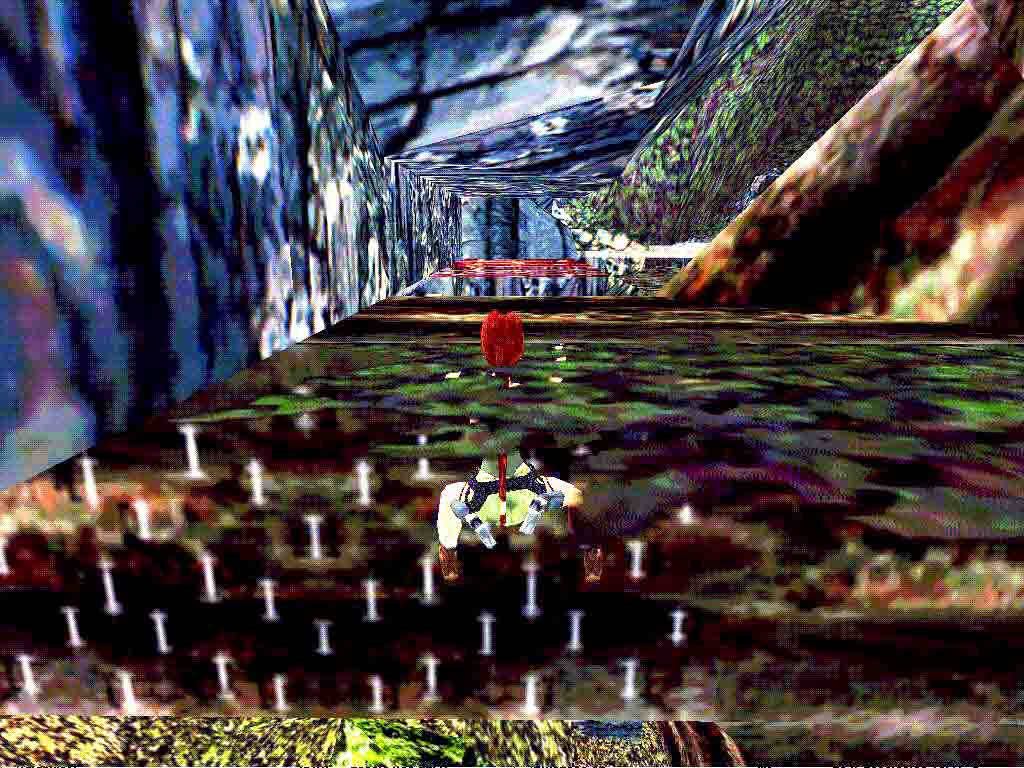
Swamp area.
Through the open gate and get dirty, wade through the mud to the W side, hop over the rocks to the MS ceiling and go to the NE corner alcove to pull the switch. A wooden gate opens SW, so back into the dirt and to the NE corner. Climb over the rocks to jump into the opening and dive in again, go to the NW corner and climb out to go up to the S side, from the top a standjump around the R hand corner to get up the trees, follow to the ledge with switch and door, the switch opens the door. Go in and come to a dark room with a Spike trap in the middle (plant) and a Star in a niche to the L (later), go to the hole in the floor S, dive in and swim to the end, climb up and jump to the bridge in the next room, here are 2 Timed switches.
Timed Swim.
Start with the one N, pull, backflip/roll and jump to the S switch, pull/backflip/roll with a L curve, swim N and sharp L (W) and up at the door, quickly get in and save. Go to the walkway in the next room and drop down to the ground floor, notice the Campfire and head S to a room with 4 switches and a Torch on the SW pedestal, take the Torch and light it at that Campfire, return to the S room and notice those 4 brown tiles around the central column.
Torch Puzzle.
Weve numbered the switches 1 to 4 from L to R.
1= Throw the Torch on the tile closest to the #3 switch (NE), pull the #3 switch and the Torch goes up to the 1st floor, go through the passage E and follow the passage up to where the Torch is, and in that room is a wall torch. Light that and leave the Torch upstairs (you dont have to take it down just leave it up there).
2= Go down and throw the #4 switch, go back up again and light the next wall torch in the adjacent SE room.
3= Now go down again and pull switch #4 back up and then #2 down, go up to the 1st floor and light the next wall torch in the adjacent SW room. Leave the Torch here and go down through the shortcut (the hole in the SE room).
4= Throw switch #1 (so 1,2,3 are down and 4 is up) go upstairs and get the Torch to light the last wall torch in the NW room. Drop the Torch and drop down from the hole in the SE room, go to the gate that opened S and get the Crowbar (that timed door re-opens).
Follow the same way back to the Campfire, climb up at the ledge NE and go out E, swim to the room with the Timed switches S and through the tunnel E back into the room with the Statue. Go up along the E wall and get that Jungle Star (you saw before) in a niche L of that Statue, the gate opens to the R, so go out SE and youre back at the lake, follow the route along the N wall again and re-enter the opening NE to the Waterfall area, go up the rocks again and to the tree E from the red ledge to the ledge where you used the golden Key earlier and place the Jungle Star next to it.
Drop from the ledge, go to the E ledge with the red light (ground floor level this time) and push the block there, (placing the Star opened the gate behind it) Follow the passage to the water and swim through the tunnel to an UW cave and go to level 2.
Level 2- Jungle Pools. (George Maciver)
 Secret 2-3:
UW Caves.
Swim straight and keep a bit to the R side to end up at a hole up in the ceiling of the cave, climb up the S side and if you can, shoot those Sharks. You have to get back in the water and straight W, into a kind of alcove, go L at the bottom and find the tunnel, follow to an UW lever, pull that to raise a block in the room you came from, so roll and swim back there fast, climb the block on E wall and throw the switch (a trapdoor opens). Have a look around the room and find Uzis with Ammo, a MP and Flares, that appeared in the room.
Now comes a looong swim : Dive back in the water and swim to the SW, a bit before the S wall is another tunnel to the R, near the bottom, go in and follow up through that trapdoor, to come to an UW lever that will open an UW gate N. roll quick and swim the shortest route back for air, then go to the NW a bit to find the tunnel with the open door on top of the green sloped bottom. Swim in and L, all the way to the end and up in the shaft, to come to a Cave with a waterfall.
Climb out in the E and follow the path up to the N, head for the opening NW and go through the cave there to another opening NW, in that cave go NE and find a ladder on the back of a tree, go up and backflip into a passage, get Secret#2, More Uzis, Ammo and a ½ MP. Coming down from the ladder on your way back, turn R and head to the opening SW, runjump to the L side of the lower slope and jump again to get a head start in swimming W and then L, to the end and L again to find a brick ledge and a wooden gate where you can get out of the water, turn and take out your fellow swimmers (Crocs).
Cave with the Lake (the Lake cave).
The gate needs a Gem, jump up the W slopes and follow to an opening, follow the passage to where you look out over the Lake, follow the ledges, jumping around corners to a door in the W wall.
Timed Run for the Torch.
Go to the far SW corner and find a Timed switch, first time you pull it youll get a flyby that ends with the closing of the door, so thats the amount of time you have to get to that door (which is straight N from the switch and L in the end). So pull the switch again and roll, runjump R a bit to get past the pillar and sprint to the N, then L (at that purplish block) and in the opening let Lara bounce against the R hand wall so you can just get in before the door closes.
Lighting the Torch.
Pick up the Torch and go out, head SE. theres a door in the E wall there and l of it is a passage, go in and stand close to that opening in the wall to the R, you have to throw the Torch through that opening into the room beyond, so save first in case it fails to go all the way through and give it a try. With the Torch in the room you can now return to the Timed switch SW, pull and sprint through that E door. Go find the Torch. It will probably be close to the ledge on the floor, now look on the W side of those low ledges and spot the brown Tiles, go to where you can throw the Torch, so it will end up against the ledge and close the brown tile.
Now you have to pull the Timed switch E and backflip/roll/ run for the Torch, grab it and light it before the Flame goes out. Throw it through that opening N again and climb up the opposite ledge S and follow the passage back to the other side of the door, go r and R, into that passage L of the door to get the torch back, go W and find the opening to the next cave.
Light the wall torch L of the door and it will open, drop the Torch and enter to throw the lever and see blocks go up near the MS in the Lake cave. So youre done here, go E through the forest caves and out the door E to the lake cave, dive into the lake and go swim straight to the waterfall, R and up at the brick ledge, climb the blocks to get onto the monkeyswing, follow it with a few bends all the way to the N high slope, drop and get into the opening to the R, follow through to the N.
Jungle Gem.
Youll come to a room with a death pool where a Native attacks, get the Gold Shiva Key he will drop and go on to the SW corner where you can use that key to open the trapdoor in the nearby hole in the floor, drop from the trapdoor onto the sloped block and head S, 2 Shivas come around the pillar. Again they will leave a Gold and a Silver Key, use those on the back of the pillar and the gate W opens, Go in to get the Jungle Gem, go out and see a block raised next to the pillar, climb up to the opening in the ceiling and go to a crossing, the S passage leads back to the Torch Puzzle (later), so go L (E) and eventually come to a pick up of Uzis, Ammo and a MP.
Block Puzzle.
In the room are 3 pushblocks, pull the L one out once and move it to the N side of the room. Pull out the middle block and get in into the NE corner, now theres one more block in the middle, pull it twice and go around to the next room. Its the room with the trapdoor in the ceiling, look on the ledge to the R for the lever, reach it by shimmying along the ledge to the corner where you can throw the lever and get a cutscene of an opening in a wall (1st lever for the Secret).
Drop from the ledge, head to the pillar you climbed before and go back to that crossing where you went L before, now go straight and finally drop into the room where the Torch Puzzle was. Go S and then L (E) through the familiar door to the Lake cave. On the ledge at the lake you have 2 options, go R over the path and back to the S side of the lake, or dive in and swim R, then L to the brick ledge with the wooden gate, look NE from there and spot that opening you saw when you pulled the lever after the block puzzle.
2nd Golden Skull.
First open the gate with the Jungle gem and go in, down to the water and go past those Shiva statues to the SE corner, find a lever behind the plants and throw that to open the gate to the Secret. You have to go back for this, go back to the wooden gate and dive into the Lake, swim L then R (N) and follow the side of the green island till you see a little ledge sticking out, here you can climb up (this Monkey can be trouble, so you can take it out if necessary) go up to the wall and follow that wall to the S, then L around the corner and hop around the corner to reach the opening you saw before, go in to get Secret#3, a 2nd Golden Skull. Go out and dive into the lake to swim back to the wooden gate, go through and dive into the pool at the Shiva statues. Take a big long full of air and swim into the tunnel W, keep swimming and go sharp around L corners till the current takes you and you finally make some nice progress, the level ends.
Level 3- The Lost Temple. (George Maciver)
Secret 4-5: 
Temple Star.
Stay close to the ceiling of the tunnel to find the hole up in the end and go up for air fast. Climb out and go E, all the way in the back is a pool, dive in and swim into the hole in the bottom, swim W and follow the tunnels up to a room with 2 Natives, one of them will leave a MP, go into the NW room and get the Temple Star from the pedestal. Get back into the water and swim back to the pool, get out and head W and at the 1st pool to the NE corner.
Jungle Gem.
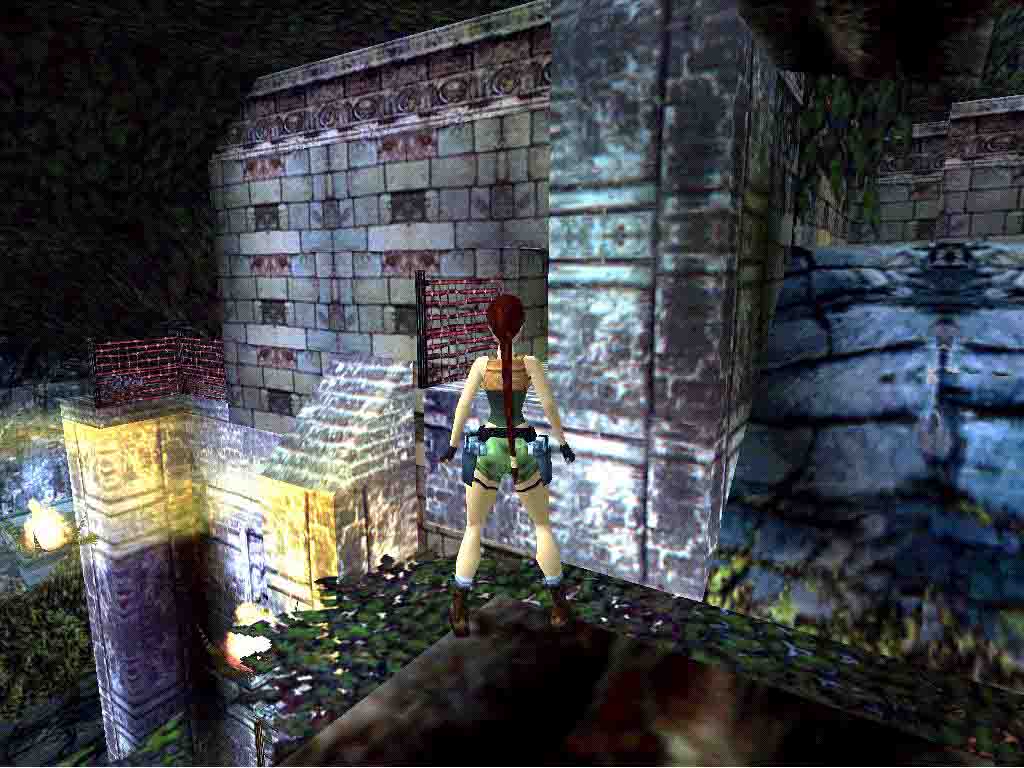
Climb up to the ledge on N wall and follow around to the SW corner, the 2nd Face tile to the R is a pushblock, push it all the way to the end and shoot the Native behind you to get his Jungle Gem, then go up the passage opened to the L and open the door on top of the ramp with the Gem. Go out the door and youre on top of the Huge Temple. There are some burning pillars you have to cross now, go L and find a switch, its Timed. Save in front and pull, hop back twice, turning R so youll face the pillars, runjump/grab to the first, pull up and runjump to the next, walk back so you can do a runjump/grab to that ledge ahead.
2nd Temple Star.
Go N and runjump into the passage there, follow to the next room and standjump/grab the ledge, shimmy L and pull up near the pillar, slide and jump sharp L to land on the W ledge, runjump to the brick ledges W and go over to the end, runjump to the ledge in the wall and head L to jump into the S opening, go over the ledges to those Fire tiles and shimmy to the most outward corner, pull up and standjump/grab to the other side, shimmy to the ledge and head for the passage E, go up the ladder, off to the L and in the next room a runjump onto one of the sloped sides (N or S), shimmy to the other side and there you can do a safety drop into the room below. First run to the N (L) to have some room to move and then shoot the 2 Natives, collect the Silver Temple key and 2nd Temple Star.
1st Eye Piece.
Go to the S side of the ledges and use the Silver Key to open the door next to it and hop into the higher room to get the 1st Eye Piece. Run out of the room for obvious reasons and just keep running till you drop into the pool below. Go out W and to the next room to use the Temple Stars on the pillars in the red light district, a trapdoor opens in the pool.
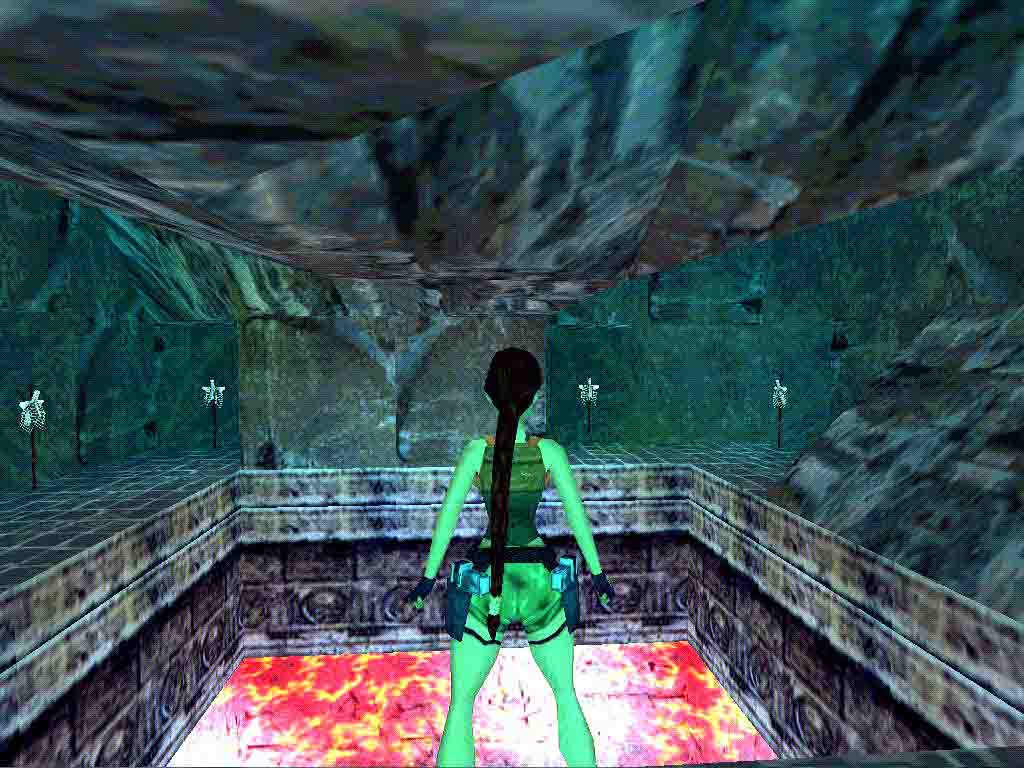
Burner Pool.
Swim into the next hazardous room, in the middle youll find an air pocket, flames shoot out of the blocks around you, face S and swim for the R hand side of the R hand block close by. On the side of it is an UW lever, pull that and go back for some air if you need it, then swim into the NE corner and look on the R hand block there, throw the 2nd UW lever for opening the trapdoor, swim back up to the ceiling and on your way over to the air pocket youll find the hole up in the ceiling where the trapdoor opened.
The Torch.
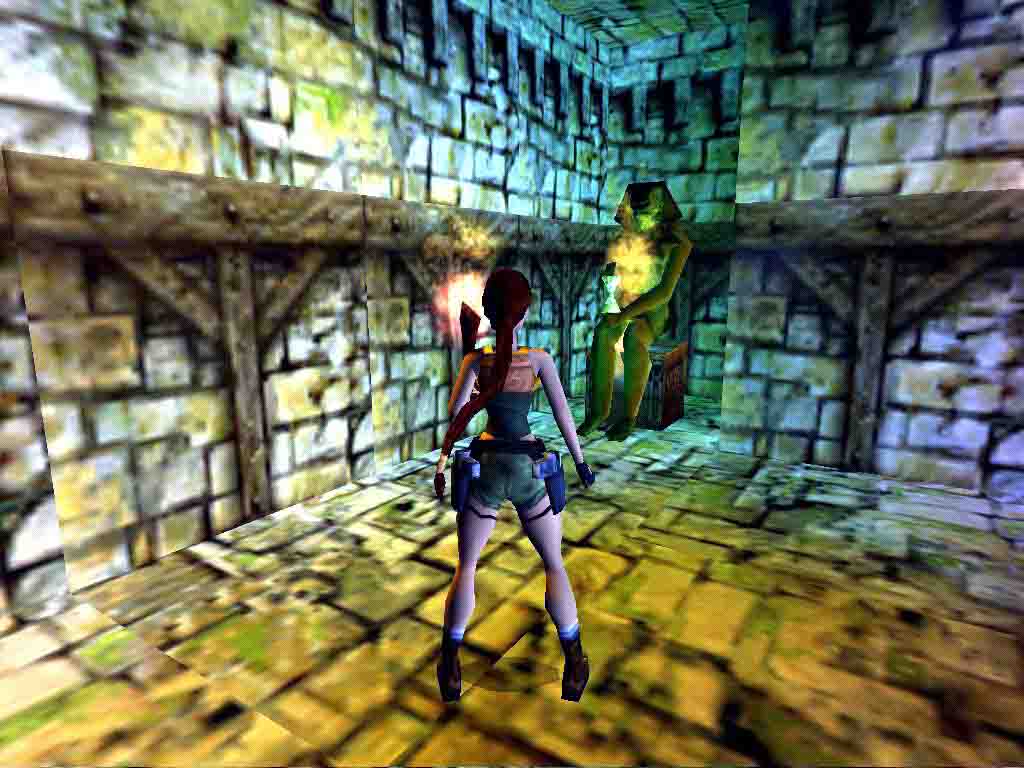
Go up and come to a dark room, go N and pull out the block in the E alcove, move it all the way into the alcove with the face tile, across the room and a door opens (to a Secret). Go into the room where you pulled the block out and go to the room beyond, get Secret#4, Ammo and a ½ MP, go back to the previous room and shoot all the vases to get all the Goodies and finally pick up the Torch. Go out and hop onto the block on the N wall, runjump onto the higher block E and from there a standjump with a L curve to land on the 1st floor, go into the NE corner and find the wall torch where you can light yours, notice the door and head S, into a lower room with Shiva statues.
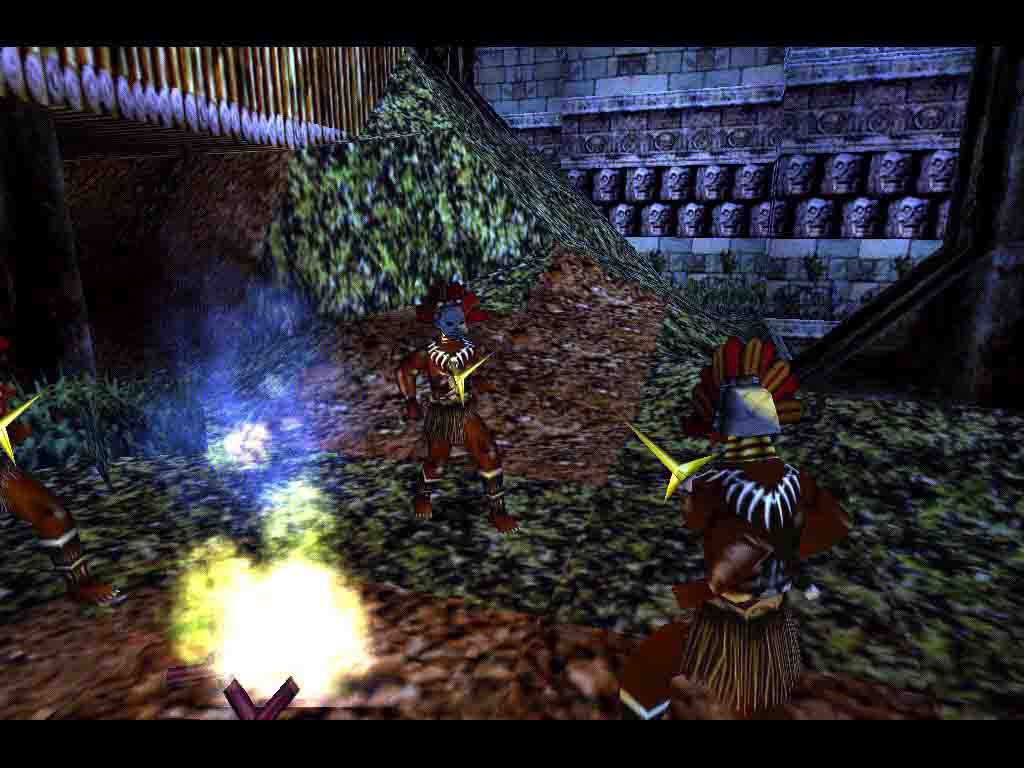
There are 2 skeletons at their feet, set fire to those Skellies (At the side of their head) and do this one by one as you have to shoot the Mutants that will be set free, one leaves the Silver Temple Key and the other the Gold Temple Key and they will fit the locks next to the S door, go into that room and wait up a bit, there are Spike-traps, walk slow and 2 of them go up, the 3rd is there, but will only go up if you attempt to cross that spot. Just sprint through and get the Temple Star, sprint back through the Spikes that are up (after checking the health), go get the Torch again and go back N to where you lit the Torch before. Open the door with the Star and follow the passage up doing runjumps, taking the Torch with you.
Block Puzzle.
In the next room are 4 pushblocks in the W wall, drop the Torch near the hatch in the ceiling. Have a look at the graphic and push in block 1 and 2 once, then move #3 to the L (S) wall and then push block #4 in, get block 1 back out and move it to the NE corner, pull out block 4 out twice and go around for the switch, that will open the gate back in the room.
Go through the gate and slide down the slopes. Crawl through the crawlspace to a huge room with walkways. Go R and through the short passage, look around the R corner for a switch that will open the hatch near the Torch, so go back through the CS o the room where you left the Torch, pick it up and hop into the passage over the open hatch. Light the wall torch inside to bring out a rope in the room where you pulled the switch, leave the torch here and go back to the huge room through the CS.
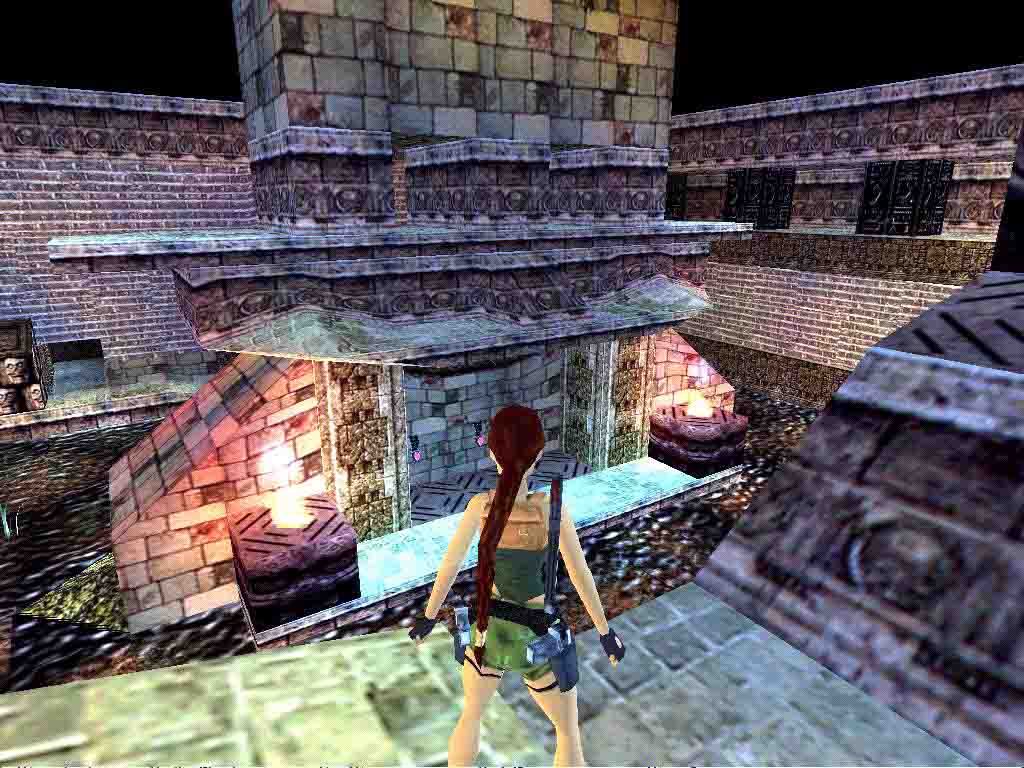
Go to the S passage and runjump/grab the rope, swing across and follow over the rope bridge to a lava room, runjump to the sloped pillar and grab up to the grated monkeyswing, go all the way to the other end (spot the opening L) and turn R, drop to the slanted block, grab the edge and pull up/backflip/roll/grab the wall under the opening, go up and in and over the next rope bridge to the huge room, look R and spot the pillar you can reach with a straight long runjump, then go N with a runjump/grab and runjump to the ledge with the door.
3rd Golden Skull.
Go past the door to the other end of the ledge and jump over the pillars to the s wall, runjump/grab the crack in the wall and go R to the CS, follow that looong CS to the middle rope bridge and go into the next passage, a door opens up R, climb up to the top of the room with the monkeyswing, runjump to the ledge and go to the pedestal, shoot this Monkey as its a black/nasty one that will try to push you off the ledge and go get Secret#5, the 3rd Golden Skull. Go back to the other end of the monkeyswing ledge and runjump/grab to the ladder on the wall. Go down and drop/grab to the opening, follow back to those pillars in the huge room. Now go over to and in that door, a large room with 4 caged Mutants, a Shotgun on a pedestal. go around that Skellie and get the Shotgun, test it right away as 5 Mutants are attacking. One leaves a MP, go to the NW corner and into the cage to get the Gold Temple Key, go out and to the R, into the SW cage to get some Ammo.
2nd Eye Piece.
Go use the Key on the door N, run back out again to take care of the Mutant storming out and go back in to get the 2nd Eye Piece, pick up Ammo on your way out again. Go to the far SE cage and light a flare to spot the Torch in the NE corner, get it and go to the pedestal where you got the Shotgun, light the Torch on the standing lamp and go light the other 4 lamps too. Near the NW cage is a trapdoor open now, lose the Torch, go there and hop down, follow to the end, a gate opens for you, go R and use the combined Eye parts on the big door, go through the murky water to the door in the end and the level ends.
Level 4- Village Ruins. (Todd Schurtz)


 Secret 6-7:
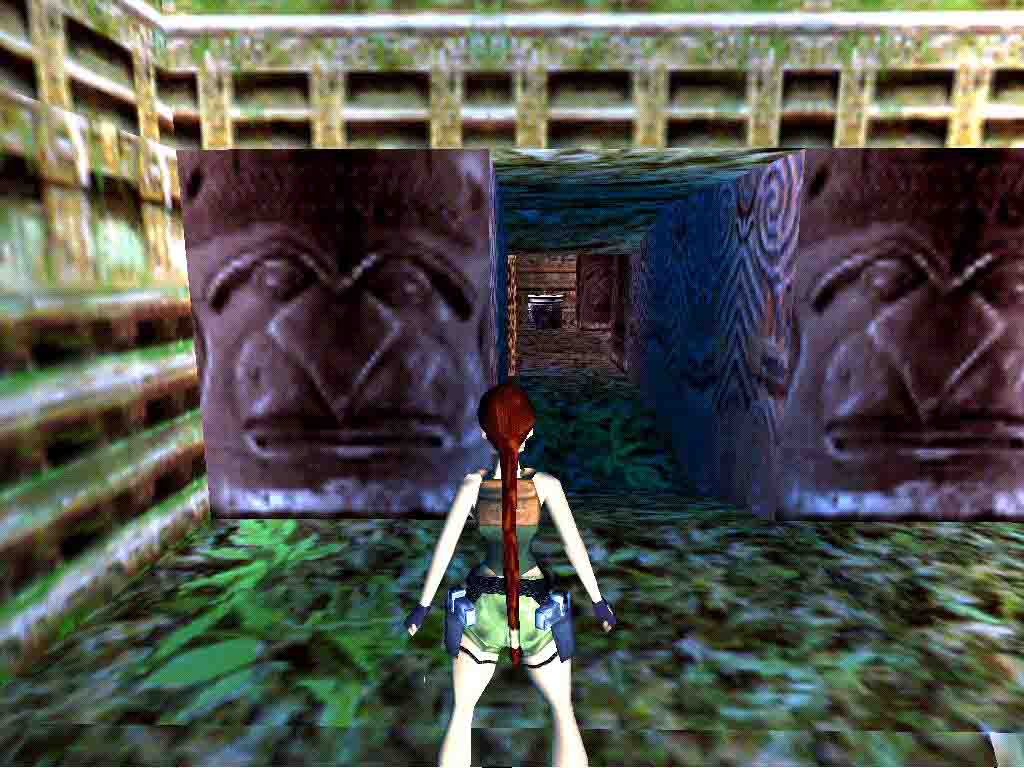
The Jungle.
Go jump onto the higher path and turn R into the W passage, jump over the rocks in that narrow crevice to find some Flares in the back and to the L, return to the E and go up the S side now. Go into the back of this small cave and climb up the block to hop to the higher part of the Jungle, turn to the N and walk up to the root of the tree, standing on the edge of the gap to the L, turn R a bit and spot a green ledge on the N side of the tree, take one step back S and then hop back once, do a runjump along the edge and jump with a sharp R curve onto the green ledge, jump up NE once more and then jump S behind the tree to get the ½ MP.
Go S and jump to the lower part again, go on to the end and up the rocks to the L, through the cave tunnel and down some ledges to a small valley with a deep pit, jump over the pit to the NE and get the Flares from the bush, get back to the W side of the pit and climb down backwards along the pillar SW, go R around the corner and drop to the flat surface, turn R and go into the lower part to continue going S, find a hole in the cave floor and go down, to follow to the Hidden Village, a Flyby shows you around and ends at a switch on a ledge.
To The Village.
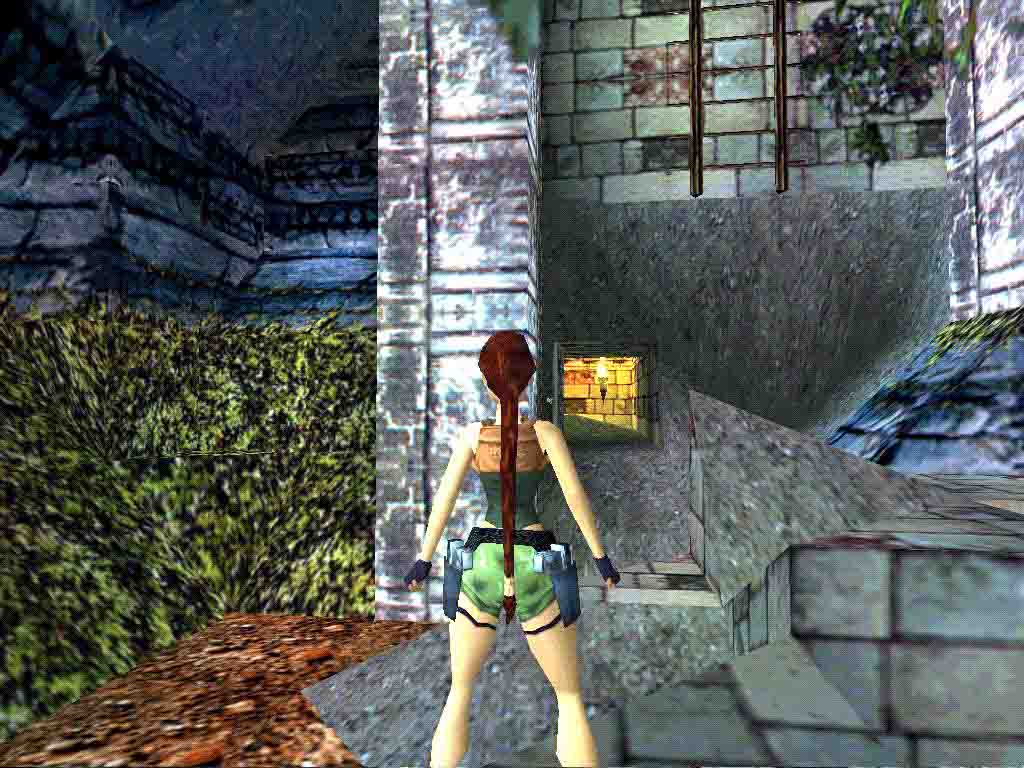
Go to the S side of the tree in the S and climb the ladder till you are over the leaves, backflip/roll/grab the edge of the wall and go shimmy R to a ledge with a switch, pull it to open a gate N, runjump/grab back to the ladder and go down and go L to a pushblock in the end of that SW passage, pull/push it all the way onto a Tile in the N alcove where the gate opened, now a trapdoor opens in the passage where the block was. Just run in and slide into the water, climb out and from the room with the pillars head S to where youll get a flyby of Natives at a Campfire, first go into the passage to the R there and up a ladder in the back.
Go on to where you get another flyby and this Native will be coming straight for you, so after you took him out, runjump up to the black rocks N (on the lowest middle part) and head down from the other side to land on the ledge with the bamboo fence, walk to the R and jump onto the lower N ledge from the end, follow to the end and look L, theres a pillar you can runjump/grab to. Climb into the tree to the L and turn around, jump onto the brick ledge N and runjump to the NE ledge, look for the hang bridge L and run over that, jump the last part as the floor will give way. Follow the ledge to where you have to runjump/grab to a tree and then climb back down from that branch, climb all the way to the L and drop in the end, go to a door that needs a Mask, a flyby will show a gate below.
Slide down SE and from the ledge there you can runjump and grab the pointy branch of the tree S, shimmy L to a green ledge and follow this one to the S most end runjump with a L curve onto the green ridge to the L and grab, shimmy R to where you can pull up and standjump to the next green ledge SE, standjump up to the ledge in the corner of the tree on the E wall and from there to the green block SW. Face SE and runjump into the corner there, turn R and spot the ladder on the wall, go up to that switch you saw before in the flyby, a trapdoor opens. Now you have to go back to the N where you came from and heres the route. Go back on the ladder, down a bit and backflip to the grey ledges, standjump back to the green one NW and from there a runjump back to the branch N.
Run off to the R so youll slide backwards to the flat part below, standjump to the N side of this branch and jump with a R curve onto the green slope, grab and shimmy L, back to the N ledge. Go to the W side and drop/hang from the edge, shimmy R over the branch as far as you can and pull up, immediately jump from the top and curve R to land on the grass. Follow the slopes back up to the door and go back W a bit to grab back up to that branch you used to get here, climb R and from the end a backflip/roll/grab to get back to the brick ledges, go jump over the gap to the bridge and notice the Skull behind the bamboo fence (later). Once on top of the brick wall. turn L and go to that fence E, from there a runjump/grab to the branch S and shimmy L to the tree, jump to the S branch and keep going SE to runjump to the opening in the wall there and inside is that trapdoor you opened.
The Village Key.
Go down the ladder and from the block through the passage to a ladder you saw before while getting to the switch above, go down the ladder and a Native will storm in, wait for him and take him out, look carefully where he dropped and get the Village Key. Head back up the ladders and from the passage after the trapdoor a runjump back to the branch you came from, jumpgrab to the L side branch and from there you can do a sideflip L to land on the slanted part and slide/grab and drop safely to the forest floor, turn around and head into the opening S, go R at the campfire and get onto the black rocks again like you did before, now follow up W and just before you come to a wall, you can grab up to a monkeyswing.
Go swing to the S and drop on the mound there, turn L and hop over that little mound, a standjump with a R curve to grab a pillar in front of a passage to a gate, get the Ammo and get back out on the pillar, look E and spot the alcove with the keyhole, standjump with a R curve to get there and open a gate below with the Village Key, runjump out over the campfire below, to the grey rocks and slide, turn R and go into that gate SE. Follow to the Village.
The Village.
Watch the fly by, go carefully R and watch out for that deep pit, go to the campfire and
one of the Natives leaves a ½ MP. Go S from the campfire and look for some vegetation you can pass, go R at the corner and then follow to the s again, in the end R. look in the hut to the R there and see somebodys preparing dinner, a nice Dino-roast. Go W and keep along the wall to the L, go through the vegetation W and just follow the path, through a shallow pool to a square at a building go up the steps to the N and climb the burning block W (on the corner of course).
Silver Key.
Turn L and standjump/grab to the MS under the branch, go to the tree, drop/grab and climb around R, go up a bit and onto the E branch, to the end and runjump/grab to the ledge with the switch. Throw it to open the gate in the building N, drop from the ledge, go up the steps N and get that Silver Key from the open gate. Now go back to that campfire along the same path you came here and from the square there, head W, pass under a hut and go around the next one to the back of it, go up the sand hills facing E and come to the keyhole for the Key you have. Open the hut and go out on the balcony, go L and turn the pulley there to open a hatch in the hut behind you.
The Gold Key.
Go back through the hut and go L around the corner at the keyhole, slide down the hill and go L to the campfire, then into the S path, back to the hut with the Dino-roast you saw before (in the far S to the R). Go past the Dino-roast to the back hut and up the ladder to the roof, standjump to the NW corner and then a runjump to the flatter part of the N roof. Go to the N side and spot a MP on a grey rock while looking down, go get it with a runjump and drop from the rock, go back to the Dino-roast hut and up the ladder to the roof again, now jump straight down to the E tree and go around the L to hop onto the roof E, from the top you can slide down to the N tree and hop on the ledge R of the tree, jump/grab the ladder on the N hut and go up to the roof. Go R a bit to the top of the roof and find the opening, drop in to first get the Flares and ½ MP. Then get the Gold Key from the trapdoor and youll fall back to the entrance of the village.
Go back to the roof at the Dino-roast hut and now face S and jump straight up to grab the branch of the tree, pull up and go SW, jump to the branch there and shimmy to the R along this one and the hut to pull up at the flatter part of the roof, go over the top by crawling and slide backwards from the other side, grab the edge and look for a balcony with a gate, drop and use the Gold key to open the gate. Go in to turn the pulley and that will raise a platform in the Village, go out and jump to the top of the S roof, go over the top and slide backwards grabbing the edge, safety drop down and turn L (W).
Bronze Key.
Go back to the roof at the Dino-roast hut and go down the E side again, along the L side of the tree and go up that roof again, about halfway up, turn around and look for that branch W that sticks out to the platform you raised, runjump/grab to the branch, go R and pull up on the end, runjump to the platform and hop to the ledge (NE) between the tree and the hut. Save and look for that burner on the pillar N, do a runjump to the ledge behind it (landing as L as possible) and go up to the gate where you got Ammo before (from the other side) jump onto the ledge to the R and follow till a Native will come for you, shoot him to get his Bronze Key.
Go to that bamboo bridge he came from, leading S to the huts and go into the L hut and out the window in the back, go L a bit and climb the E rock, turn and jump/grab to the roof of the hut, you have to crawl up and go to the front of the hut to get Secret#6, a Monkey Idol. Crawl off the front of the hut and drop down, go to the S bridge and into the next hut, use the Key behind the block and climb up through the hatch that opened. jump to the SW platform and runjump over to the S side, stand on the middle of the W side and look SW to spot the grey ledge behind the roof, thats where you have to runjump to with a curve in the end of the jump. So Save and give it a try.
The Torch.
Climb higher and throw the switch to open that hut back below, climb back to the ledge next to the roof, run off N and slide to the grey rock ledge so you can get into the hut and use the pulley to raise a platform in those bamboo bridges where you went before. Go out of the hut and look for the pool below, get down and look E, theres a Skellie in the water that has a Torch. Pull it away by its skull and get the Torch, go N through the water and find some Ammo near the waterfall, throw the torch down the waterfall and look where it falls, then get the Ammo, drop down yourself, turn around and get under the waterfall to get a Shotgun to the L (in the bushes).
4th Golden Skull.
Pick up the Torch again and head W to the campfire, light the Torch and go NE, back into that passage you entered the Village from and head through the Village gate, L up the slopes to the W and into that passage to the ladder, throw the Torch down and follow down after it, pick it up, go S and L/L back to the room with the pillars, hop into an alcove S and the rope will burn, get out and enter the gate that opened N, follow up a looong and boring ladder to Secret#7, the 4th Golden Skull.
The Snake Stone.
Get down again and go back to the room with the pillars, S and back to the ladder to go up again, onto those black rocks again and down to the ledges with the fences. Follow the same route back up to the top of the wall and go N over the bamboo bridge, runjump to the tree E and now you can go crawl straight to the next bridge because you raised the platform. Drop/hang from the side in the end and shimmy R to the ledge with the Skellie, pull it away and crawl to the Snake Stone. Go back as you came here and crawl over the tree trunk, climb off the other side and when Lara hangs, backflip/roll/grab to the brick ledges, go over the bridge to the top of the wall and then the SE route over the branches to that opening in the wall and down the ladders to the canyon floor, head N and L to get to the gate that needs the Snake Stone, Open the gate and go to the next level.
Level 5- Lost Caves. (Todd Schurtz)


Secret 8-9: 
Slide down the sloped cave and follow to a cave with a waterfall, behind it you can just see a switch, go up along the E side to a ledge with a closed door (Timed and youll go to this door in a bit) and walk to the corner of the fence, close to the waterfall do a runjump with a sharp R curve to land on the slanted rock behind the waterfall, sliding off backwards and grab, shimmy L till you pull up on a ledge under the switch, jump in and Save in front of it as its a Timed switch.
Timed Run.
Pull the switch to open the door on the N ledge, roll and while turning L, runjump out with a L curve to land on the green ledges next to the waterfall pit. jump up to the E path, turn L and sprint with a curve to the L to get to that door N, go in to the Lava cave.
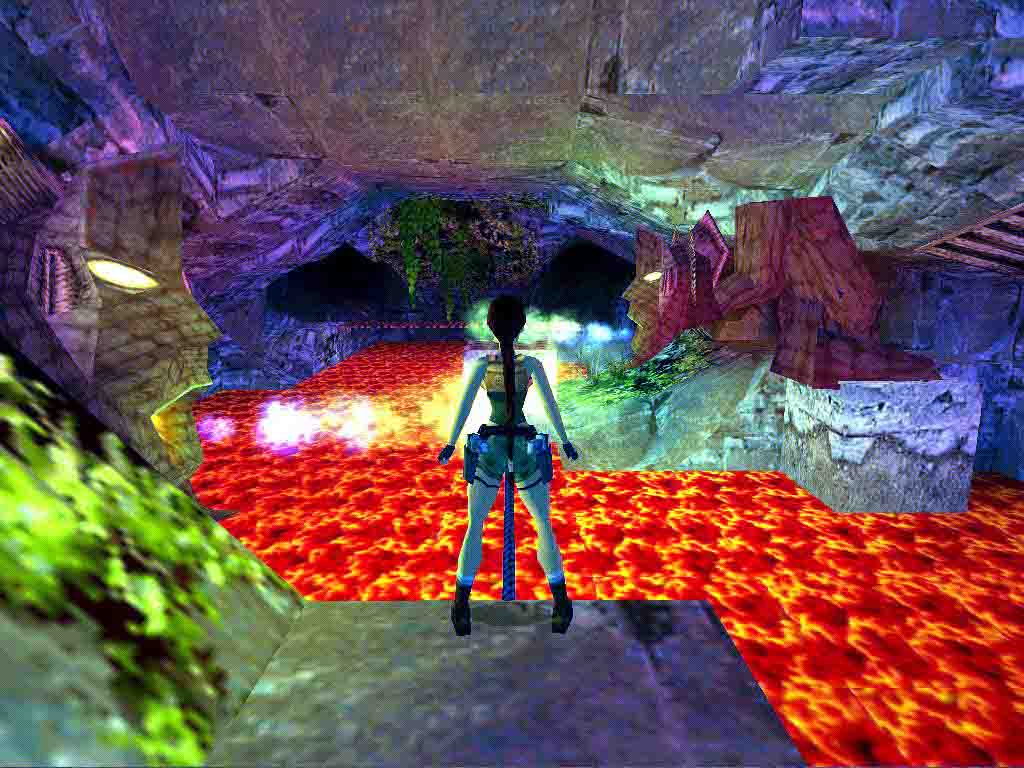
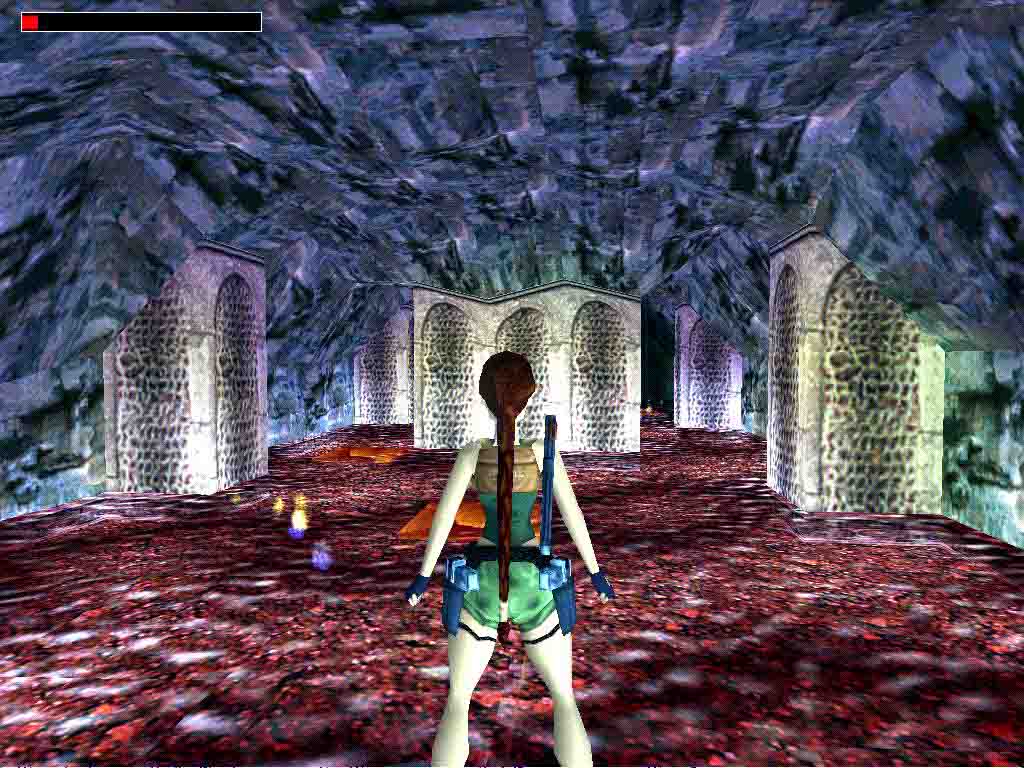
The Lava Cave.
Go on and walk onto a bridge, have a look to the L to spot those great characters in the back. On the other side (N) of the bridge, you can go into a cave and find a pushblock in the end, pull it out so you can enter behind it and go to a ladder, climb it from the W side and go to the end of the upper passage drop/hang into the hole and drop/grab the jumpswitch, which will stop flames on a block in the Lava cave. Go back to the other side of the bridge and head W, onto the block and save in front of the tightrope.
Tightrope.
Its a matter of timing AND balance, you have to stand still if youre too early at the burners and go on again when you expect the burners to go off, on the other side is a block N of the fire Guy, climb it and go up to the N ledge with the 3 switches. Use all switches once and the L one twice (that will re-open the entrance of the Lava cave). The one in the middle will open the room where the Skulls have to be placed (back at the waterfall) and the R hand one for the trapdoor where we go to now.
Go down from the ledge and head S to a crooked MS, runjump/grab to it from facing SE and you will drop on the other side, Go E and to the R, back through the entrance door to the waterfall room, hop into the water and swim through the tunnels to a pit with a ledge, climb up and hop to the ledge with that trapdoor youve opened, go up and see the remains of a Raptor. Head W and come to a burning pillar, go L and in that cave is an opening in the S wall, follow to a room with pools and pits. Go into the lower passage W and find the switch in the NW corner (screen of a door) Go back up to the pool and dive in, use the UW lever on the N wall (2nd screen of that door), climb out on the SE side and get the MP from under the plants S of the pool. Climb the ledge behind the plant and go through the opening, just L of that opening in the new room is some Ammo in the bush.
The Silver Key.
Go W and youll get a flyby of a Native escaping. Go to the NW corner, theres is a ½ MP, then head back to the pool N and out N to the burning pillar, go look for that Native that seems to have escaped to the Lava cave, so go all the way back N to the burning pillar, then R (E) to the trapdoor area and up the ledge behind it, go up in the NE corner vegetation and find a hidden passage in the N wall, go in and shoot a Native, get the Silver Key he will drop. Go back out and all the way back to that room beyond the pool (where you got the flyby of the native escaping), so go W, L at the burning pillar and S all the way. Go straight in to the lock for the Key on the R hand wall, use the Key to lower the Spikes in the plants L of you and use the jumpswitch just around the corner, finally that door will open (3rd screen of that door).
The Torch.
Go back to the pool room S and then to the burning pillar, go L and to that door that opened NW, follow up the ramp with standjumps along the R hand wall and go up to the broken bridge near the burning pillar, runjump/grab to the other side and go L, shimmy past the Skellie as thats a Spike-trap and pull up at the Torch in the grass, a cutscene shows where the Torch can be lit. Go down and head E, past the trapdoor area and up the ledge, into the NE corner and into the passage where you got the Silver Key, go to the end and throw the Torch through the gap. Go out and straight to the open gate L in the E wall.
Youre back in the Lava cave, use the MS to go over to the E and over the bridge to the N cave, follow all the way to that ladder in the end and there you will find the Torch again. Go back here after lighting the Torch. Take it with you, back over the bridge and out the S entrance door, at the waterfall down the E path and into the open door SW. This room will be visited later too. At the pushblock is a wall torch to the R, light yours and go back to the gap you came from, throw the Torch through and head back over the bridge. Two possible routes here: Go through the water tunnels at the water fall or use the tightrope once more to get to the other side, go out the gate and R into the hidden NW passage to get the Torch again.
Go back out, go W and to the R at the broken bridge, down the ramp and find the first wall torch in the niche to the R, light it to open the gate, leave the Torch here for now and go in.
The Gold Key.
Follow the big room almost to the end and then go R. Youll find the Gold Key on a pedestal, take it and return to where you left the Torch, pick it up, go up the ramp and go R past the burning pillar to that door E, open it with the Key.
If you dont have 4 Skulls in the backpack at this point you can enter here to leave the level.
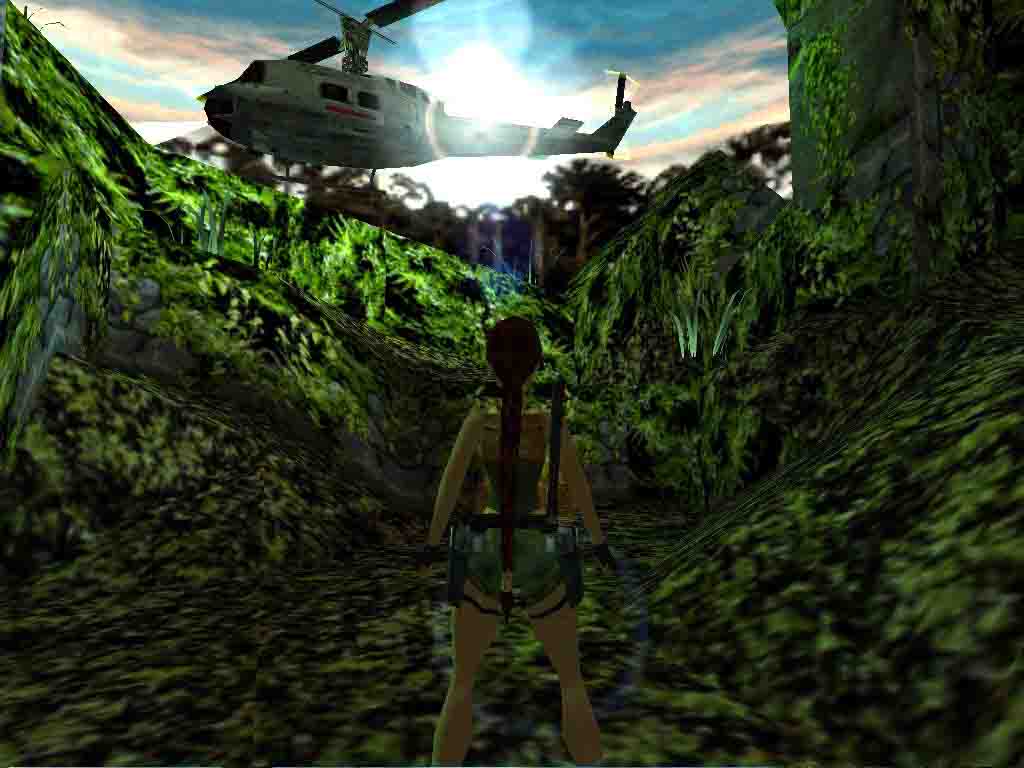
Go into the open door and follow the caves to where the Chopper is waiting for you and the level ends.
But if you DID follow the walk and have the 4 Golden Skulls you can now move on
Let that door be and go into the S cave at the burning pillar.
In that cave you will find the second wall torch. When you light it a ceiling hatch will open L of you, drop the Torch as youre done with it and go up in the hatch. Heres a Boulder-trap, go up against the L wall and after the first jump, run against the small ridge, Boulders come (or maybe only one), just duck and wait it out, Now follow the passage, crawling and climbing to where Secret#8 is located, pick up the Monkey Idol and the Mask (for that door in the Village).
For the 5th Golden Skull.
You can spot the 5th Golden Skull through the bamboo fence. Go back to the Boulder-trap and go down along the R hand (N) wall, down the hatch and to the burning pillar, go E and back to the trapdoor area. Now you have to go back to the Village, you can either return through the water or through the Lava cave, thats up to you. From the waterfall cave go out S and climb up the steep ramp to get back to the Village.
Village Ruins (revisited).
Head SE and go up the ladders again, out to the tree tops and runjump L to the branch again, then jump/grab onto the branch L of the tree and from there a runjump/grab to the brick pillar N. from the top of that one a runjump W and curve R to land on the top of the wall, go over the Bamboo bridge, the stone ledge and runjump/grab to the branch, climb along the branch to the L and drop near the door where you can now place the Mask. Go into the door and follow to the Lost Caves again.
Lost Caves (revisited).
Follow the rooms to where youll find the 5th Golden Skull on the pedestal, go to the waterfall and notice the open trapdoor, dive in and the current will take you right back to the Waterfall cave. Climb out E and hop onto the E path, go SW and into that open door where you lit the Torch before.
The Skull Room.
Go L at the pushblock to get to a room with a closed door and a trigger Tile in the corner, look to the R and push the block once, go around through the passage and pull the block as far as possible, around again and push it in the corner, go on like this till the block is on the trigger Tile and the door to the Skull room will open (you can use the trick to runjump through the corner of the block sometimes when the block is in the corner of the passage, so you wont have to go around all the time). Inside are the stands for the 5 Skulls they will all give the same screenshot of that long ladder and the last (or first two) can be reached with a shimmy along the N wall of the pit (placing the last Skull will cause the wall behind that ladder to collapse although you dont see that), go back to the exit of the room.
Go R and exit the waterfall cave through the S door, go up the middle block of the steep ramp again and out through the Snake Stone door, in the canyon go SE to where that long ladder used to be. The all collapsed and reveals a door with a switch, pull the switch, go in and safety drop into the hole in the floor.
Bonus Level- The Temple of Water. (George Maciver)

Youll land in shallow water, go straight E and come to the Shallow pool.
The Shallow pool.
SE structure, Jungle Gem.
Go to the SE structure and down the stairs inside to come to a dark room with pools, go over the bridge to the E and R in the end, dive into the water there and swim into the plant covered opening in E wall under the ledge you were on. Climb out in the other room and be careful with the Skellies as that are Spike-traps, head into the SE passage and after dealing with those Mutants, climb the SE corner of the burner block in the next room, standjump/grab to the ledge E and go up once more, dont pull up when you grab up to the 3rd ledge, just shimmy around the corner and pull up at the Jungle Gem, a Wraith appears, go back the way you came and drop from the lower ledge, get to the water fast and swim back to the pool with the bridge, climb out E next to the bridge and go open the gate with the Gem.
Timed jump.
Strand in front of the N slanted block, facing S and take a step S, backflip onto the block and jump/grab the upper ledge, save in front of the switch as its timed. Pull, hop back turning R and jump onto the E burner block, backflip and the jump/grab the ledge E.
The Sea Hags.
Go down the sloped passage to a small room with a hole in the floor, run in grabbing and land in front of a red block. Drop down one more floor and get a MP W, better take a MP before you dive into the pool E, theres a Sea Hag there and an UW lever in the end of the tunnel, just pull the lever and get back fast after you noticed that UW door near the lever, you can now swim back to the halfway room with the red block which has lowered and reveals a switch that will open that door below at the UW lever, so back you go, past that nasty Hag (if you didnt get a chance to shoot her) and into the UW door.
Another Sea Hag comes out to play, follow the room to the R and climb out to look for an opportunity to shoot her. Chance position around the hole if she wont show herself. Now swim back into the lower room and find a deep shaft down in the bottom. All the way down and into the N tunnel, just after you swim in theres an opening in the ceiling on the R hand side is an UW lever, throw it and go back fast, past a Sea Hag and again up to that opening where you can climb up and shoot her.
Blockburners.
Look in the room here for a block that went up, climb the block and just grab up to the upper ledges, dont pull up yet, go into a corner to pull up and get to the safe corner Tile, get the MP when things are safe and see another block in the opposite corner, you need to move that block to the corner where the MP was without getting burned (ha). So Save and have a go at it (You can also shimmy past the block along the outside)
1st Snake Stone.
Once done go down and to the SE corner of the room where a block lowered, revealing a lever that will open a trapdoor down in the deep shaft (cutscene of a Snake Stone). So take a swim again, down the deep shaft and find the tunnel opposite that UW lever you used before, swim up through the trapdoor and climb up in the room with the 1st Snake Stone. Go back to the water and get in facing W, that gate in the tunnel opened up, so you have a short (well short) cut back to the pool at the bridge, another Sea Hag will come for you, so keep on following the tunnel up to the pool and quickly get out near the bridge again (SW).
Silver Temple Key, the Torch and the 2nd Snake Stone..
Shoot her and go look for an UW lever in the W wall (NW corner) of the pool and a gate will open up, go out of this room in the W and back up to the Shallow pool, to the SW corner where that gate opened. Inside you will find a room with a small pool. In the pool, on a pedestal is the Silver Temple Key, next to the pool on both S sides are a MP and Ammo and more Ammo NW. Then go to the pedestal NE to get the Torch, light it at the campfire. Now head into the dark E passage and thats what the Torch was for, follow to the end with some nasty surprises and Im sure youll head in the wrong direction once or twice after each battle. Go get the 2nd Snake Stone in the end and a Native will attack and leaves a MP behind.
Go back through the passage, loose the Torch and head back up to the Shallow pool. Go to the waterfall in the S wall, open the gate there with the Key and go up the ladder inside, do a runjump/grab to the lowest (L) side of the ledge on the central structure and go over the L side ledge to the N side, notice the switch over on the W wall there. runjump/grab into the N gallery and shoot that black Monkey, go SE and runjump to the roof of the structure there and a Wraith appears, you can get rid of that in the pool where you got the Torch before (SW. couldnt get rid of it in the shallow water).
Timed Run for the Waterfall Gates.
Make your way up to that structure where the Wraith appeared and go past the receptacle to the S side to notice some gates above the waterfall, they are Timed gates and the switch (you already saw) is in the W side of the room so well get back there now. You can jump to the switch from the lower W ledge at the pillar, Save and throw it, runjump/grab to the E ledge, turn L and jump onto the higher N part of the pillar ledge, runjump/grab )if you are running straight N you CAN just do a runjump) to the N gallery and sprint E, turn R and jump to the roof, then to the ledge on the next structure with the Monkey and curve R to the corner of the roof to do a runjump with a L curve, grab and pull up into the open (hopefully) gates. Go into the opening E and follow through all the caves to a deadly pool.
Deadly Pool, 3rd Snake Stone. (see Graphic).
From the highest point do a runjump to that breakledge in the pool and a running jump to the next. Let Lara run to the other end of that ledge and standjump to the next, one more standjump and then a running jump ignoring the ledge close by, but land on the ledge at the R side of the wall. Turn L a bit and a standjump to the next, a running jump from that one and a last running jump/grab to the ledge between the blocks, runjump/grab over the next part of the pool to get the 3rd Snake Stone. The pool becomes safe and you can just run back all the way to that small pool at the waterfall gates, go L and into the W opening, down to the pool where the Torch was. Make your way back up to the Shallow pool.
Go E a bit and then L to end up at the W side of the N wall with the ledges on top, the Snake Stones can be placed there. The NE gate opens, go in, around the Skeleton and come to a Dome Room.
The Dome Room.
Safety drop to the ledge and then to the floor below, get into the water for the Wraiths and swim down to the for the MP in the SW corner, swim back up and climb out N, go over to the NW corner and jump/grab up to the 1st floor on the central structure, climb up again and go over to the E wall of the room and climb the block there. Stand facing N, look a bit to the L and you can already see the safe ledge you have to get to. Save and standjump/grab up to the sloped block N, slide and jump, slide/jump 2 more times and you are on that ledge.
Runjump/grab to the central structure and hop around the corner to the W side, a runjump/grab to the opening in W wall and walk the tightrope over the deadly water, go up the ladder and backflip/roll off into the passage above, go out to the top of the Dome Room and runjump to the ledge near the Star, look around and notice the 4 switches on the ledges.
For the Temple Star. Graphic.
Save at the switch on the N pillar and throw it, hop back turning L and runjump with a L curve onto the ledge with the 2nd switch, use it and roll. Run turning R and jump back to the ledge with the first switch, standjump to the one with the Star and land a bit R of the Star, run with a L curve over the corner of the burning Tile and jump to the ledge with the 3rd switch grab it in the last moment, throw the switch, roll and run with a L curve to jump/grab back. Pull up and standjump to the ledge with the 1st switch run with a L curve and from the corner a jump to the last ledge with switch #4, roll again and runjump back with a R curve, jump to the Temple Star and get it.
Runjump/grab to the ledge S and then a R curved runjump with a grab in the end to land back in the entrance of the room, go back to the Shallow pool and make your way back up to the top ledges by going up the ladder under the S waterfall (remember?). Over the N gallery to the E and place the Star in the receptacle on the ledge with the Monkey. The gates behind you open up, climb the ledge N of the Star receptacle and runjump in with a grab, one gate closes as the next opens and you are in a red room with a lot of Spike-traps and Death pools.
The Jungle Stars.
Go L and get the Ammo near the black pillar, then go to the S side and find more Ammo. To the other side of the switch there is a MP, Save in front of the switch and throw it, a flyby shows the lowering of a wall and gates that open up, Raptors and a Wraith come in, sprint to that lowered wall E (R side) and get the 1st Jungle Star from it, shoot the Raptors while running and head N (L side) for that lowered wall, get the 2nd Jungle Star, watch your health constantly and run to the W wall (R side) to place the 1st Star, sprint to the S wall (L side) and place the 2nd Star, the gate in the NE corner re-opens.
Get over there fast and sprint in, go L (NE) in the end and just run into that hole in the floor, take a MP while going down and when you land in the pool a Sea Hag will attack so try to get out and shoot her before you get rid of the Wraiths in that pool.
If you survived all this :D you can climb out and get onto the ledge NE and throw the switch on the back of the pillar (screenshot of a gate). Now go W and from the shallow pool to the next one N, go R to the waterfall and find the Silver Temple Key to the R under the falls. Go out and NE to get onto a low block, from there jump SE and then S, around the corner and from there with a L curved runjump to a ledge up on S wall, then go jump W to a switch that will open the gate you saw before, Slide down and notice the receptacle for the snake Stone W of the circular pool. Head back S and up (you can jump up the NE corner of that green sloped ridge) to the E to that first pool (Sea Hag).
The Snake Stone.
Go up in the SE corner and to the next cave where that gate opened, go in and use the Silver key to open the gate to the Snake Stone, take it back to that circular pool in the W caves and open the door there. Go through the door and back to the previous level.
Lost Caves (revisited).
Follow to the wooden gate that will open for you and head N (R) and dive into the pool under the waterfall, swim to the bamboo trapdoor. Climb out and head W to that door you opened with the Gold Key before, follow the caves to where the Chopper is waiting for you and the level ends.
Great series!
10-05-2005.
Unauthorized Walkthrough D&G Productions.
![]()
Az oldalon közölt képek, a szöveges tartalom, illetve minden sajátkészítésû anyag, a © TR Editor.hu tulajdonát képezi. Azokat semmilyen formában nem lehet reprodukálni, másolni, terjeszteni, csak a szerkesztõség engedélyével.