
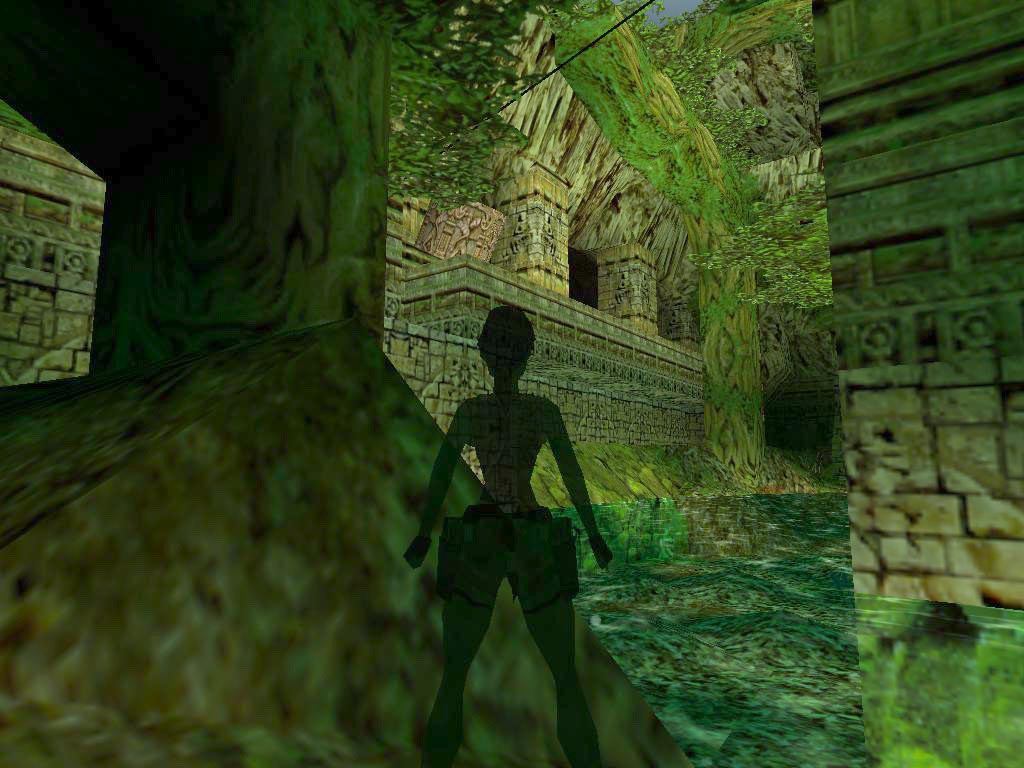
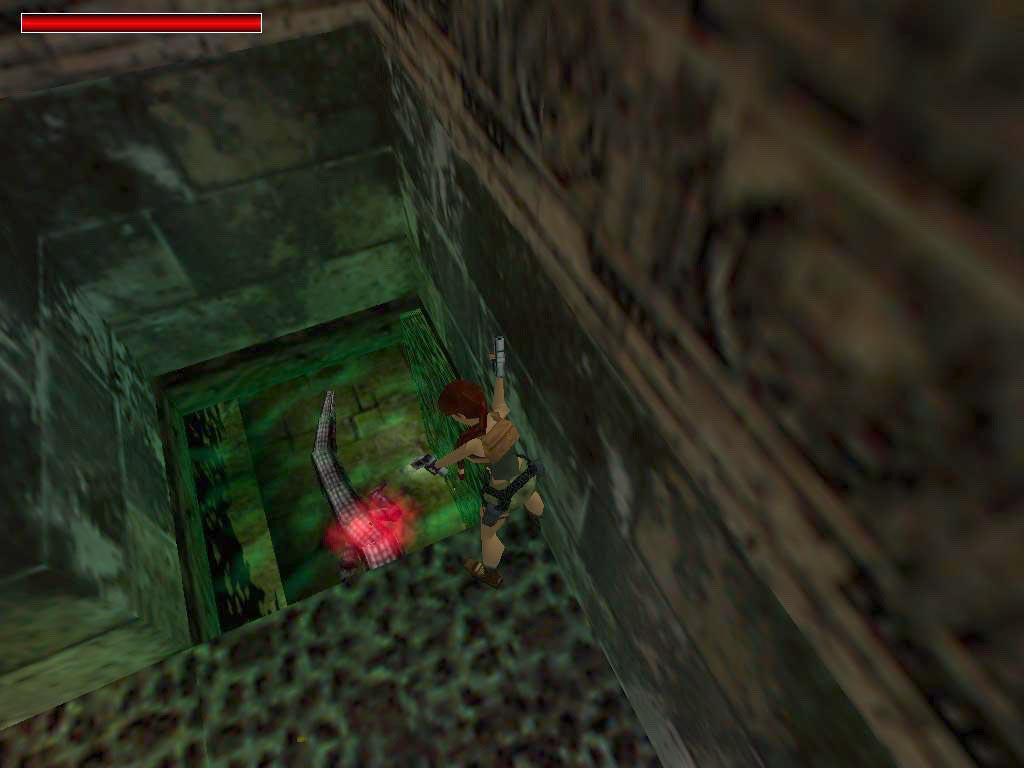
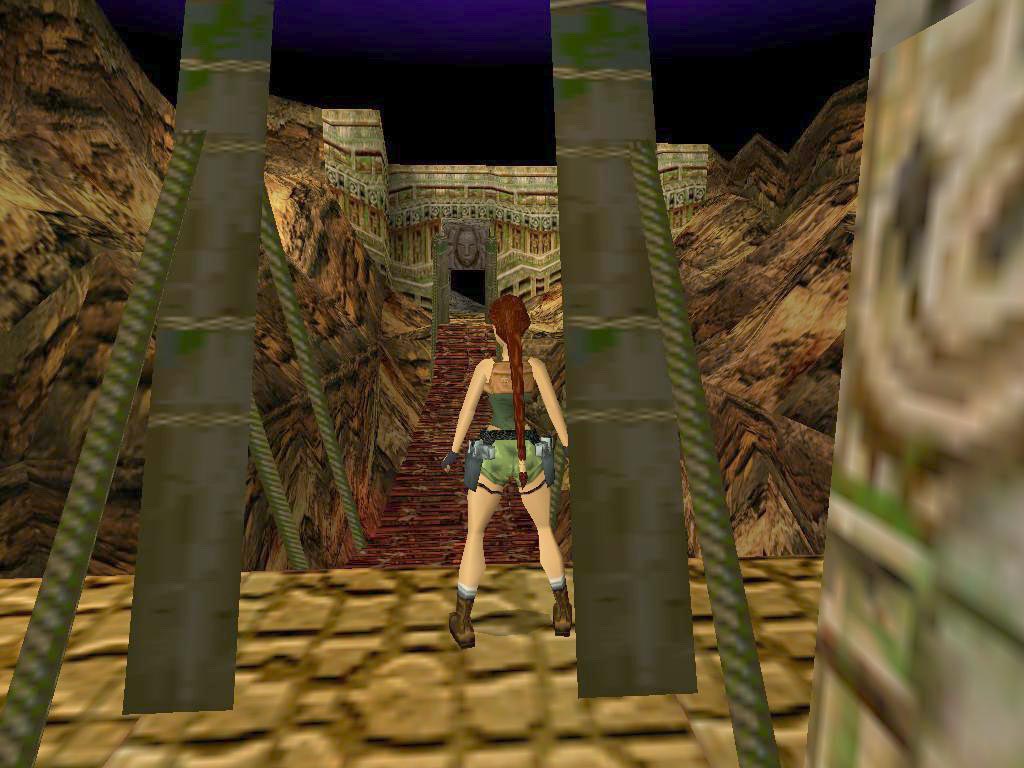
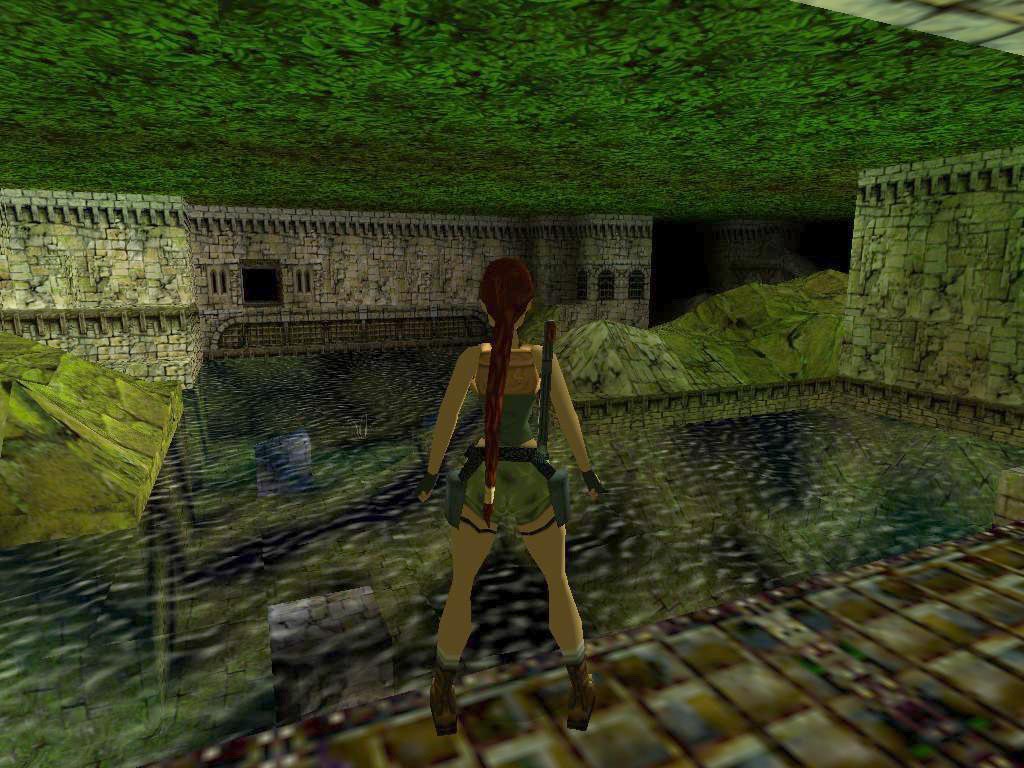
Jungle Ruins 1.
Author:George Maciver (George M) & Todd Shurtz (Raider X)
Download: Here
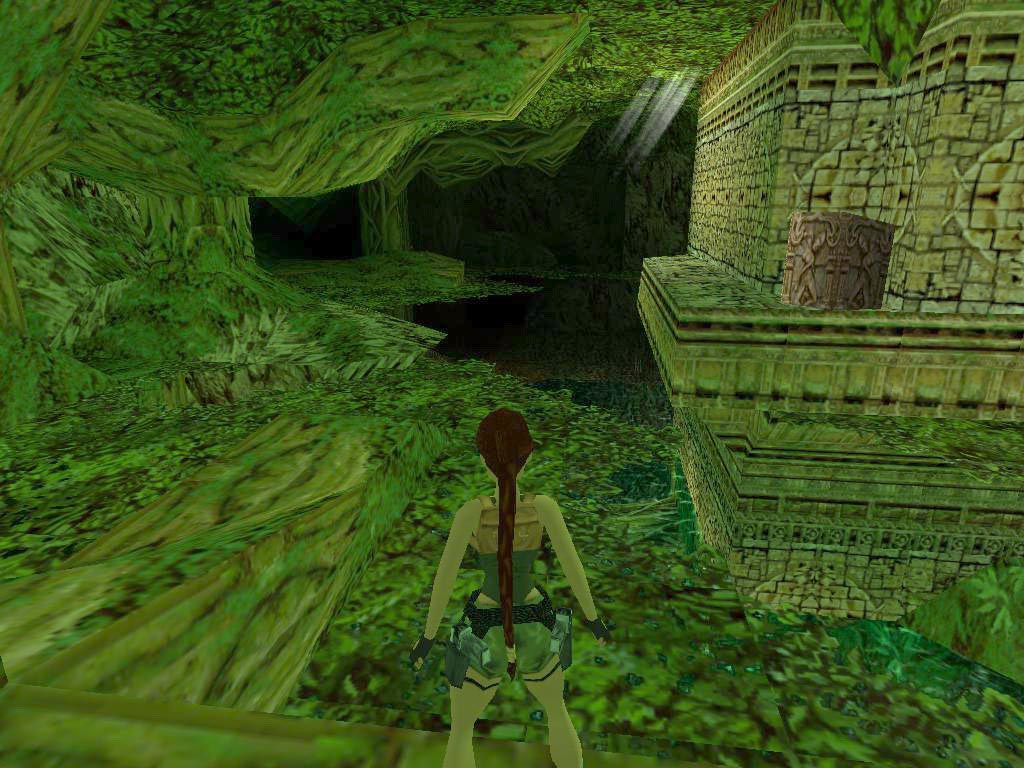
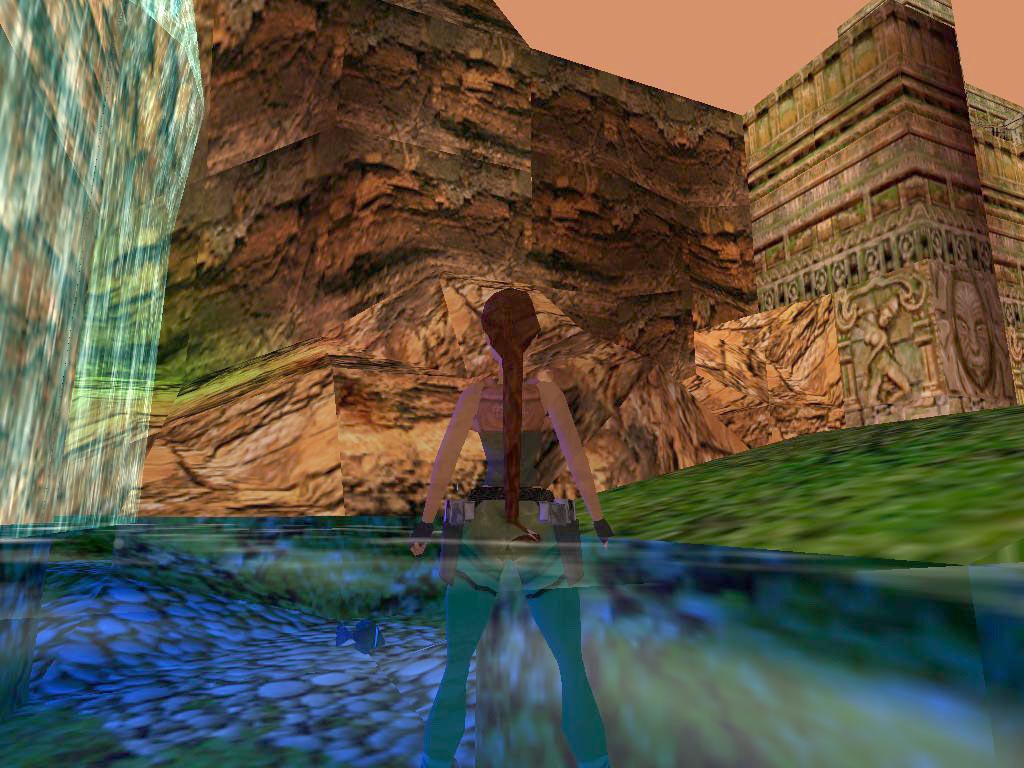
1.Jungle
README: Do not kill the monkeys there could be a save bug if you do.
We wont mention all enemies.
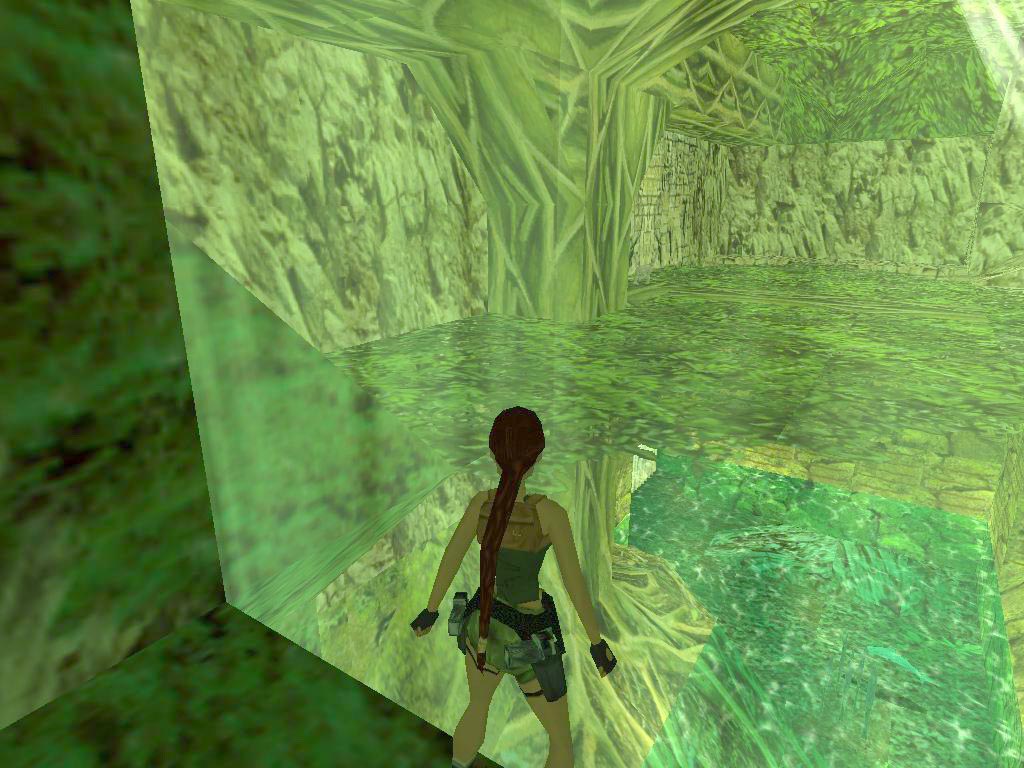
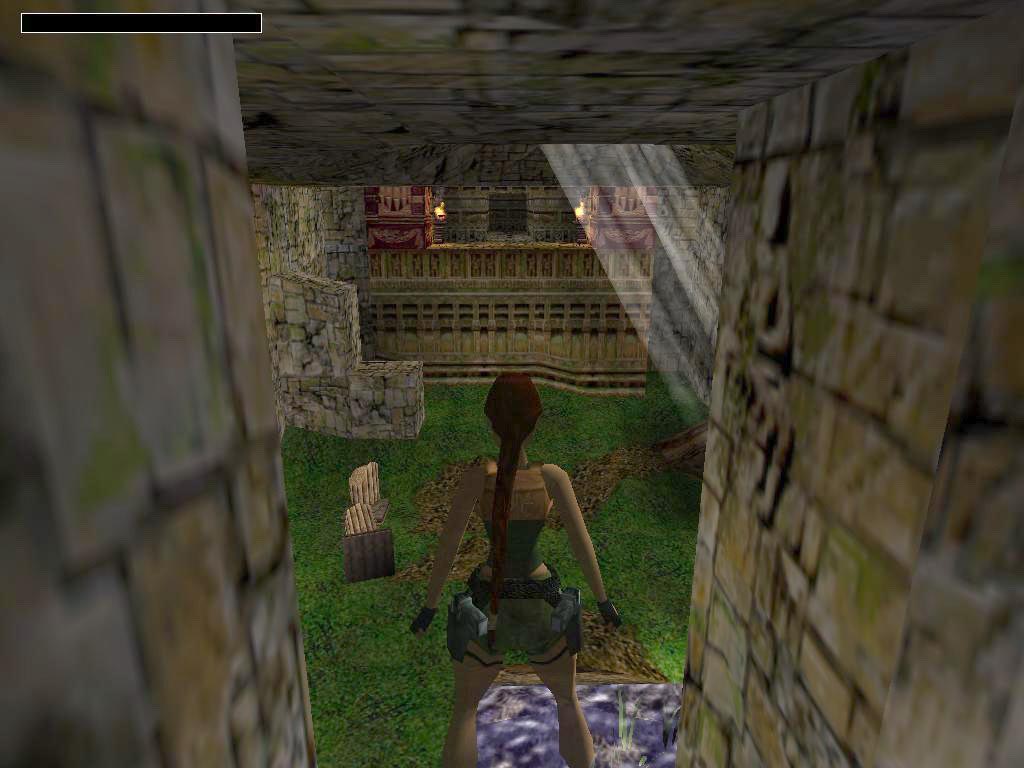
From the cave youre in, just jump down into the river below and swim with the current, drop from the waterfall into a calm pool, climb out on the N side and go up the blocks in the NE corner. Form the top ledge, look on the N wall and see the ridge NW, standjump and grab that ridge and shimmy to the L and around the corner, pull up there and backflip to the wall. Go to that tree S and onto the branch sticking out to the W, in the corner there, is a ladder on the branch, so hang from the N side of that branch and climb down, go over to the SE corner and up in the opening there, jump around the sloped block to the SE corner and get the ½ MP from under the plant.
Return to the ladder and go up to the tree again, over to the E branch and from there you can see a climb wall NE. from almost at the end of the branch you can standjump straight N and onto a triangular flat piece of rock, turn R and jump/grab to the R hand side of that wall, climb up and go R aalll the way to where you can go up a wall. Then L and drop onto the slanted ridge, grab and shimmy L a bit before you pull up and backflip to the branch, shoot this Monkey as its a nasty one. Go over to the switch on the W wall and throw it to open that UW gate in the calm pool. Go back over the branch and from the NE tip a runjump to the rocks NE, jump over to the ledge N and get the Flares there, run off the ledge and back down to the calm pool.
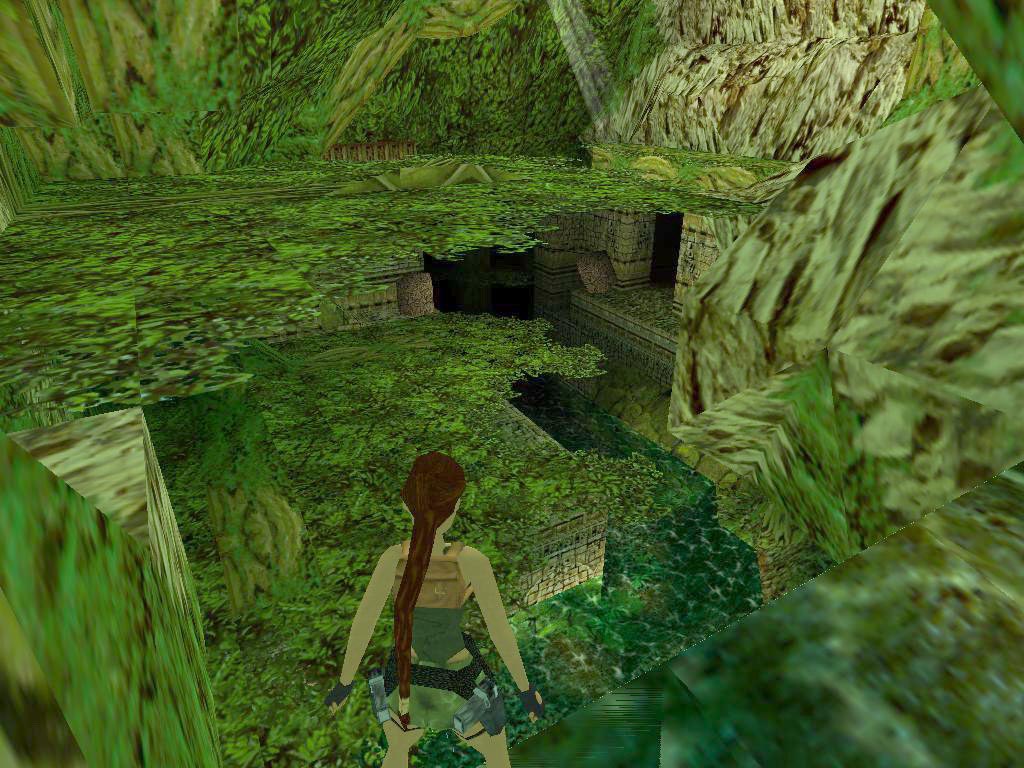
Swim into the open gate W and climb out of the pit, go N through the shallow water and through the vegetation N, slide into another pool and go N, follow the river and swim underneath the fallen tree to another high waterfall, dive down and follow the river under a green rock and then L all the way into a cave, to find an UW opening N and S, swim into the S one and climb out in a room, go SE again and down into a lower passage, follow to a ladder in the end and climb up to the bank of the river. Go W and jump on the block NW, turn NE a bit and jump/grab the edge of the rock, go R to the corner and pull up. Turn SE and standjump on the lower part of the E branch, then jump to the next branch E and go up to the S side, see a gate S and an opening L of it, hidden by plants, jump in there and use the switch on the end of the ledge.
Drop down from that spot and youll find yourself near a pushblock in the corner under the switch, that block has to be pulled/pushed into the R hand opening N and straight onto the Tile with the different structure to open the trapdoor in the passage youve gotten the block from, so back outside and into the SW corner, crawl L past the big stone and go down in that trapdoor. Go W from there and down the ledges between the 2 big stones, in the W is a closed gate and to the R of it a tree, jump onto the trunk of the tree and look behind it for the switch hidden by plants. The gate on the upper level opens. So go back up E and to that trapdoor you came down from and go crawl past the Stone and head into the L hand passage N. Go L at the river and up from the block NW again, over the branches to the E most branch and jump to the gate S.
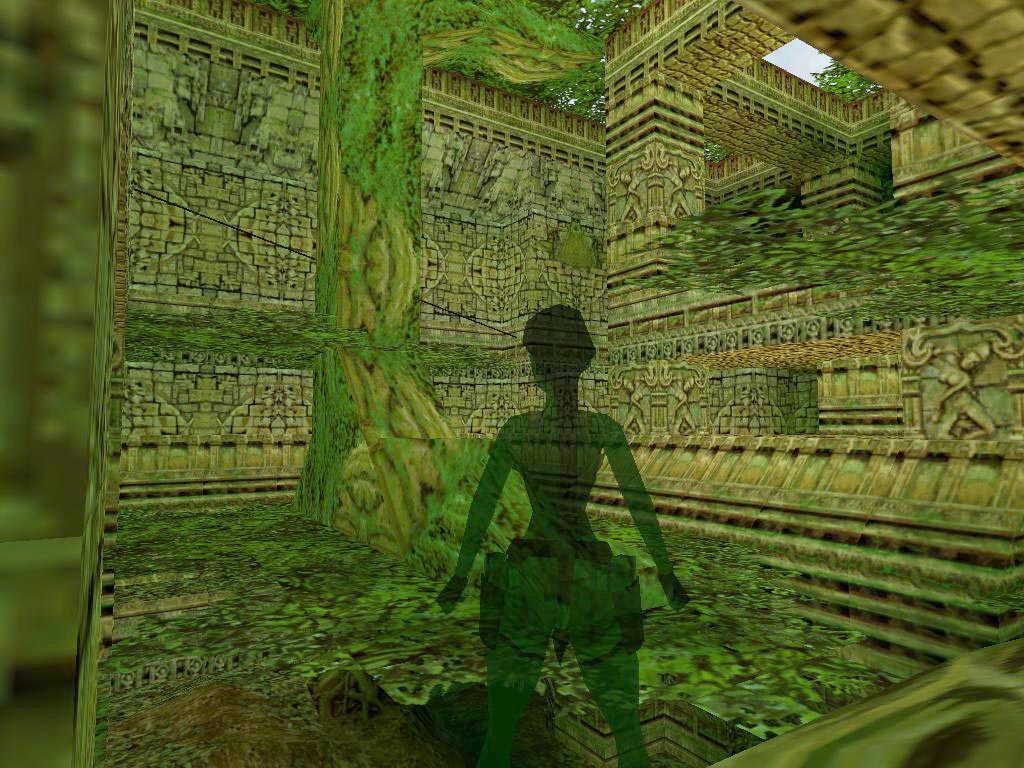
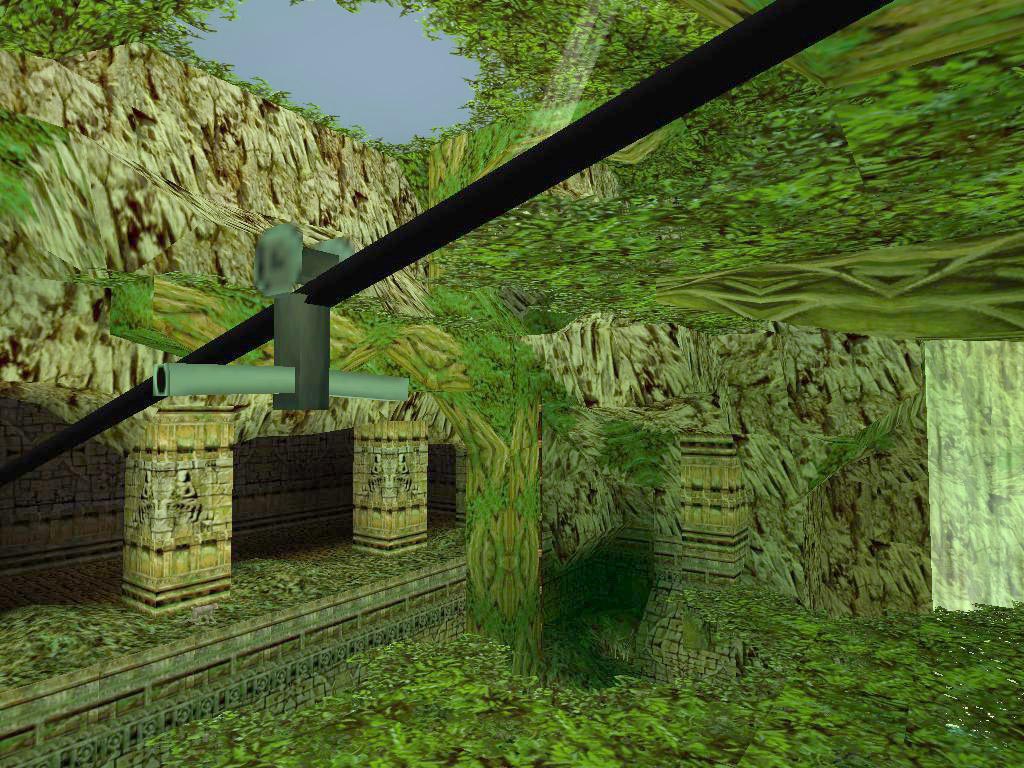
Safety drop into a lower passage and go to another part of the temple, follow the ledge to the SE corner and find a Zip-line there use it to go W and from the block youll drop on, you can jump up W, go into the lower part of the ledge and pull out the block W, is has to go into the 1st opening N and onto a marked Tile in an alcove, you can go through the lower E passage with the grated floor to go around every time, when the block is in place a screenshot shows a gate, now look on the N side of the structure for a similar block and Tile, repeat the moves you did for block #1 and the gate will open.
The Gold Key.
Do a safety drop from the E side of the structure and slide grab, drop once more and go into the open gate W to get the Gold Key, protected by Dart-traps. See a trapdoor open up on top of a ladder, go out and up to the E again, into the trapdoor there and past the stone, coming into the area where you pushed the block before, go to the SE corner, theres a Snake in the bushes. First time I went there he just kept on sleeping, but you can shoot it anyway, drop into the hole in the ground there and follow the tunnel to the end, pull that block once and return to the Snake by using the ladder to the R, backflip off and go back to the river through the NW passage.
Dive into the water and go N, then R (E) and find an alcove to the R at that fallen tree, pull the UW lever there and another trapdoor opens. Swim back W and into the cave in the end again, this time go into the N tunnel and up through the trapdoor. In the NE corner is a switch that will raise a block in the room, climb up W and go L for the Flares, then runjump/grab from where you climbed up this ledge, over to the E side, and go R to the CS up in the wall. Follow through and drop into a corner of the jungle and go S a bit there, climb down the ledges to the forest floor.
Other side of the River.
Go
E and come to the corner, go S and save before you try to runjump onto the
fallen tree go slide down from the other side and look for a ½ MP in
the plants L, well that was all here, so head back the way you came and in
the NW corner where you came down before you can climb up again, Go E a bit
over the upper ledge and have a look to the SW. Theres a slanted piece of
rock, you have to do a runjump to the rock and curve R,  grabbing on the last moment so youll land partly on it and slide off backwards.
Shimmy L a bit and pull up on the flat corner, jump SW and grab the edge of
the ridge on sliding off, shimmy L and drop to the solid green branch of a
tree, go E and runjump over the slanted part to the R side branch from there
down to the E branch and to the end of that.
grabbing on the last moment so youll land partly on it and slide off backwards.
Shimmy L a bit and pull up on the flat corner, jump SW and grab the edge of
the ridge on sliding off, shimmy L and drop to the solid green branch of a
tree, go E and runjump over the slanted part to the R side branch from there
down to the E branch and to the end of that.
Stand on the NE tip and runjump to the tree (ledge) NE, go NE along the E side of it till you can standjump over to the tree E and walk S a bit, look behind a tree SE to spot a small branch between wall and tree, runjump over to it and the runjump up to the ledge SE with a L curve, walk out to the very SW point and see a branch SW, Aim for the point where branch and wall come together and runjump/grab to it, pull up and go all the way S and up the sloped part of the branch, face W and runjump/grab to the brick ledge, go L and pull the switch there (opens the trapdoor over the ladder at the pushblock).
Dive into the river and swim to that cave W again, into the S tunnel and climb out. Into the SE passage and to the ladder, up to the river bank and R, into the square with the Snake, go L and into the first L, up the ladder next to the pushblock and backflip off, go out over the block SW and out on a ledge with a Zip-line, use it to go across the river and grab up to the ledge R. shimmy around the Stone and go S over this ledge, on the back of the tree there, is a ladder, go down and turn around, go into that alcove S and find the pushblock (flare). Push the block in till you can enter the room and get Secret#1, MP and Flares on the ledge.
Go back up the ladder and from the top you need to backflip through an open trapdoor to a rock ledge, now you have to follow the rocks to the SW waterfall and when you stand on a thin rock ledge sticking out over the river below you can jump up to a corner SW, turn to the E and sidejump R, slide down the rock and grab the edge, go shimmy R till you can pull up on the waterfall. Swim S, then R and just after the shallow part you have to climb out to the R, go W and down to a wooden gate that can be opened with the Gold Key in the alcove to the R, go in and enter the Jungle Temple.
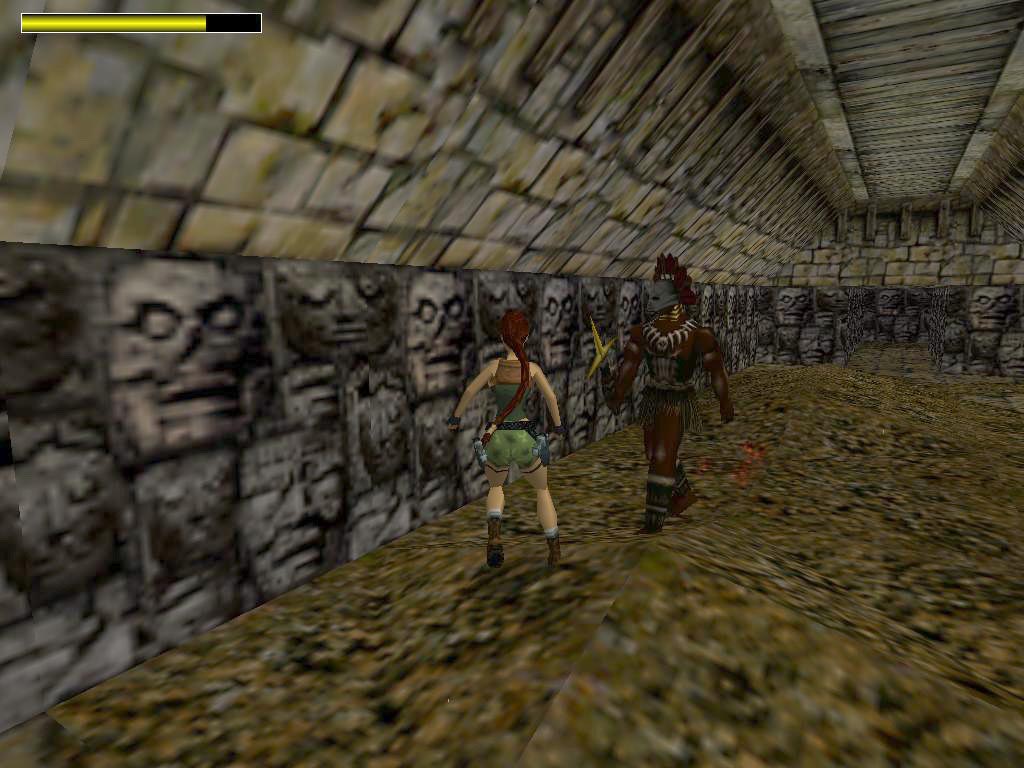
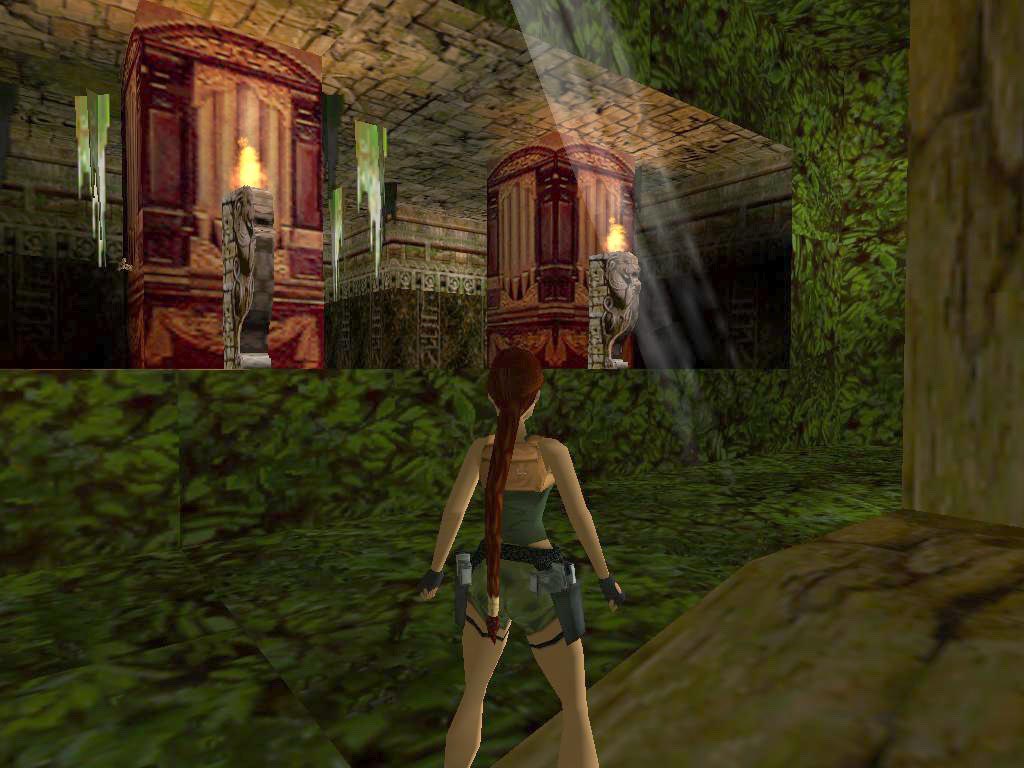
2. Jungle Temple
Go on through the passage to a room with water, notice the UW gate S and dive in, swim into the NW tunnel, find the tunnel in the E wall a bit lower as where you came in, follow to the end with some bends and turns and throw the UW lever. Swim back and go up the shaft first to get air in the upper E room, that gate will open in a bit and thats a Timed swim.
A Timed Swim.
Swim back to the shaft, down all the way and get some Flares next to the open trapdoor, go in and Save in front of the UW lever. Pull and roll, swim out and go R a bit, then turn around so Lara faces E and can quickly swim into the upper E opening, go sharp R, along the bottom and into the opened (S) gate before it closes again.
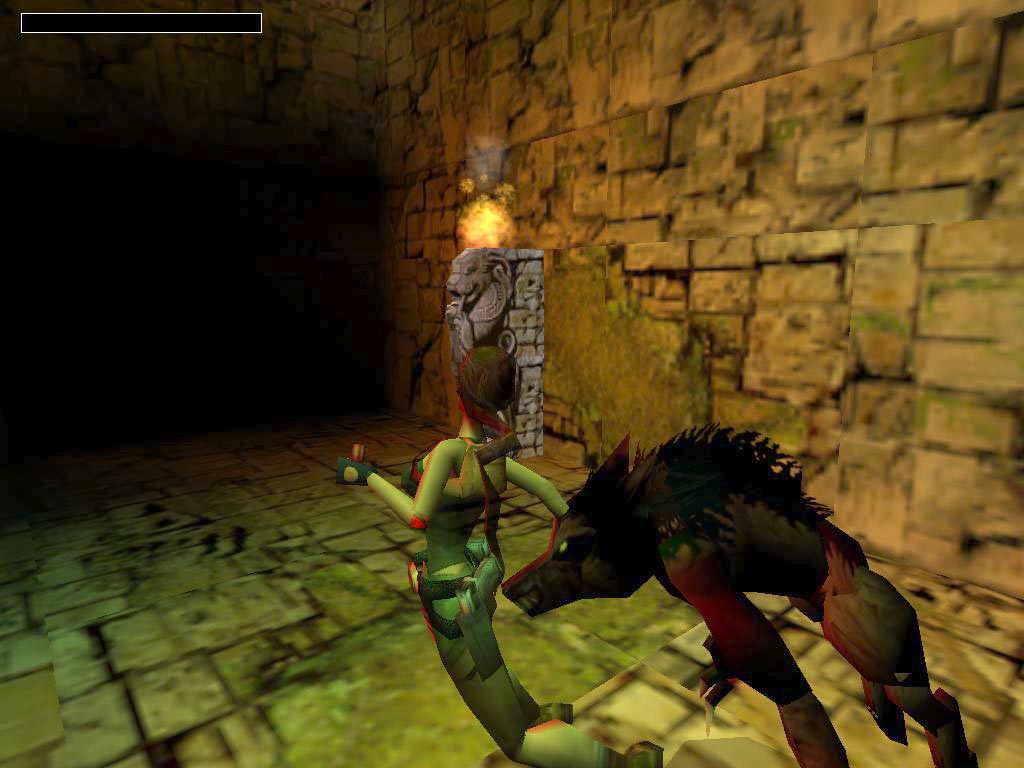
The Sewers.
Swim up for air and then go down into the lowest E tunnel in that room, follow to an UW lever to the L and throw it to see a trapdoor open up behind the gate, swim back quick and get some air again, down and into the upper E tunnel and try to take that Croc with you into this tunnel so youll have a chance of shooting it there after you climbed out through that open trapdoor. Find the switch in that room and see another trapdoor open up. Dive into the water and swim into the W tunnel there, get the ½ MP and go get some air again, then swim back to the first room and now swim into the S tunnel, follow to a wide tunnel, go R (W) and up in the end, a flyby shows a couple of Natives coming up the ramp, take them out and now comes another Timed run.
Torch Timed Run.
Take
the Torch from the pedestal at the trapdoor that will close again and
then go down the ramp to light it below, go up the ramp (zigzag) and Save
before you light that wall torch up there (the next Timed run doesnt reset).
Stand a bit on the side of the ramp 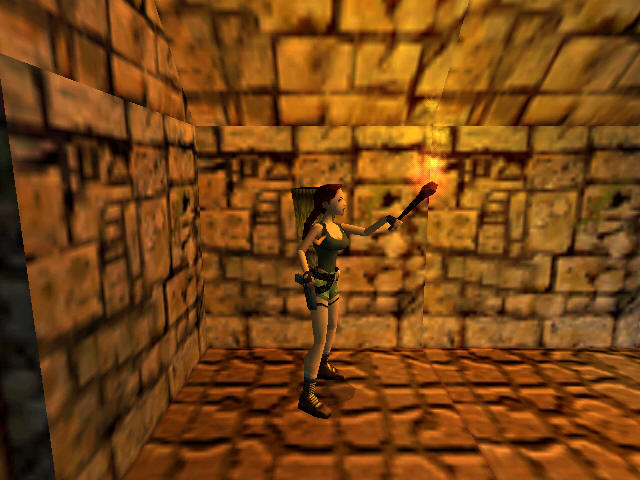 light it and take the Torch with you, runjump to the centre of the ramp do
jumps down and try to do a jump to the R from the last sloped part of the
ramp, quickly get into the open N gate and run with a Wraith chasing
you into the next room, hop on the ledge L or R of the pillar and in the next
room go straight across to the wall torch E, light it to open the trapdoor
R of it and get into the water there to get rid of the Wraith.
light it and take the Torch with you, runjump to the centre of the ramp do
jumps down and try to do a jump to the R from the last sloped part of the
ramp, quickly get into the open N gate and run with a Wraith chasing
you into the next room, hop on the ledge L or R of the pillar and in the next
room go straight across to the wall torch E, light it to open the trapdoor
R of it and get into the water there to get rid of the Wraith.
Follow this tunnel back to that first water room, just go straight into the opposite tunnel and to that trapdoor youve been up in before, throw that switch again and see a burner under a switch go off. Dive in again and swim back, straight into the W tunnel and back to the room where you lit the wall torch, look in the NW corner for the switch and throw it to open yet another trapdoor. Return to the water E and swim into the first room, R into the S tunnel and into the wide sewage tunnel again, go L (E) now and up in the end, come to a crossing where you can see the room where the Torch was, go L and down the ladder in the end to come to a dark and grim tunnel.
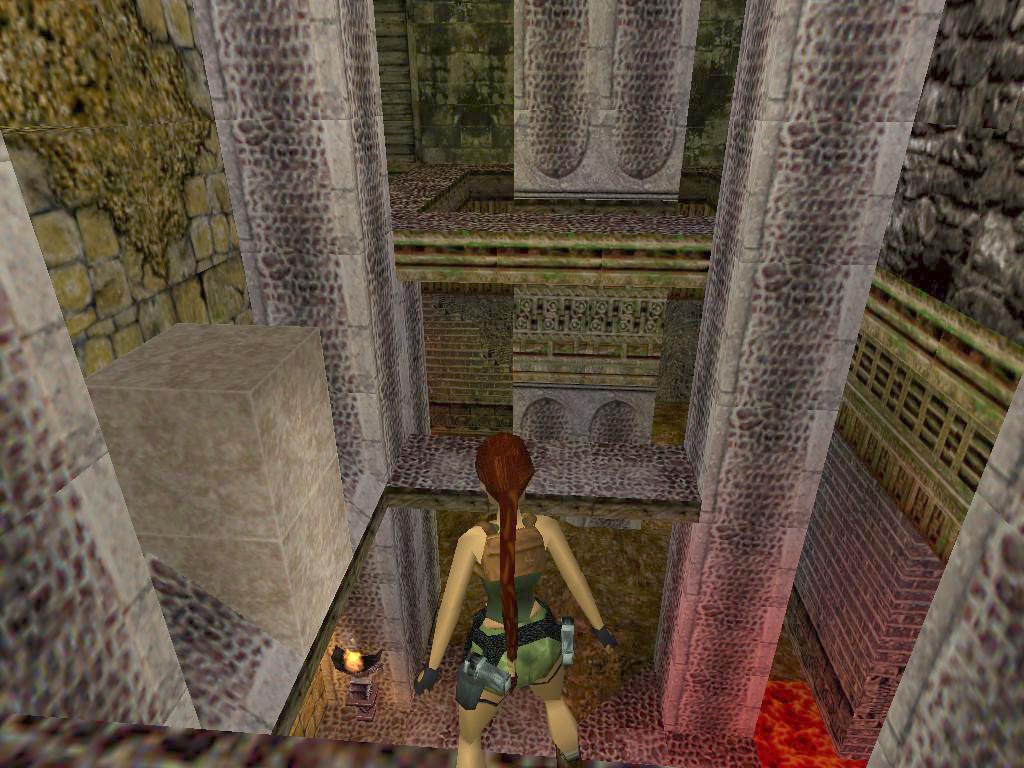
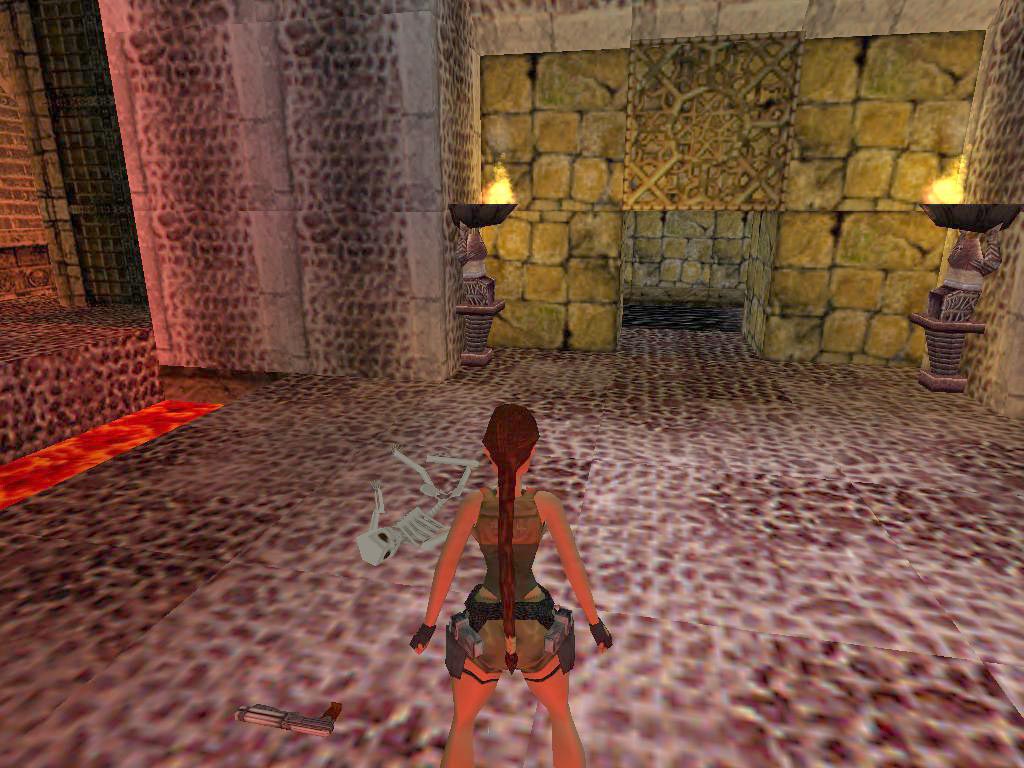
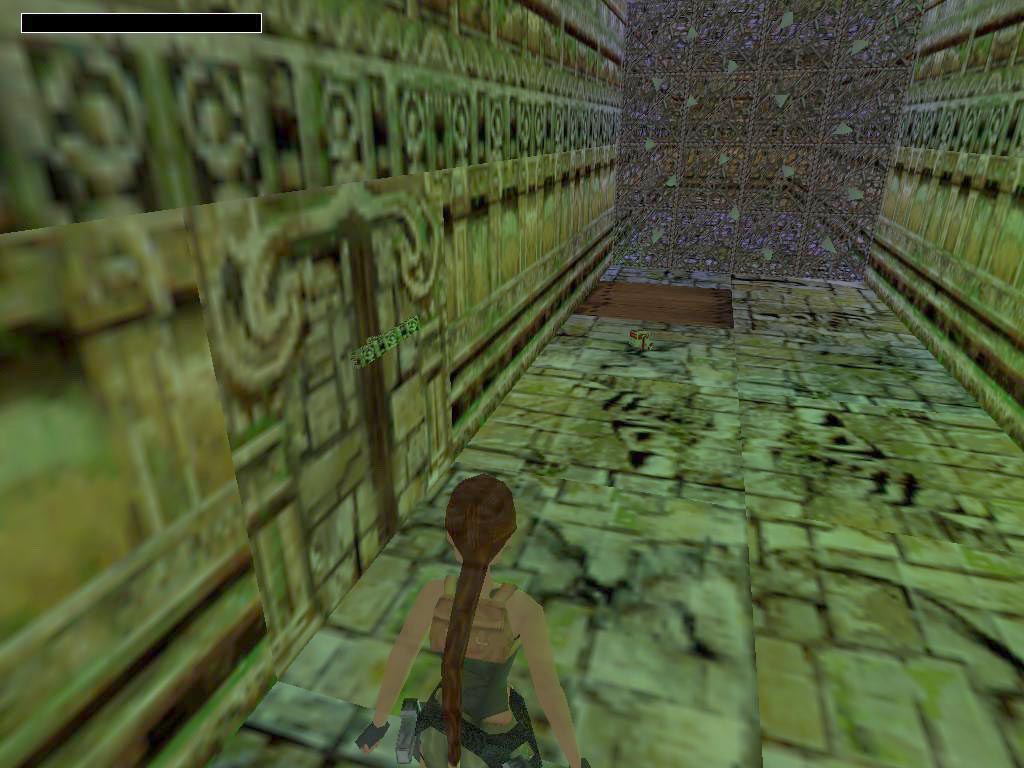
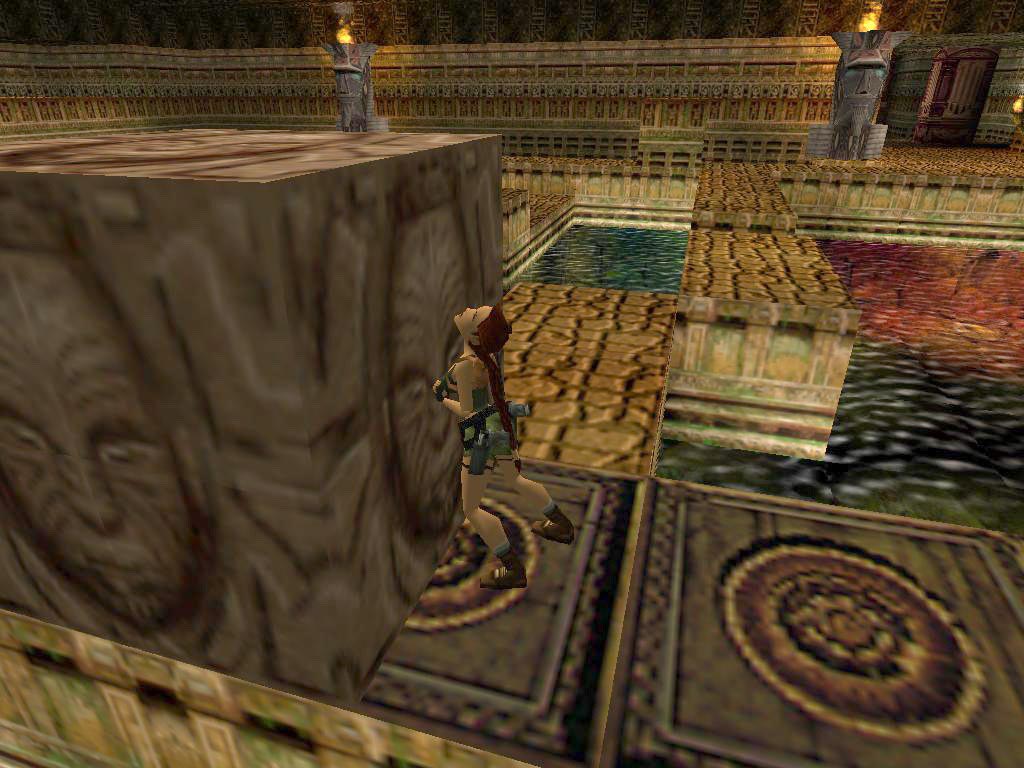
The Big Lava Room.
Follow the tunnel to a room with Dart-traps and go into the opposite passage, keep going along the wall and come to a pit. Runjump/grab over the pit and turn around at the end of that passage, slide backwards down the slope, grab the edge and see the Jumpswitch below, drop/grab and see a trapdoor open up, when you get control back, head E through the Big Lava room and find the ladder on the E wall, jump/grab over the lava and climb back up into the dark tunnel, roll and runjump/grab over the pit again and roll again, runjump/grab to the ladder above the dark passage and go up to a ledge to the R, theres a MS above you. Save and go along the MS, time the passing of the burners and go R in the end.
Go L into the passage and down the ladder, from the end of it a backflip into a passage with a switch, that will raise a pillar somewhere. Standjump/grab back to the ladder and go up, backflip into the upper passage and go L (N) and down the ladder at the end, go E a bit and look S, to see that block you raised. Runjump to that block, spot the sloped ledges L and R of it (you will use in a bit) and climb into the opening above and there a runjump/grab to the ladder under the switch, pull the switch to open a gate in the Big Lava room below and 2 Wraiths are released. Runjump/grab back to the other side and run out onto the pillar, turn around facing back to the opening and run off either R or L. slide and grab and then safety drop down to the ground floor of the Big Lava room.
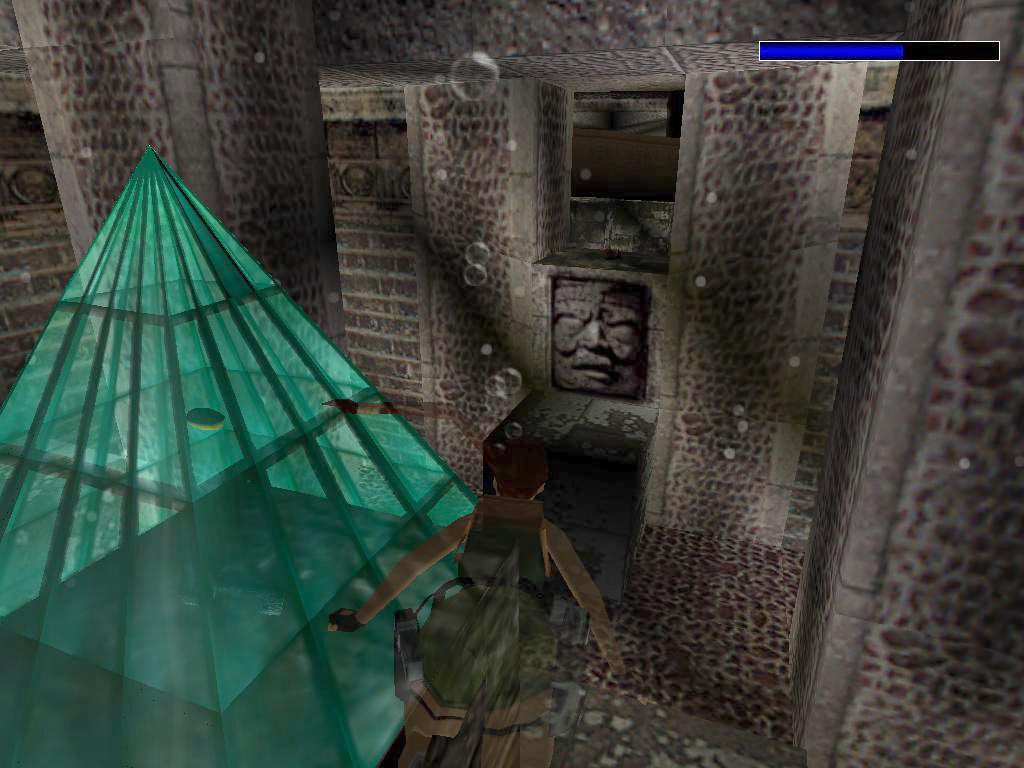
The Magic Pyramid.
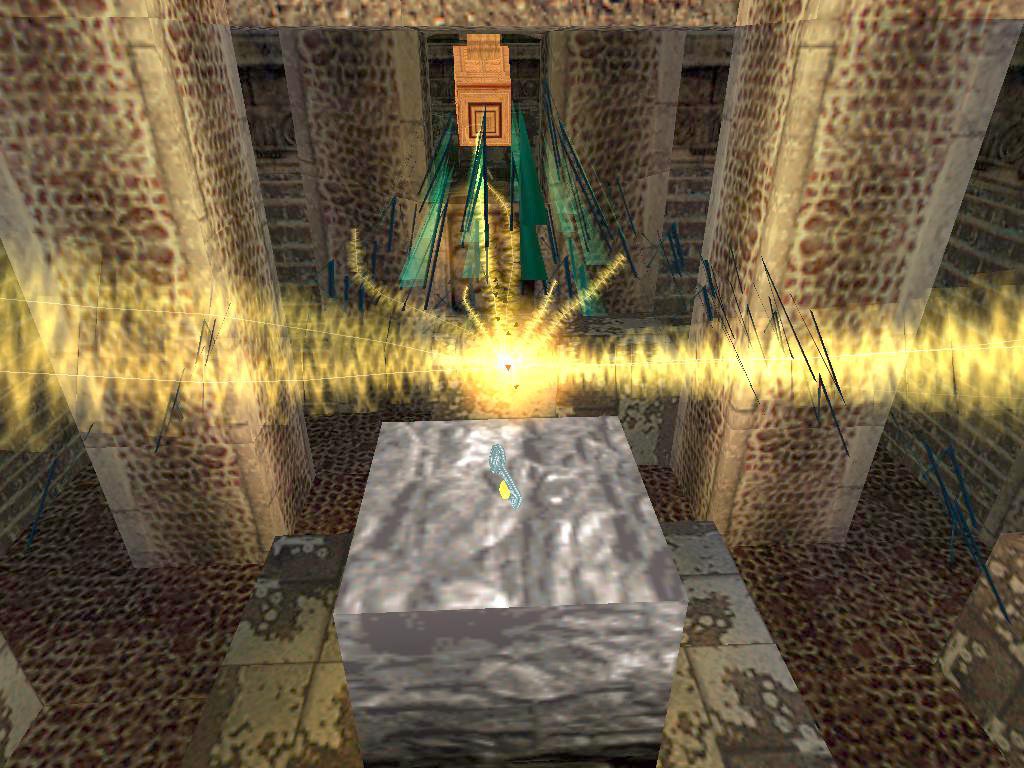
Youll land at that opened gate, quickly run in and get into the water. Climb out again after the Wraiths are gone and go out to that Skellie, near the head of it is the Shotgun to be found. Go back inside and into the water, down to the Pyramid at the bottom and into one of the openings E and go swim L and follow through the rooms with the turning wheels to the third one and up in the ceiling there. Throw the switch to drain the rooms and hop back, grabbing the ladder, go to the Wheel and turn it (counterclockwise) once, to get the handle pointing W, go to the next room and that Wheel should point N, so turn twice and go out N to the last room, the last Wheel handle should point W, so push once (clockwise) and go out E, down the ladder and follow back to the Magic Pyramid, pull the chain E and watch the show as the Pyramid will break into pieces.
Go op the block to get the Sun Disk and the Silver Key, go up to the opening N to get the Ammo there and head back into the E passages, go through the rooms with the Wheels to get to the switch that will re-flood the place, get a long full of air and swim back (there is an air pocket in the second room) and go up again through the high room of the former Pyramid. You can swim down again and into the S room to get a ½ MP on a ledge to the R, then go back up and climb out, go out and make your way E again, up that ladder and into the dark passage, follow through the Dart room to the ladder, go up and R, back to the sewers, swim down and W, up in the ceiling and down the ramp where you used the Torch before, open the L gate and go in, get the Flares and go down into the opening in the floor, slide to the next level
3. The Search

As soon as you come to the outside area, turn T and jump up to that door in the corner, it will open and leads to an enclosed canyon, shoot the Native for the ½ MP he drops and go look for the Gold Key in the centre bushes and go up in the SE corner, now from facing the wall with the opening above, backflip onto the rock and jump up into the opening, follow the passage down to a slide back to the Main area. Go to the S and find the wooden gate where you can use the Key, explore the pool under the waterfall E and get a ½ MP there, then go into the newly opened passage. Follow to a deep pit, standjump around the L corner and from the ledge past the Lamp you can runjump/grab over to the W side. Go L and runjump over the switch to the E for the Flares, then go down to the switch on the lower ledge and prepare for a Timed run.
Timed run, platform-block.
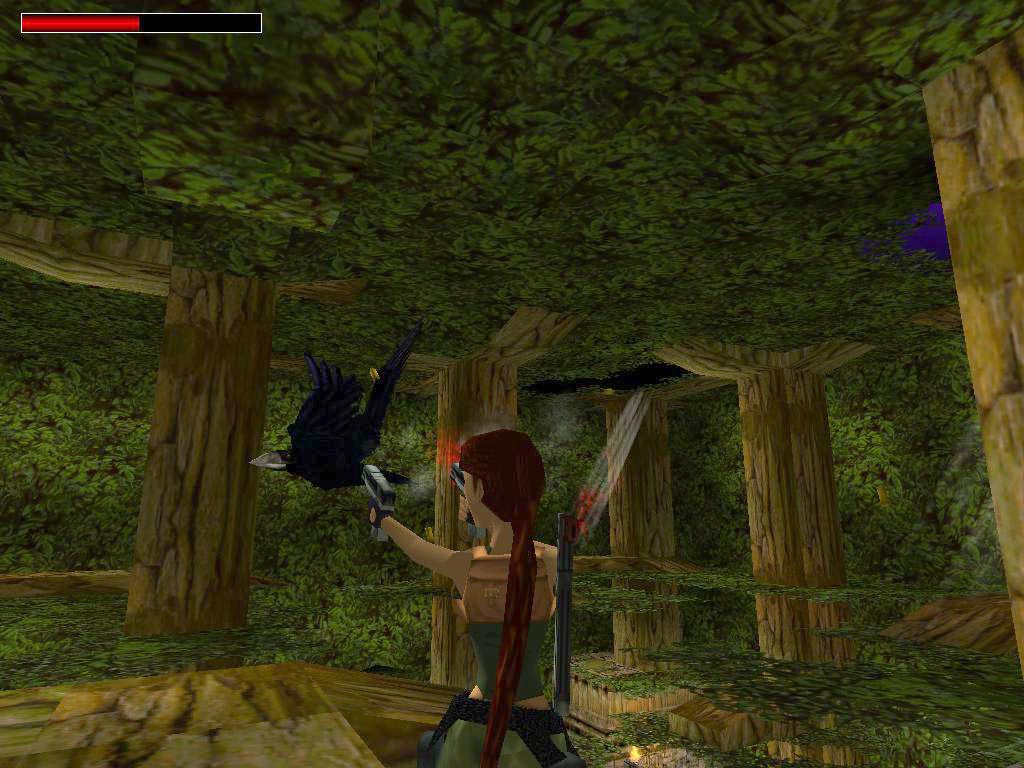
You probably saw the platform on the W pillar already, in the NW corner of the room, on the ledge is a block that will raise and you have to get onto that one, so Save in front of the switch and pull, turn R and pull up on the W ledge, turn R again and from about where the Lamp is a runjump onto the platform that just went up, you have to land on the closest side of the platform, so you can do a L curved runjump to the block and quickly pull up, the block will probably go down while you run to the wall and pull up in the N opening. Go L and under the low rock in the next passage, crawl to an area with two trees. Go stand on a little mound under a branch W of the SE tree and grab up to the branch, jump over to the branch W and get a ½ MP, then jump back and runjump without grab to the brick ledge, go onto a higher part in the corner and a Bird will come out, shoot it from standing in that corner and grab up to the branch E of the tree and go runjump over the branches to the W structure, careful, those hanging plants give a clue to where the Spike-traps are. Go to a door in the S wall and see a switch there, a cutscene shows another switch.
Timed Run over the Treetops.
The switch at the S door opens the one in the W, but first we go for the Timed run to get a Secret. Go back over the treetops and drop down to the floor, go crawl back through the CS in the NE corner and head N a bit before turning R and R again and find the CS in the SE corner, go out and R to a switch, Save there and heres the route:
Pull, roll and go forward a bit, standjump to the CS with a L curve and crawl through fast, stand up as soon as possible and runjump up hill, sharp around the L corner, runjump (or sprint) again to get to the low rock (R hand side of the opening) and crawl through, stand up fast and runjump to that small mound, turn enough to get in line for the grab up to the branch and run to the other end with a curve to the L so you can immediately jump (no grab) to the brick ledge, run to the corner and against the E vegetation and grab up, jump SW and then NW, run over the branch and curve L again to jump to the SW, curve R and runjump to the structure with a bit of a L curve so youll get close to that S door and go in. (theres enough time as long as you get the line up for the grabs to the branches correct, sprint isnt necessary then) Inside youll find your reward, Secret#2, Uzis, several kinds of Ammo and a MP.
Timed run for the Crowbar.
Go out and save in front of the switch on the pillar just outside the room, the door is to the L, but theres a Spike-trap there, so youll have to go R and curving wide L around the Spikes behind the pillar, then zigzag through the rest of the traps and into the open door to get the Crowbar and another Shotgun.
Go back out and watch out for the Spikes, go back over the branches to the brick ledge and drop down from that, crawl out (NE) and go N, keep L in the end and slide to an area with a wooden gate. Get the pushblock (Face) L of the gate out and straight across onto the marked Tile, then look NW and notice a raised block (SE), hop on and use the Jumpswitch above, the gate opens. Dive into the water and swim through the canyon to the square in front of a building, look SW and go grab up to the CS in the wall there, follow to the inside and find a Crowbar gate to the R.
1st Jungle Star.
First go down the ramp S and L into the passage to a dark cave, follow to where it gets wider and notice the ladder behind the pillar to the L, a keyhole and just go on E for now to find a block with a switch to the R in the wider cave in the end, throw the switch to open up a CS behind the block (S) and follow through to a dark red room, drop down and go to the N to find a 1st Jungle Star on the wall, pry it off and throw the switch to the R of it. A pillar drops down into the room, climb the pillar and find yourself back in the room with that raising platform (the Timed block just went up again and will stay up), runjump/grab S and climb up to the R, the platform will go up again, so jump over to the N again and climb up from the block into that passage you used before.
2nd Jungle Star.
Follow back to the N and down L again, into the water and swim to the square again. Now go down into the opening in the building, drop down the blocks to the ground floor and head SE to come to a room with a pinkish pillar, go up the blocks SW and to the top of the pillar. Look N and do a runjump/grab to the Jumpswitch there. go down and spot the switch on the pillar S, go back to the N and go on to a pool, wade to the opening you see NW, go along the L wall and from close to the upper opening N you can standjump/grab up to it. Go in and L around the corner is a block with a Jumpswitch, use that and spot the Jungle Star on the pillar across the room (later). Look in the Timed block with the Jumpswitch above and that will be your next goal.
Timed run for the Star.
Go
back to the pool and to the area with the pinkish pillar, up the new block
under the switch and Save. Throw the switch, backflip/roll and sprint N, L
and then to the pool, try to stay on dry land as the water will slow you down
too much, so you have to runjump to that flat ledge at the NW opening 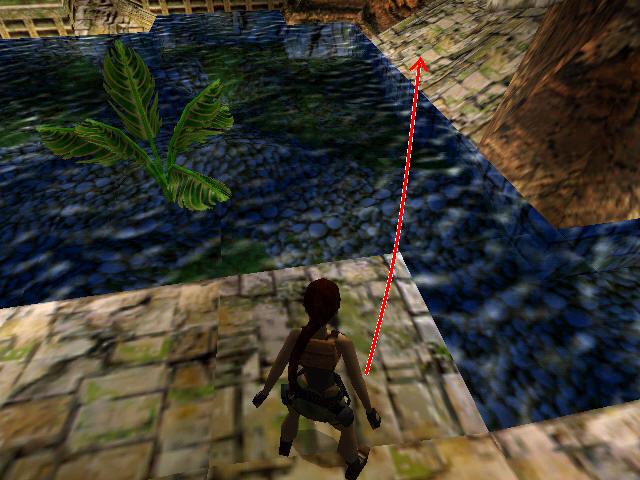 and get in fast, run along the L wall and jump/grab up to the higher ledge,
sprint for the block NE and get up to the Jumpswitch fast. A block will rise
L of the Star, so go up to pry the 2nd Jungle Star off the
wall.
and get in fast, run along the L wall and jump/grab up to the higher ledge,
sprint for the block NE and get up to the Jumpswitch fast. A block will rise
L of the Star, so go up to pry the 2nd Jungle Star off the
wall.
Timed run to get back.
Thats all for here, so return over the pool and go back to the pinkish pillar where the timed run started and find a switch on the W face of the pinkish pillar, Save again as heres another Timed sequence. Throw the switch and a block will rise on the pinkish pillar, so quickly turn R, run forward a bit and standjump onto the lower block, turn R and climb up on the R hand corner of the next, turn L and standjump/grab up to the alcove S, pull up and roll to runjump/grab to L side of the block on the pillar, turn L and grab up to climb into the exit.
Follow out to the square, go S and up into that CS remember? Go back to that Crowbar door you opened before, enter this time and go through a room with a shrine to a pool, dive in and swim NW to follow to an opening in the ceiling, climb out and follow to a room with a low wall, on the wall are the receptacles for the Stars. Place them to get 2 blocks to rise in the wall, so you can move the pushblock on top to the 2 marked Tiles on each end, the door S will open and inside you will find the Silver Key. Go get it and pick up a MP in the NE corner, then go out and take the ½ MP just to the R as you come out.
Bronze Key.
Go back to the water, swim back to the SE and climb out at the shrine, go NE and out through the Crowbar gate, then R down the ramp and L into that dark cave again, follow to that keyhole and use the Key. The trapdoor over the ladder NW opens. Jump up the mound and go up the ladder, watch out for the burner Tiles and jump up the higher floor and look at the ceiling to spot the Spike-traps (plants). Go into the NE corner and get the Bronze Key (screenshot of a trapdoor in the Shrine). then get back and do a standjump down to one of the safe Tiles at the ladder, go down and out to the ramp, through the Crowbar gate to the Shrine, go down in the hole in the middle and get some Ammo, then use the key E and the trapdoor opens.
Spike-Wall run for Jungle Gem.
Drop into the open trapdoor and slide down the slope to a grating with a switch in front, Save at the switch and youll drop through the grating, then roll, backflip/roll and sprint to Secret#3, the Ammo pickup, get to the switch beyond fast and throw it, turn R and runjump into the open trapdoor. Look N for the Jungle Gem and then go S, behind a pillar SE in the room with the water hole is a ½ MP, then get into the water and swim down and W, then turn SW and look for the hole up in the ceiling to the R.
Go up and into the E passage, follow to the ramp at the Crowbar gate, go into the E passage to the dark cave, follow to the end where the switch on the block is and look NE for the CS, follow through to the room with the platform again, runjump/grab over to the E side (near the lamp) and runjump into the passage NE and go out to the area with the waterfall, go L (N) at the waterfall and go to that door on the NE mound, go in and to the door E to open it with the Jungle Gem. Follow to a terrace overlooking a square with a pool, runjump to the block R and climb down to the floor, go to the water and pass it into the S cave, near the door W is a MP, get that and go to the S sides edge.
Timed run to light the Torch.
Look down S for an opening in the dark wall (under the burner Tile and near the bottom) Line up for that opening and drop/hang backwards off the edge, drop and slide/grab, pull up and backflip with a roll and grab the edge under the opening, follow to the door that will open for you and go to a room with a pedestal, watch out for Spike-traps (plants) and go straight to the bush ahead, in the bush is the Torch, pick it up and you have to put it somewhere where you can easily pick it up later to ligh it on the Timed flame on the pedestal, not too close to the pedestal, I personally left it in the passage W before I went in further, climb up and go L, standjump onto the first sloped block and keep jumping till you are on the other side where the Timed switch is.
Save there and pull, roll and turning L a runjump onto the first sloped block L side, keep jumping again and go R a bit so youll end up in front of the exit, run down and pick up the Torch where you left it. Go to the pedestal, (better Save once more there) but not too close or youll burn. Now go light the Torch and then the lamp L of the W passage (a block rises in the upper cave). Now you can drop the Torch and head up the blocks N, follow out through the door where the MP was, go L and up the block. The switch will raise a block in the N cave, pull and go off the block, L and L, past the pool to the NW corner, up the brick blocks and grab the MS, go S and drop next to the dark block, from the block you can do a runjump straight into the opening SE. Use the Zip-line to go across the Burner pit and slide down to the next level.
4. Discovery
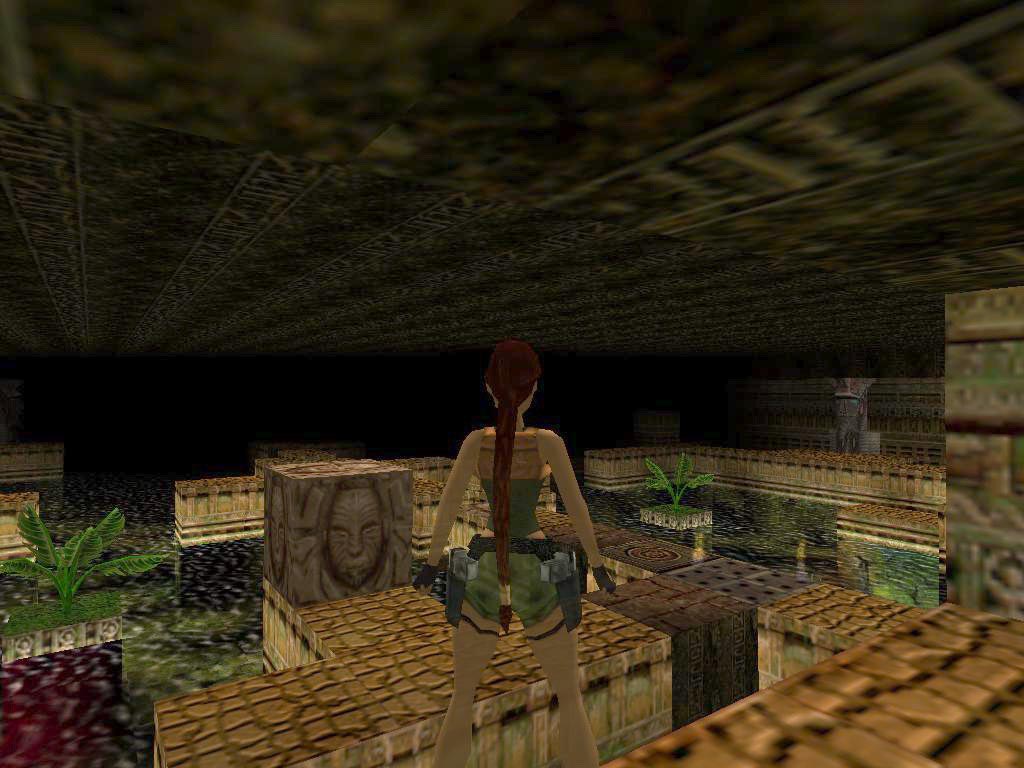
Go NW after saying hello to the wildlife and enter the building there and follow to a shallow pool, wade through the water to the next building and again follow through till you come to a large pool with ledges, Statues and Burners.
The Pushing Pool.
The water below has a red glow and to the NW you can see a lower ledge, remember that ledge and dive in, turn around facing E and see 2 small openings in the wall to the R and L, go into both and find the UW levers in the corners, a nasty Fish comes out when you throw the lever, swim back out and go to the ledge I pointed out so you can shoot that Fish.
After pulling both levers, go swim W and climb out at the low part of the wall, climb up L and go into the hole in the middle of that square ledge, find the Silver Key and swim out, R and climb up R again, now go over the ledges to the far N and jump over that burner Tile, notice the dark bronze Tiles and in the end go L, jump up into the NW alcove and use the Key there, go down on the ledge again and head to the E, jump a few times and finally get into the NE alcove, notice the burner Tile and the dark bronze Tile, when you step on the bronze tile, the burners goes off (as do all burners in the room). Now you have to go all the way to a pushblock SW, so dive into the pool and swim to the W, then to the S and look for a low ledge L in the SW pool.
Climb out and go up S and dont step on that Bronze tile at the burner or the burner will start again and you have to go all the way back to that NE alcove to step on the trigger tile again, so do a runjump to the ledge with the pushblock in the SW pool and pull it as far as it will go to the E, then runjump/grab up to the SW alcove in S wall and throw the switch that will raise the block in the ledge, runjump back and push the block to the burner, hop to the R hand side of the block and push it to the N. When the block reaches the face tile, the next block will go up in the ledge so you can move on, at a certain point you have to move the block to the face Tile E and youll see a door opening up.
Jungle Star.
That door is at the start of the level, so leave the block as it is for now and jump over the ledges to the exit E, follow all the way back to the grassy area and go E, past the start of the level to the SE and find the open door there, hop in and go over a hanging bridge to the other side, follow to a room with a wall torch and L of that torch is a CS, follow through to a wide cave with structures (and Spike-traps!!), go to a pool W and go up to the door S, it will open (its a nasty jump up, stand against the last block and L shoulder against the wall, jump up while holding the forward key). Go in and a flyby starts, a bunch of doors open up (what a service), When the flyby stops you better grab the Shotgun fast. Then go pick up a MP and a Gold Key where the Natives dropped it and go to the SE end for more Ammo, go up the ridge in front of the door W and open it with the Key.
Go in and get the Jungle Star from the wall, heads out and in the NE corner, next to the exit door is a switch that will re-open the exit, follow all the way back to the Push Pool and go to the NE alcove over the E ledges to trigger those burners off, then go S over the E ledge and in the end is a block in front of the alcove, L of it is a receptacle for the Star, place it to raise another block in the ledges. Go up to the alcove in S wall to get Ammo and a ½ MP, then go N again over the E ledges and jump W to the pushblock, get it back on track and start pushing it N, over a burner tile and the E to the face tile (another block goes up). Push/pull the block back on track and now pull it N and then onto the sidetrack to the W Face tile, a door opens back at the start of the level.
So go E and out to follow that route to the green start area again (up the hill to the R is the door that opened). Go straight from where you entered the area and R around the 2nd rock, in the corner you can jump up SW and then over to the S with a runjump, a couple of standjumps over the top of the rock and you are at the door, go in and follow up to a wooded area. Go SW and into the next area, where a flyby shows you the waterfall, climb the green ridge on the way to the waterfall and turn N, a runjump/grab will get you on the branches of the tree, go up to the highest part of the branch (close to the tree) and standjump/grab up to the branch sticking out to the N, go to the brick ledge N and through the opening behind the tree, walk to the tree and runjump to a branch NE, go R and to the E side, look SE and you can already see your goal on a lower branch there, runjump/grab to the E branch and from there a runjump/grab to the lower branch on the SE tree, shoot the Crow and get Secret#4, the Uzis and Ammo.
Drop from the end of the branch to the forest floor and head SW again, and back up the trees. To that higher branch of the E tree, to the N and then to the E tree, on the branch sticking out to the S, stand on the SE point and face the corner of the brick ledge SE, save and a runjump to the exact corner should get you there. If not reload and change Laras position a bit before you try again. Once on that ledge, go S and runjump to a ledge L of the waterfall.
Block
Puzzle. 
Drop/hang from the edge and shimmy L to a CS, get in and you are in Room 1past the waterfall to the R, all the way to a CS, get in and into a room with a pushblock L of the entrance
Follow the instructions on the diagram and use the switch to get a flyby that shows a final block going up in the Push pool.
Go out through the CS of room 2 and drop to the forest floor, get the ½ MP and head back to the NE through the next forest too and out of that door on the rocks, L and L again to follow back to the push Pool. First go to the block and move it back on track and onto the burner Tile N, hop back quick and go to the NE alcove to get the burners off again, now you have to approach the block by going over the E ledge, then over to the W and runjump to the safe tile on the N side of the block, pull it of the burner and get it to the side track W and onto the last face Tile, a trapdoor opens in the SE pool, next to the palm tree on the ledge, so get over there and dive in.
Swim down and to the E, all the way to the end an up and behind the pillar there youll find an UW lever, throw that to open a trapdoor up at the pillar W of here, swim up and get a ½ MP. Climb up where the MP was and follow the path, watch out for Spikes though, youll come to a room with Spike ledges.
From the R hand side of the opening to that room you can runjump to the brown brick ledge a bit to the R, watch the low ceiling though. Go to the end of this ledge and go to the SW corner of it, do a runjump/grab to the ladder over the Burner and go up, walk to the end of the ledge and runjump around the L corner to a ledge with the Torch.
From picking the Torch up face N and go back against the wall and standjump down, then a runjump to the NE corner and take 2 hops back before you runjump to the higher block N, then a standjump to the R hand wall torch to avoid the Spikes and light the Torch, standjump back with a curve around the Spikes and face SW doing a runjump with a L curve around those spikes to the first ledge, run off the S side into the lower trench and follow up to the rope at the E wall. Stand aside as you light the rope and watch the Boulder crash into the trapdoor. Drop the Torch and follow the Boulder down to get the Jungle Gem.
Climb back up and climb up L to the first ledge, runjump/grab to the ladder again, going around the Spikes and follow to the ledge where you got the Torch before and runjump over to the next ledge where the Gem can be placed, the door behind you opens, so turn and runjump with a curve and a grab to land inside the opening.
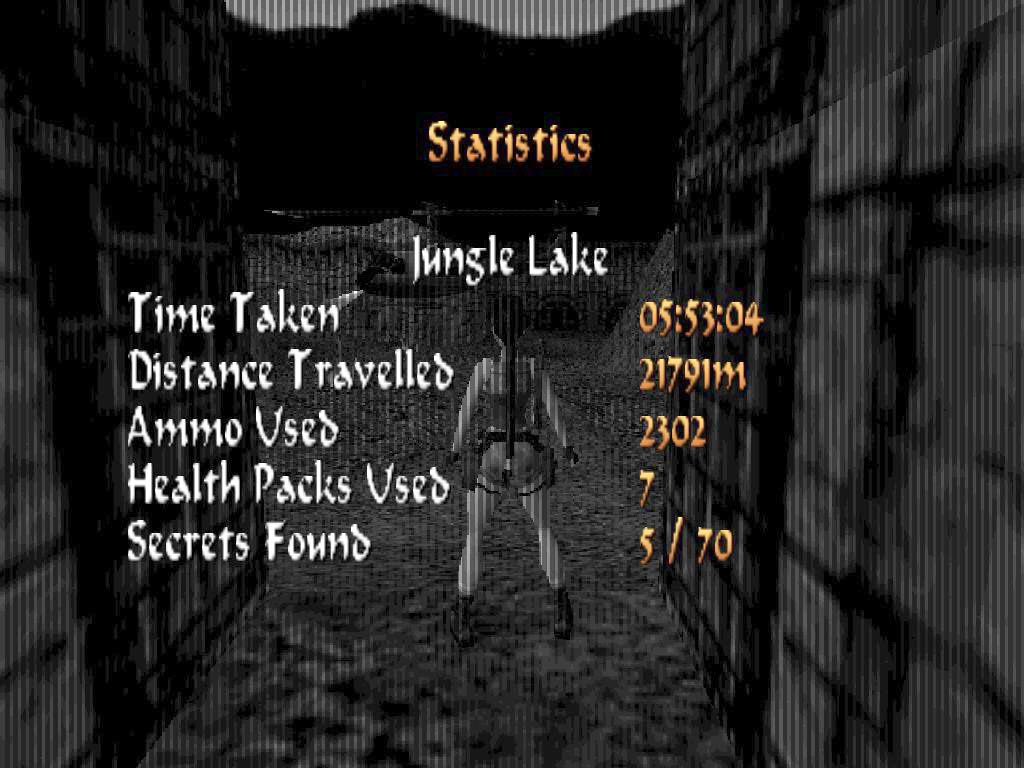
5. Jungle Lake
The light go on as a welcome, follow to the Jungle Lake, get the Portal Key from behind the door and use it just around the corner to open the door to the L, go in and come out to an open area with a deep pit and a hanging bridge. Look L of the bridge in the pit and spot the trapdoor.
Timed Run.
Go on to the old building across the bridge and the door opens, go L inside and go look for the switch you have to use in a bit, then go to the E end of the room, the entrance closes. Save in front of that switch and pull, roll and sprint to that NW switch in the corner, throw that one and get out of the timed W exit, sprint over the bridge and sharp R, then R at the plant to the edge of the pit and runjump/grabbing into the pit to land in the now open trapdoor the 2 Wraiths on your tail.
Revolver and Lasersight.
In the water is a Sea Hag, nasty creature, I know you want to get out of here fast, but theres a rather important item on the bottom, the Revolver, go look for that along the W wall in the plant. Then swim up to the SE and go L, behind the wall is an UW lever, throw that and swim N, go L and down to an opened door in the N wall. Follow up to a room with some Ammo and ½ MPs to the R of where you climb up, then go get the Lasersight on the block and go to the pit. Stand on the most L corner and see the platform, now look in the opening across the pit and you can just see a hidden Brass ball you can shoot. The platform goes up and you can runjump across and jump/grab up to the floor above.
Drop from the other side and go on, watch out for the Spike trap in a corner to the R, where youll find a door to the L, go on and over the rope bridges to a gate that opens for you. Go to the room beyond and come to a pool, around the pool, in the walls are 5 doors and on the N side of the pool is a block with switches.
Switch Puzzle Room..
I numbered the switches 1 to 5 from the R to the L.
N
side Middle Door. 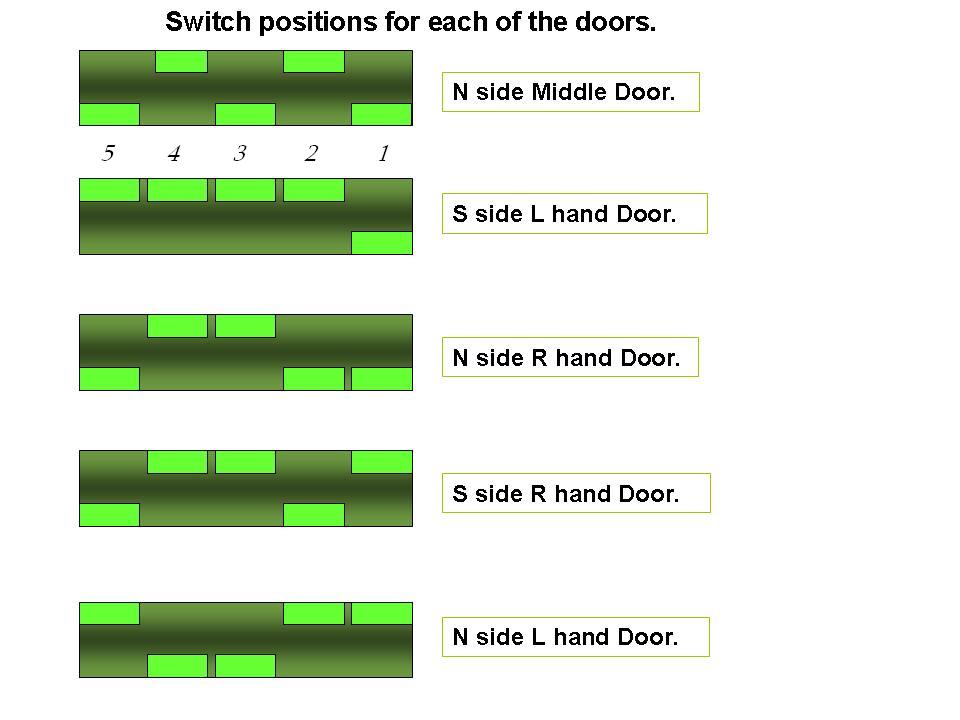
Throw #1,3,5 down and the N door behind the switch block opens, climb up to it and go through to the room beyond, but go slow as you dont want to get Spiked or pinned to the floor by falling Swords. Go get the 1st Jungle Star from the wall and youll drop through the trapdoor, into a room with 2 switches on the N wall, stay close to this wall for now and go to the NE switch, throw it and sidejump to the other one, throw that and backflip/roll and sprint quickly past a Skellie that wakes up and jump onto the block SE, grab up to the upper floor while the block sinks back in the floor. Go back out to the switchblock.
S
side L hand Door.
Pull the #3 and #5 switches back up (#1 stays down) and the S door L opens, go up to the edge of the deep room and standjump/grab to the first rope, dont go down to the end of the rope, but just swing a couple of times and jump/grab to the 2nd rope, now go down and swing/jump to the pillar in the other end of the room. turn around and see the fire on the dark pillar below has extinguished. You can also see the next Star, Stand on the edge of the pillar and check the health before you standjump down with a grab in the end, drop from the pillar and get the 2nd Jungle Star.
Go into the NW corner to find a switch that will open a trapdoor in the next room, pull. Sidejump L and run through the door that opened in the W wall and come to the bottom of the pit with the hanging bridge. Go R and safety drop down the trapdoor, go S and mind the Spiketraps (stay on the L side) while running for the pool in the end, after the Wraith is gone you can climb out S and get a MP to the L, go through the opening S and climb up L, go up to a ledge with a sloped block and a ladder, stand facing N and almost with your back against the wall, sidejump onto the sloped block and jump/grab the ladder go to the top of the ladder and shimmy R into the opening there, this ids the closed (now open) door you saw before, return N and over the bridge to the room with the Switch Puzzle Room.
N side R hand Door.
On the switchblock, throw down the #5 and #2 switches and the R hand door N opens. Stand L in the opening to a Lava pool and standjump onto the L side of the slanted block, slide and jump L a bit, the R and so on, jump to the ledge N with the switch and throw that to change the position of the slanted blocks. Standjump over the first block, slide and jump L, then R and L, a sharp R jump will get you into an opening where the 3rd Jungle Star is to be found. Go back to the opening and standjump with a roll onto the most R hand side of the block, jump sharp l to land back in the exit and go back to the switchblock.
S
side R hand Door.
Throw the #1 switch up and go to the R hand door S side go over the block into a room with pillars and some Ammo SE, climb the ladder on the S pillar and see the platforms on the other pillars go up. They are timed and now you have to runjump/grab to the middle of the first platform, pull up, turn R a bit and do a L curved runjump to the middle of the second platform, turn L and runjump into the opening you see in the corner of the L wall. Get the 4th Jungle Star and drop down the other side to get back in the exit. Run for the pool in the Switch Puzzle Room.
N side
L hand Door.
Get out and now throw #2 up, #3 and 4 go down and #5 up again, the door N on the L side opens, go in and place the 4 Stars in the back of the room, a block goes up on the W ledge in the Switch Puzzle Room. So return there, go up the block and onto the W ledge, see the pillars in the room have flames on them, find the switch in the alcove and Save in front of it.
Timed Pillar Run.
Pull the switch and roll, runjump and grab the first pillar, go on like this and get to the other side before the flames start again. The first 3 jumps are runjump/grabs and then 2 running jumps and after the Skellie runjump/grab, runjump to the last and runjump with a L curve and grab in the end to get into the E alcove. A door there will open on approach and go up the passage to another outside area.
Go to the SE corner of the square and look for a Torch in the plant, go to a campfire in the N and light the Torch, from standing on a corner of the Tile, then go SW and light a campfire there. Drop the Torch and climb up the opening R (W) of the campfire where a door opened, inside you will find a Jungle Gem, a flyby shows the opening of the big E door on the square. So head back out and go to that door, inside is a Dark Lava Cave.
The Dark Lava Cave.
Theres a ledge with a Zip-line behind that pillar, runjump to the ledge from a safe distance of the Lava floor. From the ledge you can see another ledge L of the opening the Zip-line goes in, runjump to that ledge and then look SE (with Binocs) to spot the next ledge. A long runjump will get you there and then you can enter the passage to a sandy cave. Go up to the ledge in the NE corner and grab up to an invisible crack in the N wall, shimmy L to the opening and follow to a lower room, watch out for the spikes and follow to the room where Secret#5 awaits, Ammo, Uzis and a MP. Go around the Spikes and into the opening NW, the door to the square opens and you can go to the Zip-line again.
Jungle Lake.
This time use it and go through the long cave and youll drop down a shaft into the Jungle Lake, a Sea Hag is waiting for you. so quickly swim R (S) and into the first opening R and climb out, go R and do a runjump to the NE to get up the sloped ledge, then standjump to another ledge NE and from there you van runjump over to the green Monkey island E. On the E side of the island is a brick structure with an alcove where you can place the Gem. A door will open in the SW wall of the Jungle Lake. But theres another opening and thats in the SE corner of the lake. Go stand somewhere where you have a clear shot at the Sea Hag and take her out.
The Sun Goddess.
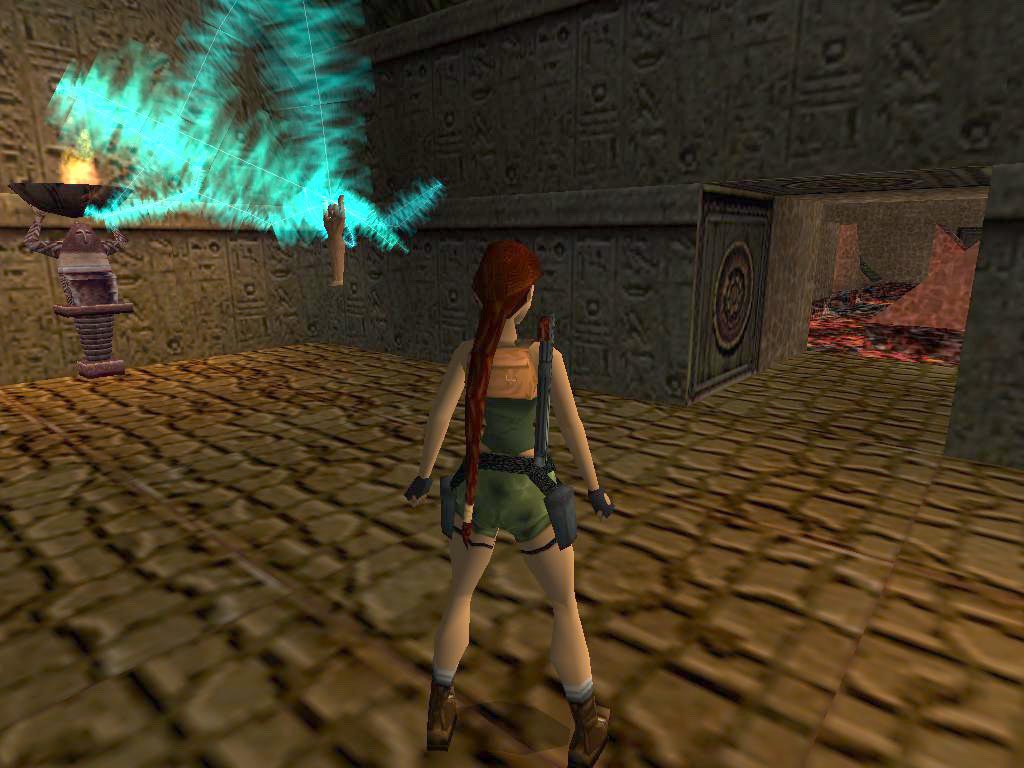
Dive in and swim into the same place W where you climbed out before. Go up the ledges again and from top one, face W and sidejump to the R to land on the sloped ledge, slide off and grab the edge, shimmy R to where youll see an opening in the W wall, over a small part of the lake, pull up and slide far before you jump/grab to that opening, go to the N and from the lower part of the ledge a runjump to the corner ledge on N side, up again and follow this ledge jumping over ridges and gaps to the NE corner then go follow the E wall, to where you have to do a long runjump up to a ledge in the wall, follow to the end and jump over the gap. Then onto a lower brick ledge R and up to a ledge in e wall again, drop/hang from the edge to shimmy past the Spike-trap and go into the opening there, follow to the end of the long passage and stand at the edge of a deadly pool. Save and runjump onto the first sloped block, keep jumping (you have to judge the jumps. Some of them you have to slide a bit before jumping) till you reach an opening in the N wall, grab to get in and get the Sun Goddess from the Blue rays. Leave N and do a runjump again, the last jumps you have to curve L to get to the last block and grab to get into the exit, go L and back to the Lake.
Go L (S) on the ledge and now you have to do a banana curve runjump around the pillar S, so run along the edge of the ledge and curve out a bit then jump and curve sharp L in the air, to land on the SE corner ledge. Walk up to the higher floor in the corner and face W, grab the monkeyswing and go to the W, be sure to go past the plants before you drop to the green ledges below, climb the W ledge and runjump/ grab with a L curve into opening at the door you opened before. Go through to a room with 2 Statues and place the Sun Talisman (combined Sun Goddess and Sun Disk) and doors open in the SW and NW, a Skellie wakes up, so shoot it off his feet and run into the SW room first to get the Key of Release to the L, then shoot the 2 Skellies (yep, one more woke up) again so you can get out and into the NW door, open the door with the key and go out, jump up the slope and get the Ammo and ½ MP to the L.
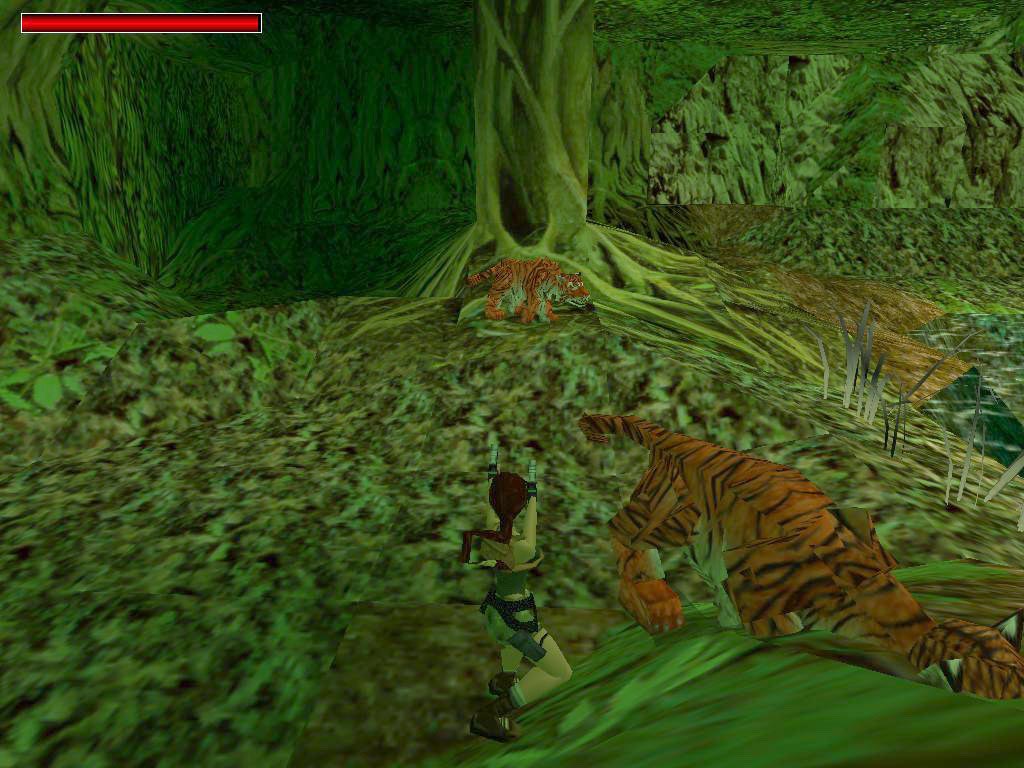
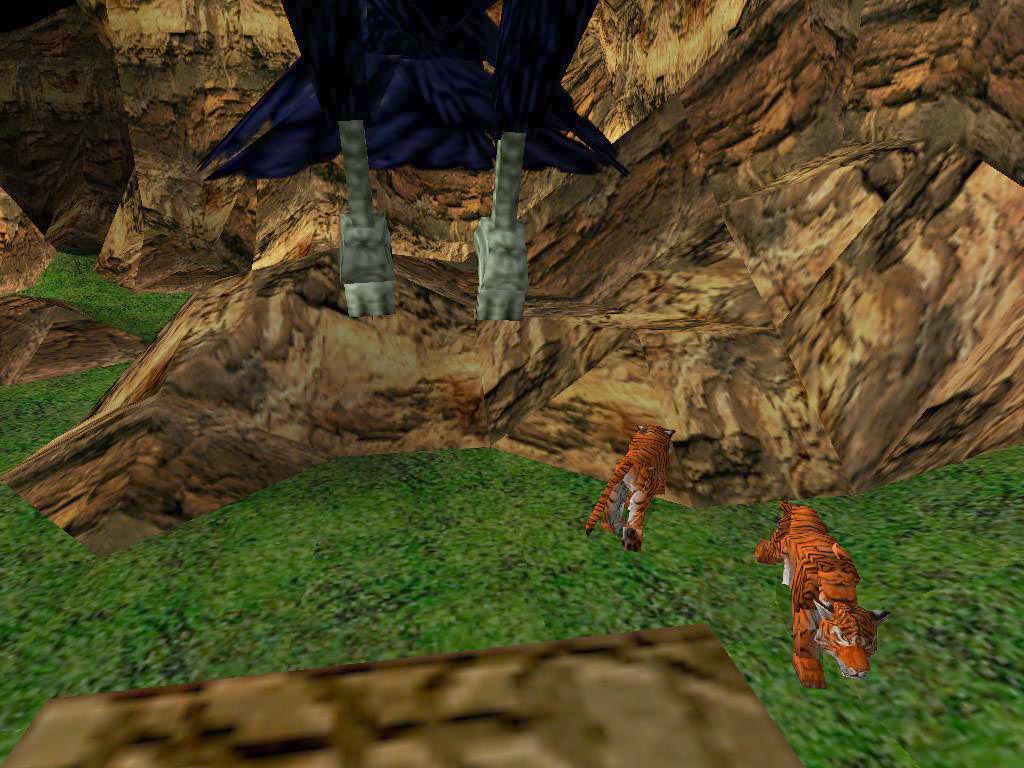
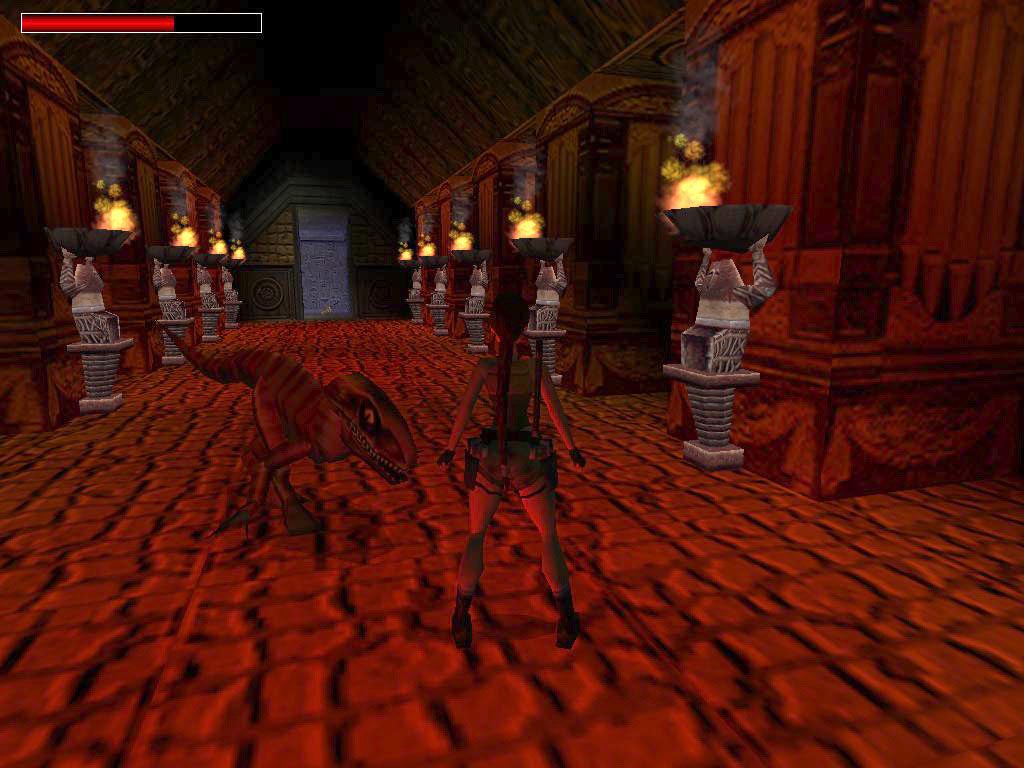
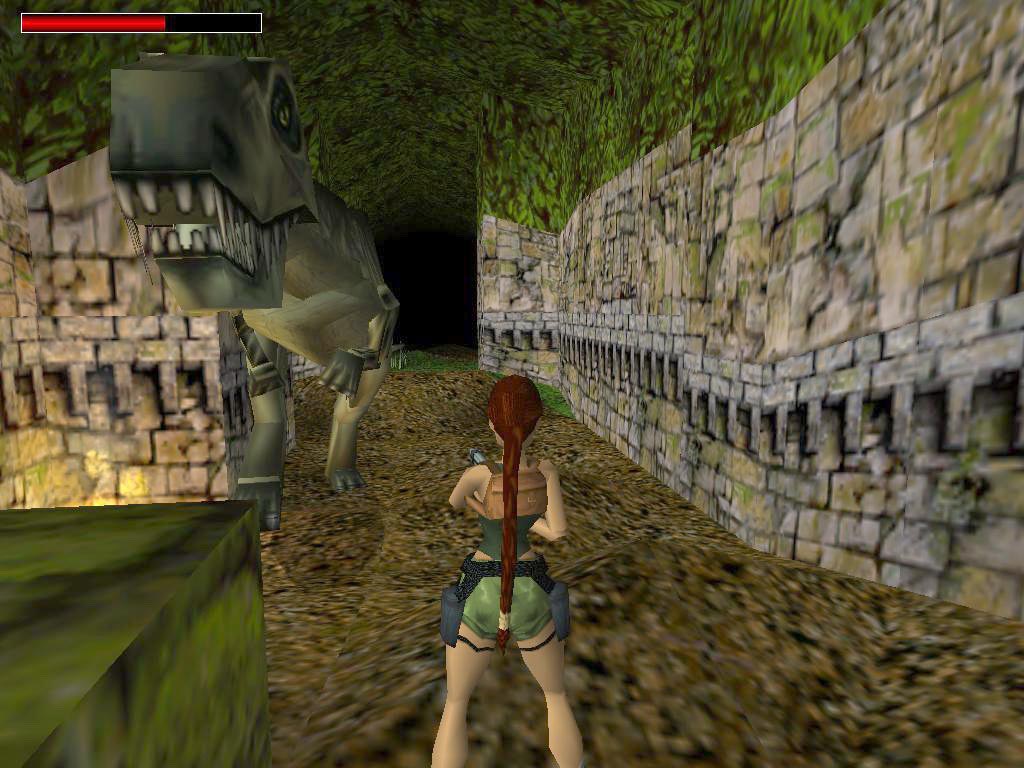
Follow the path along to where you will meet a T-rex, get close to his belly while firing the Shotgun and you should drop him with one or two rounds, go to the end of the path and to the R, where a Torch lies between the plants, get it and return to the burning campfire, light the Torch and go down the path again to light the campfire near the closed wooden gate. That gate opens and leads to where the Chopper is waiting to take you home.
End of the level.
31-05-2005.
Walkthrough D&G Productions.
Az oldalon közölt képek, a szöveges tartalom, illetve minden sajátkészítésû anyag, a © TR Editor.hu tulajdonát képezi. Azokat semmilyen formában nem lehet reprodukálni, másolni, terjeszteni, csak a szerkesztõség engedélyével.