
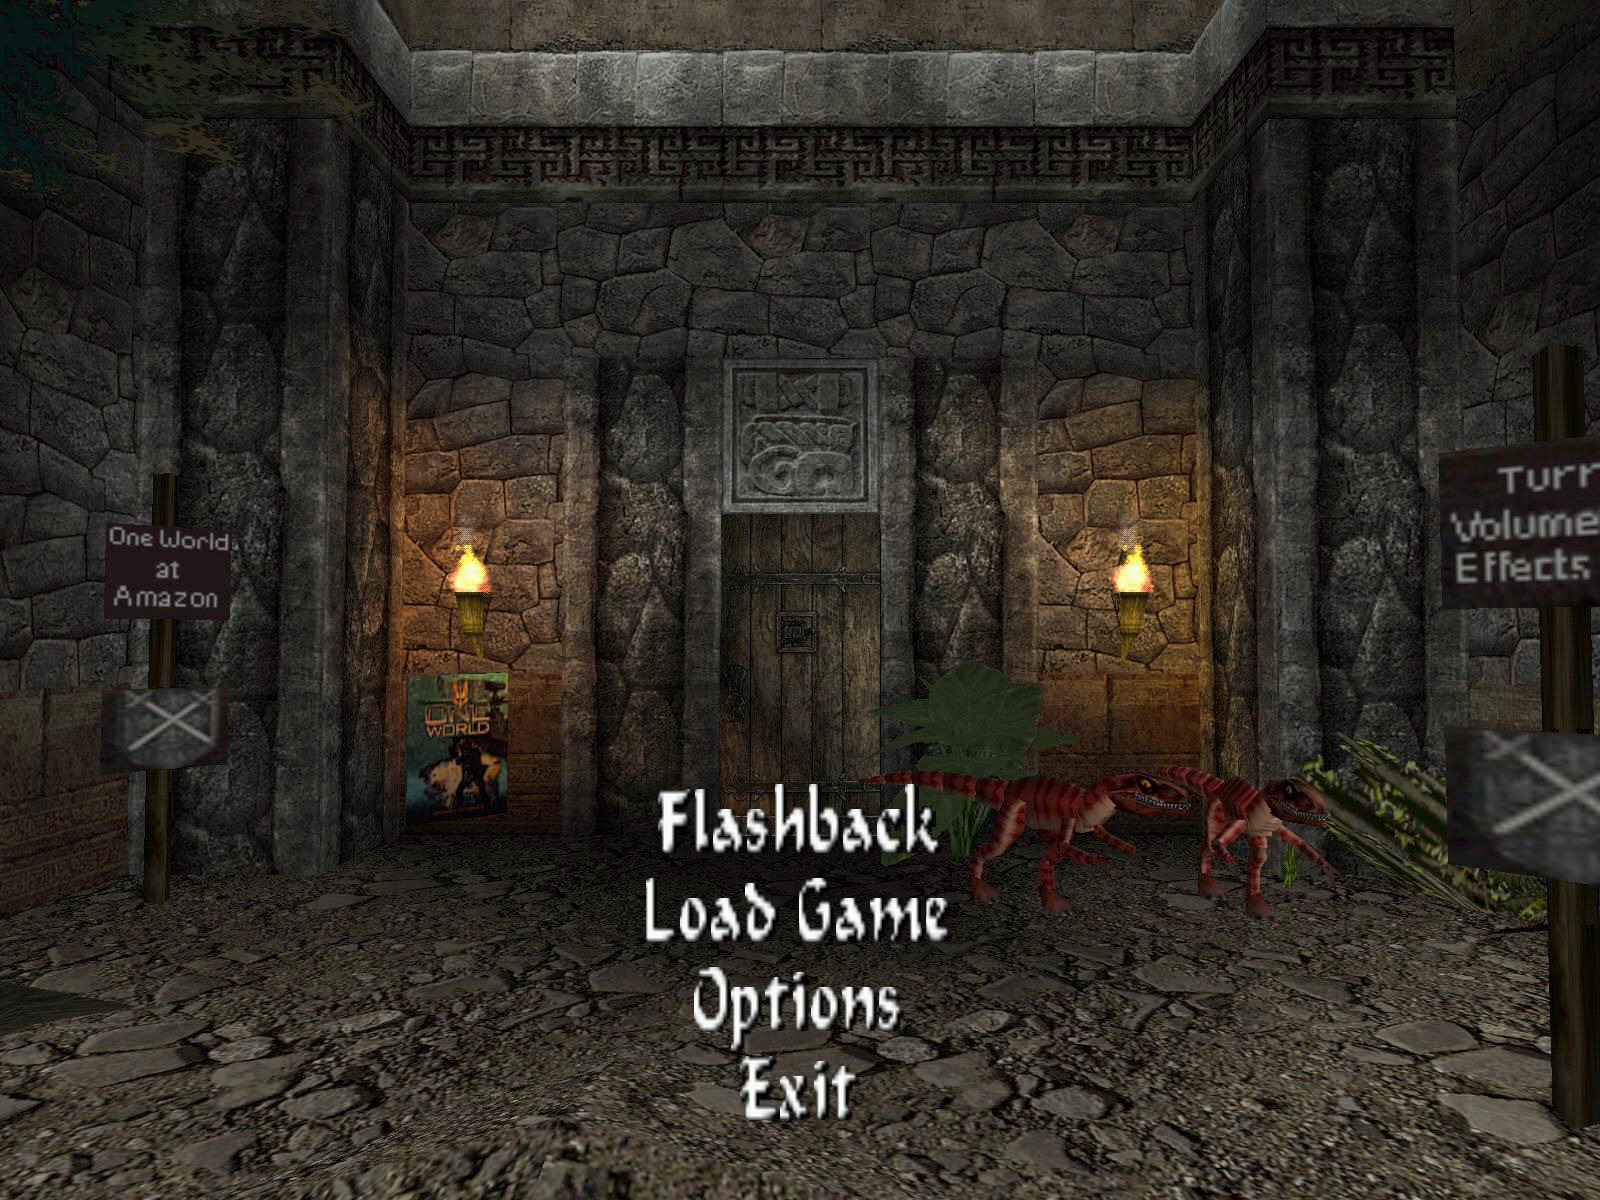
Flashback
Author: George Maciver (GMac)
Download: Here
Story:
Lara is reliving some old adventures. There are 6 secrets, one in each level apart from the final level.
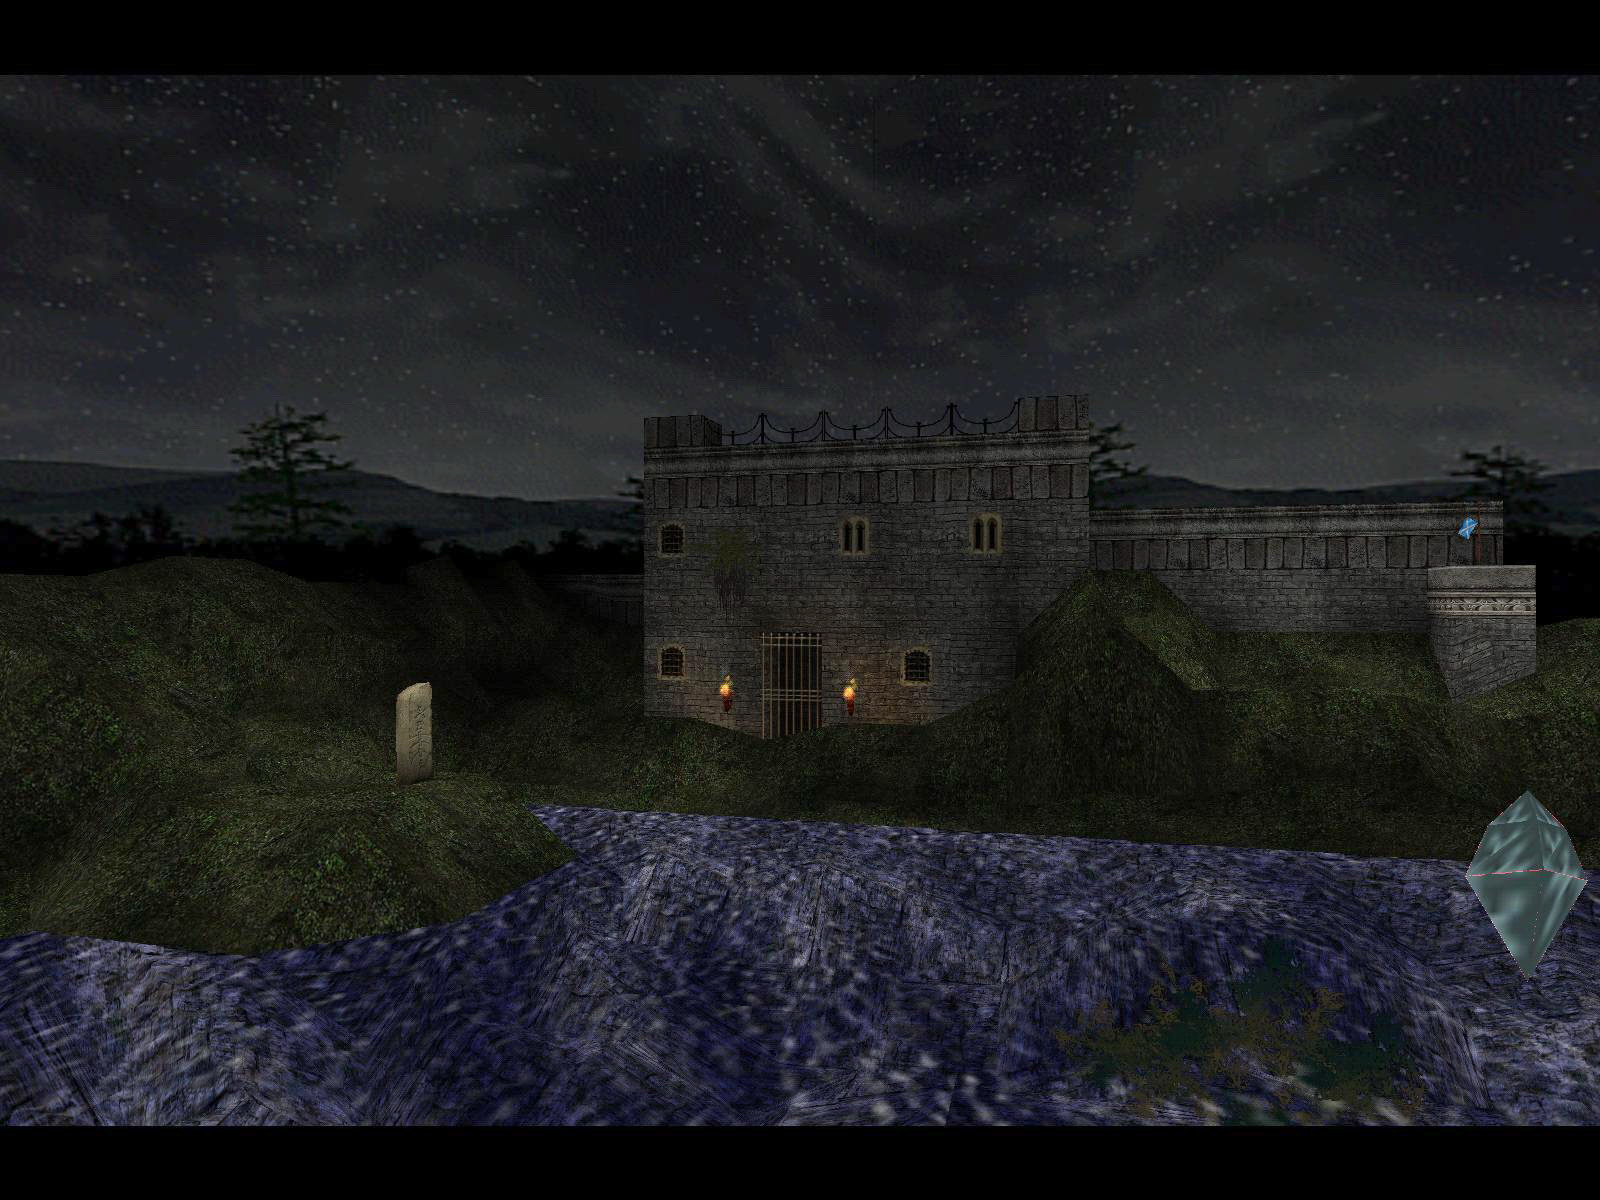
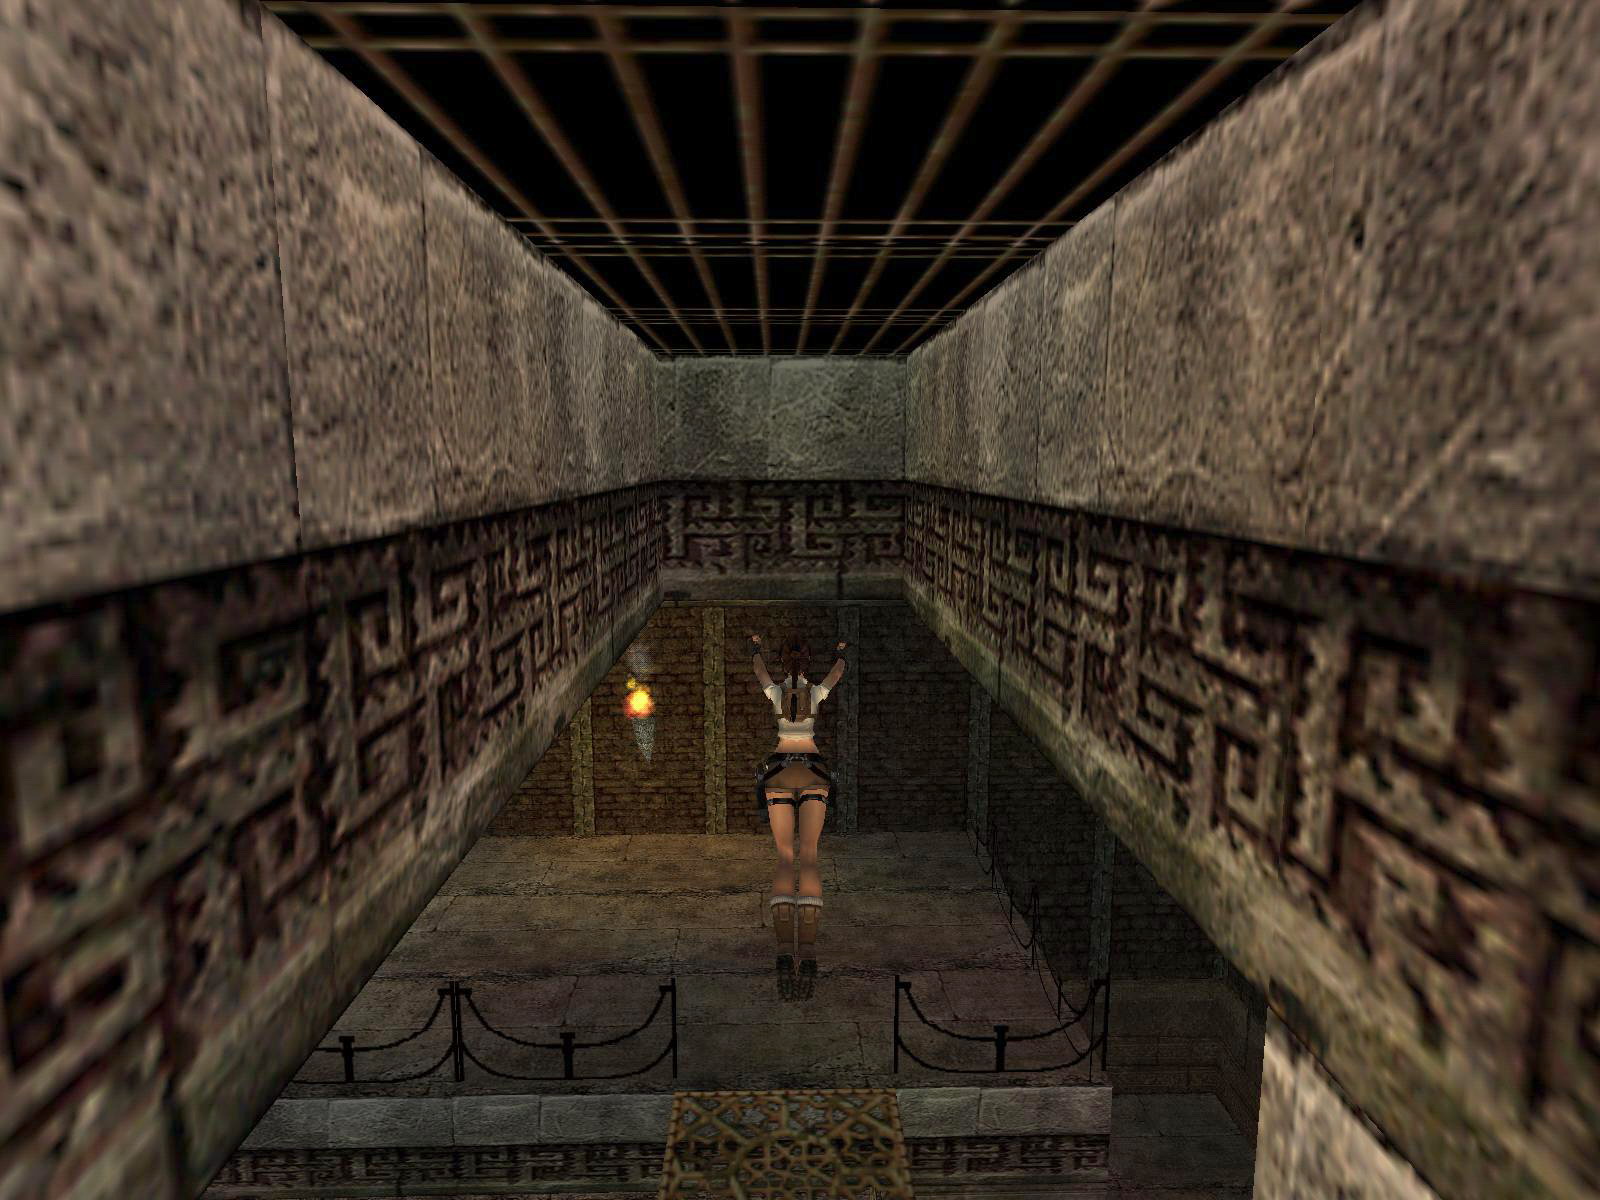
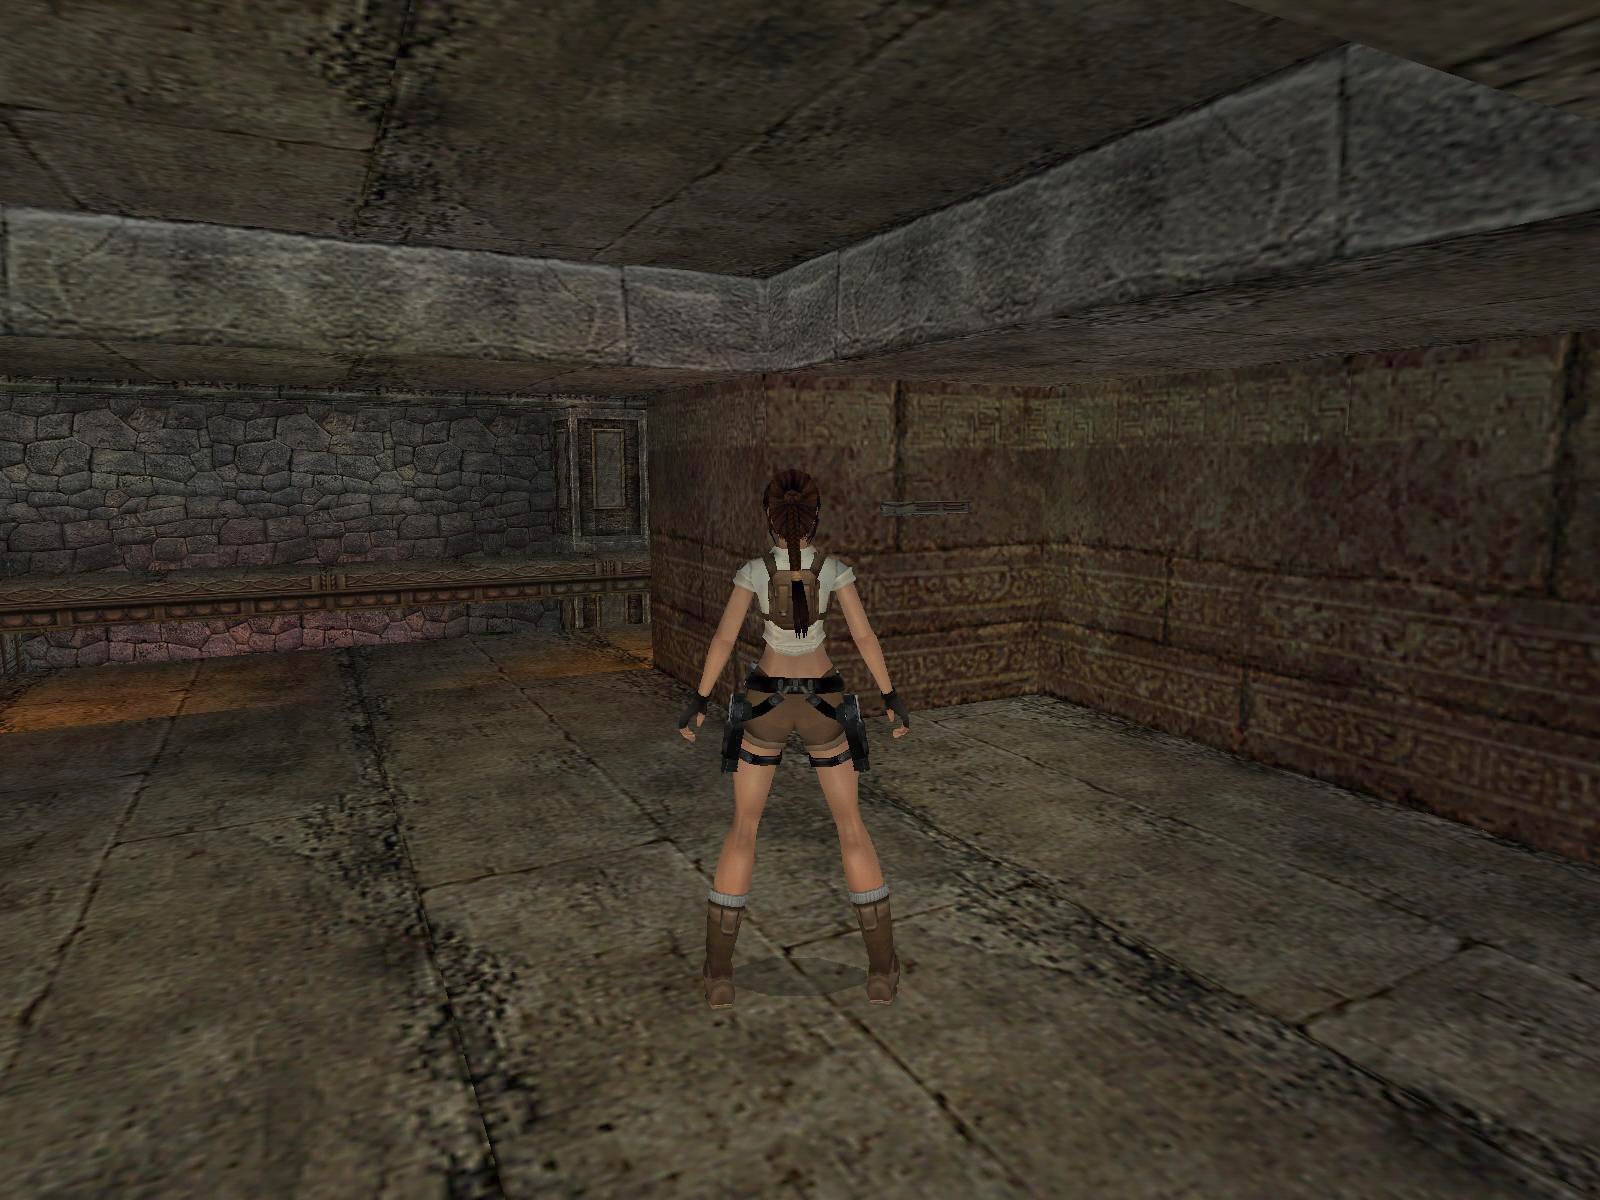
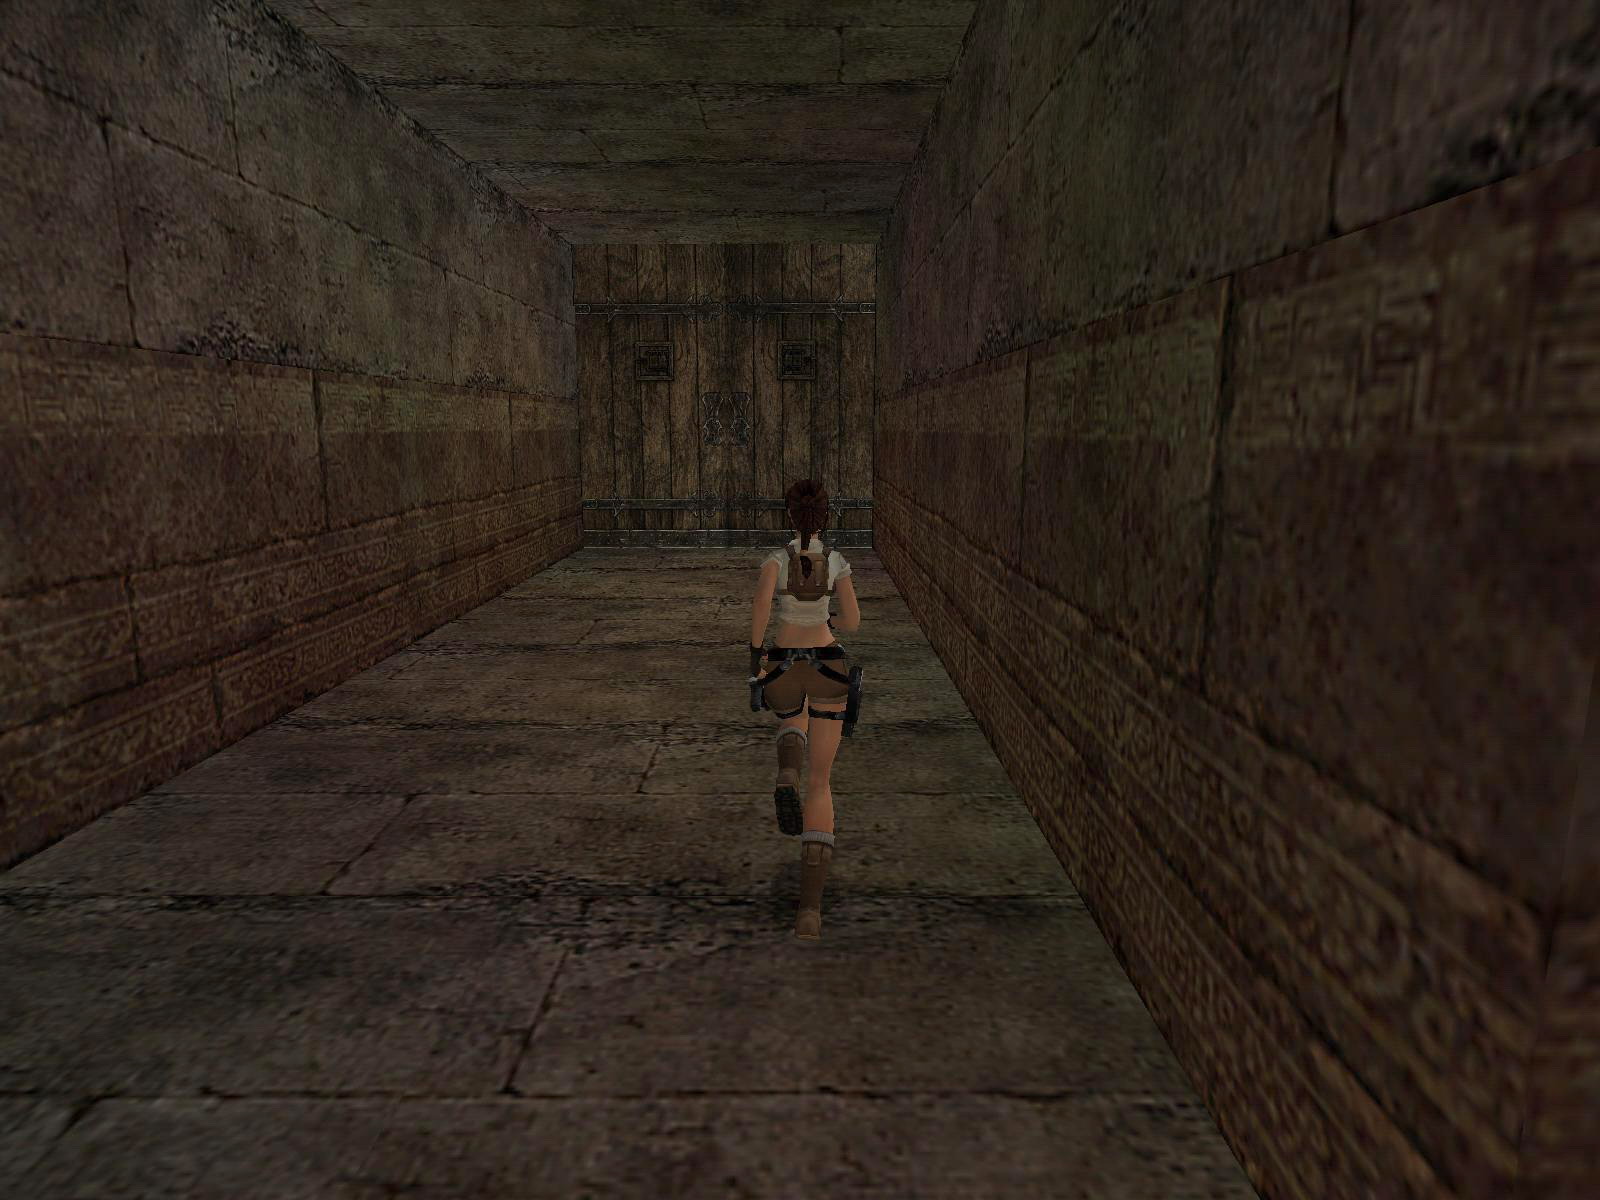
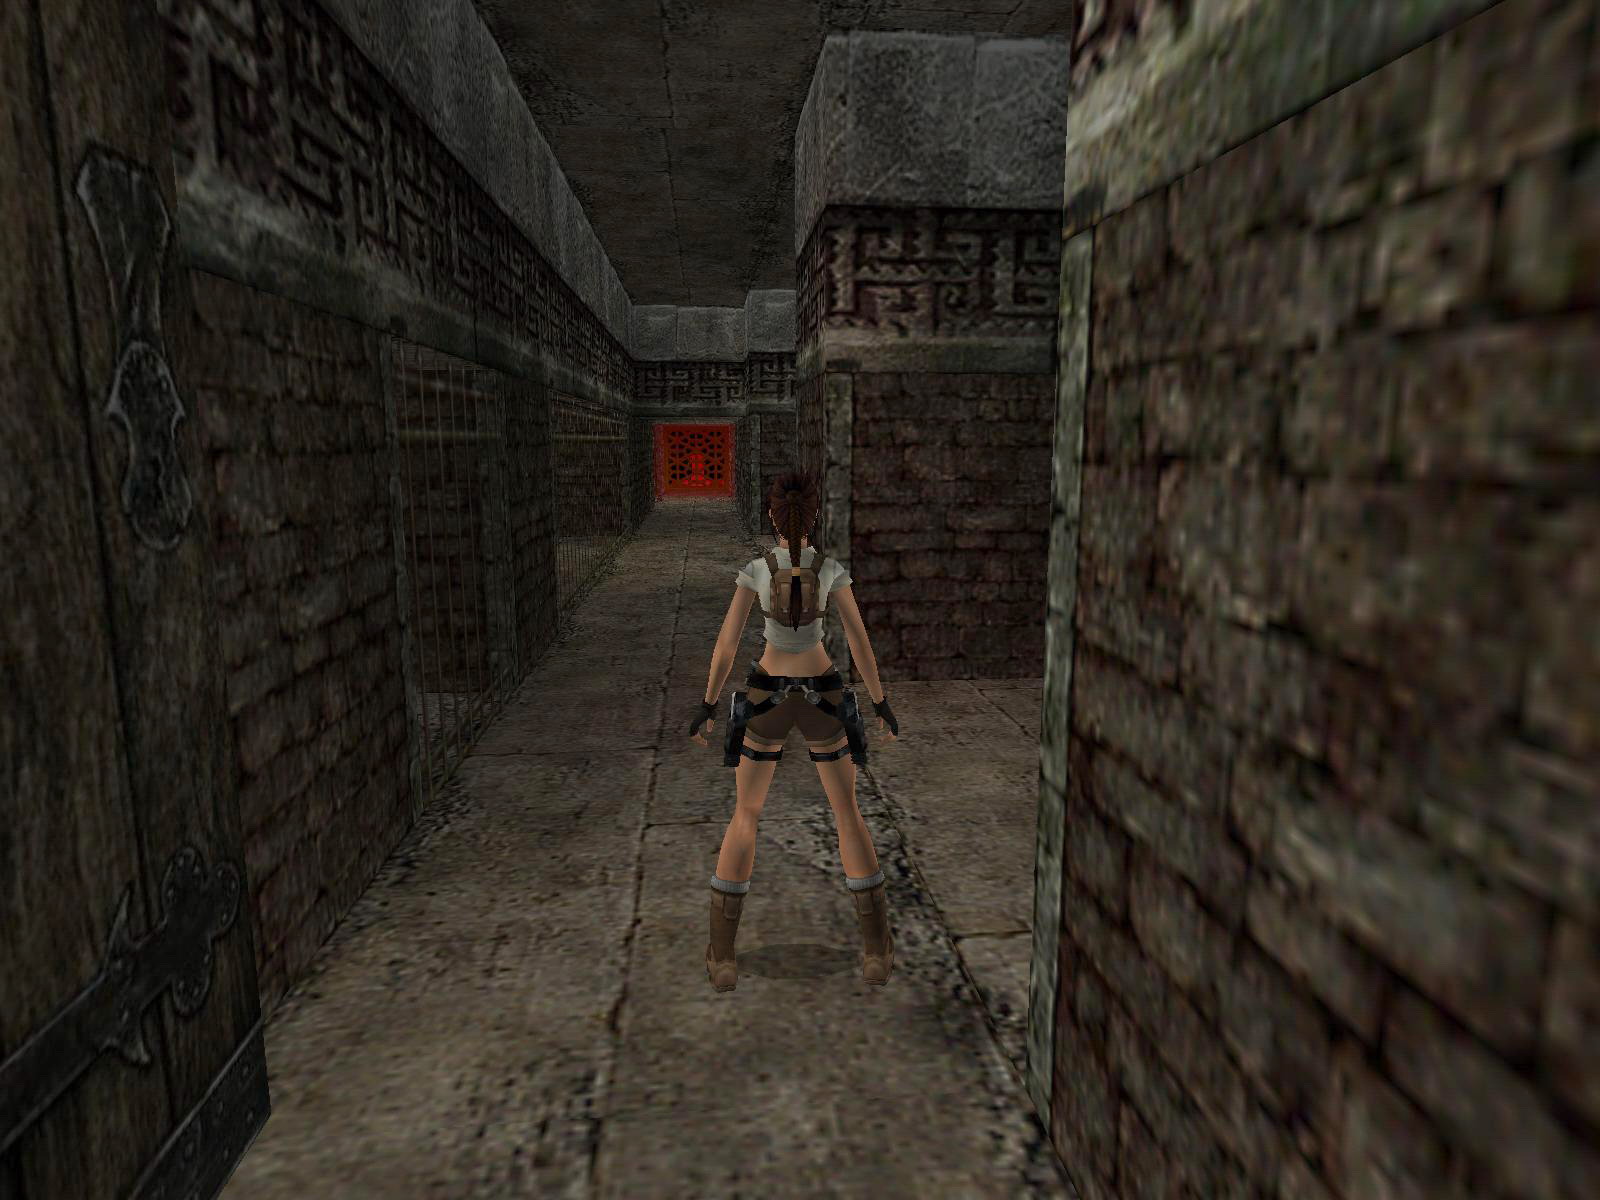
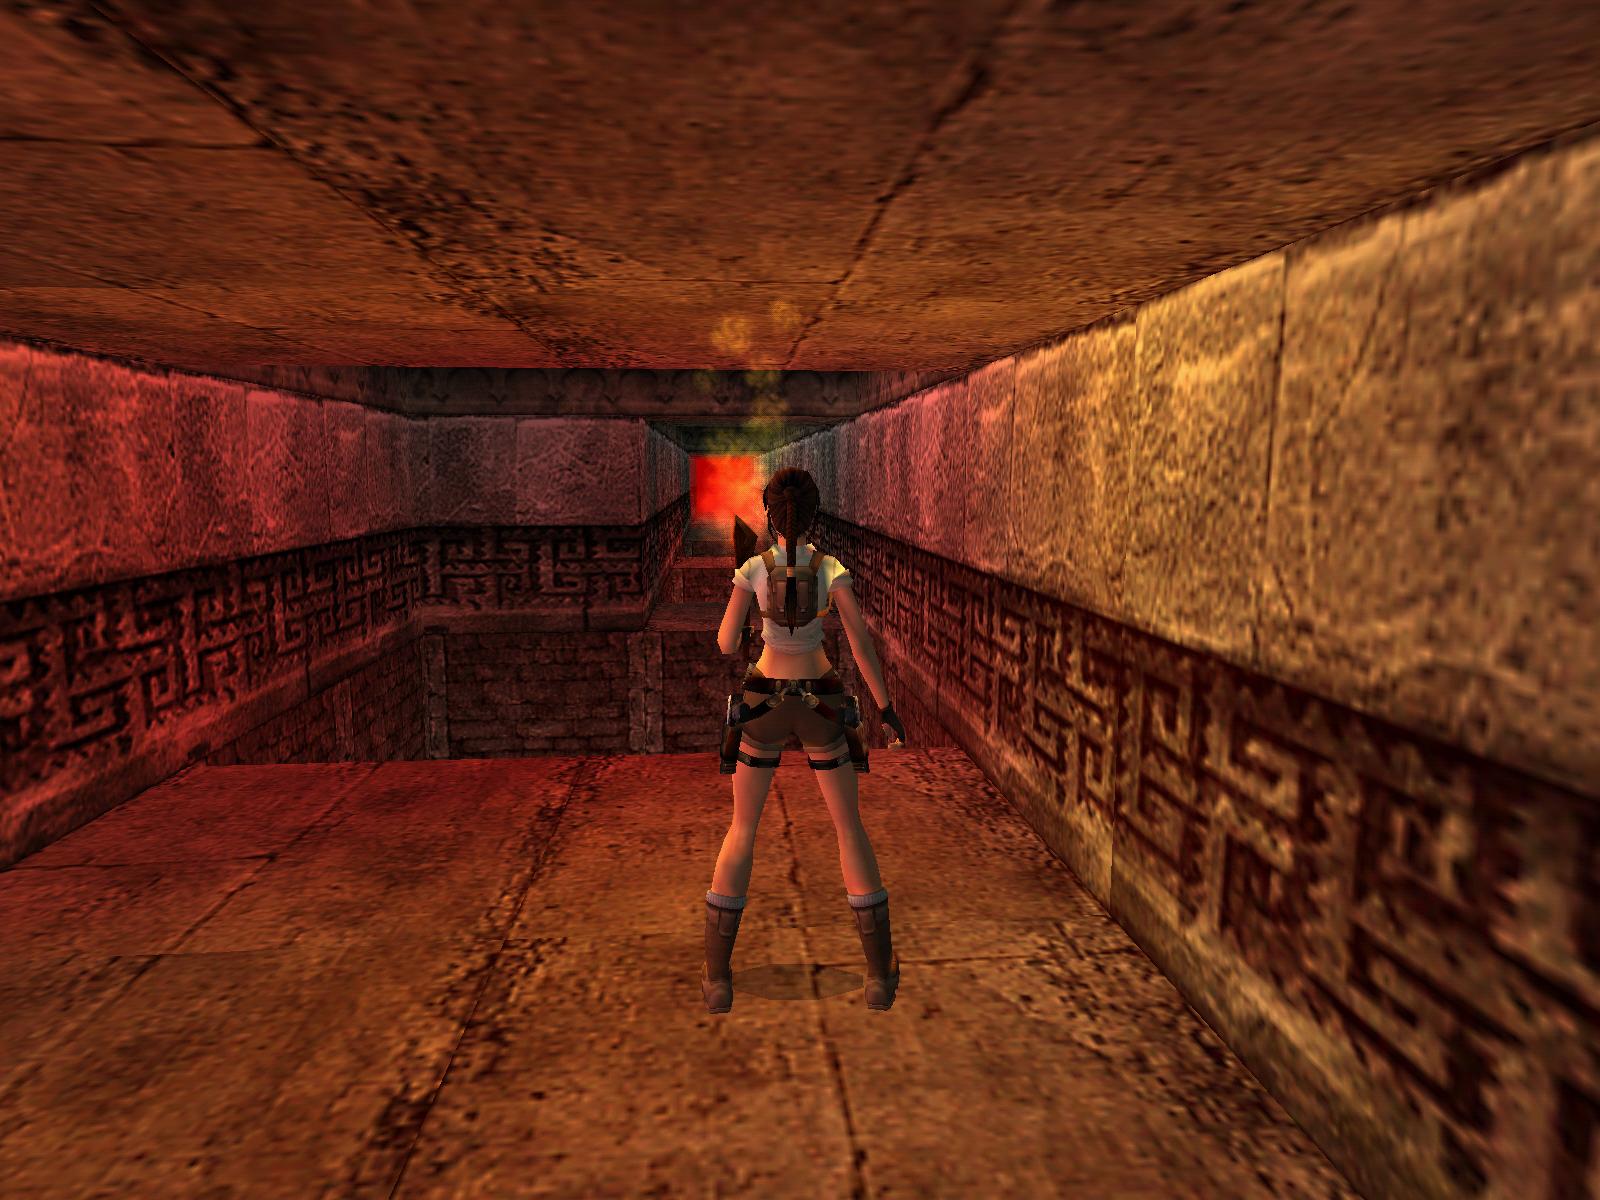
Marooned - part one.
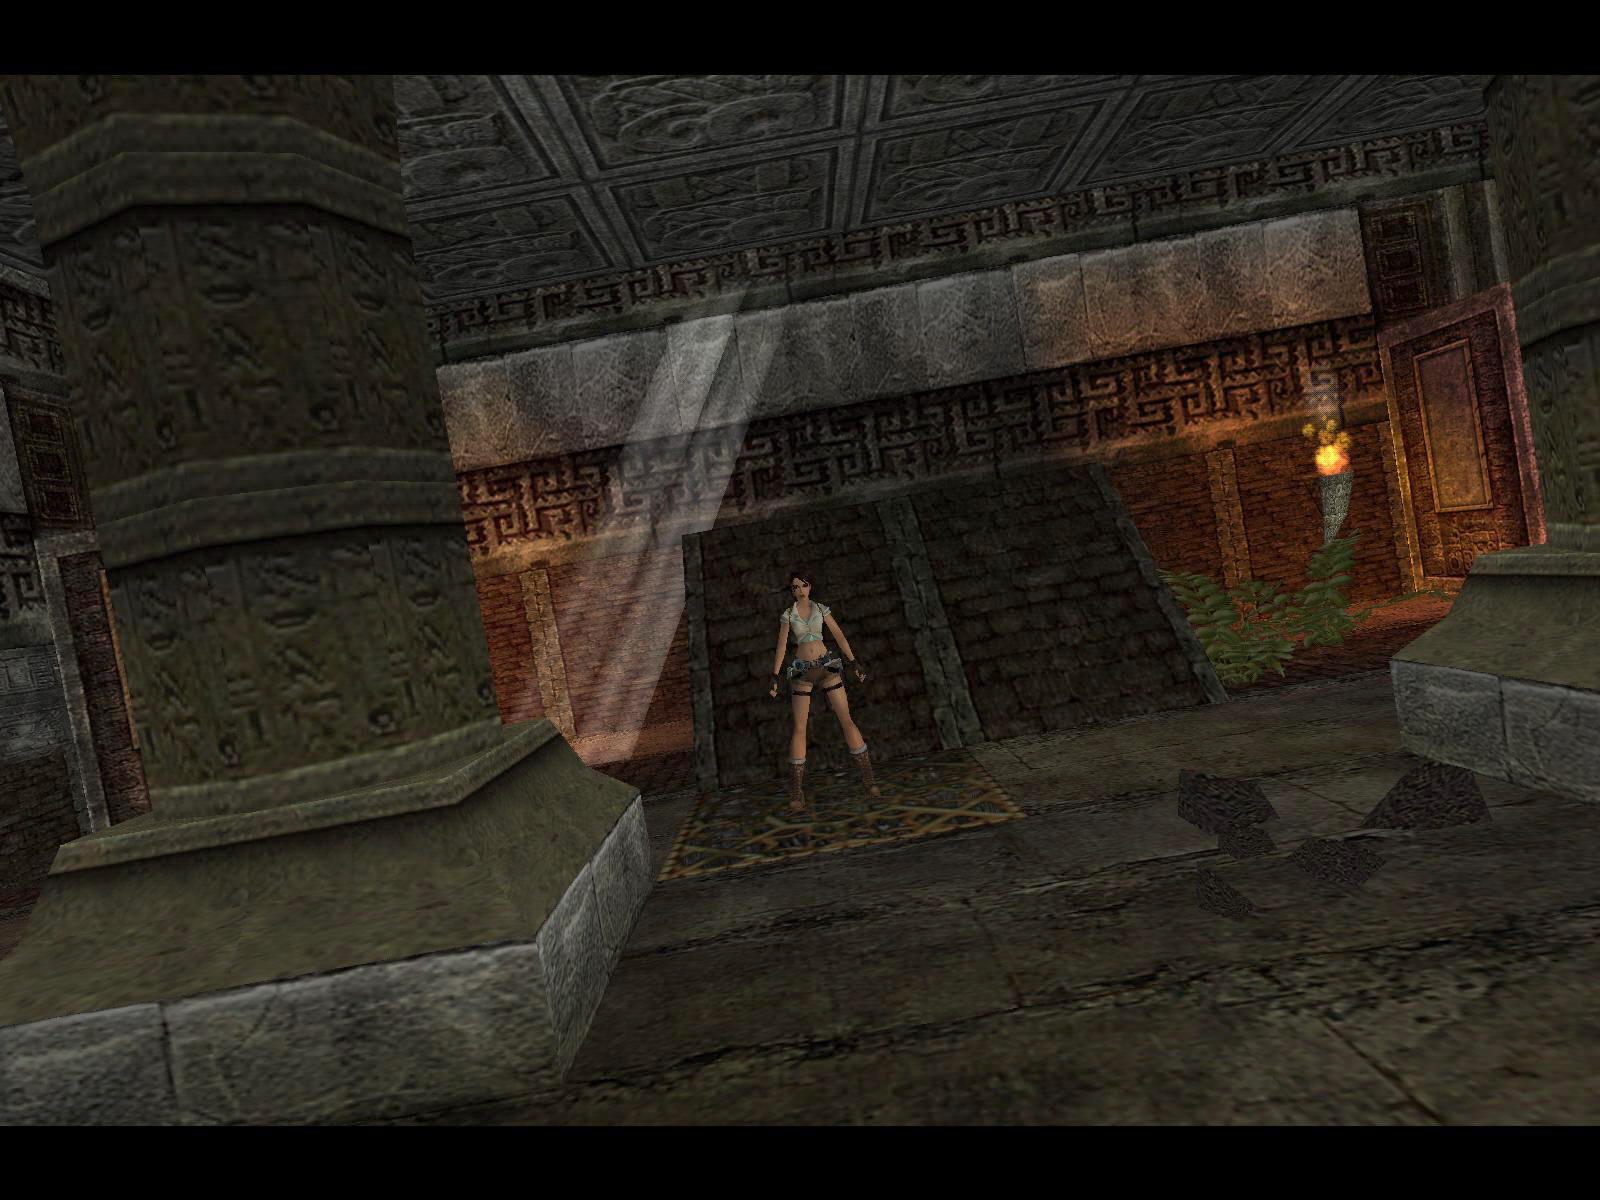

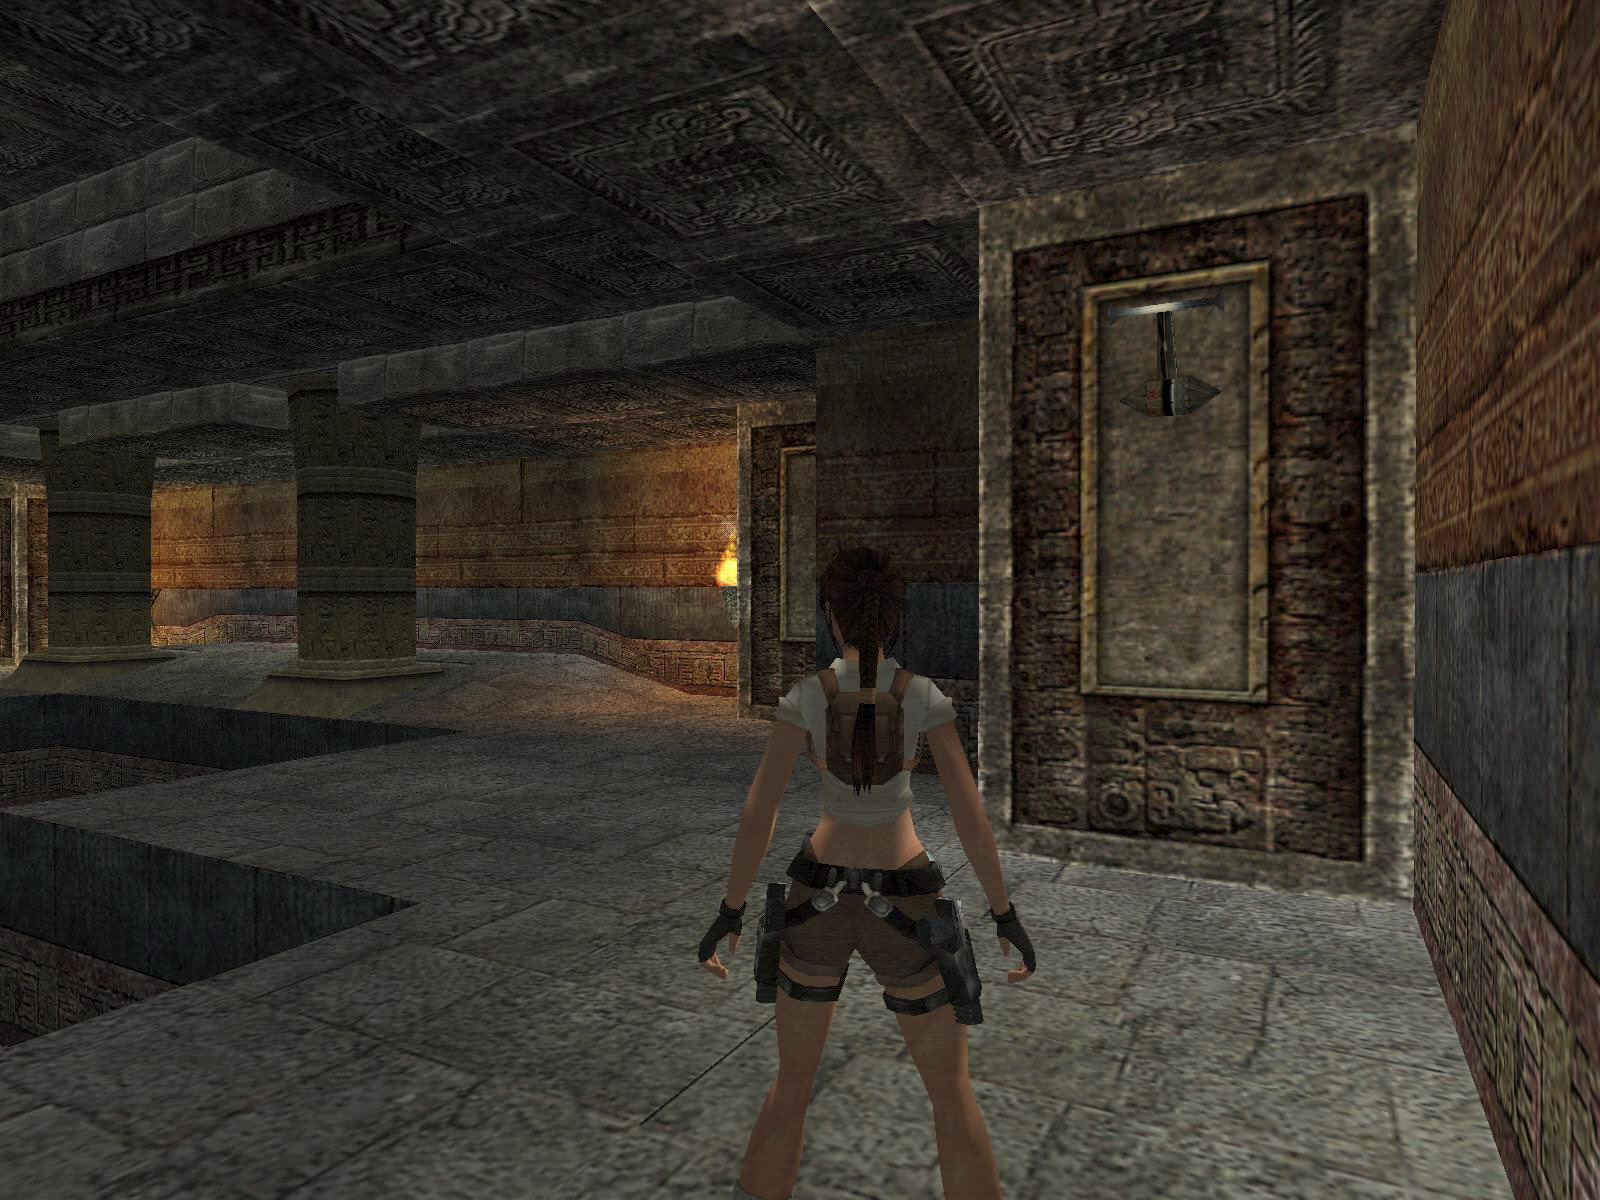
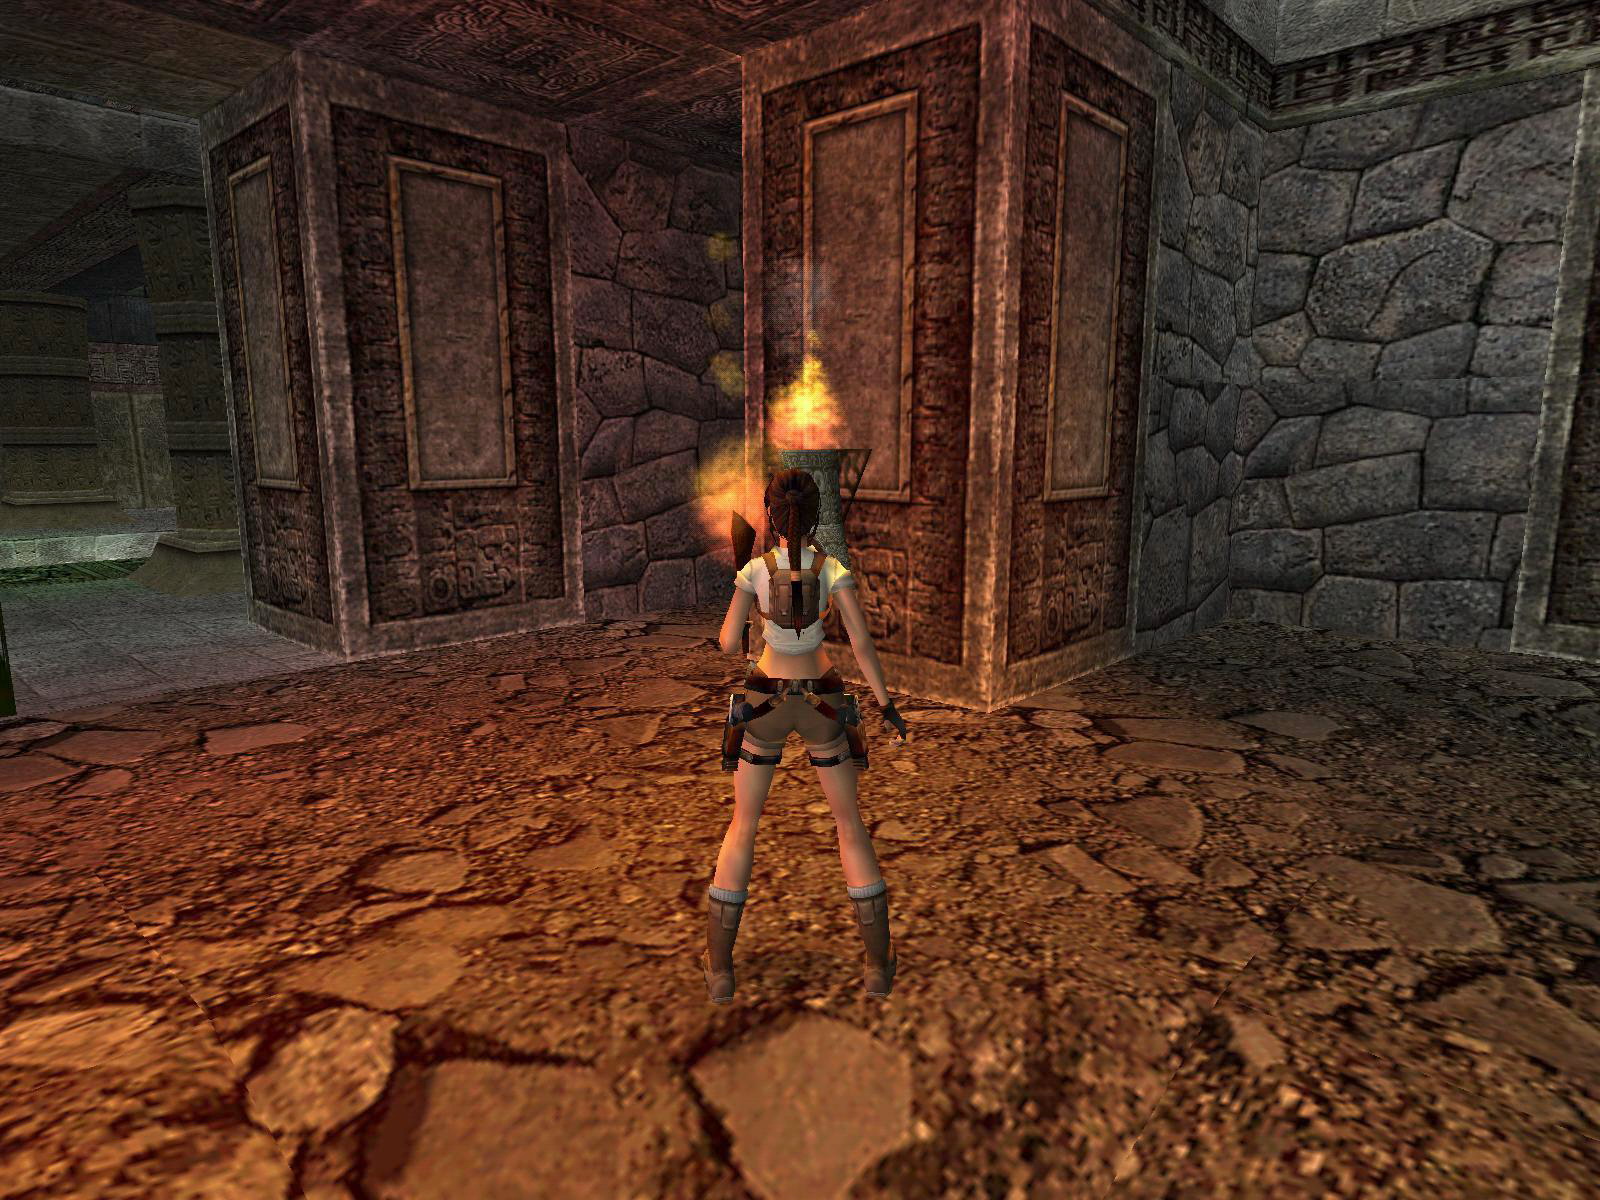

Secret 1:
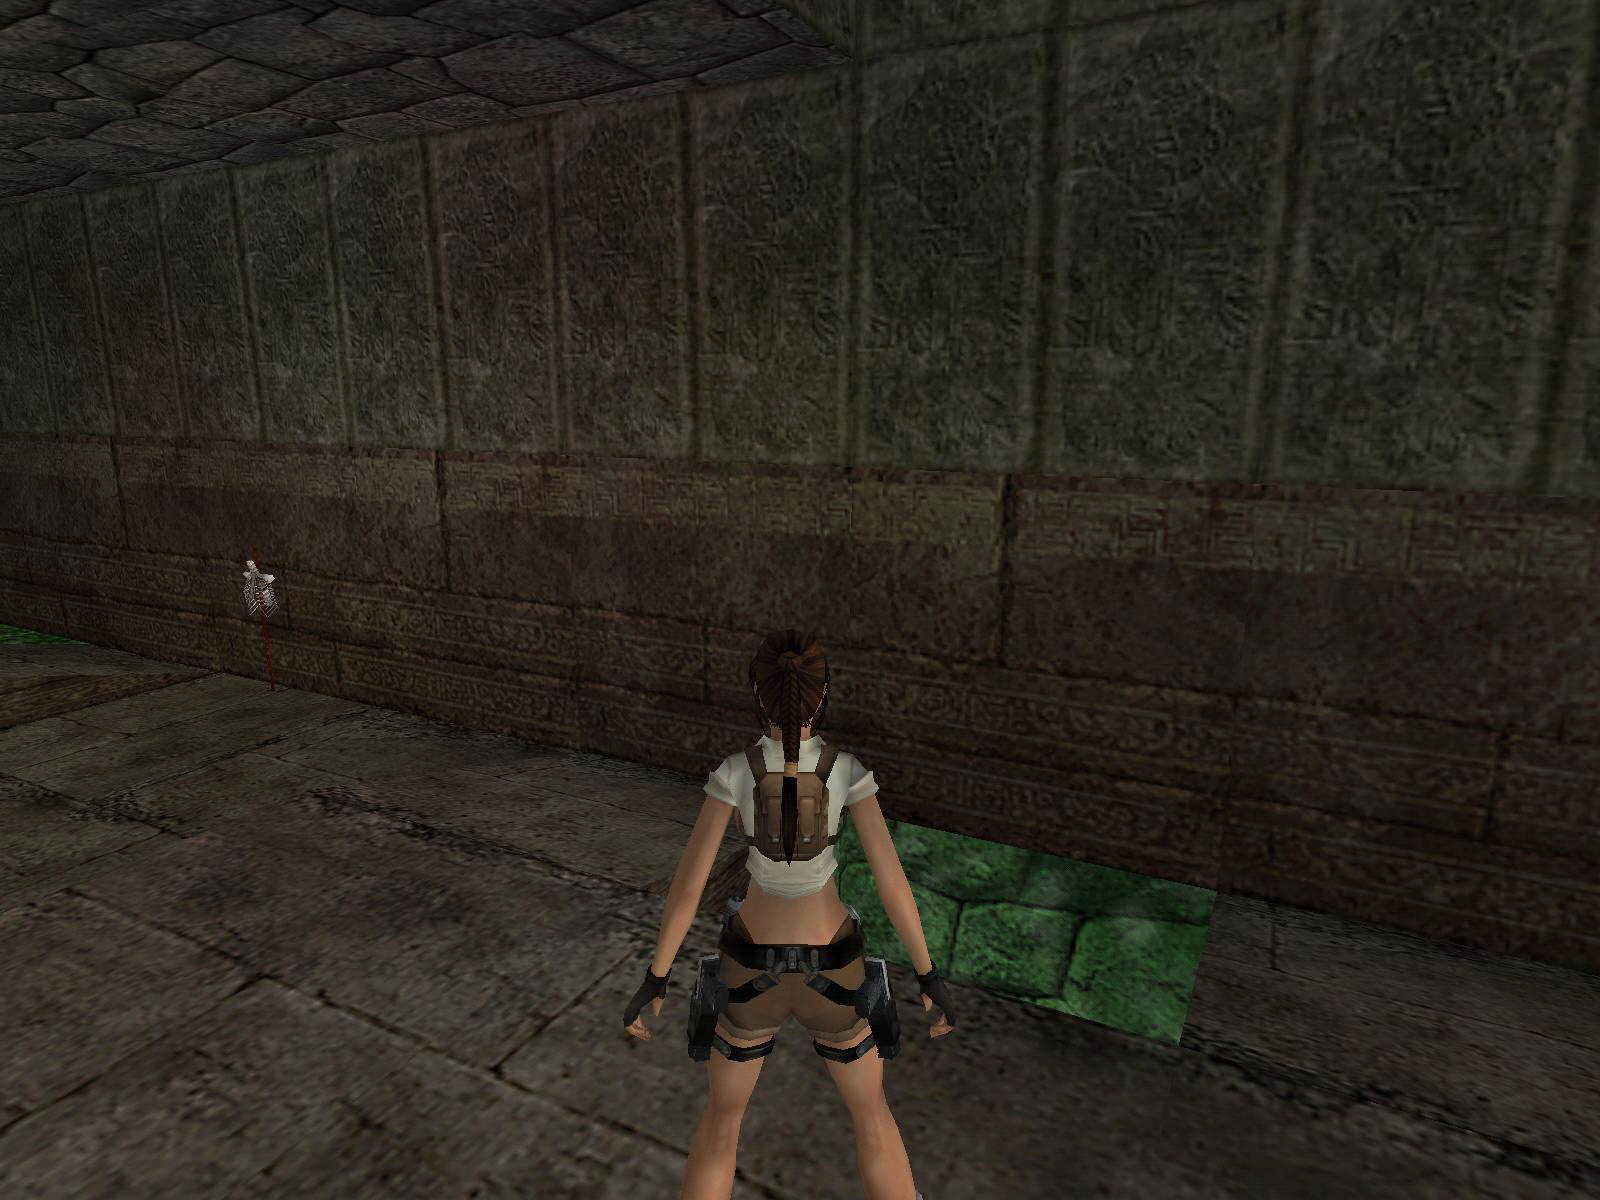
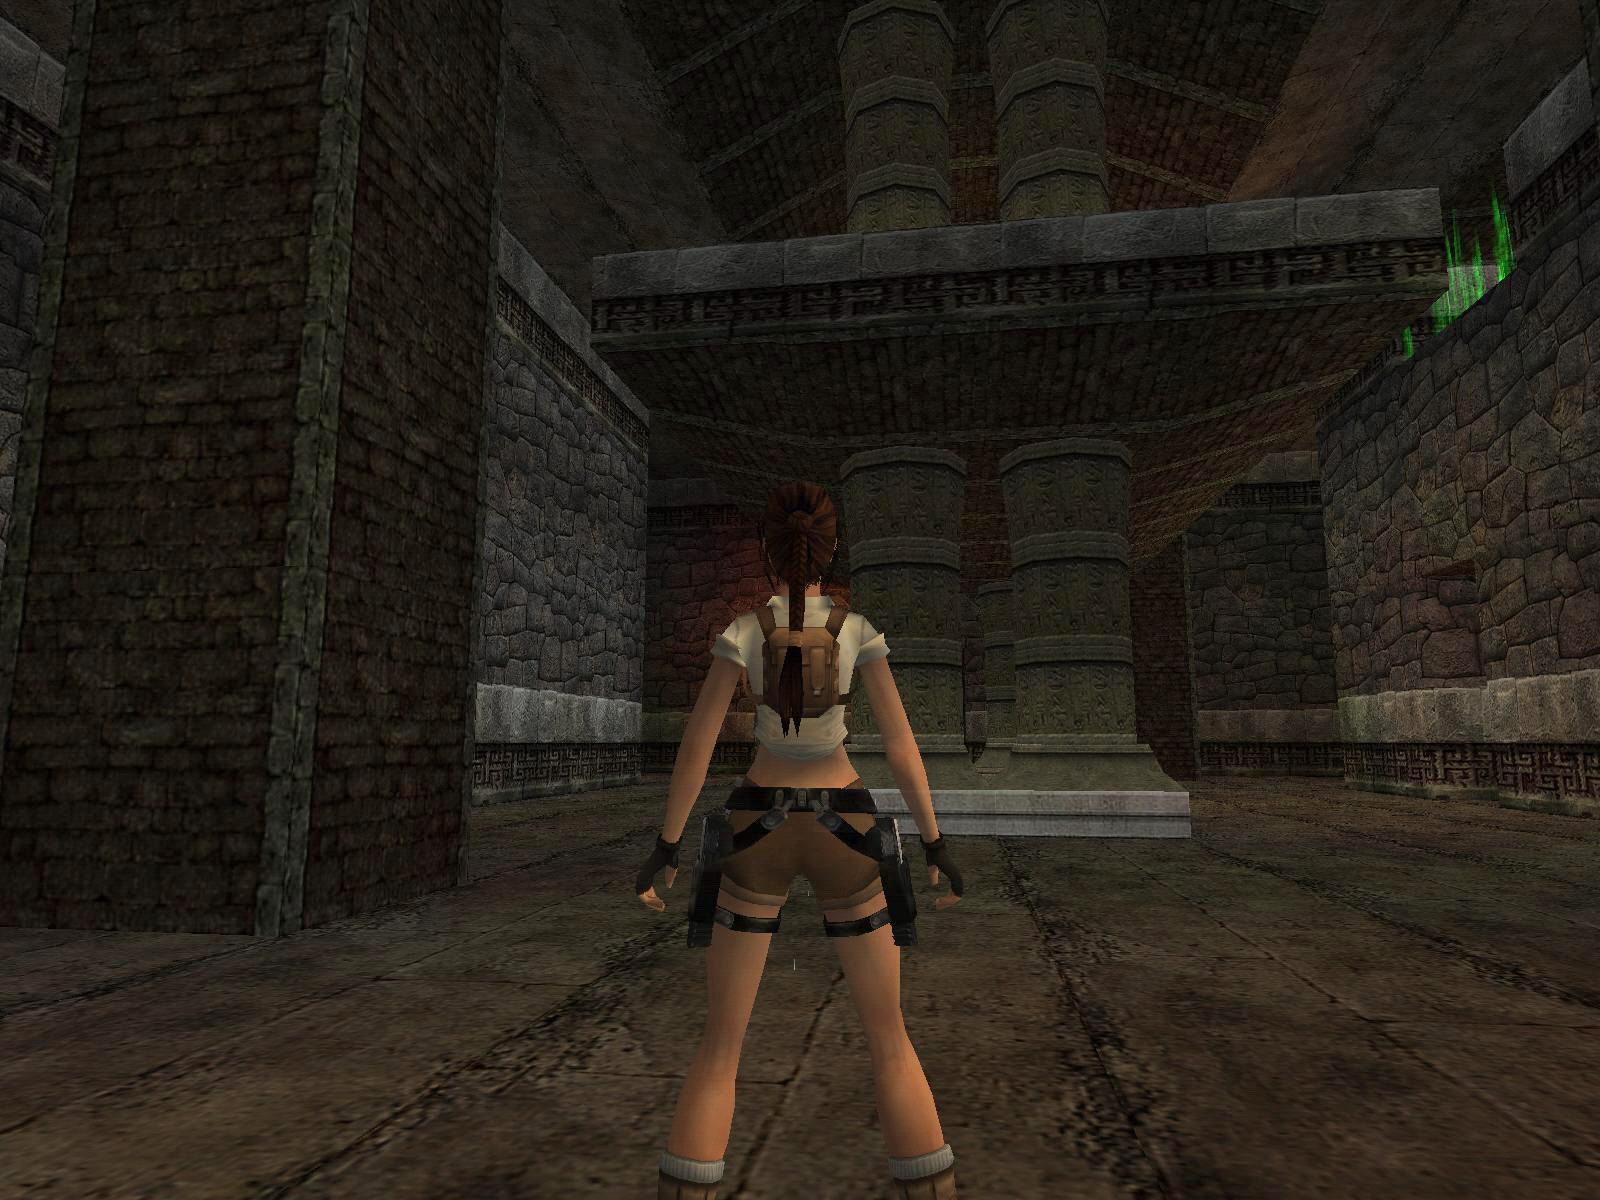
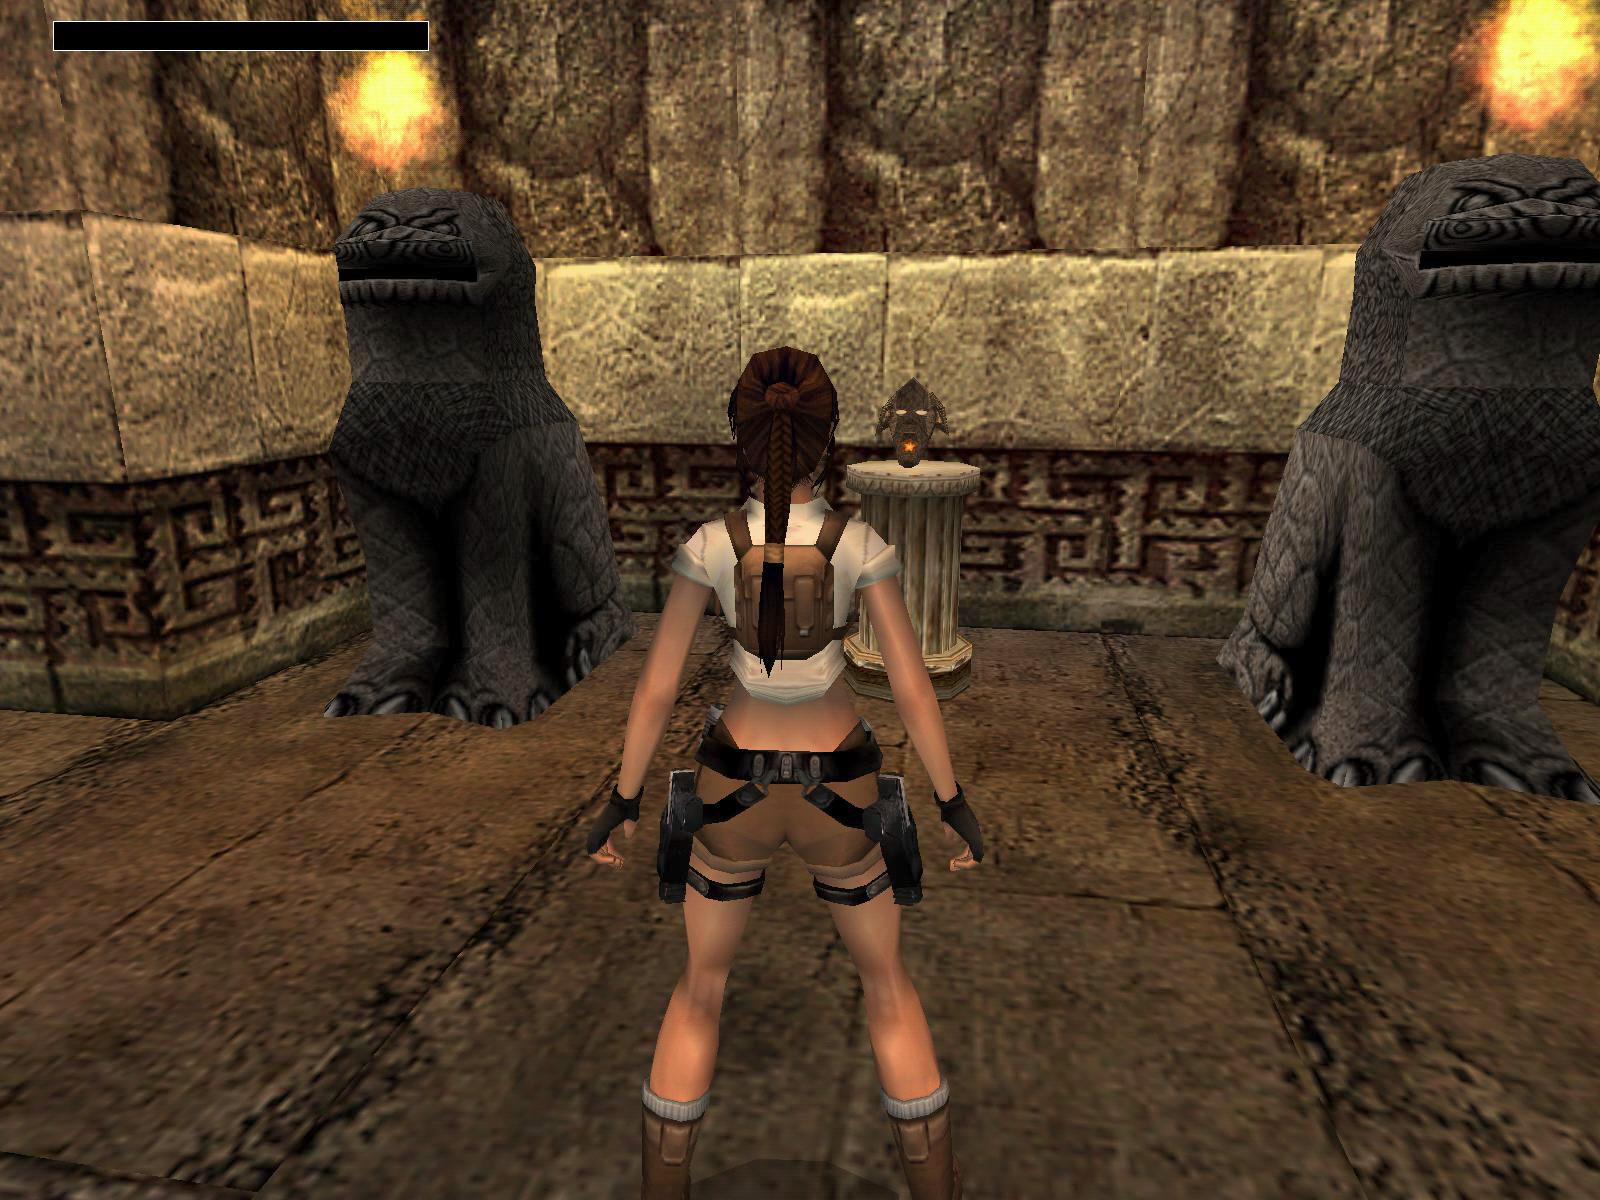
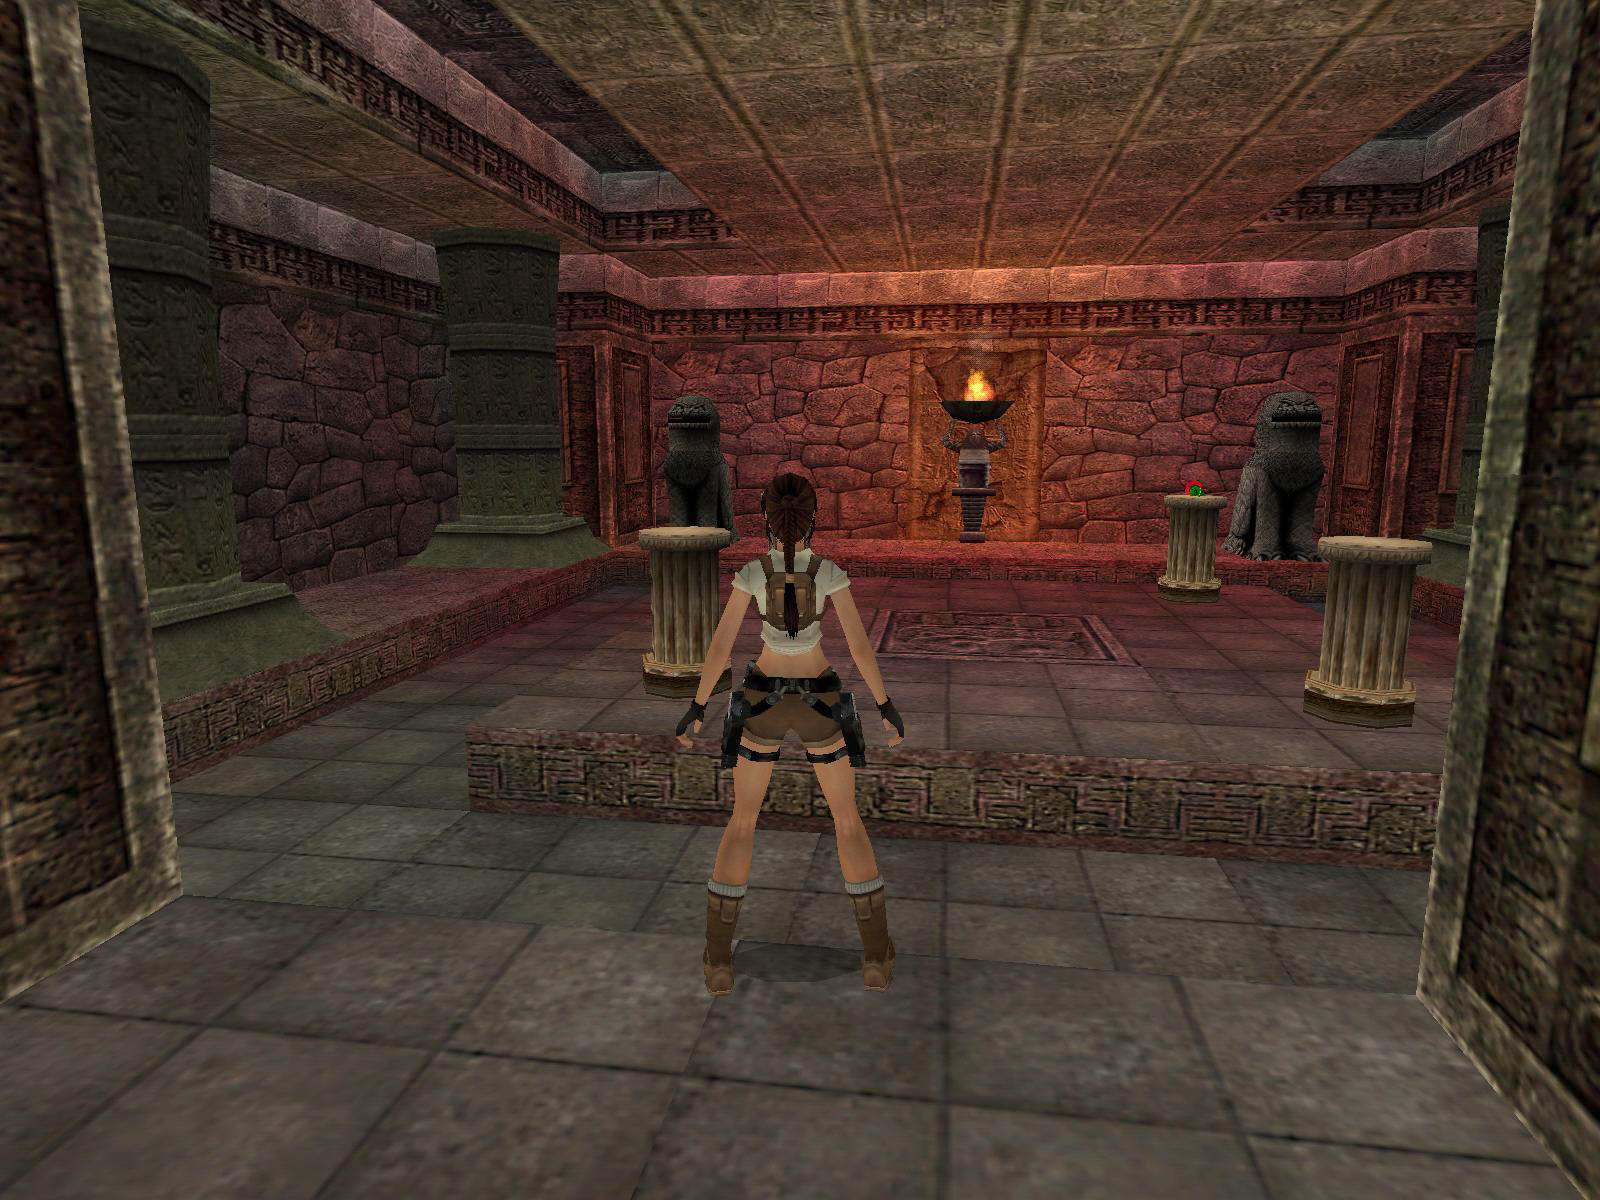
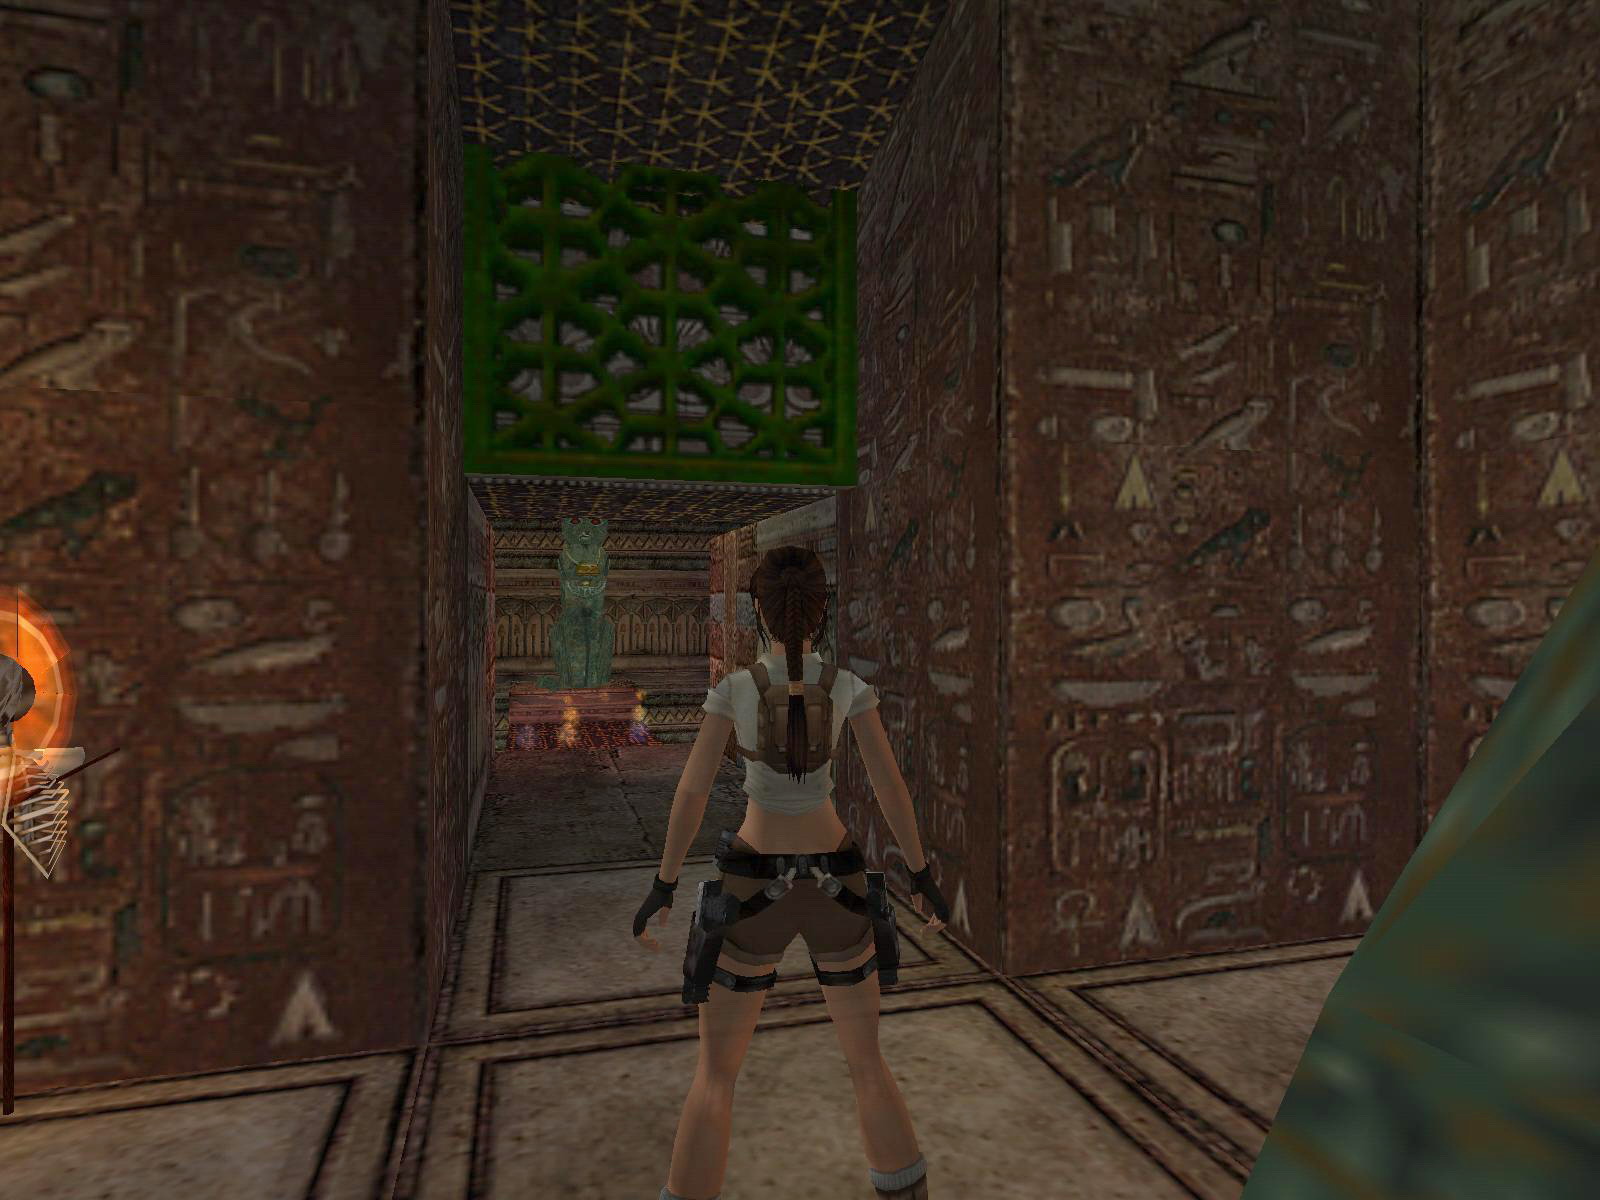
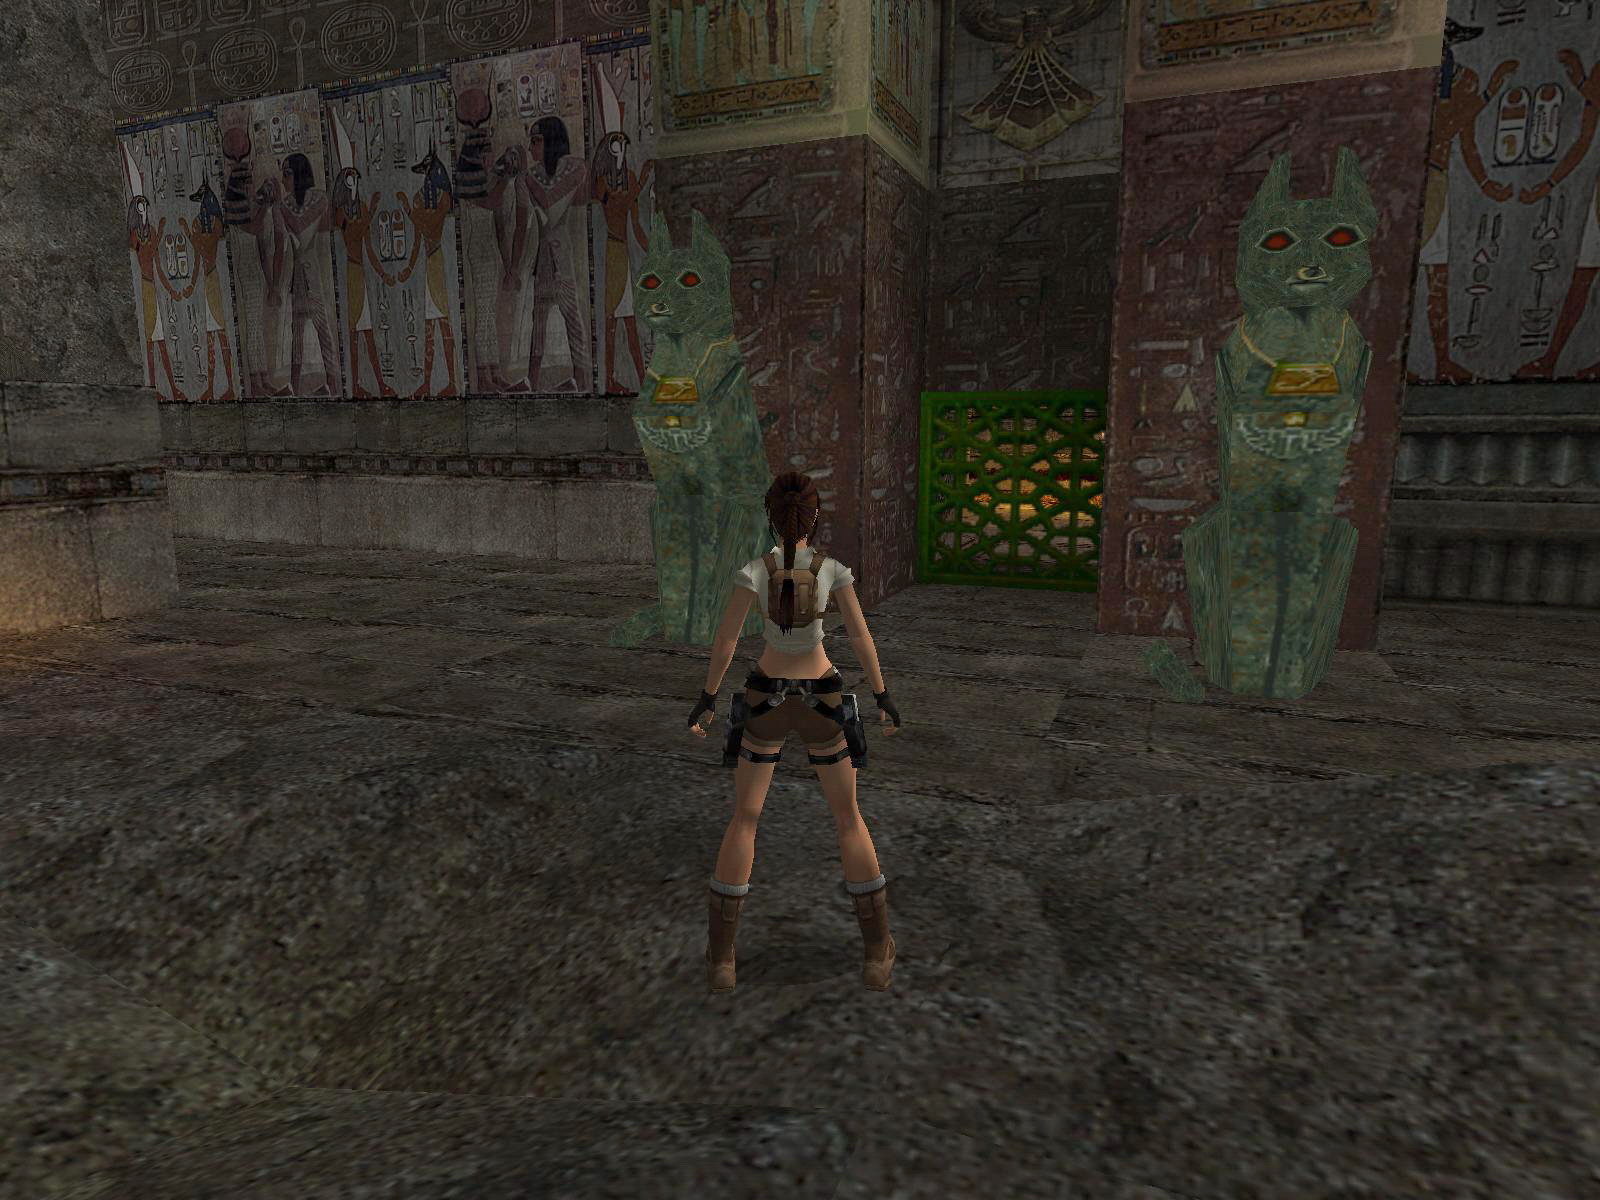
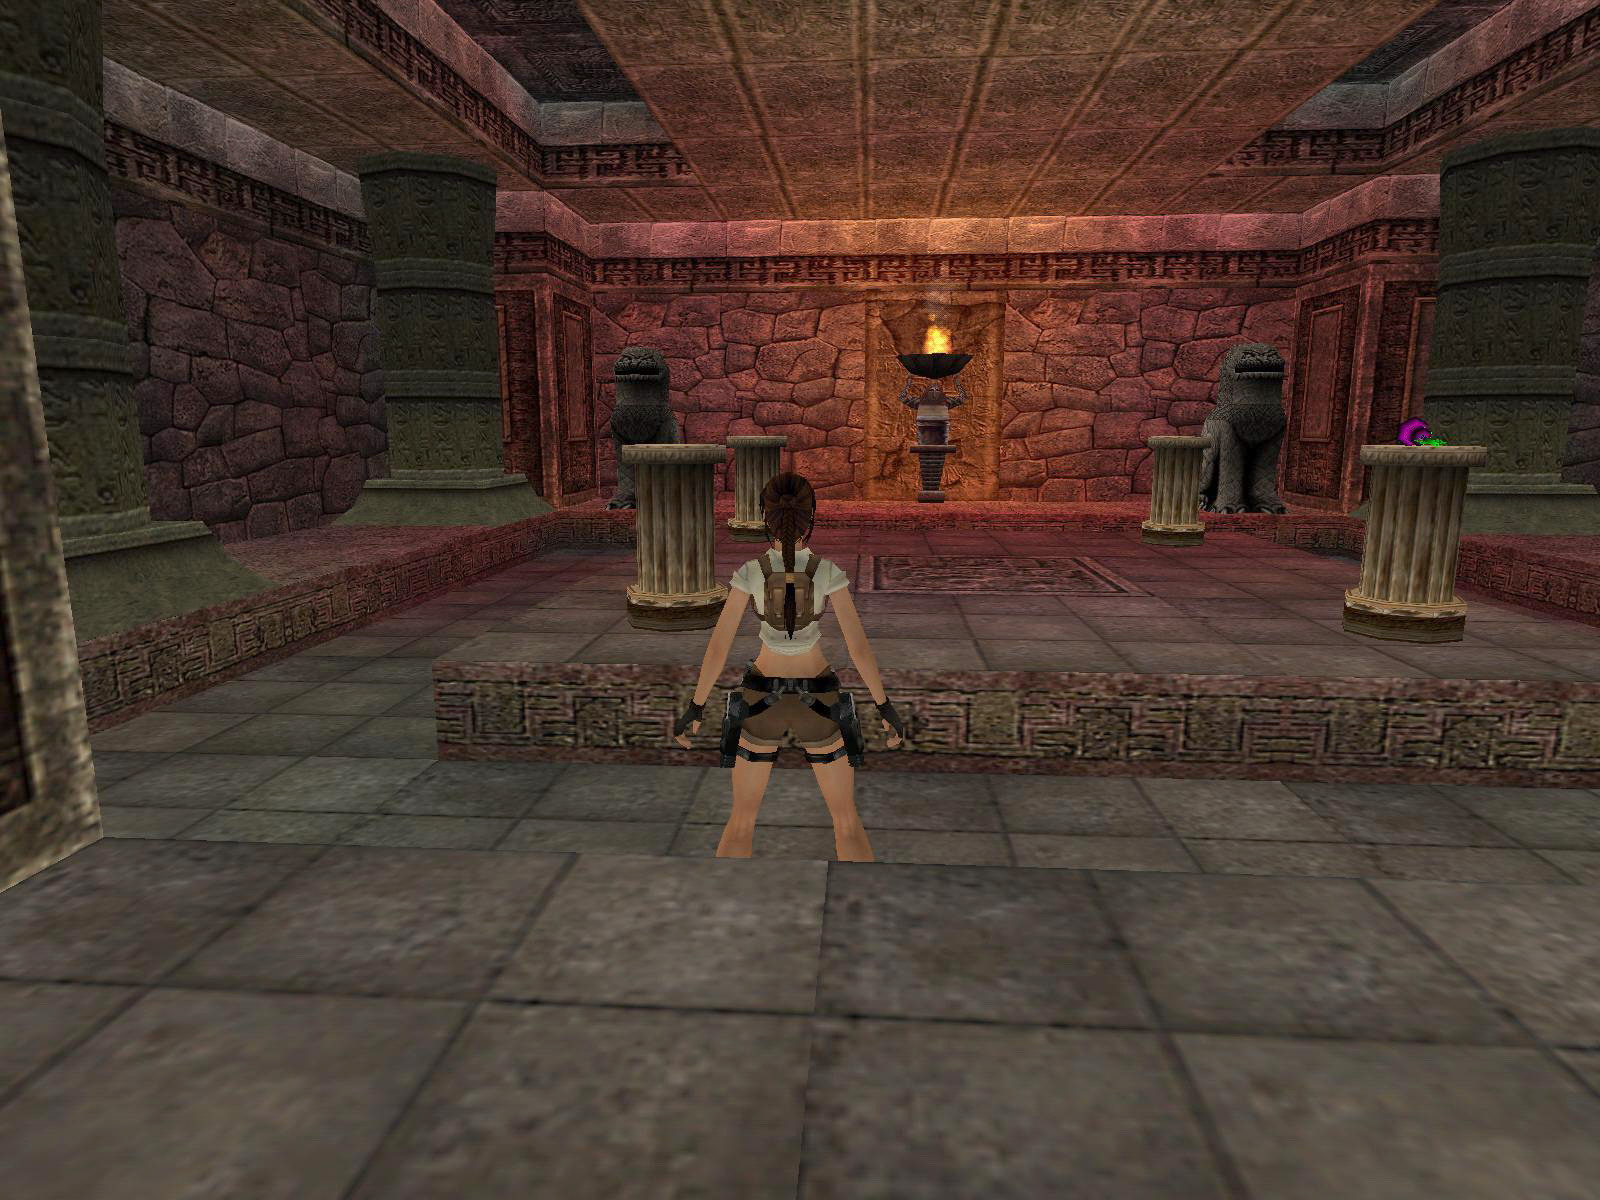
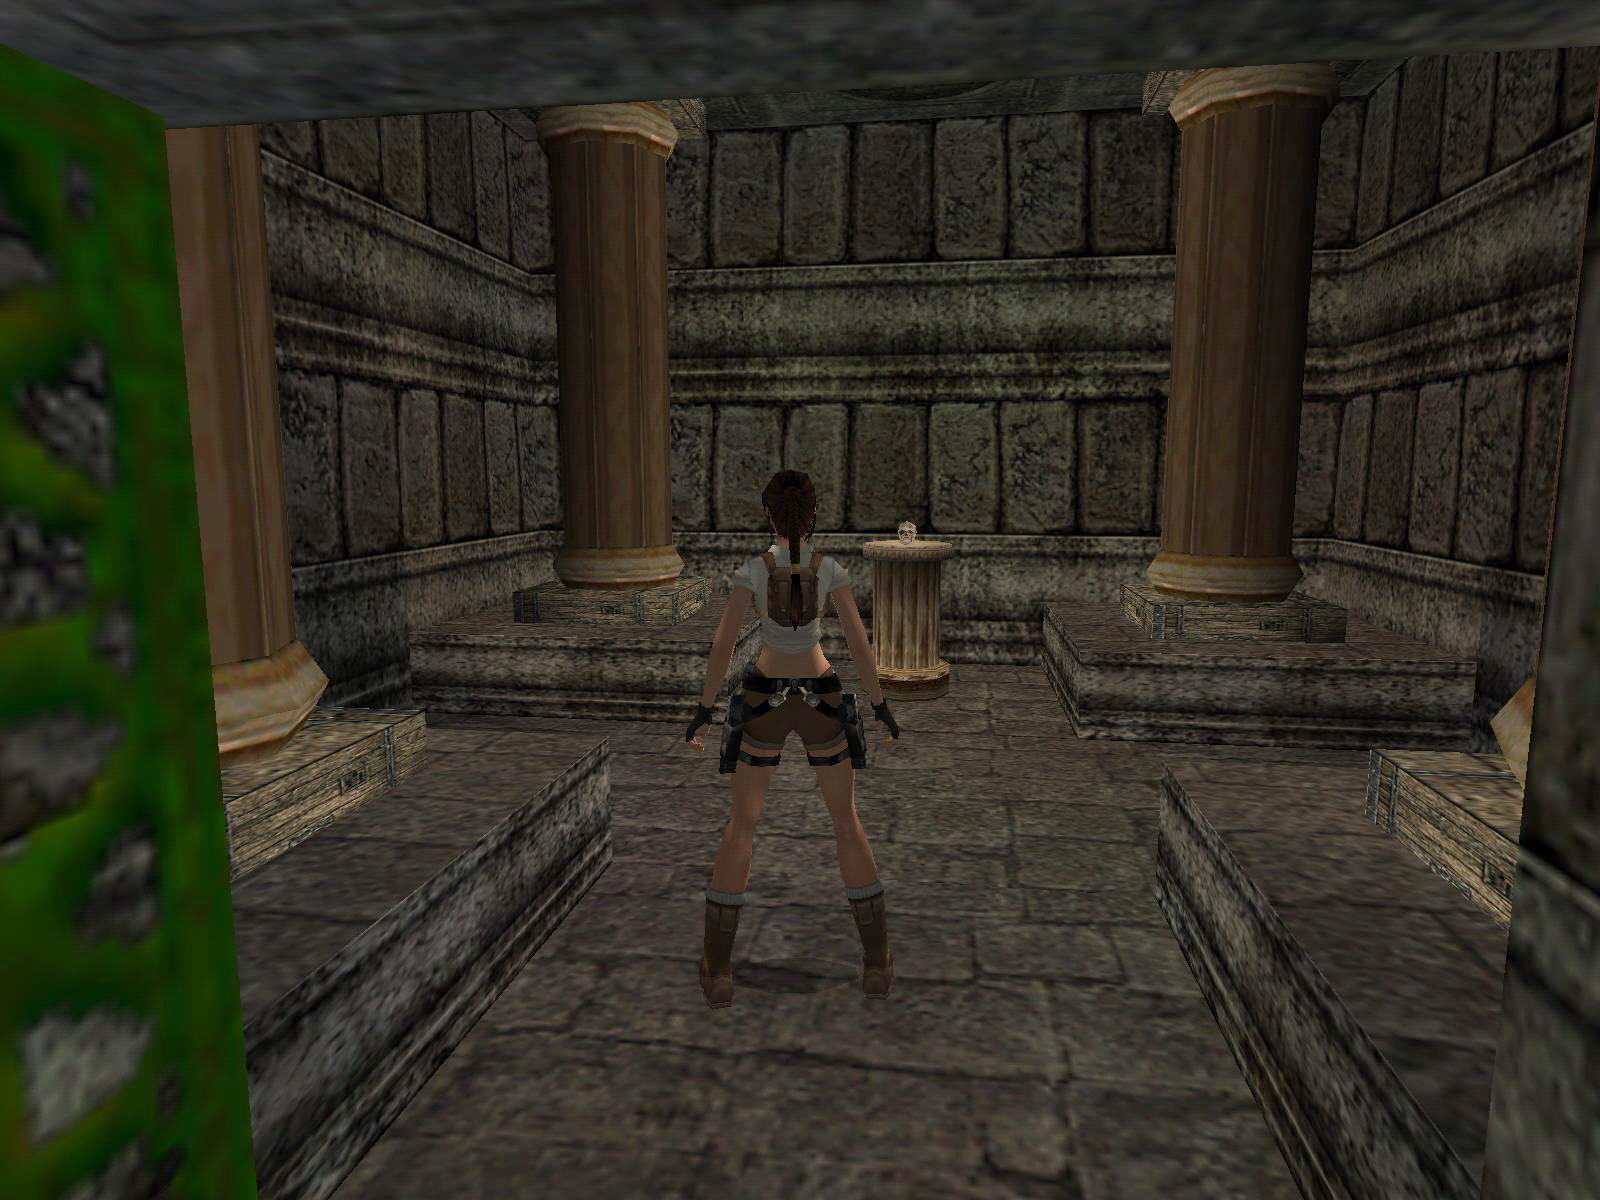
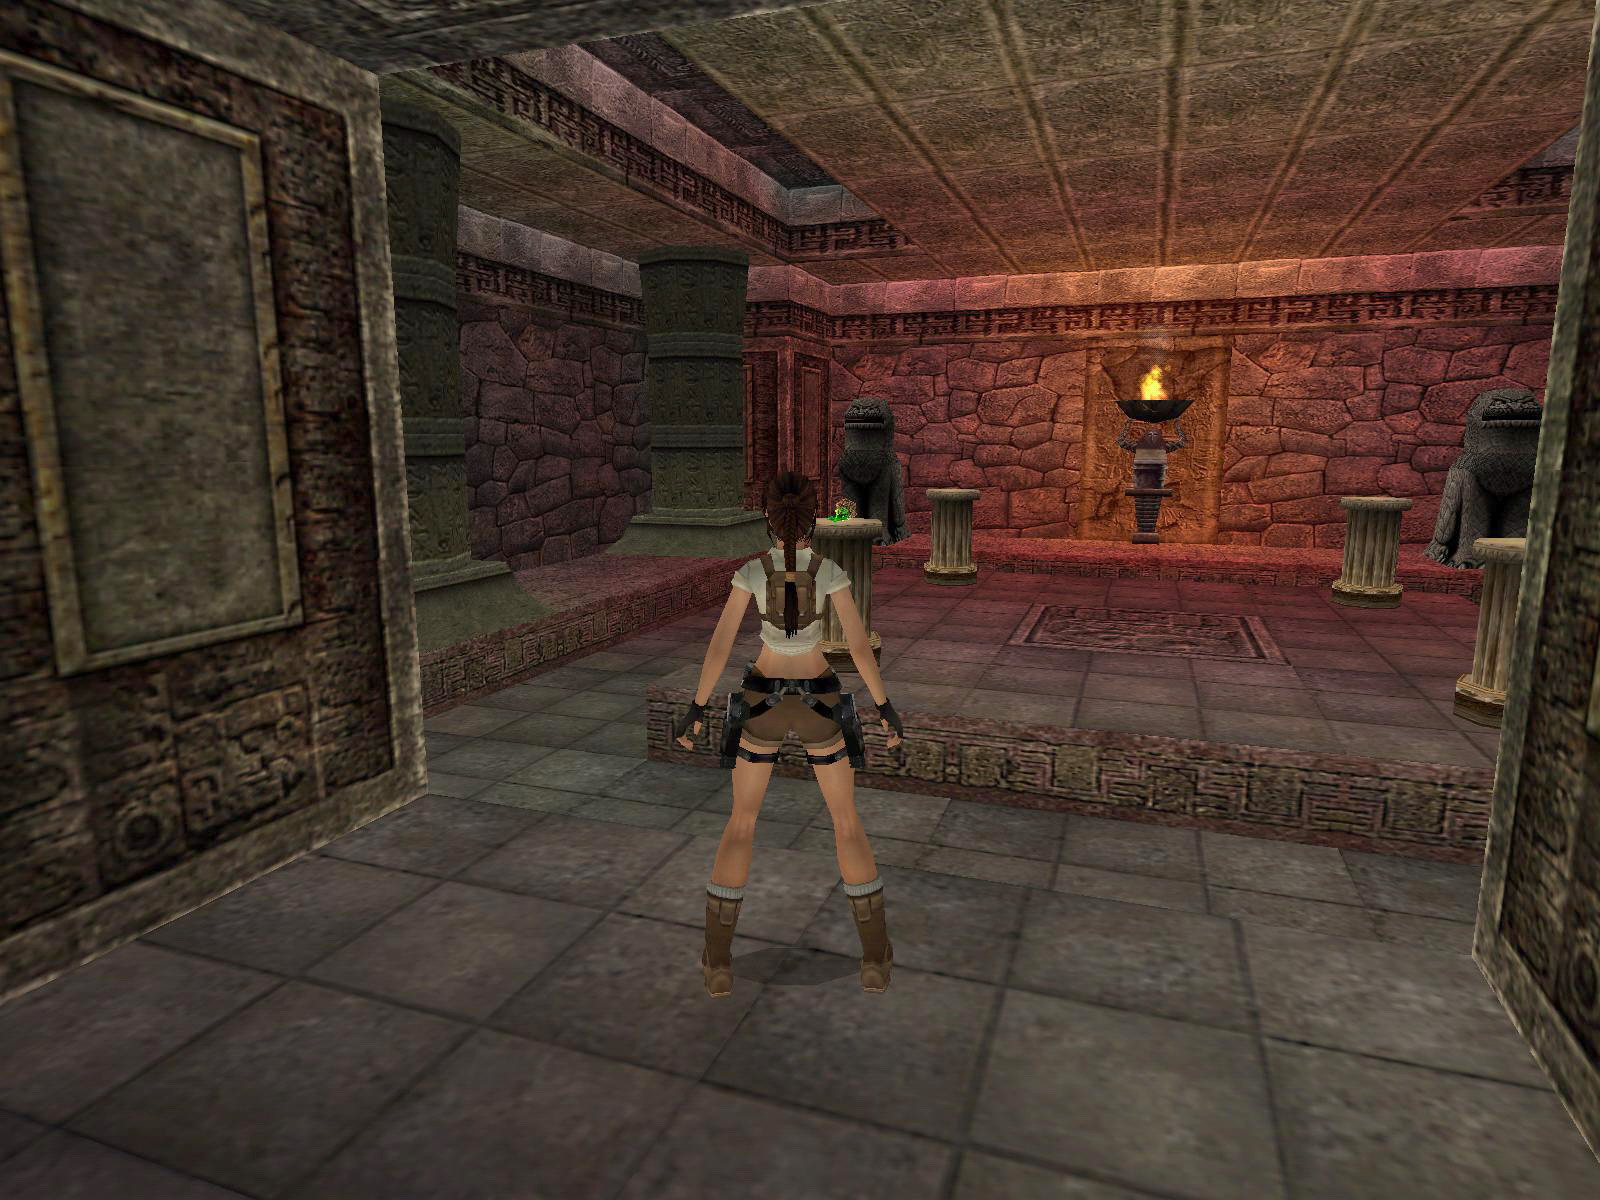
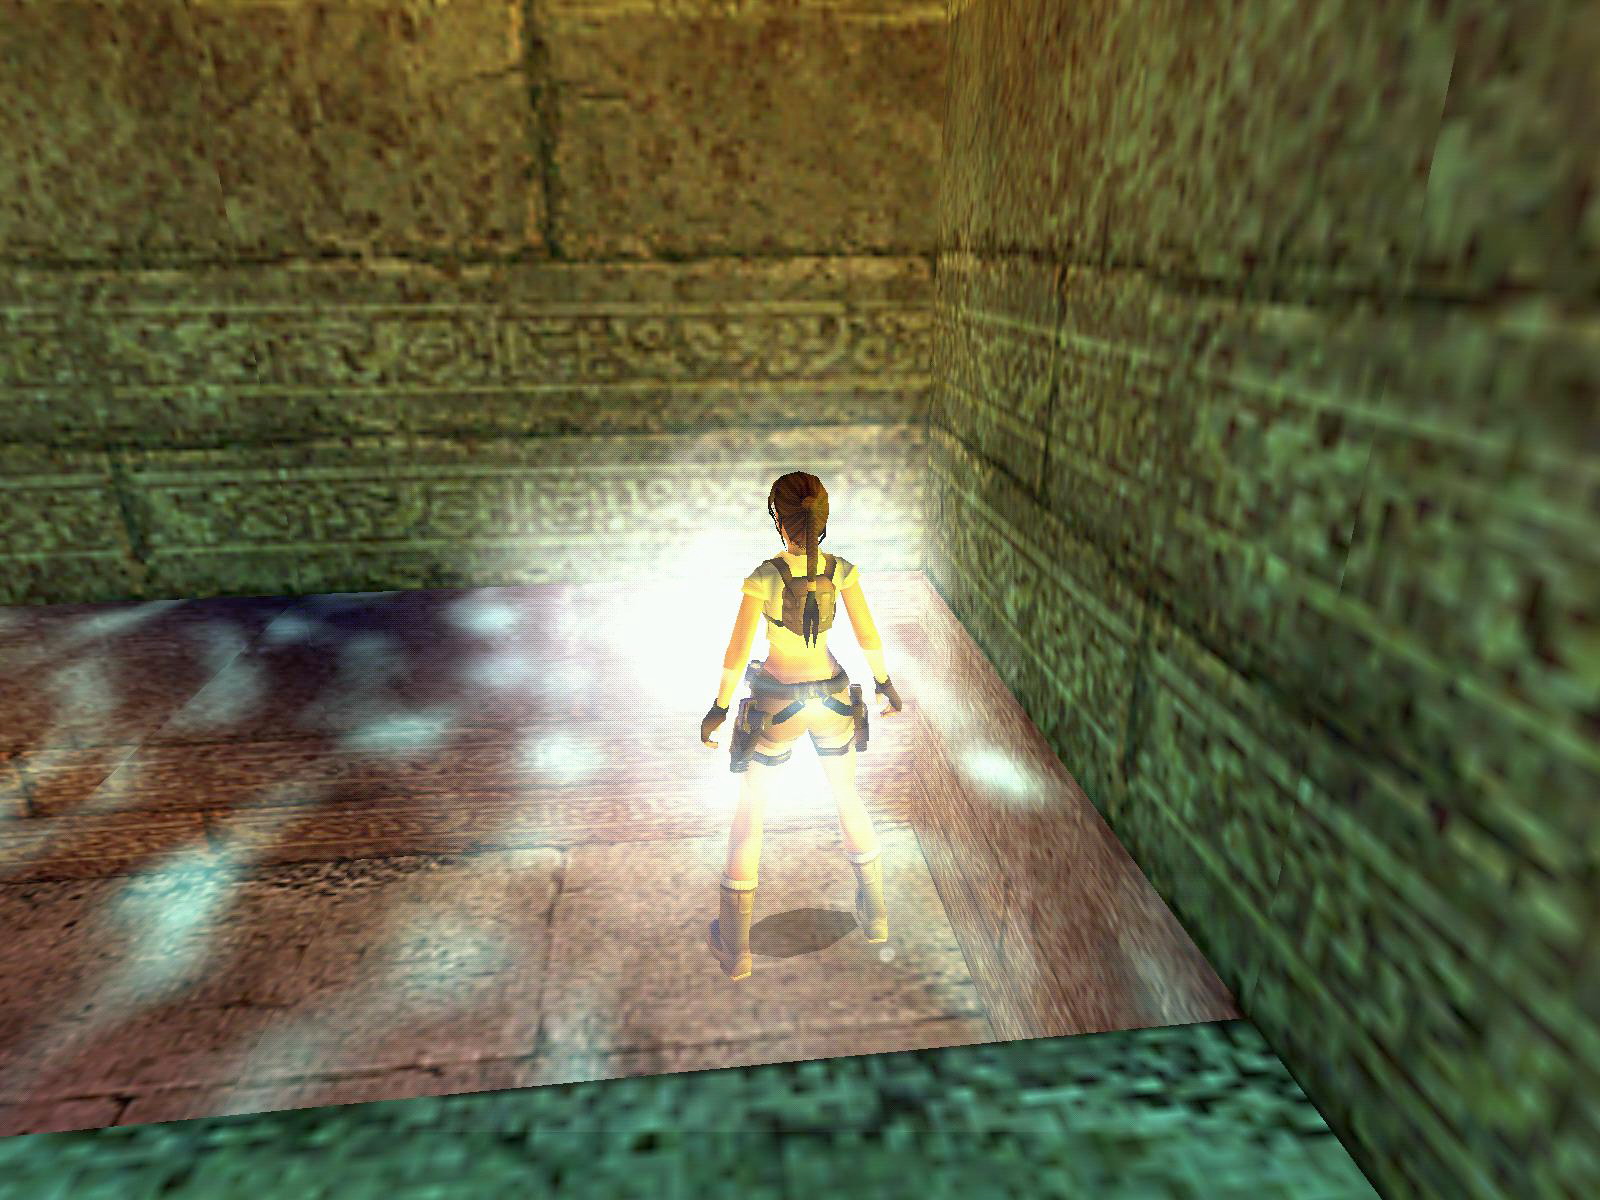
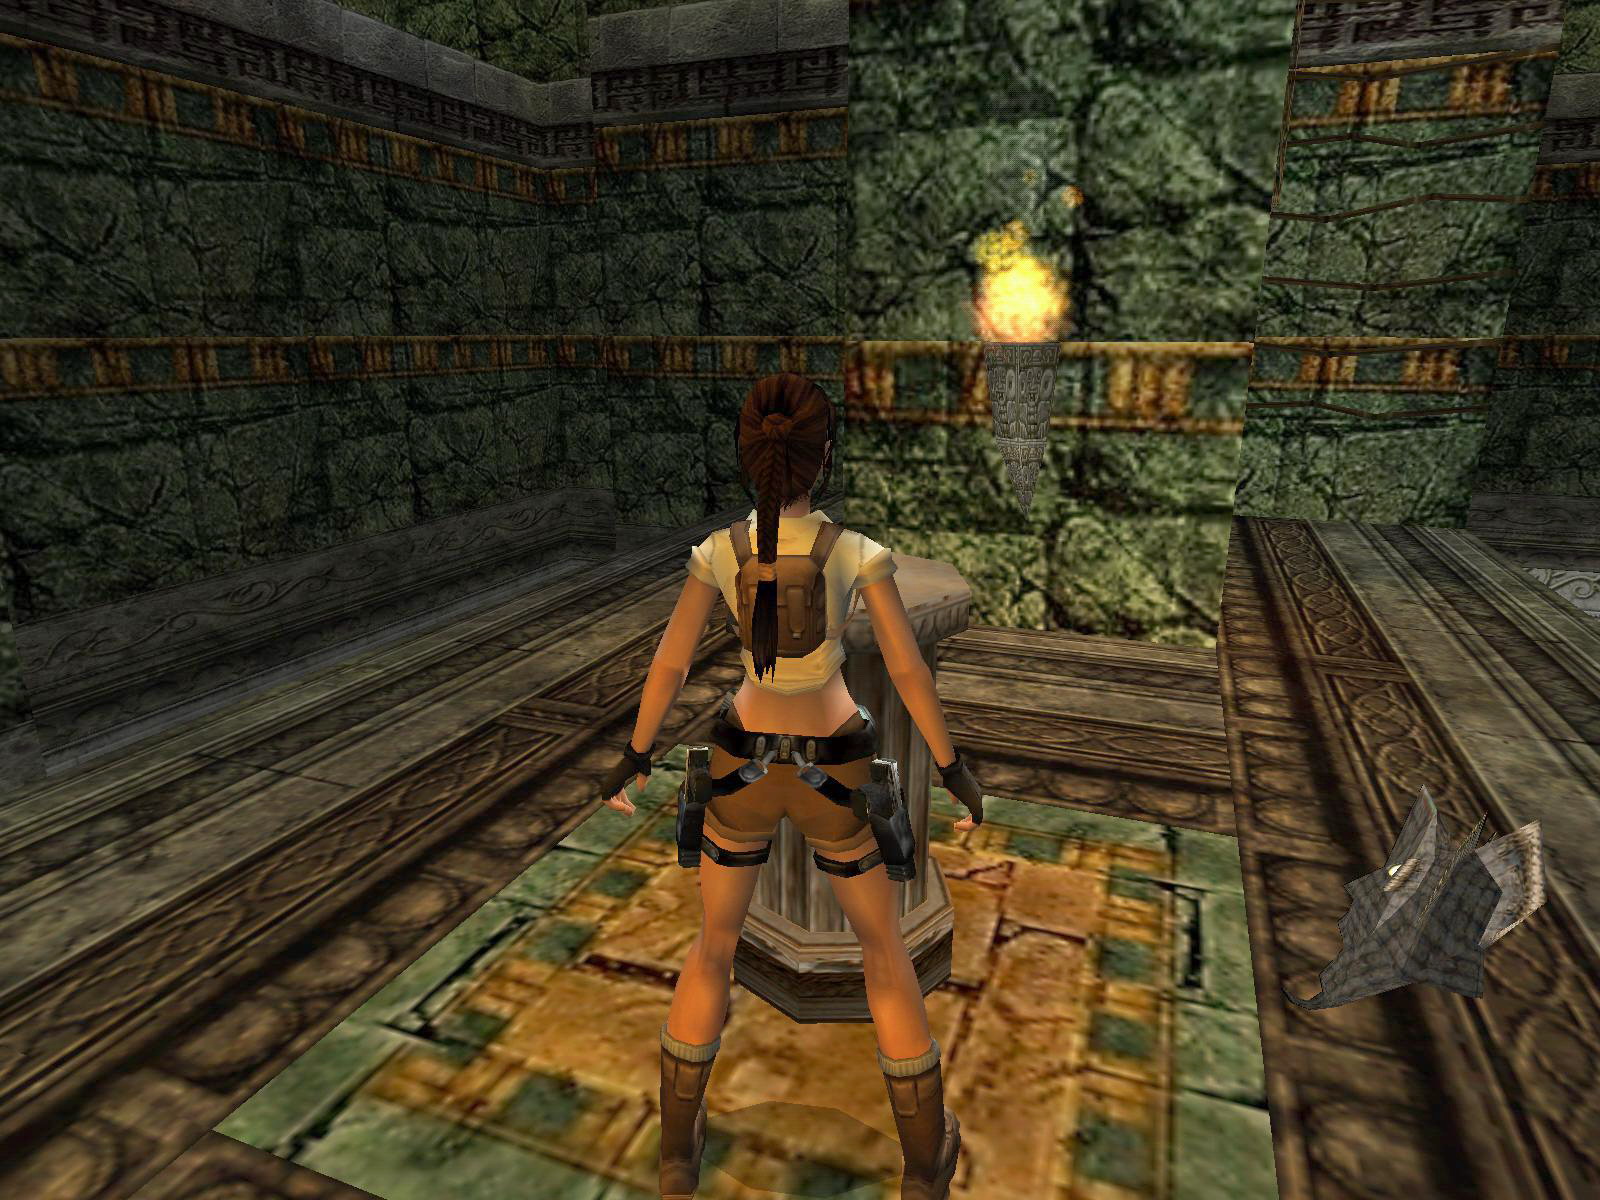
Set the Guide Free, Main Room.
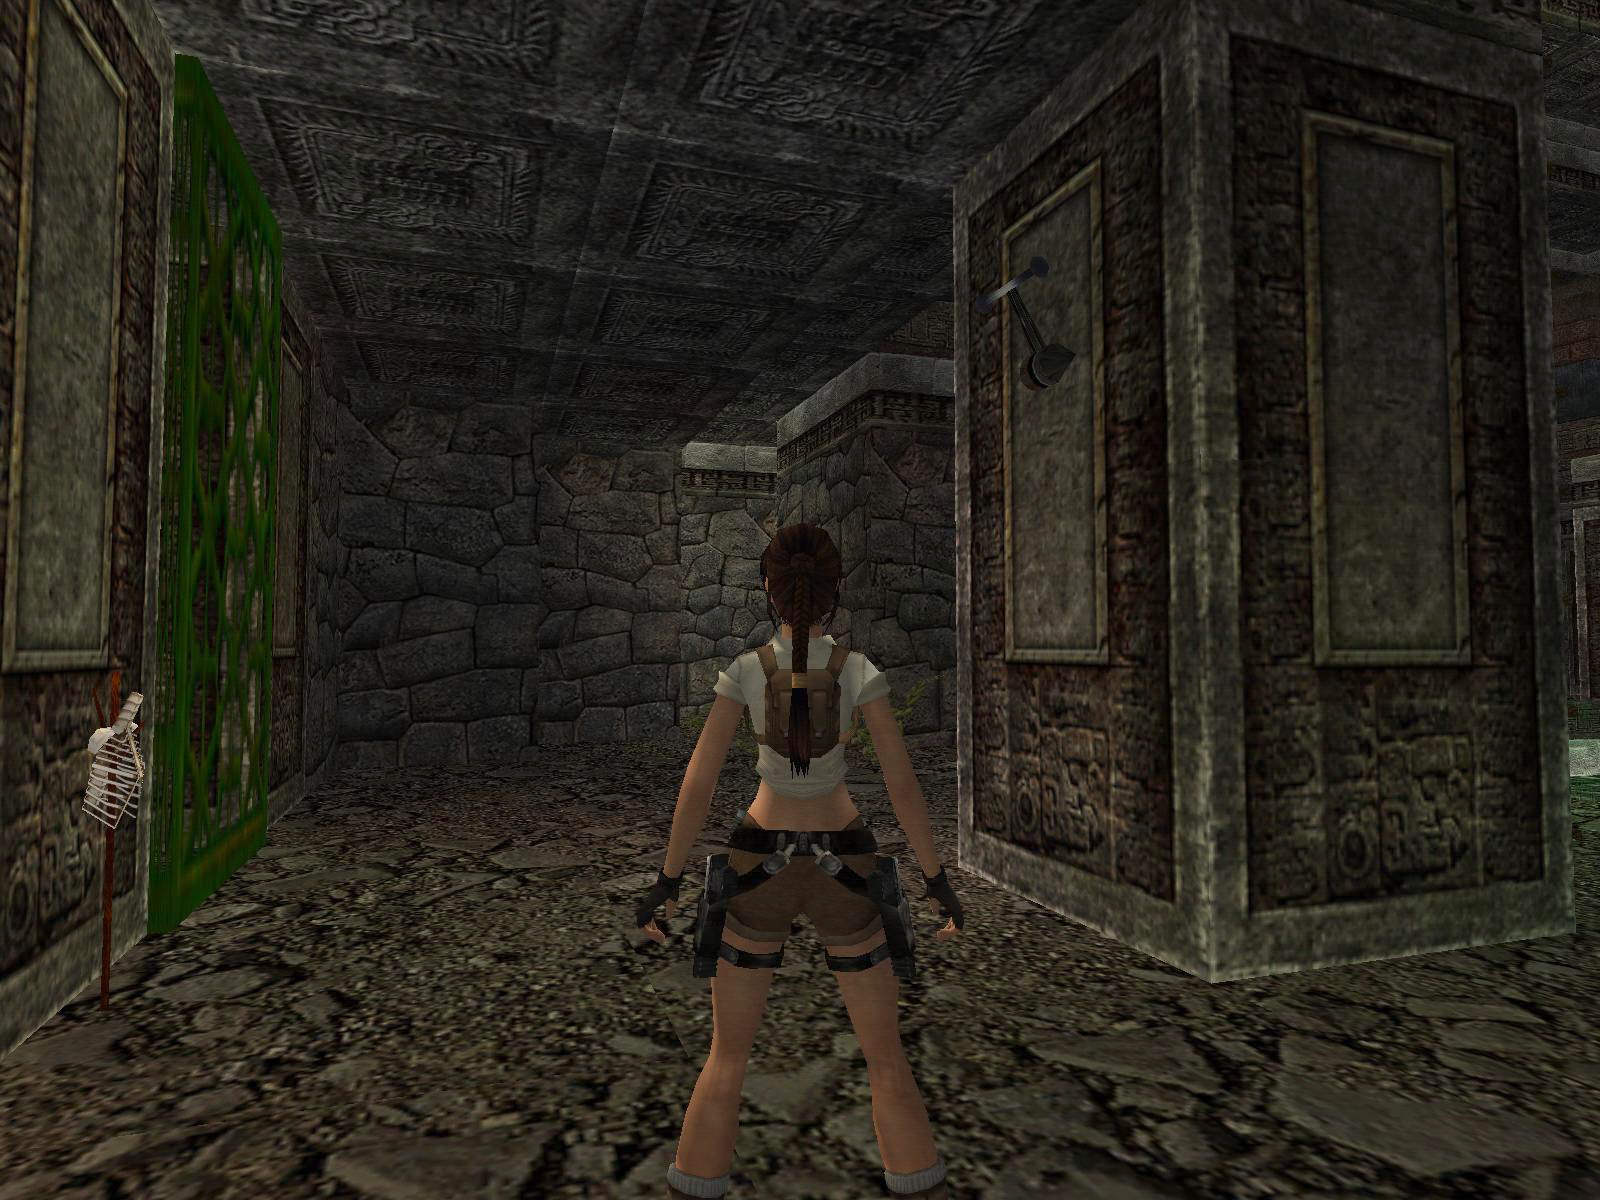
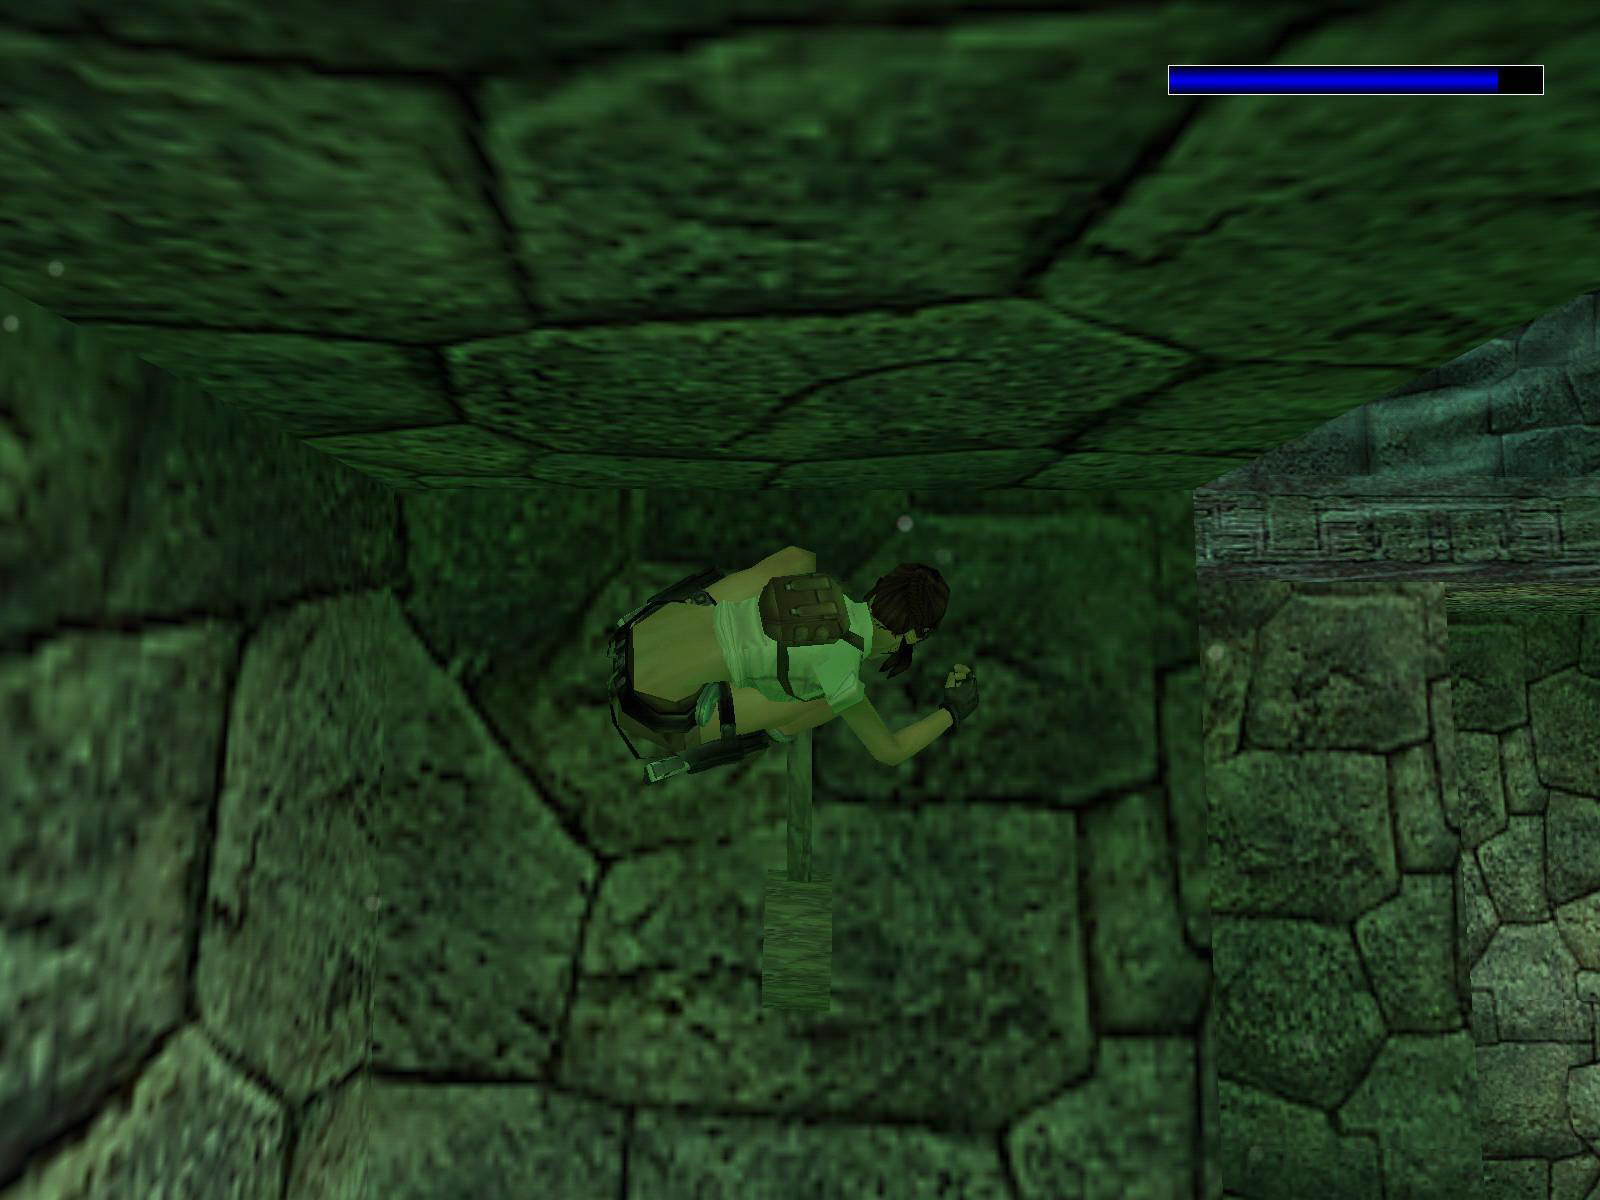
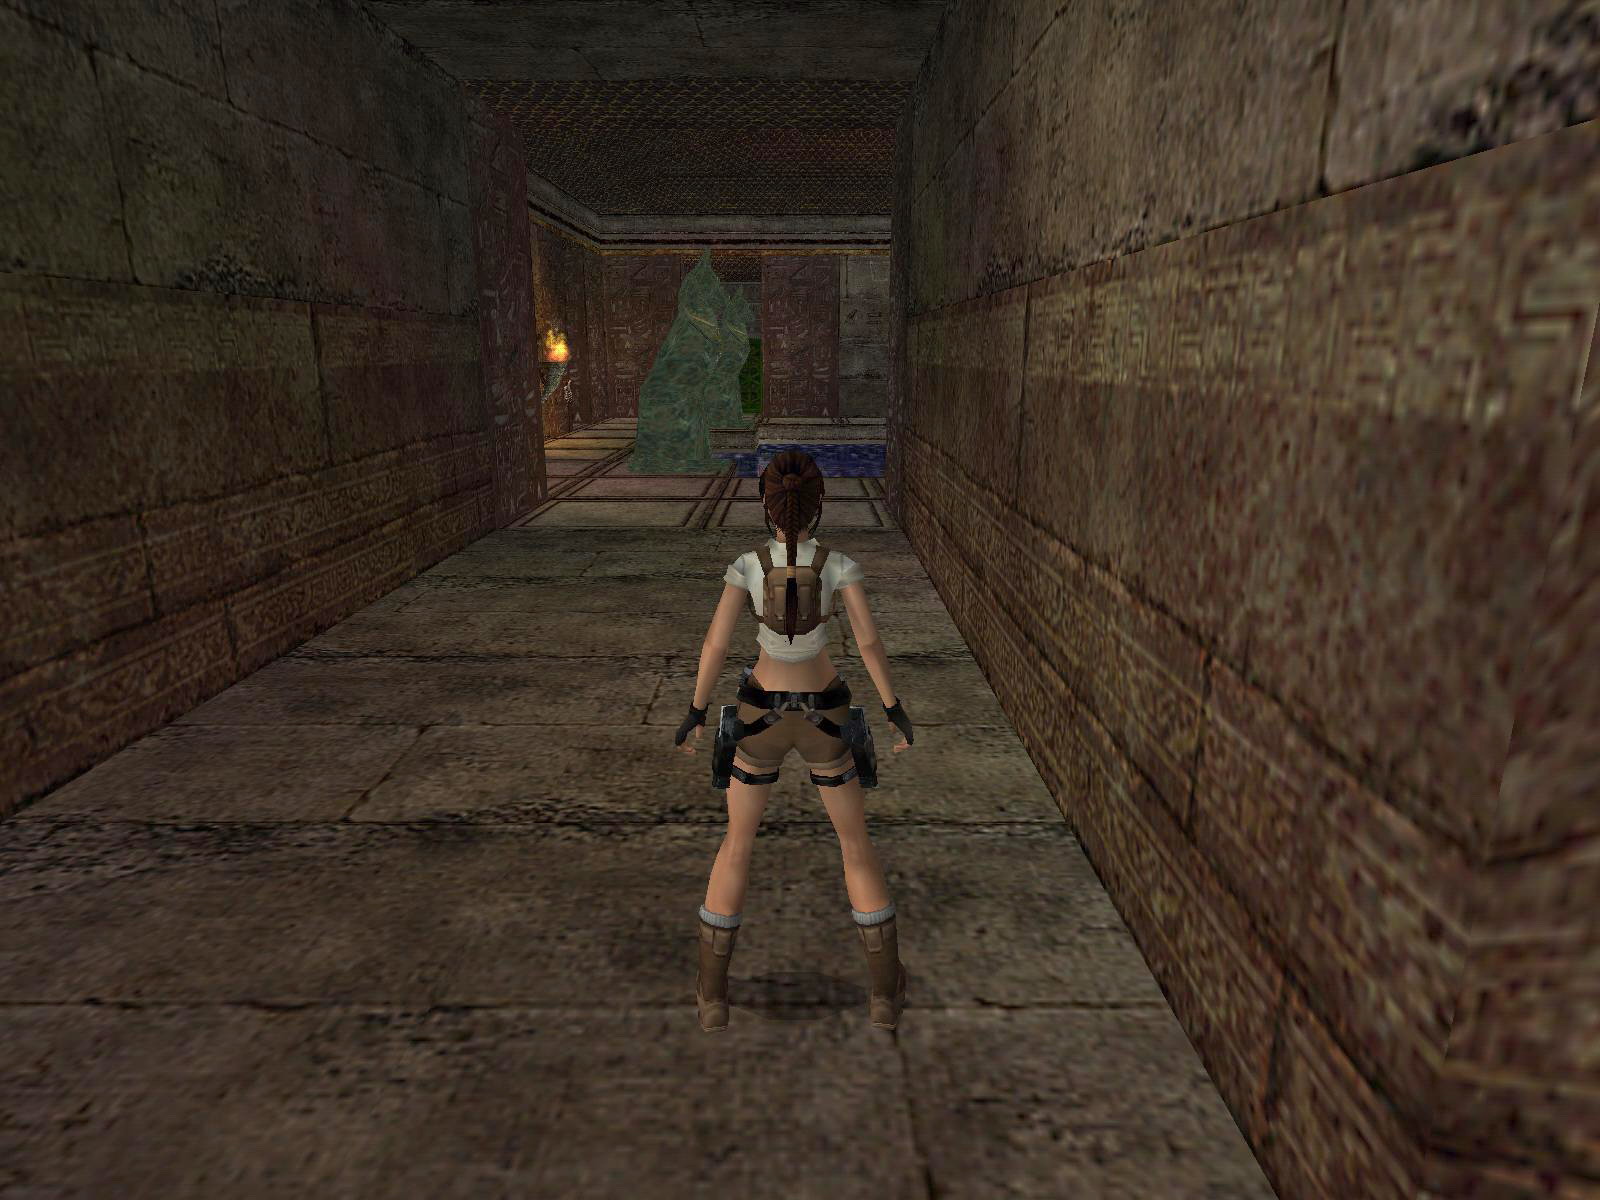
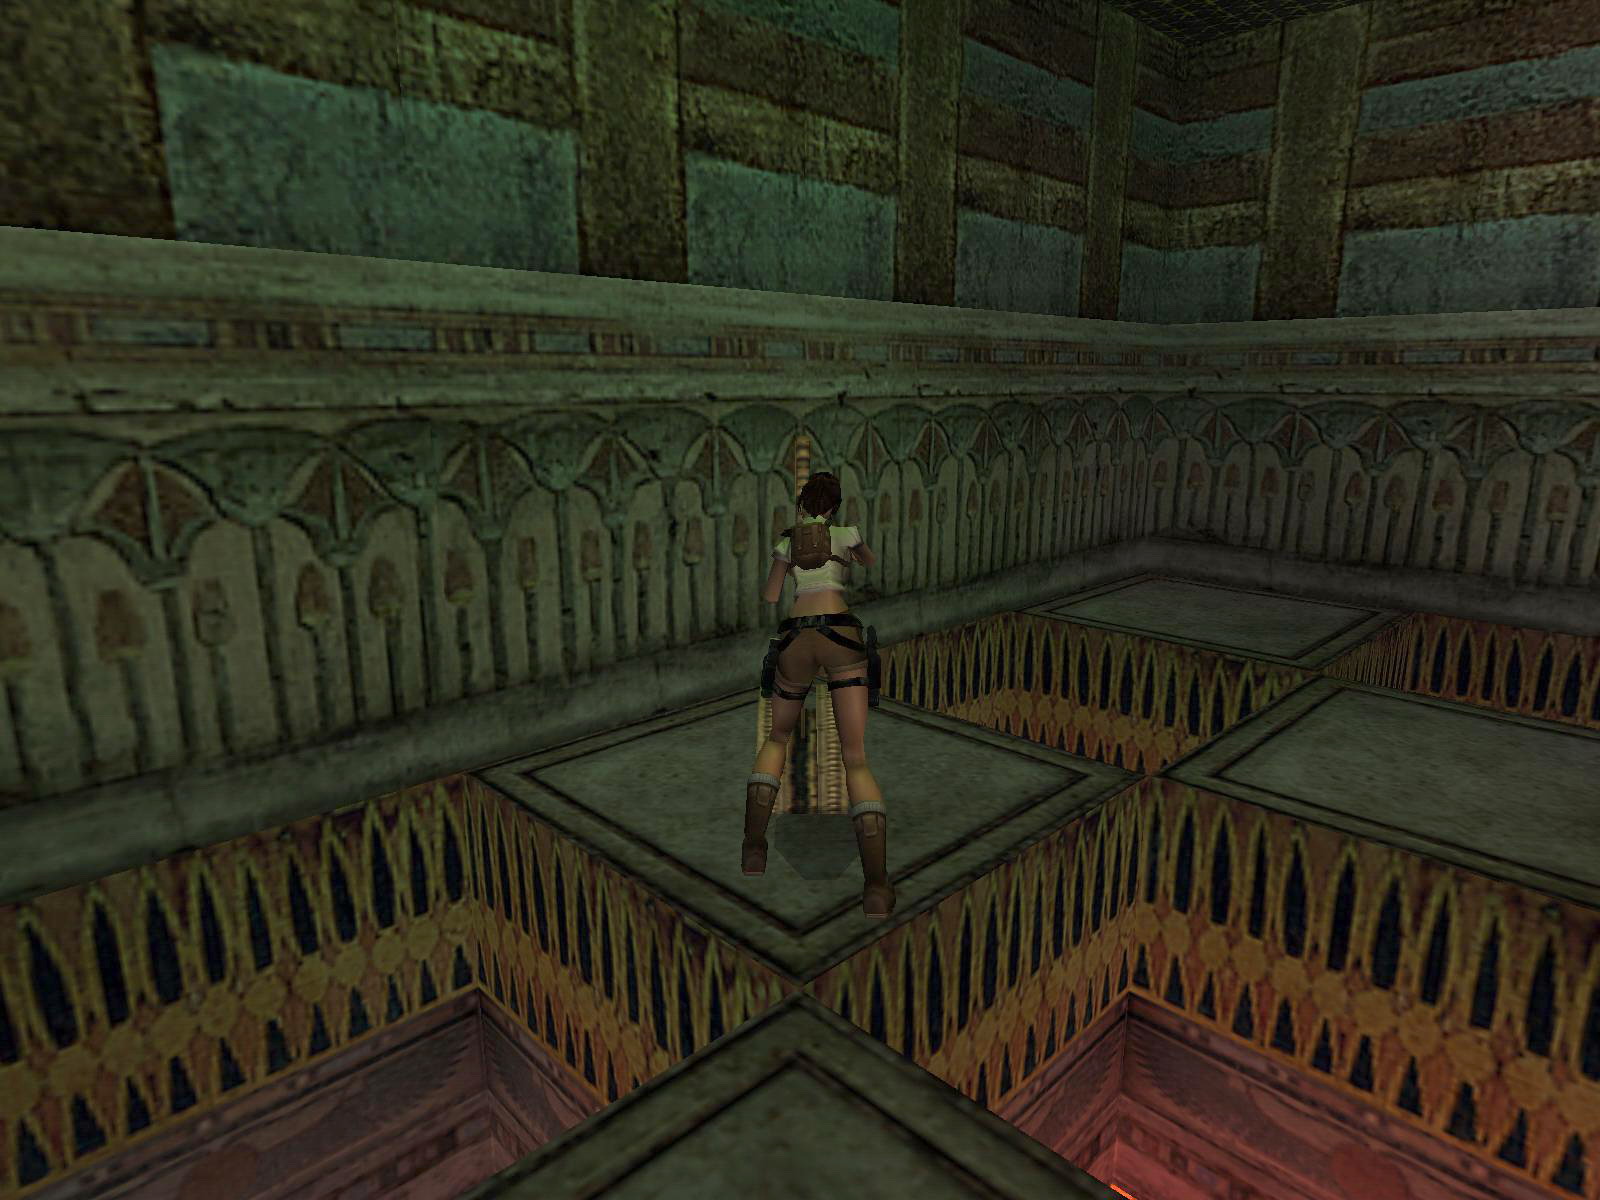
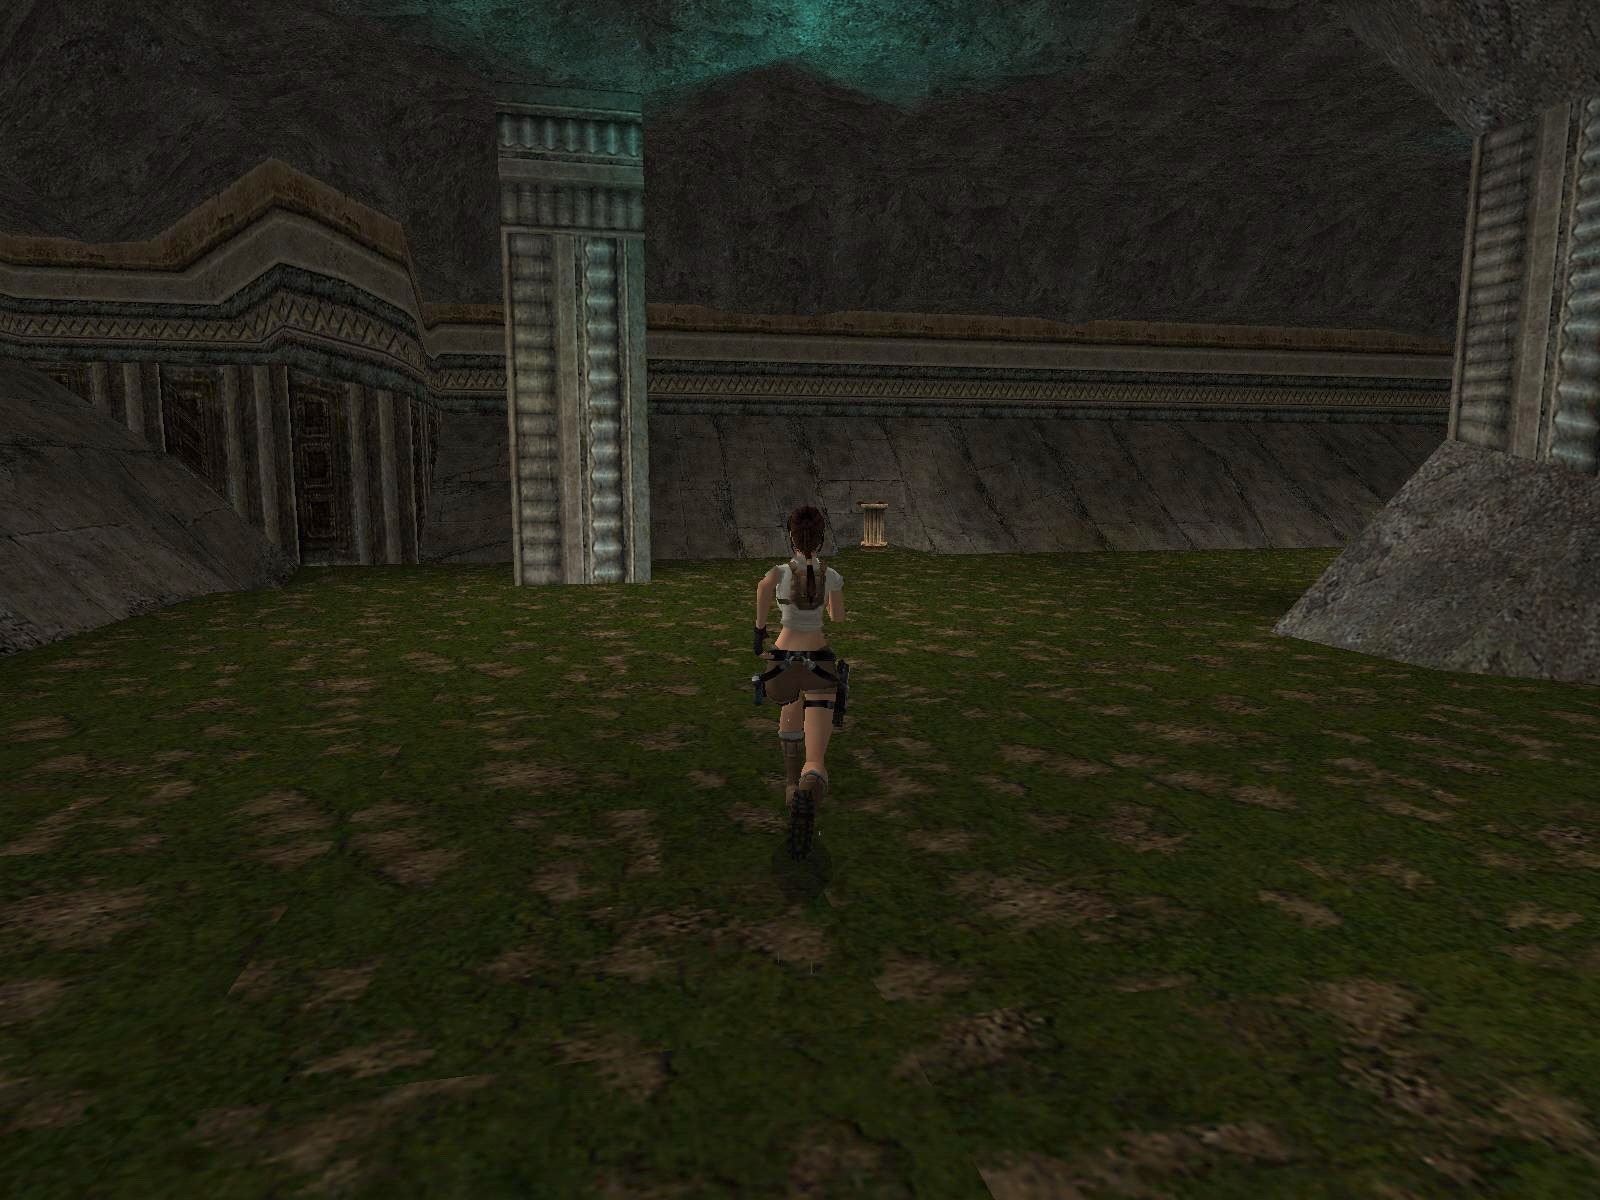
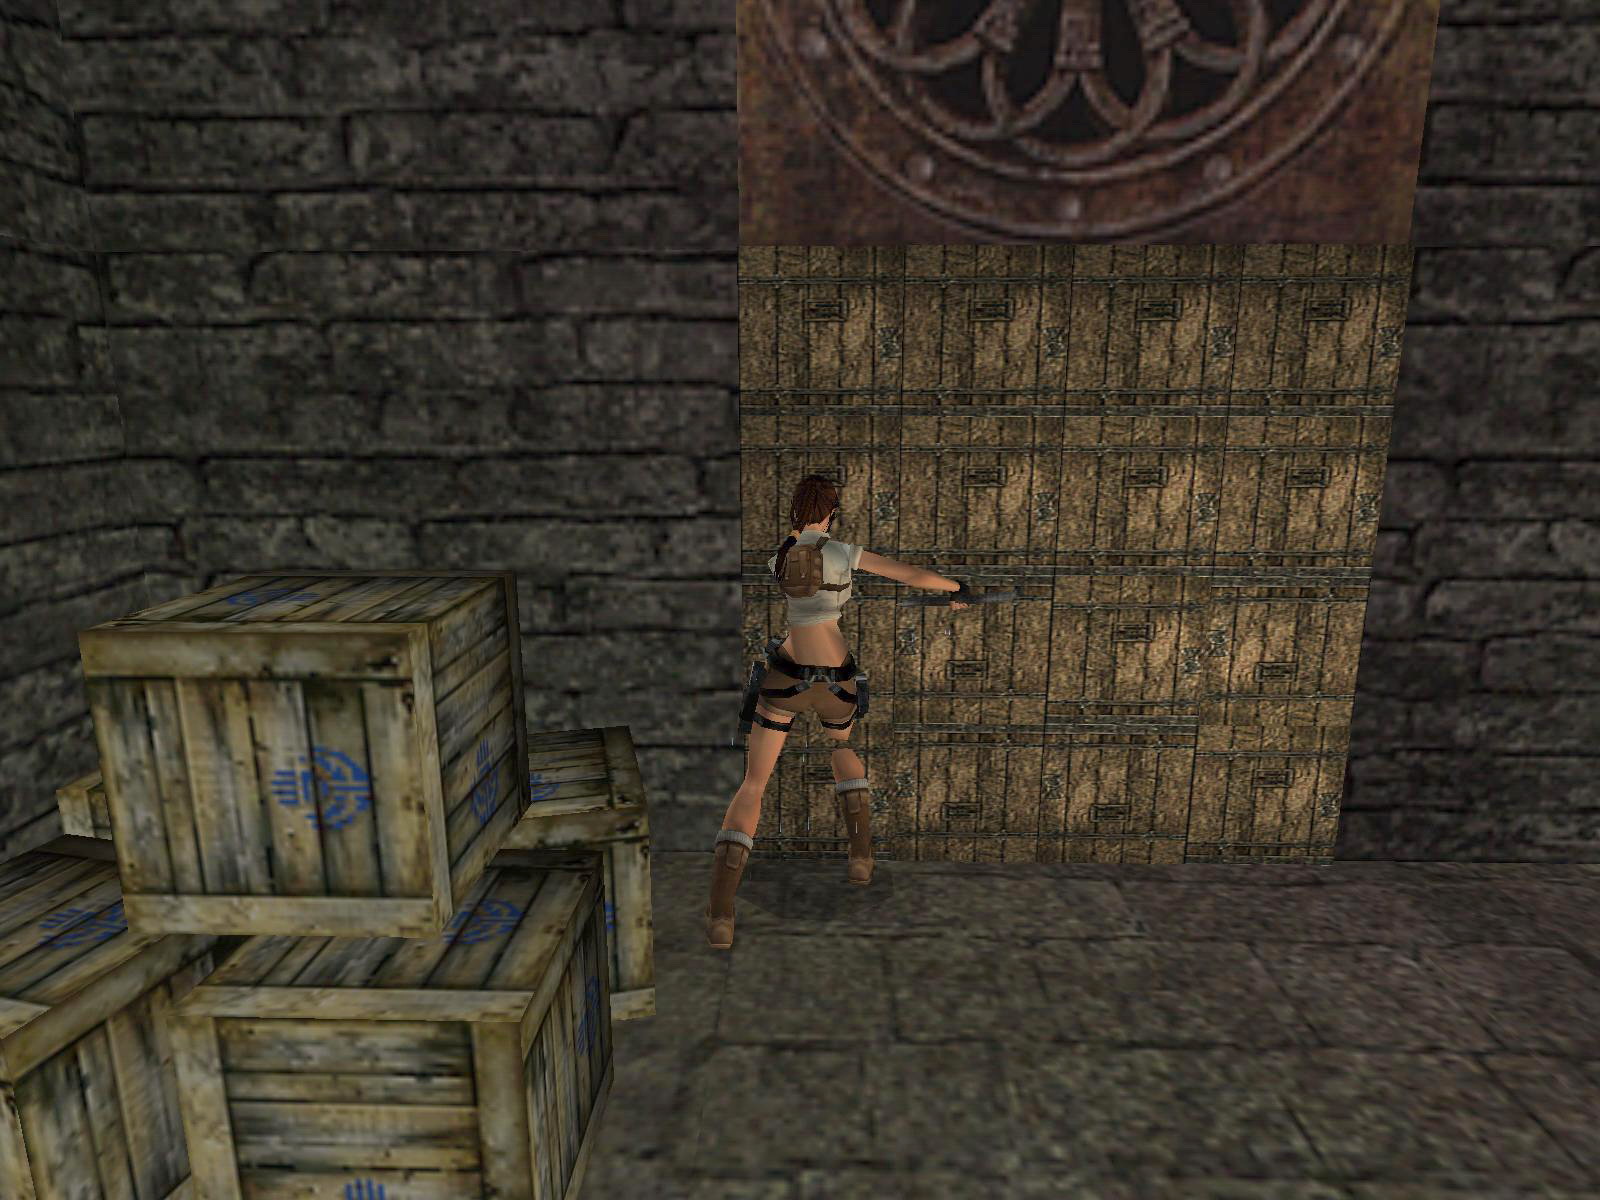
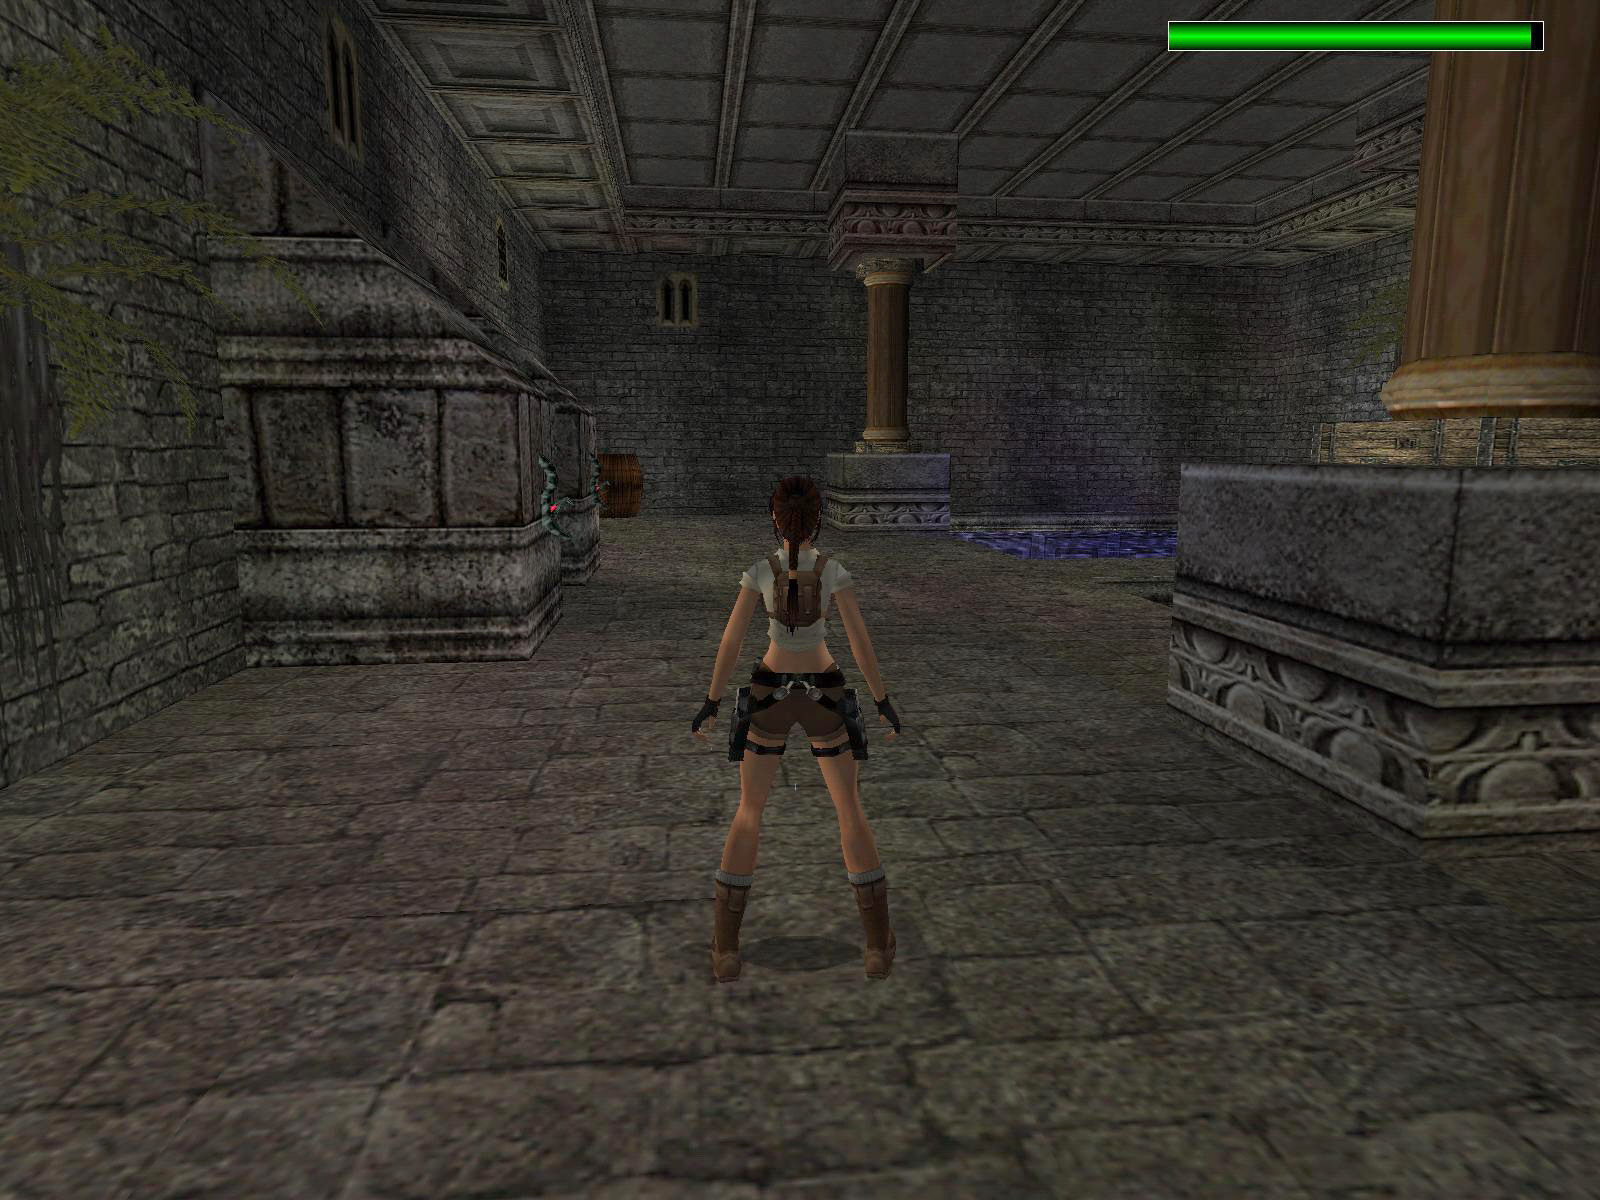
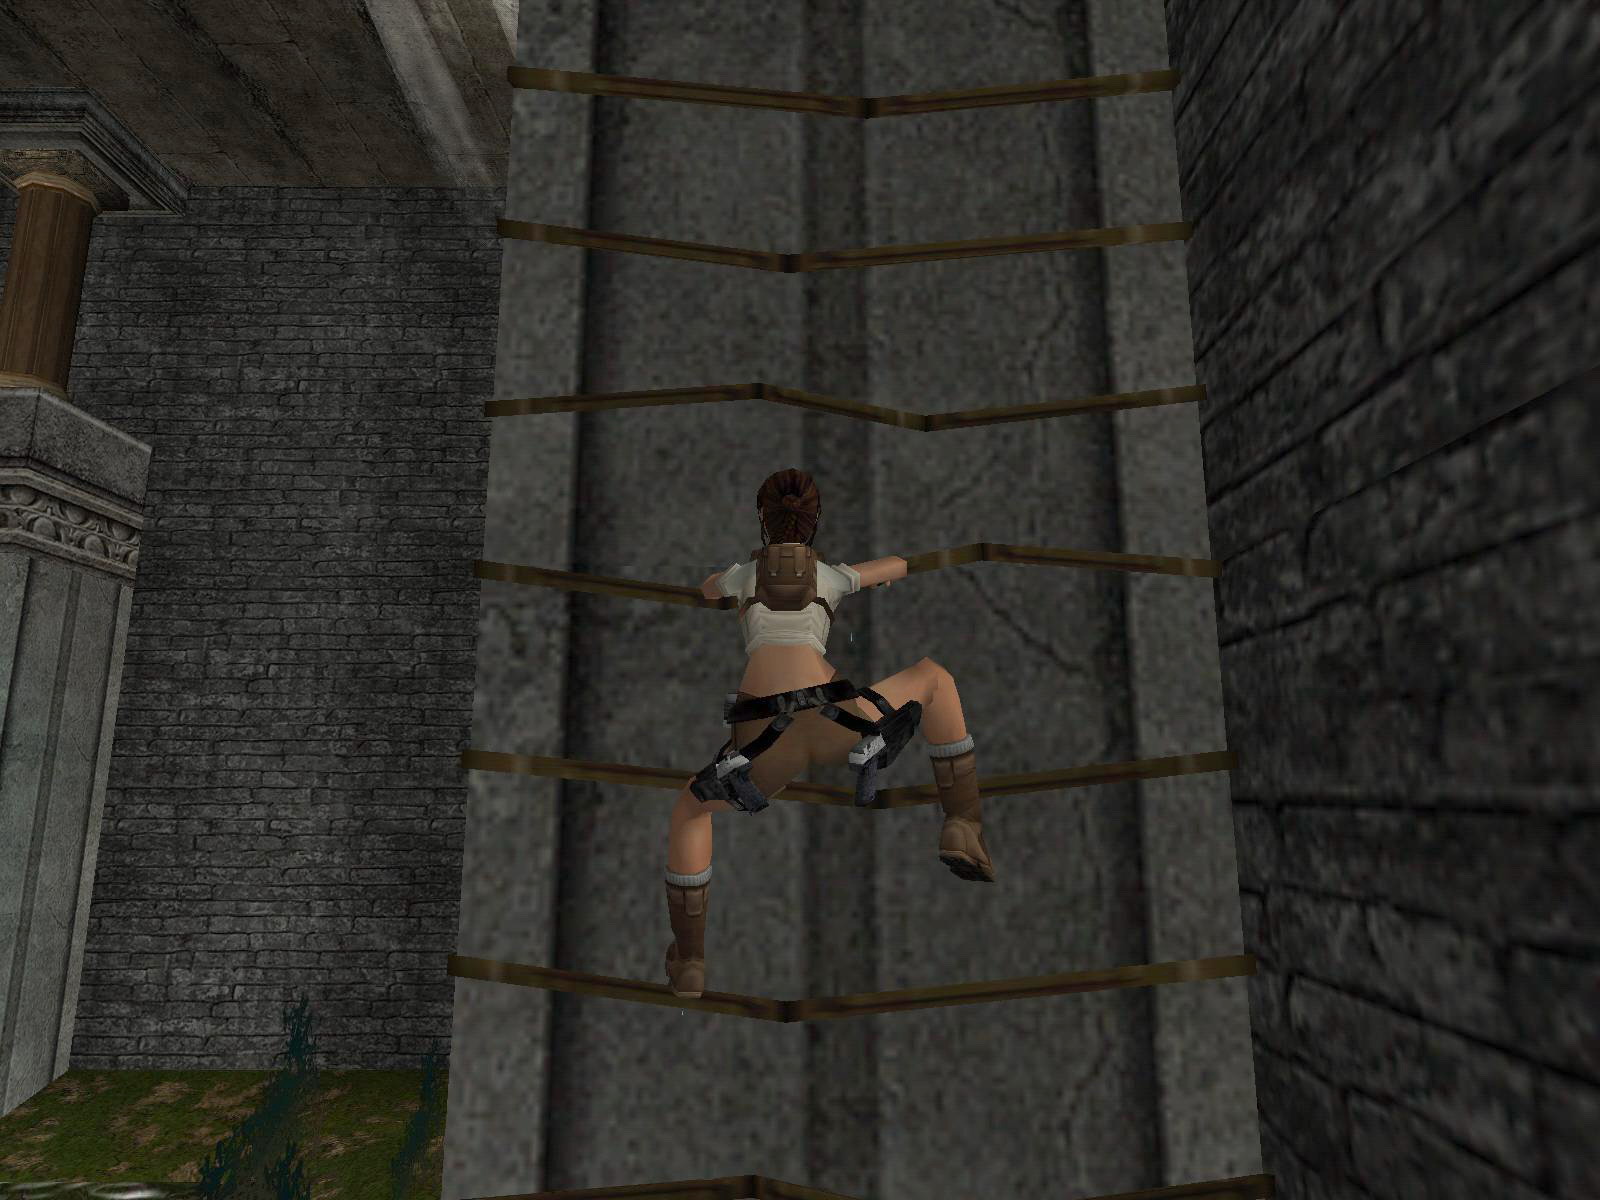
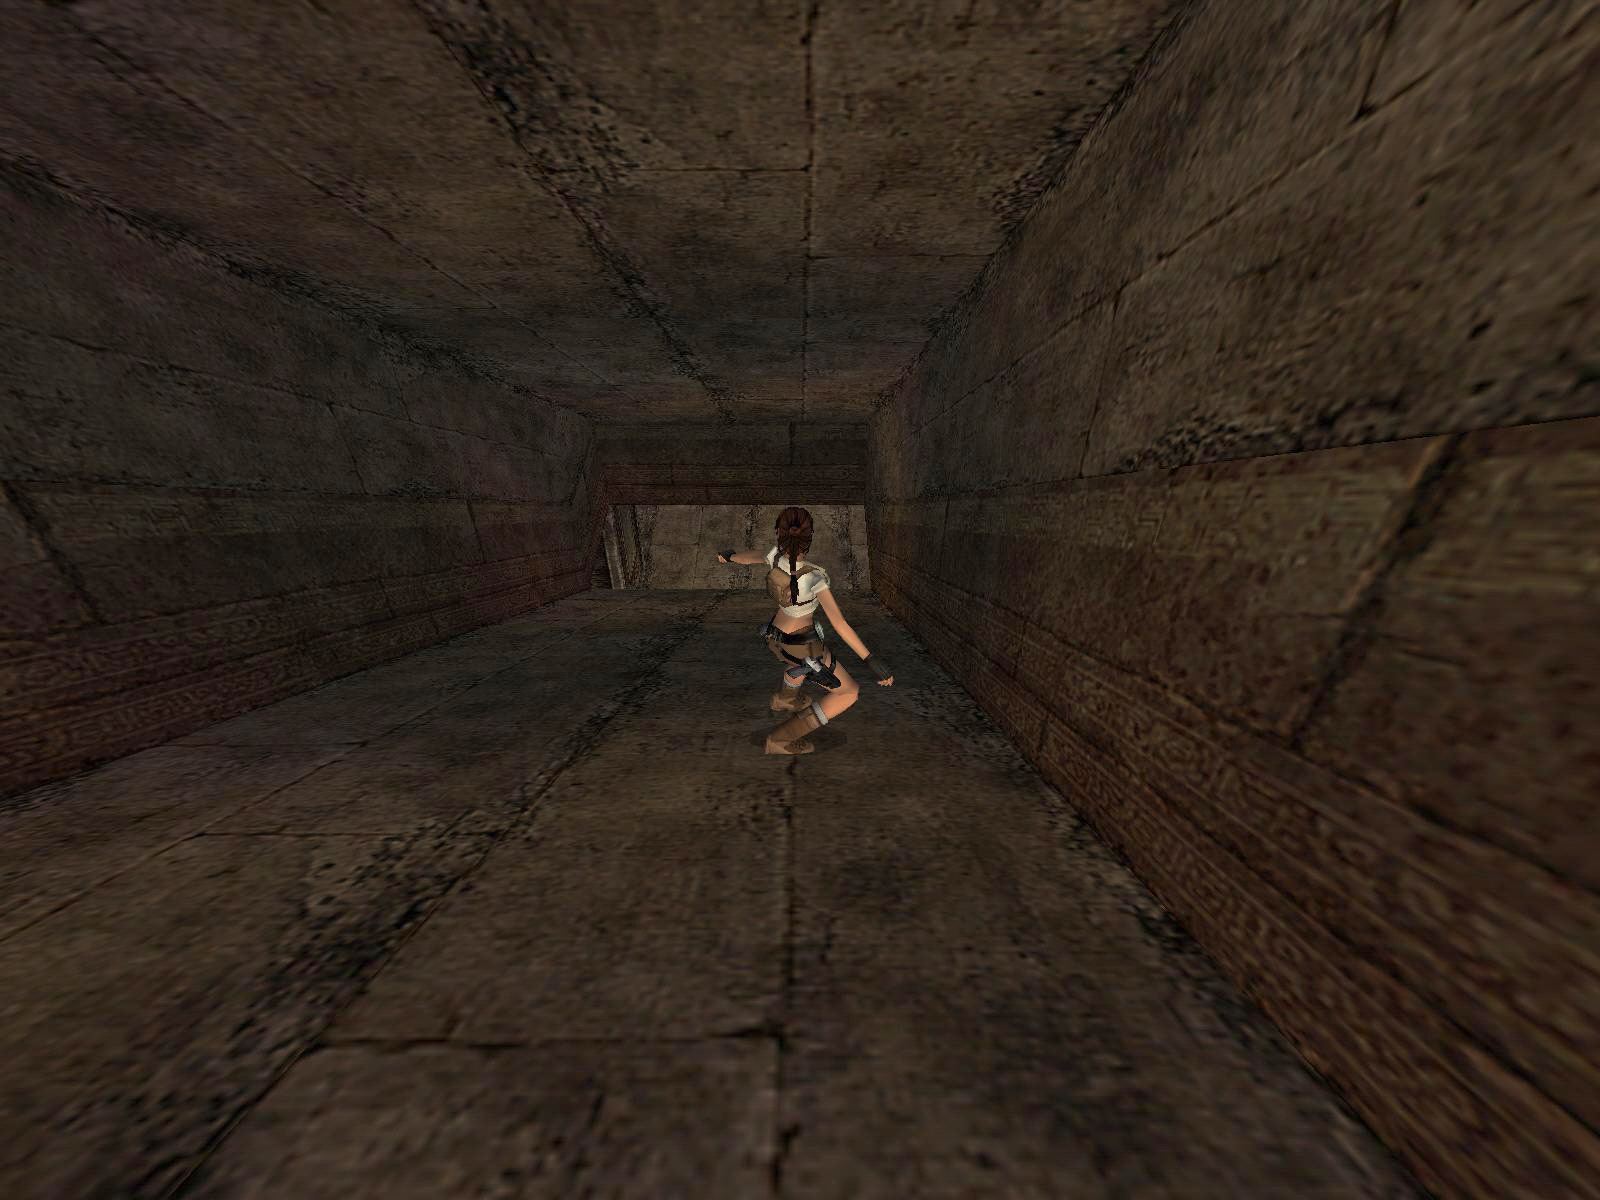
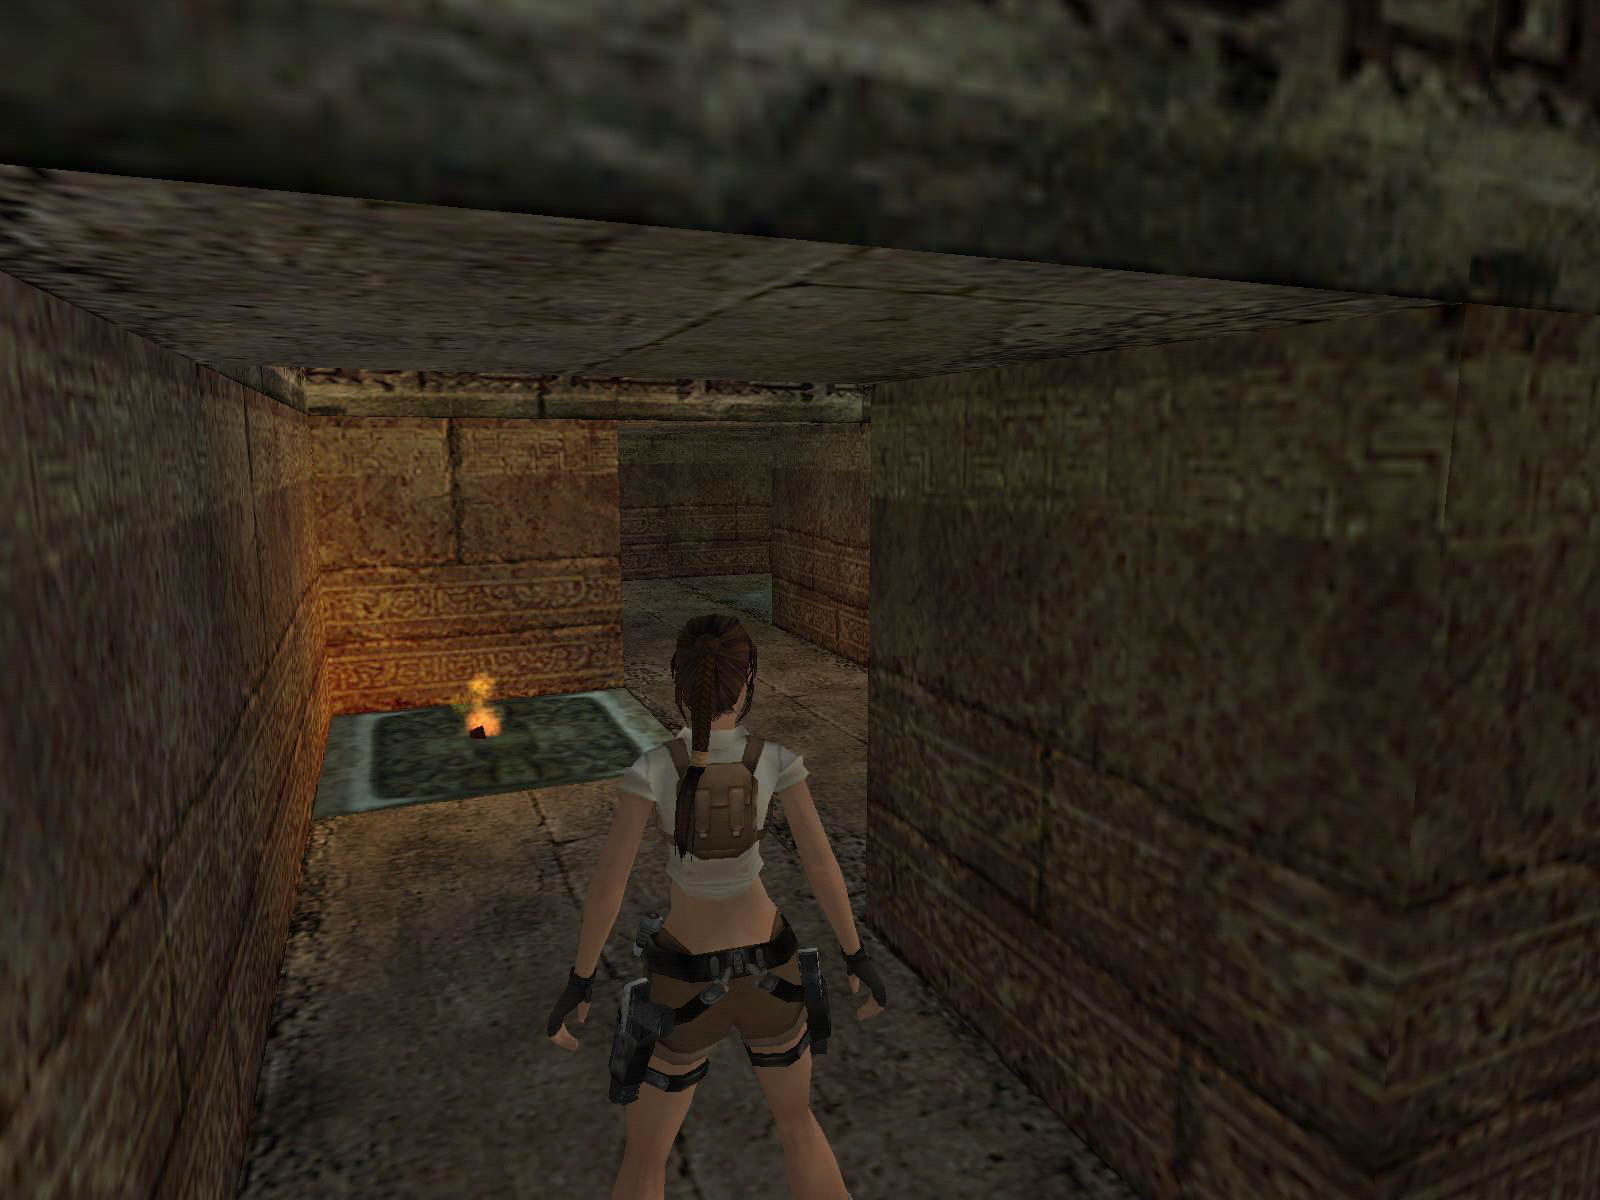
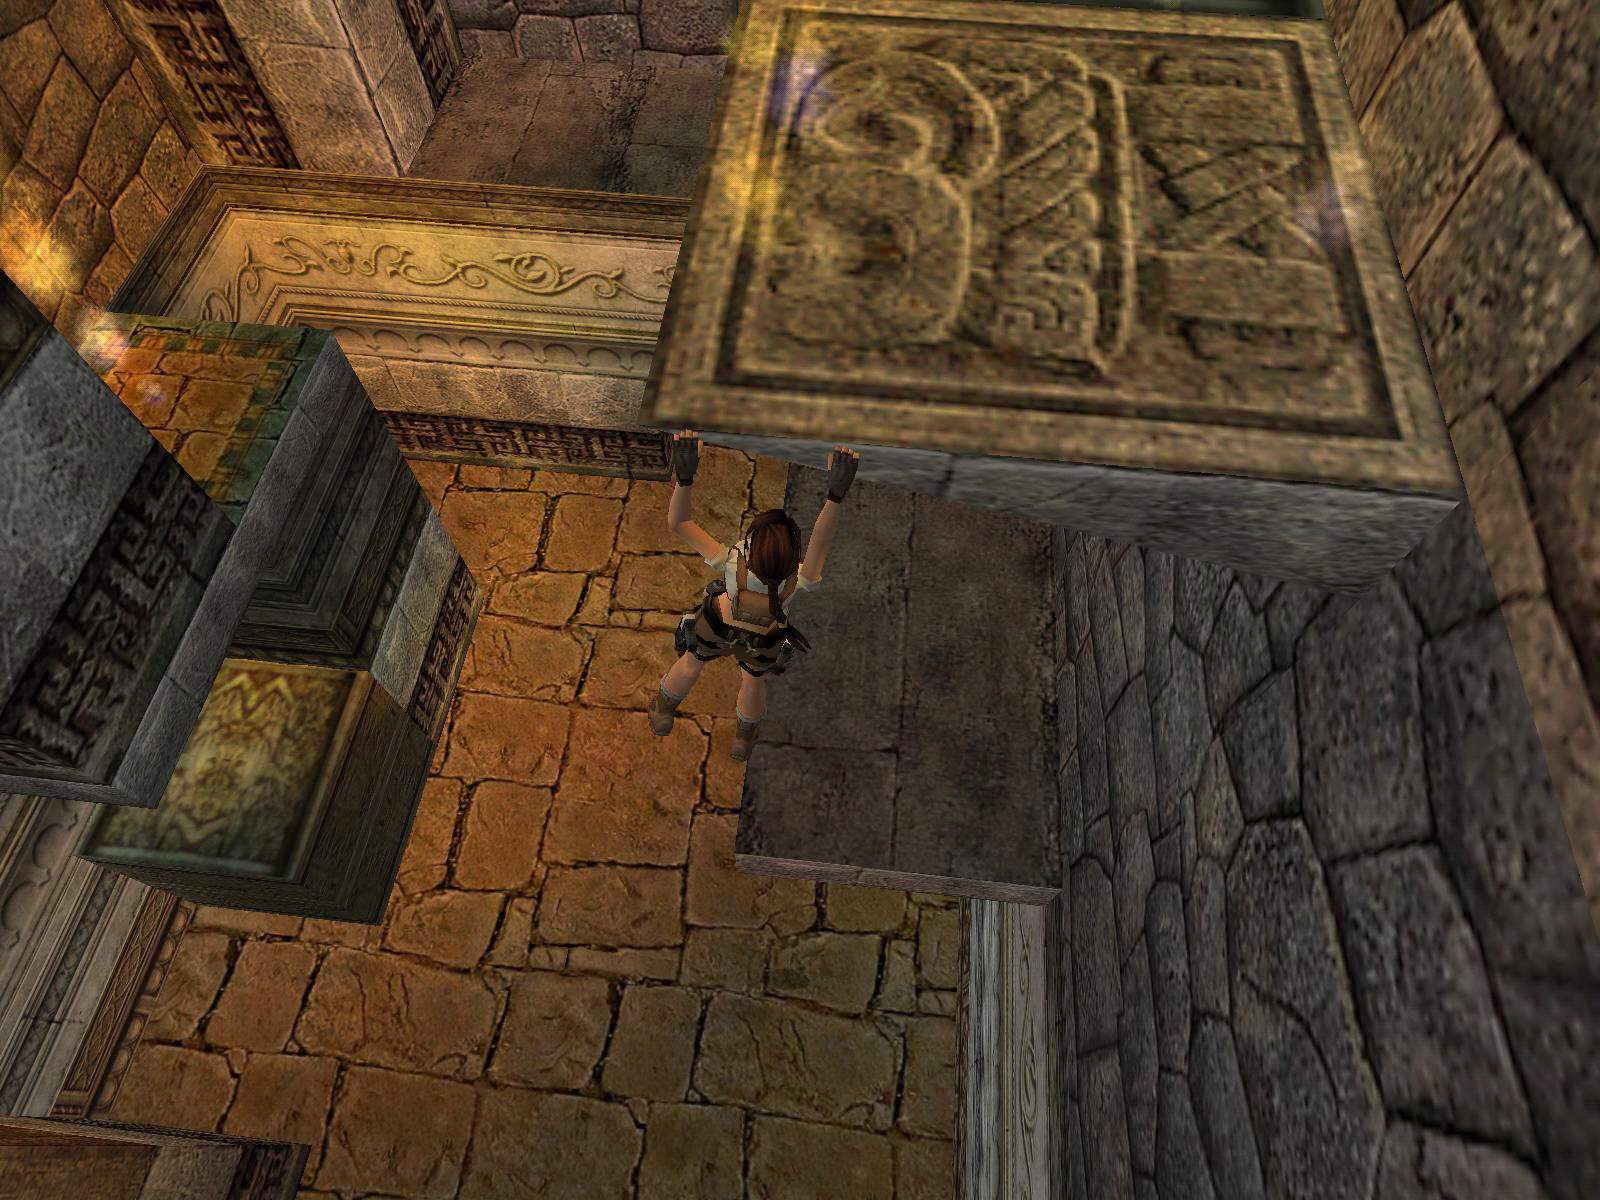
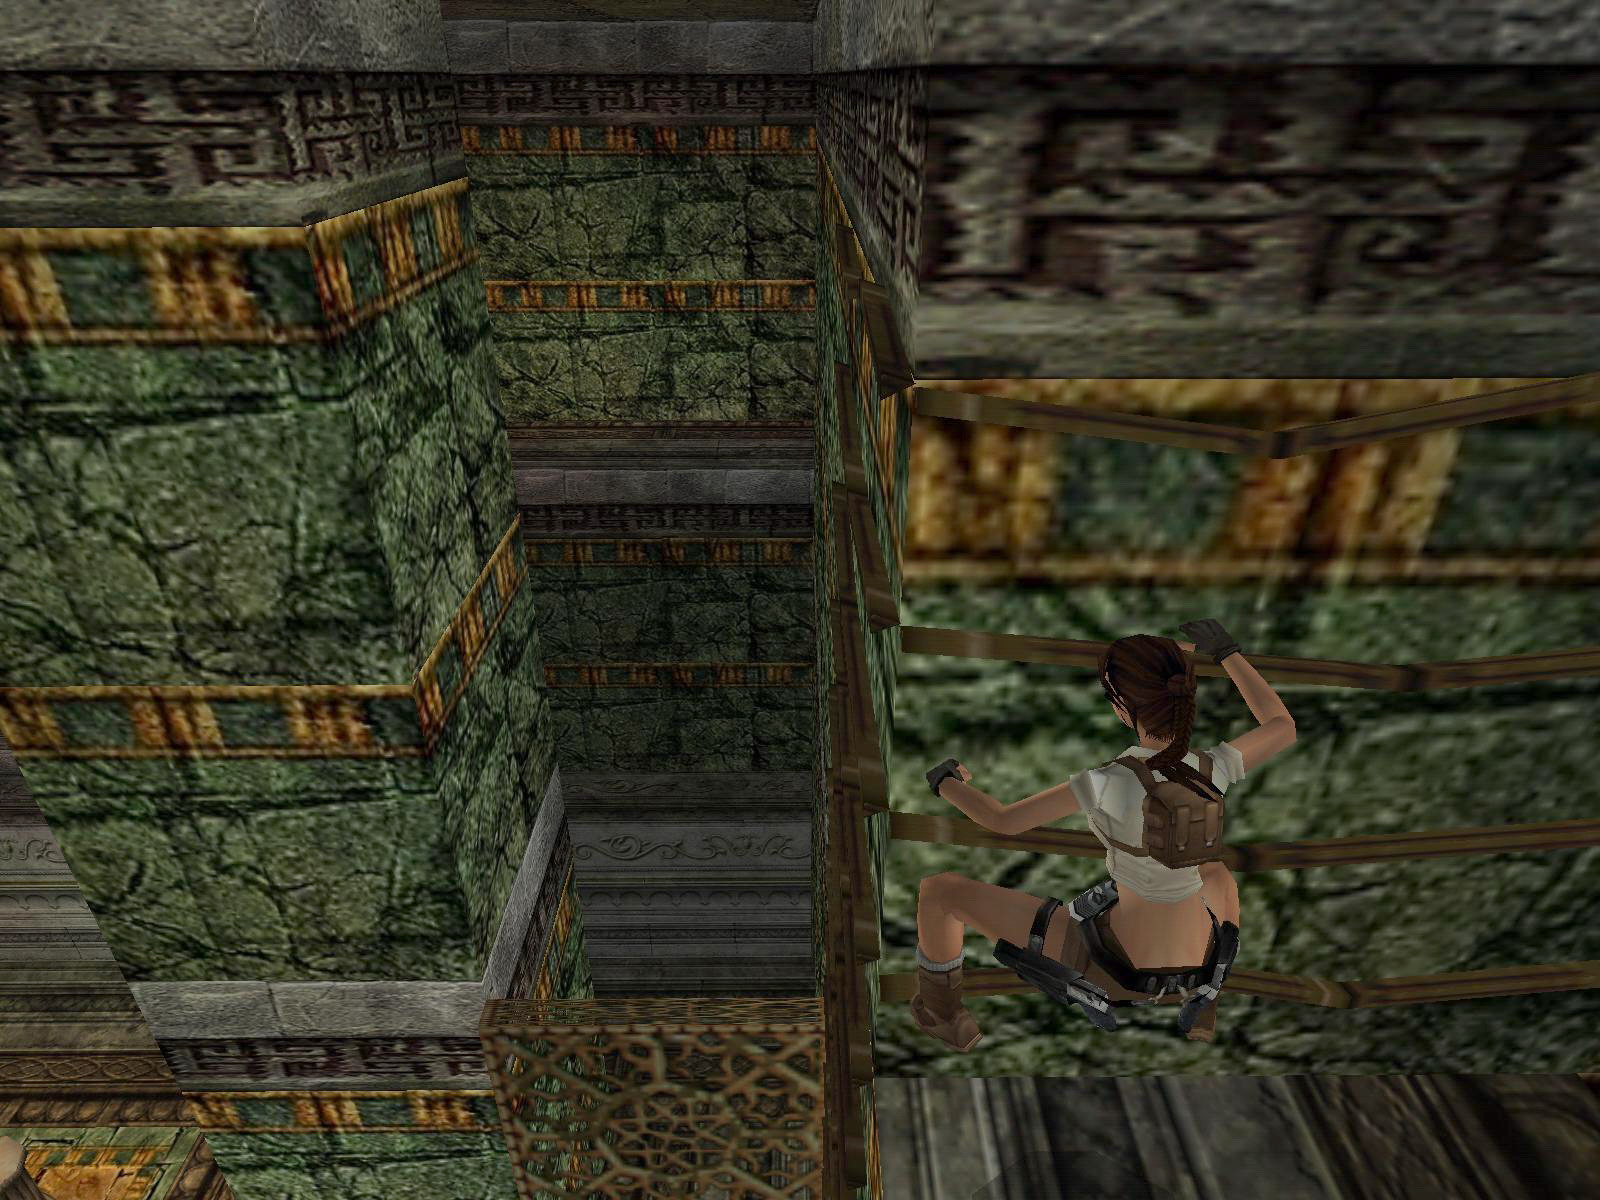
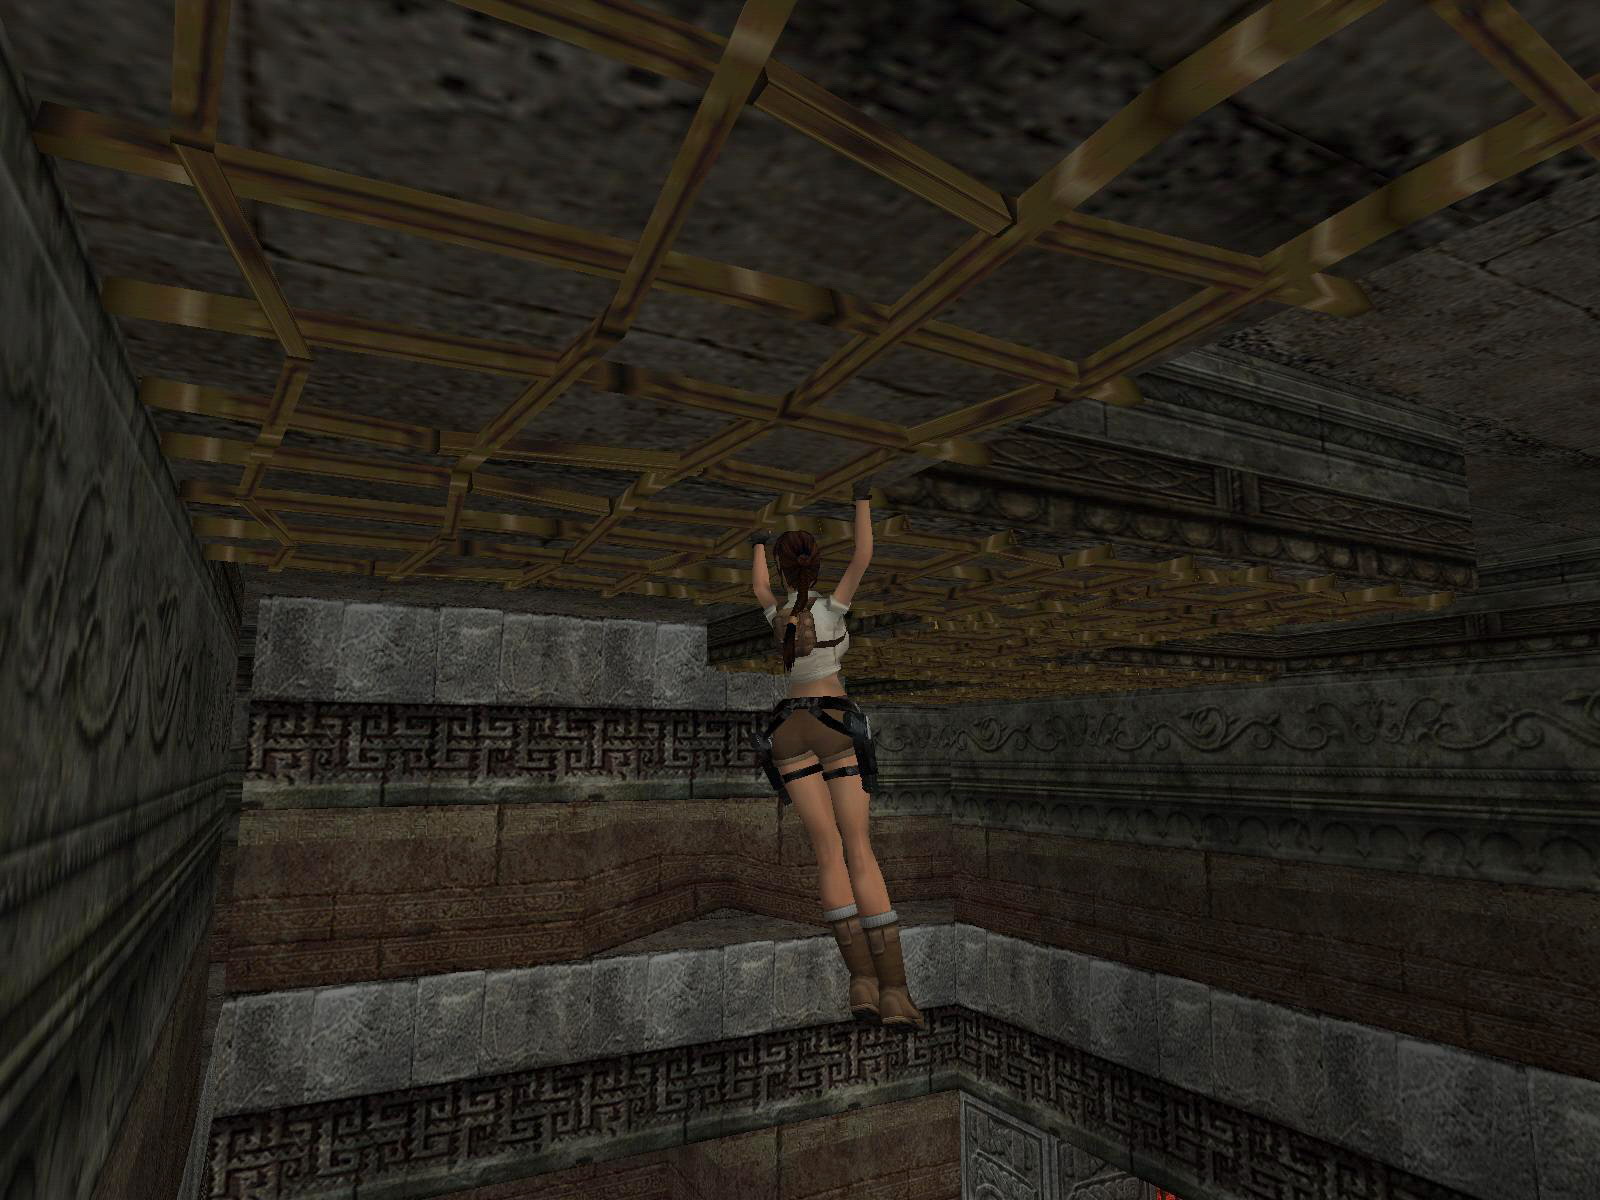
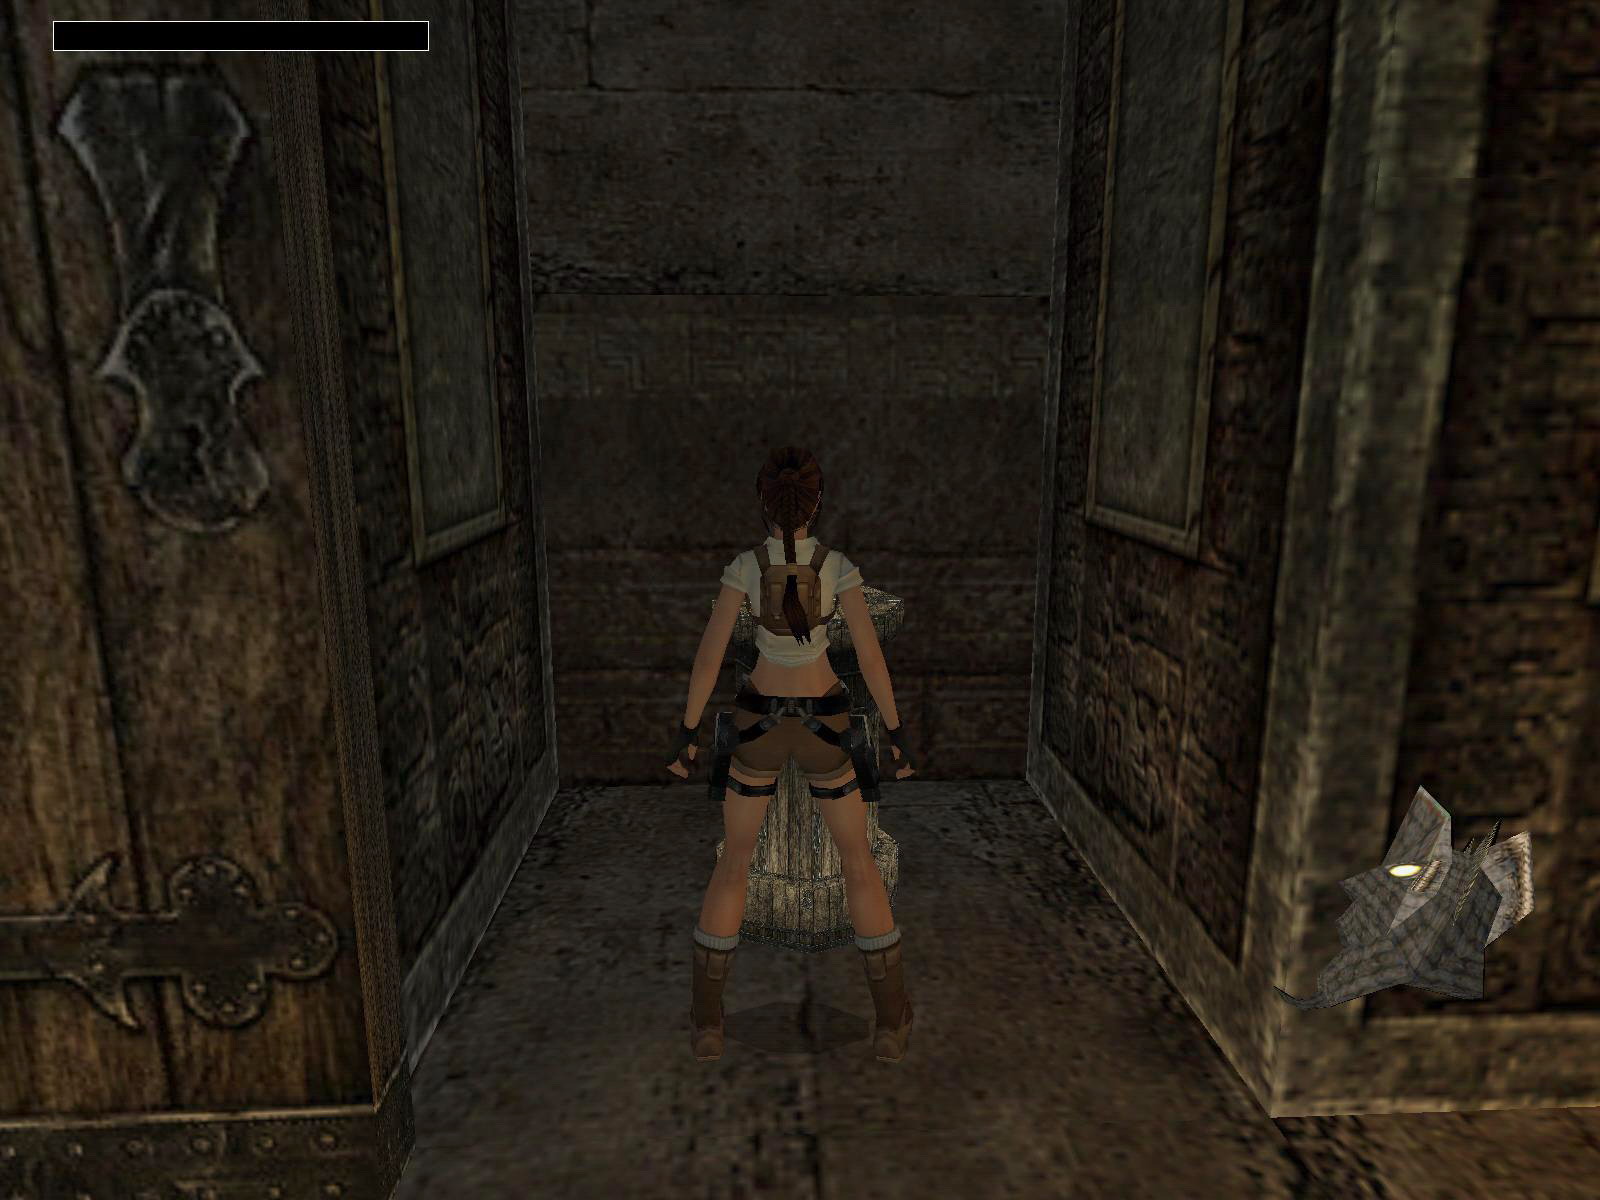
Watch the opening fly by and see Lara sliding down and a native lightning a torch. Go straight forward and circle this upper story around left to use the jump lever NE. Go back to the W and use the ladder on the pillar opposite the entrance to climb down. Go around the pillar and use the jump lever on the back of this pillar.
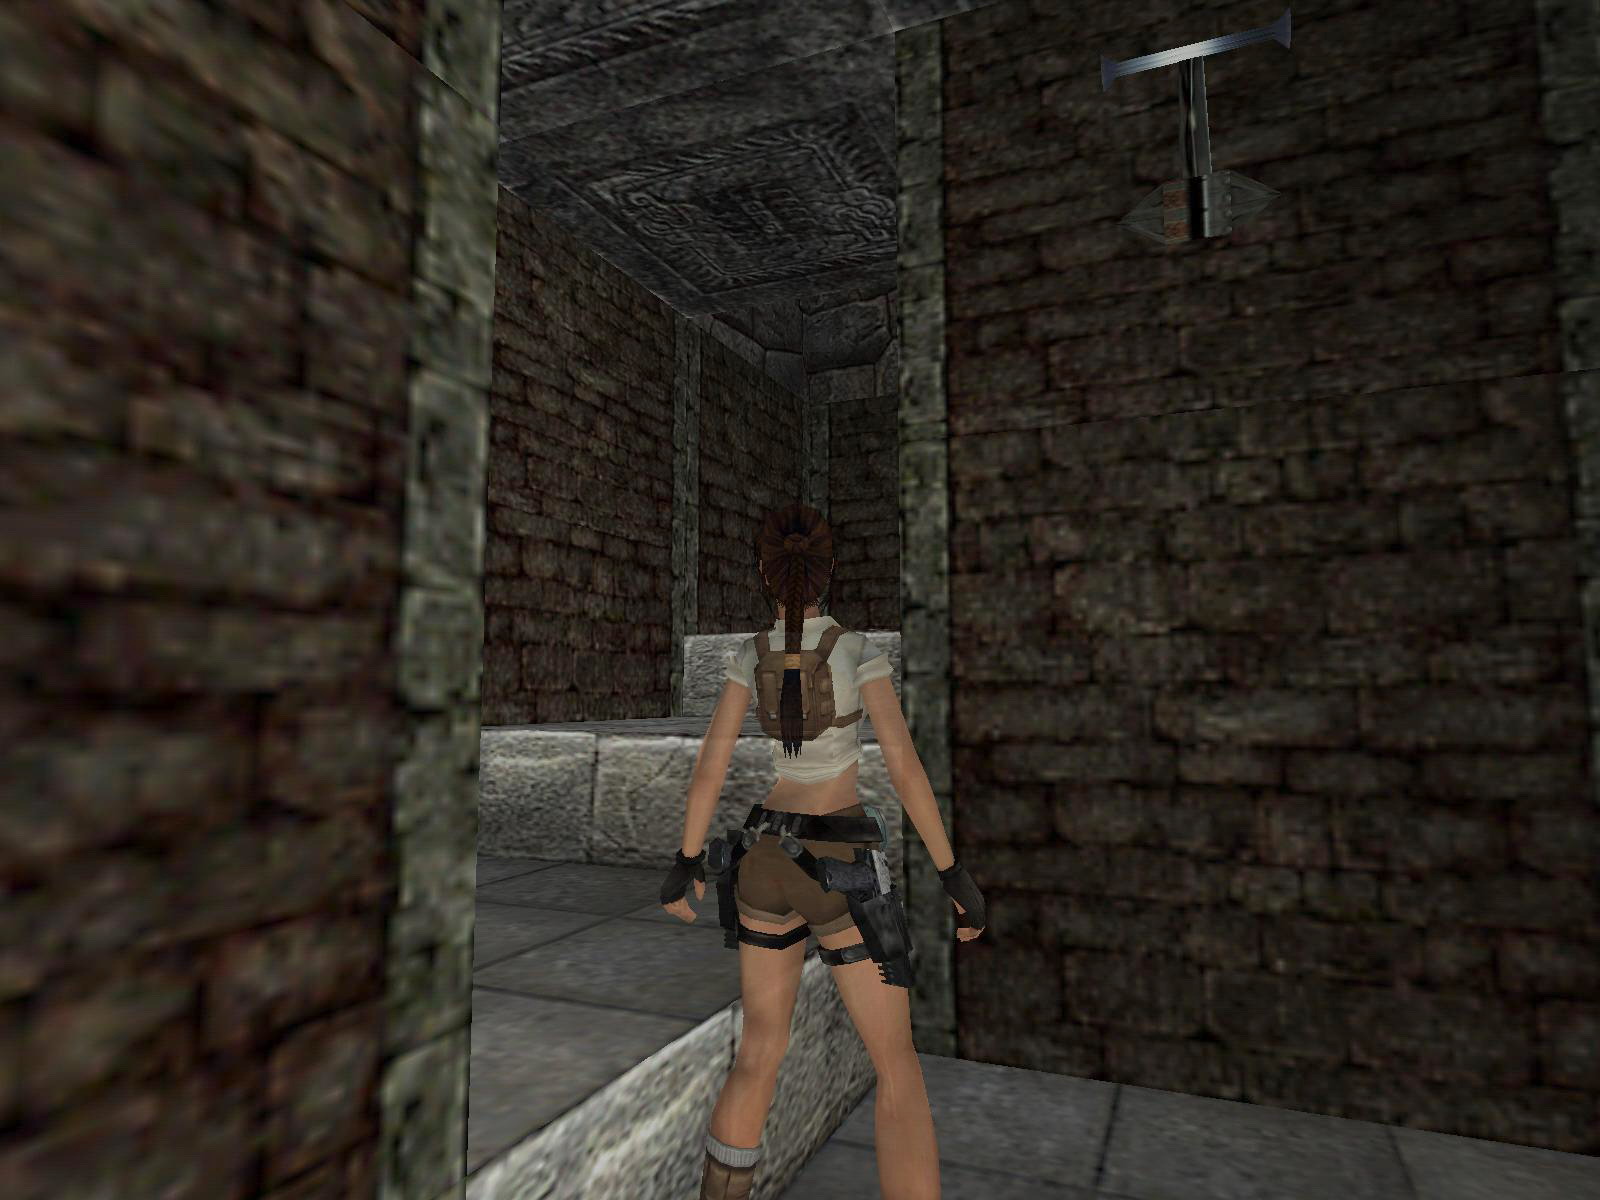
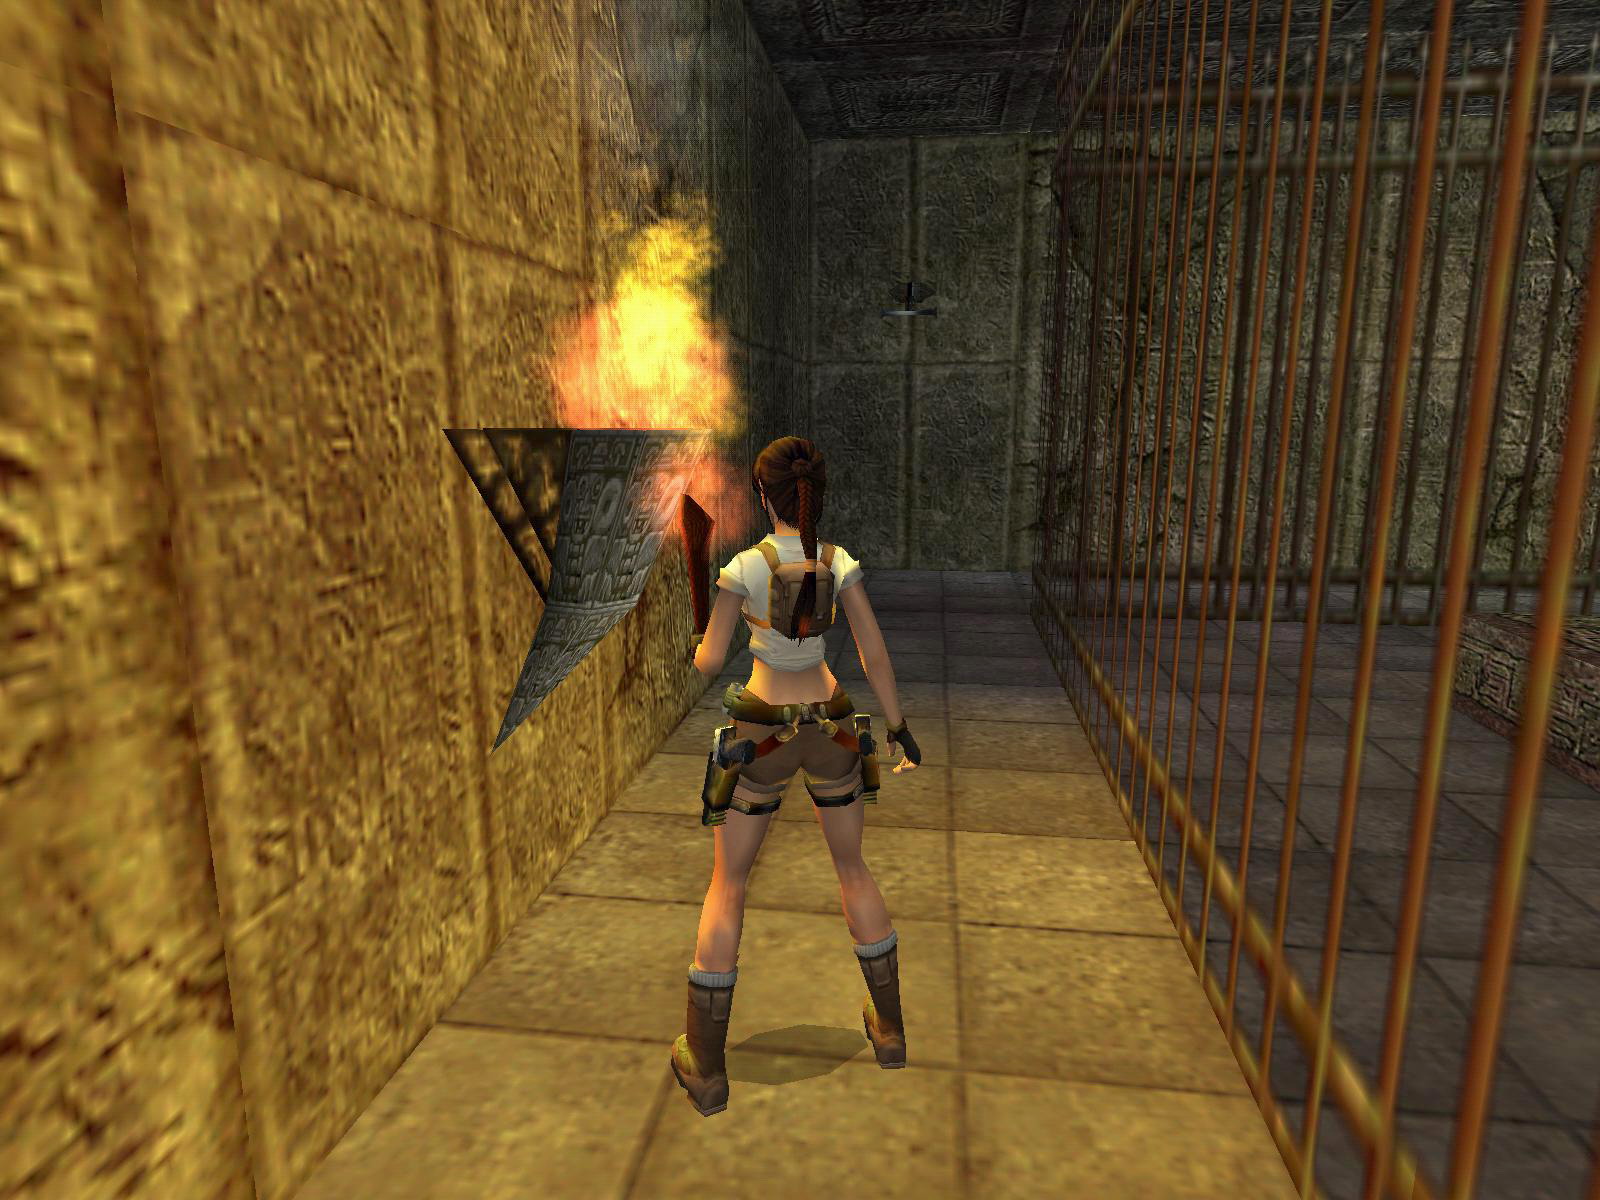
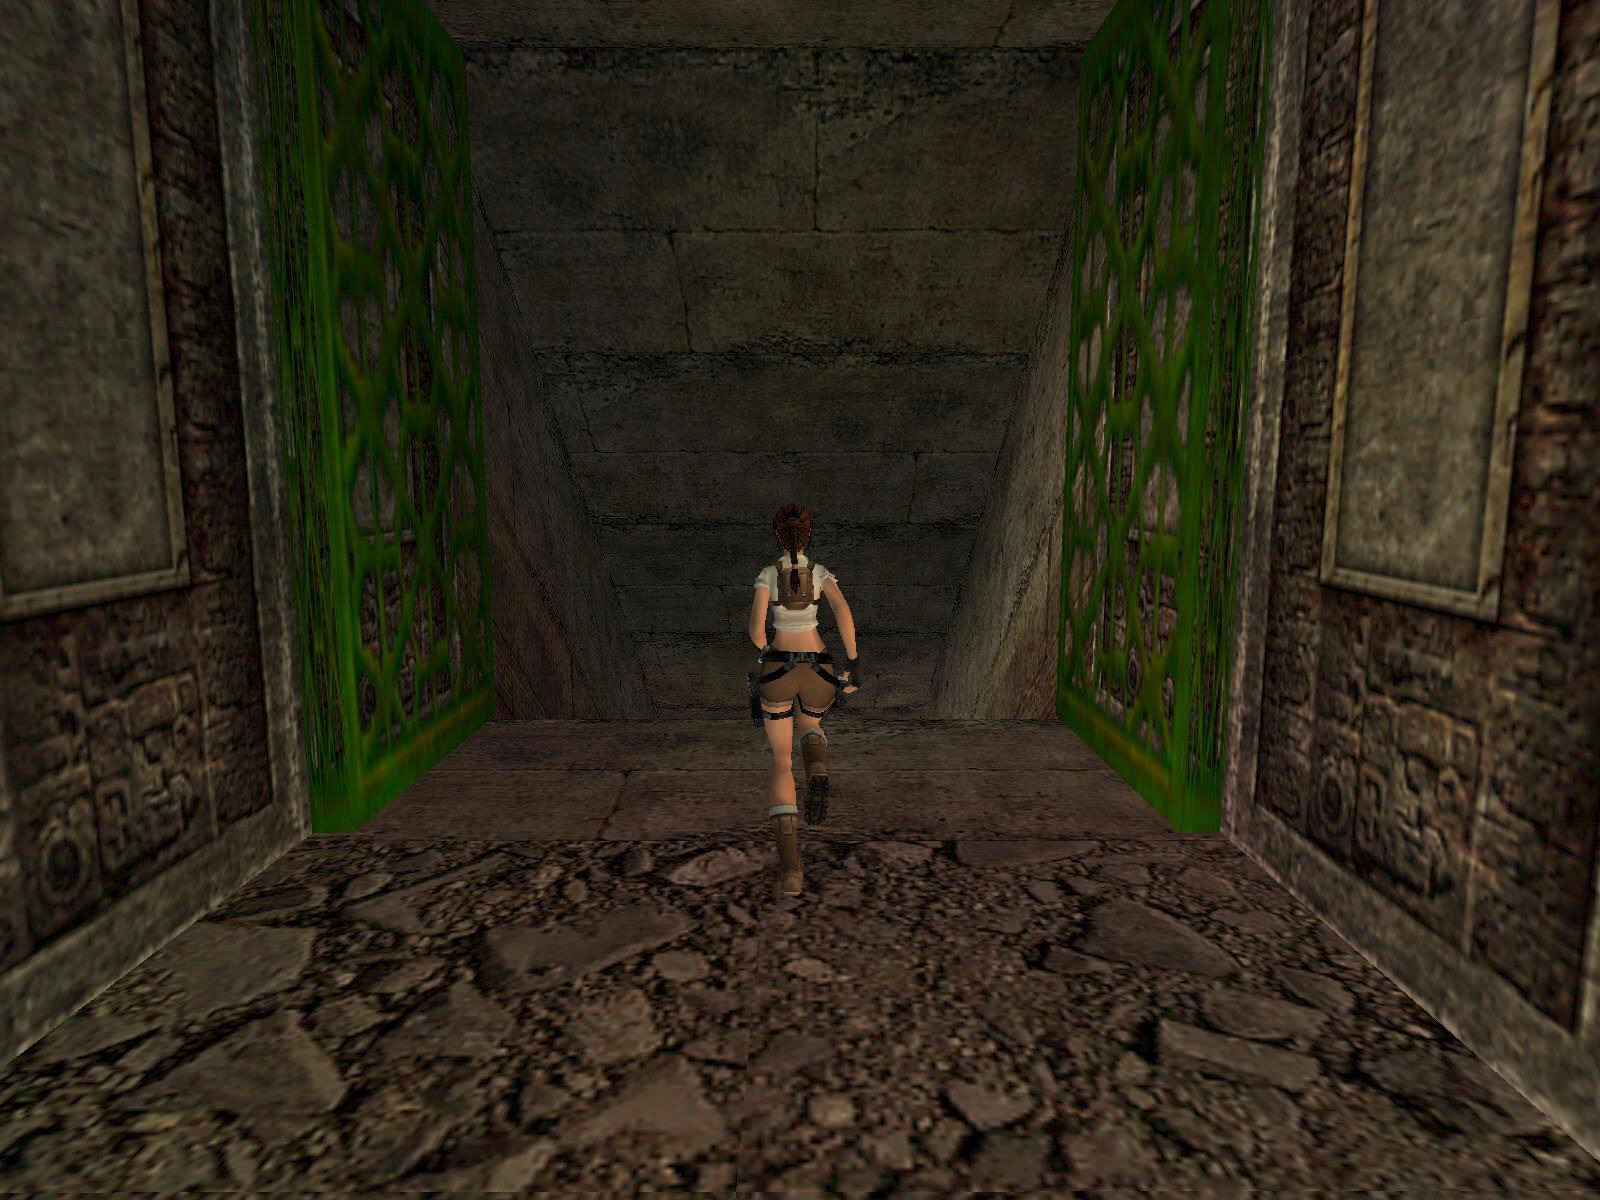
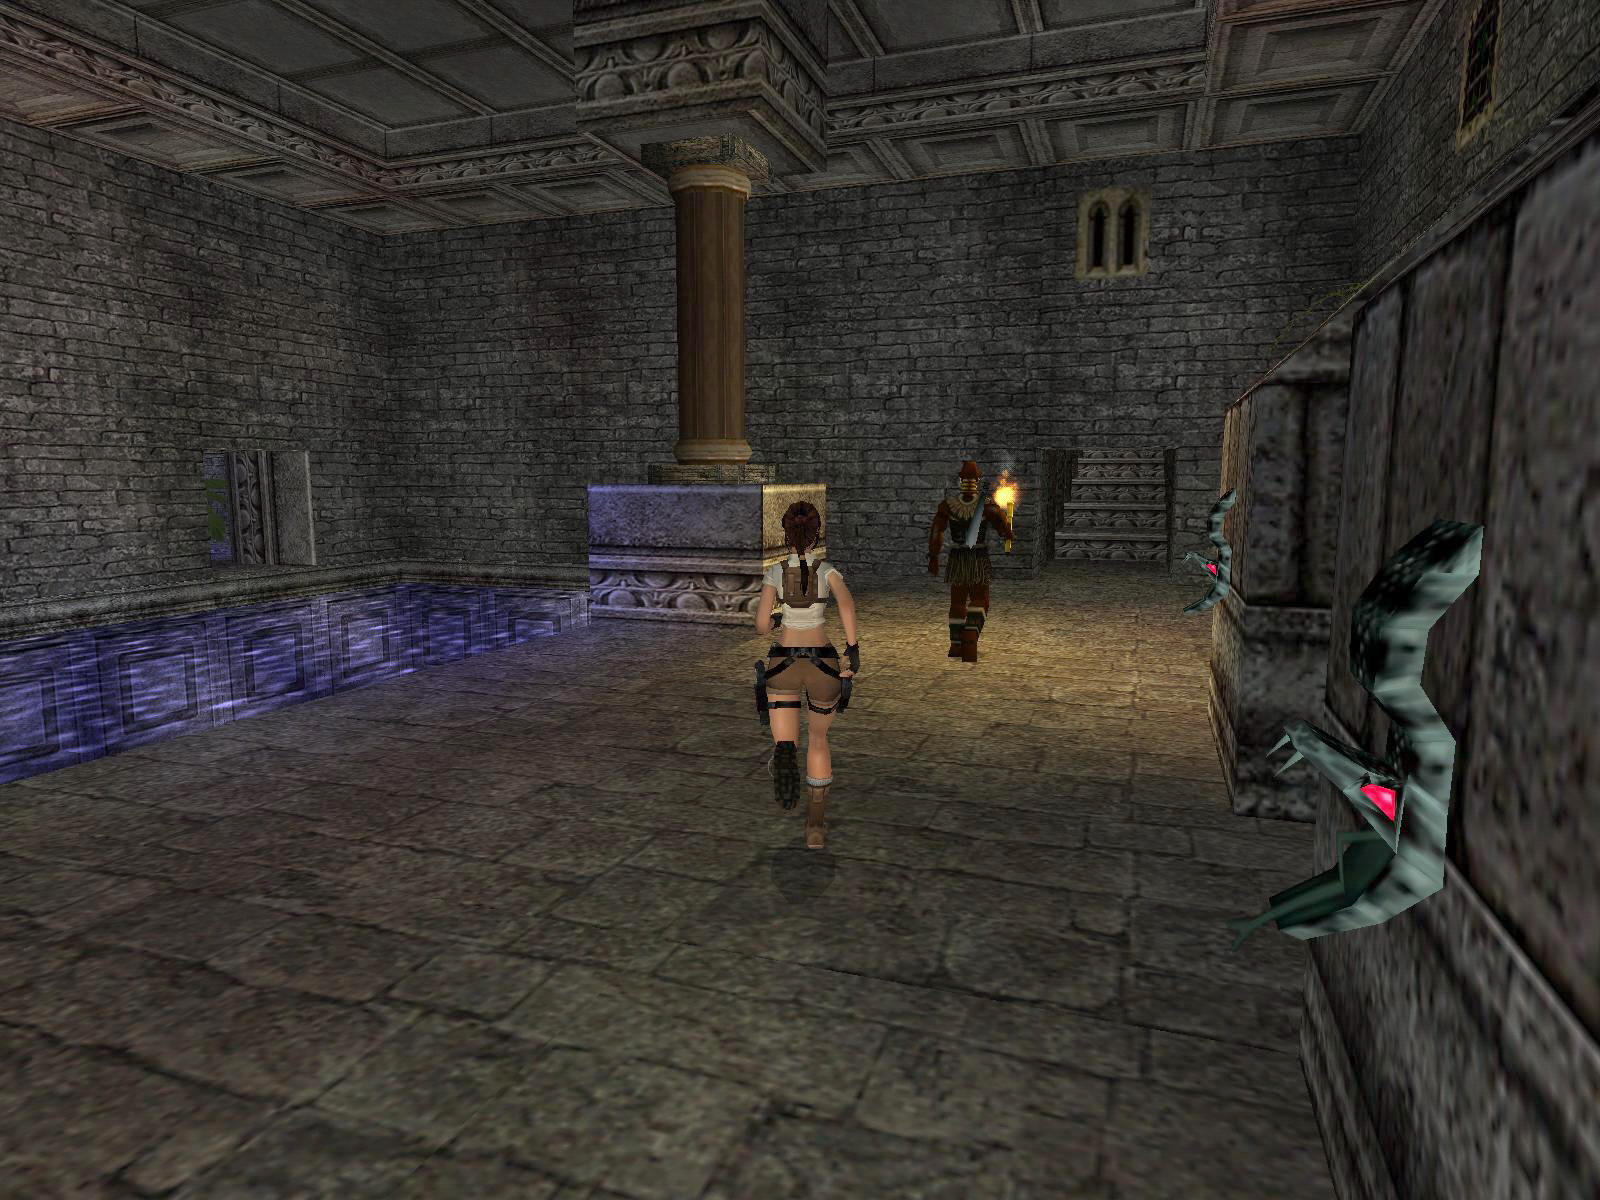
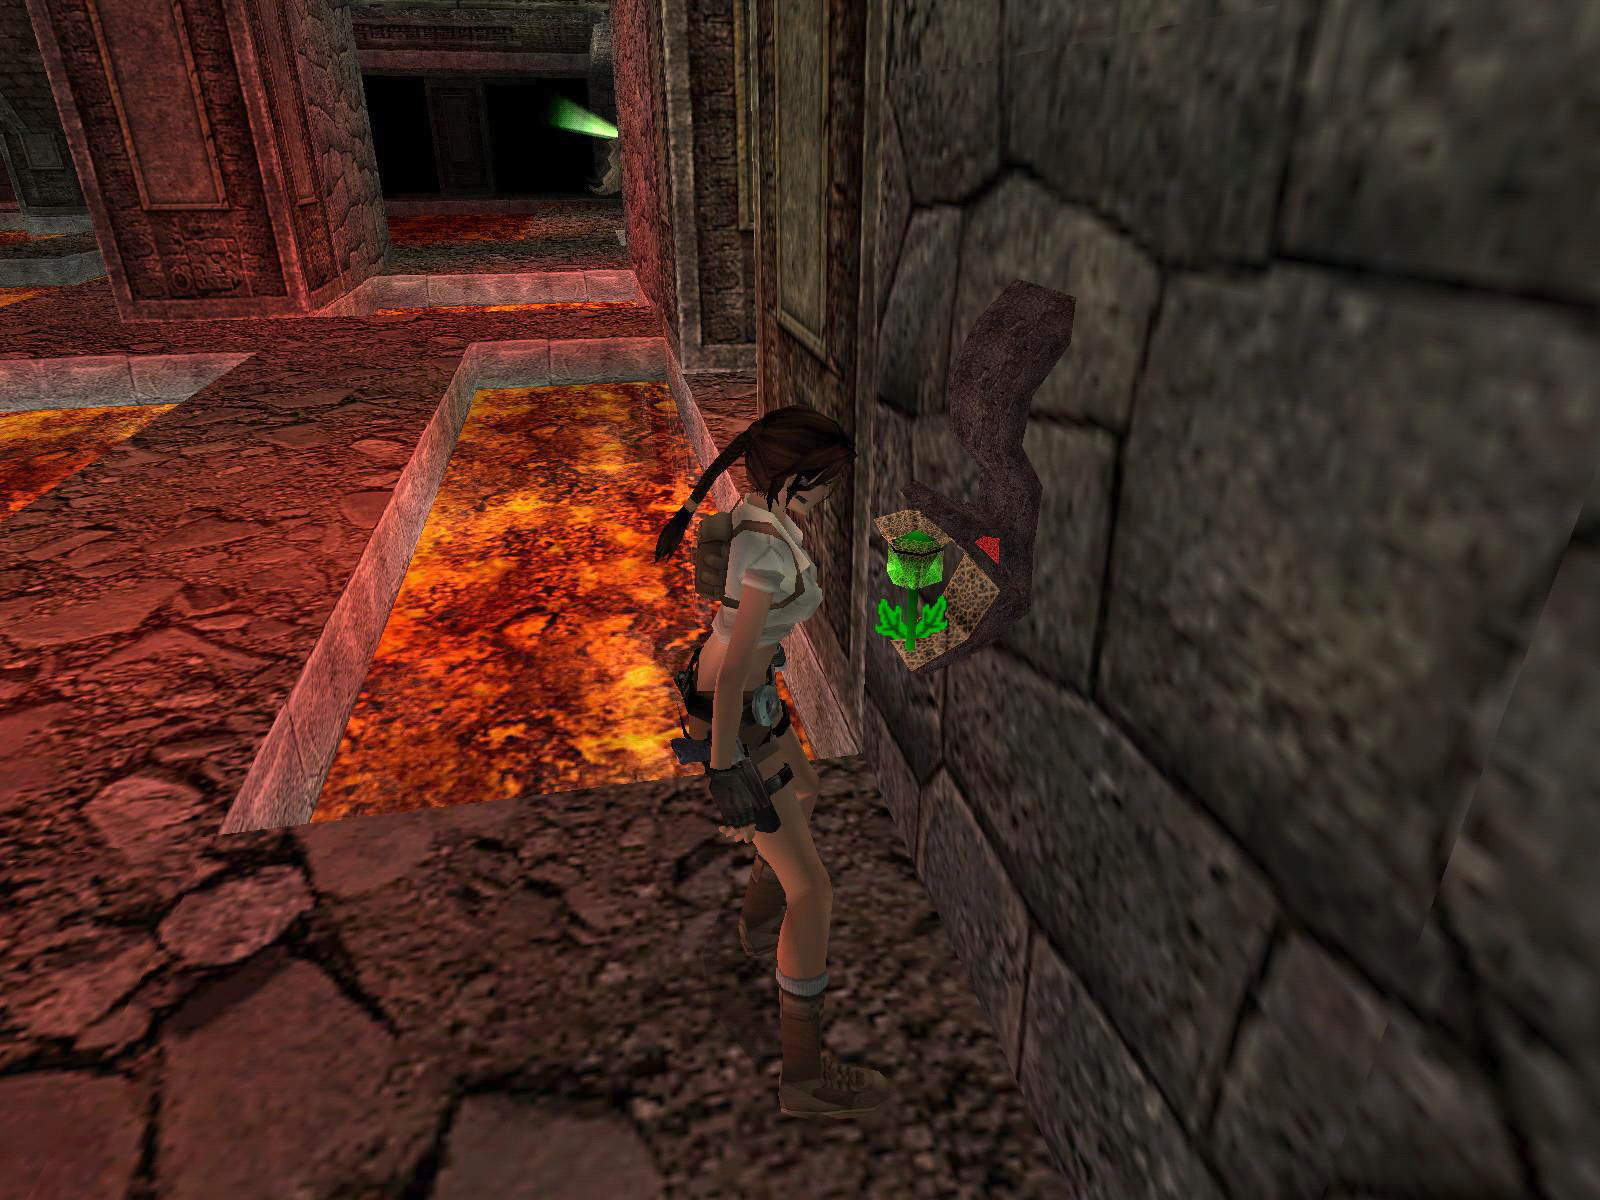
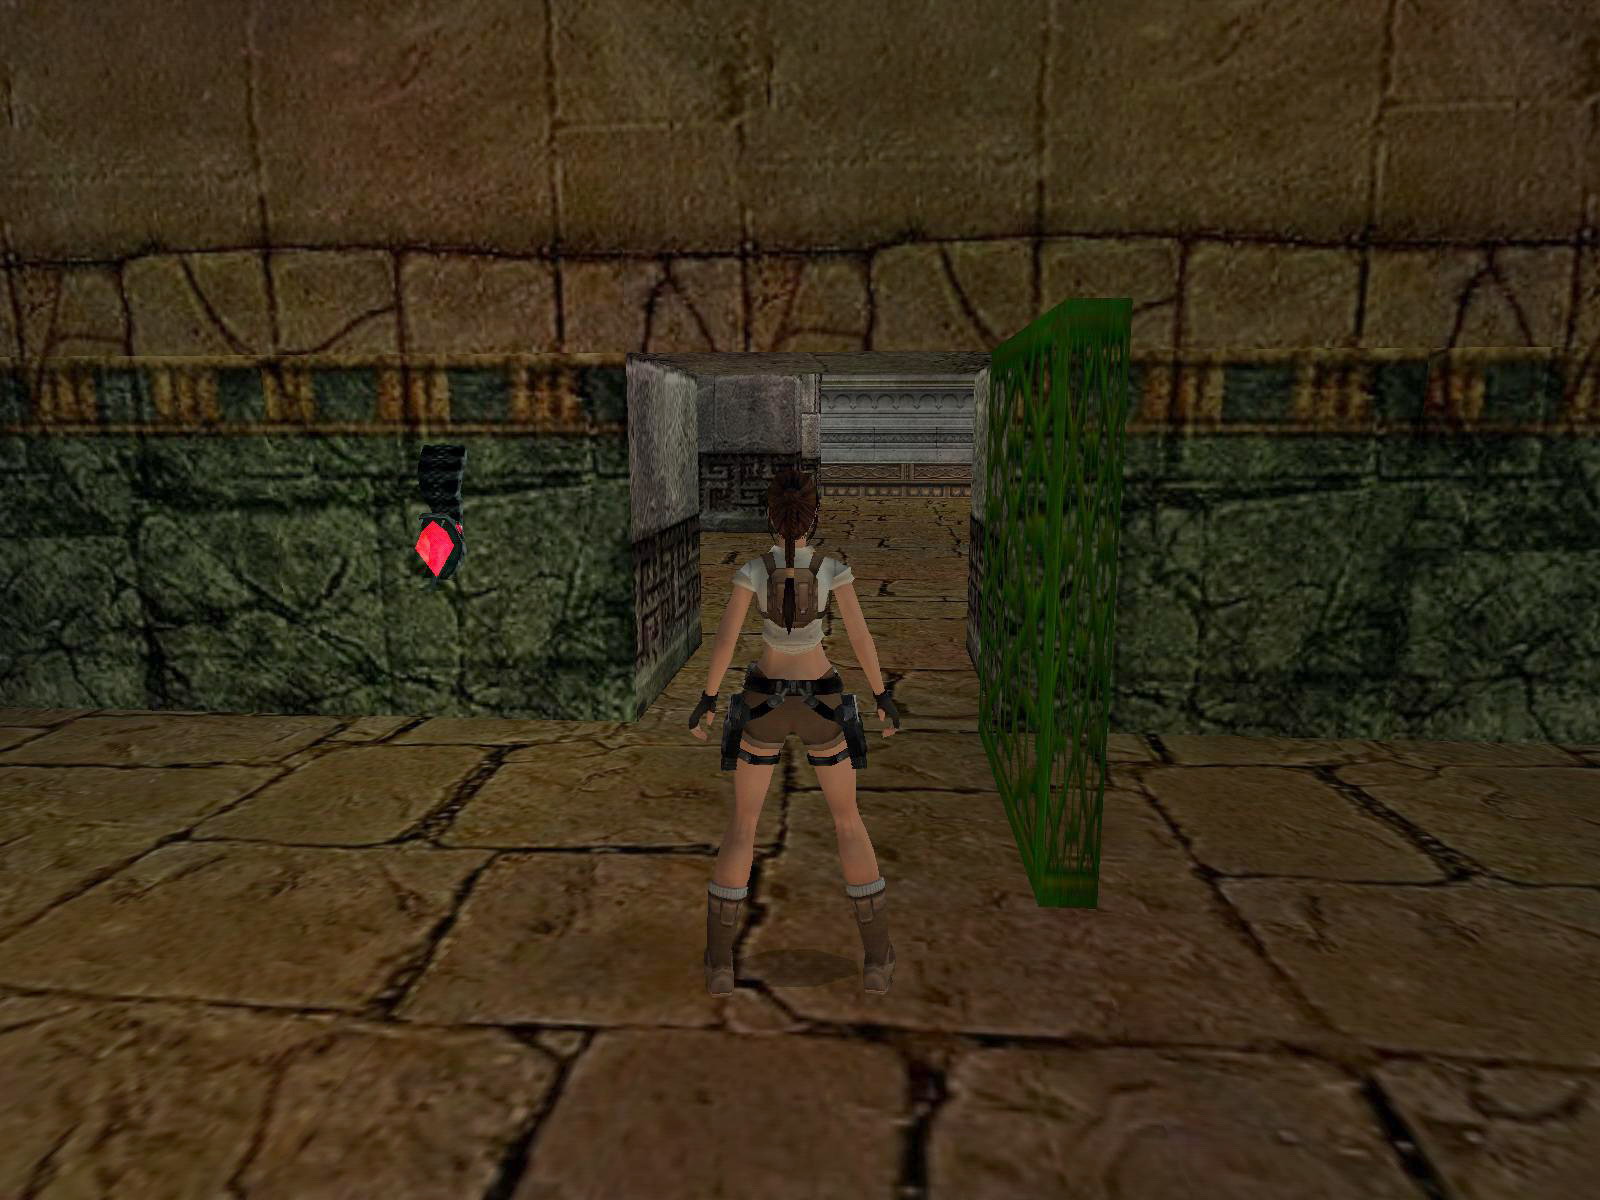
Go SE to a green gate in the E wall and circle right around that cage (with the native with the torch locked within) to use the jump lever in the SE corner. Get out and go to the right (N) and to the right around the corners to pick up Flares. Turn around and use the jump lever in the small passage N. Go NW and right around the corner you'll find a staircase. Go about halfway down and look for another jump lever facing W, the doors open up. Go back up the stairs and to the Main Room.
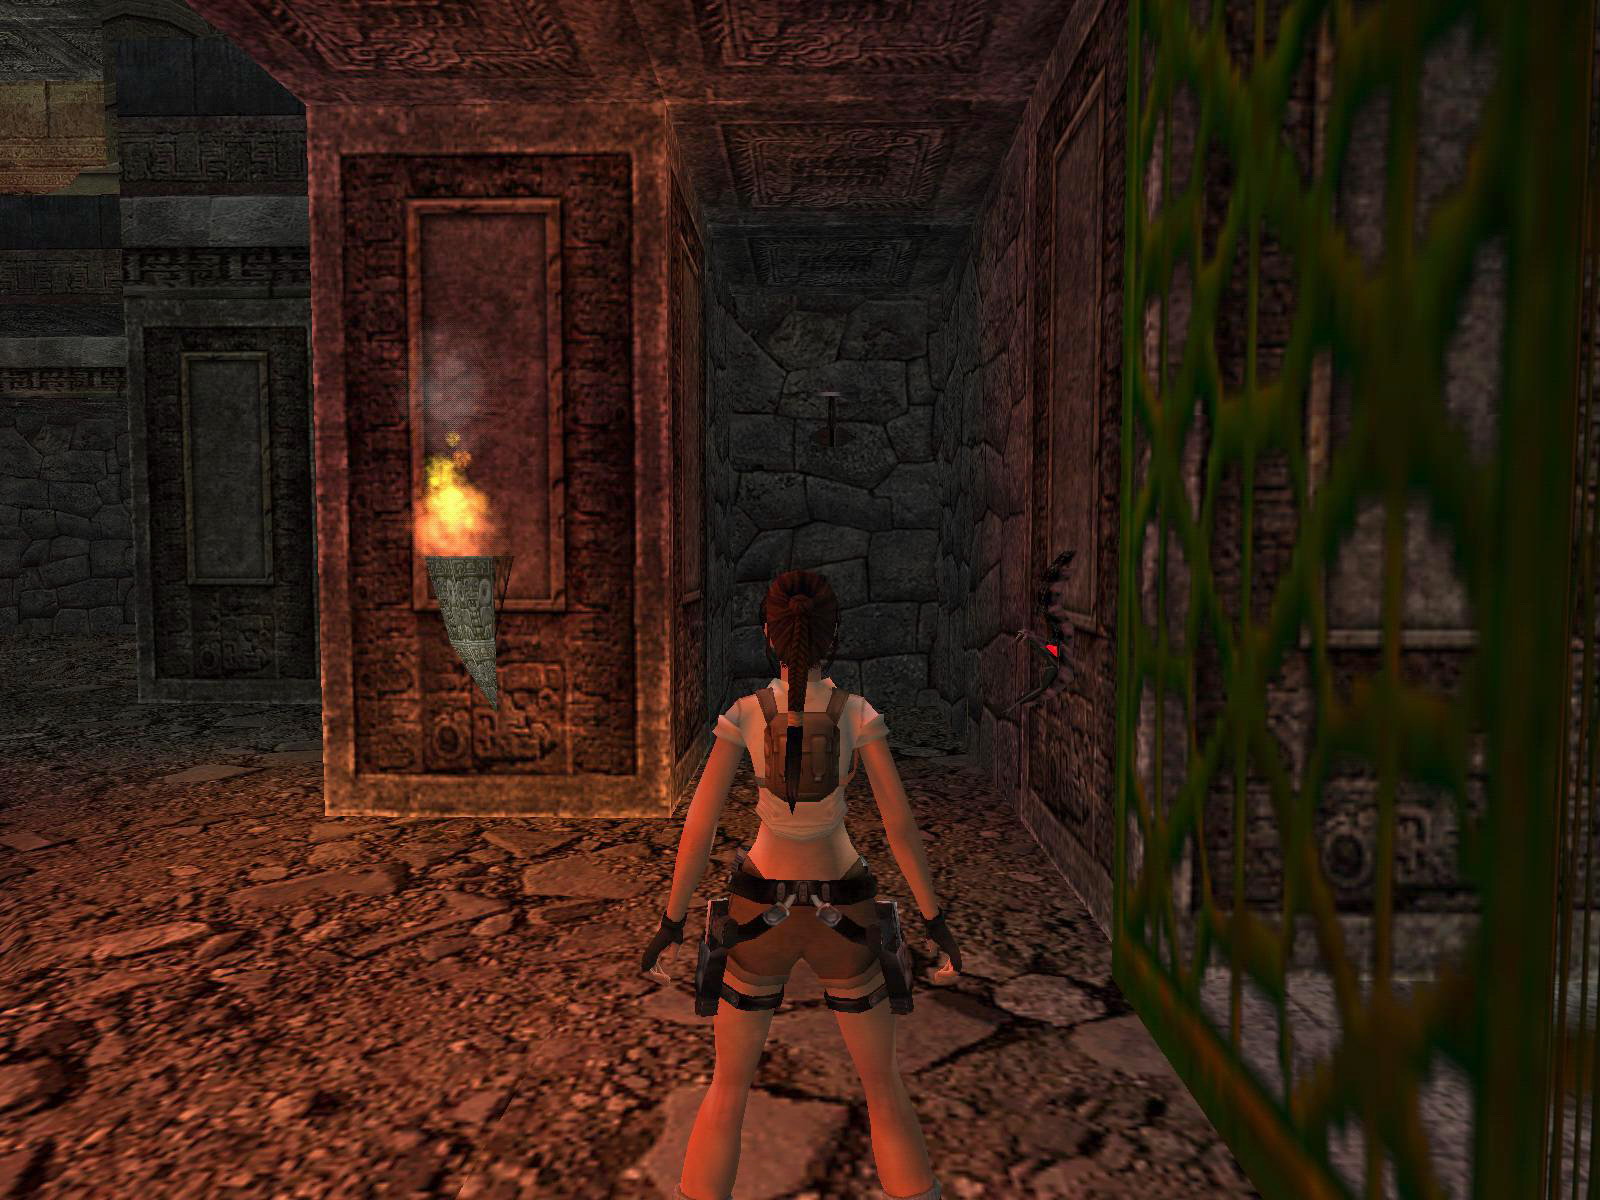
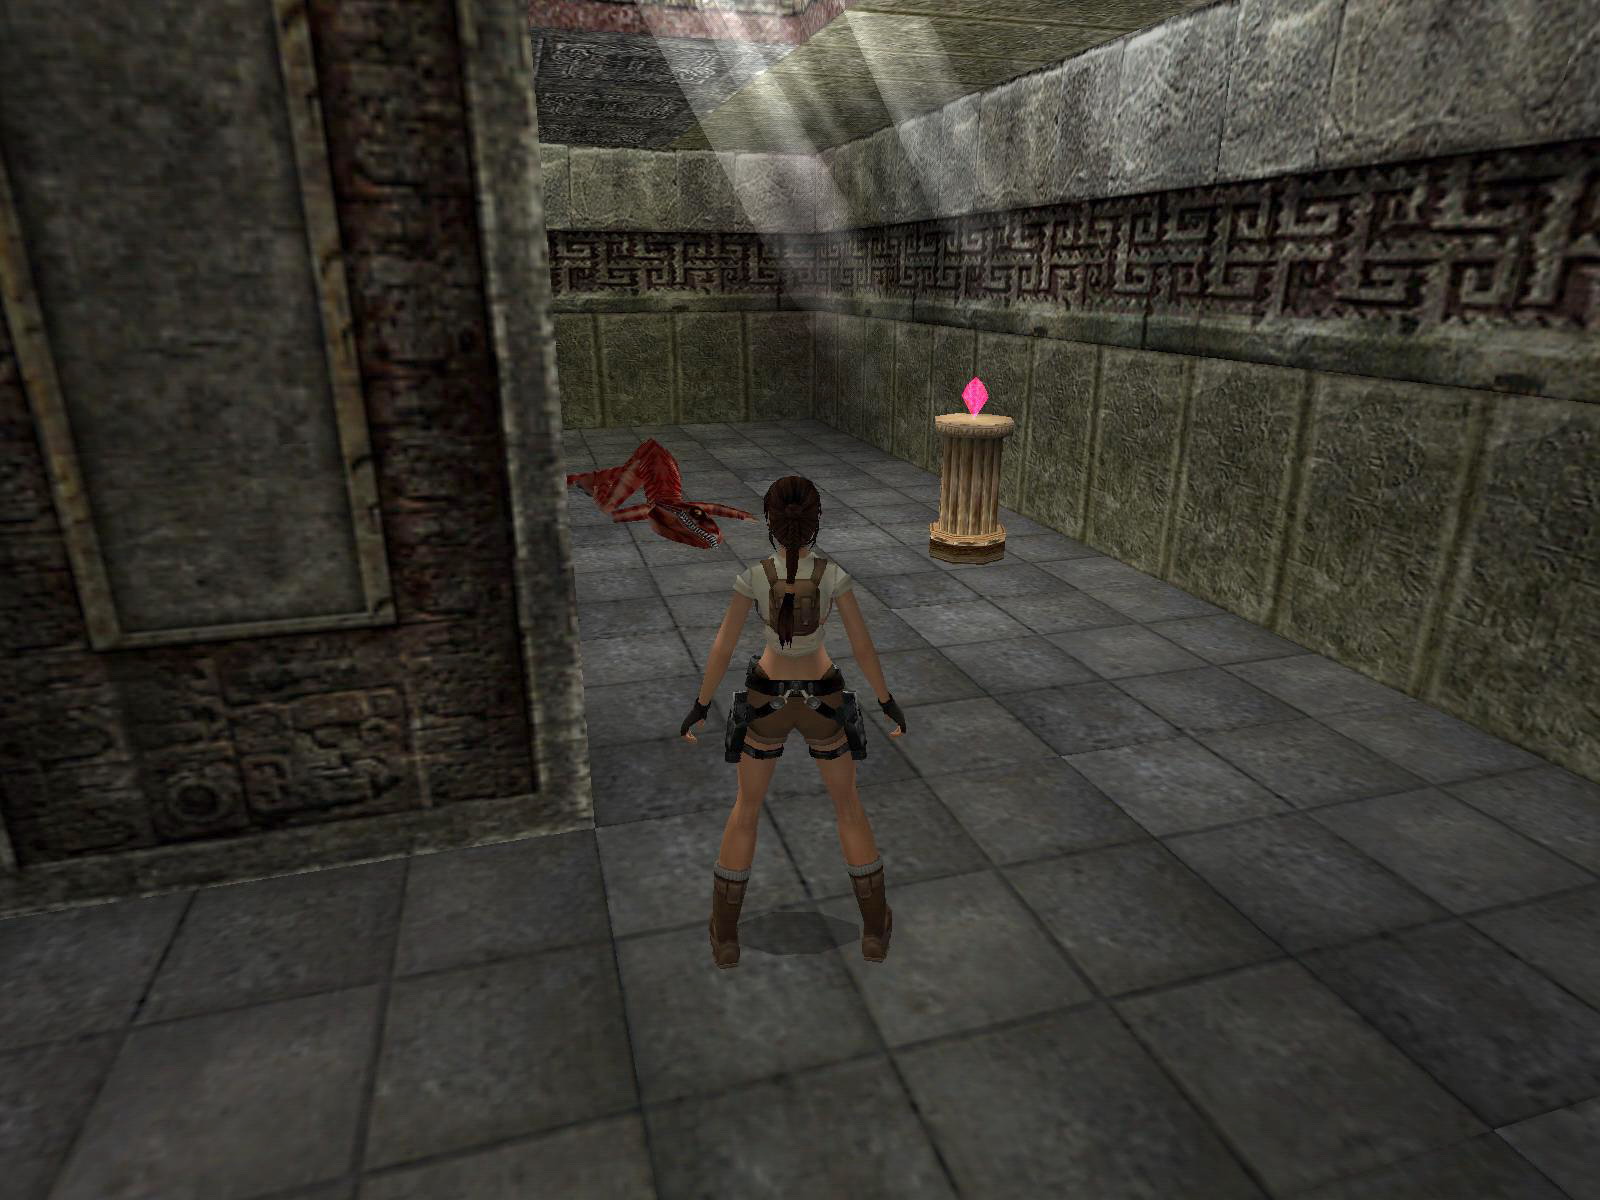
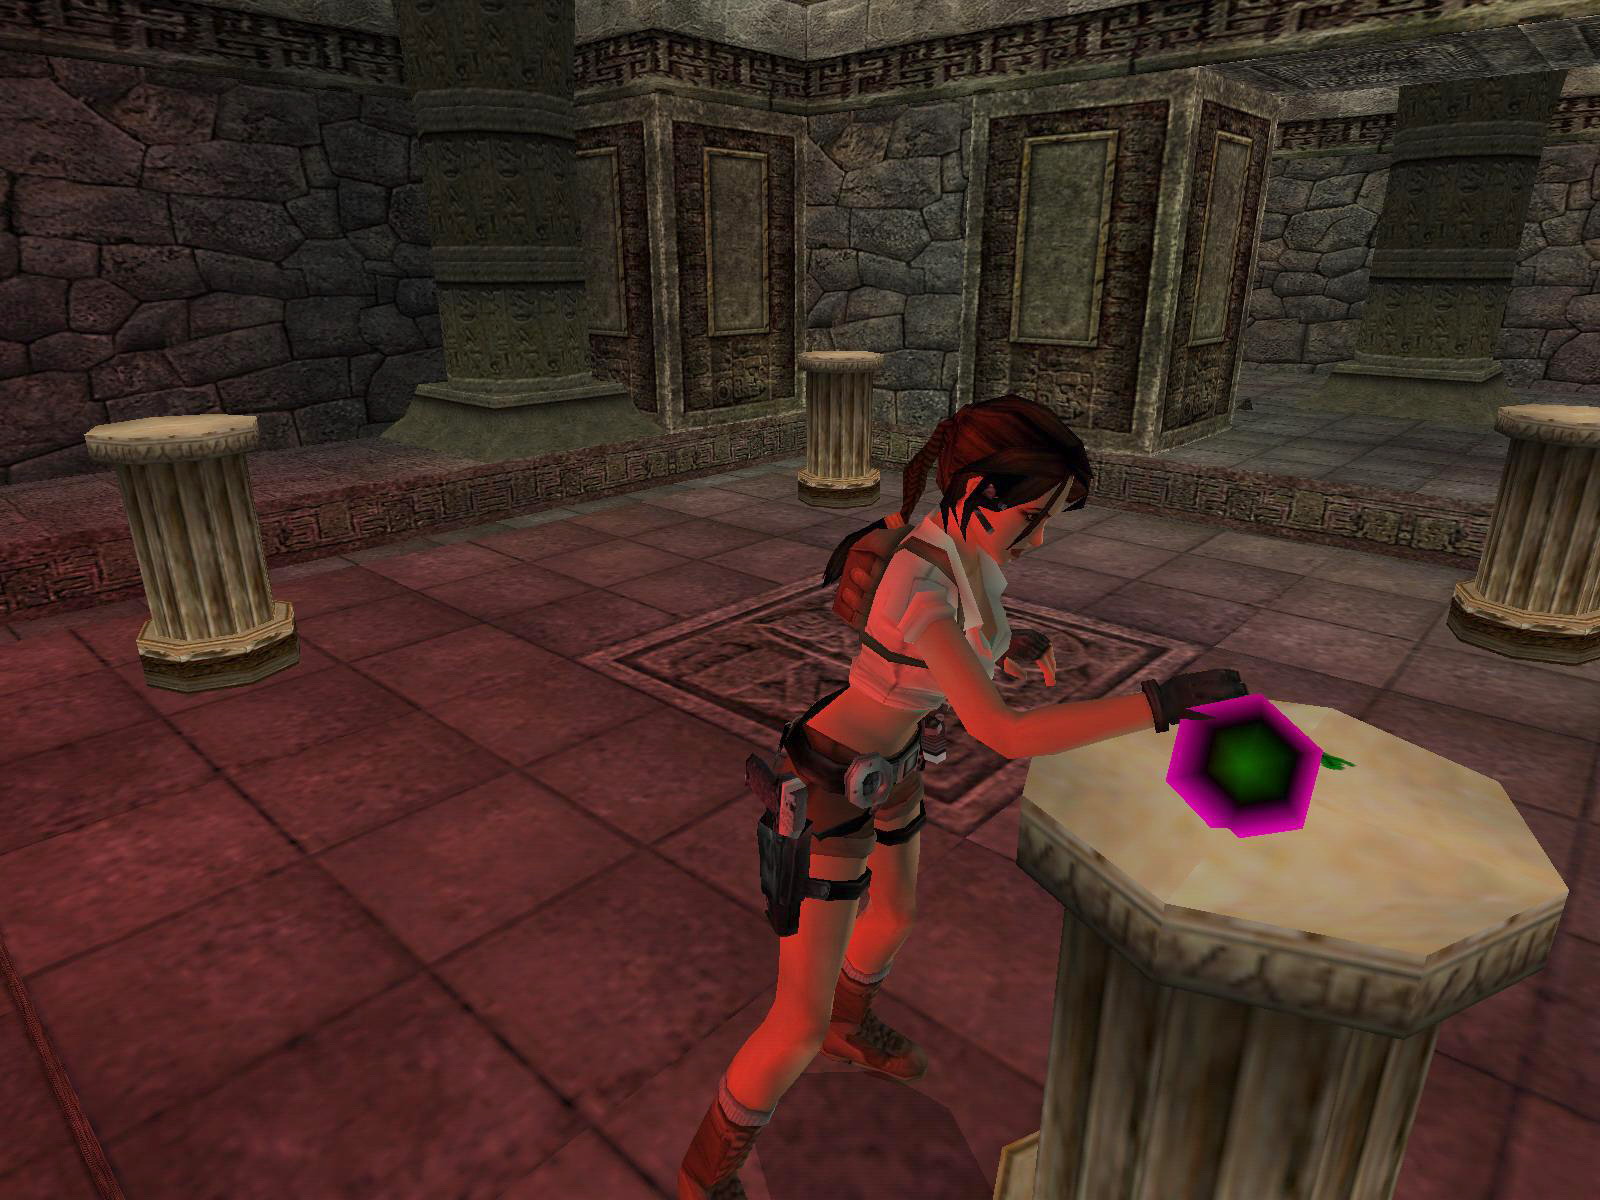
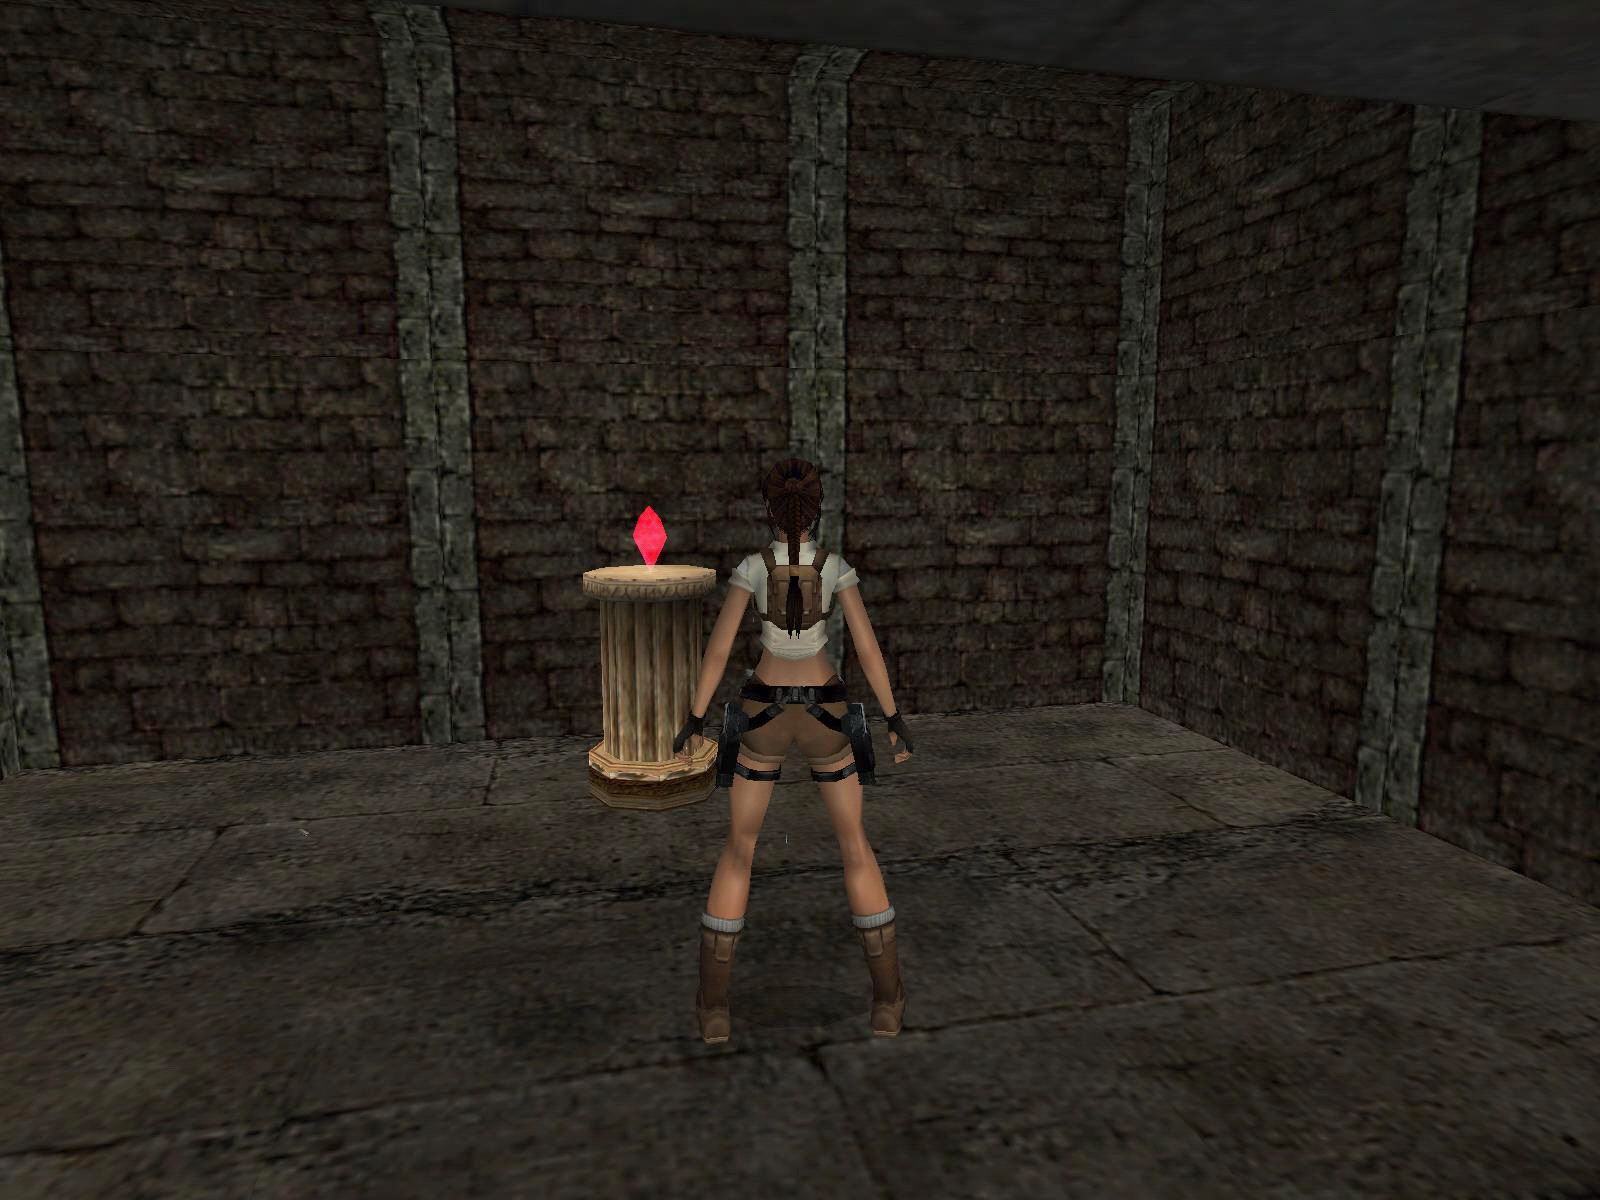
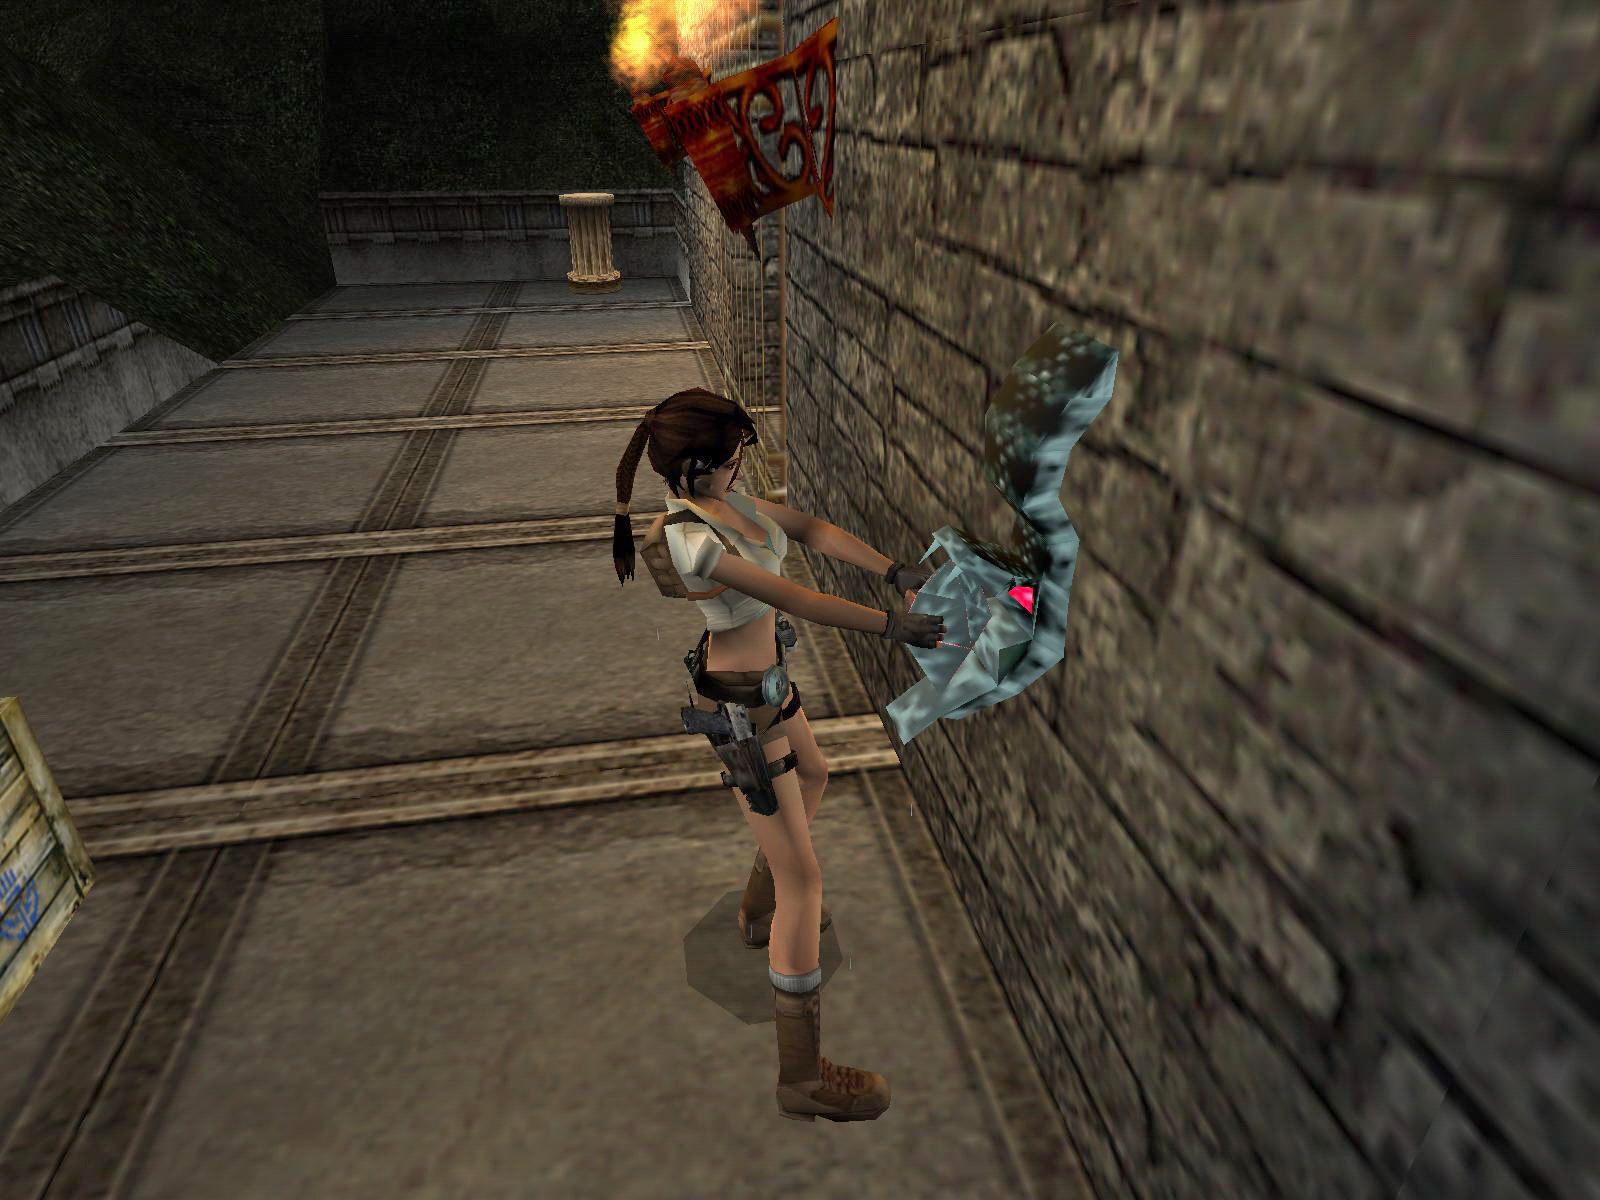
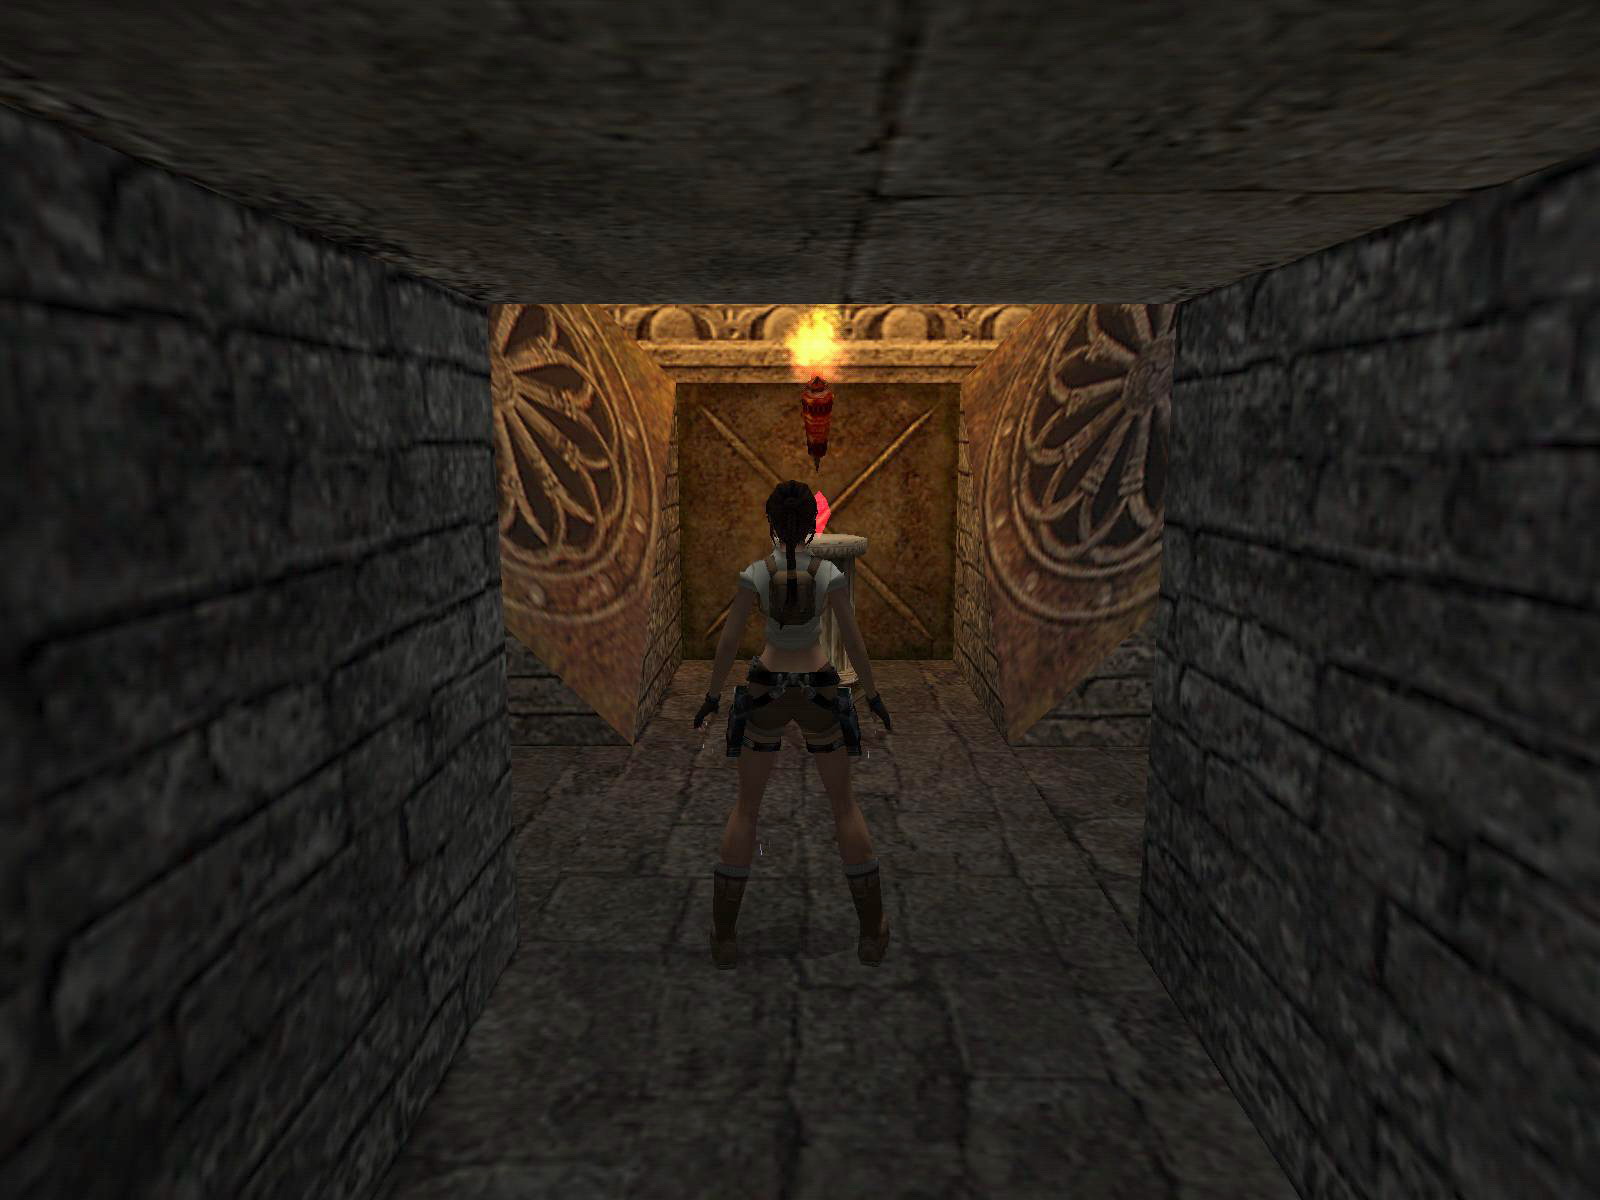
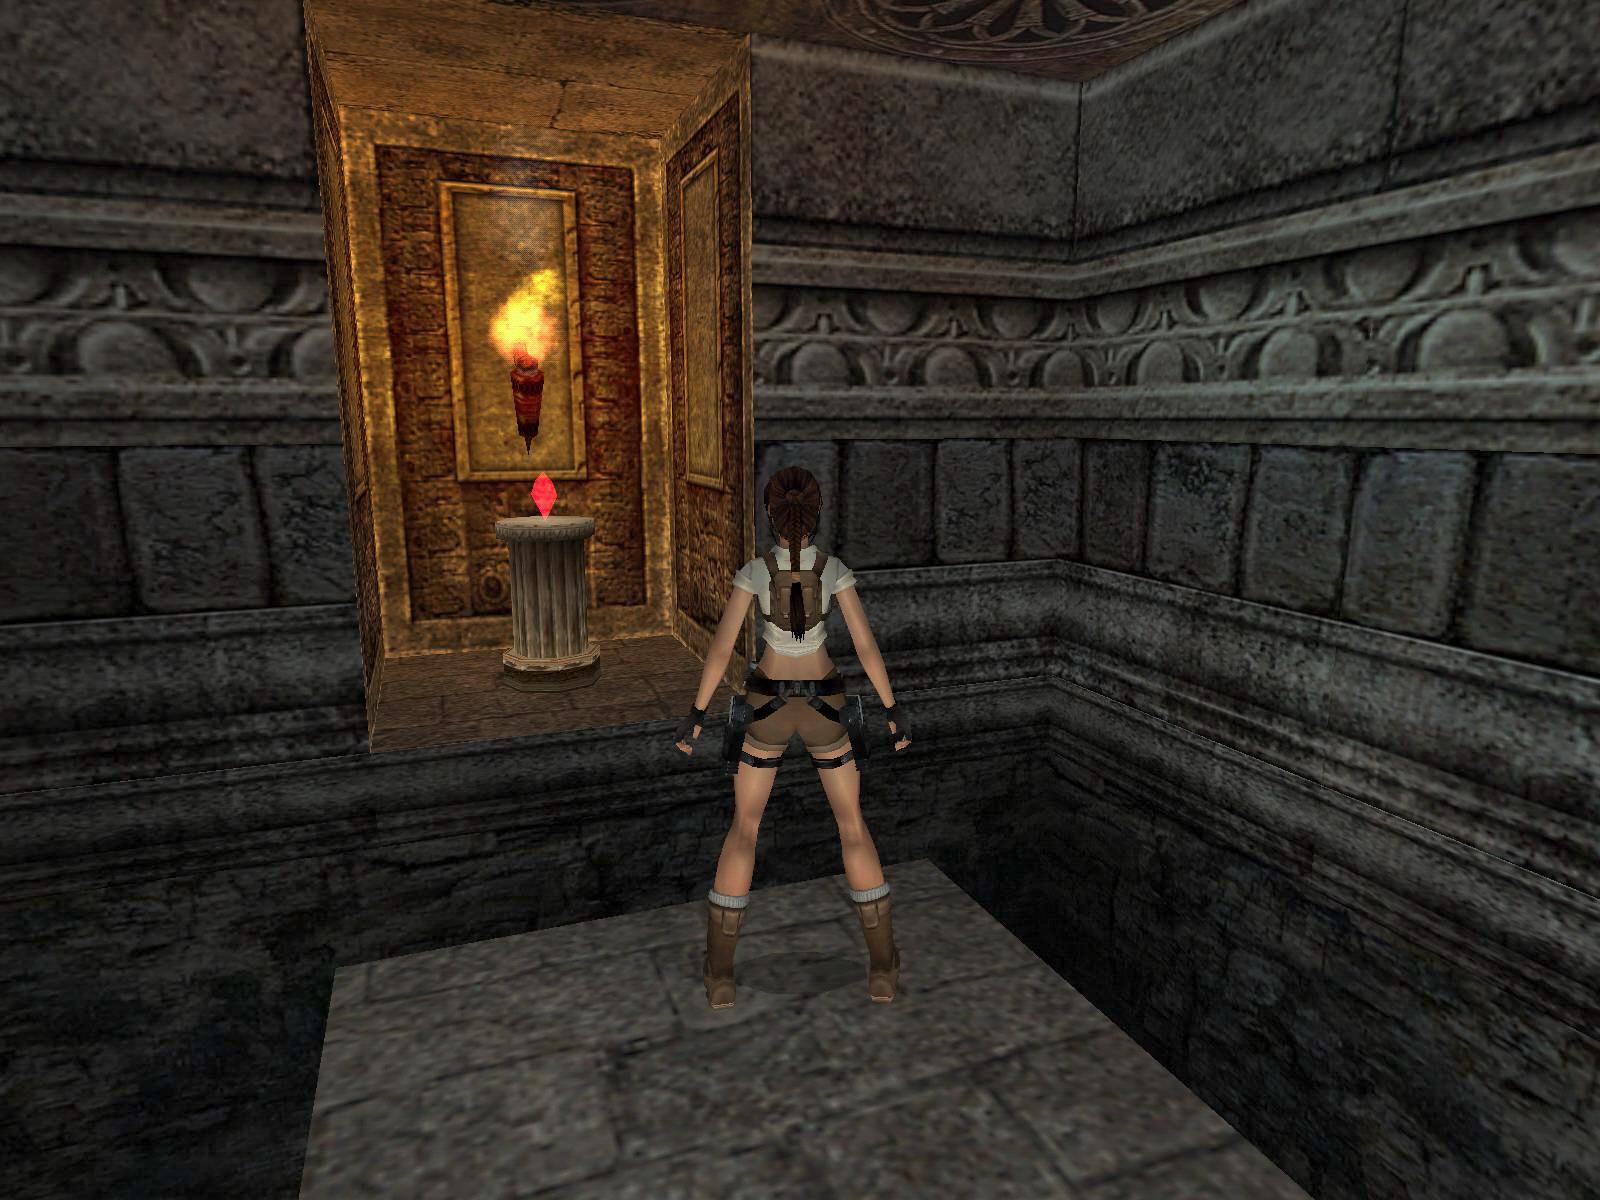
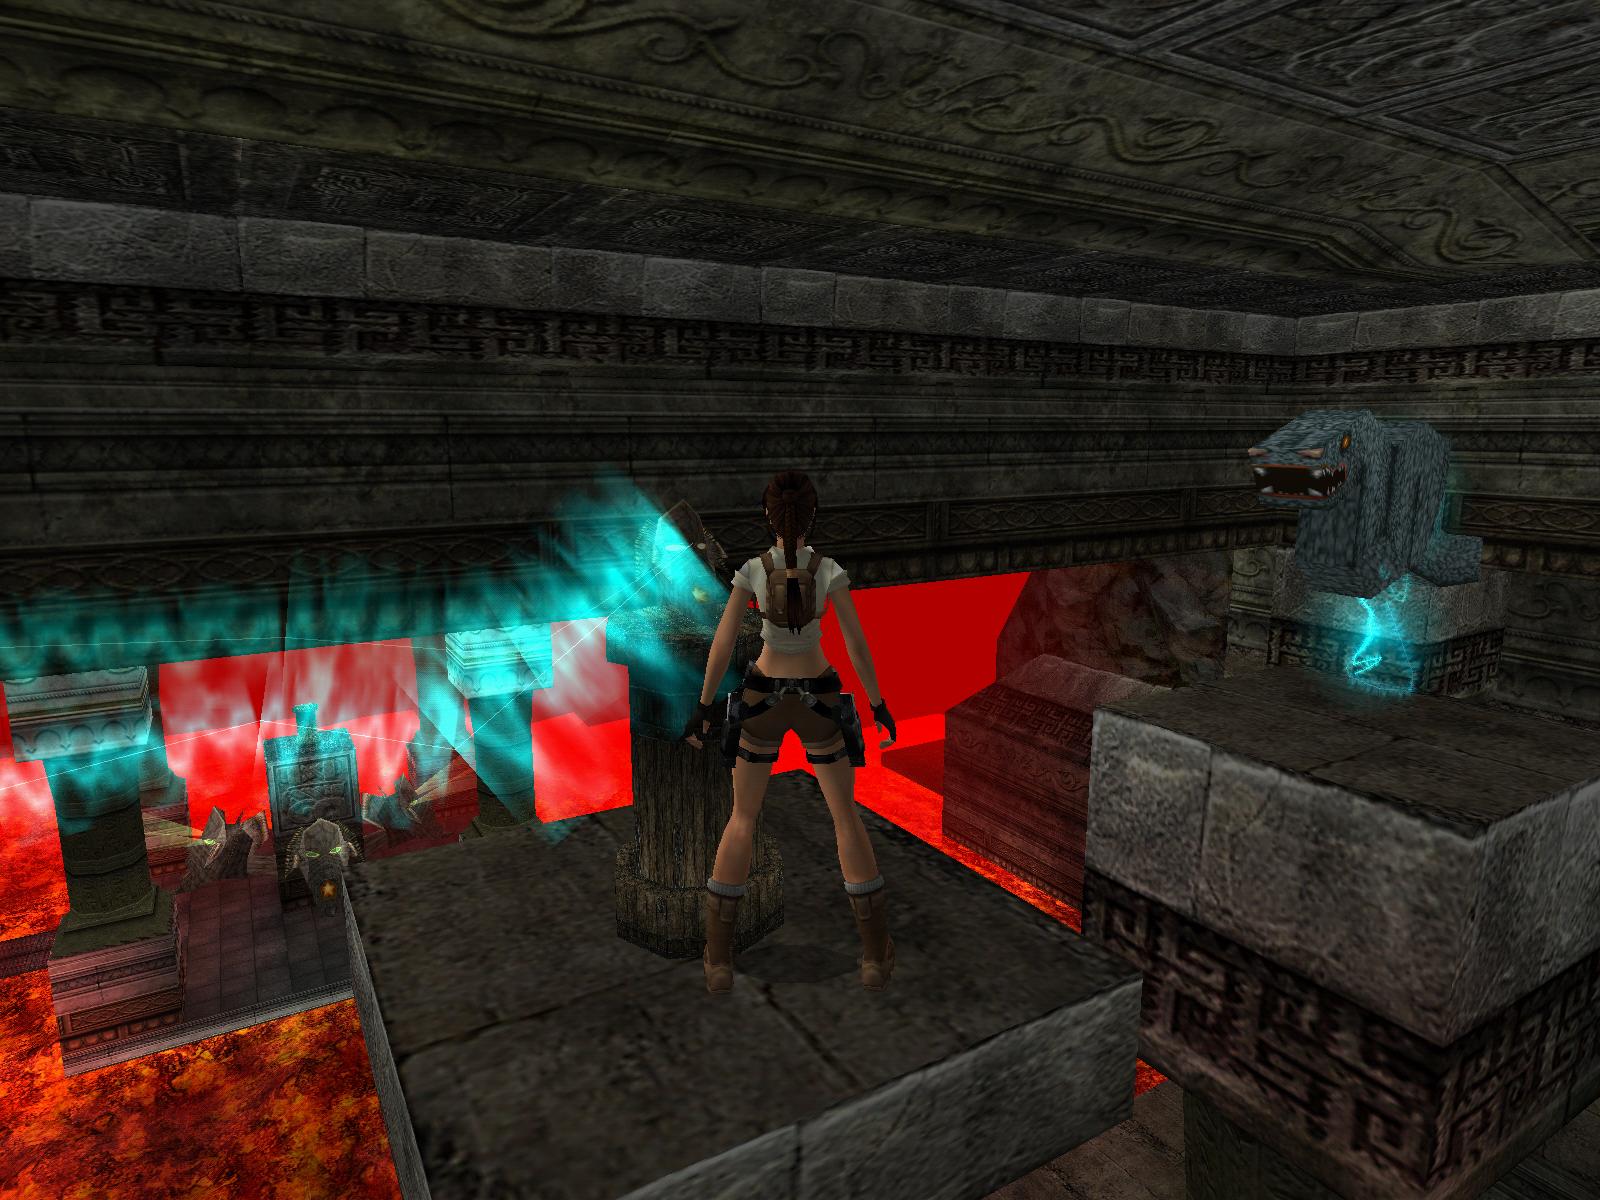
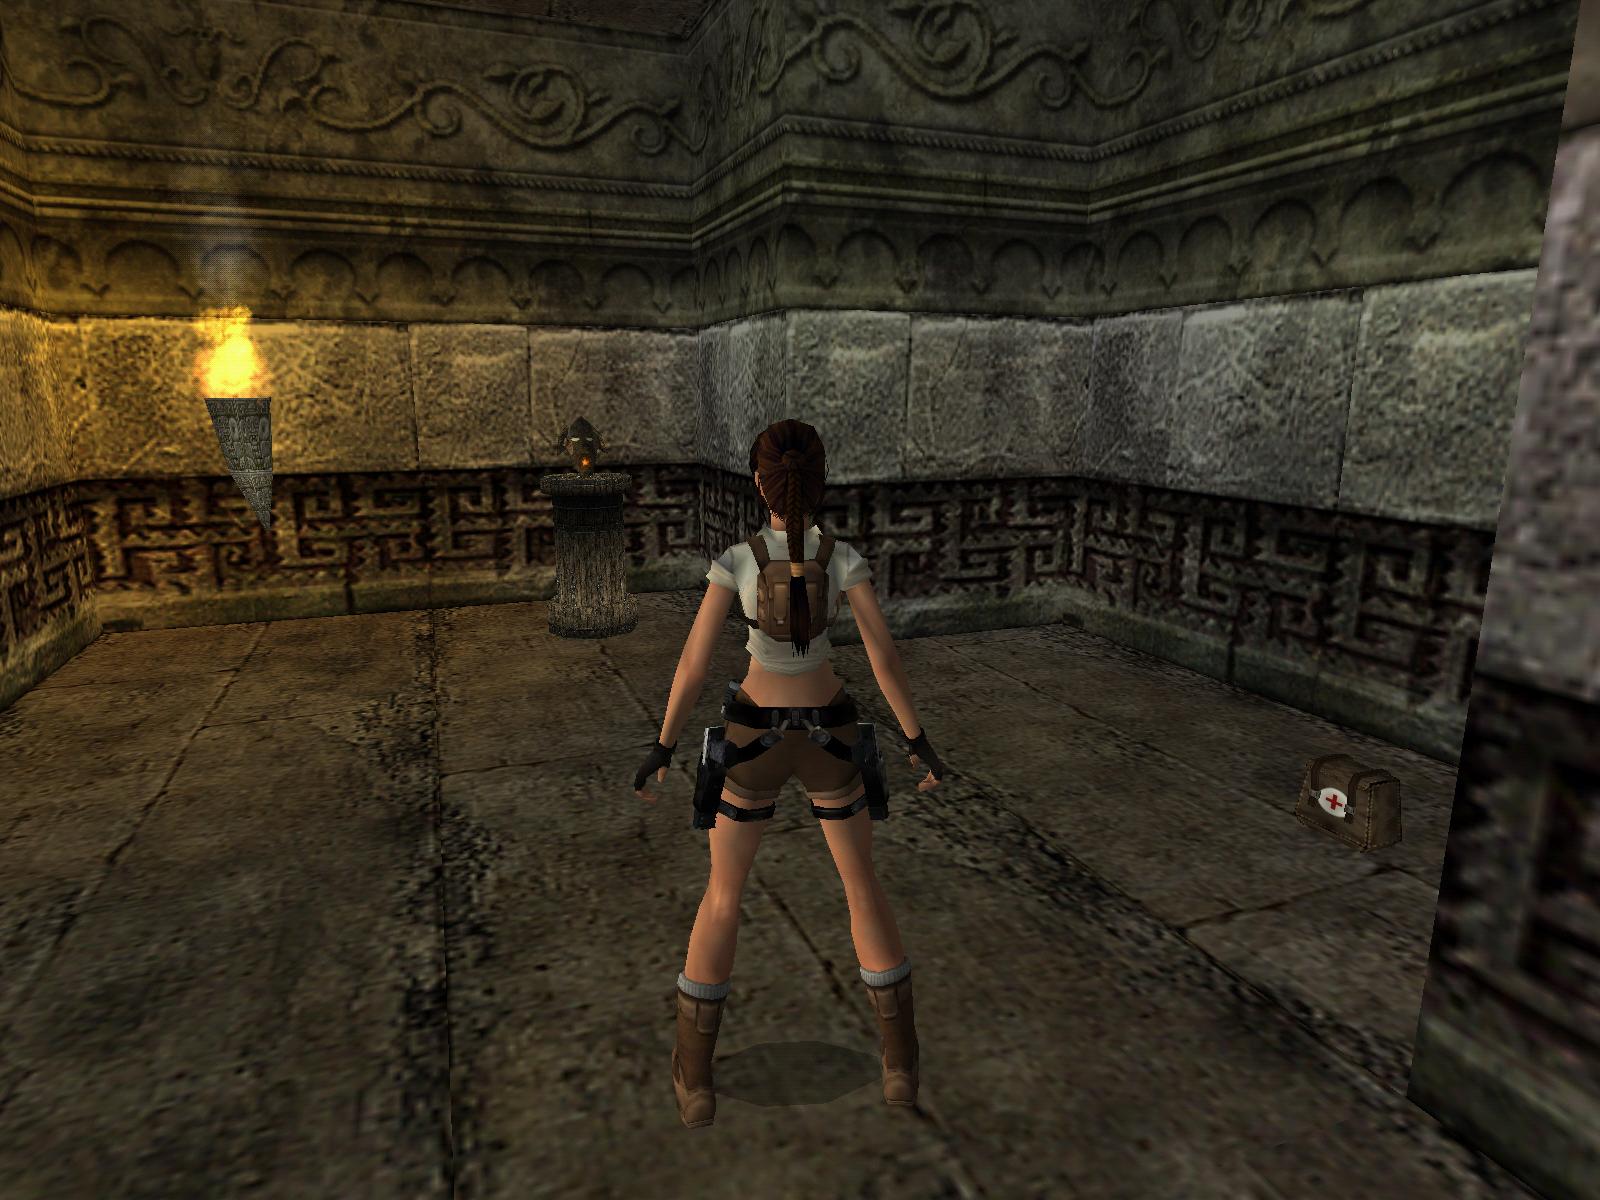
The Fire Stone.
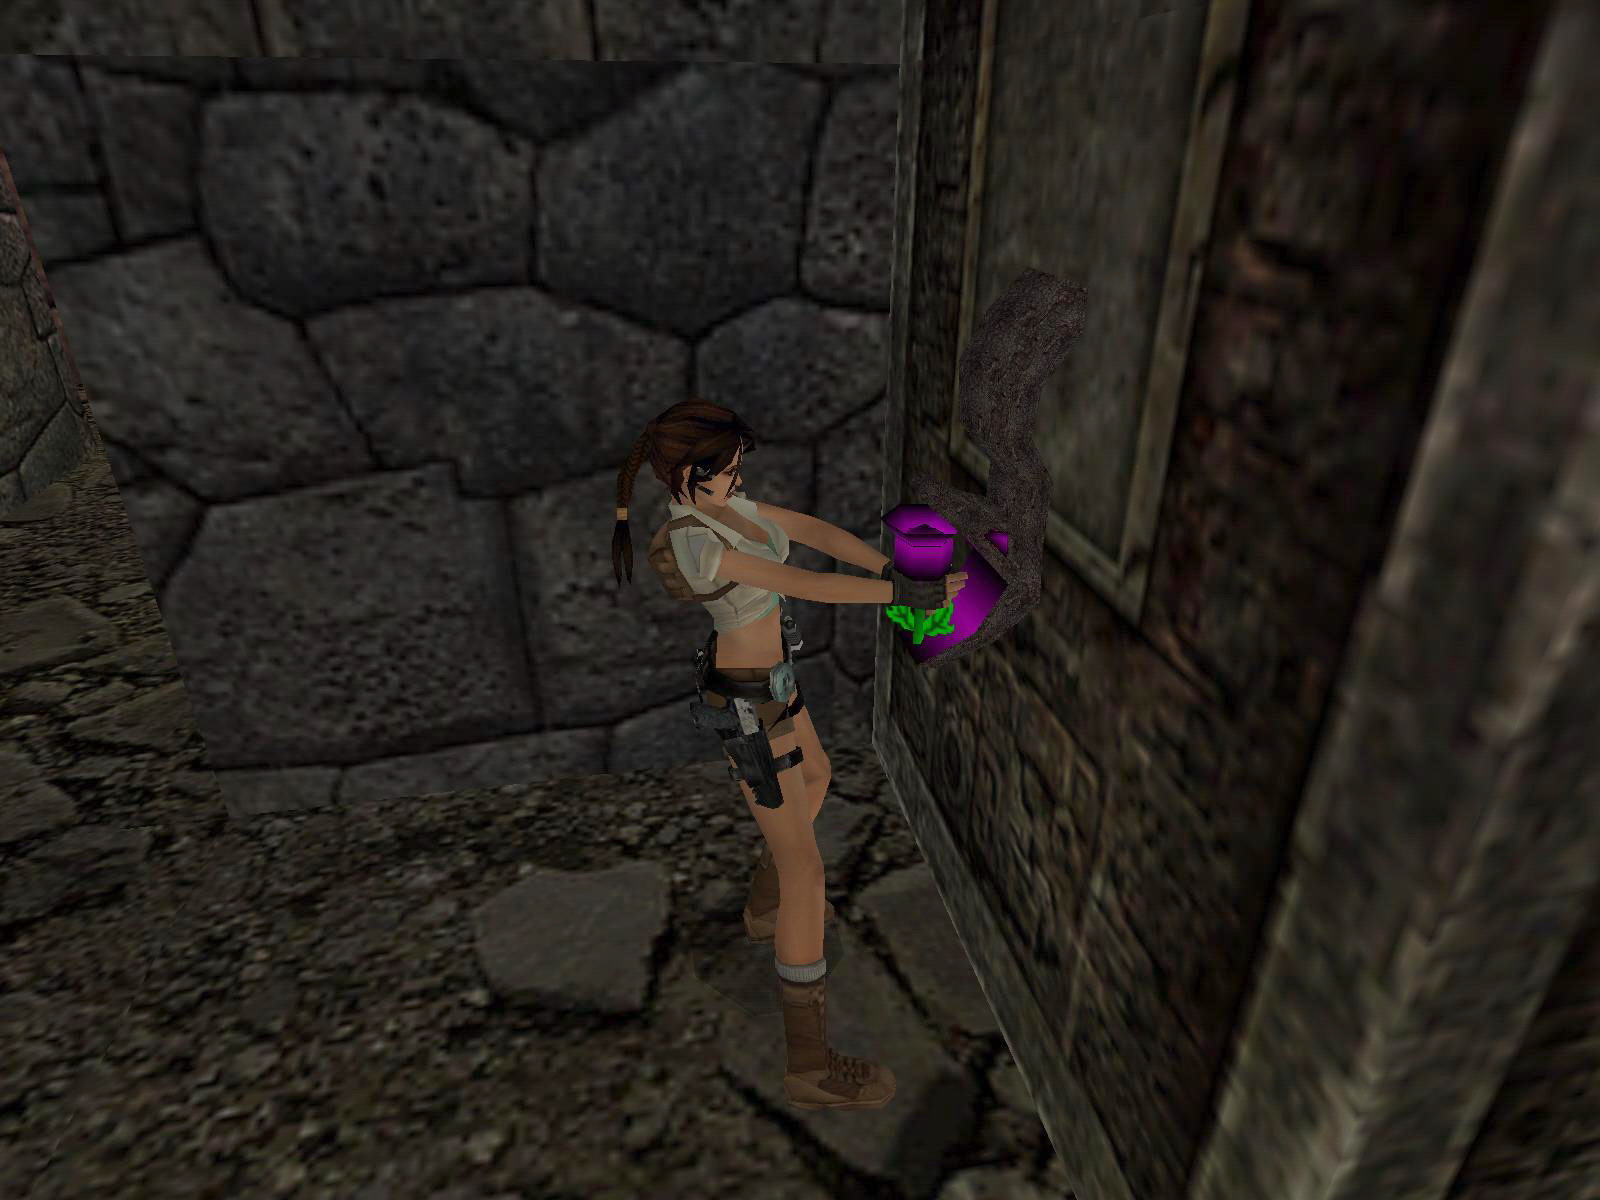
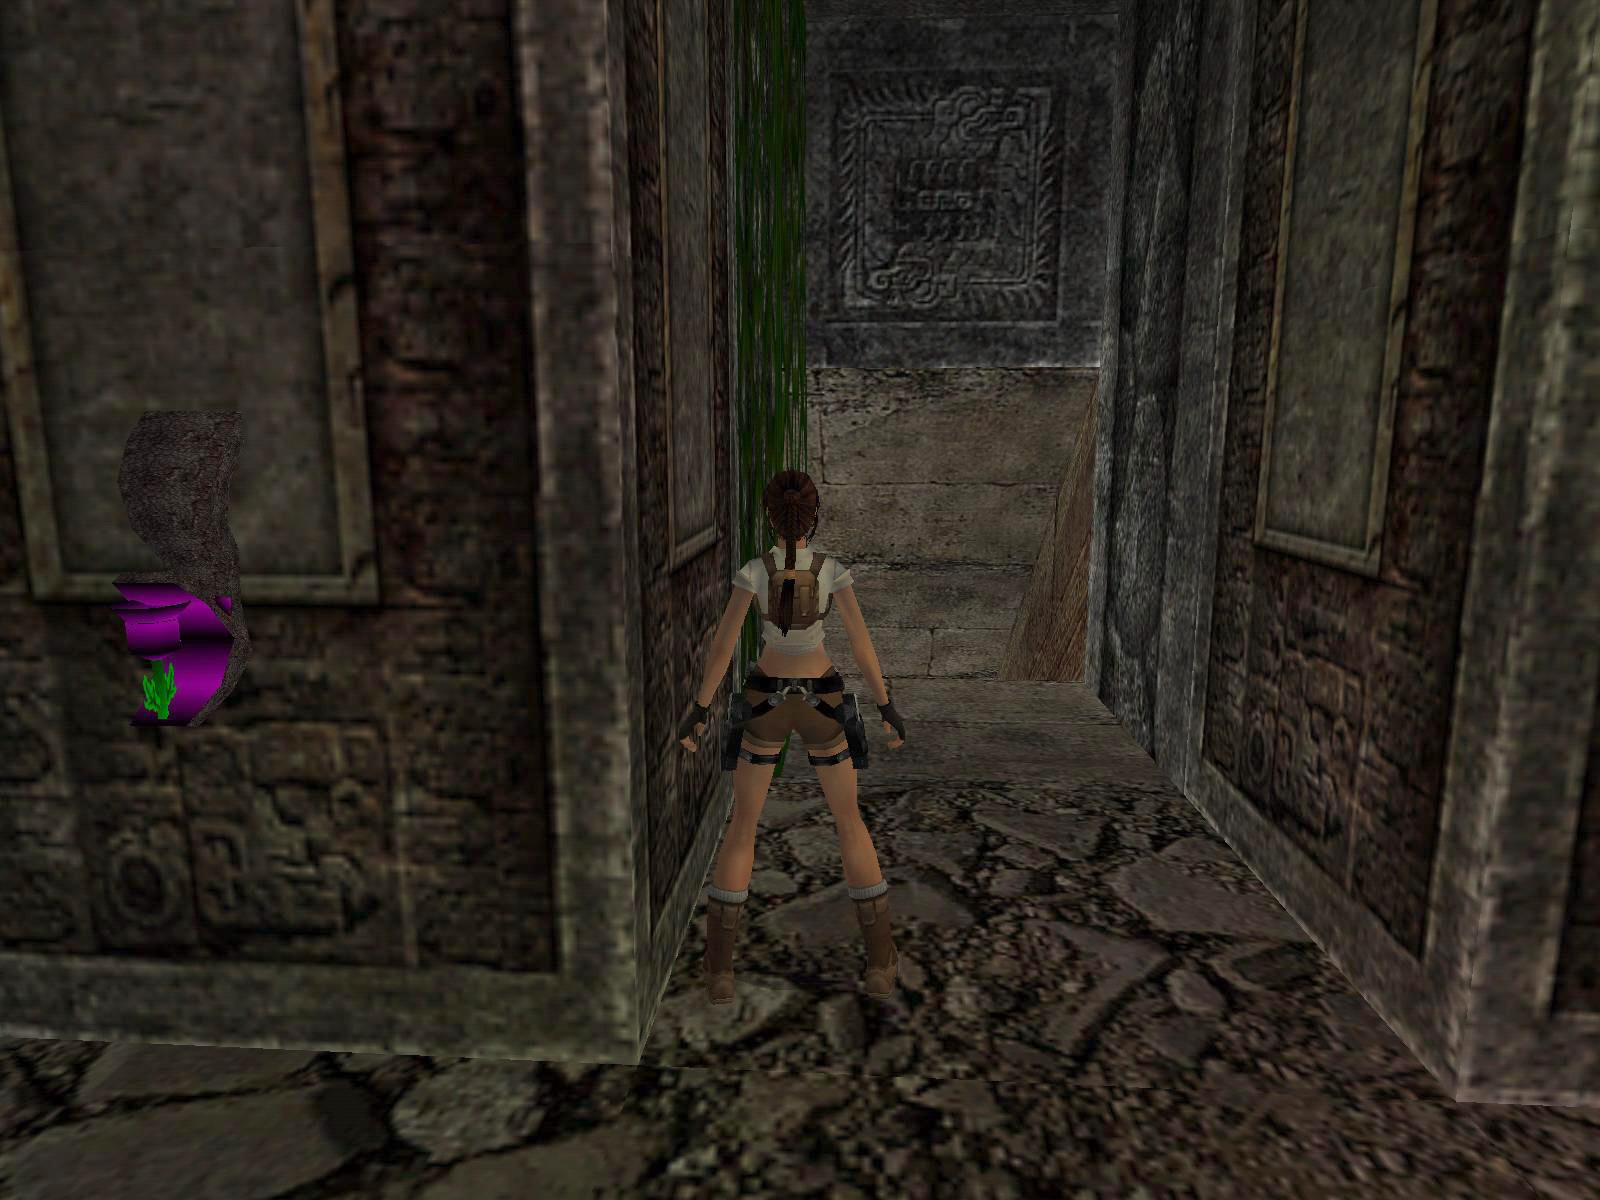
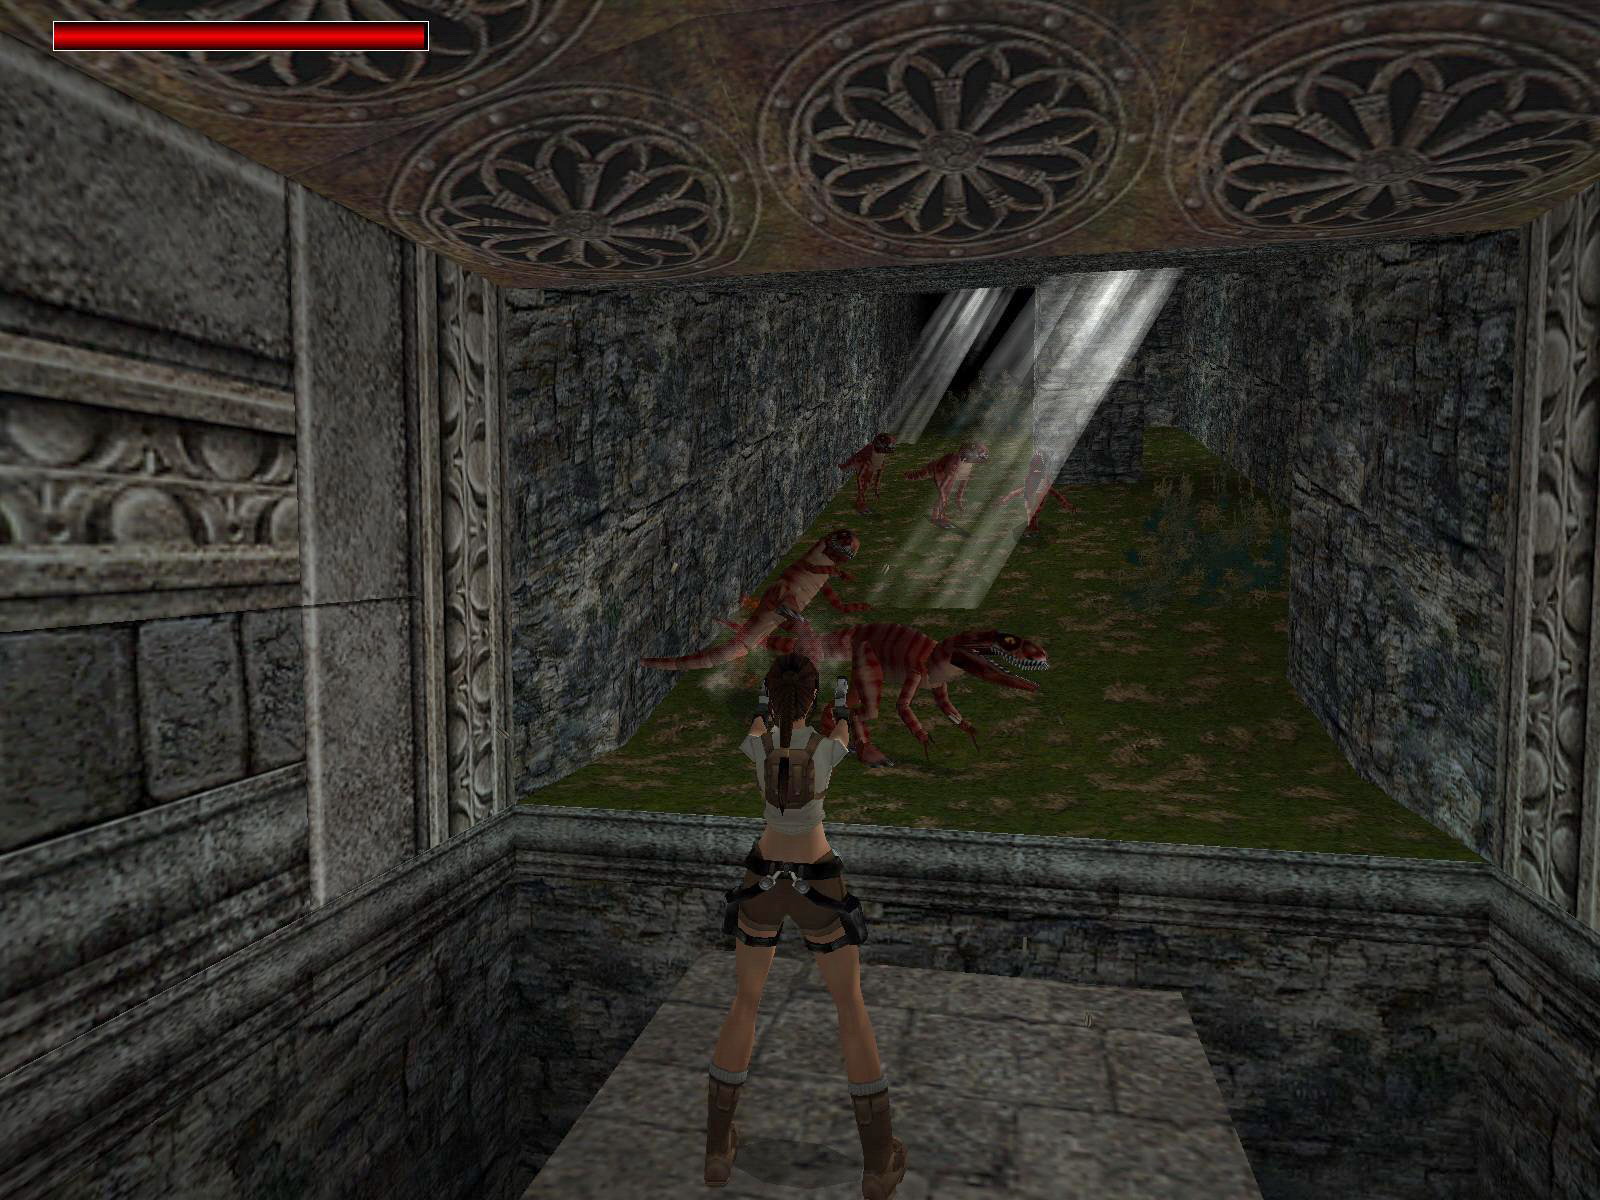
The door is in the NE of this room. Once in the room go right around the corner to pick up a small medipack there. Go to the N end and shoot the three small dinos, pick up the Fire Stone next to the dead Raptor they were feeding on. Leave and go back to the Main Room, left around the corner and use the Gem at the E gate.
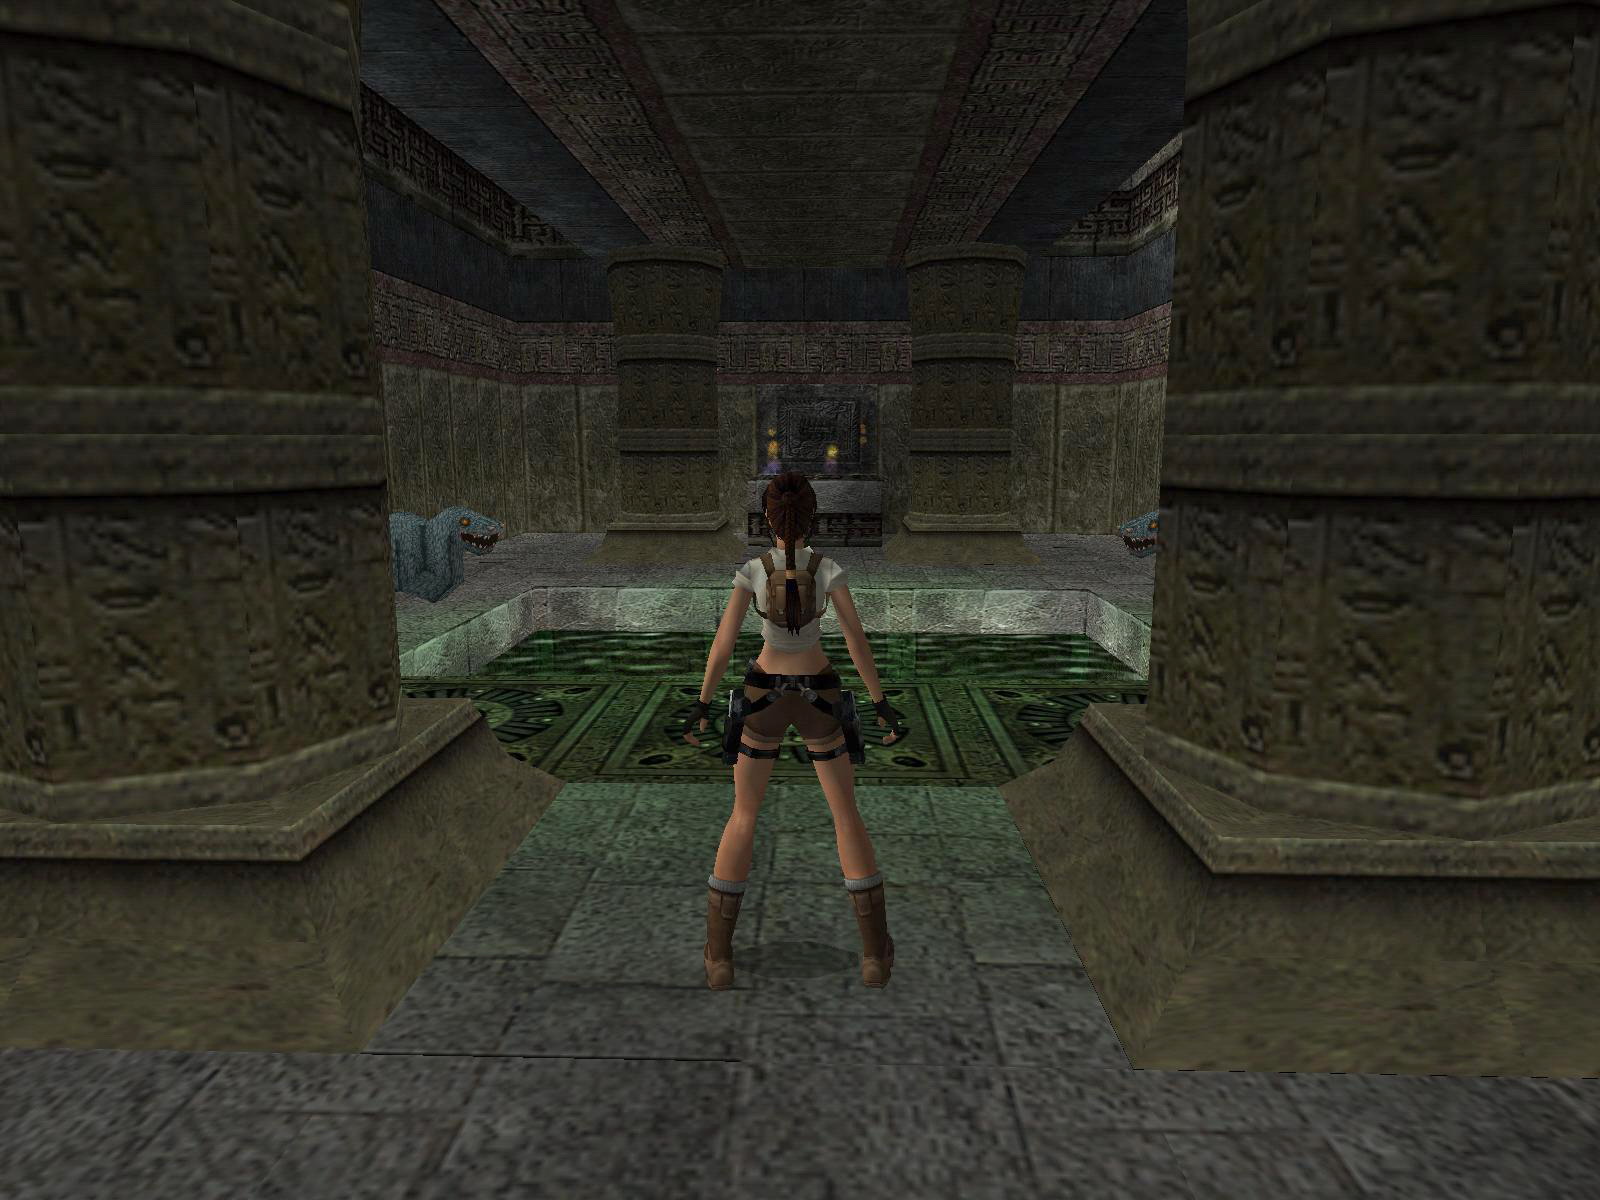
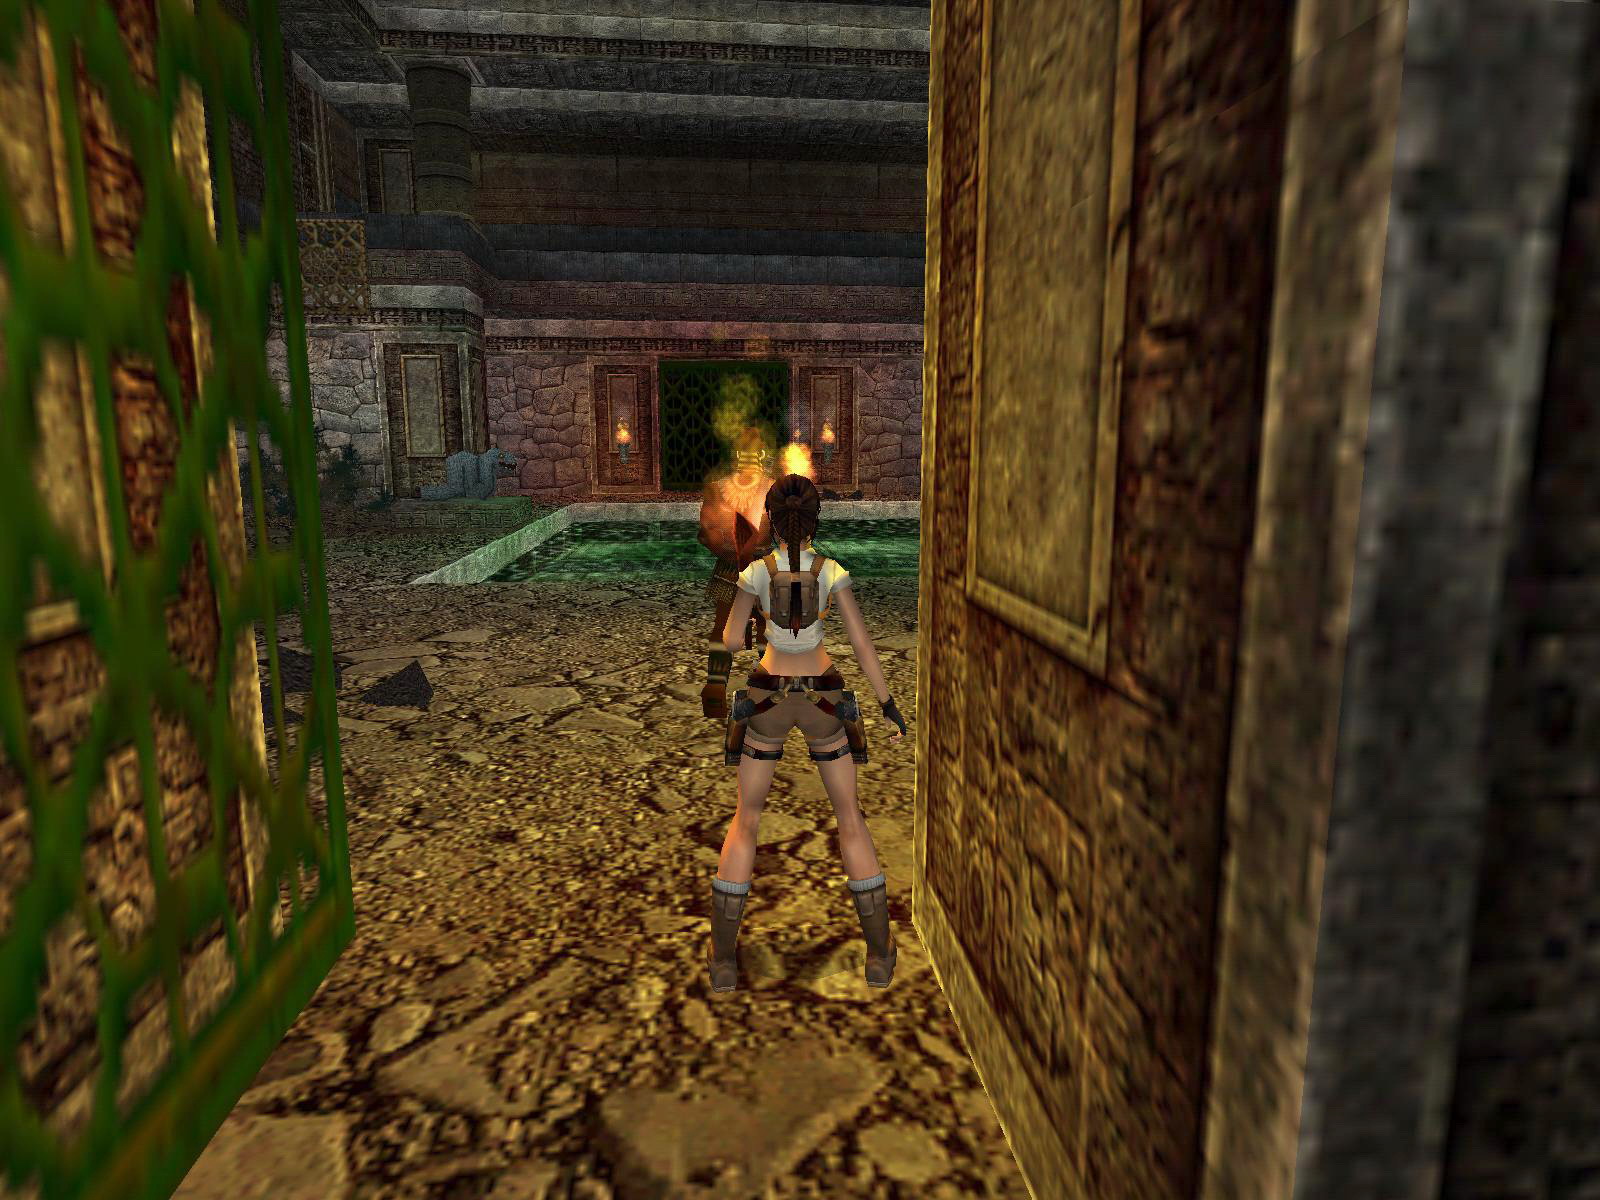
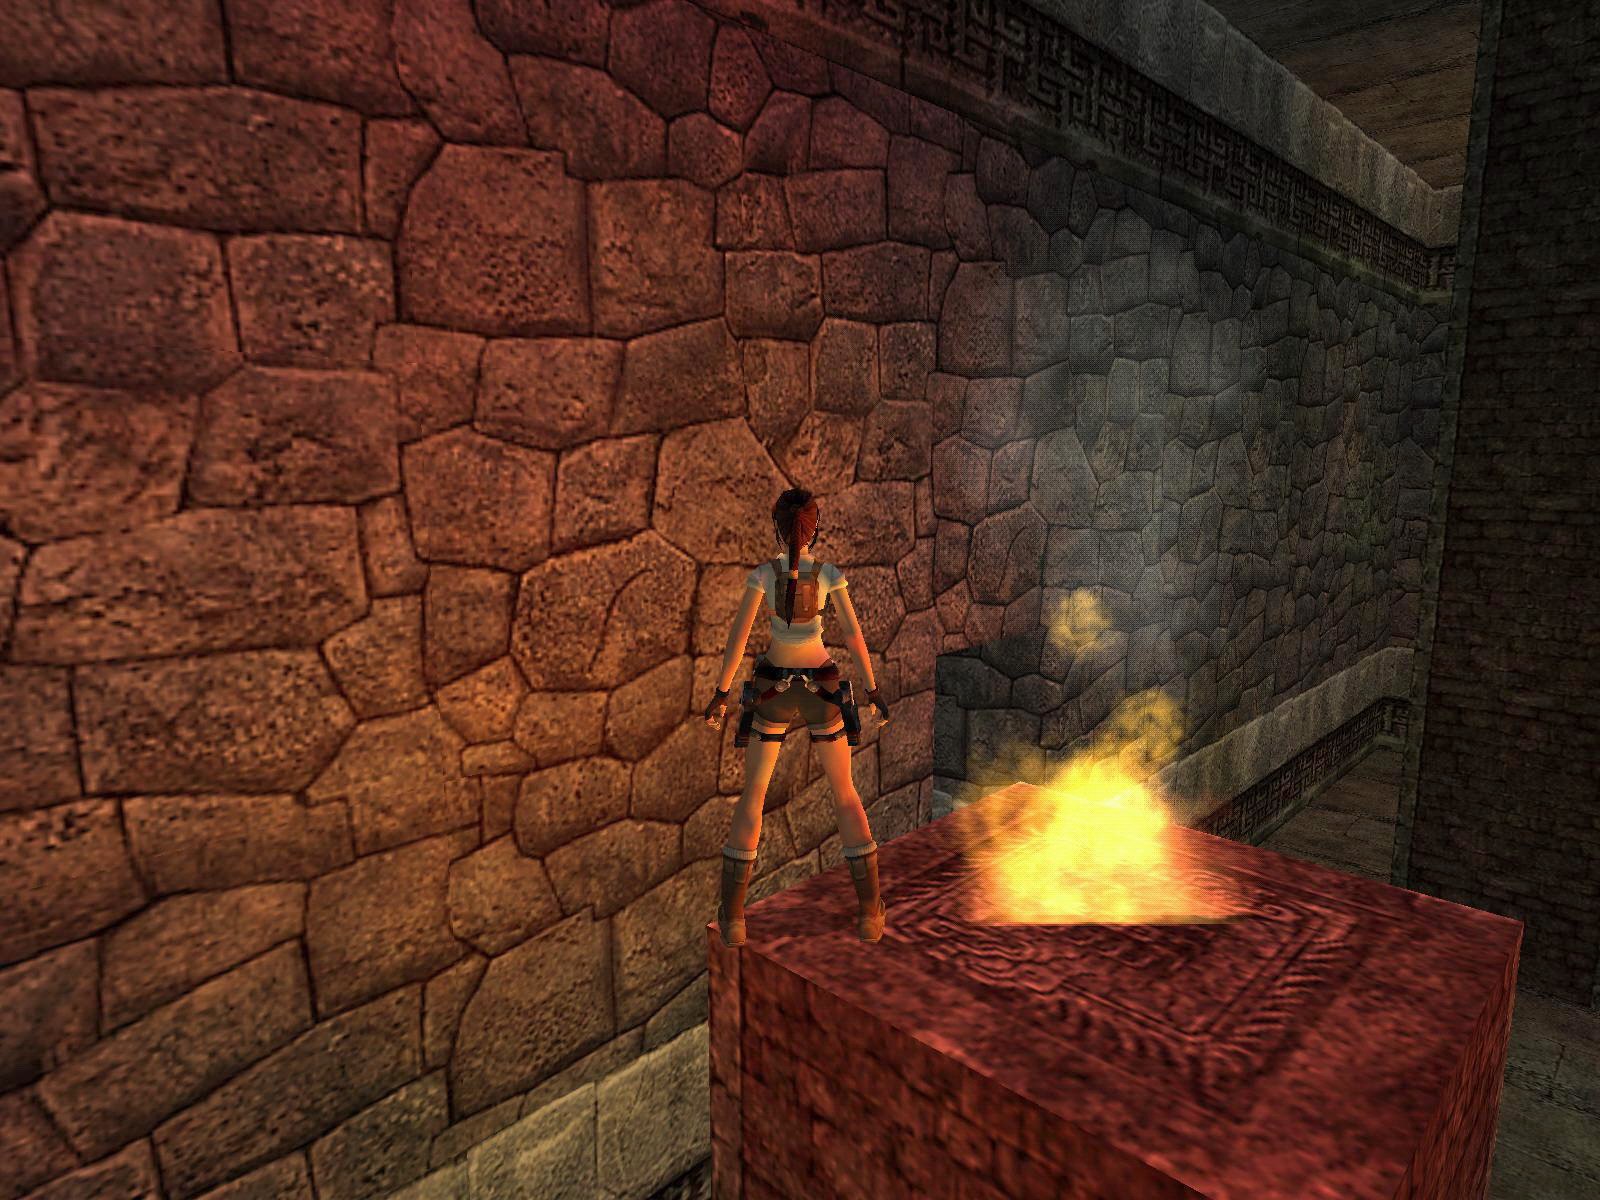
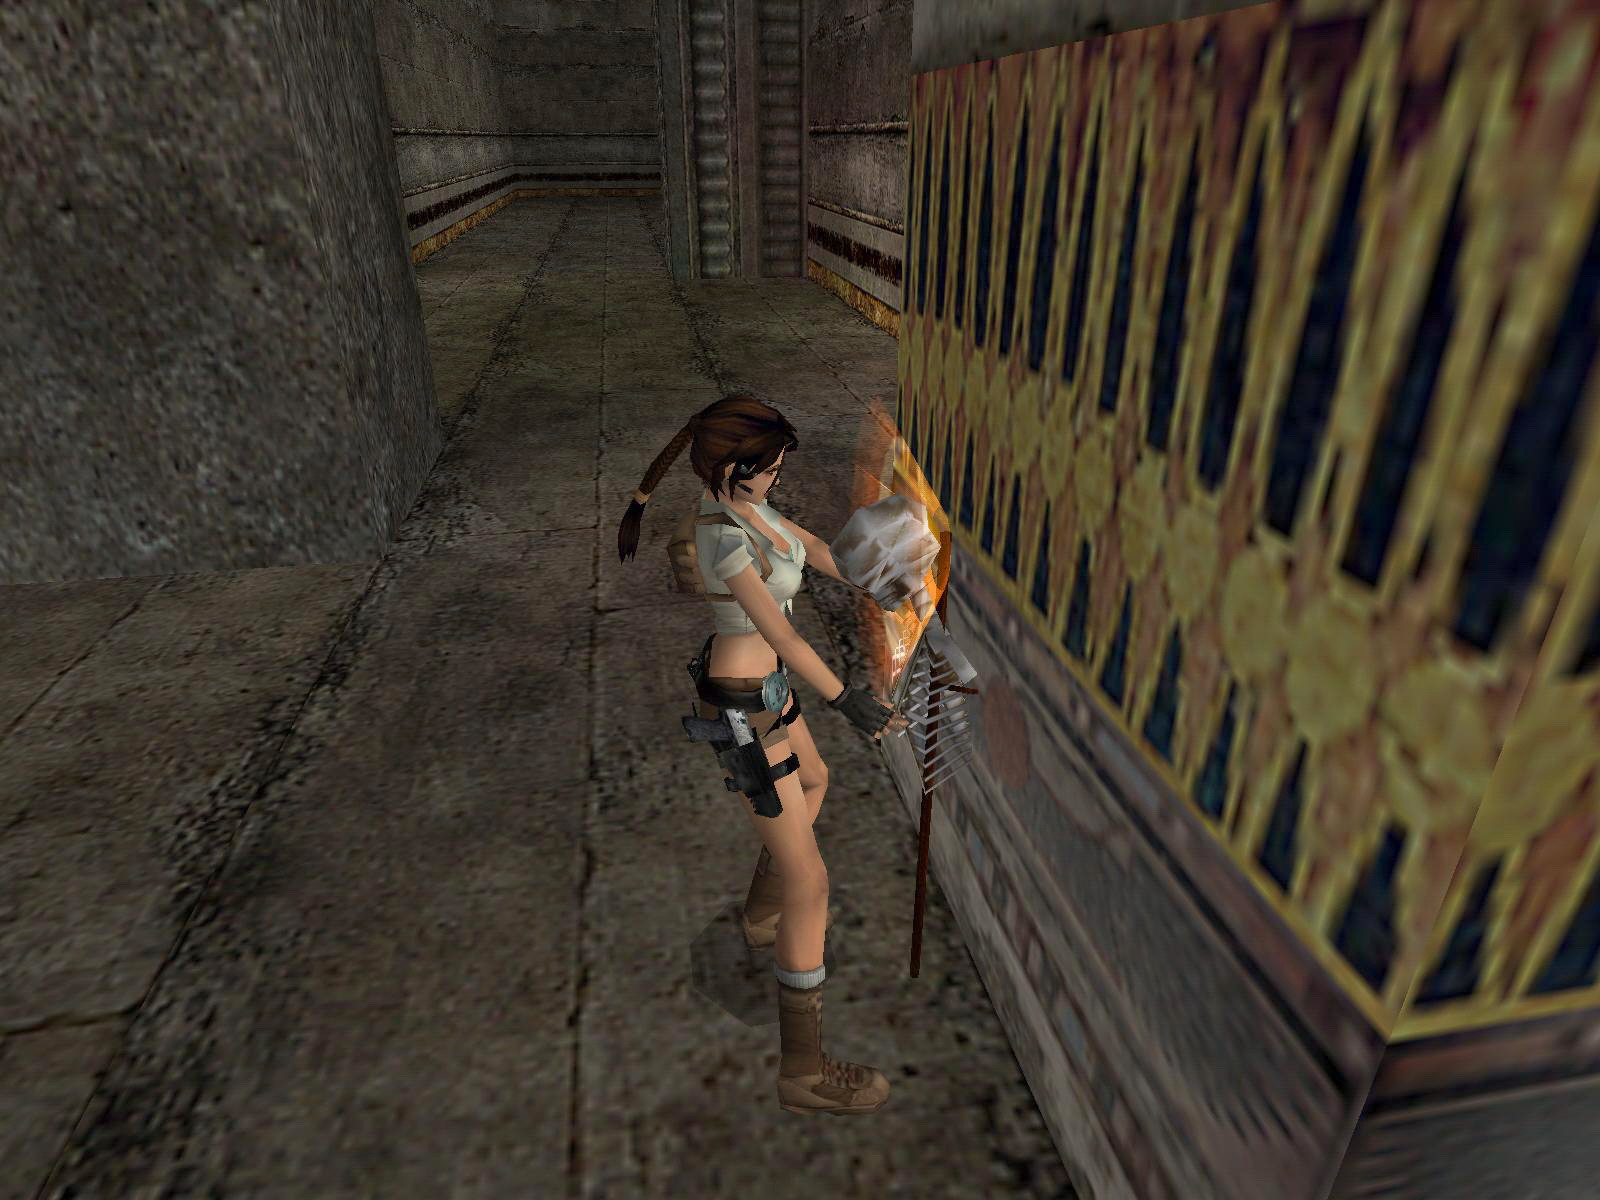
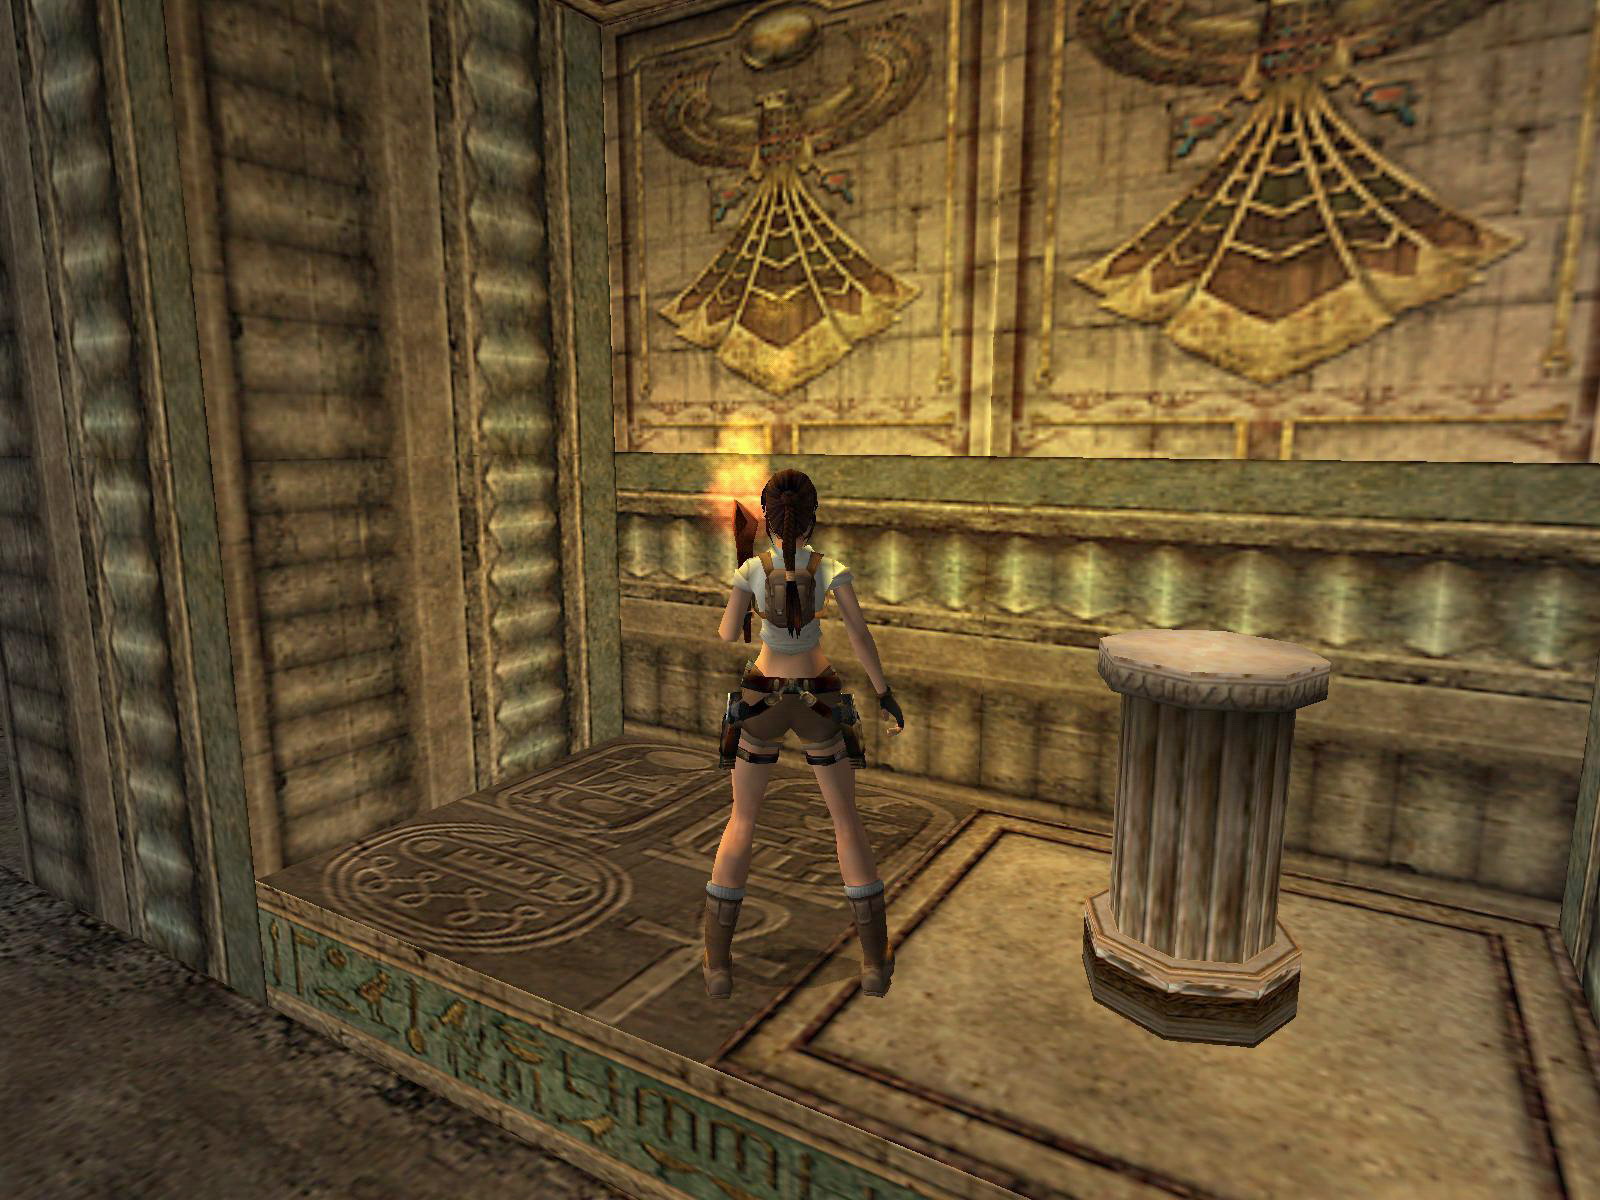
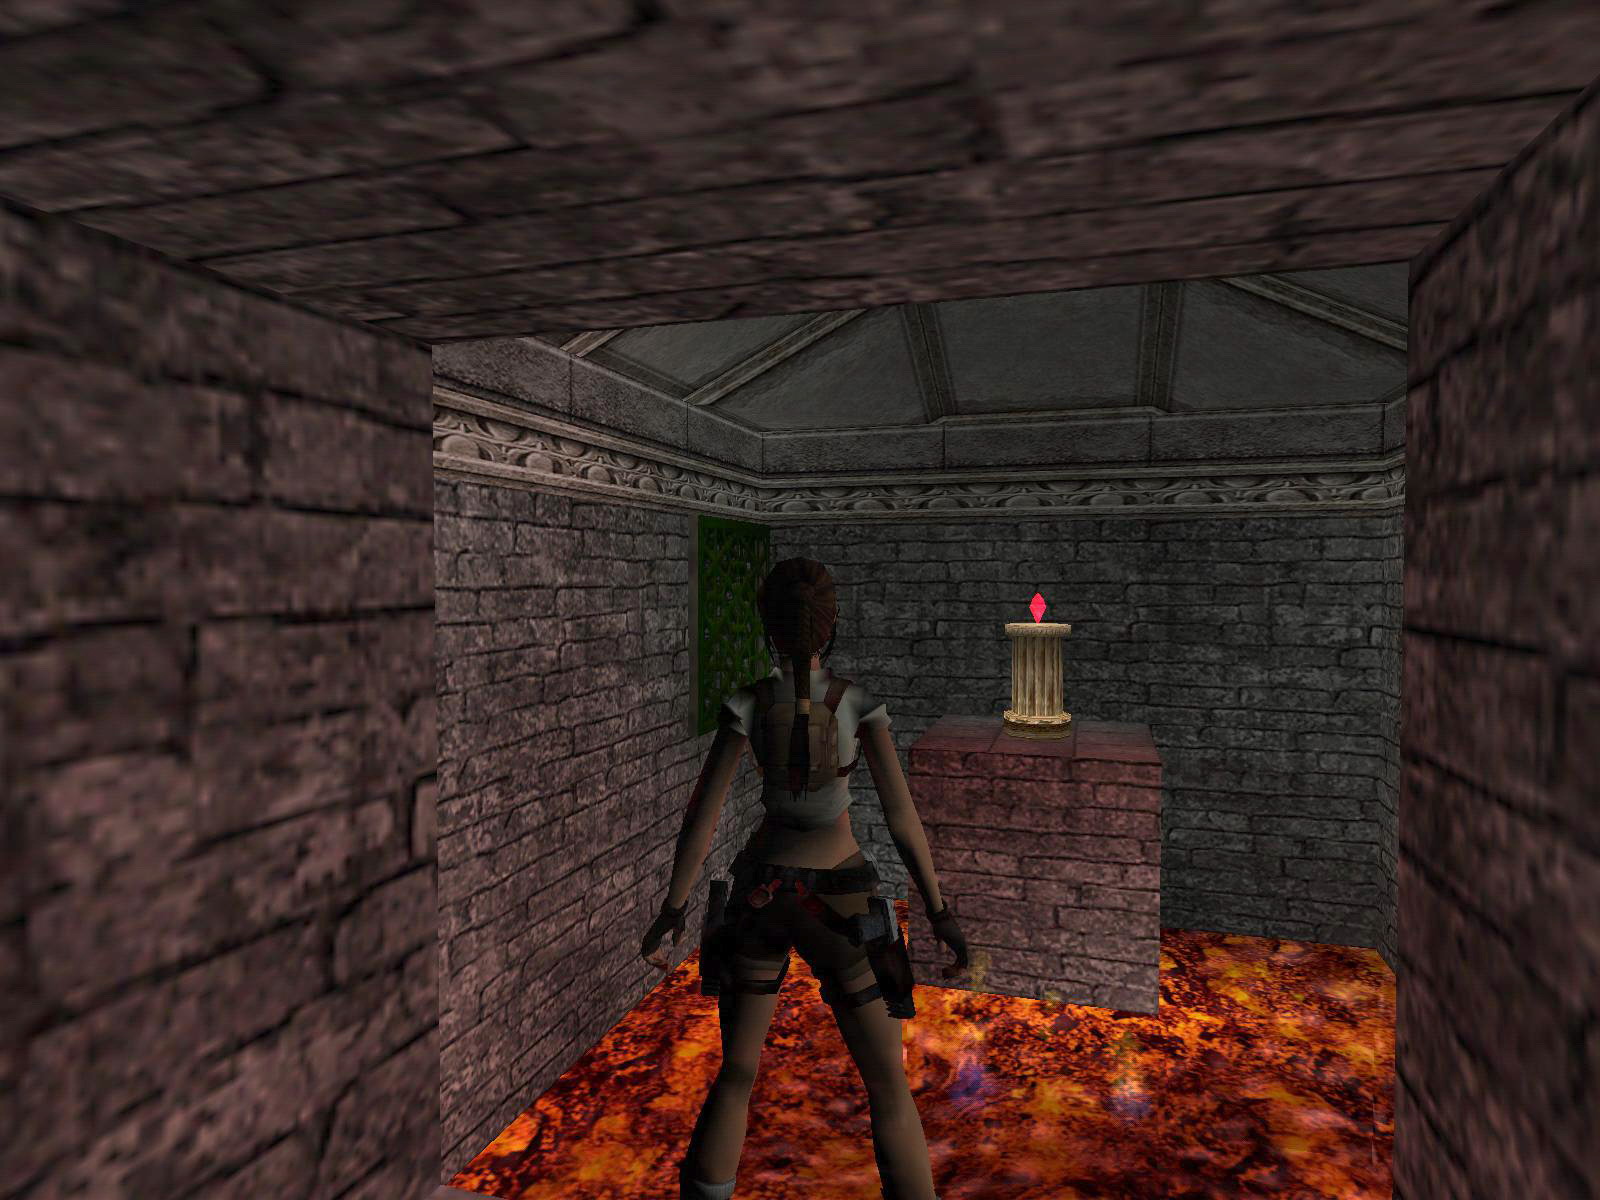
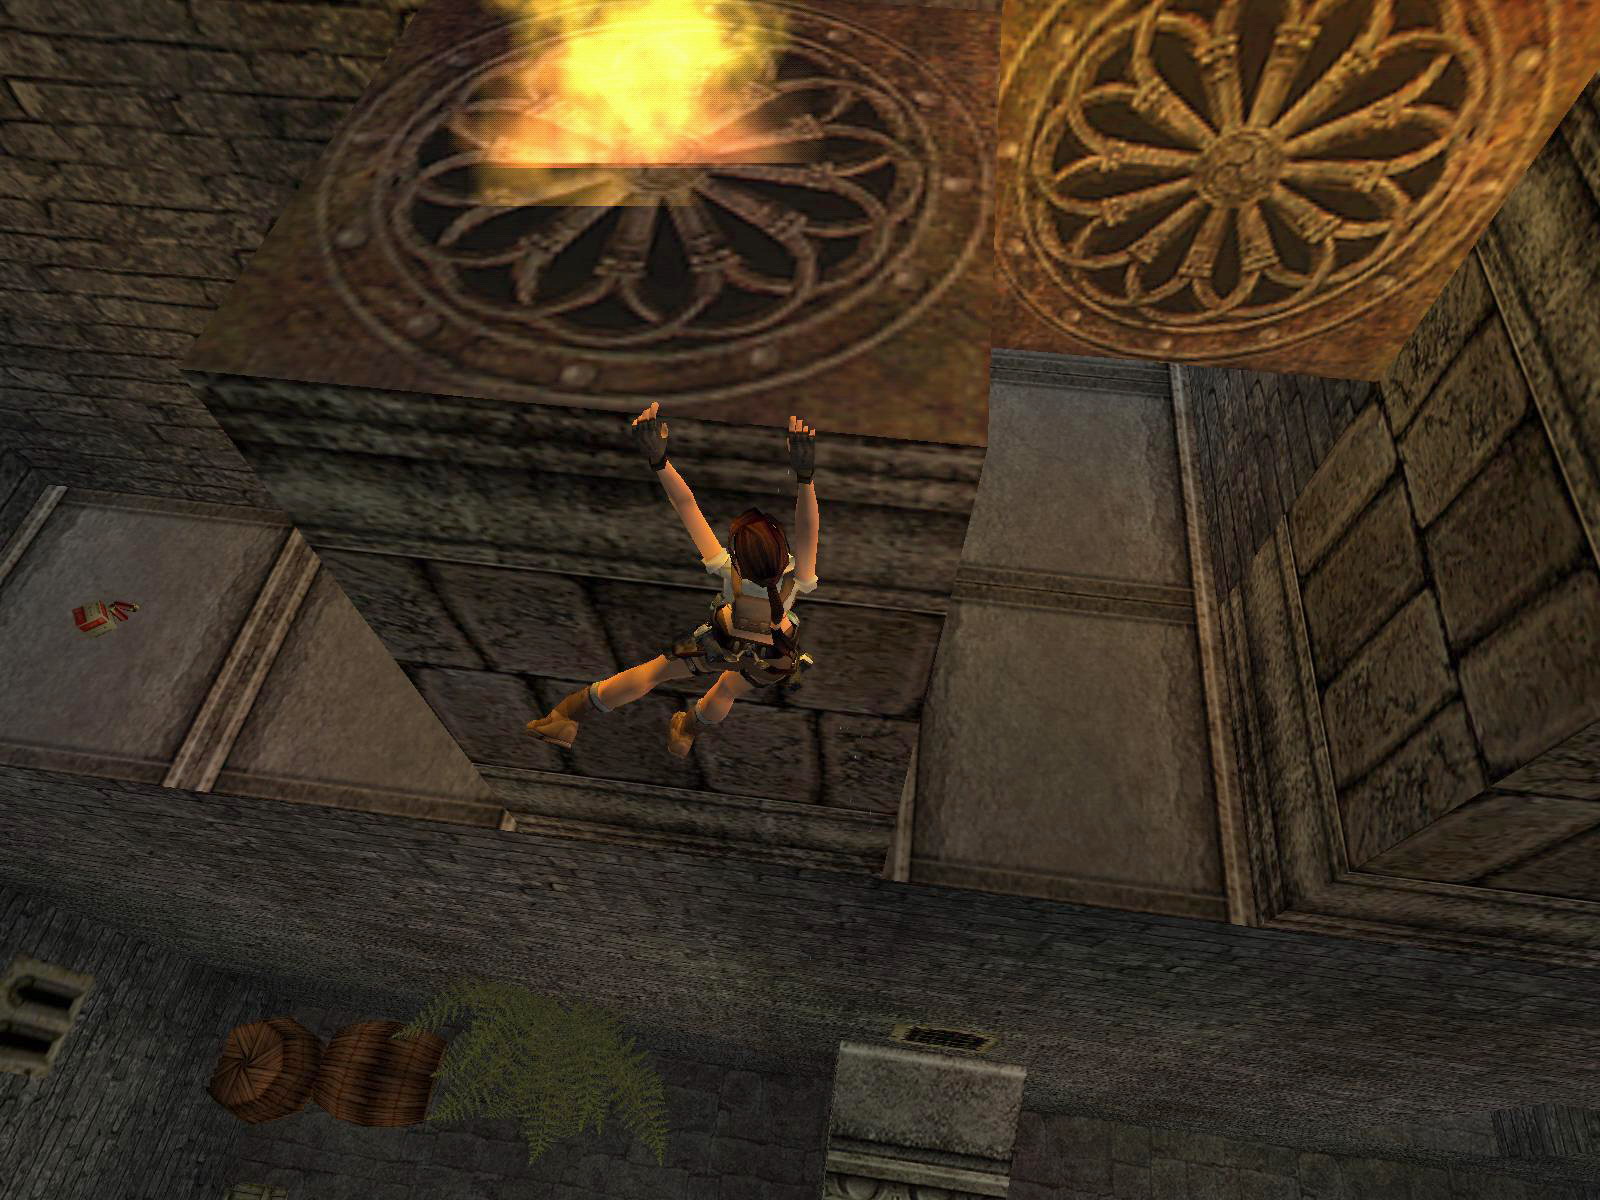
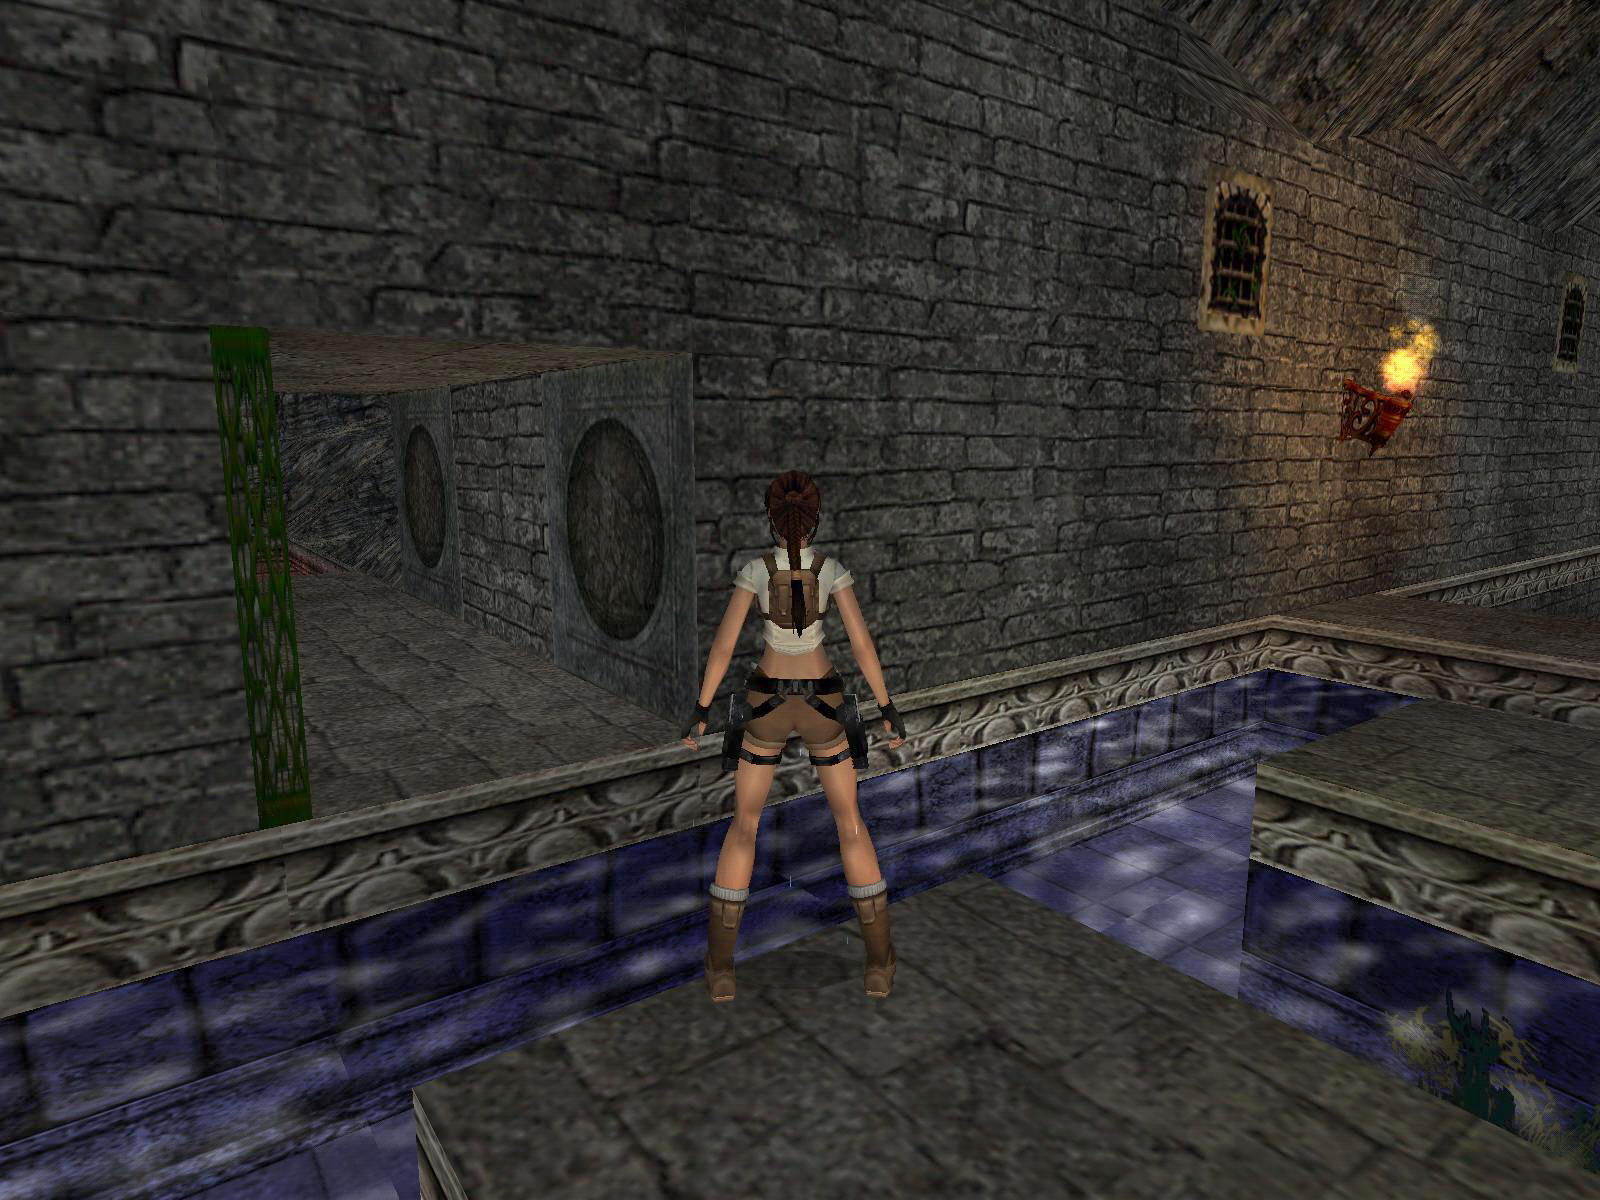
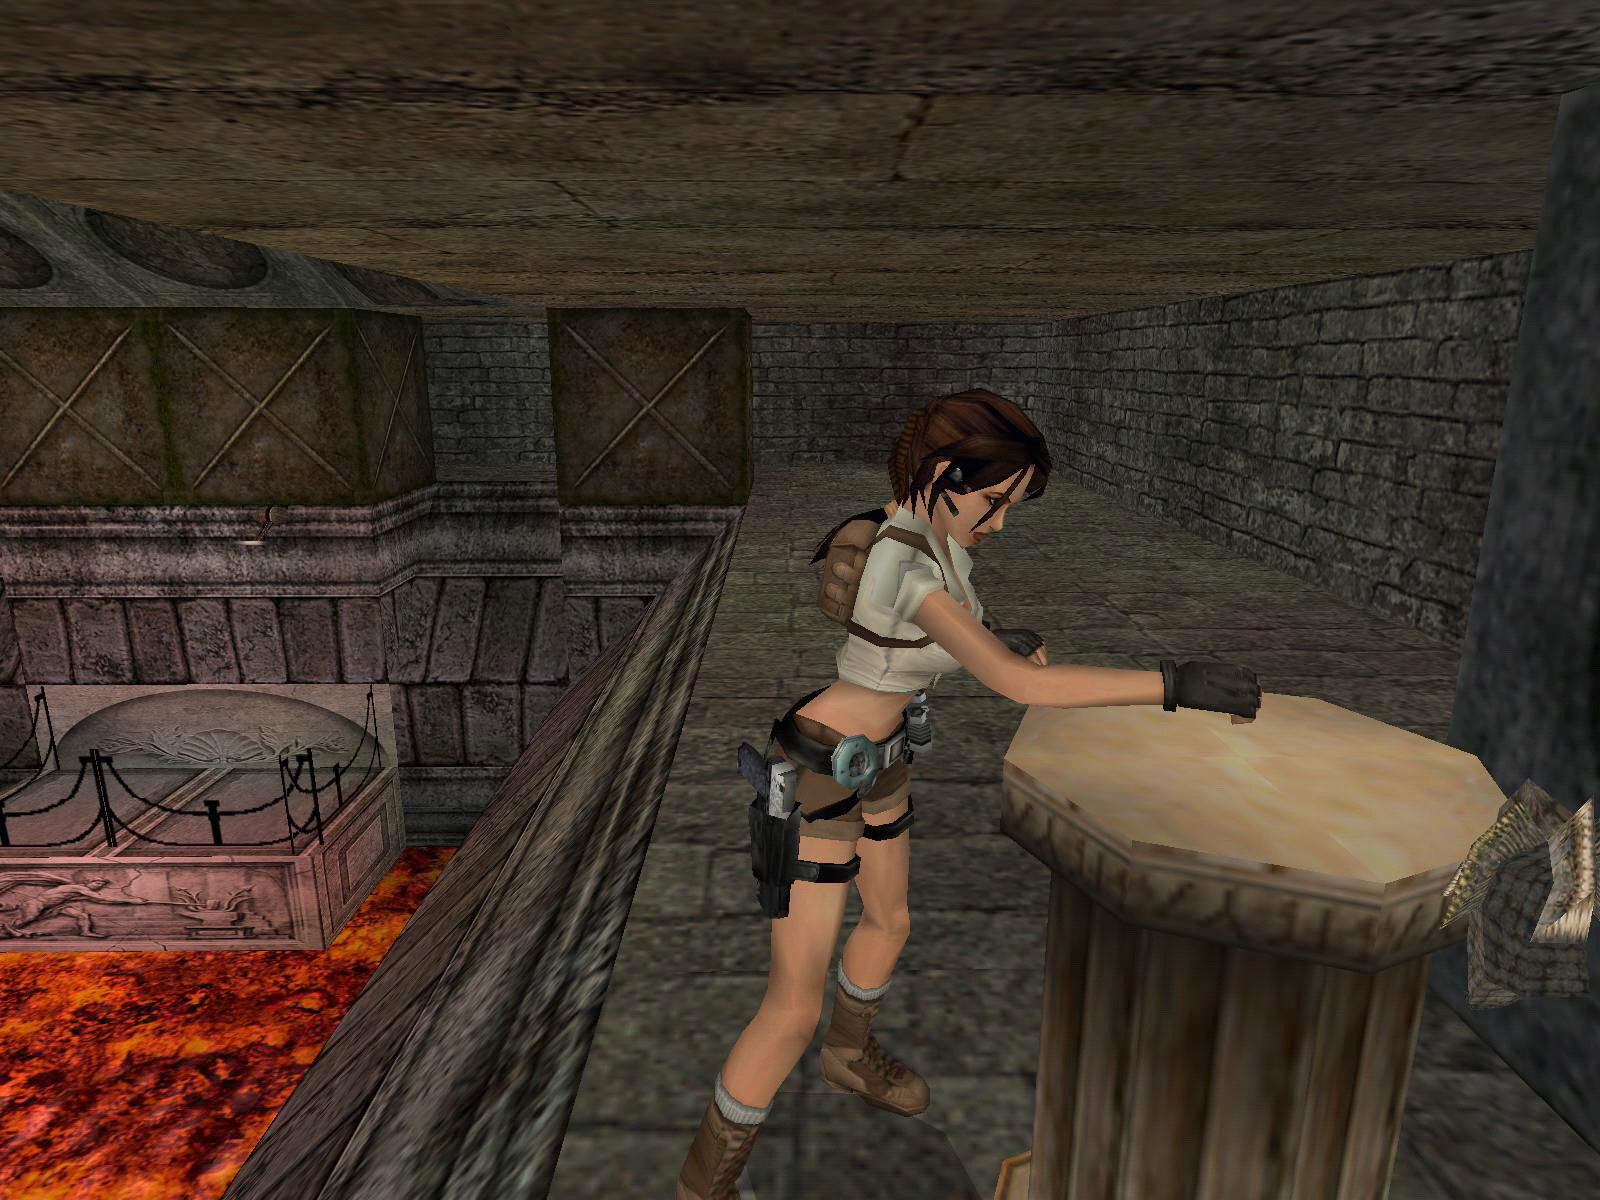
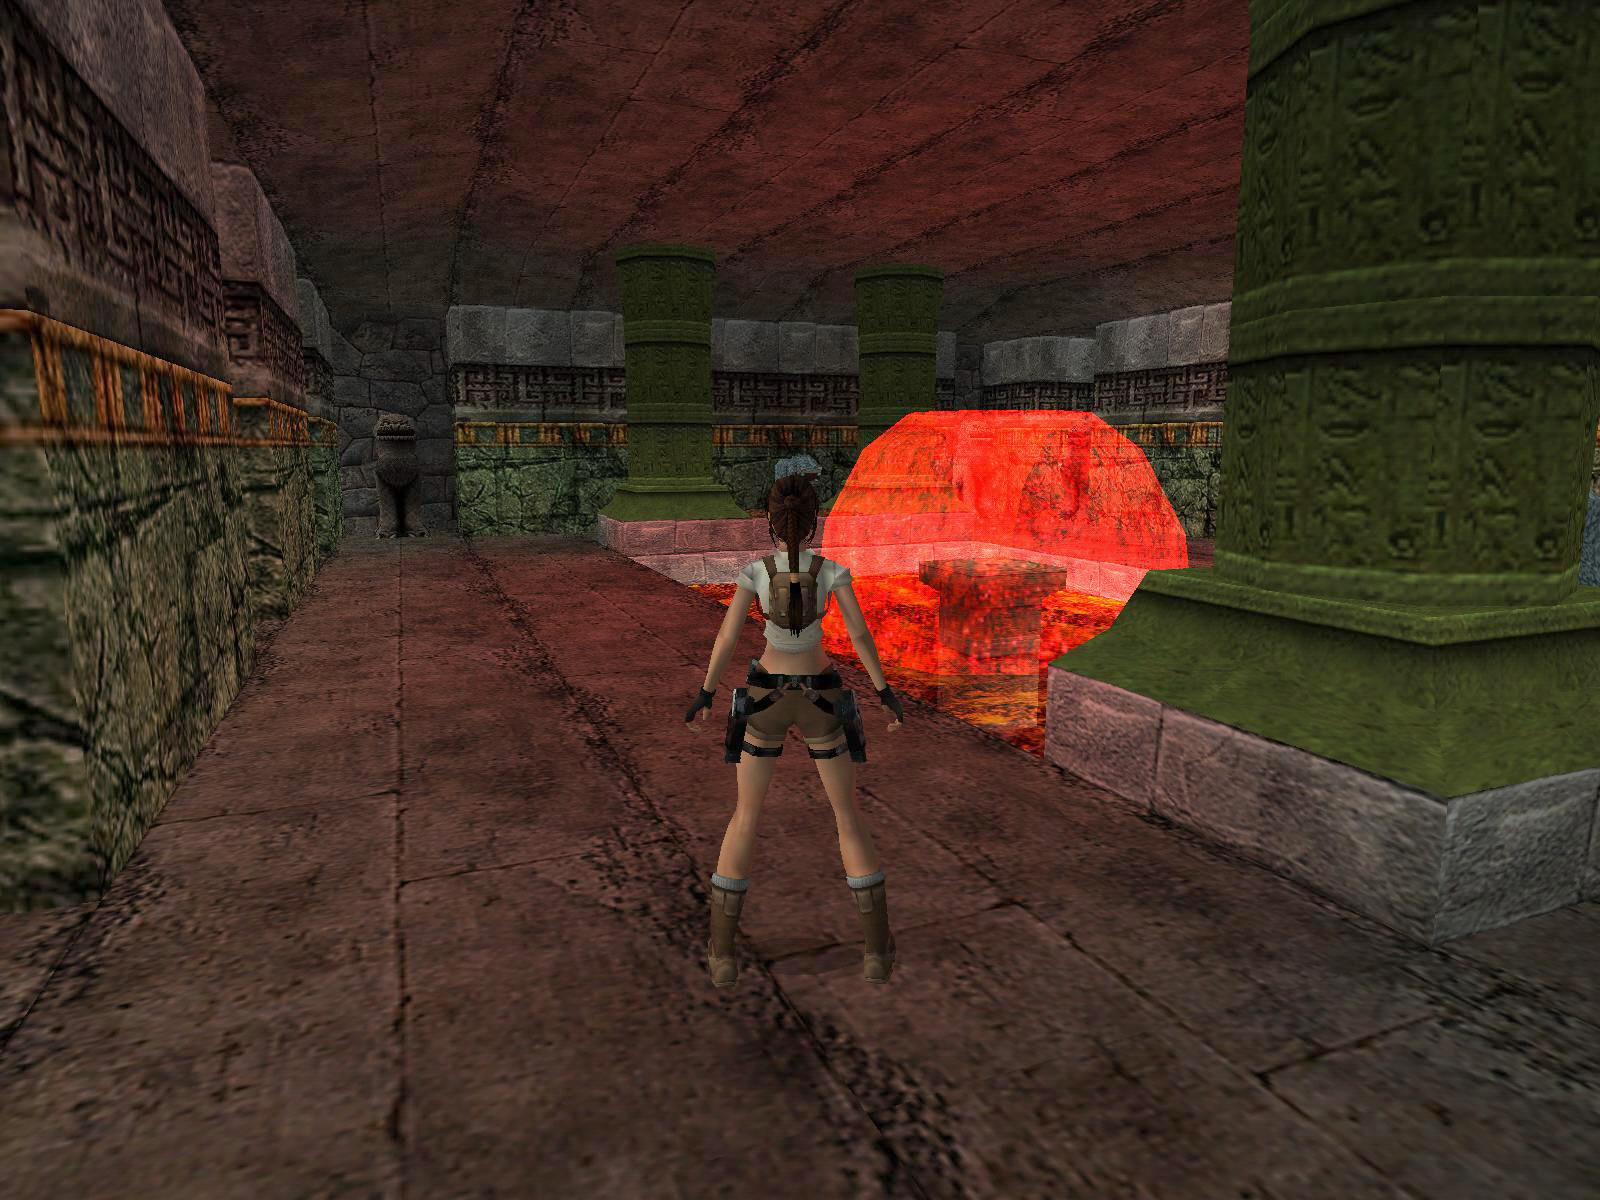
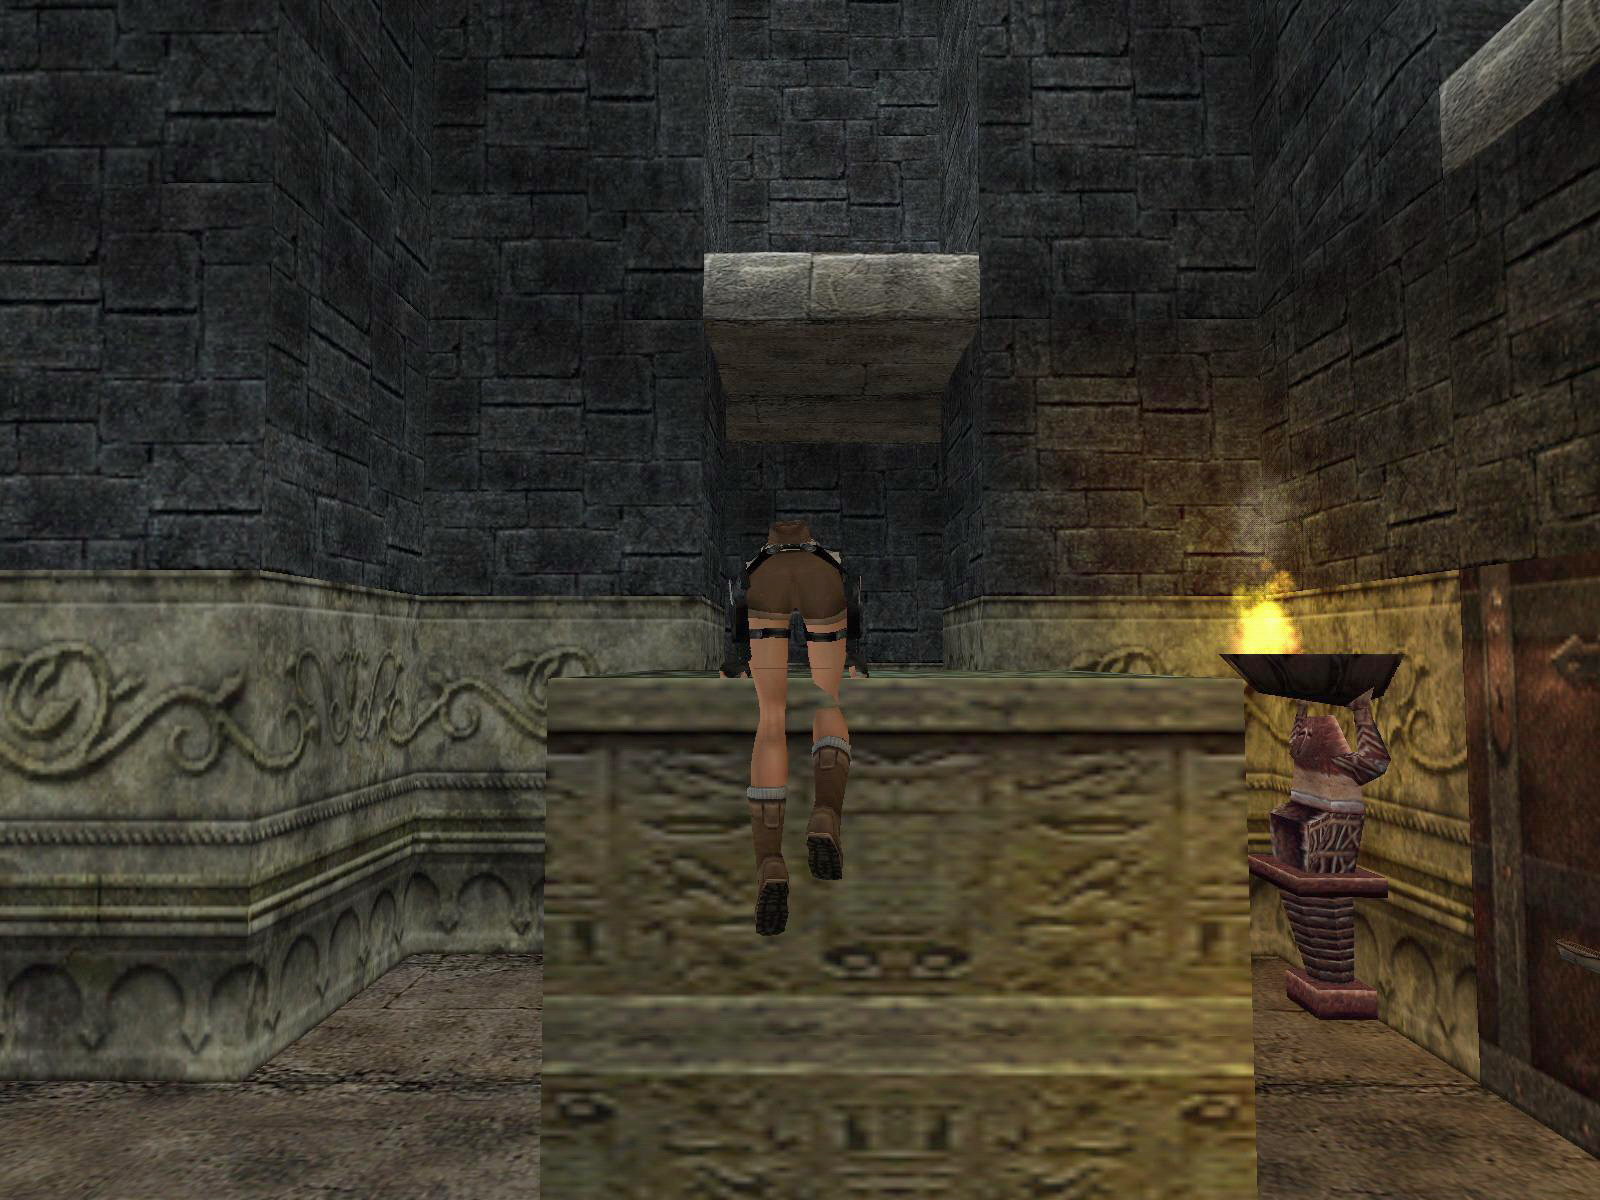
Timed Fire, the Crowbar.
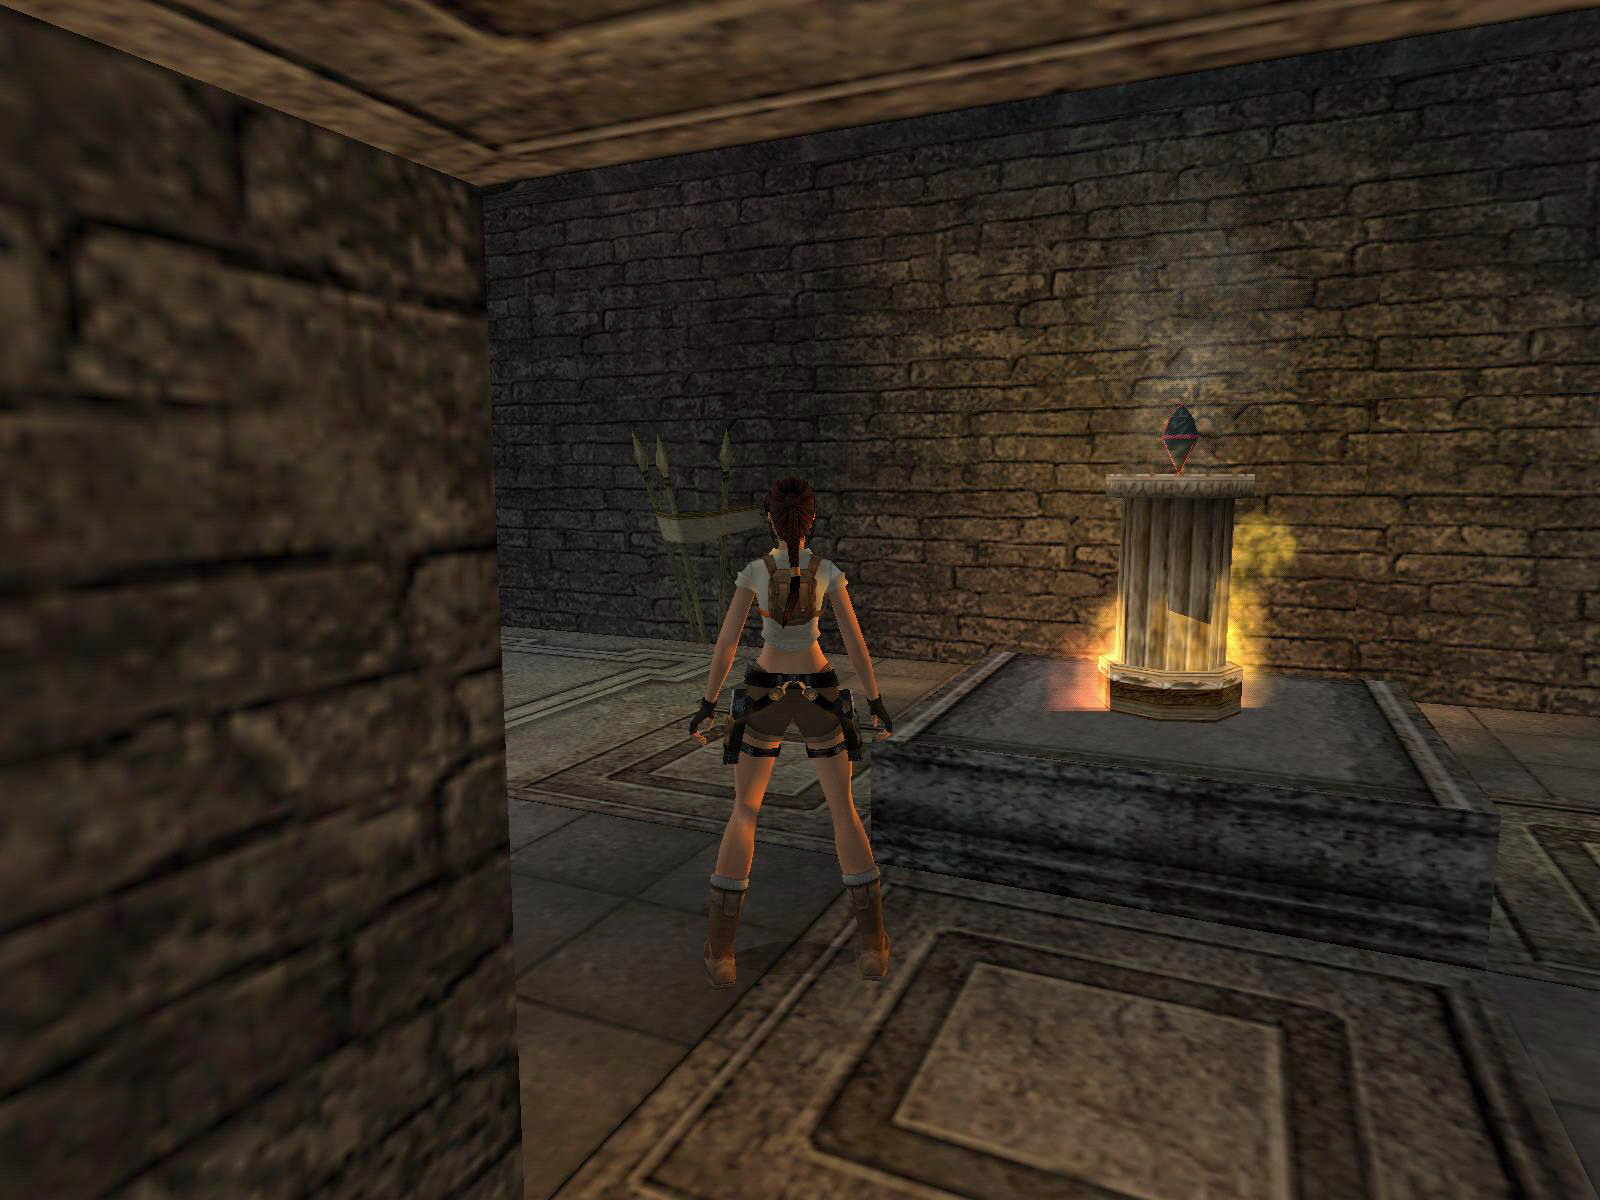
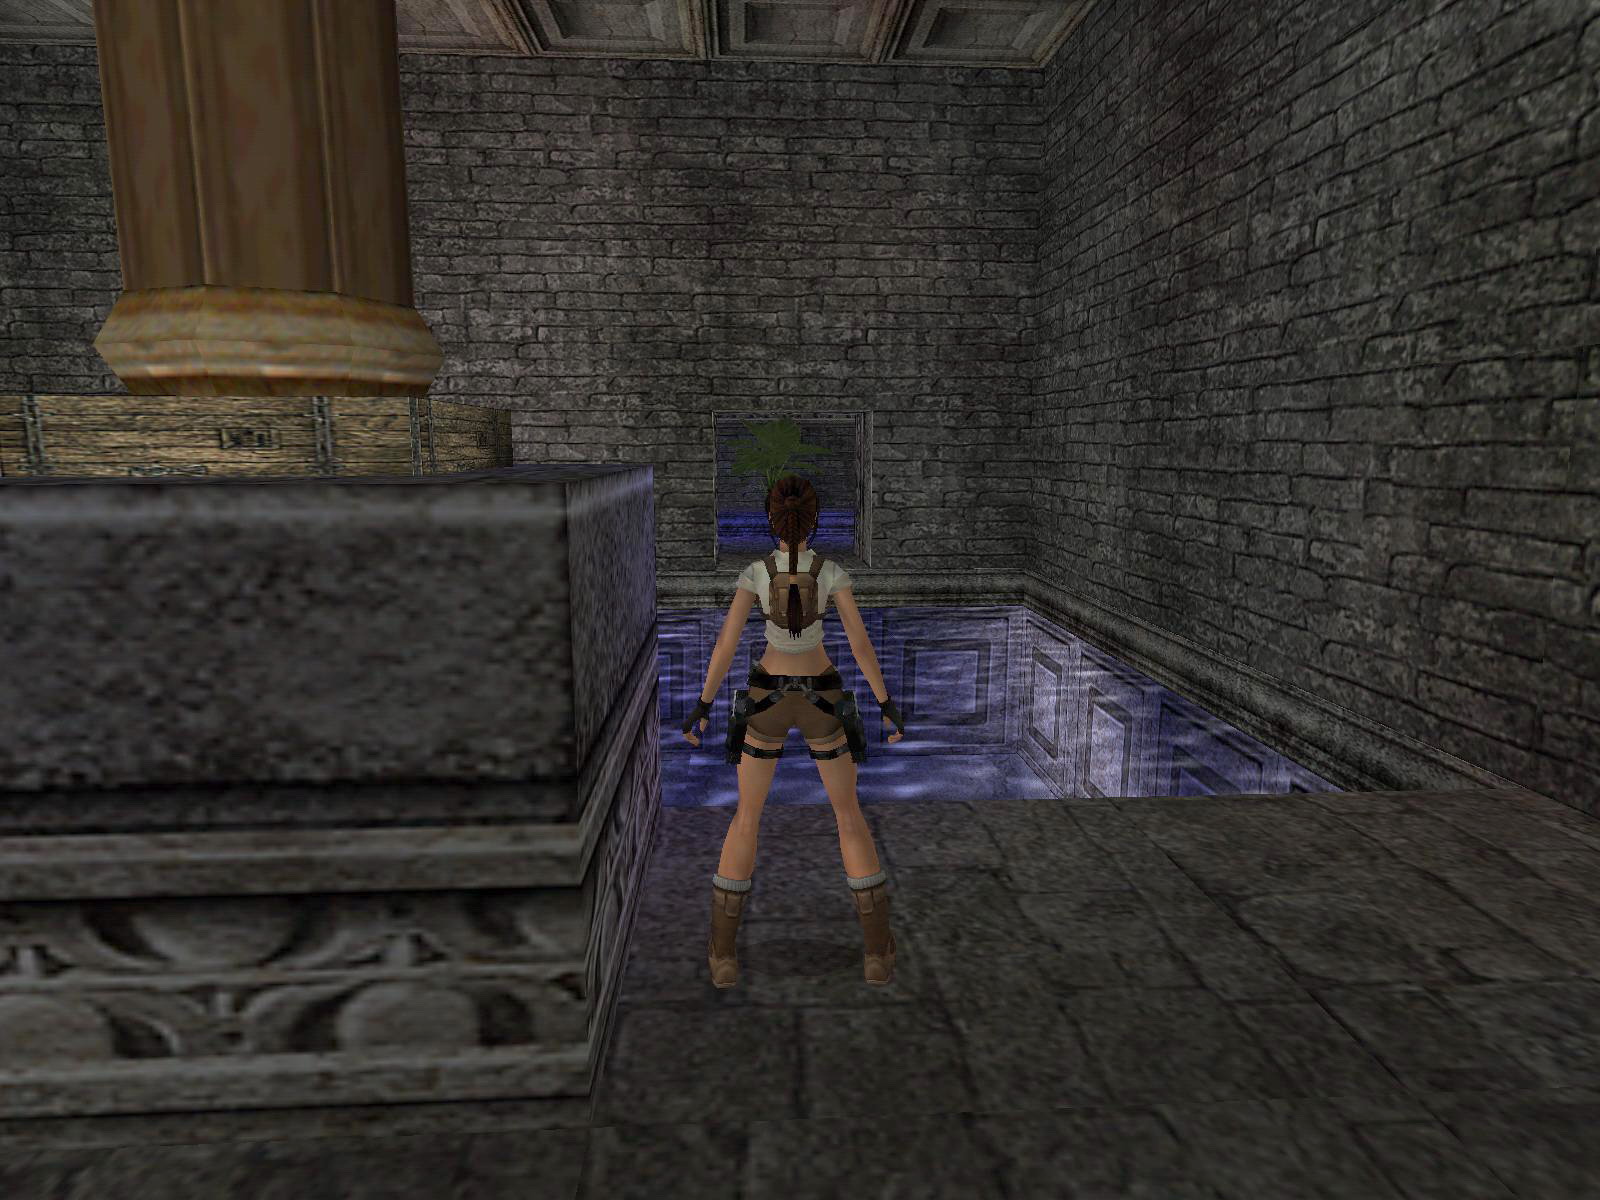
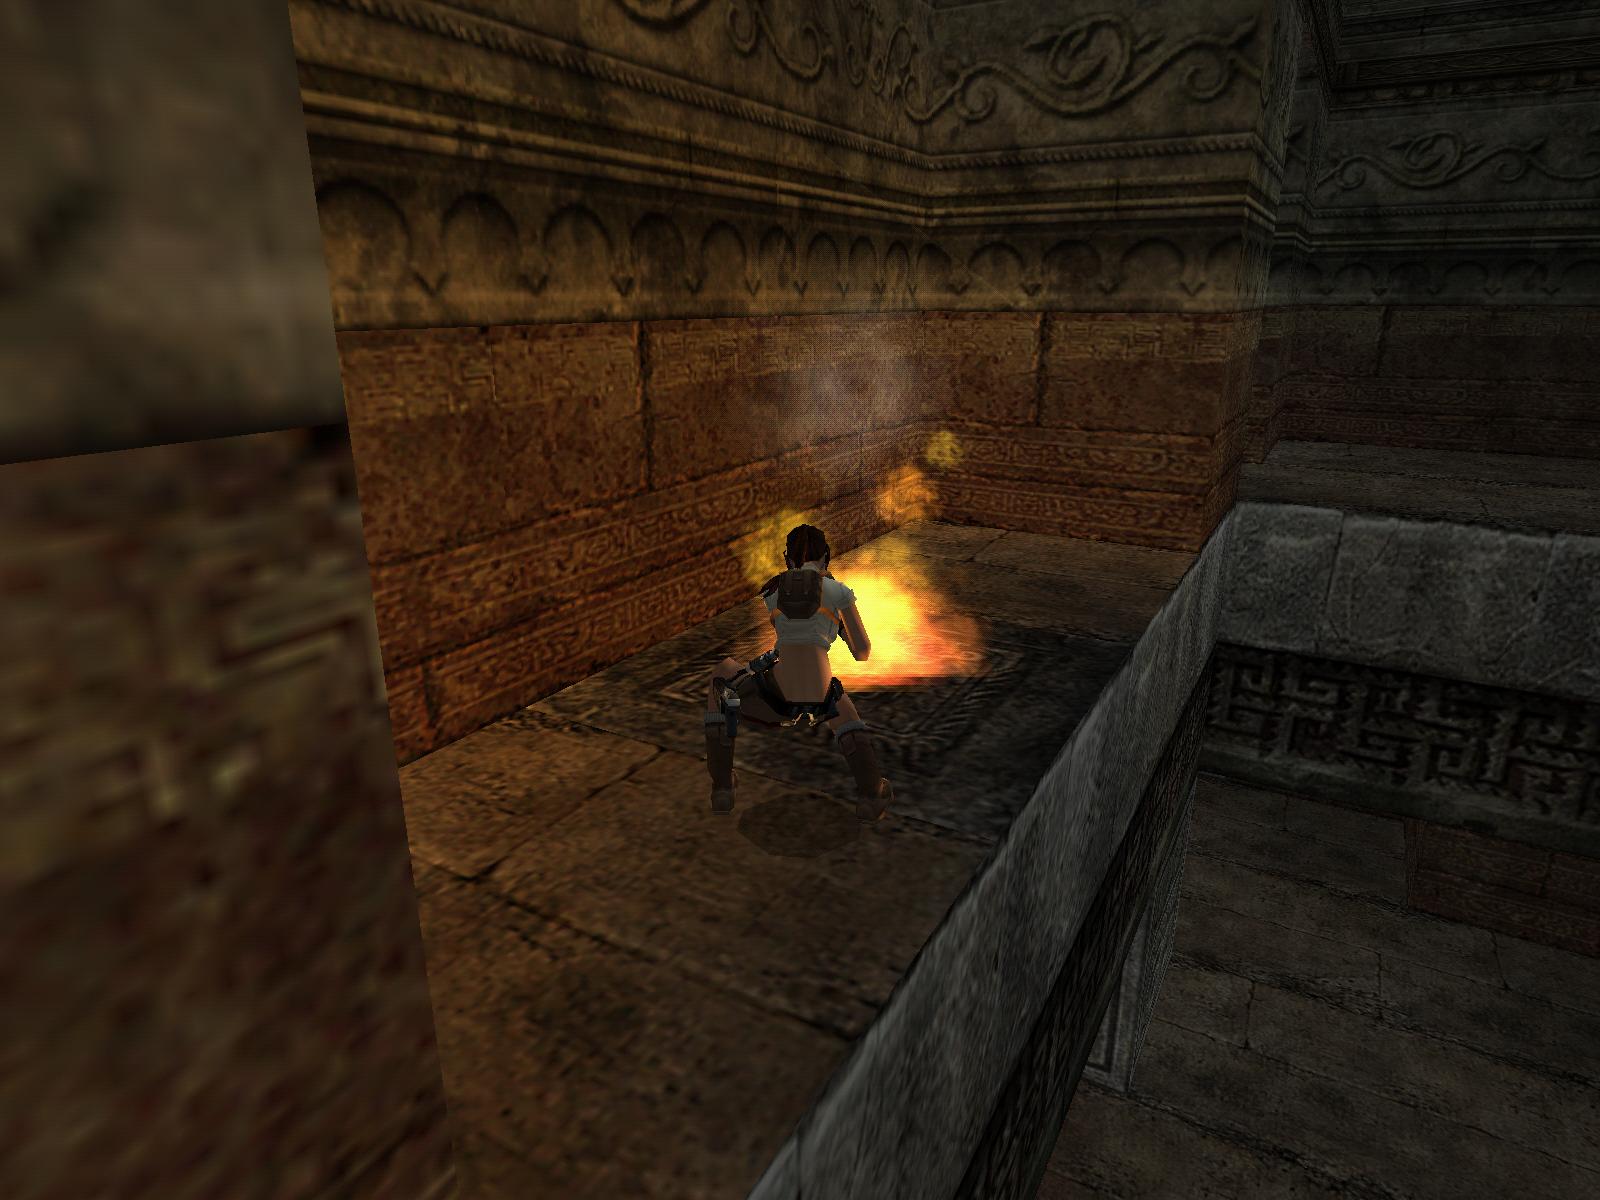
Standing on one of the metallic tiles near the pool extinguishes the fire for a while on the block E, best is to run over the tiles to the edge of the pool, jump over the pool, stand jump/roll onto the front edge of the fire bock and jump straight up to grab the ledge above you without catching fire.
Get the Crowbar from the pedestal and jump down again.
Go back to the Main Room and to that staircase (NW) to use the Crowbar on the door at the bottom of the stairs.
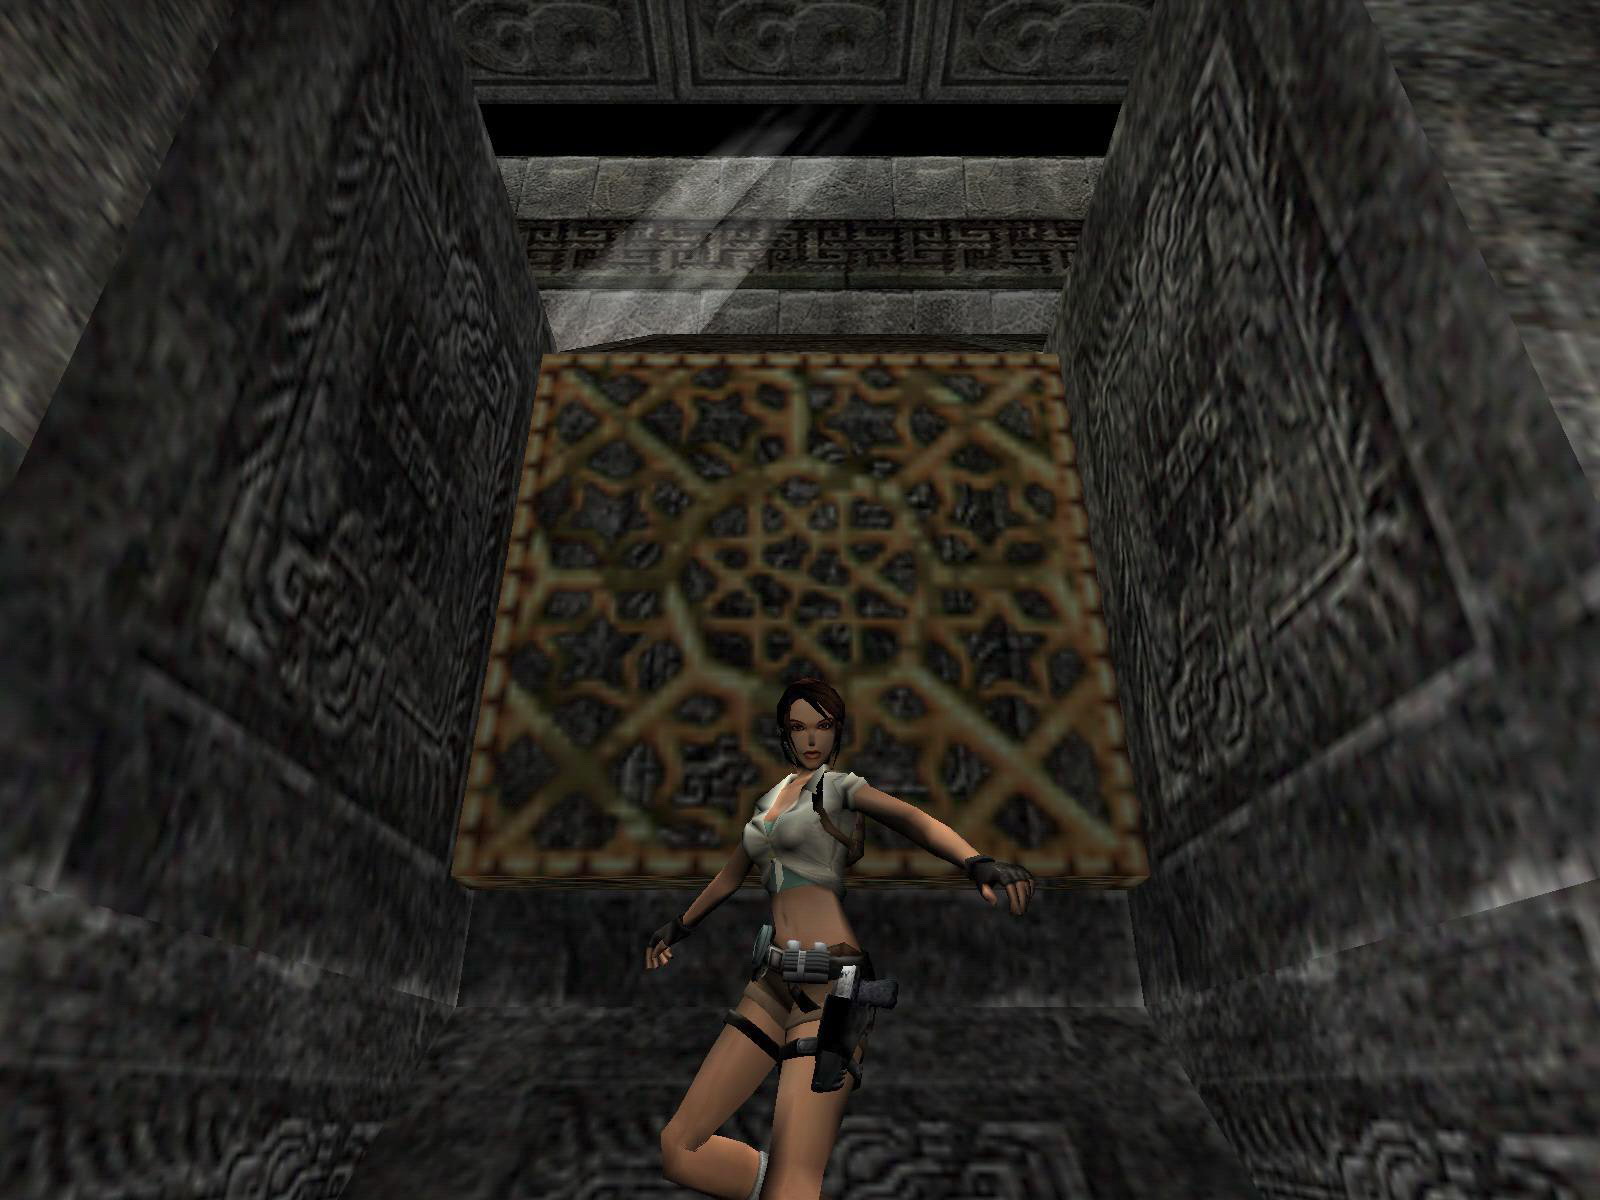
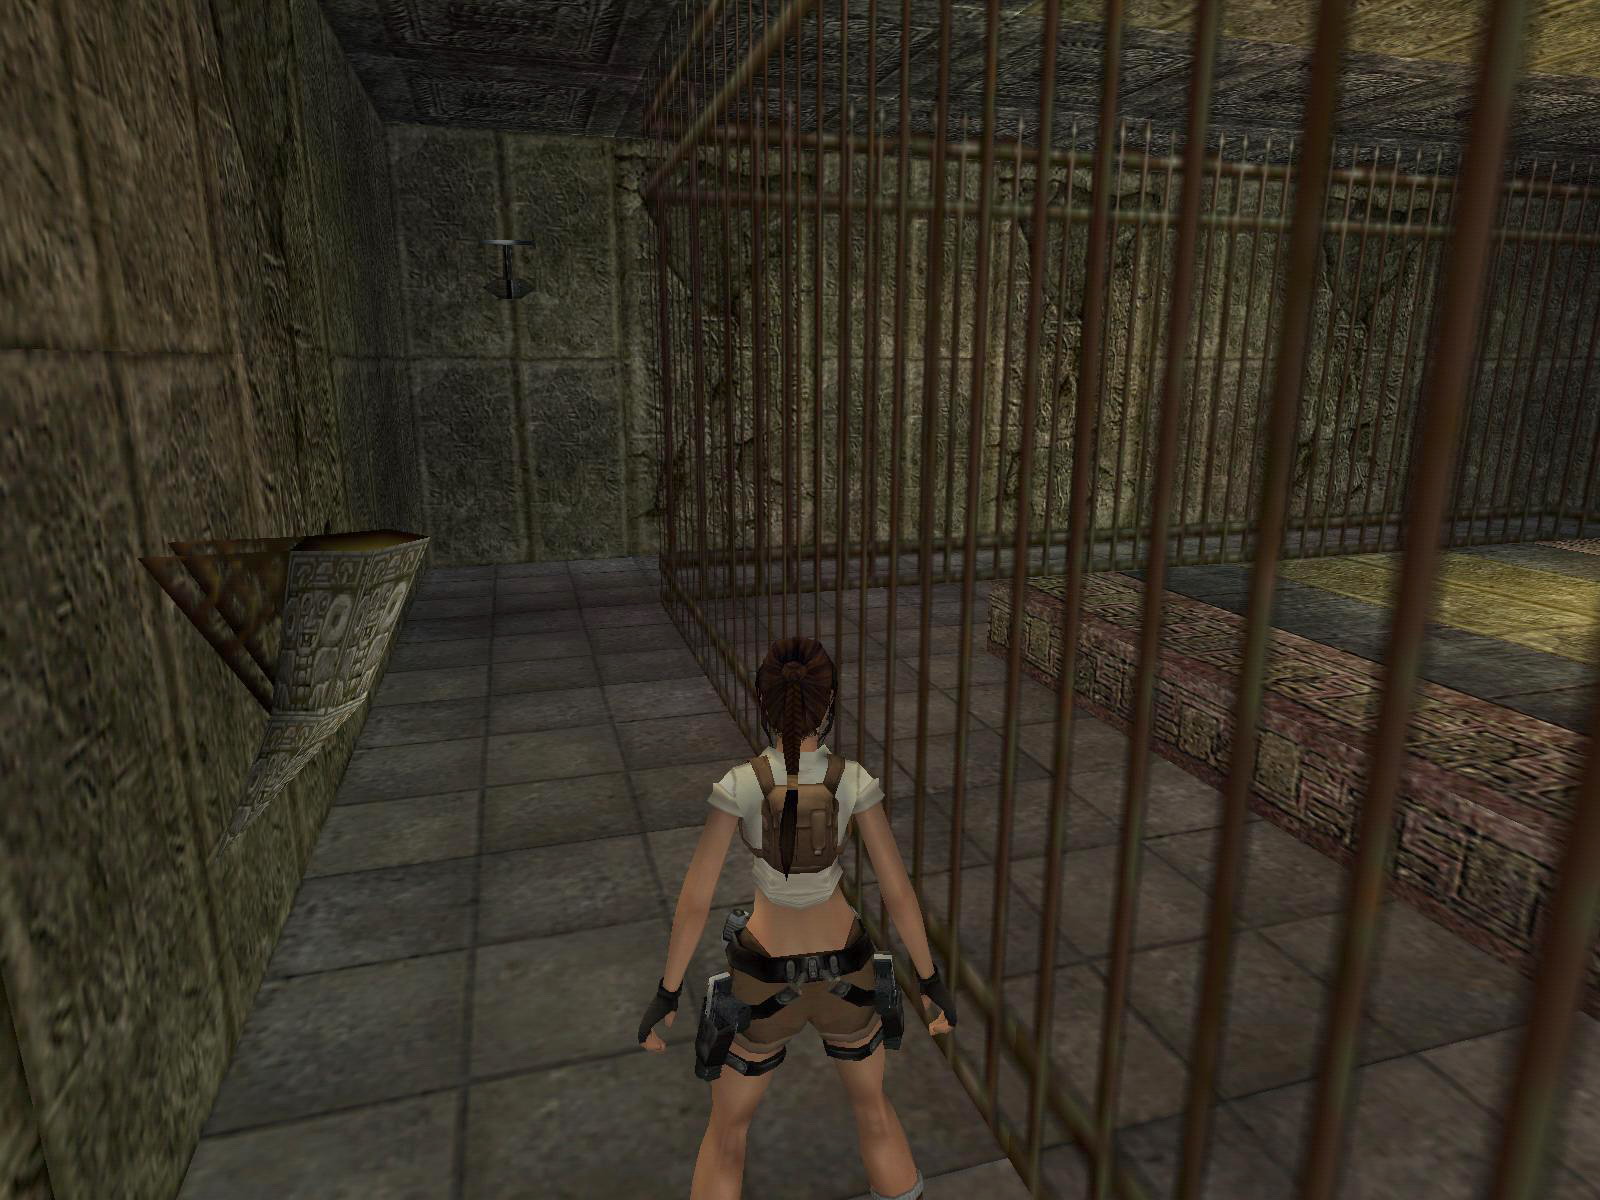
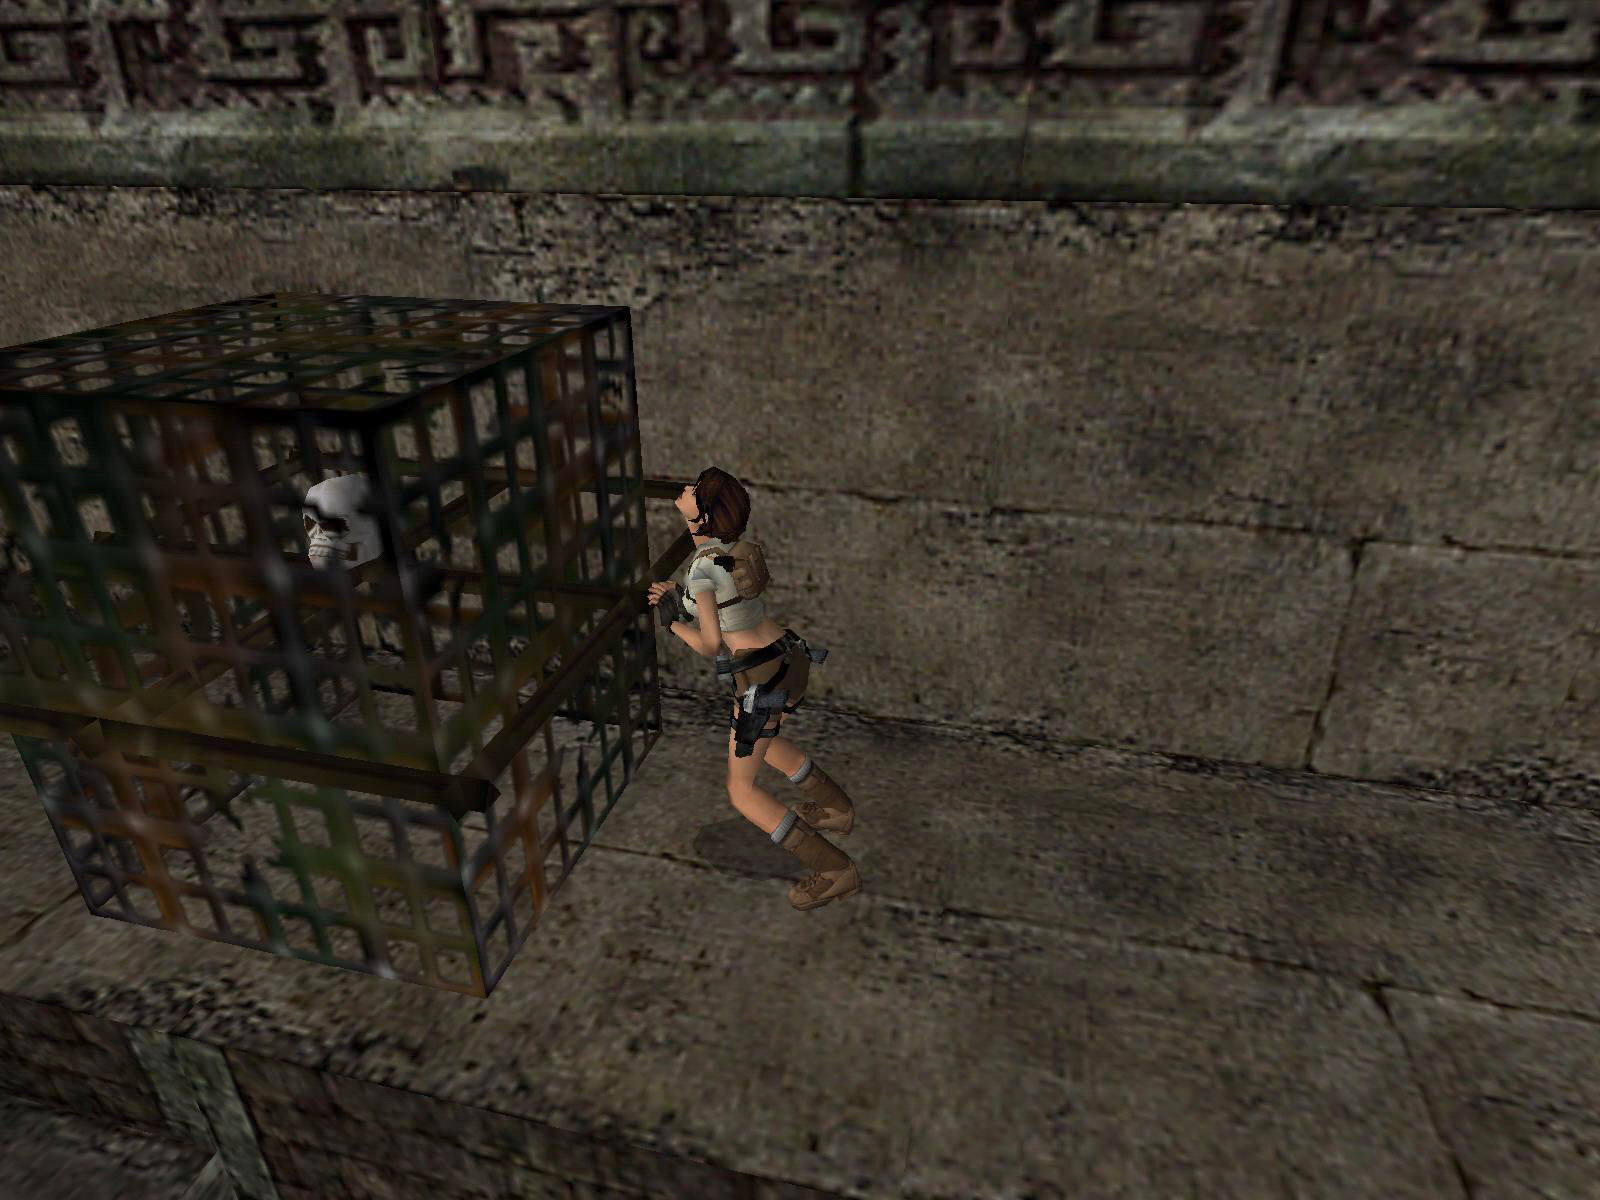
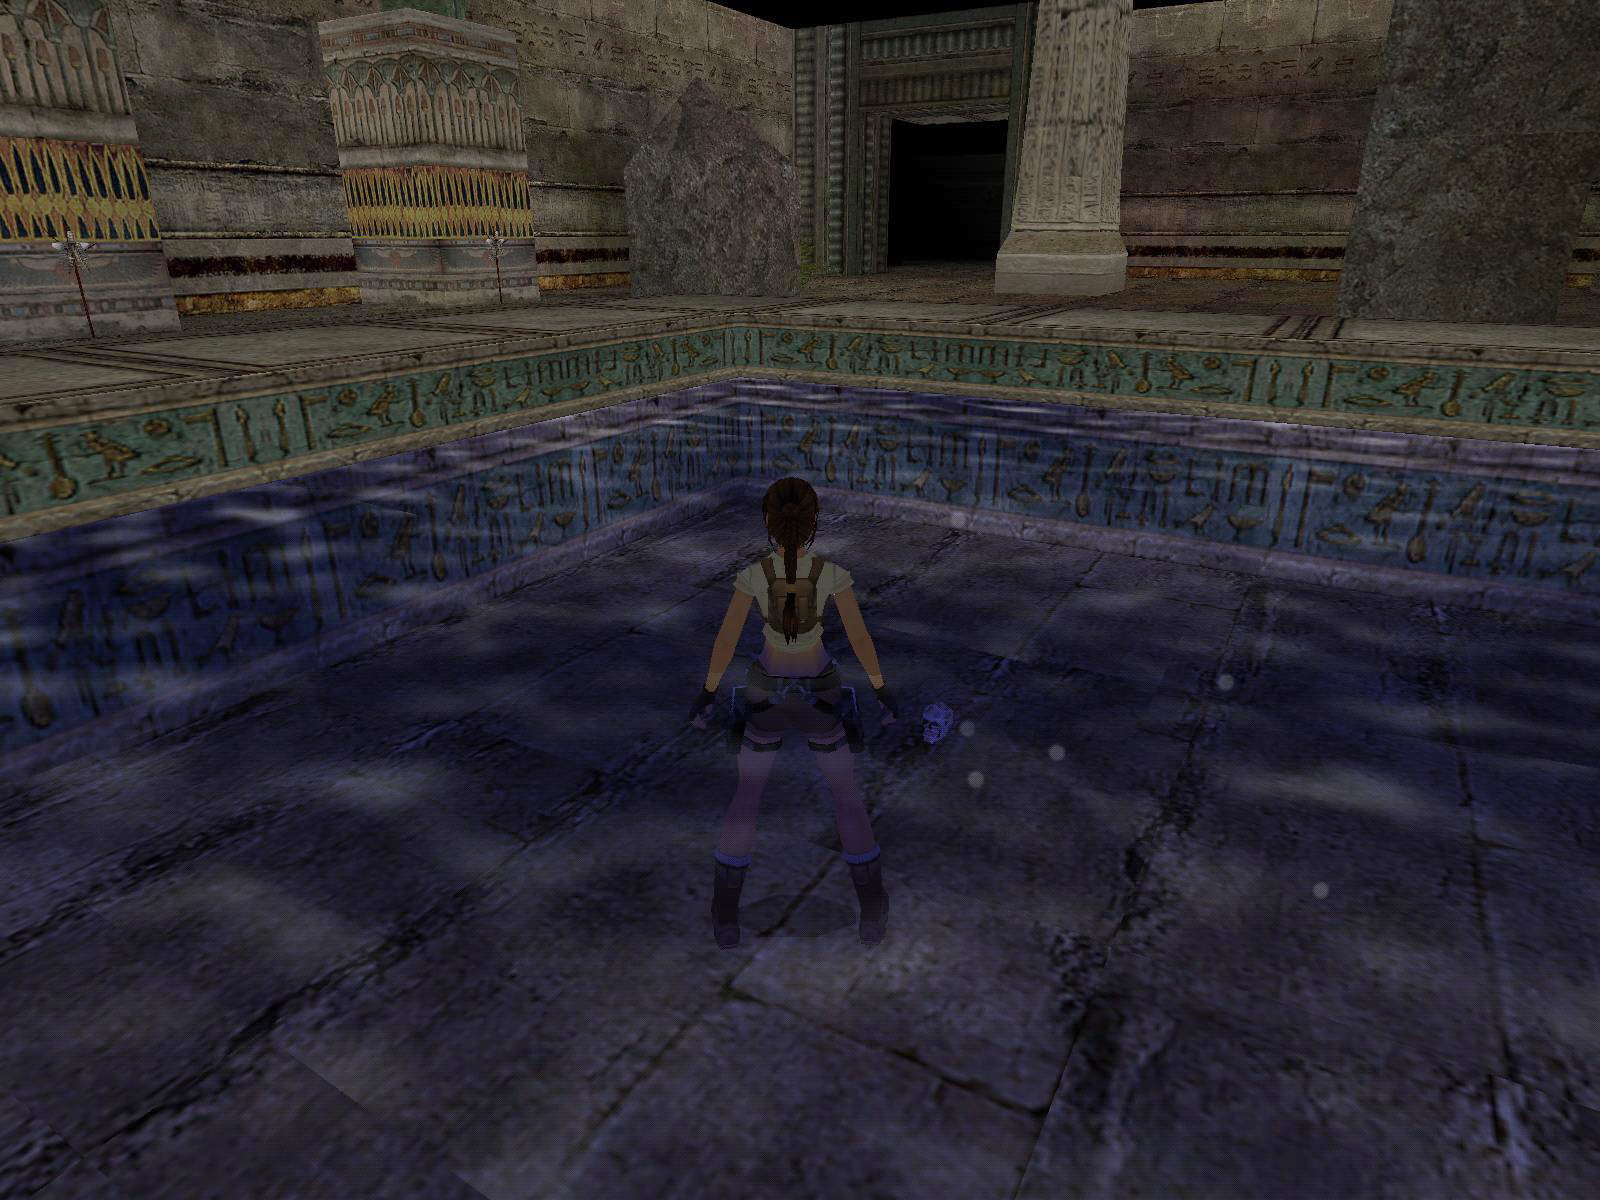
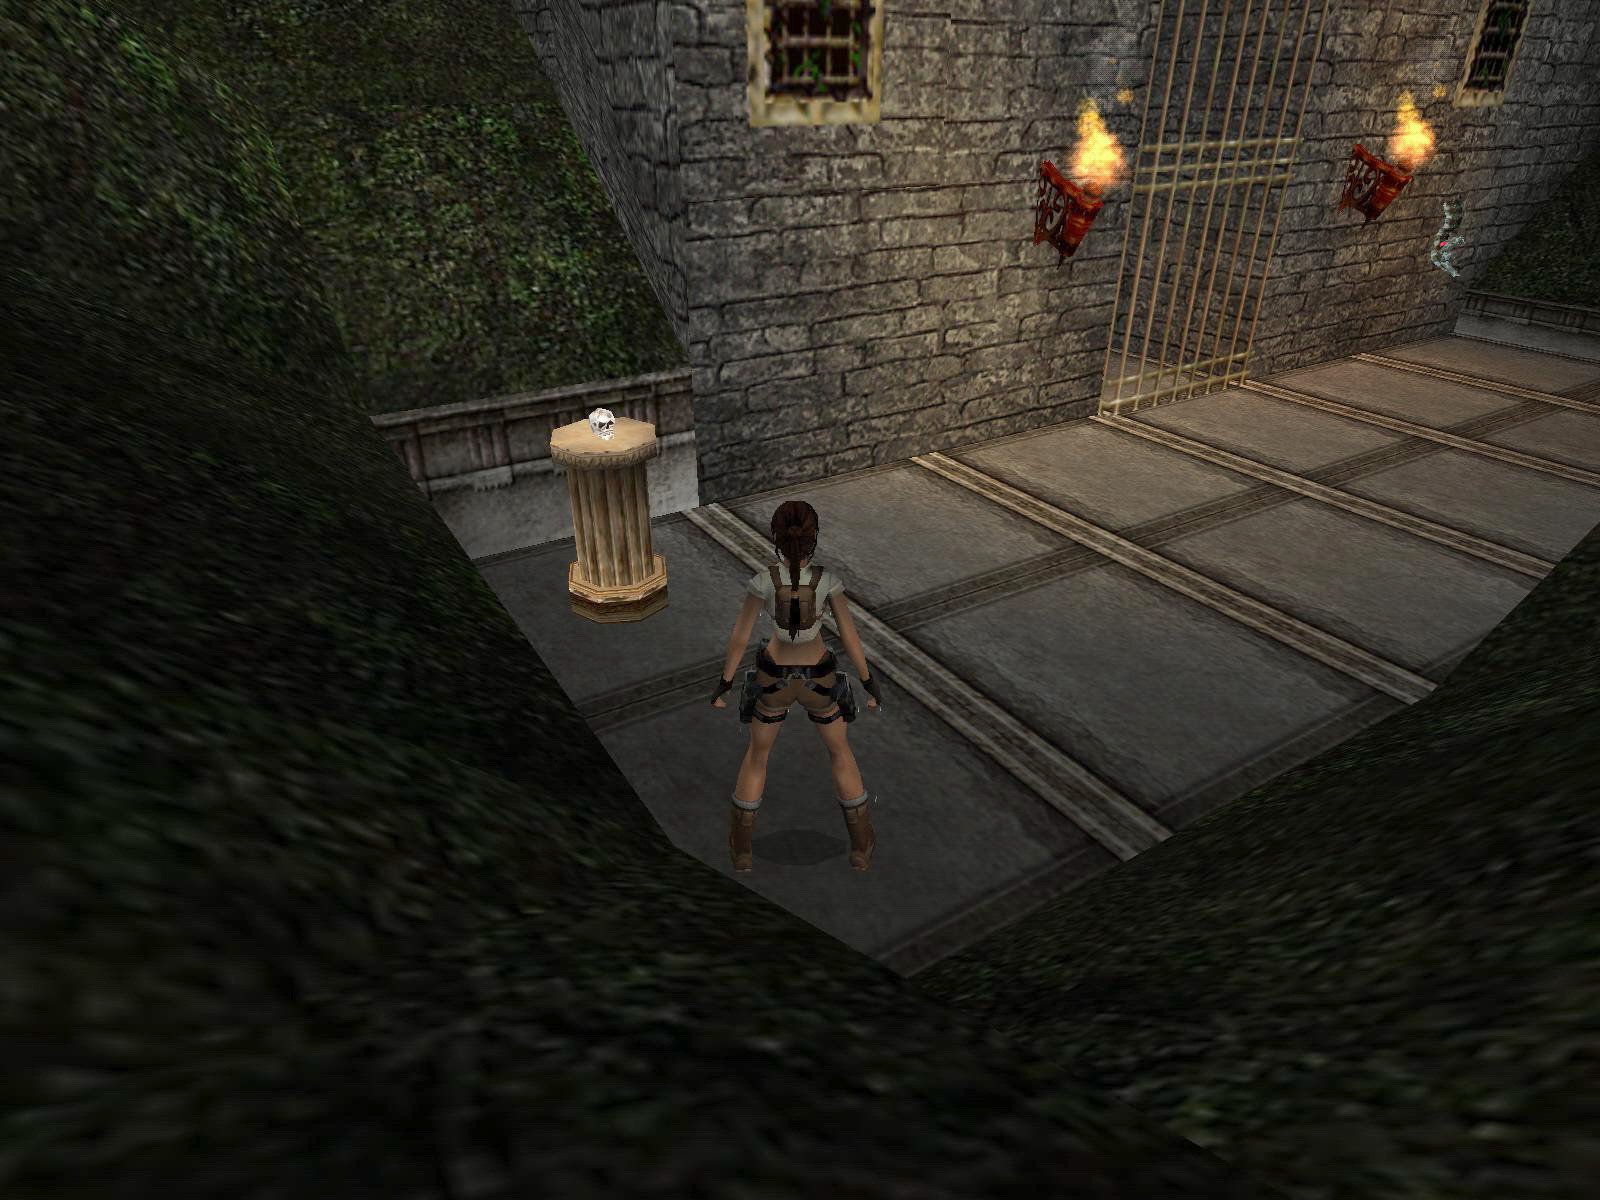
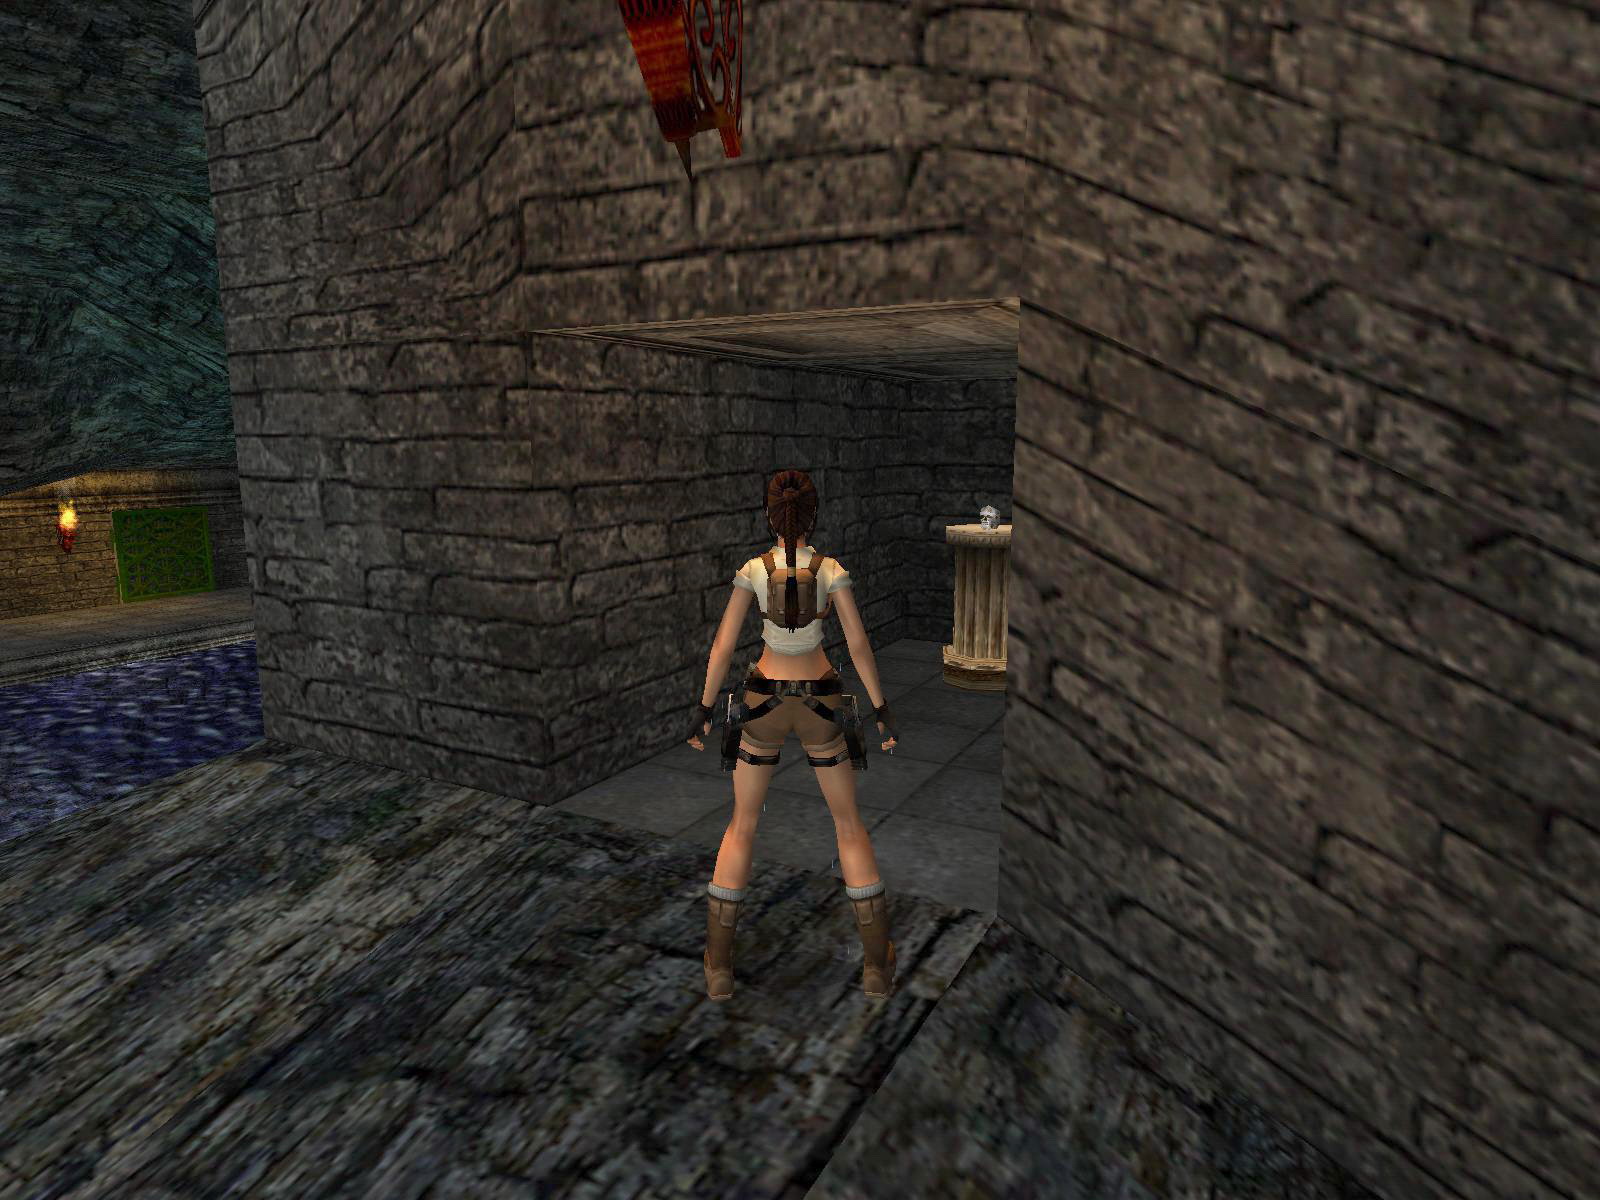
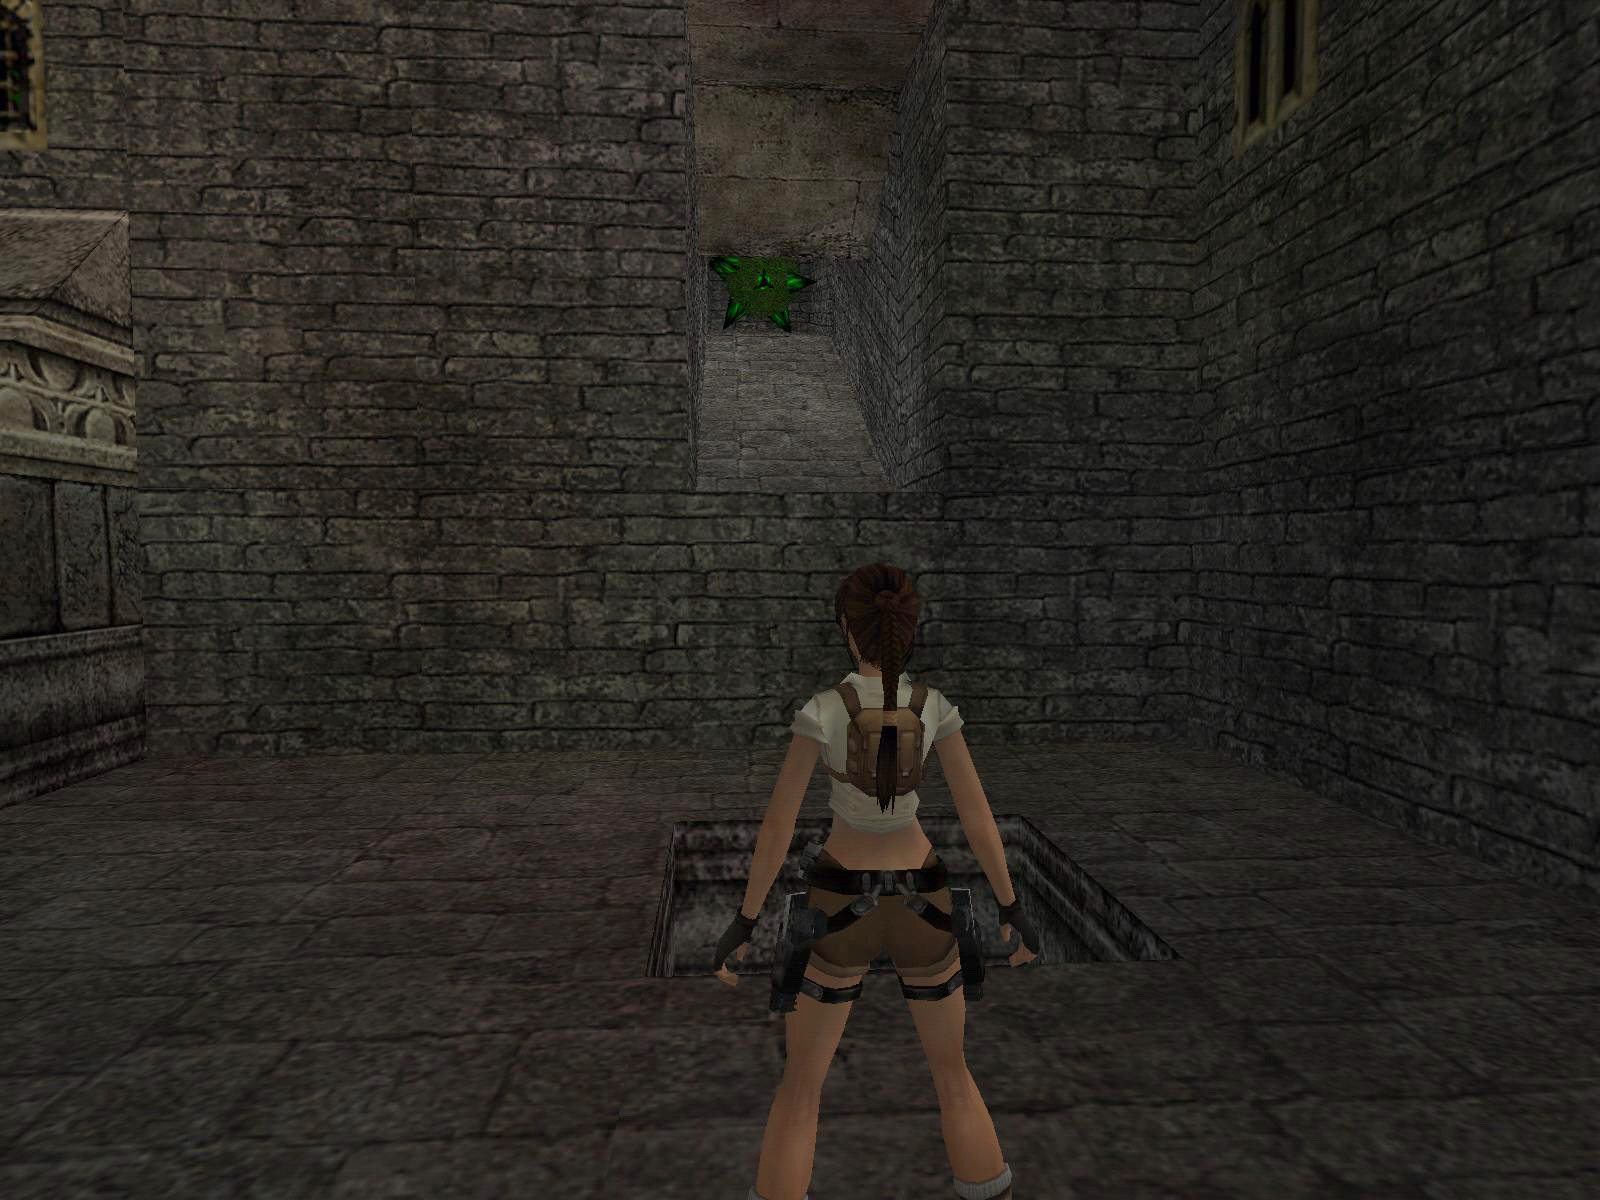
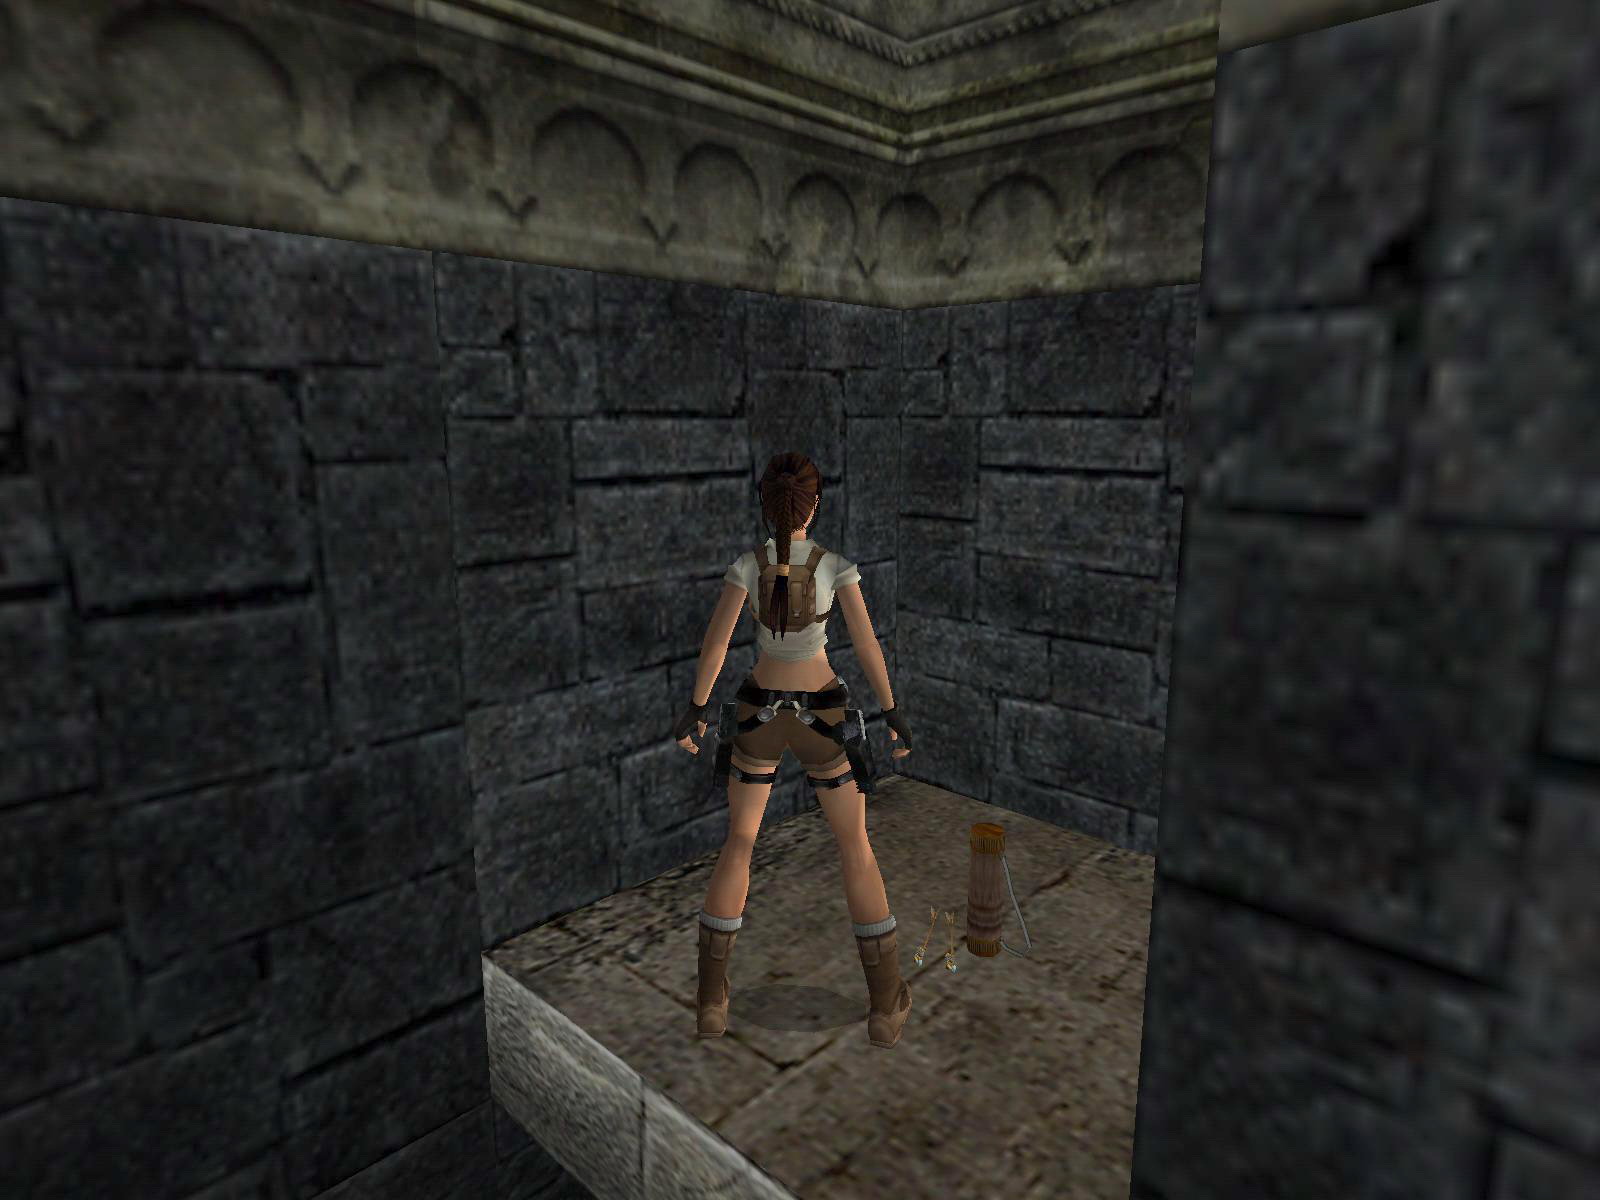
The Skull.
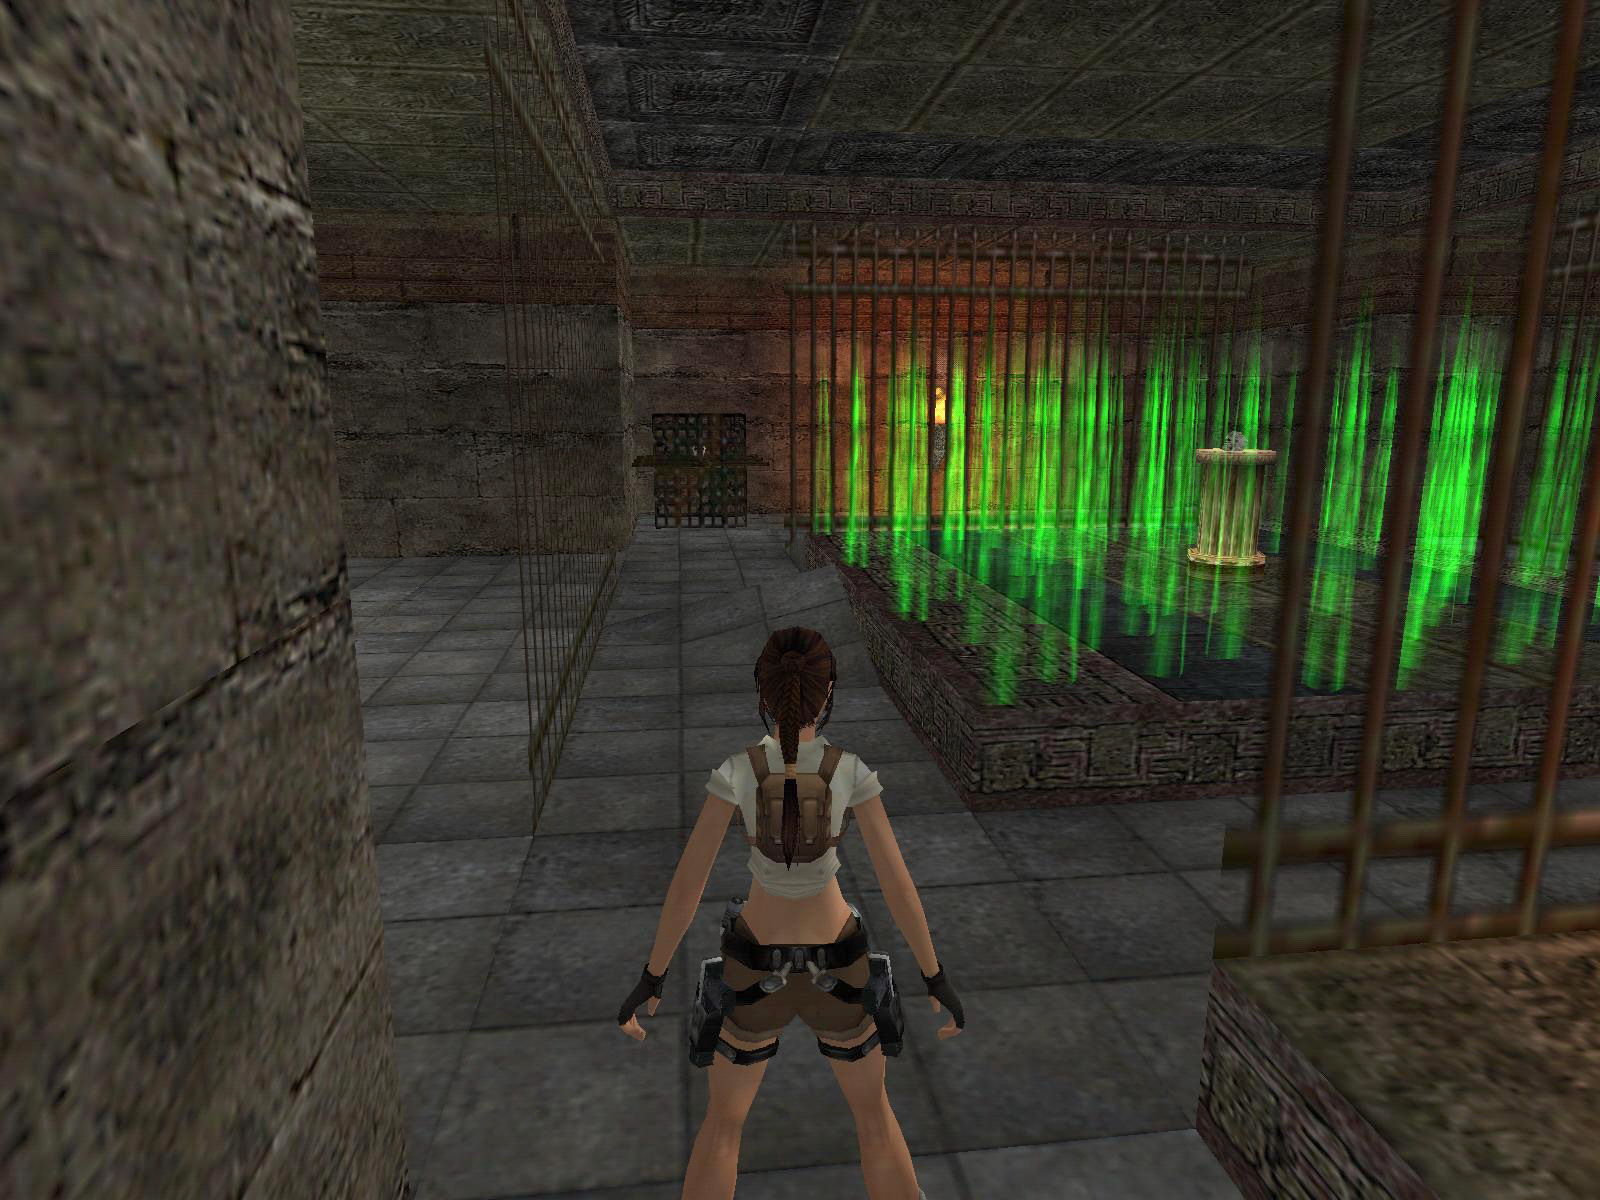
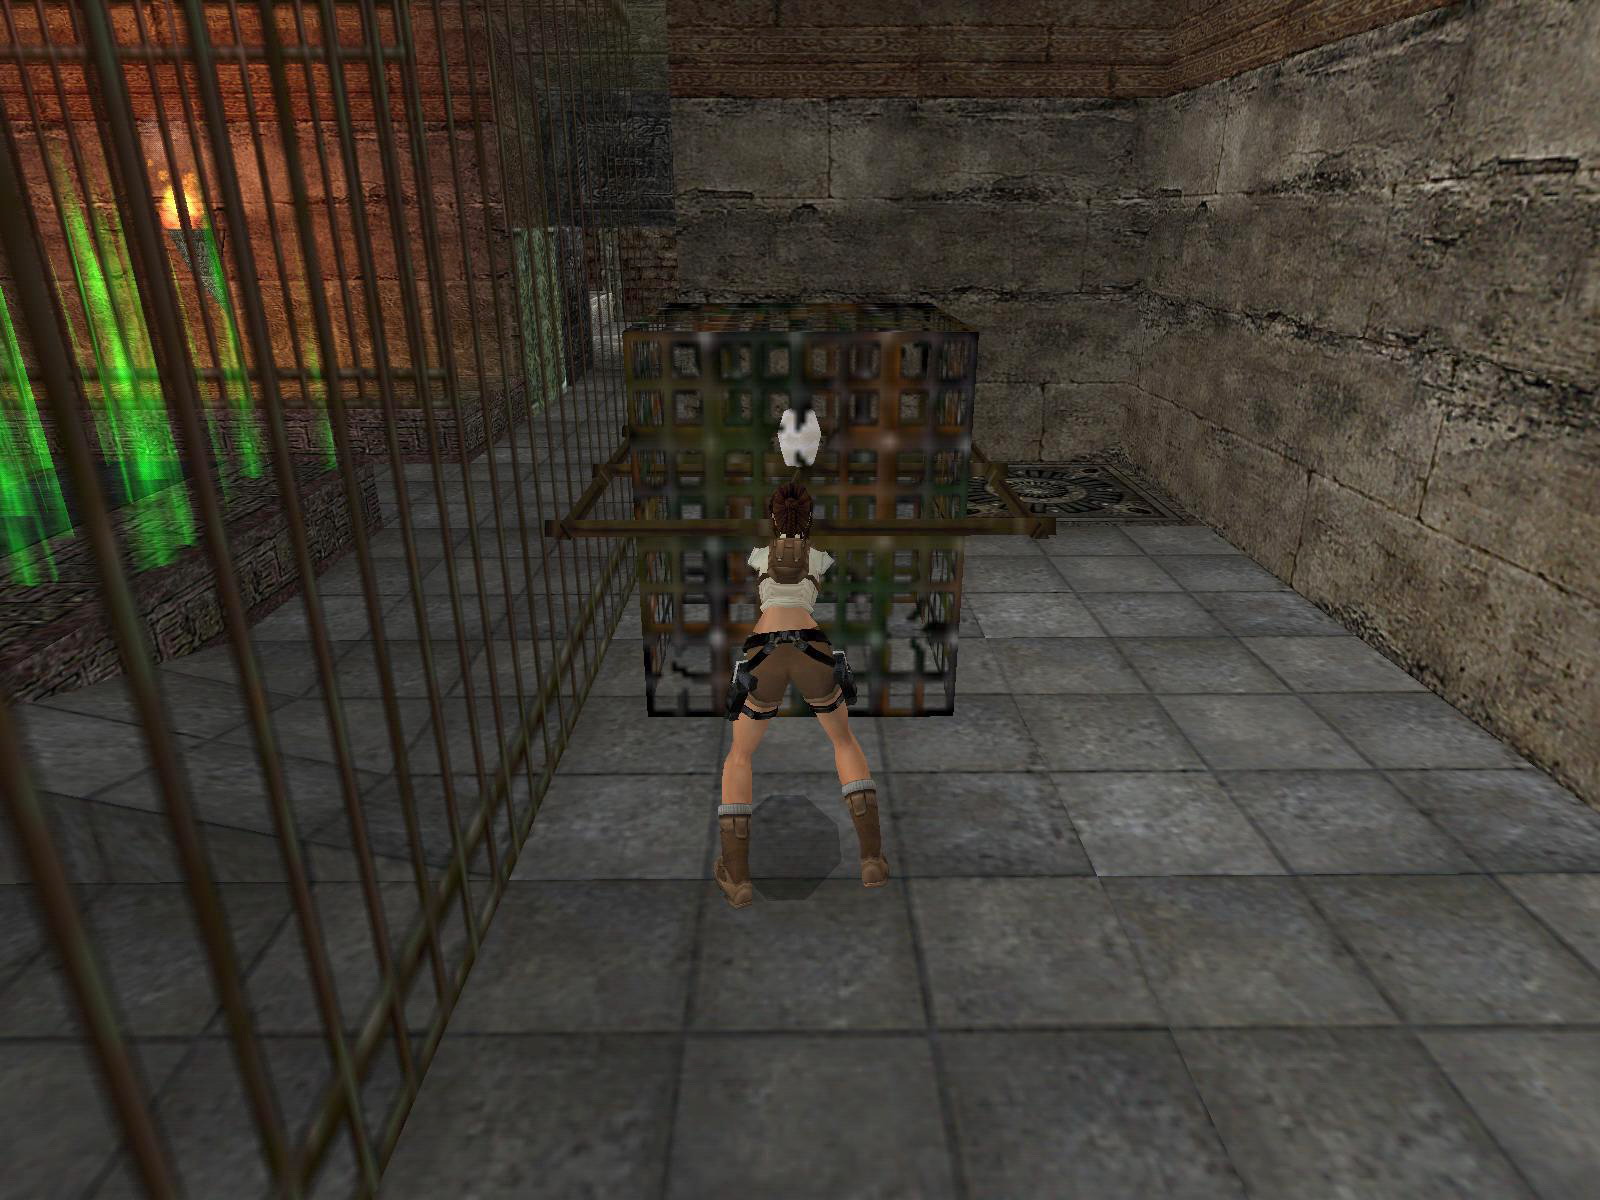
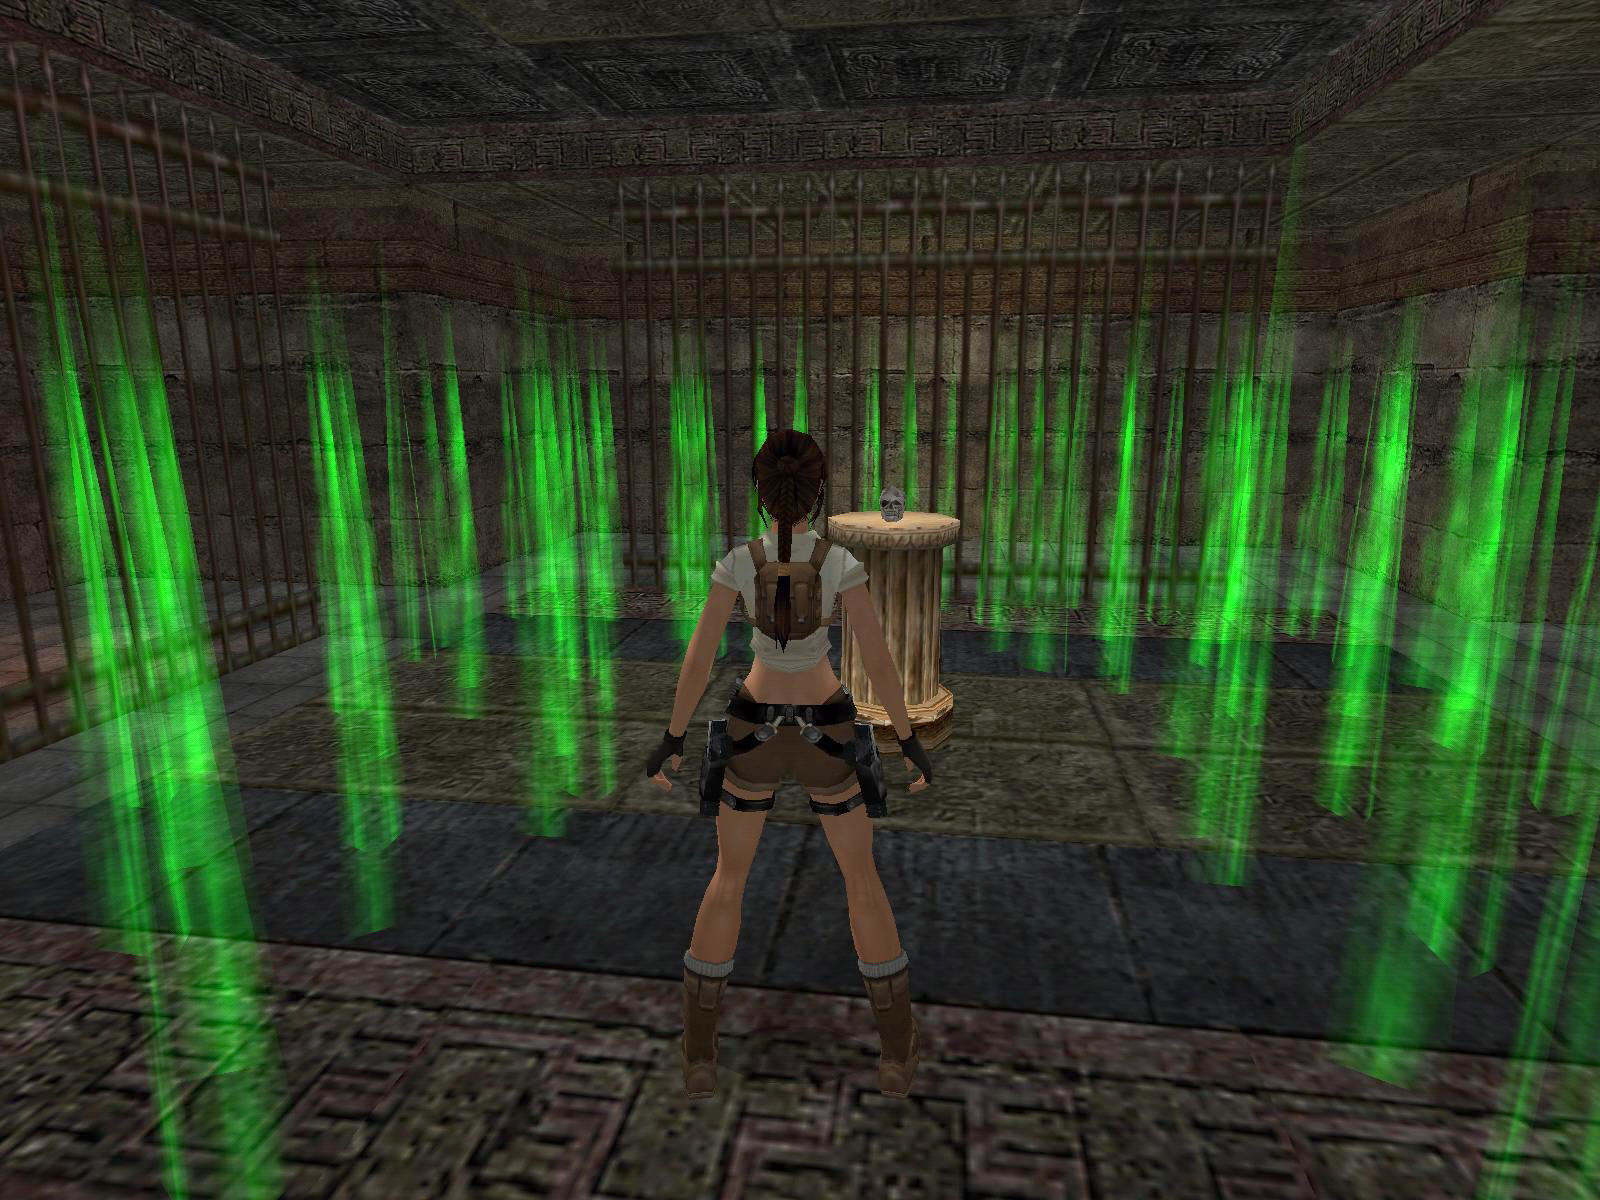
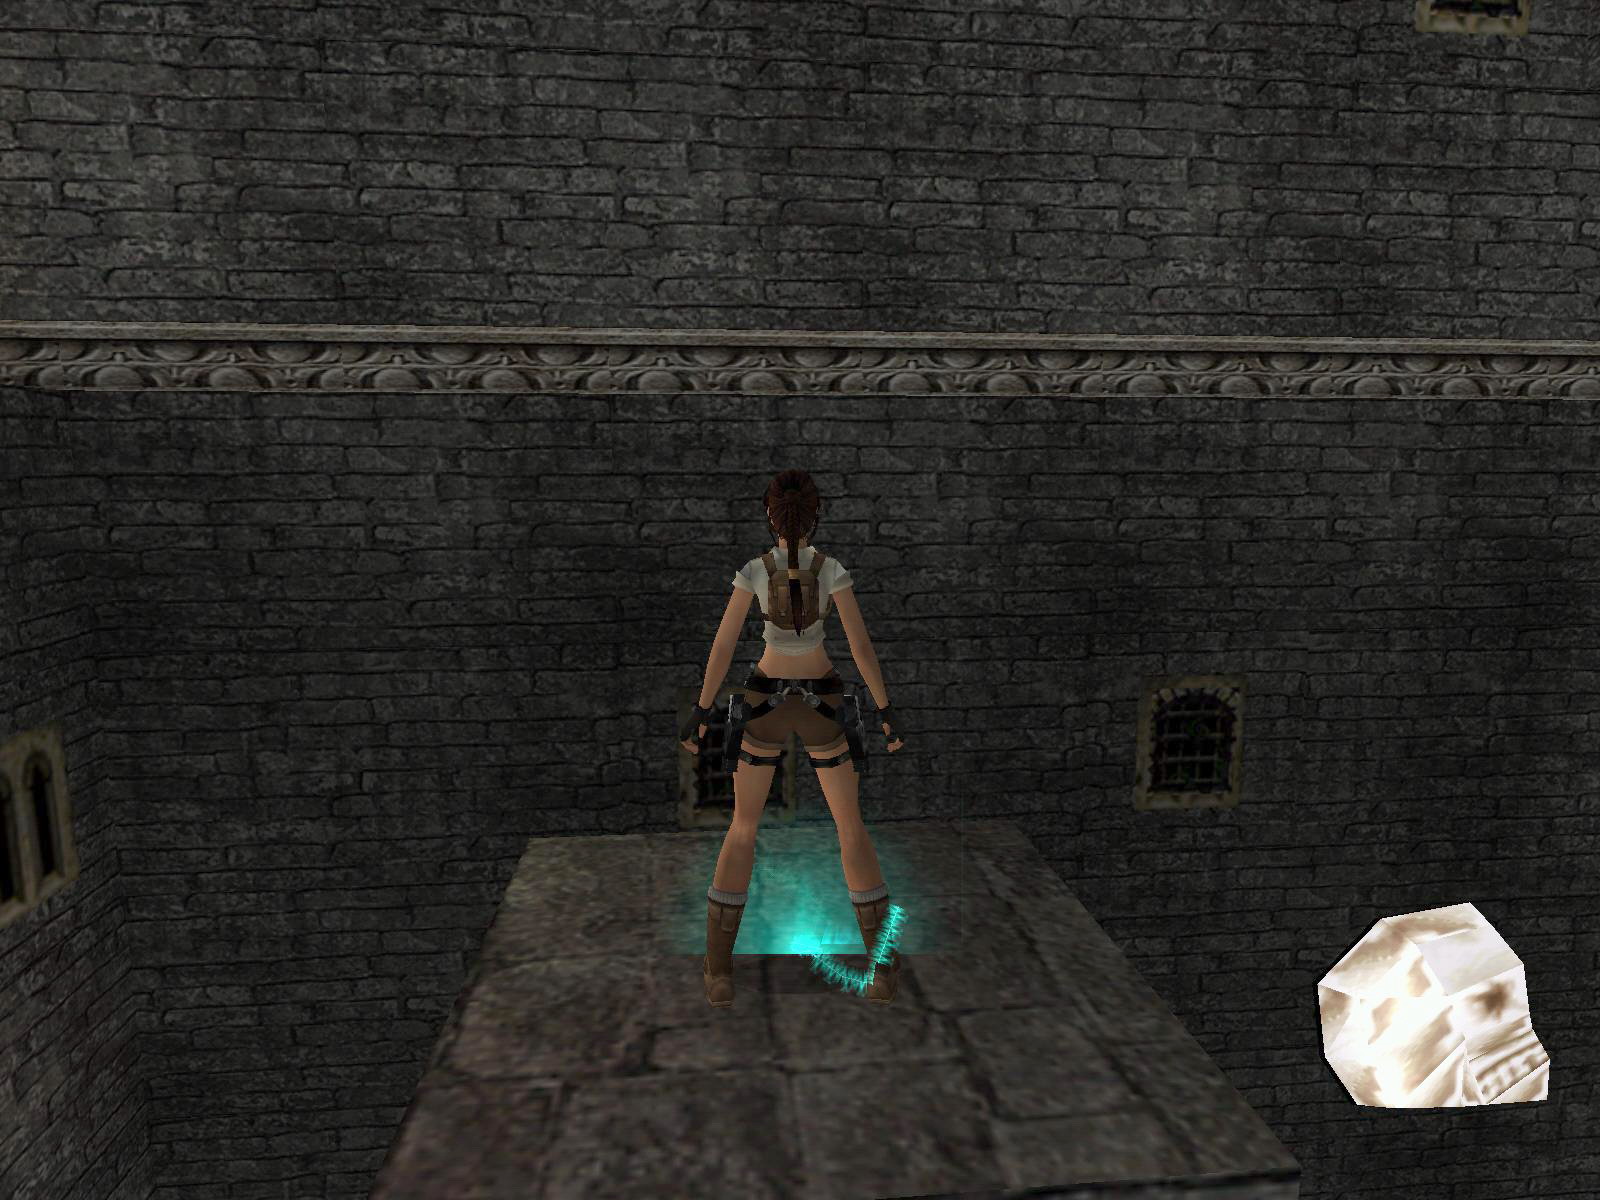
In the SE is a pushable Skull cage and it goes onto the marked tile in the NE. A path is cleared in the spiky area so you can get the Skull form the pedestal. Go back to the Main Room and place the Skull between the W gates, go in.
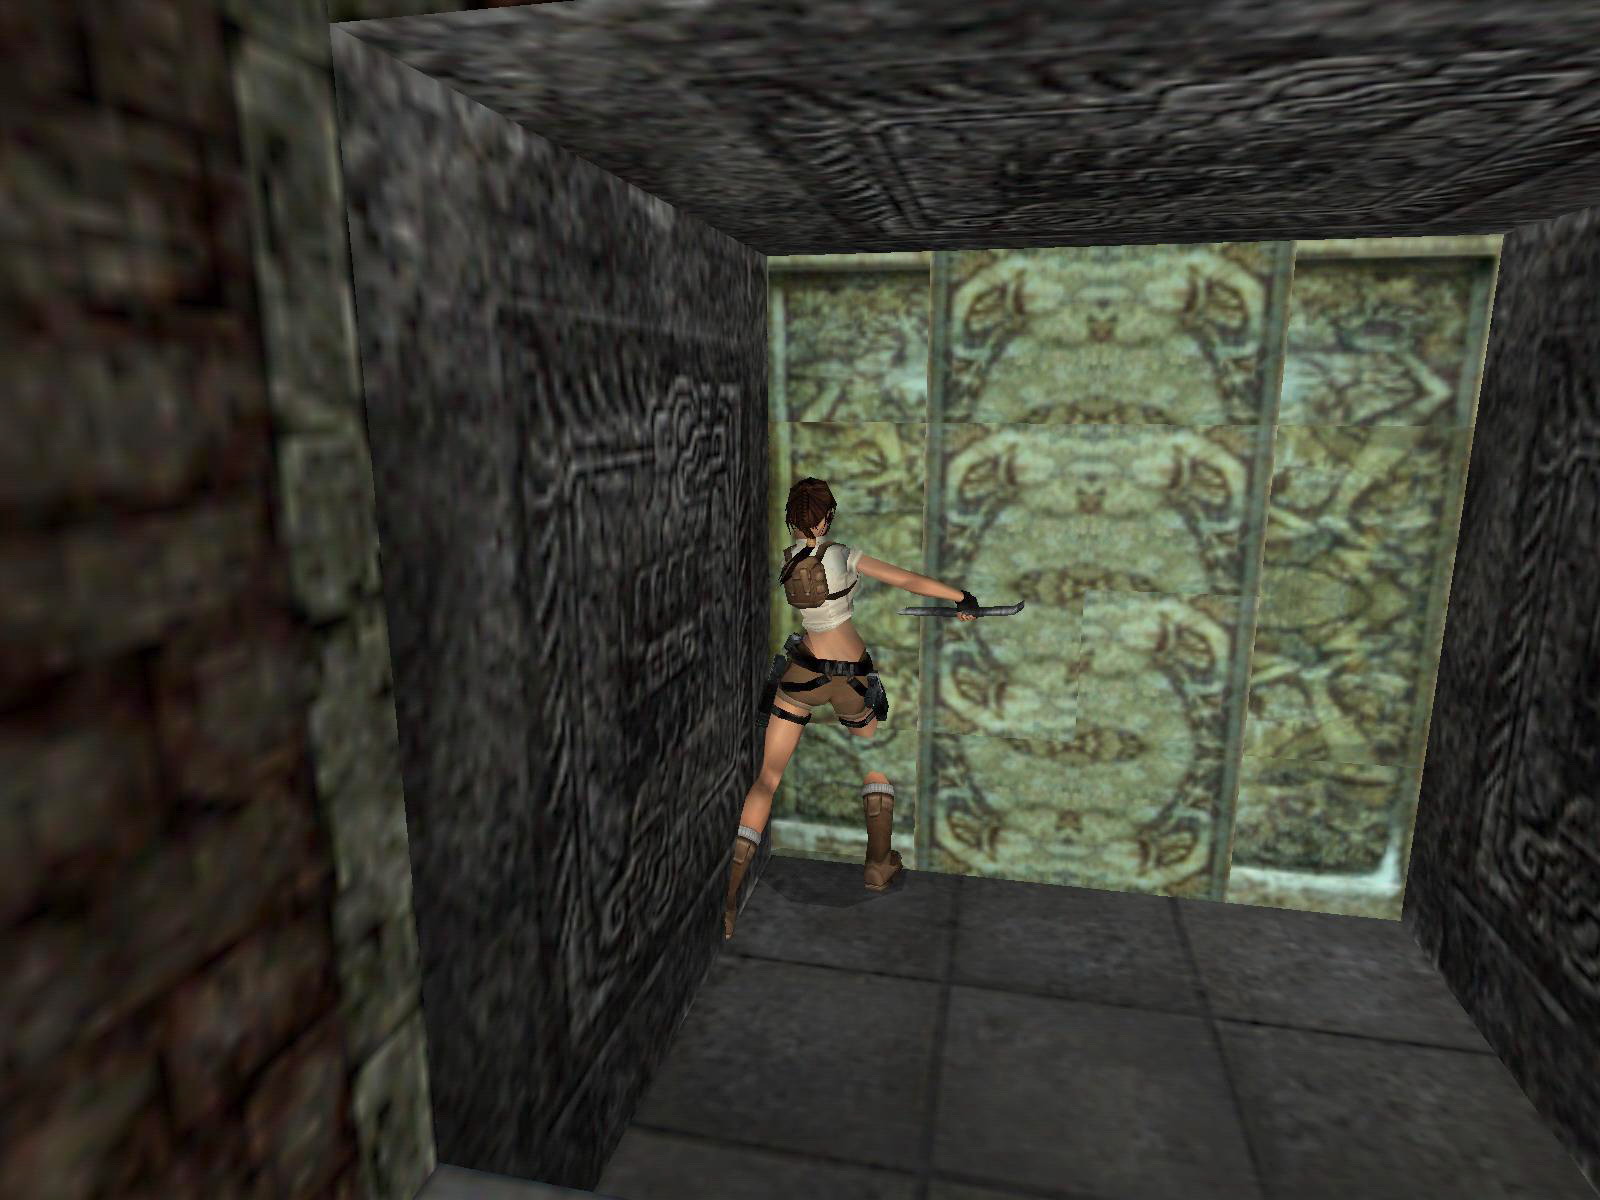
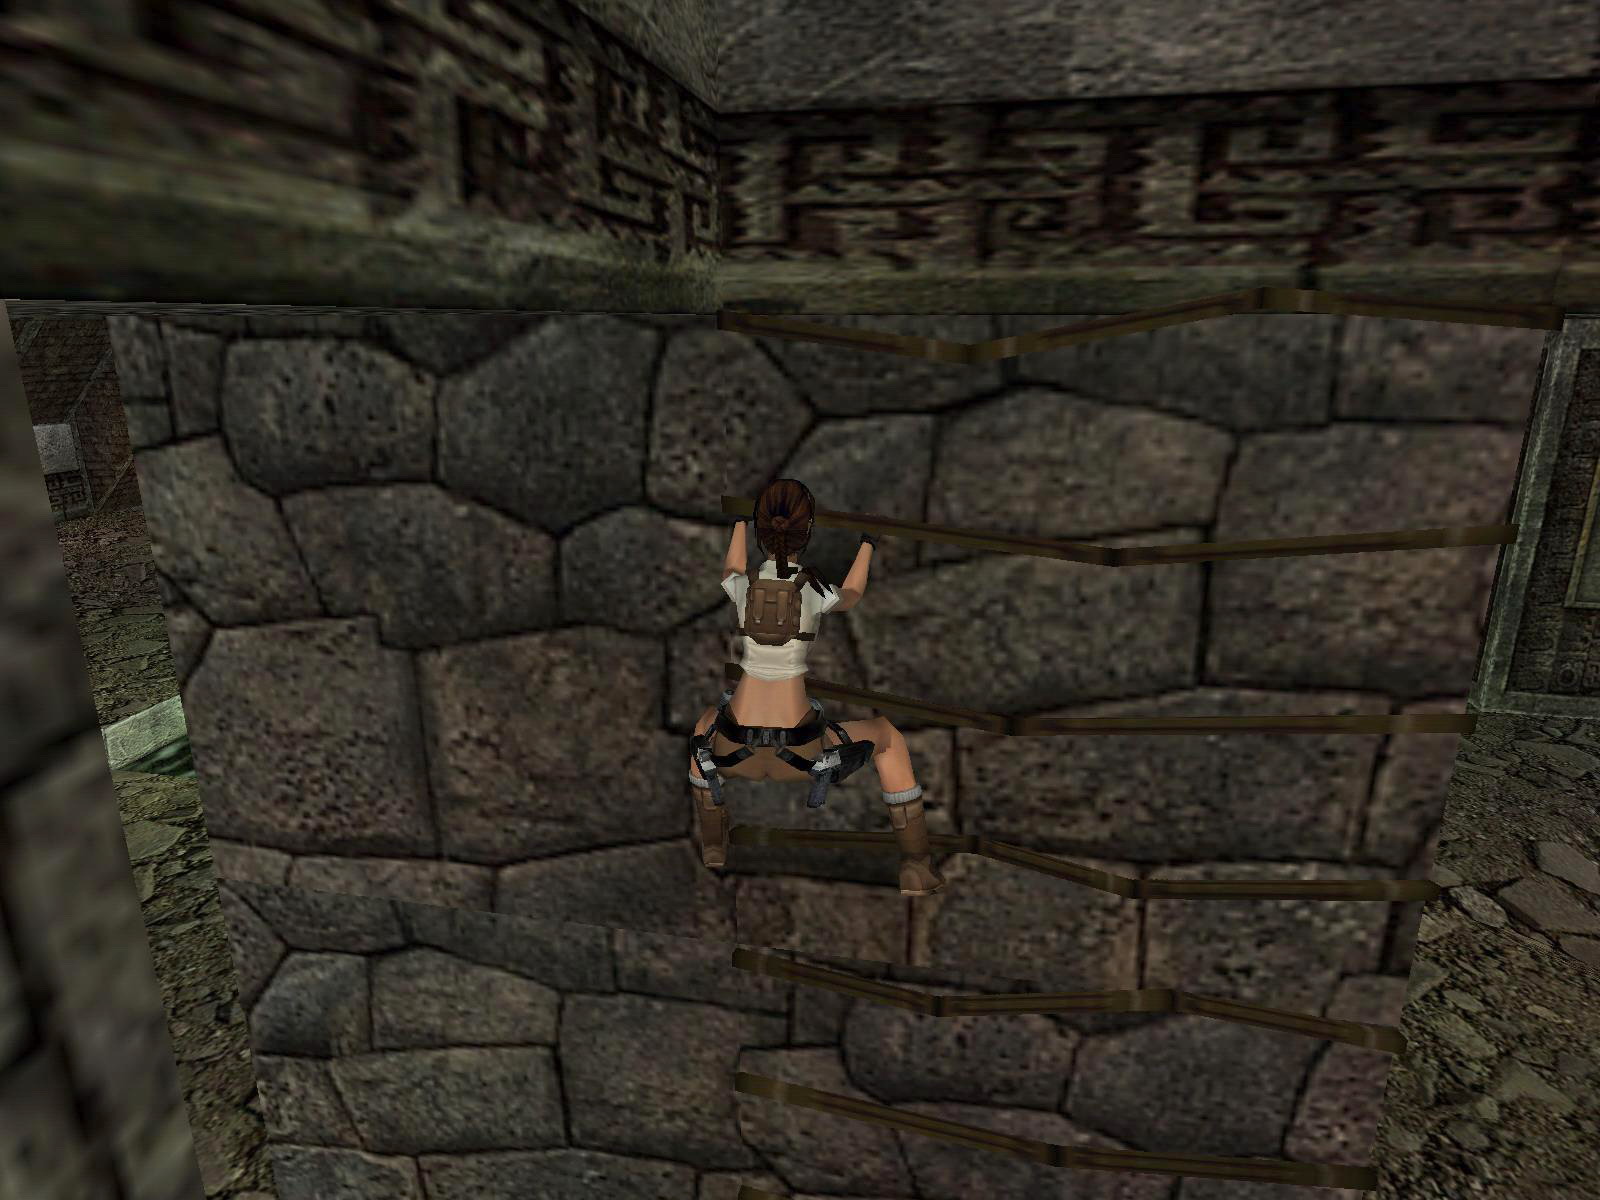
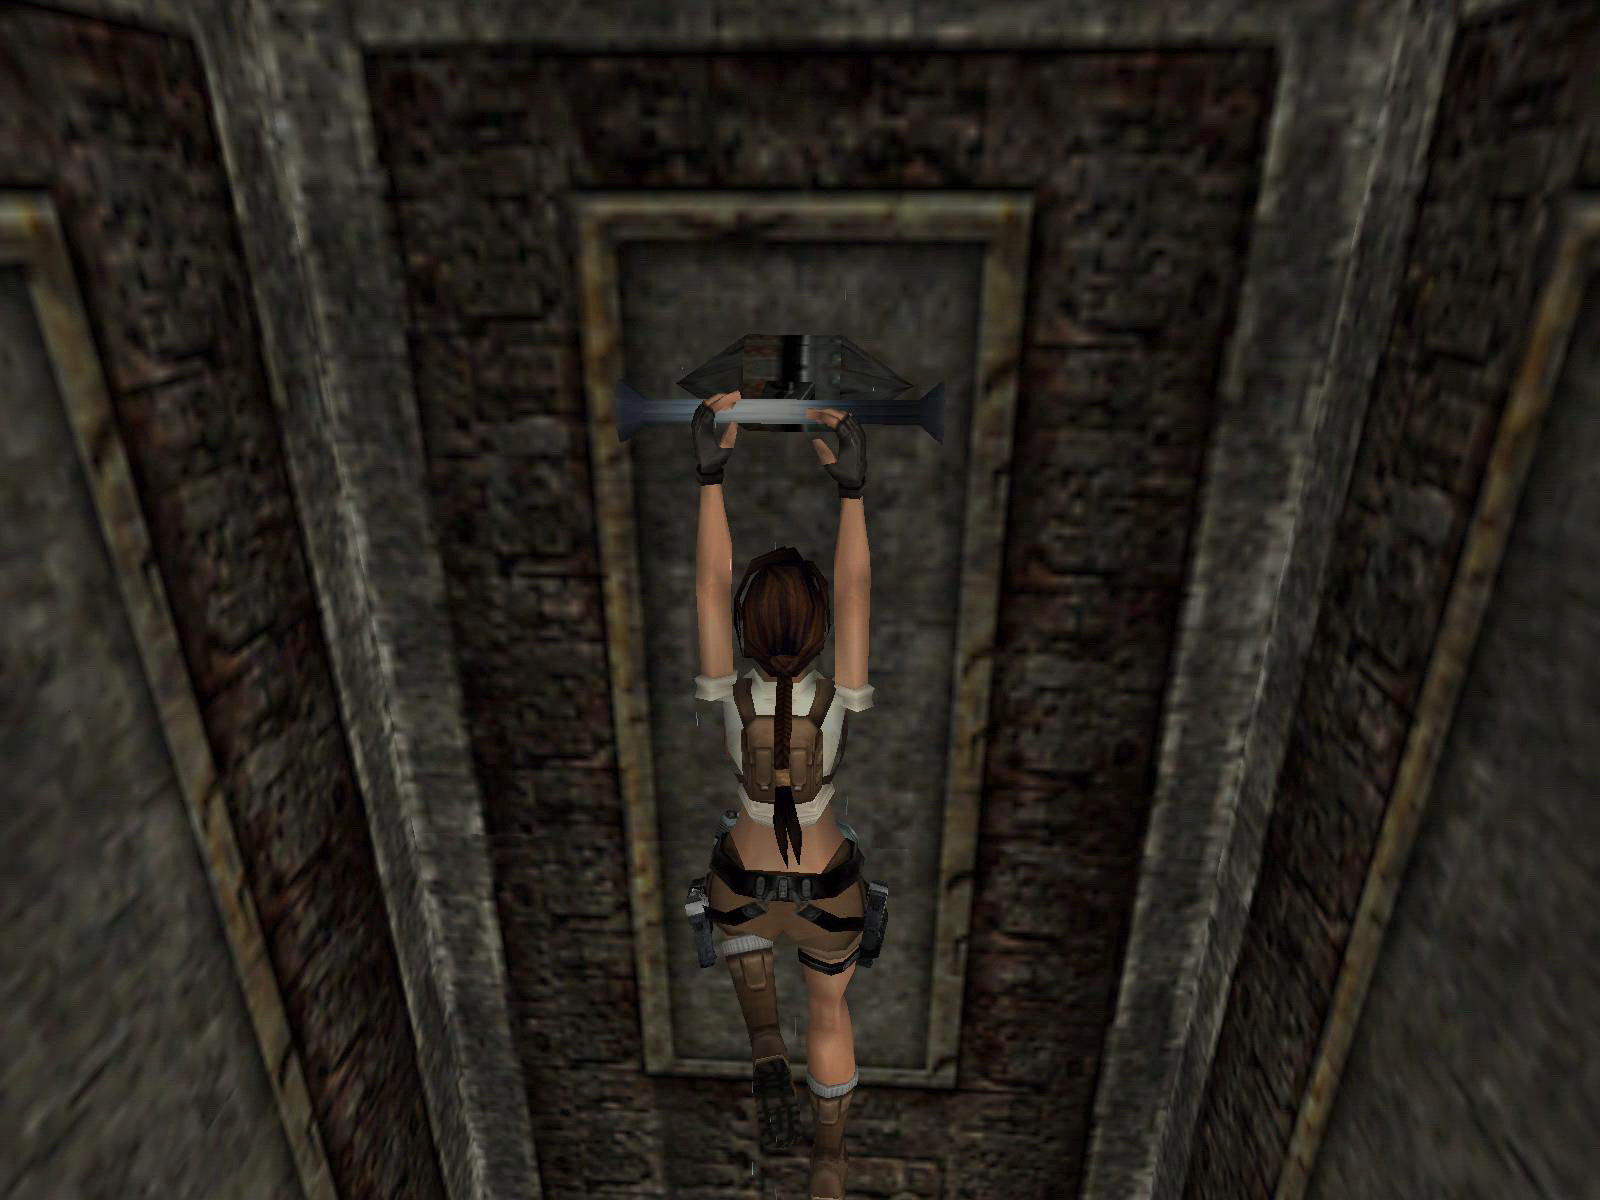
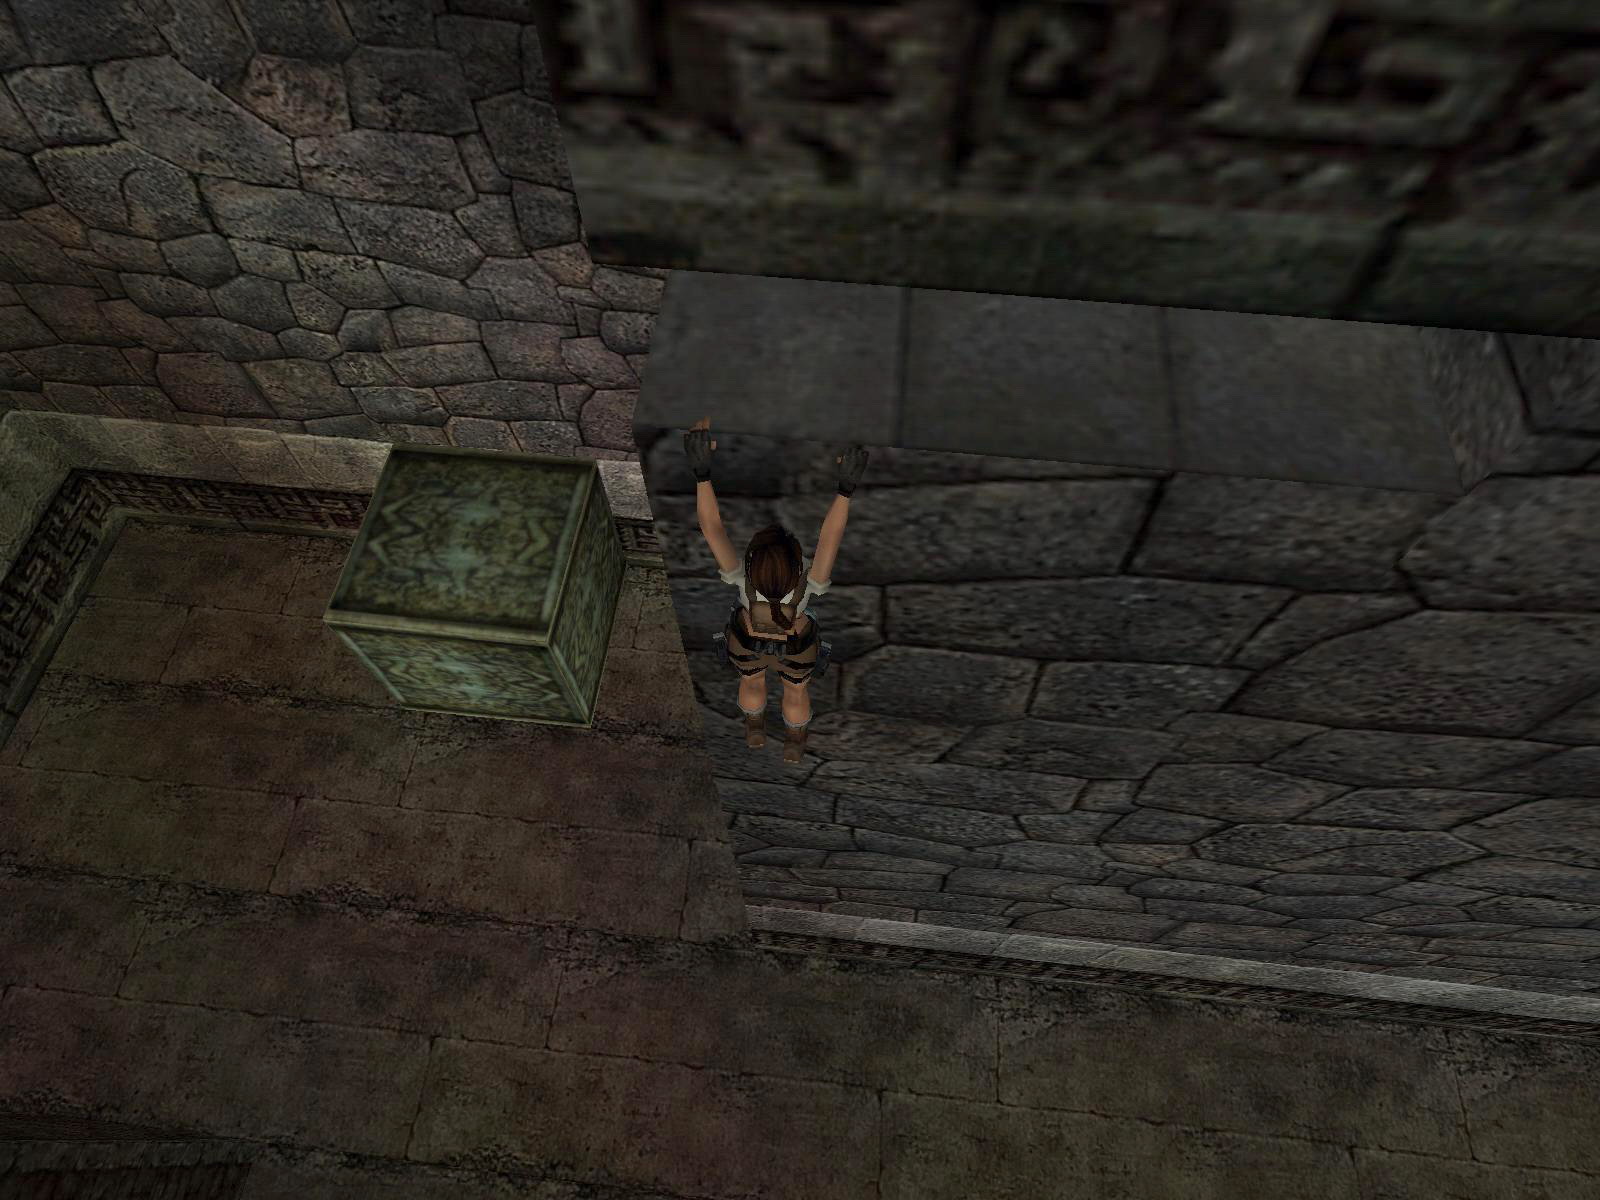
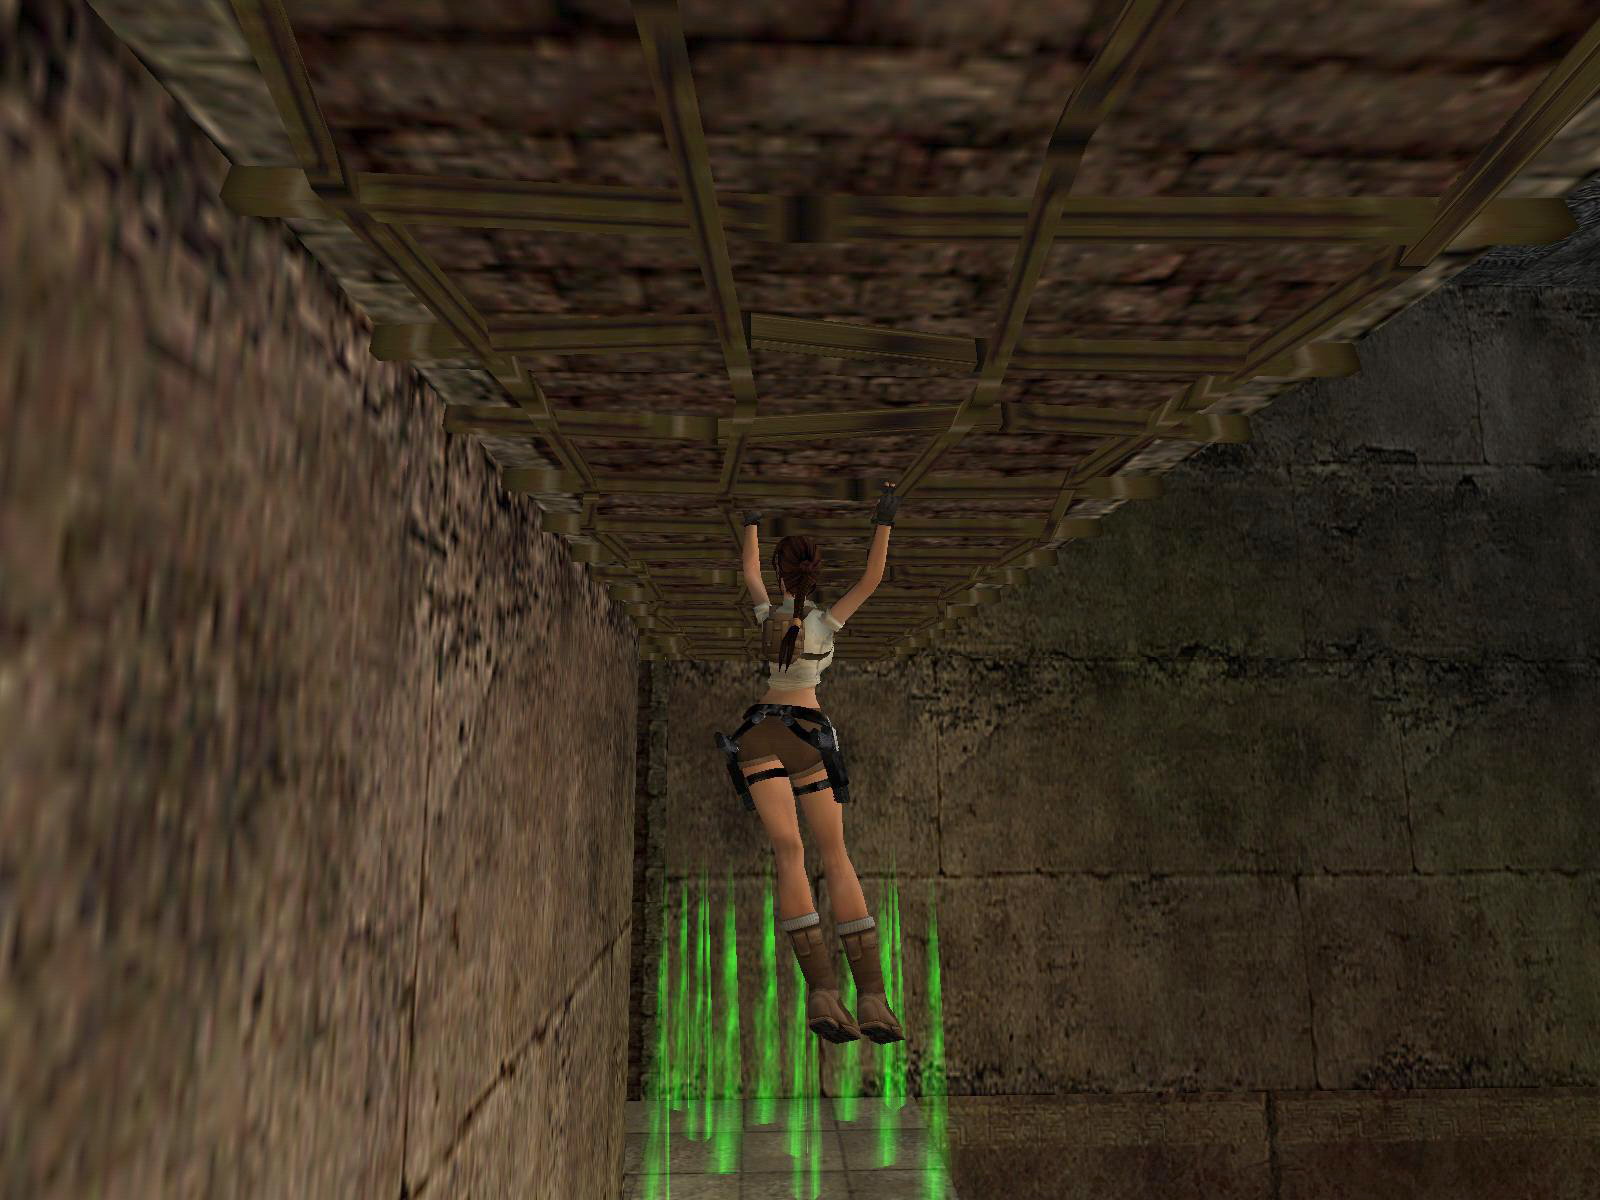
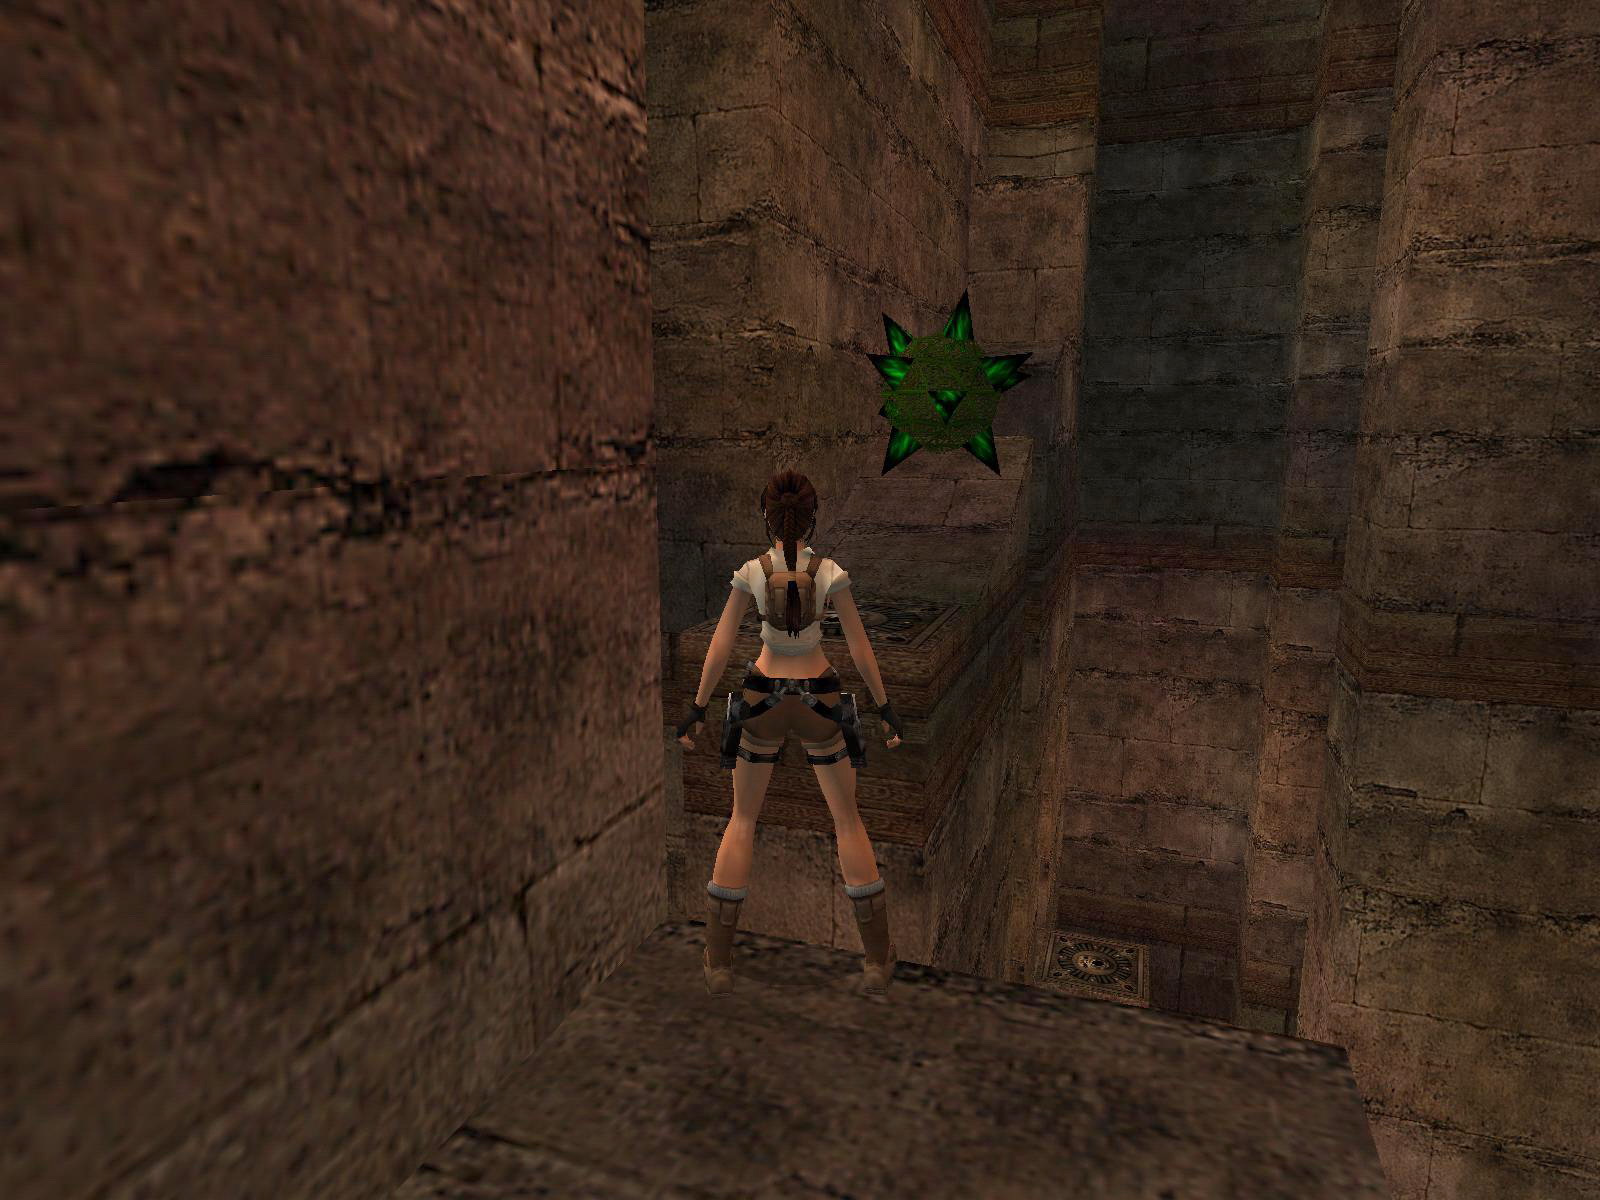
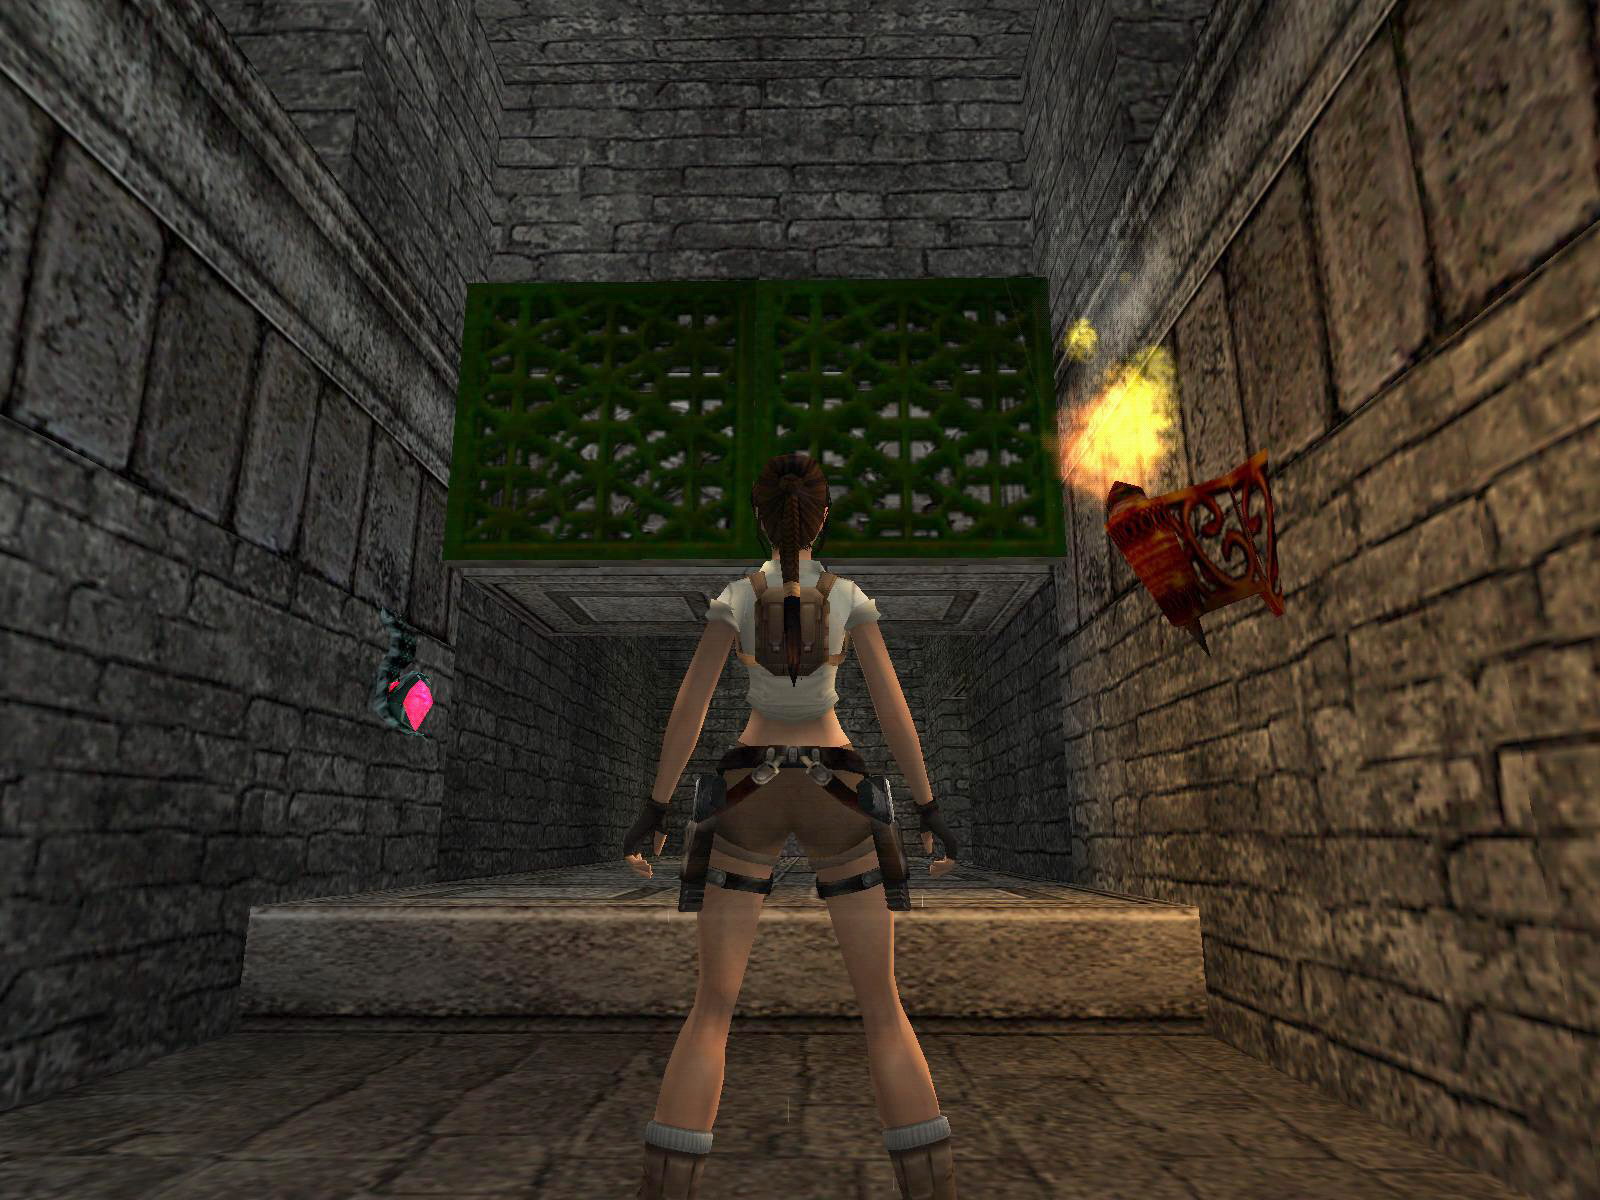
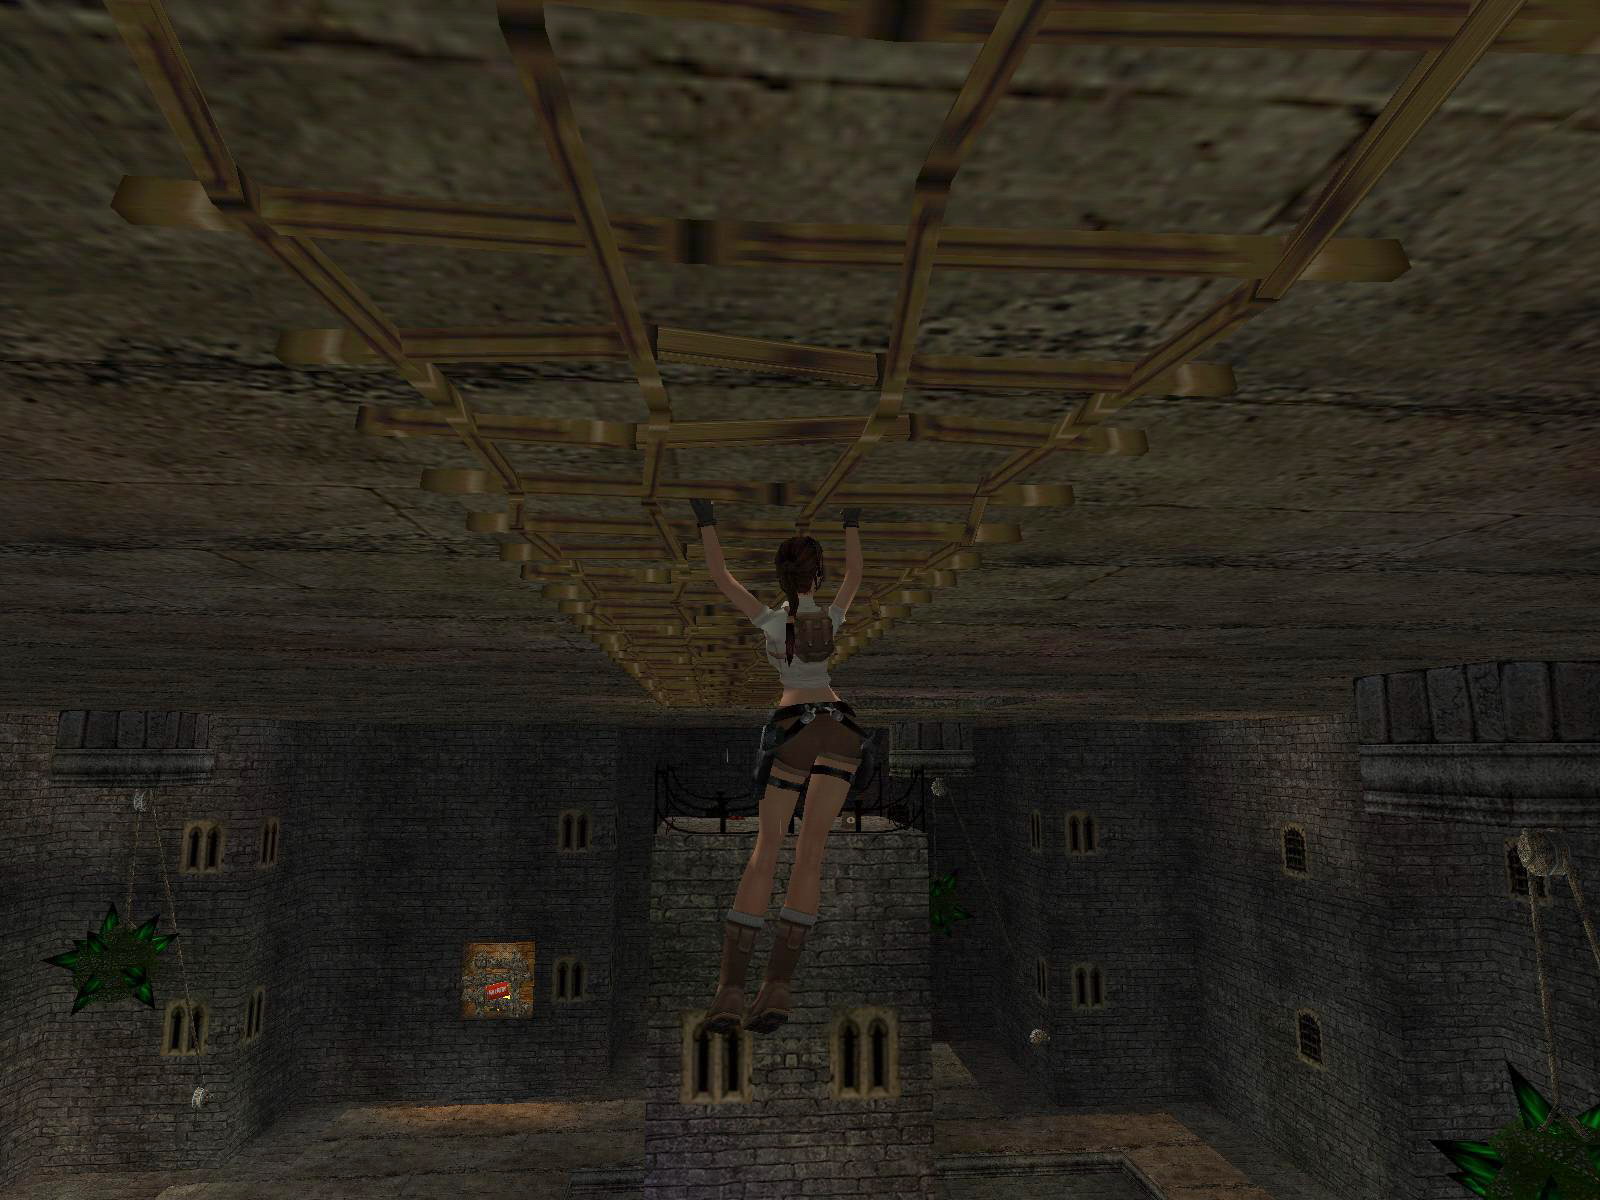
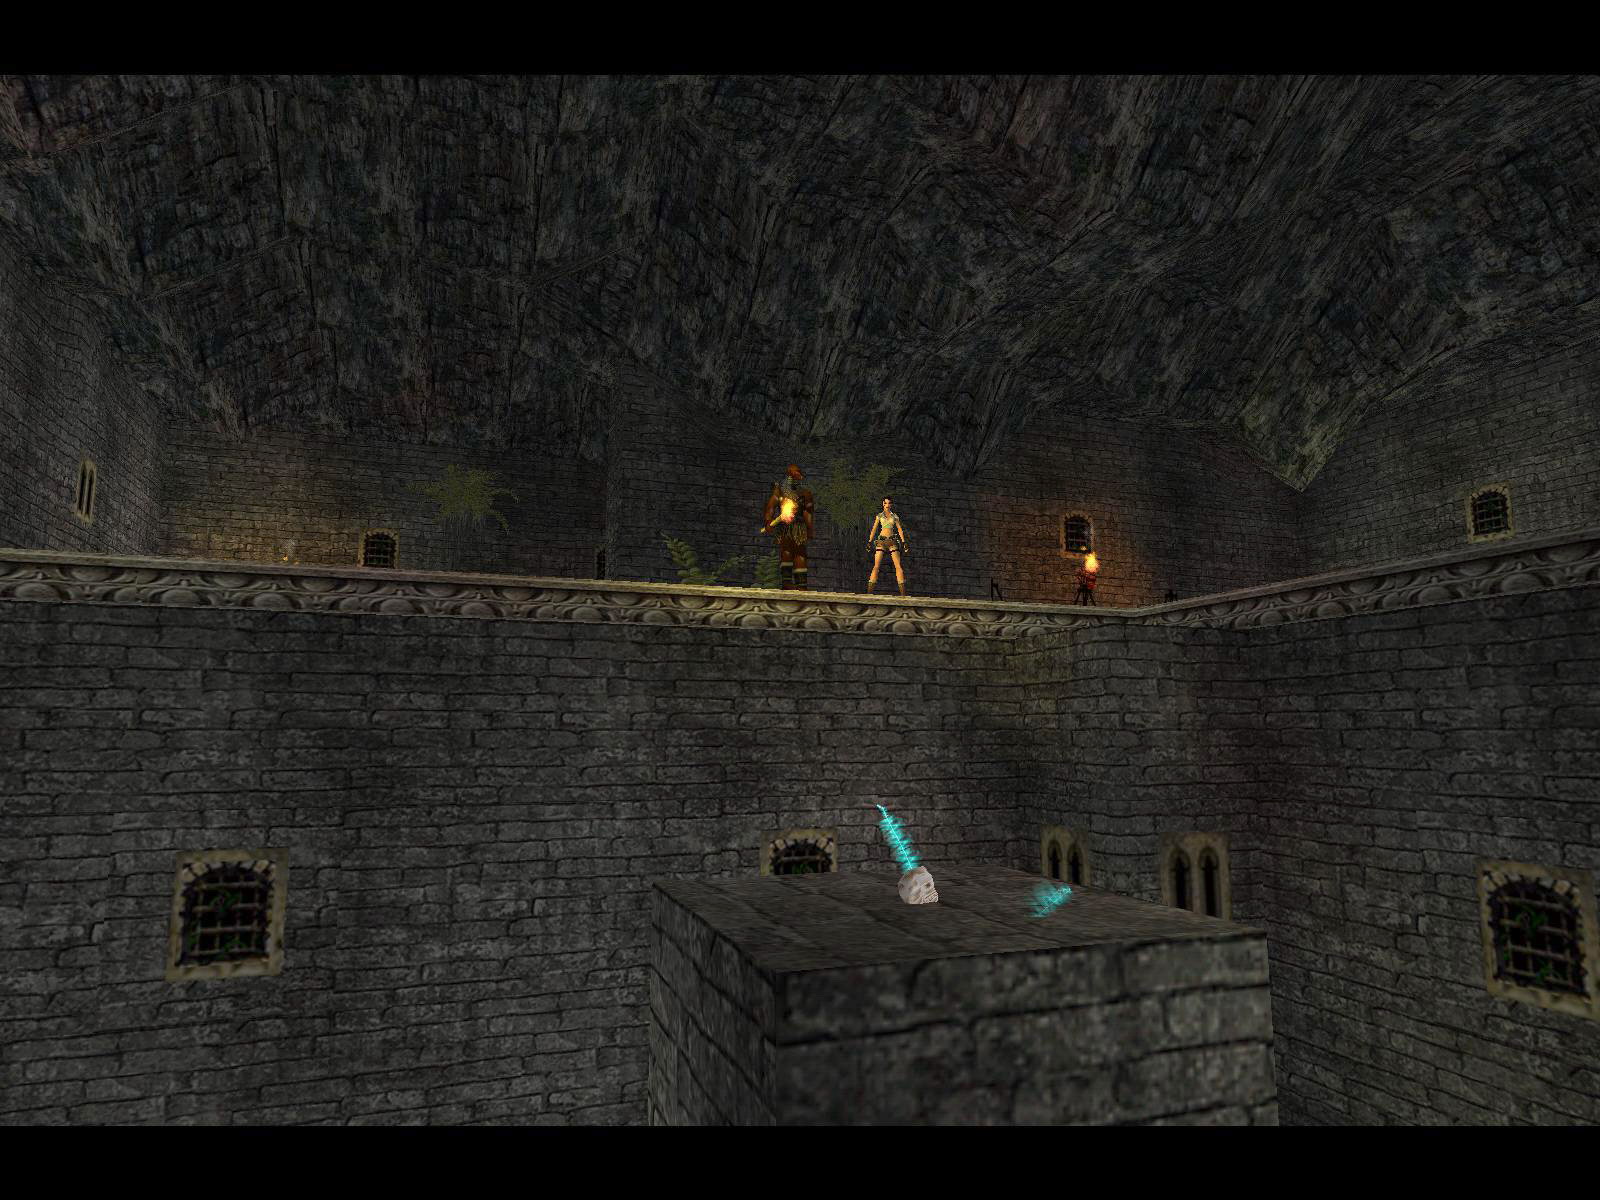
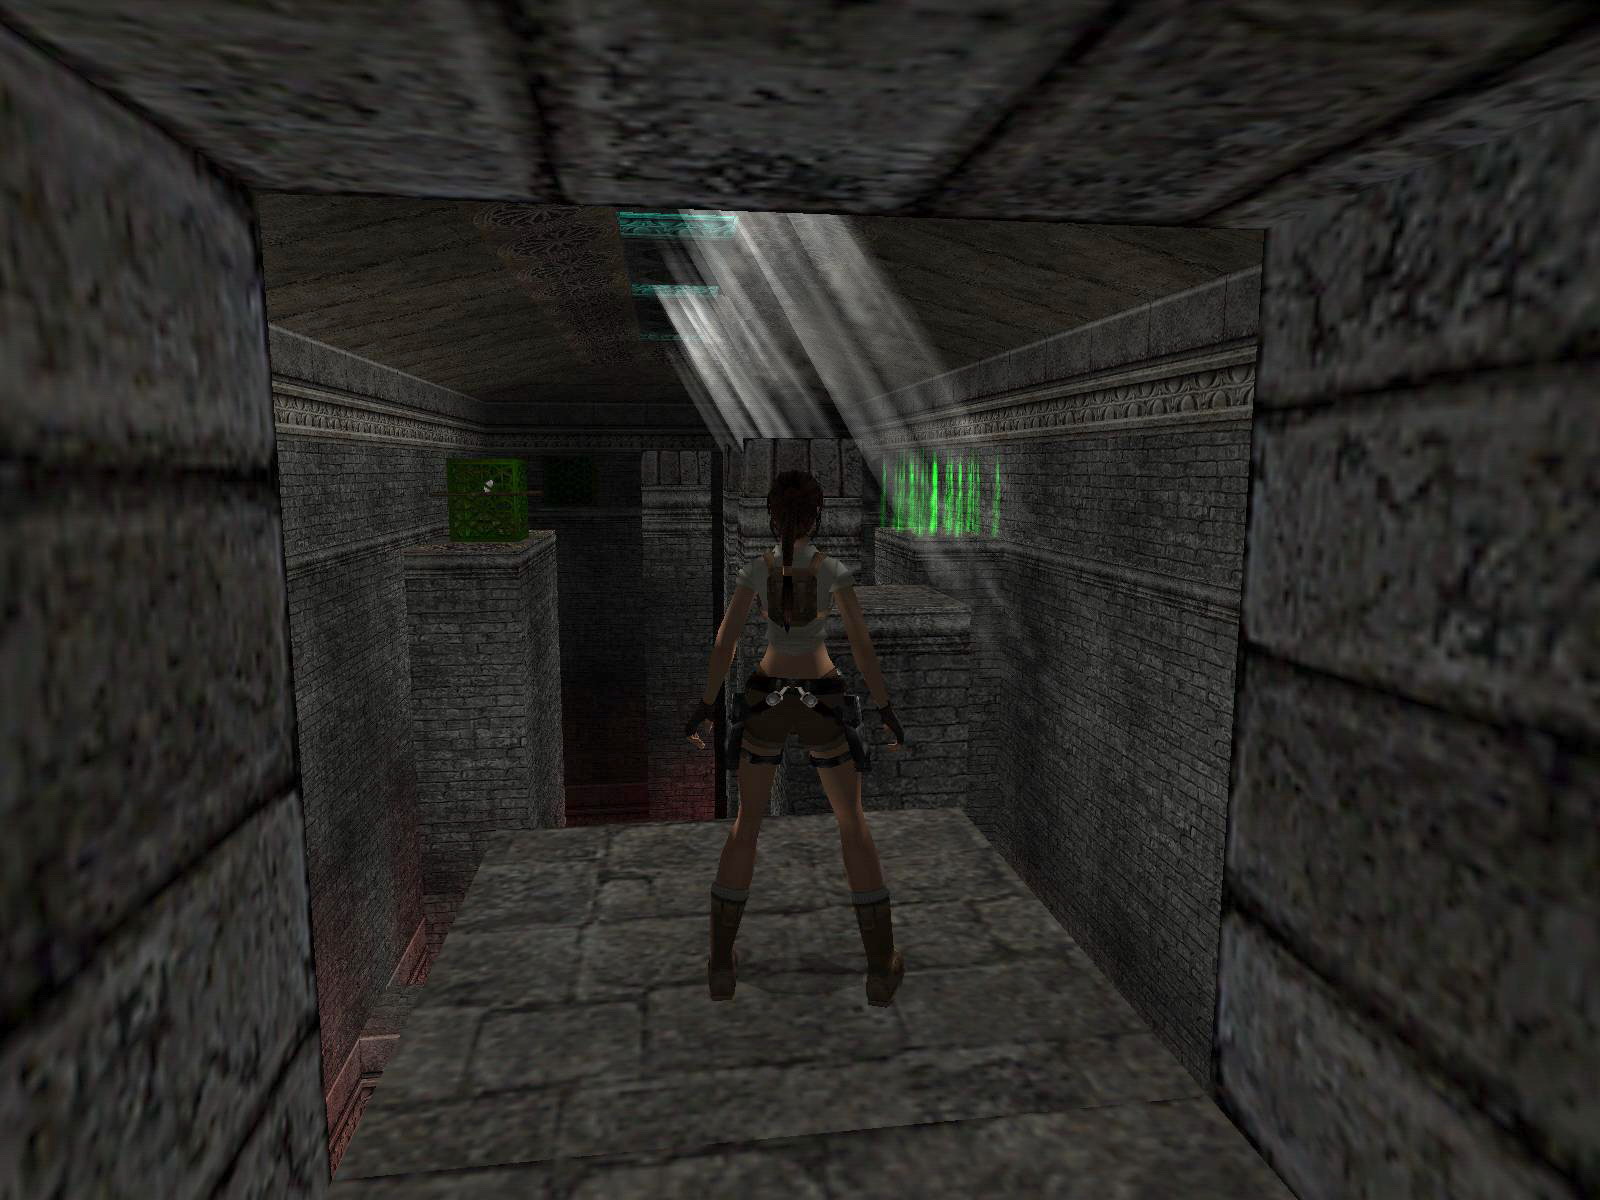
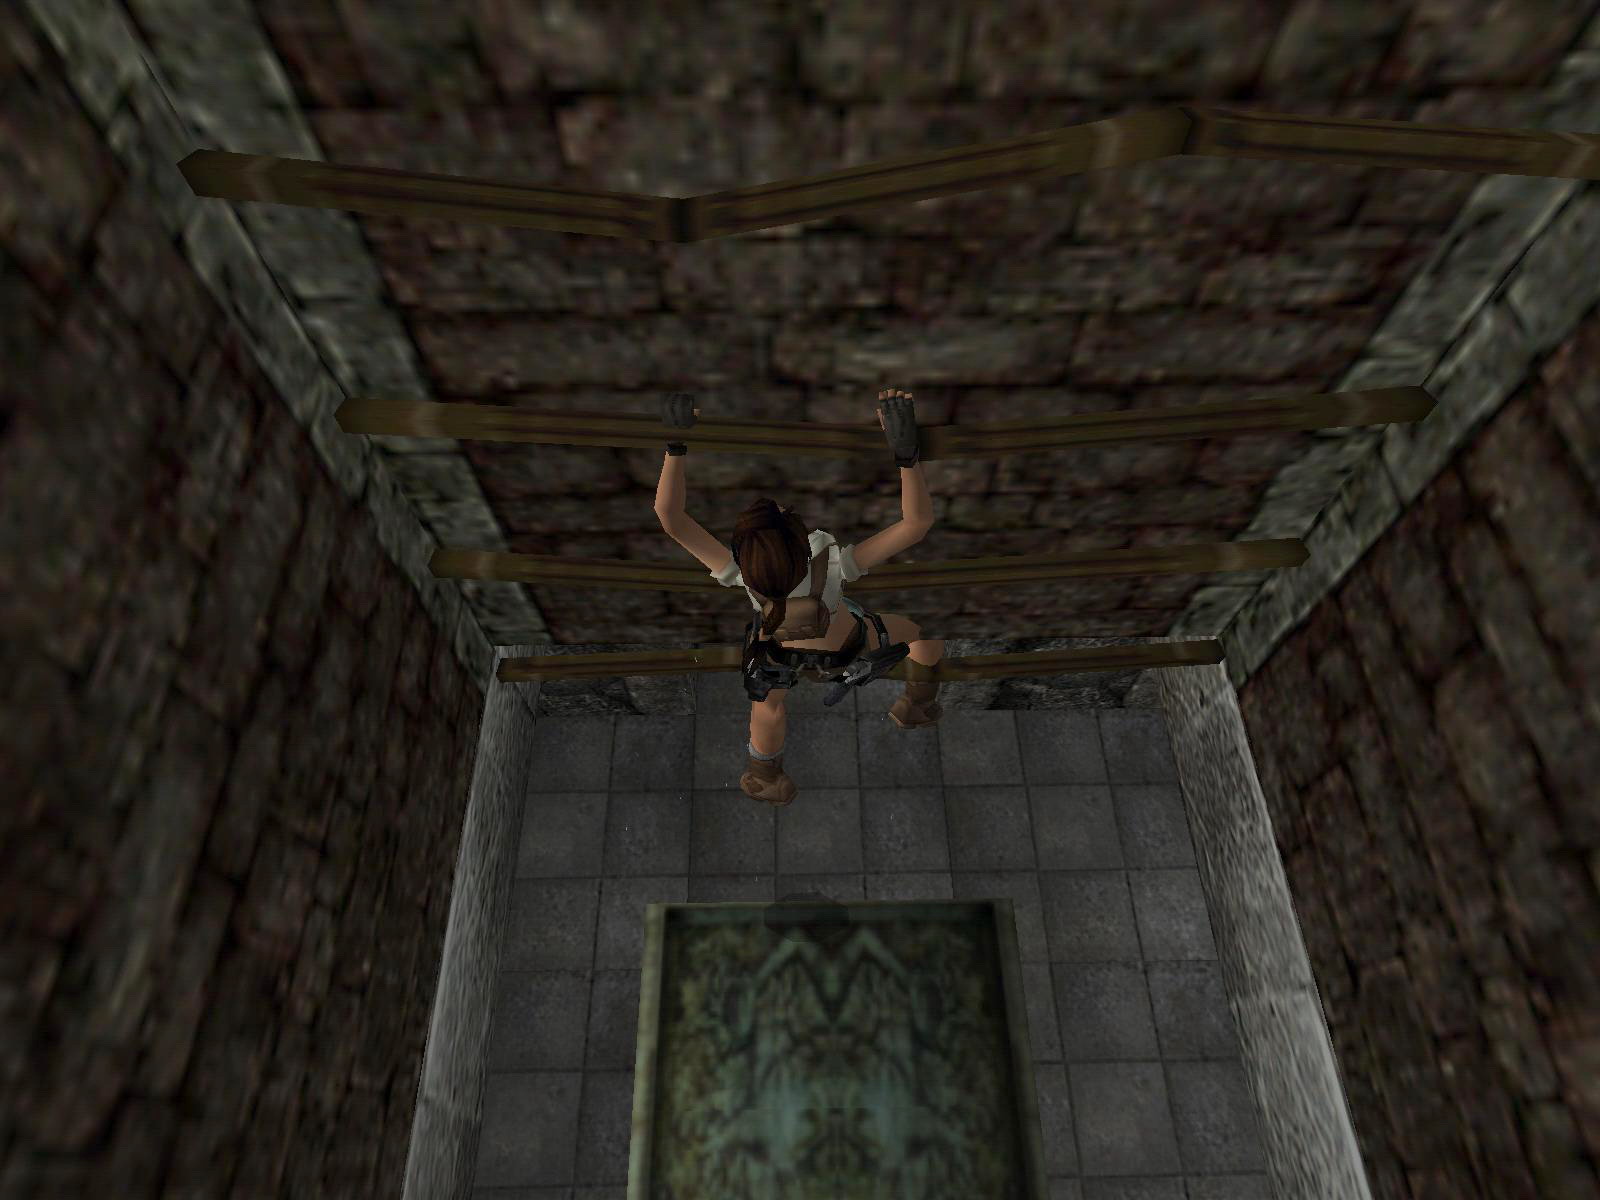
In the NW of this room are Flares, and on the W wall is a timed lever for a block near the N wall where you have to jump up and grab the ladder left (W) to climb up. In the NW corner is a Medipack, look up there and behind the greenery on the N wall is a crawlspace. In the back you'll find SECRET # 1, Explosive Arrows.
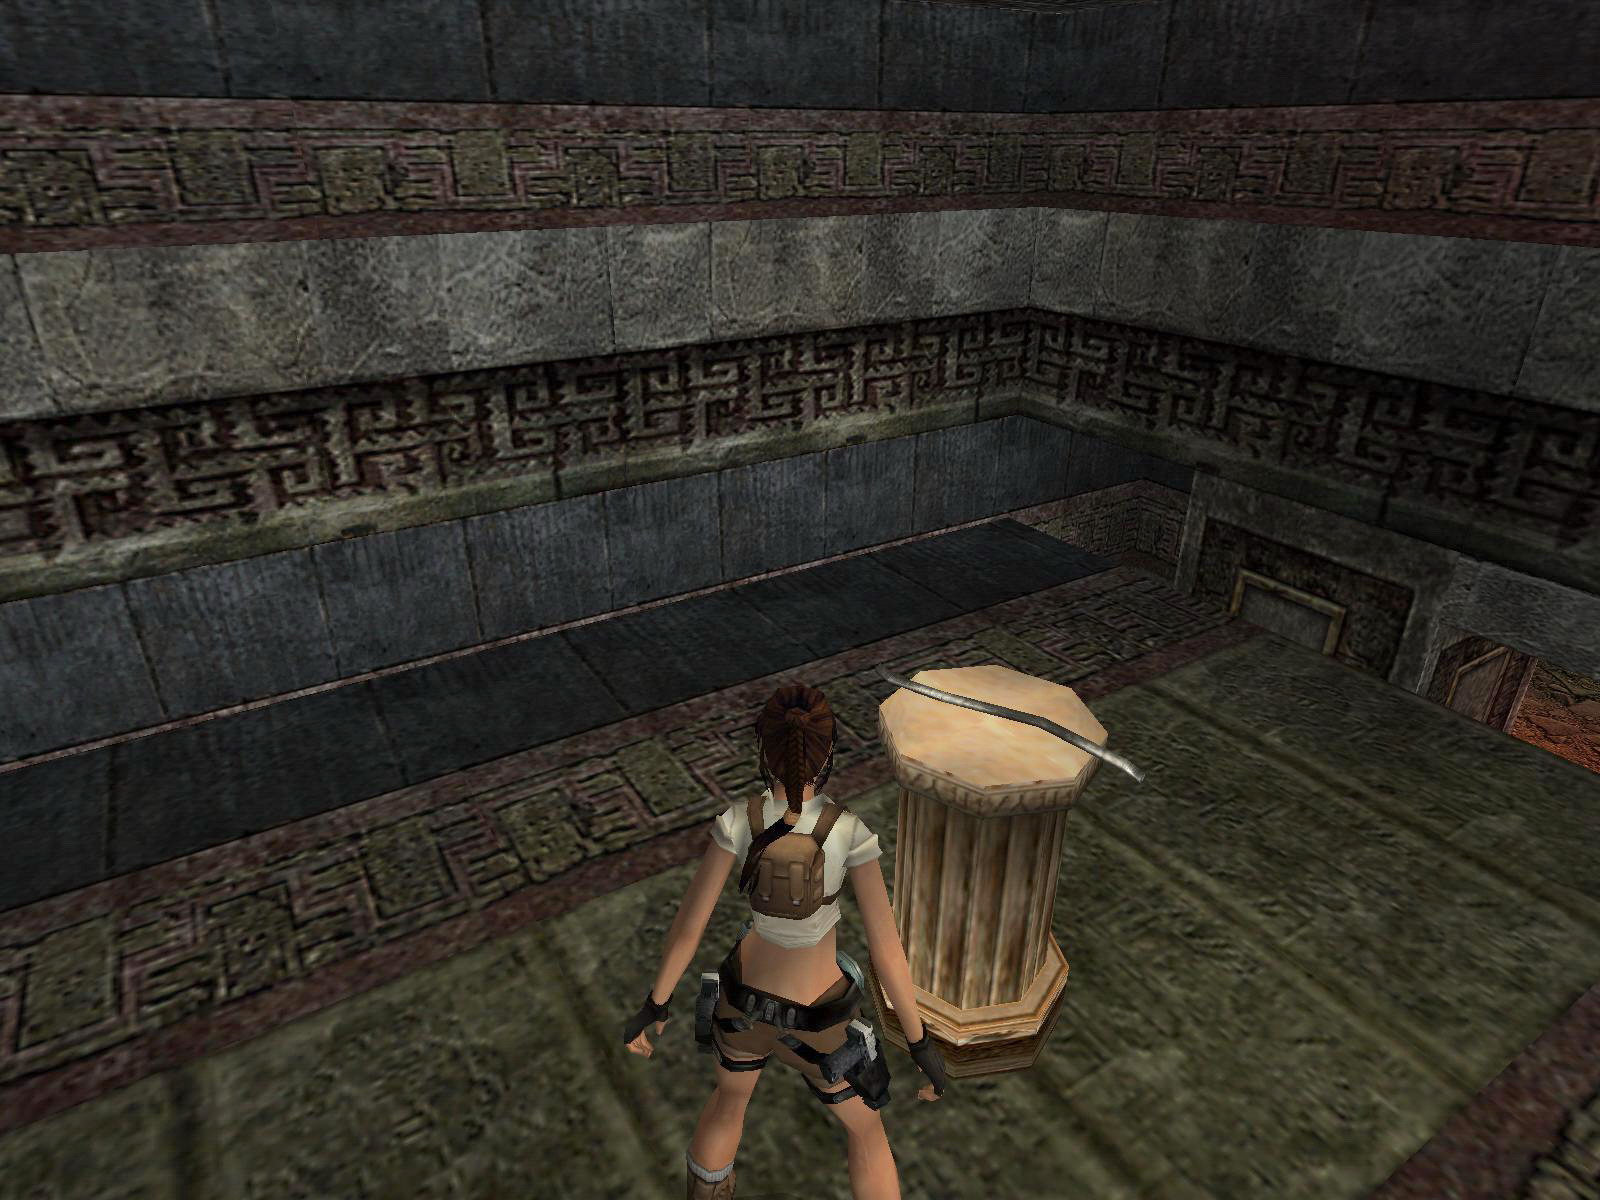
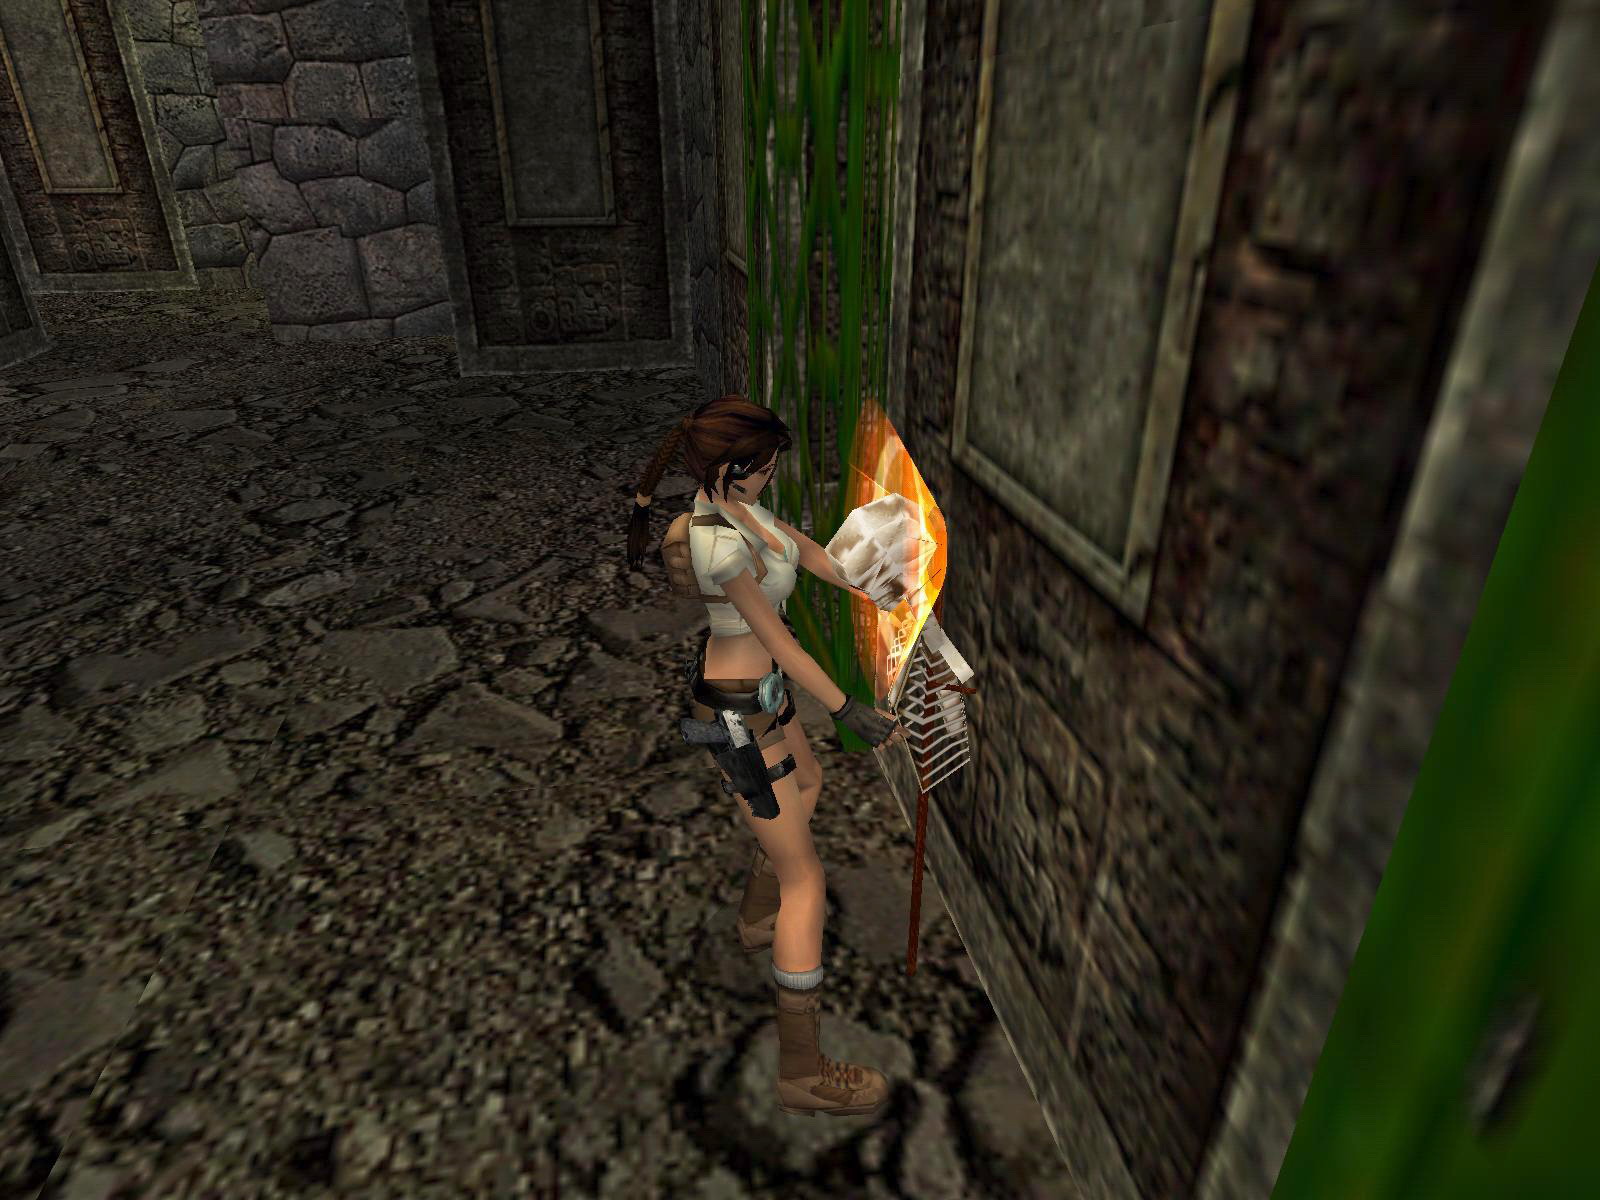
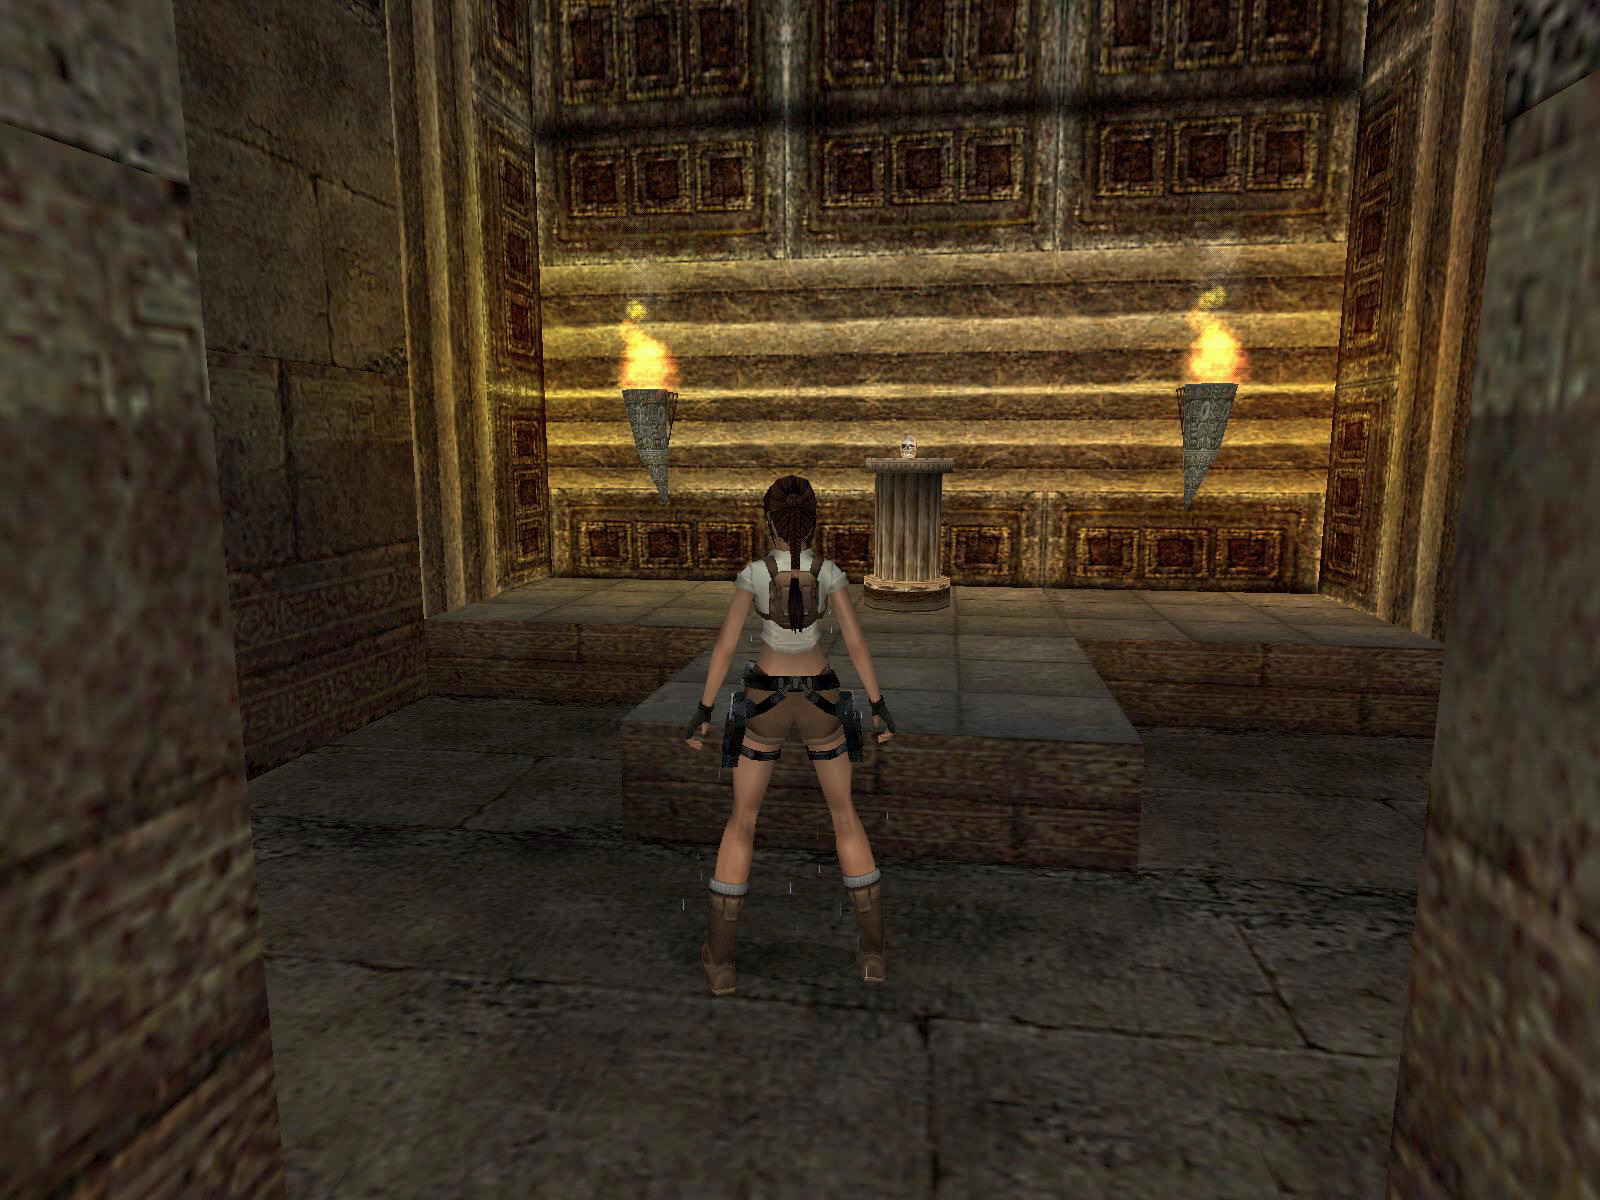
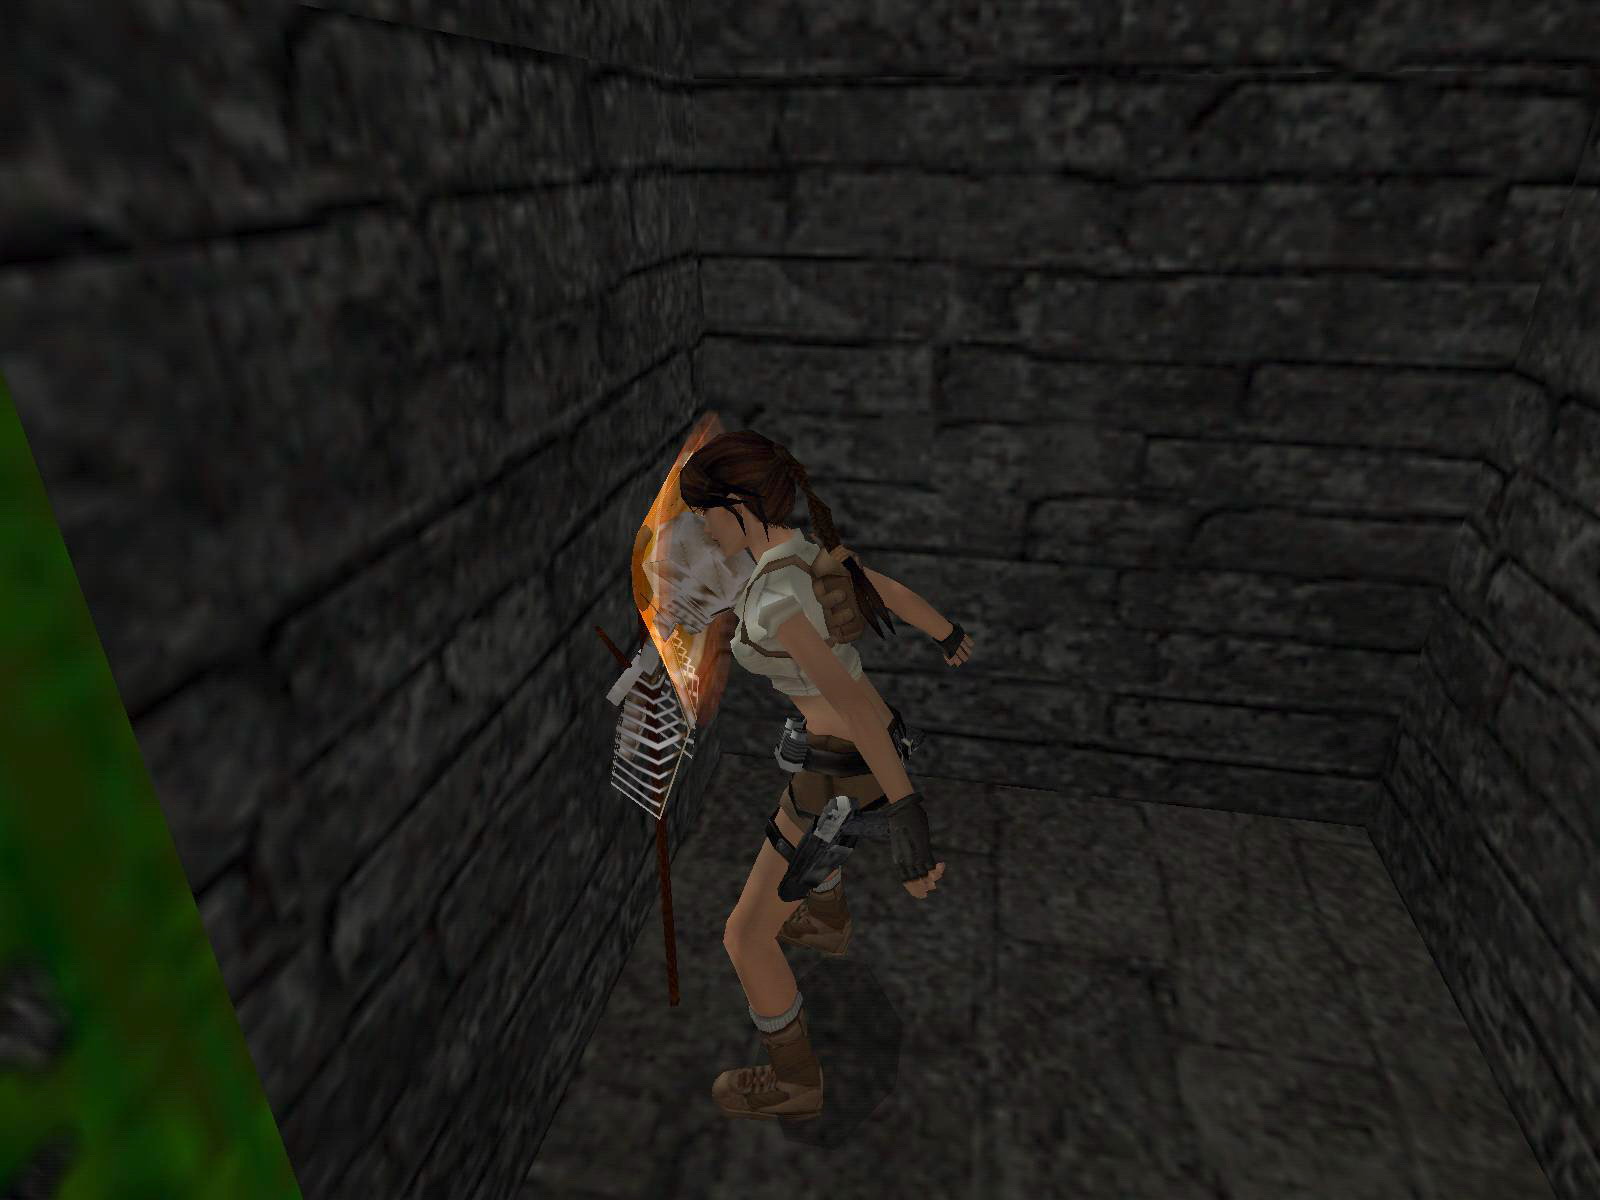
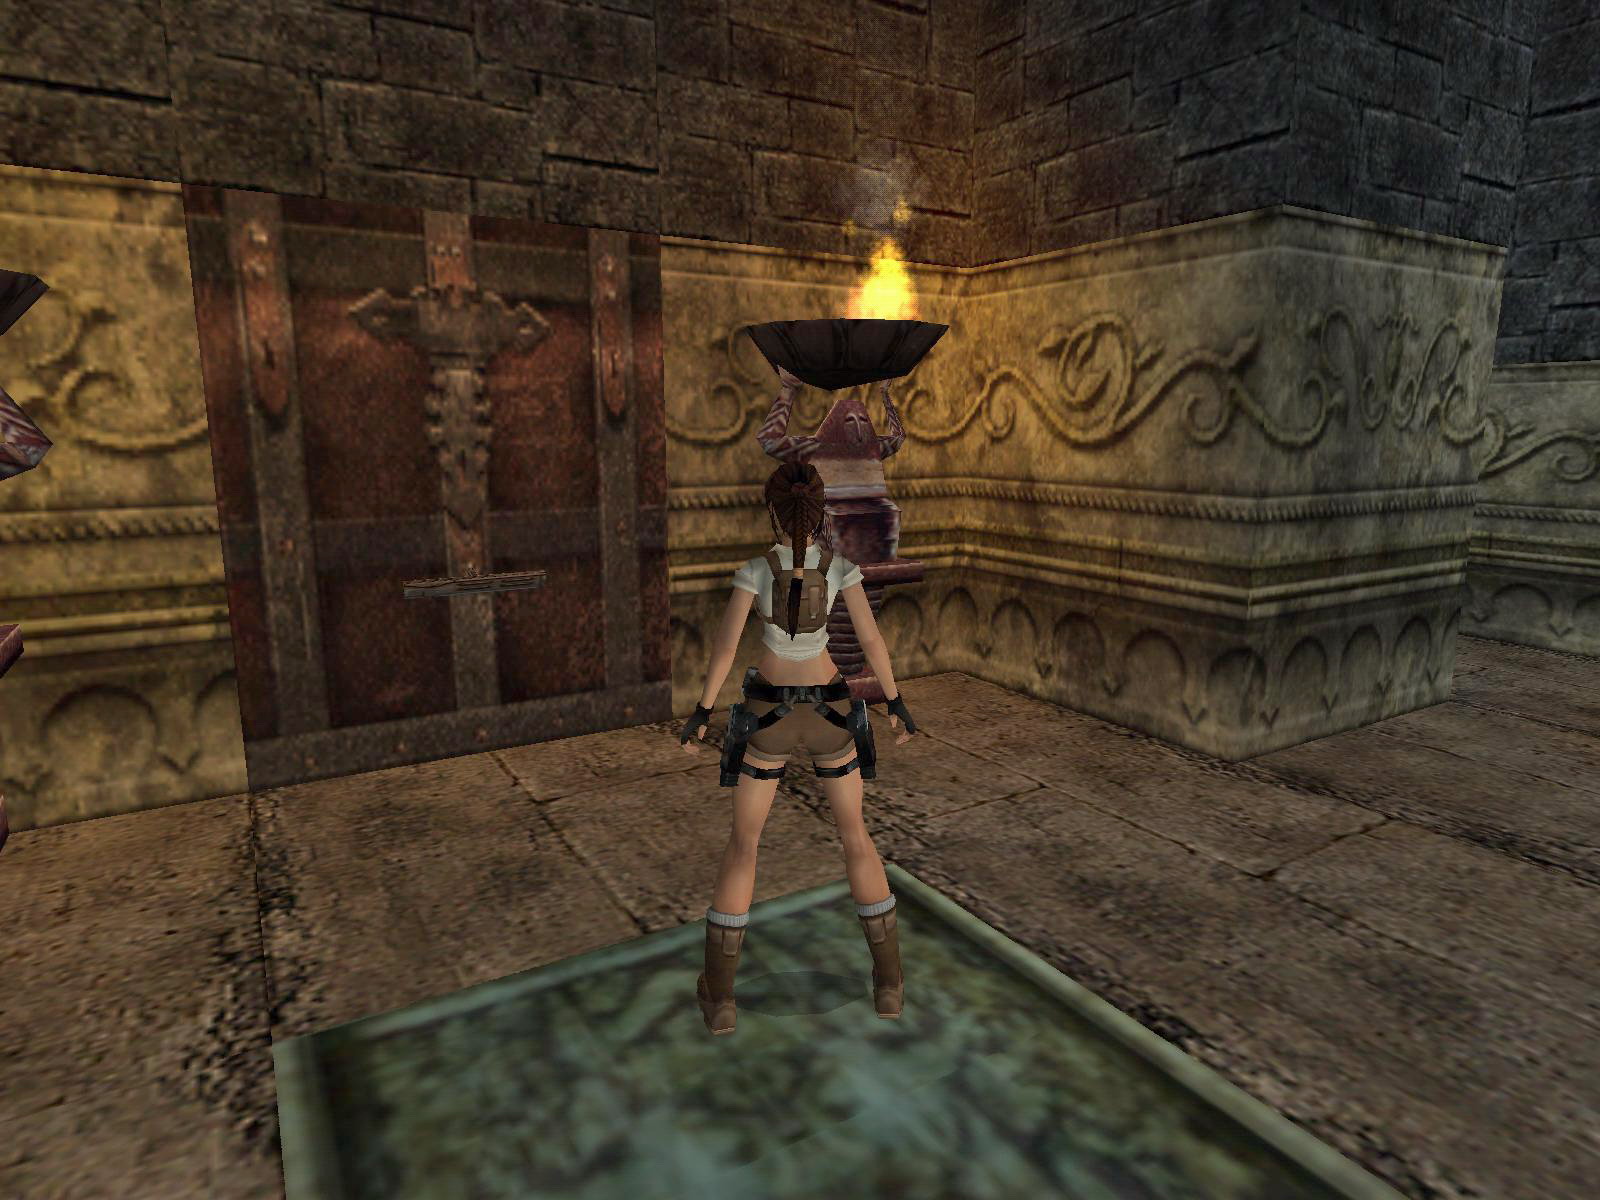
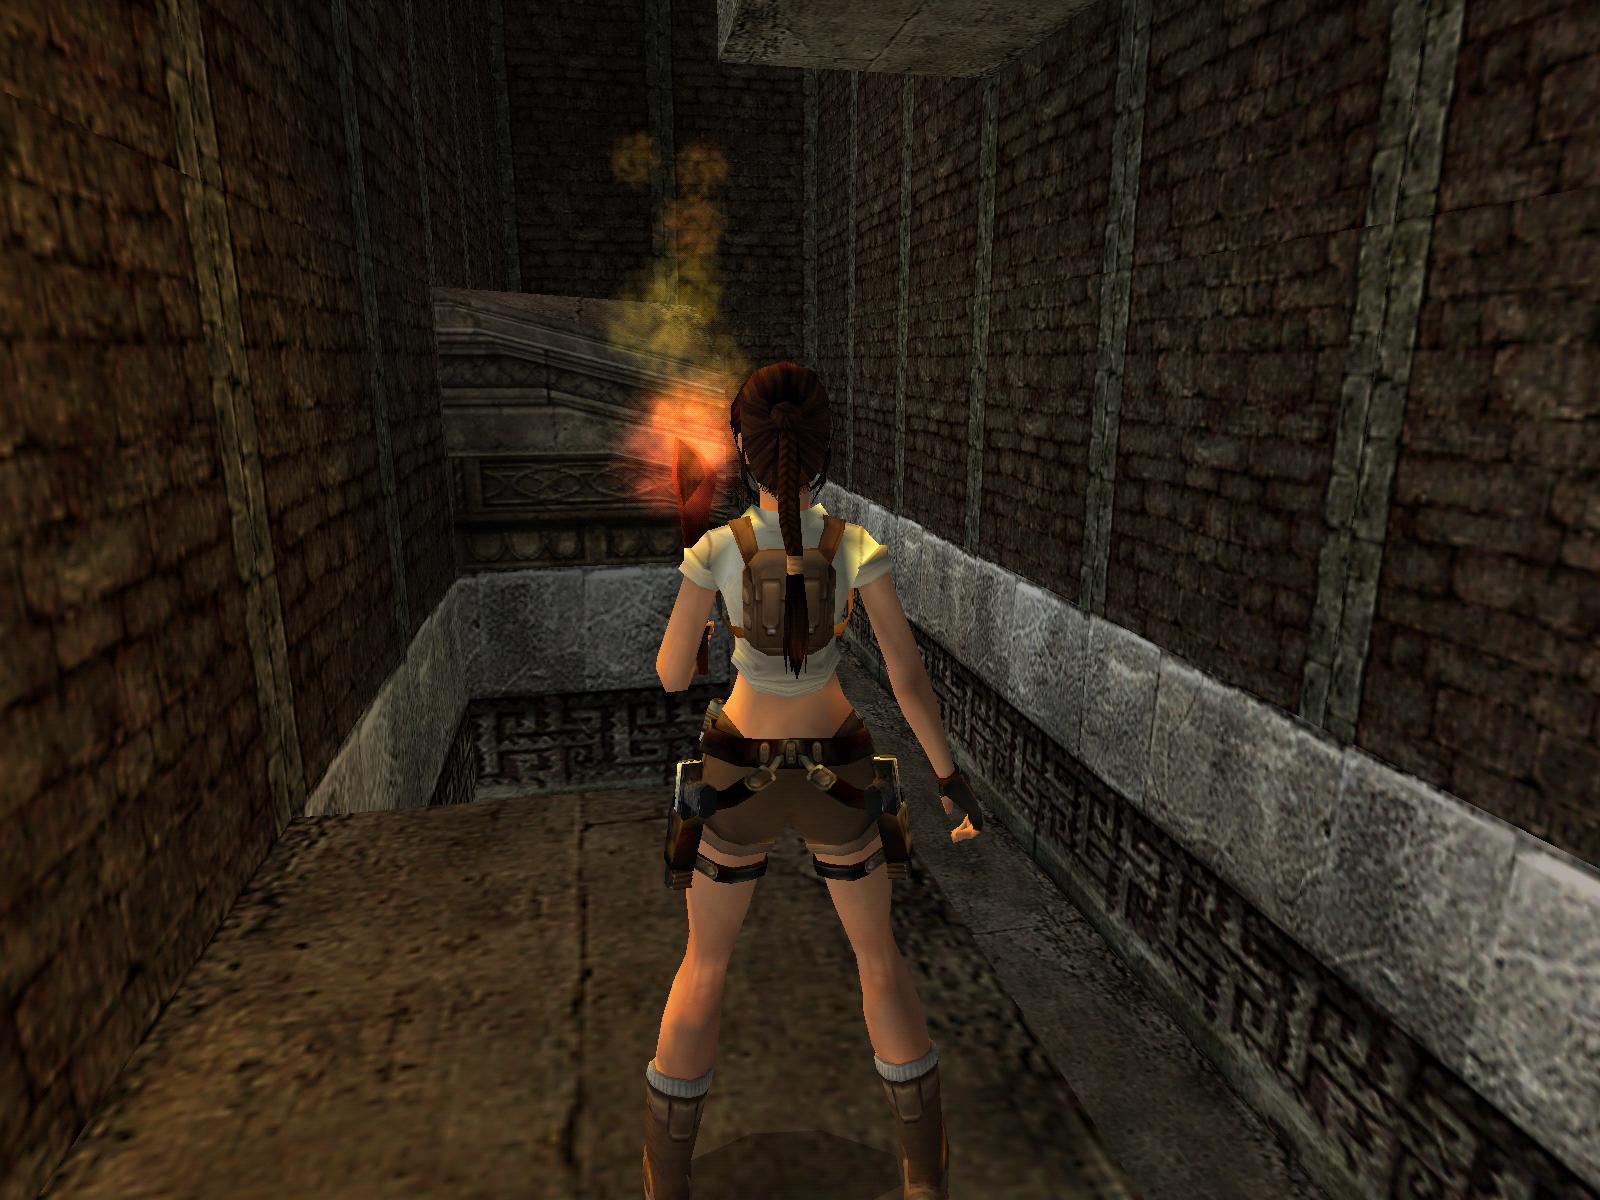
The Torch.
Crawl back out and pick up the Torch from the pedestal and better get the Flares in the SE corner as well. Go back to the ladder N, throw the Torch down to the ground floor so you can pick it up later and safety drop down as well. Leave with the Torch to go to the Main Room.
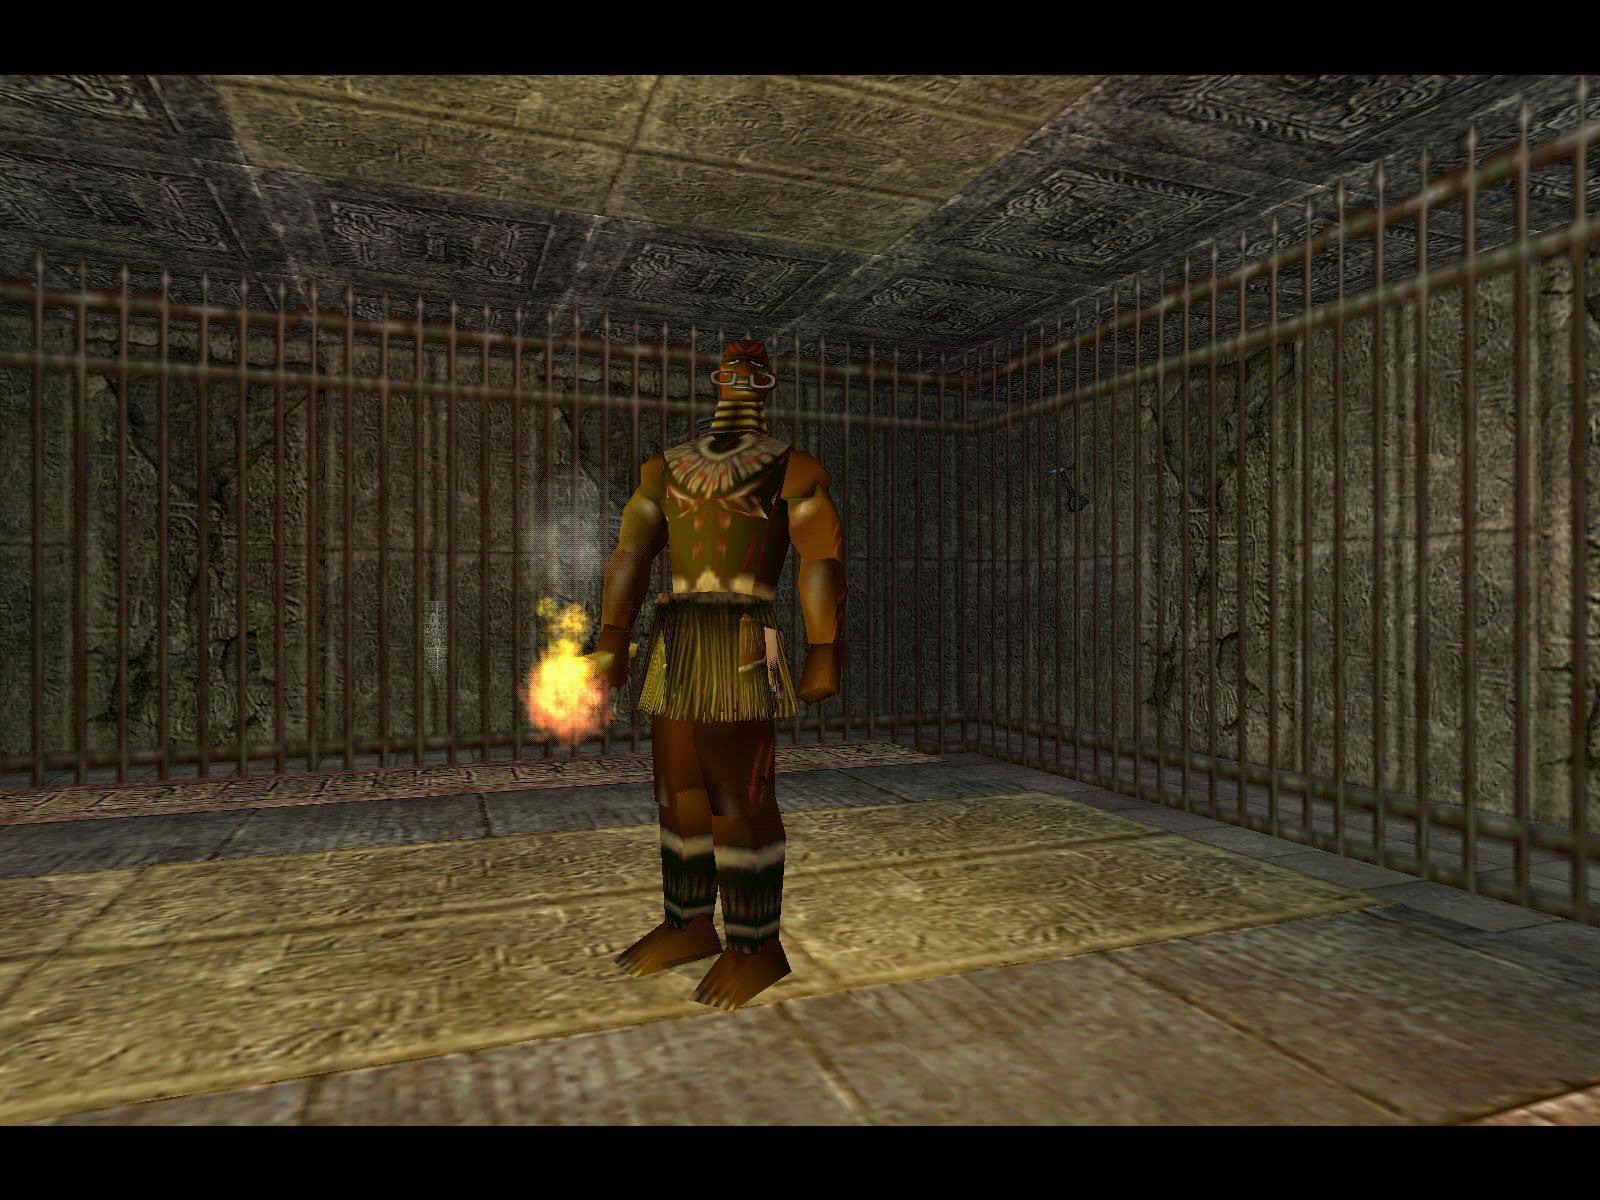
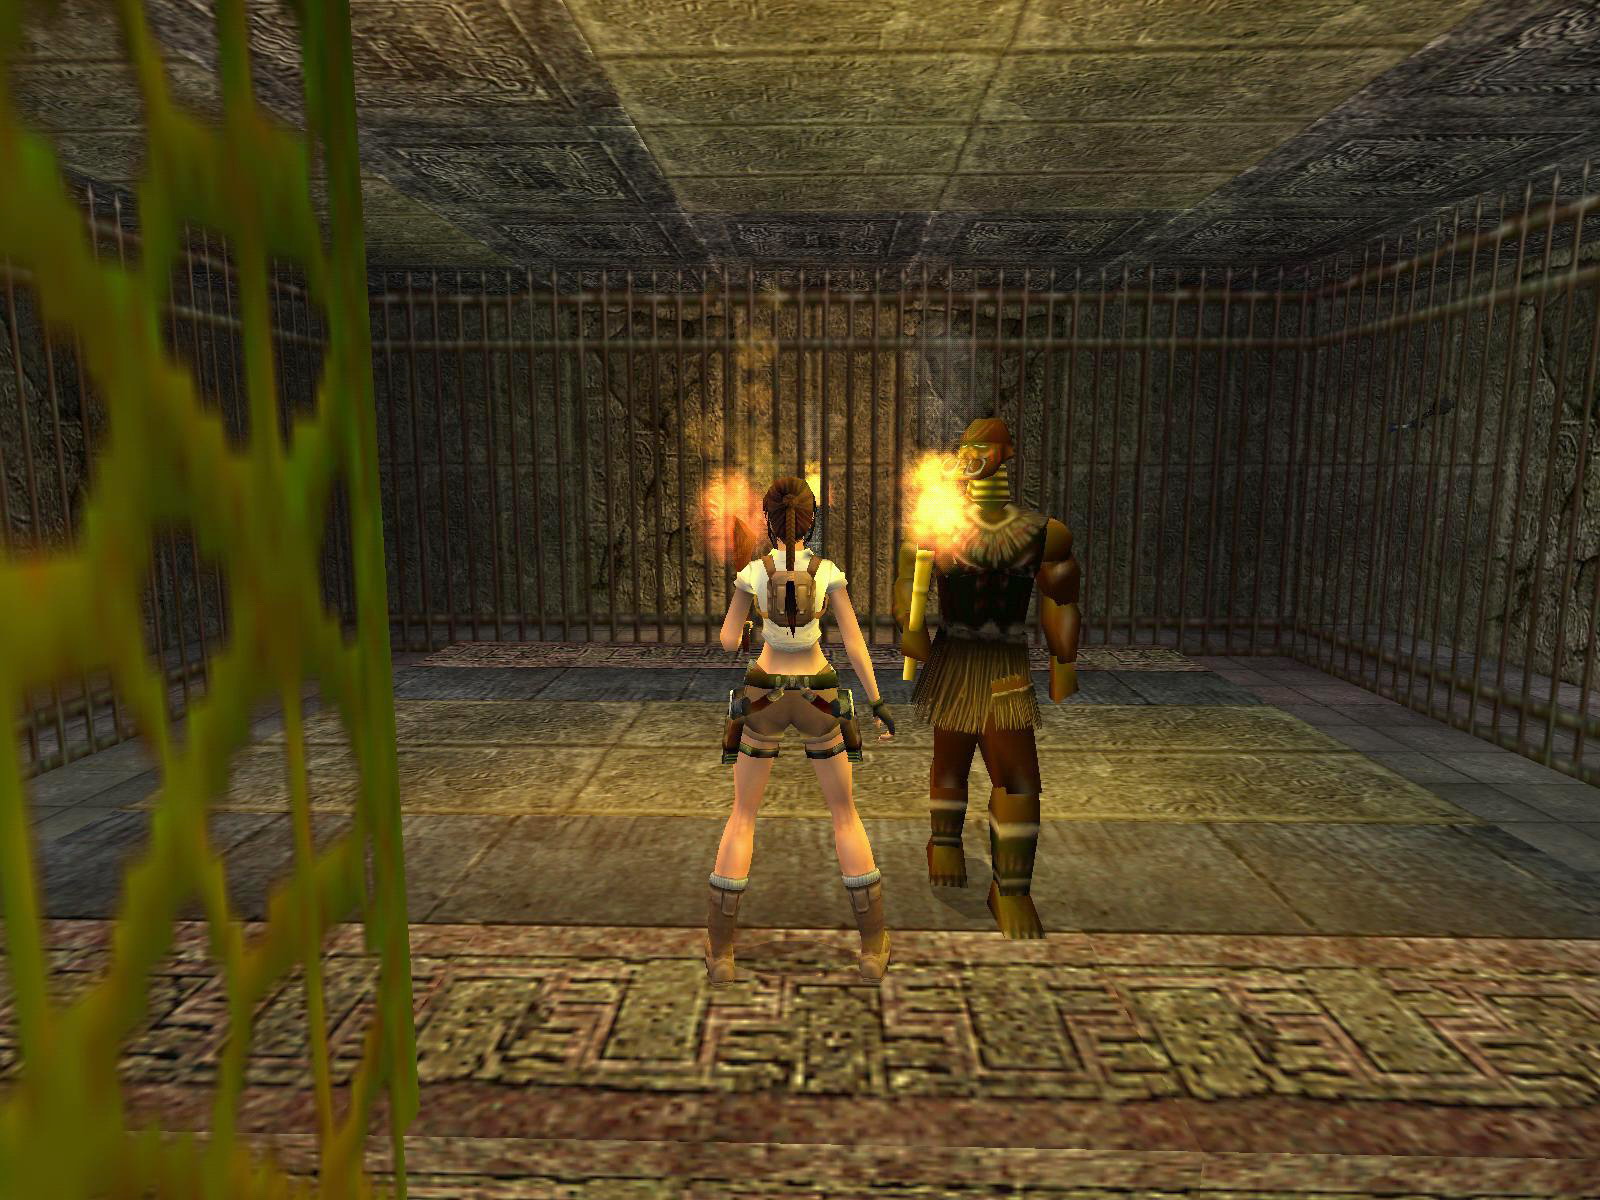
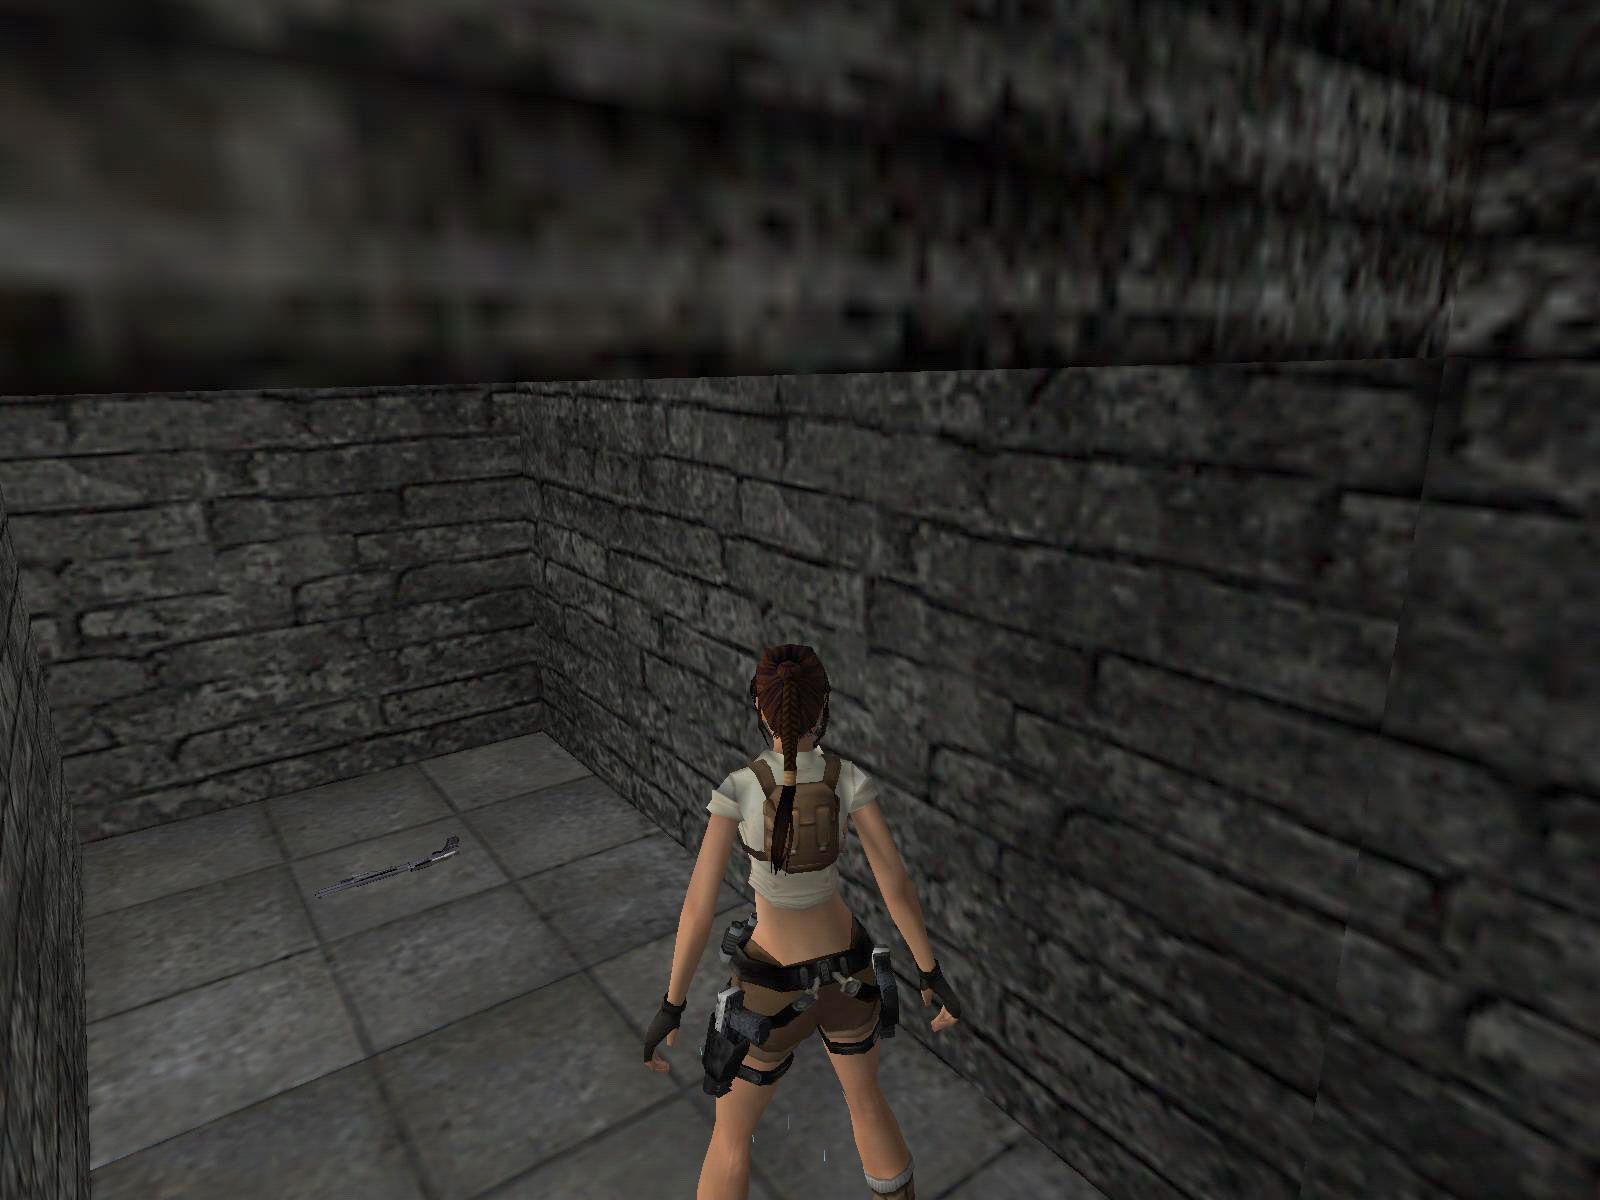
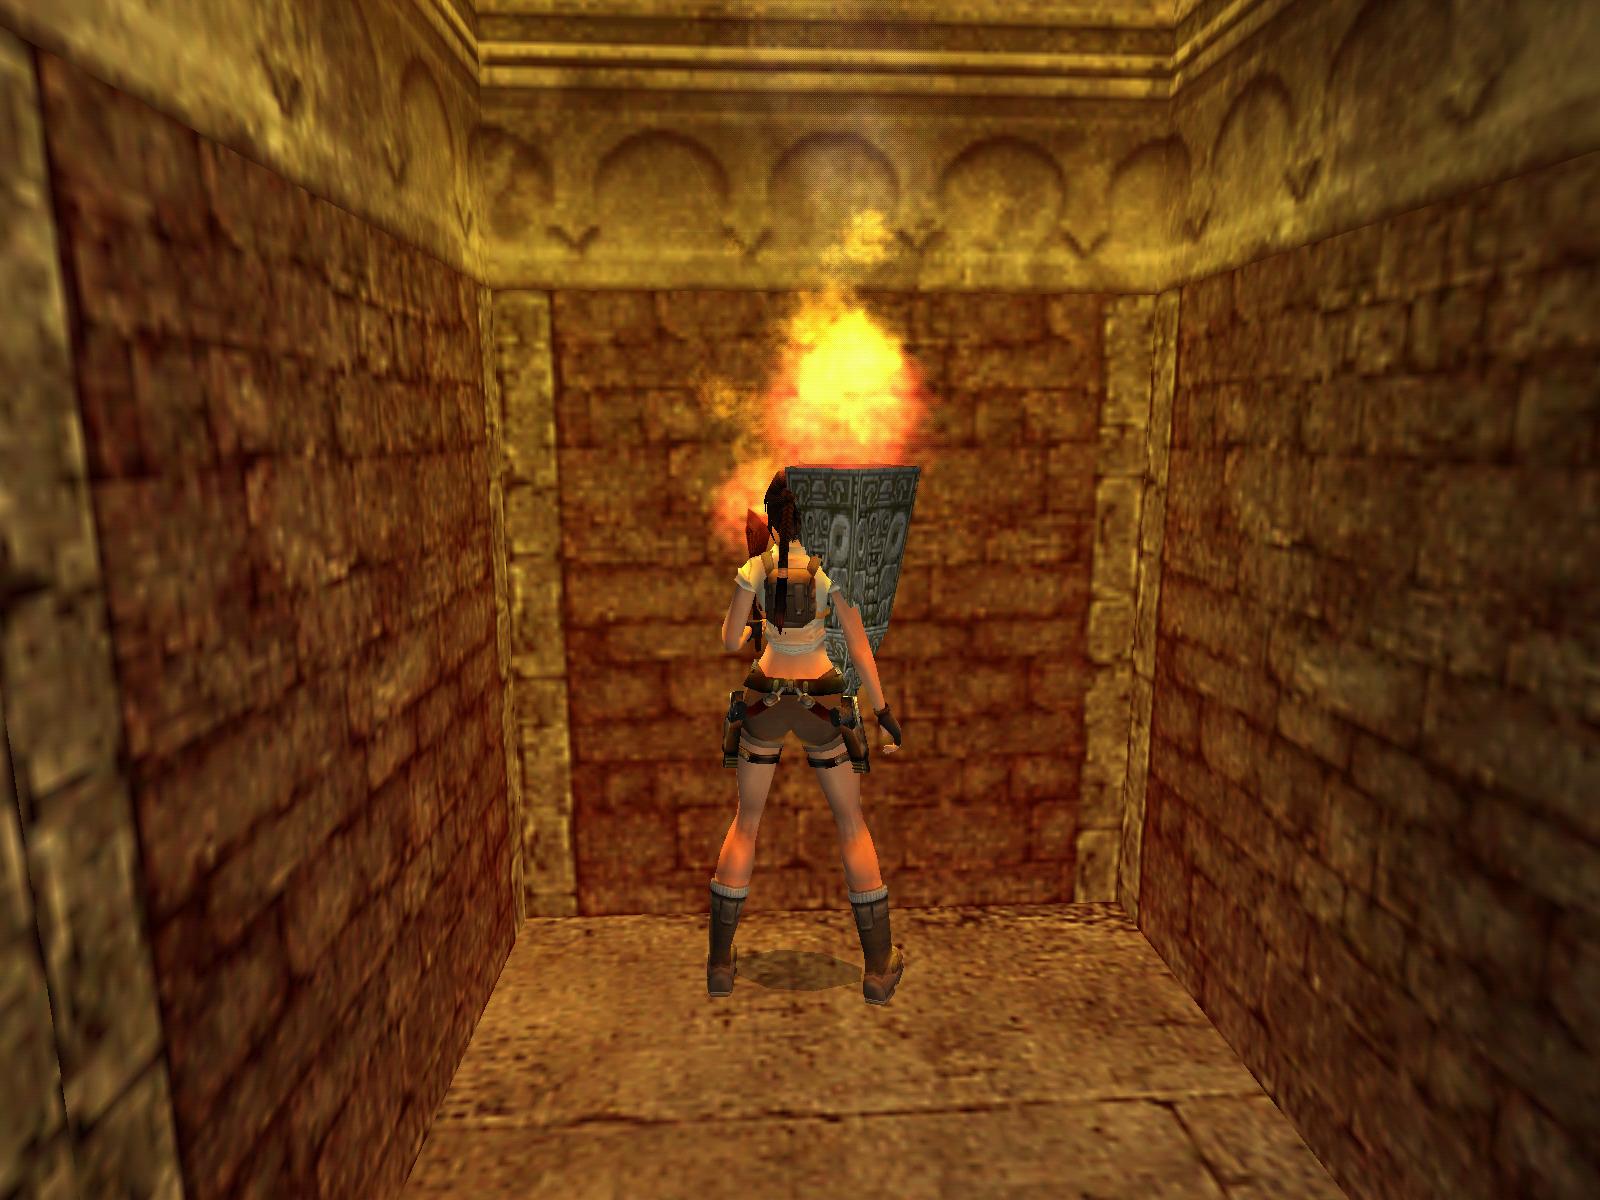
Crossbow and Shotgun.
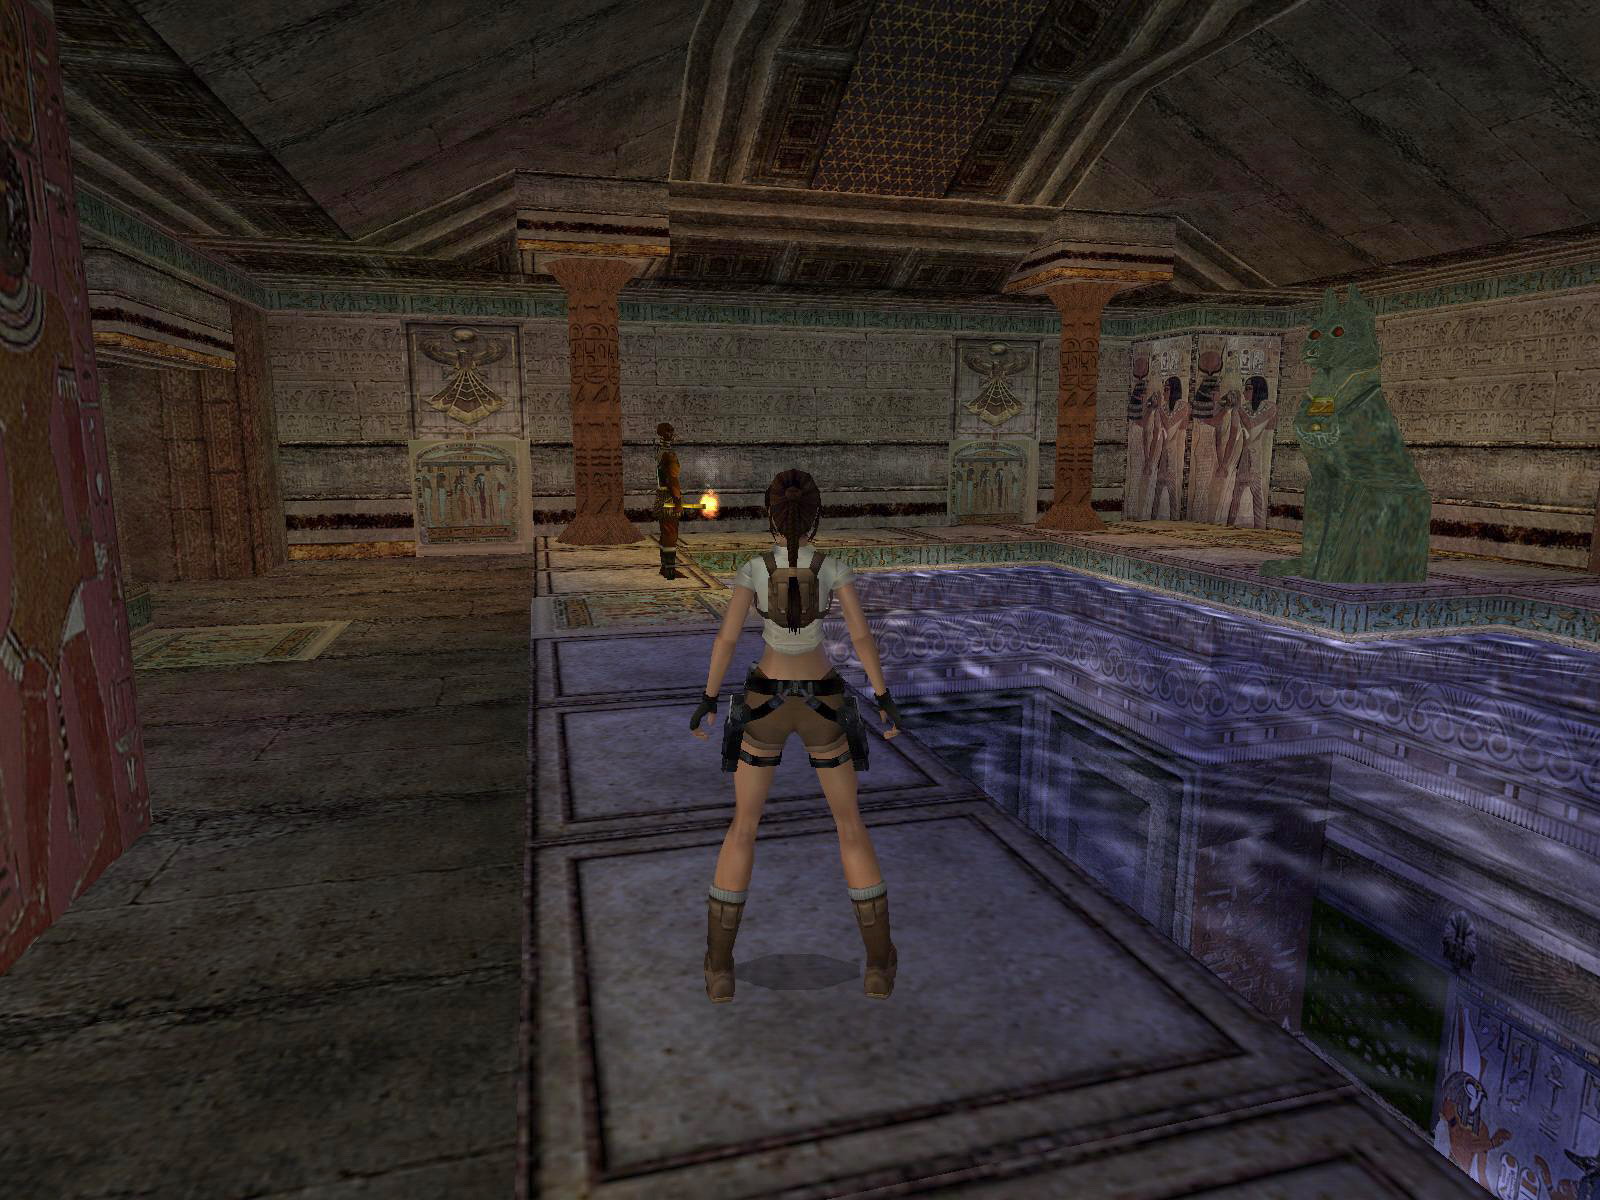
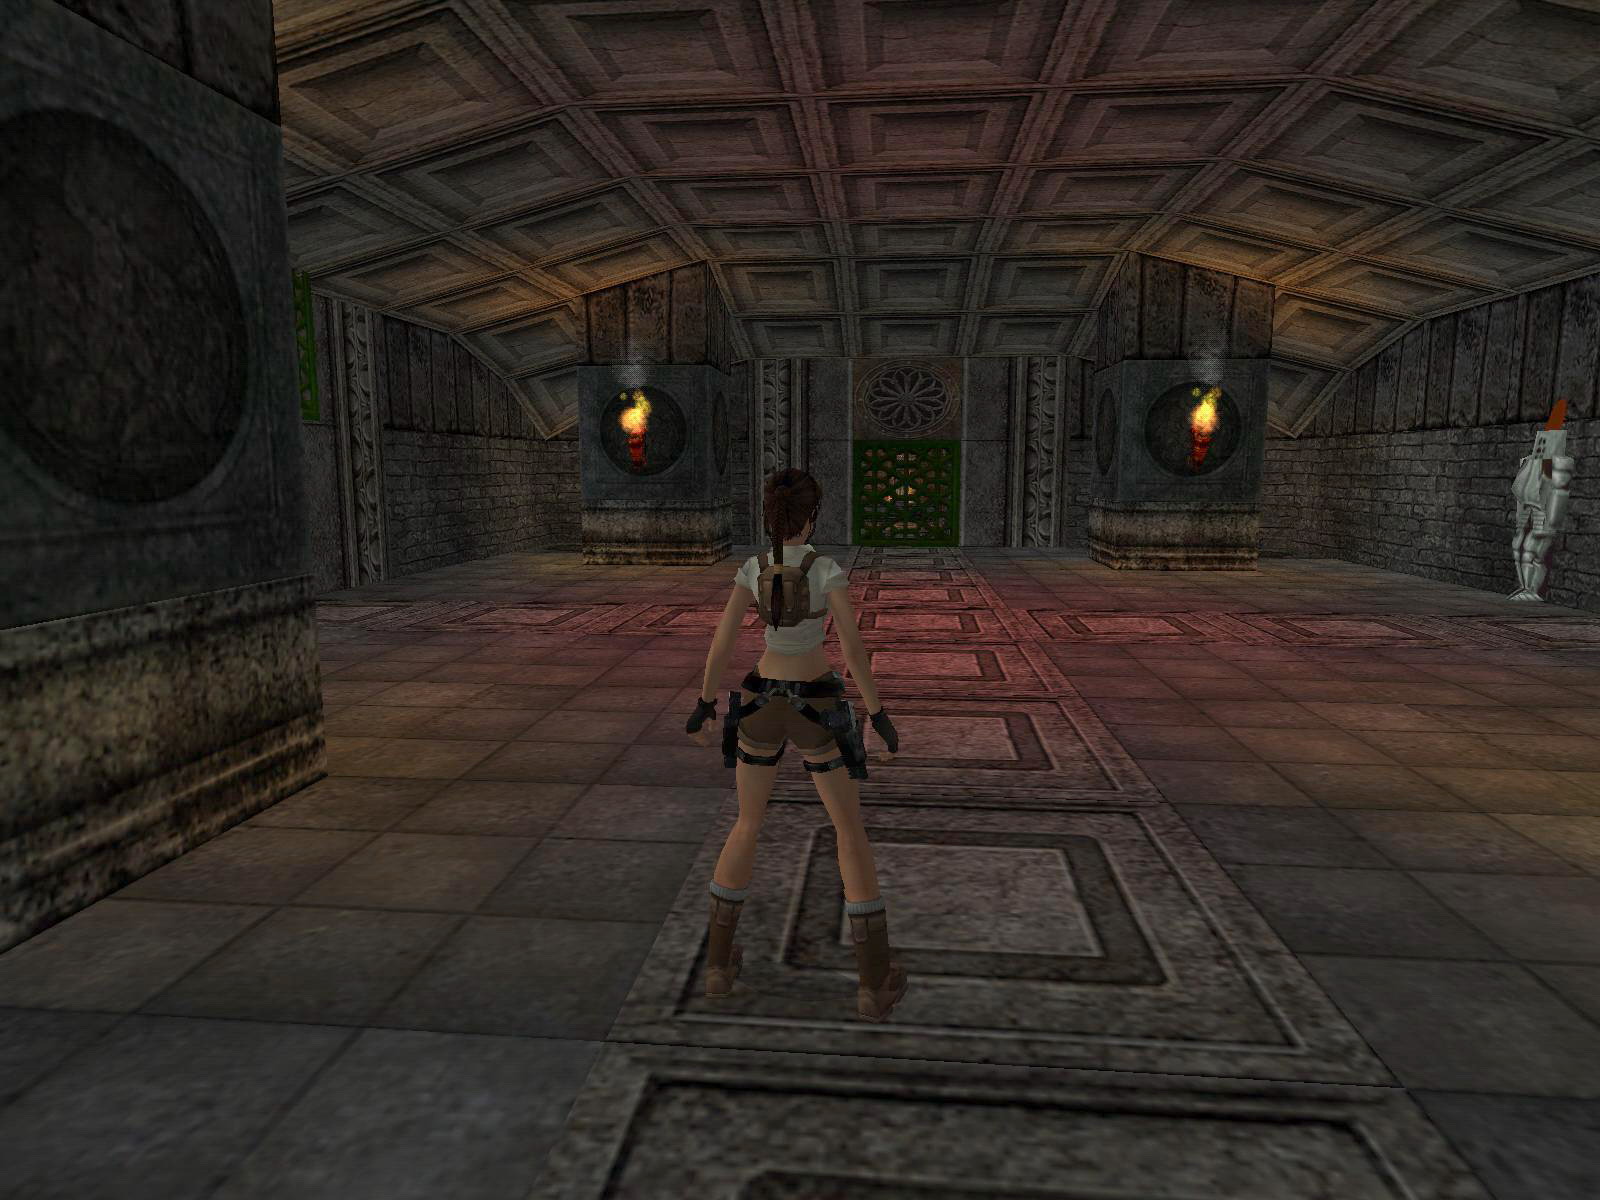
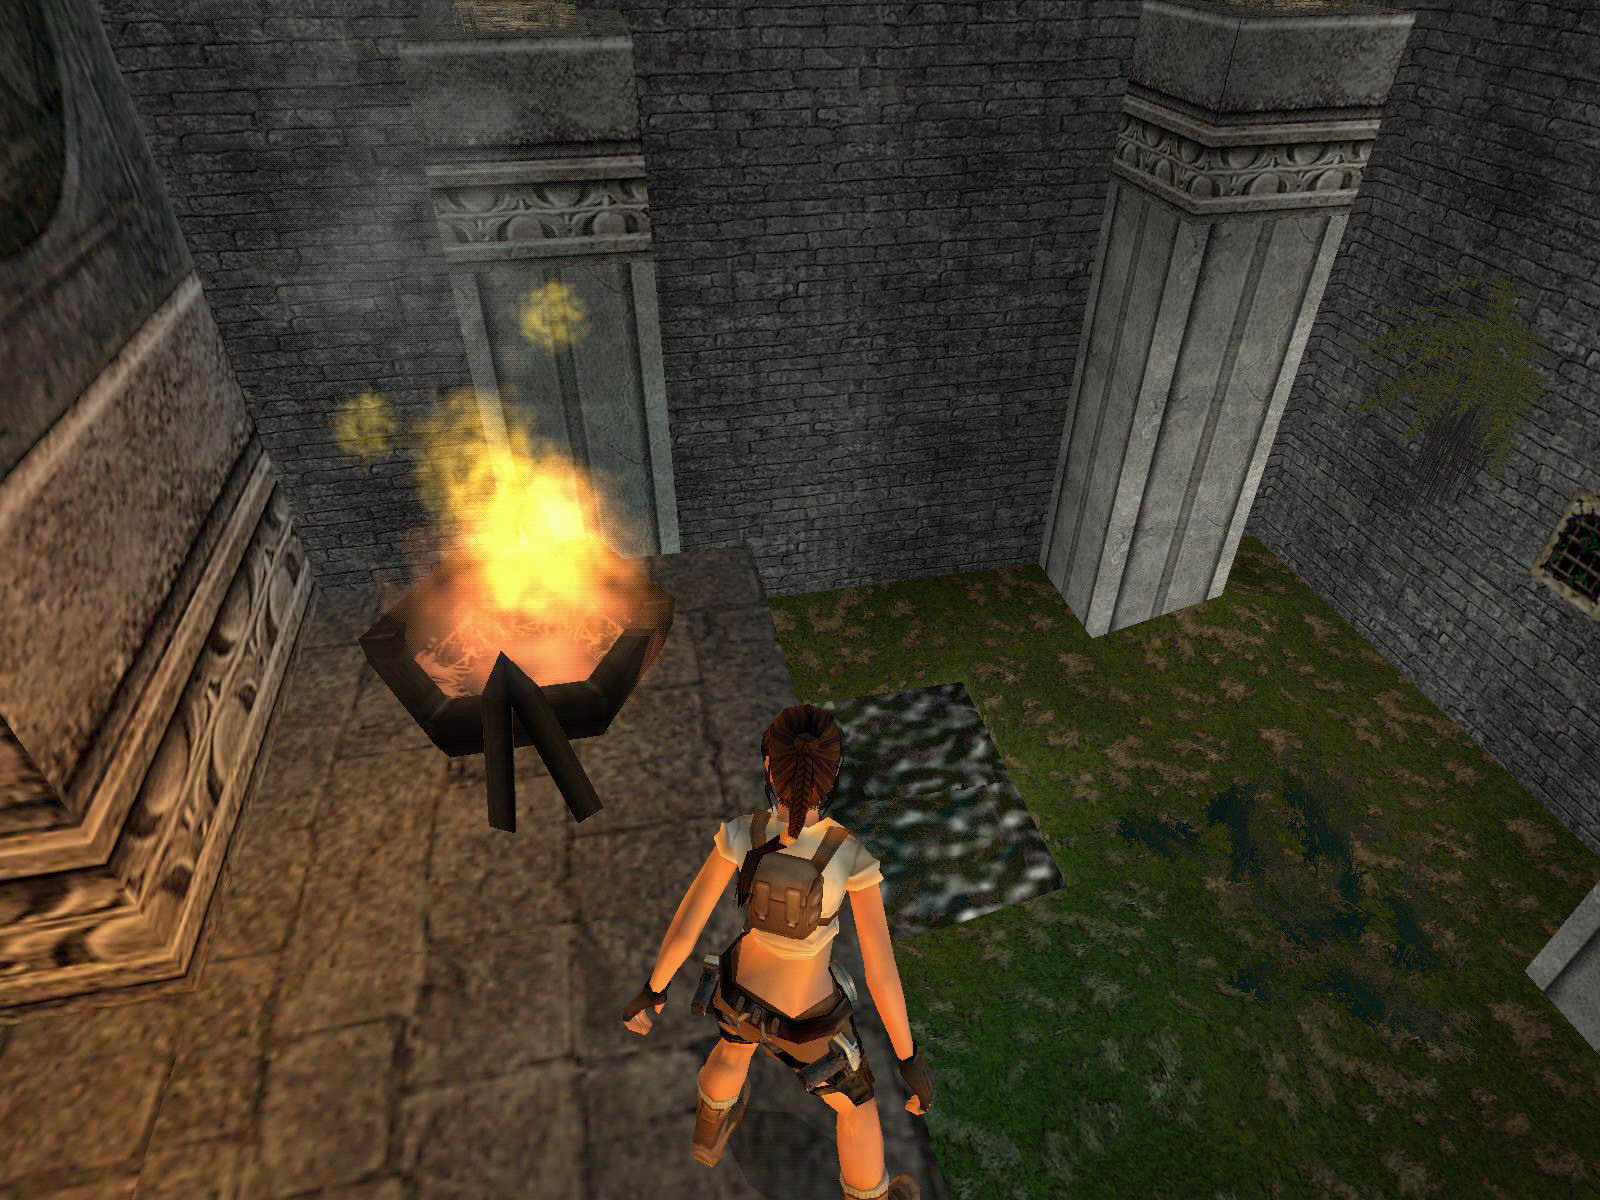
Ignite the Torch on the wall torches E and light up the wall torch (E) in the room where the native is waiting. The cage opens up, go in there and follow him to the Main Room. He will set fire on the fire basket W, enters and waits at the closed green latticed doors in the S.
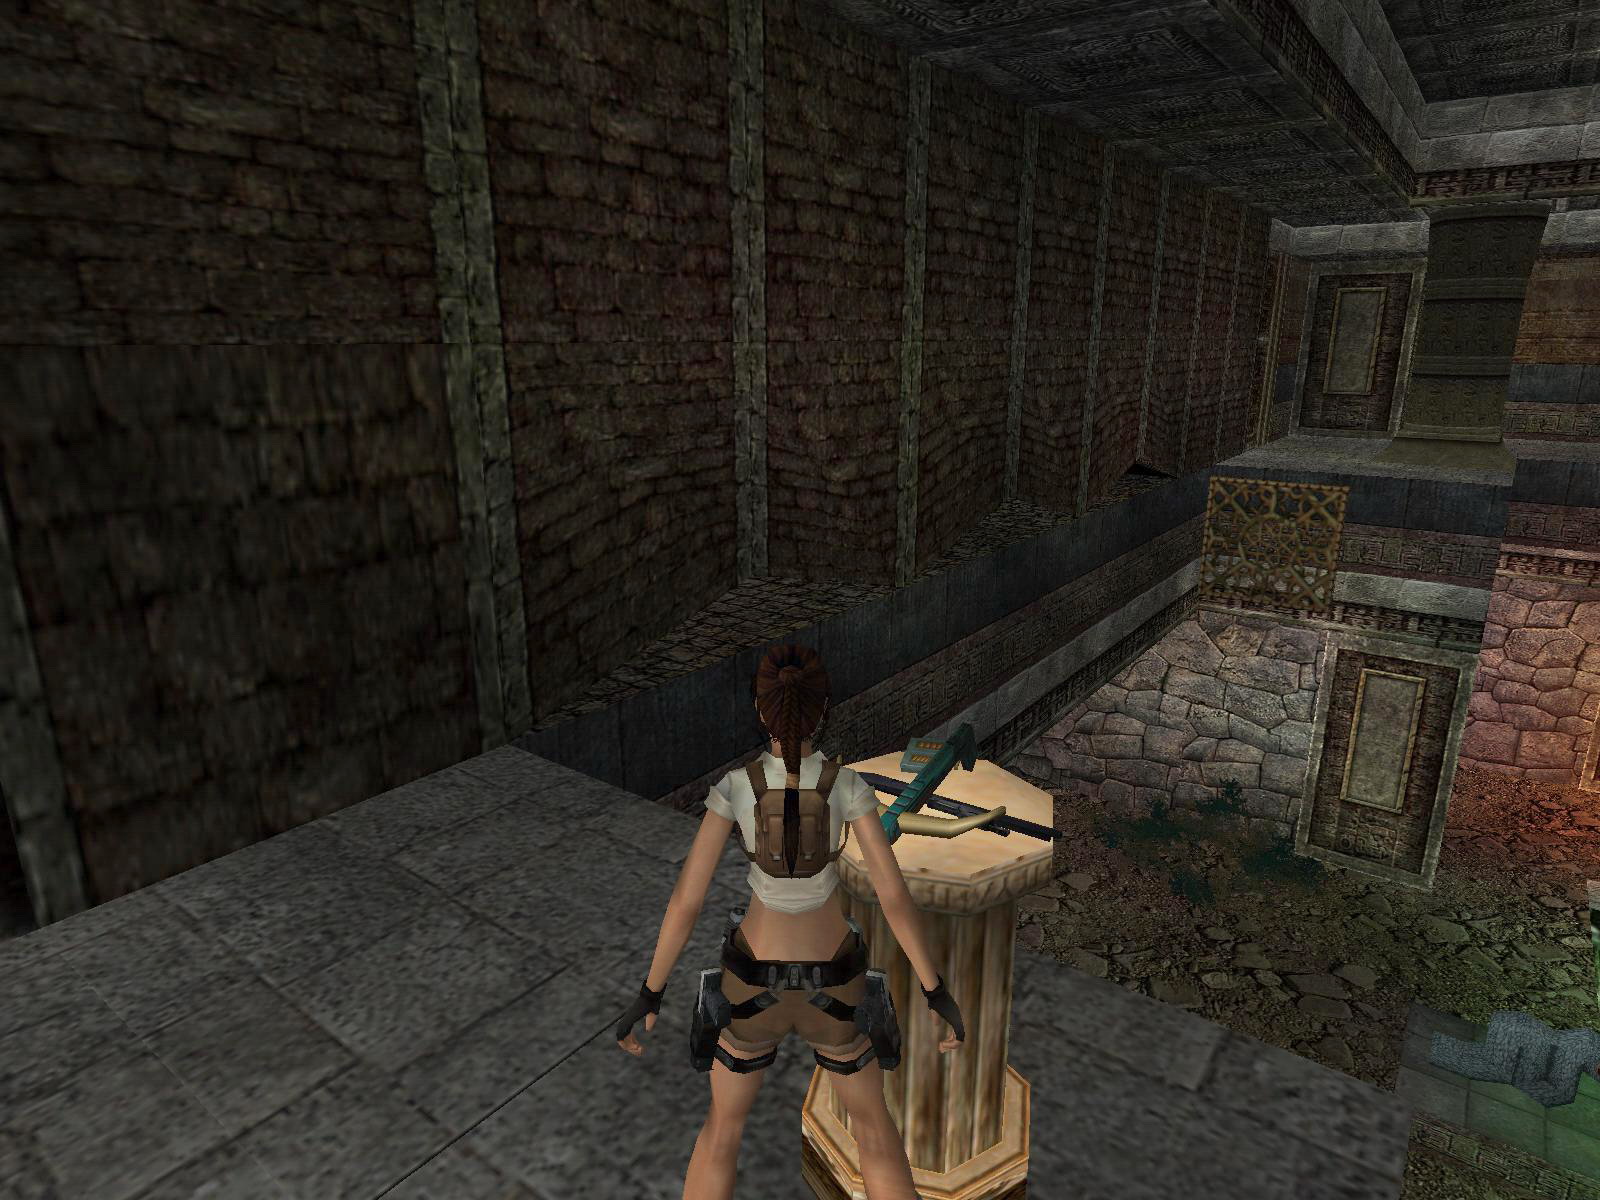
When you enter this room go immediately to the right and find a ladder on the left. Leave the Torch where you can pick it up again, then climb the ladder. There is a Crossbow and a Shotgun on a pedestal NE.
Also look for a Crack in the E wall so you can shimmy to the other side and use the lever W. This opens a trapdoor on the ground floor, just down from where you are, so turn right, safety drop to the floor there and go get the Torch and jump into the open trapdoor.
Dont rush to the end and although the spikes wont kill you, you can however loose health. Ignite the wall torch and you can leave the Torch now. Go back to the guide and go in, he will follow you and wait a bit further.
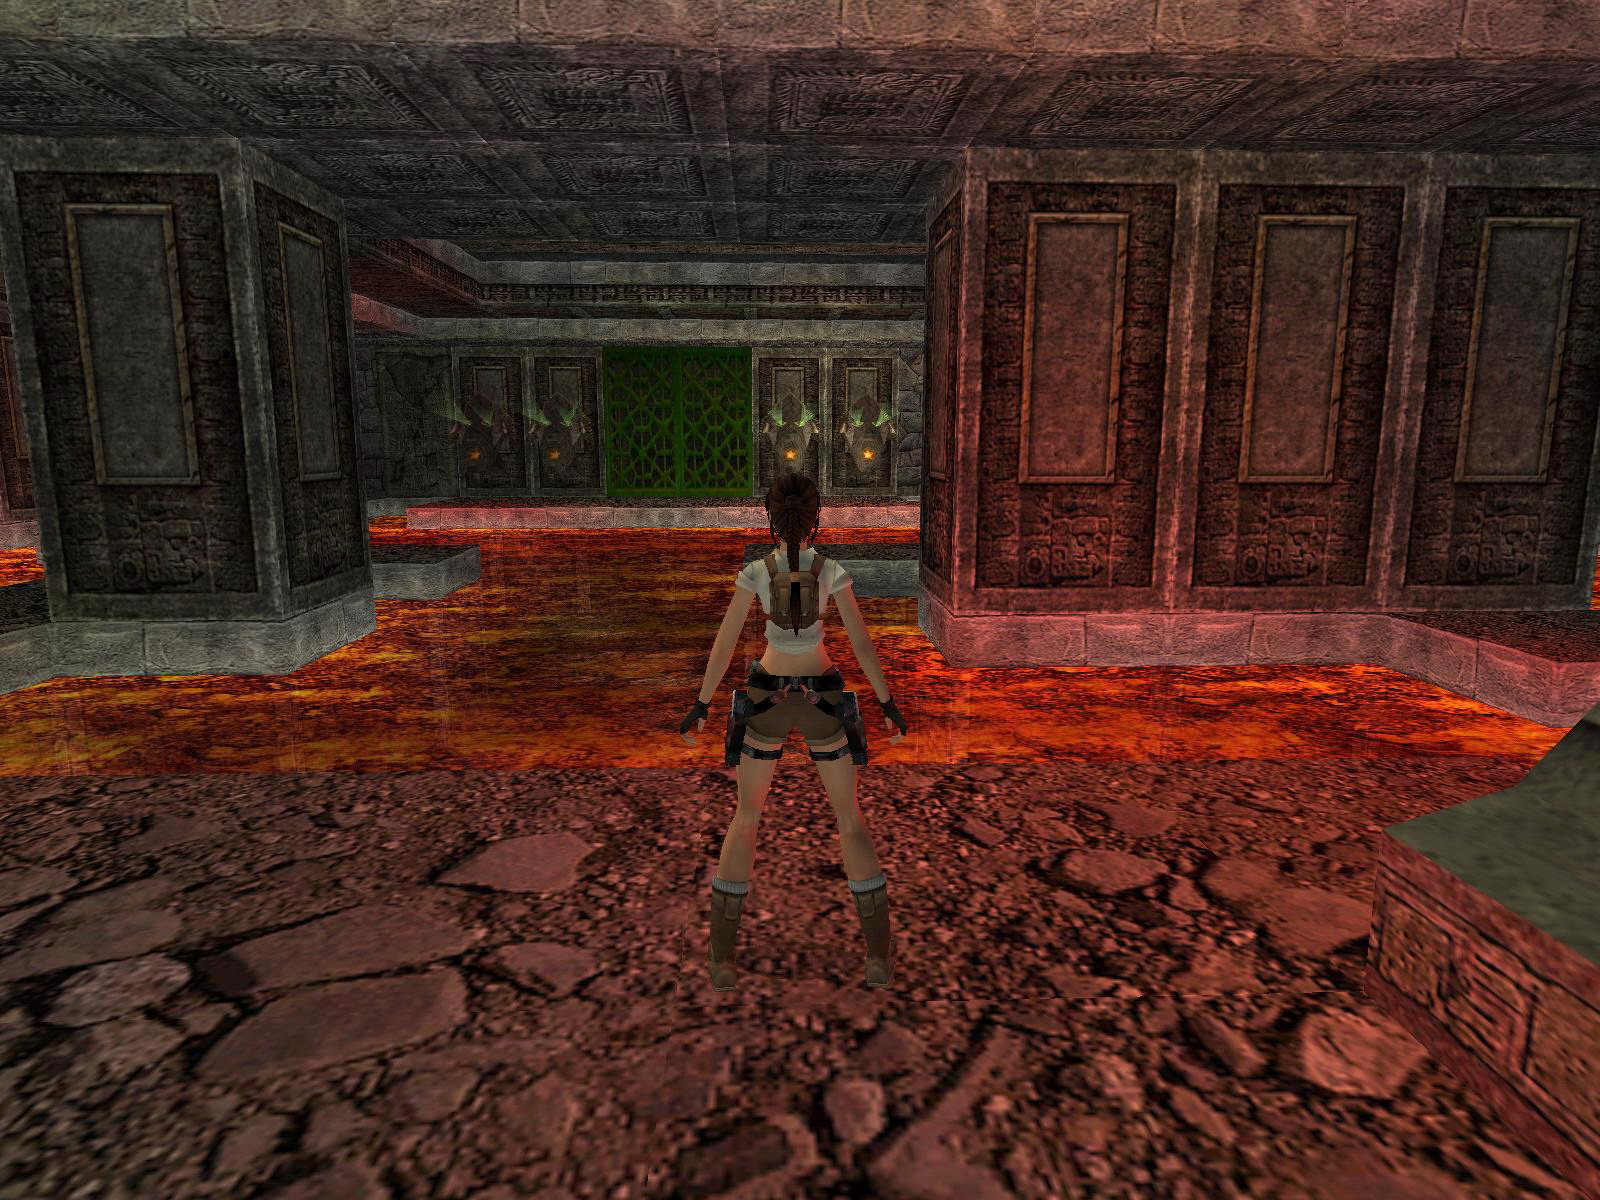
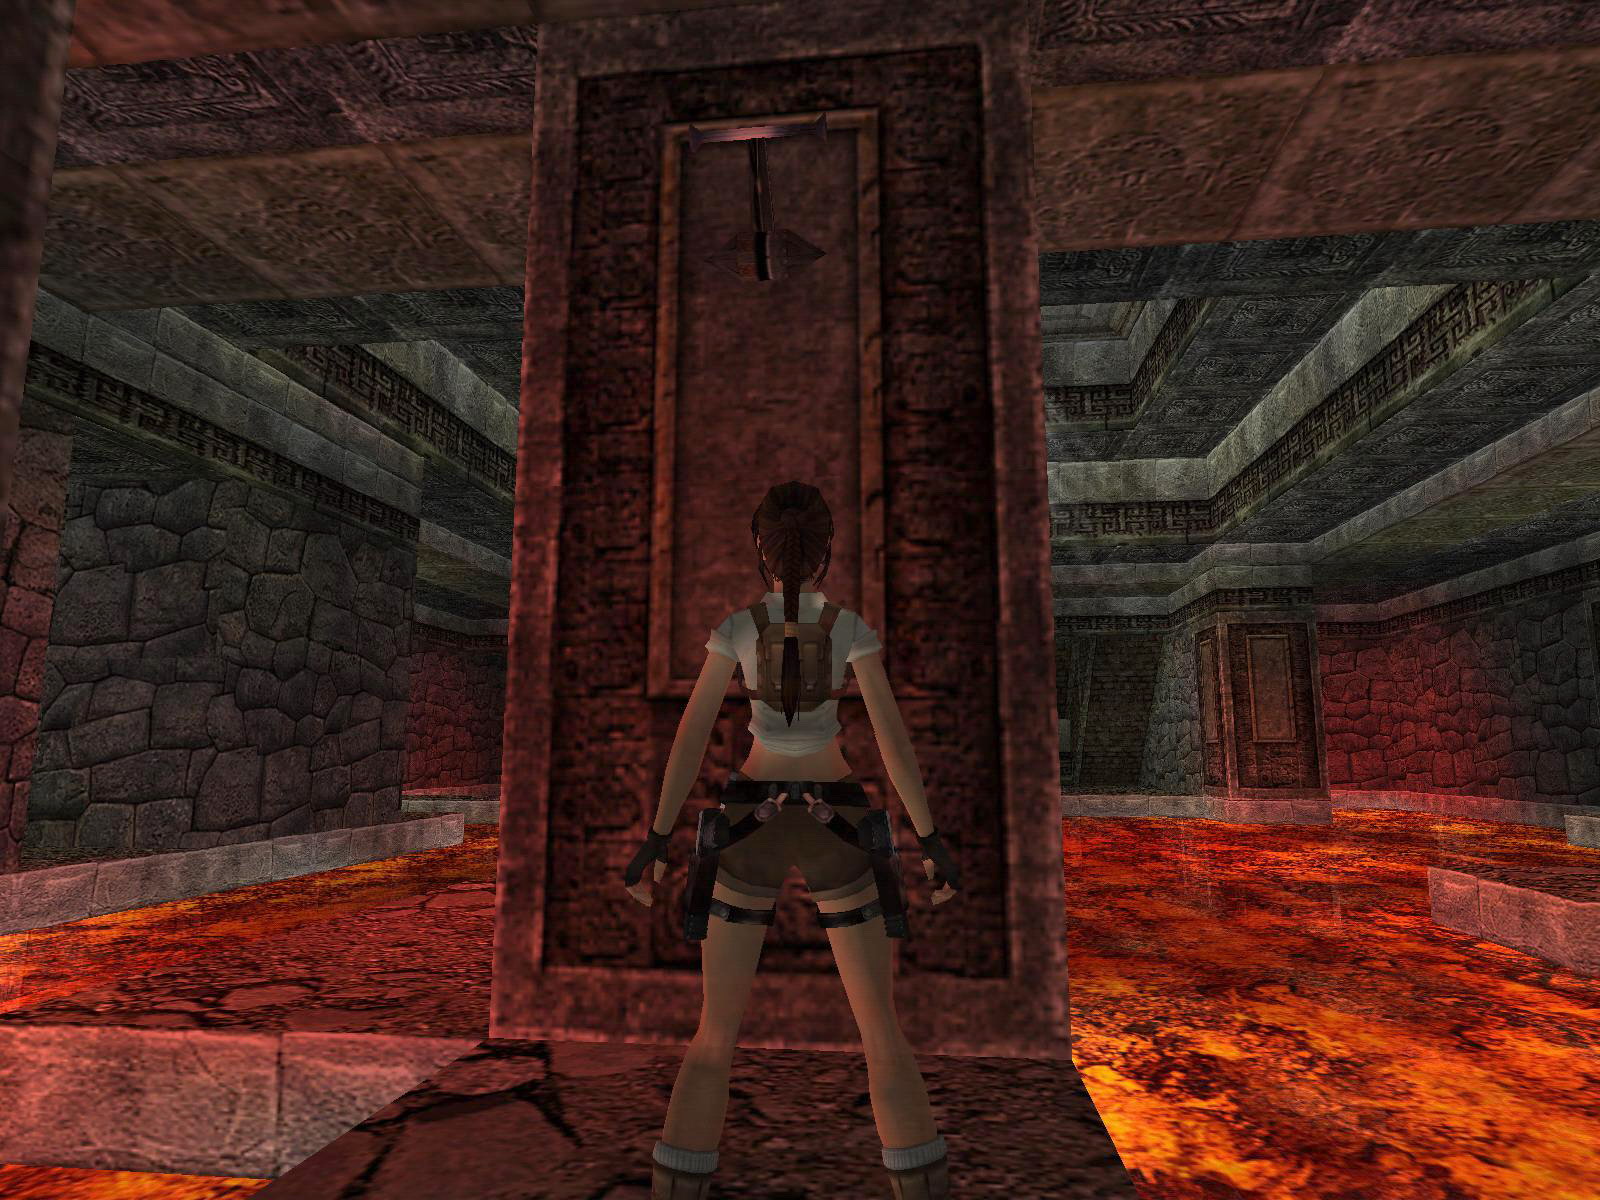
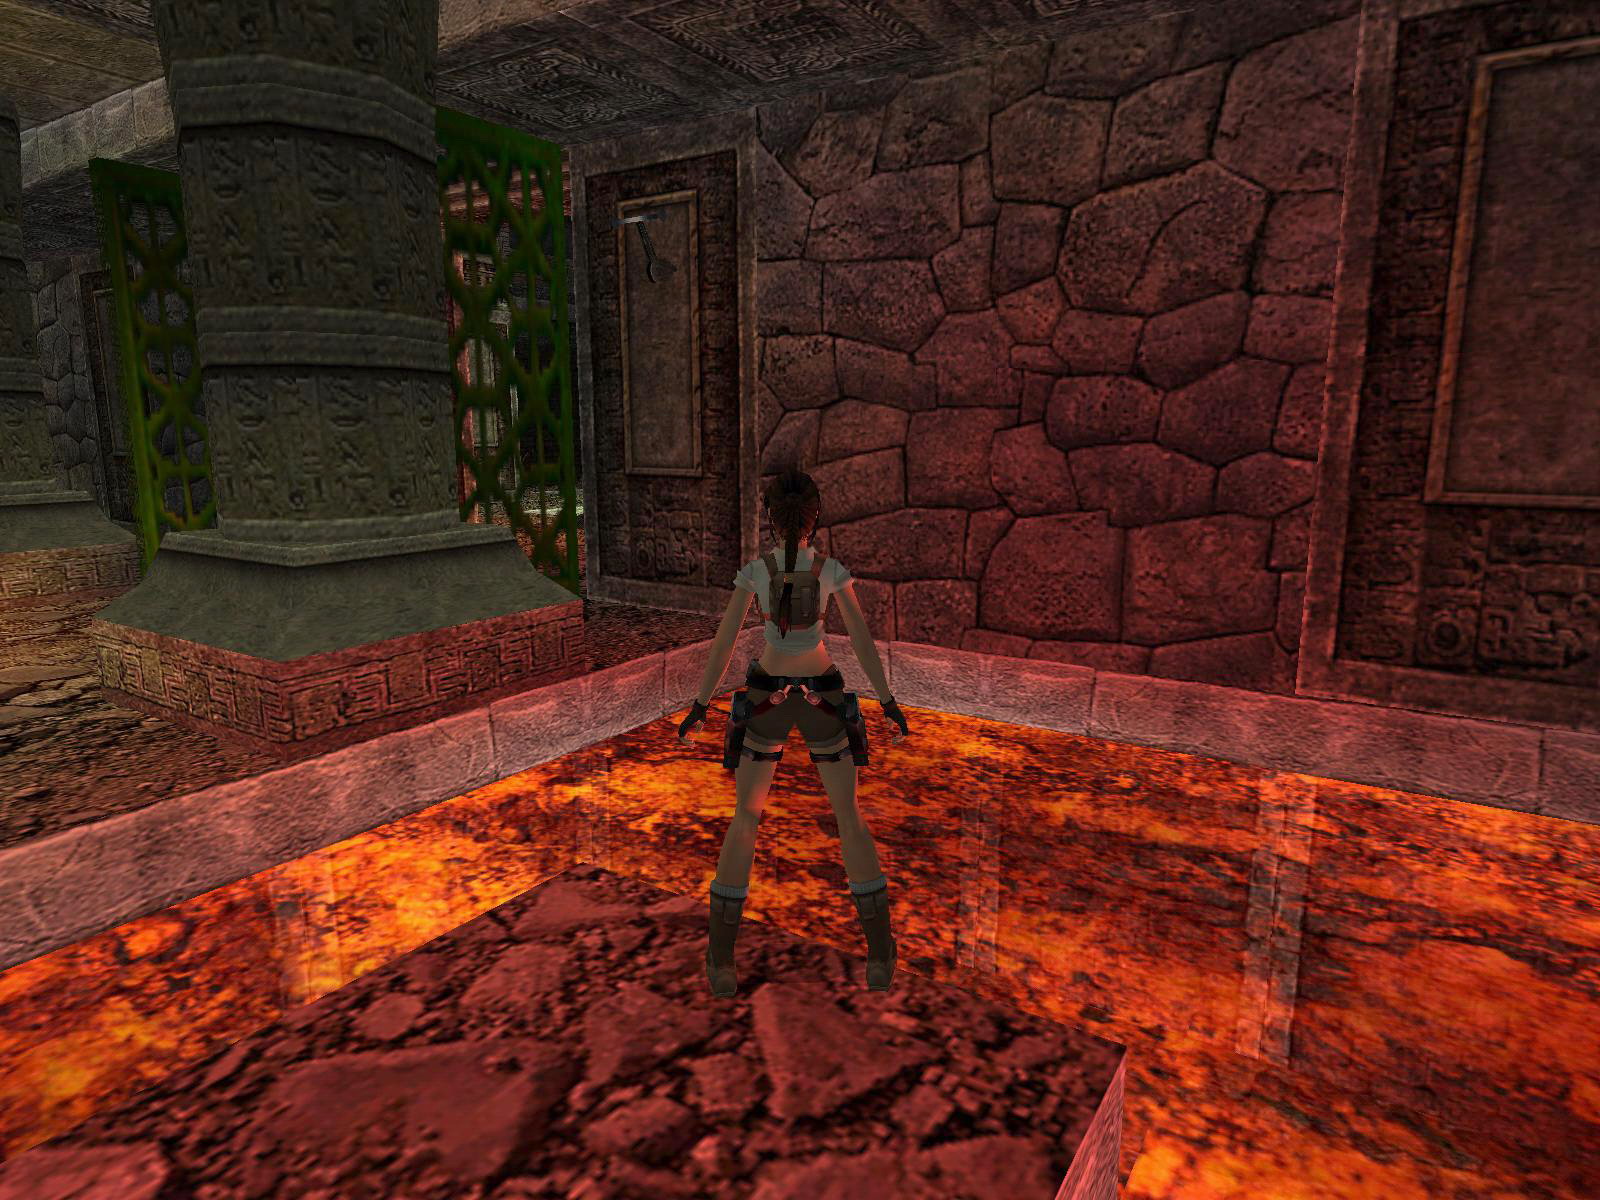
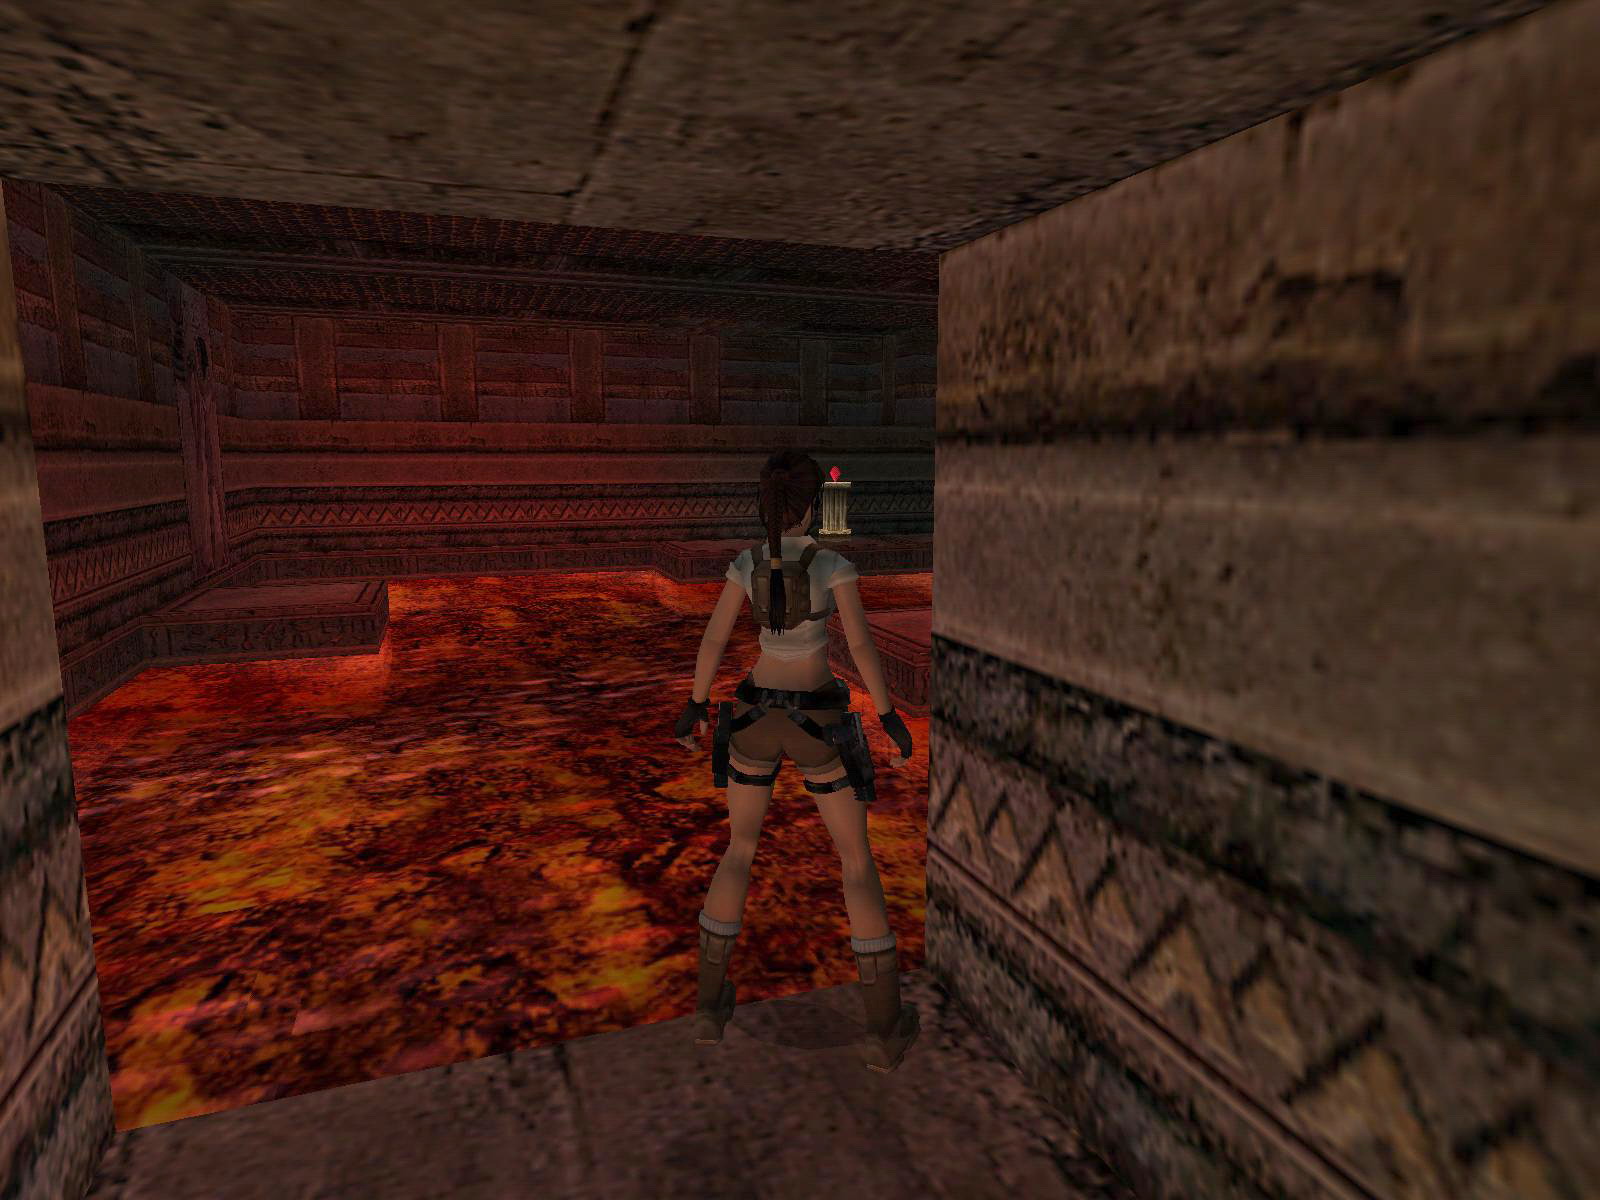
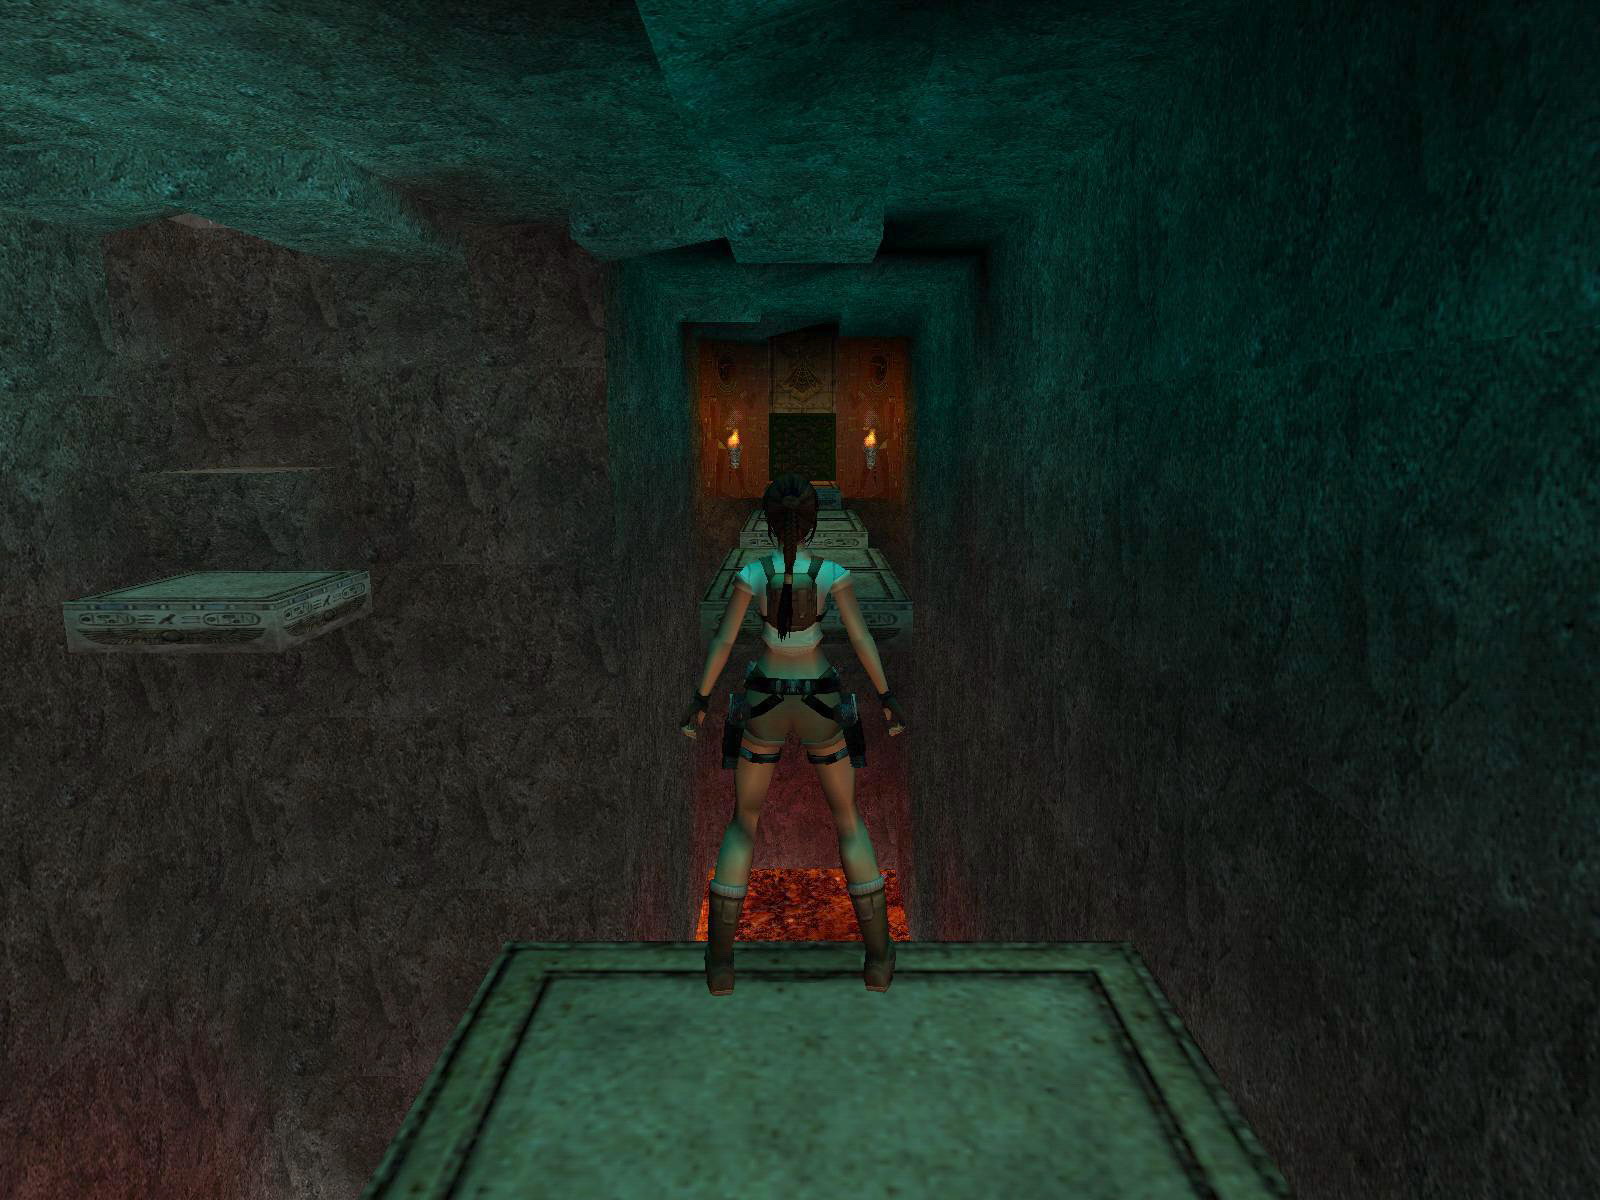
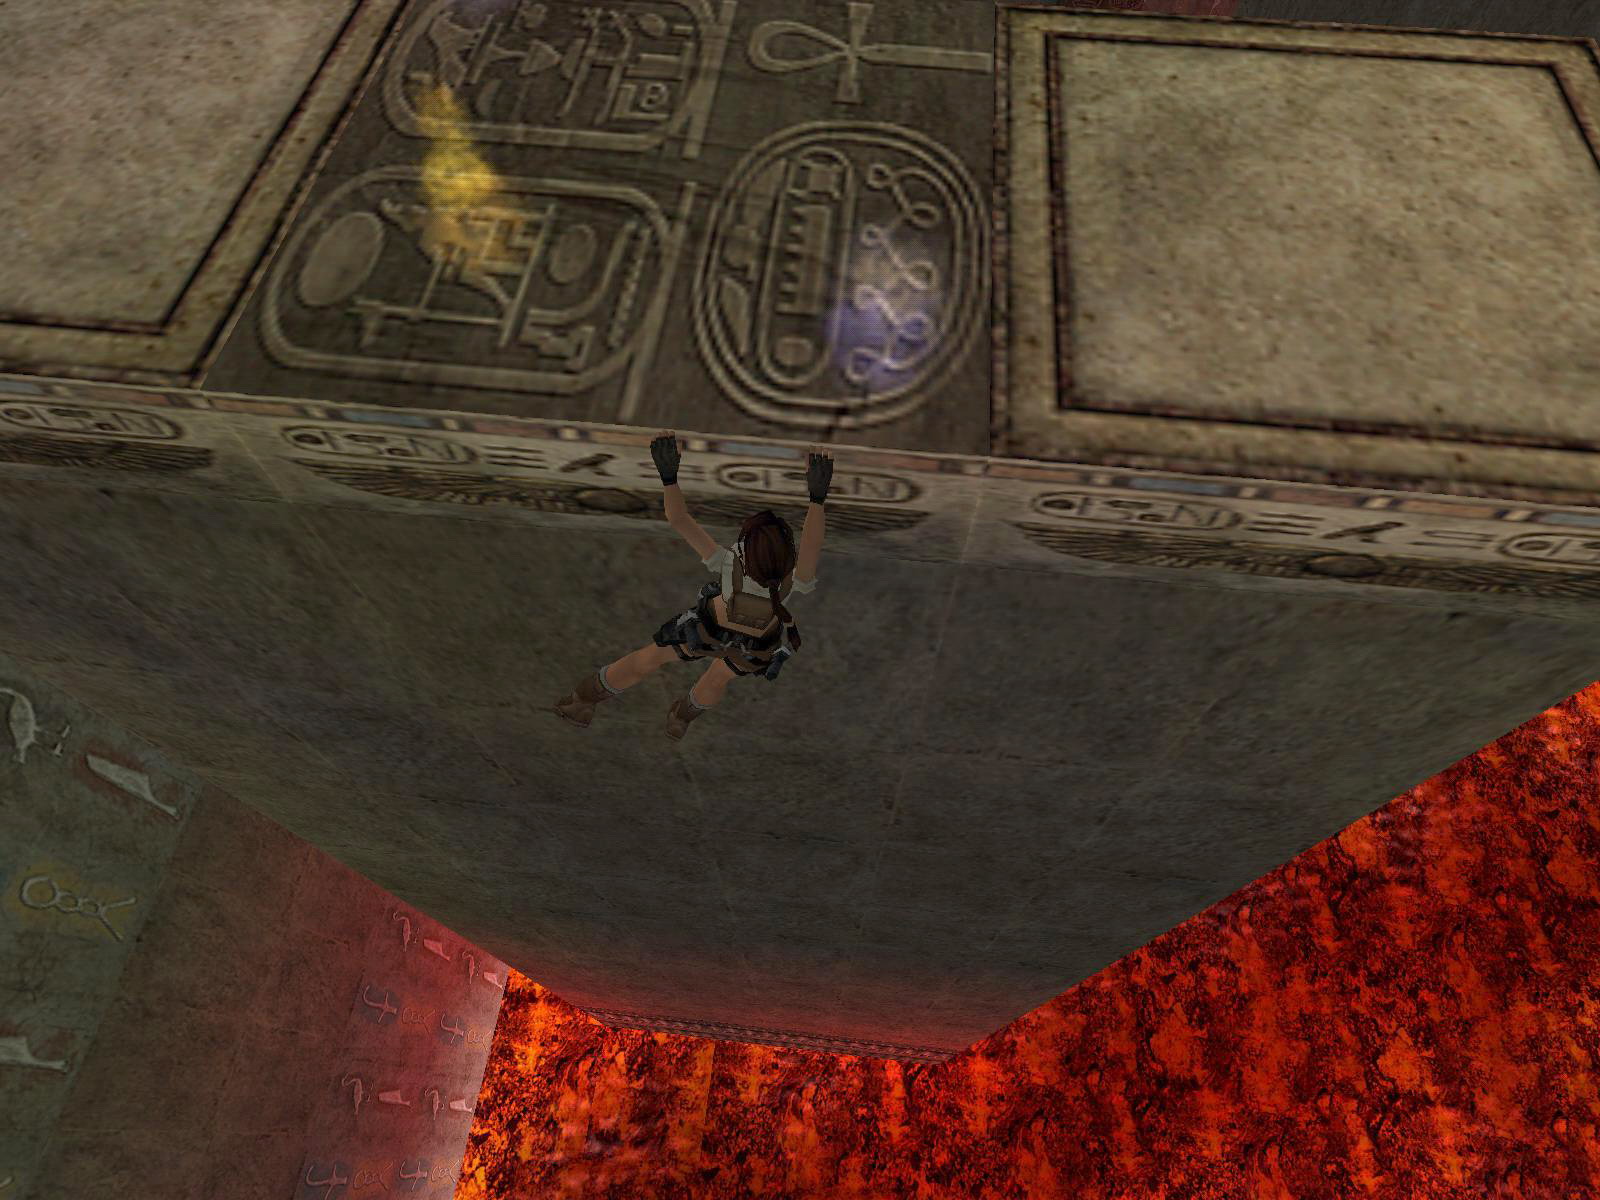
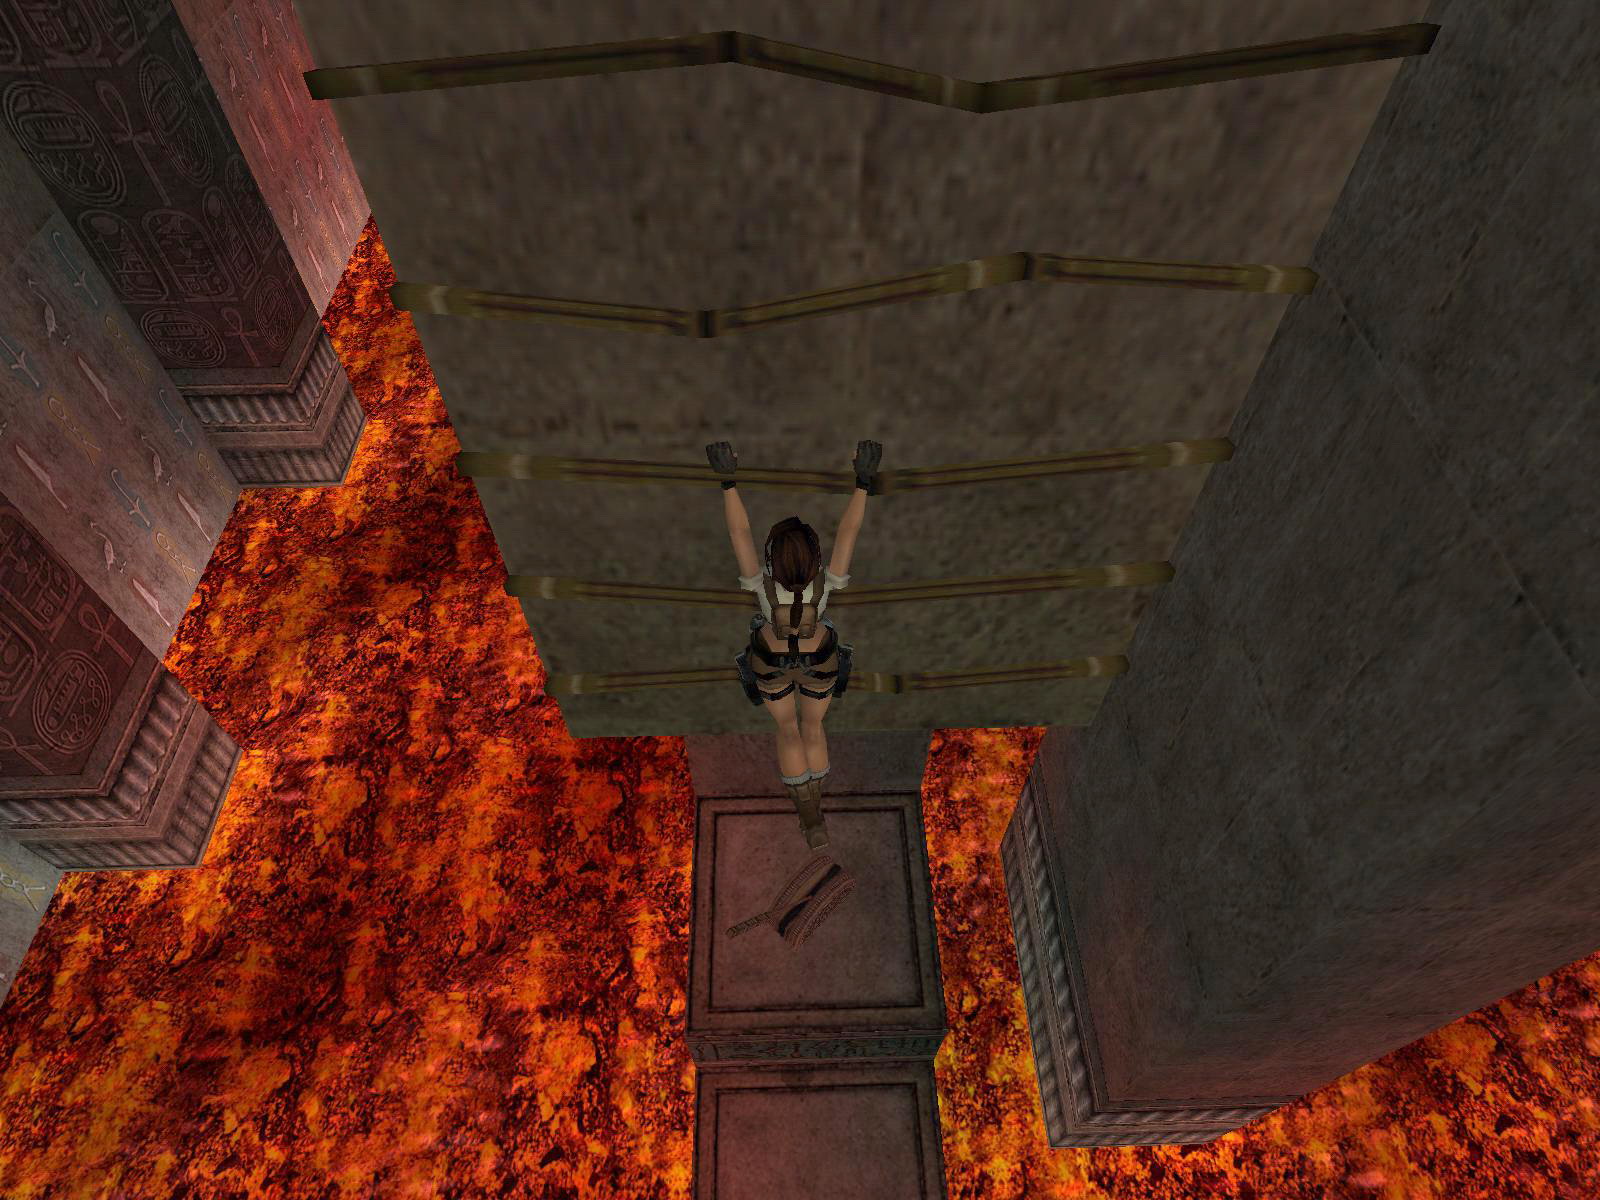
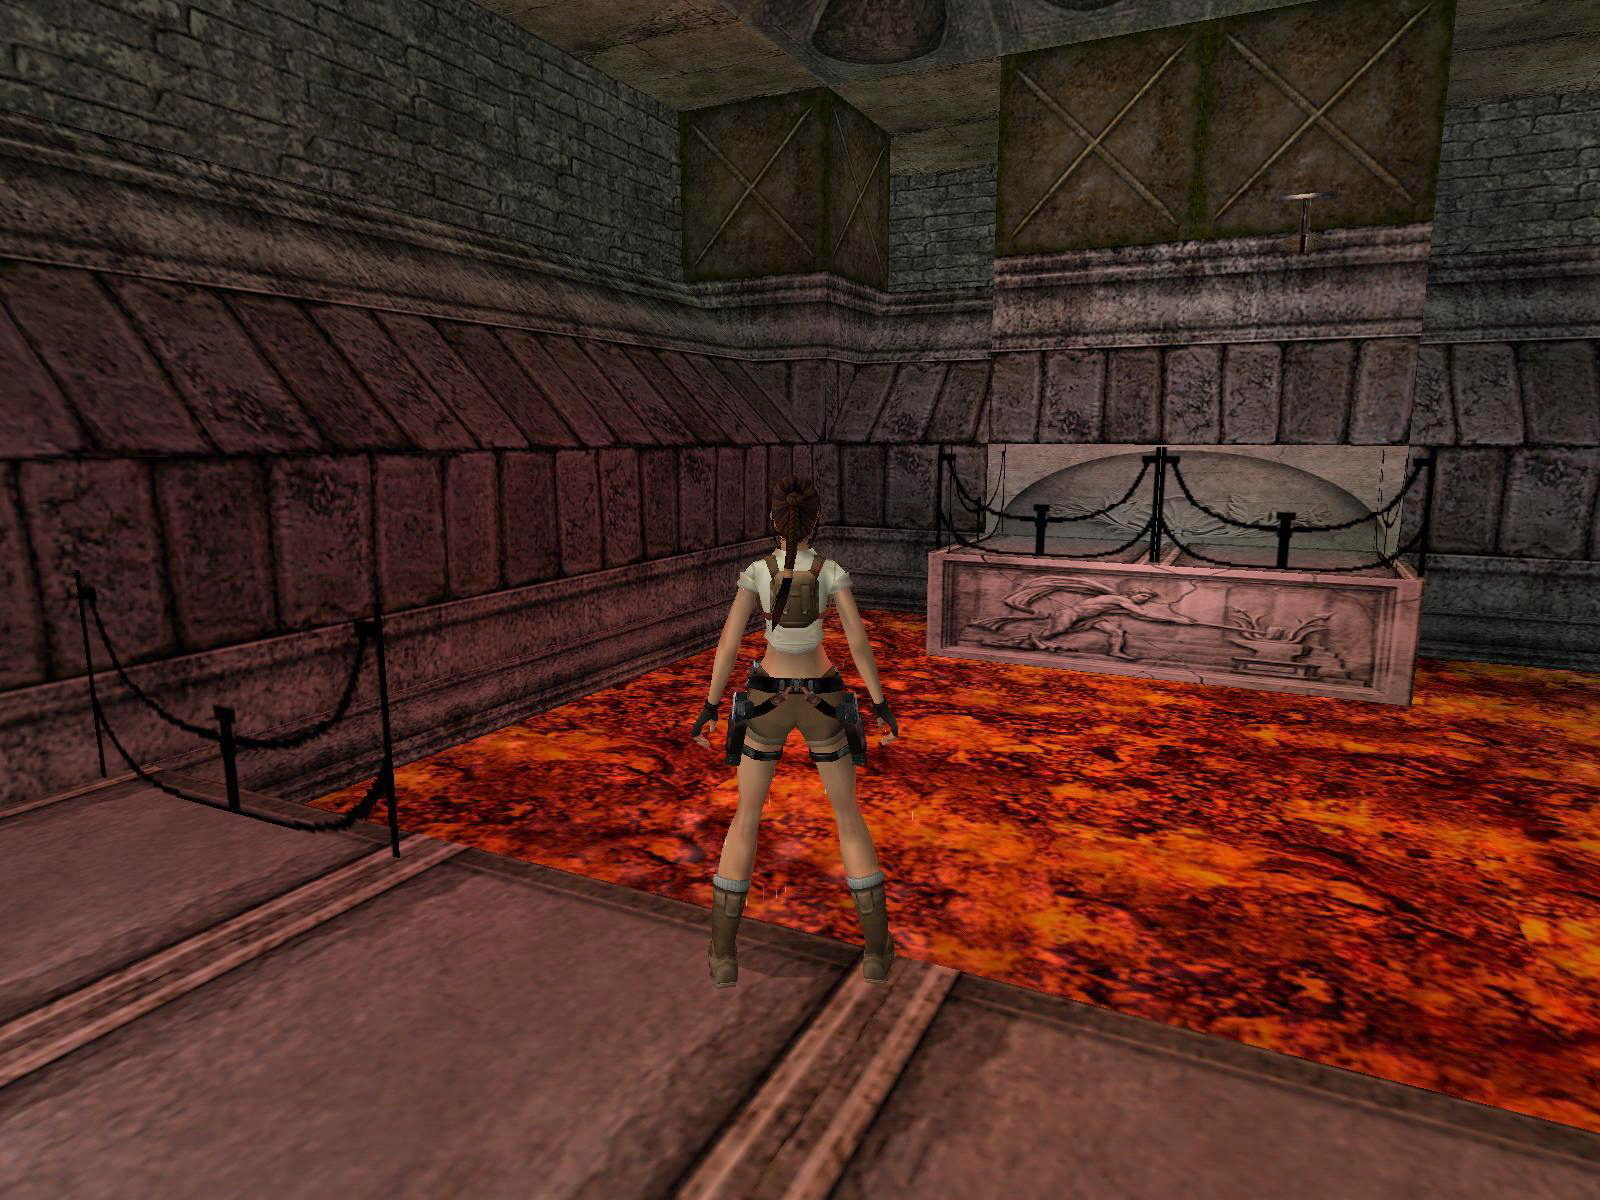
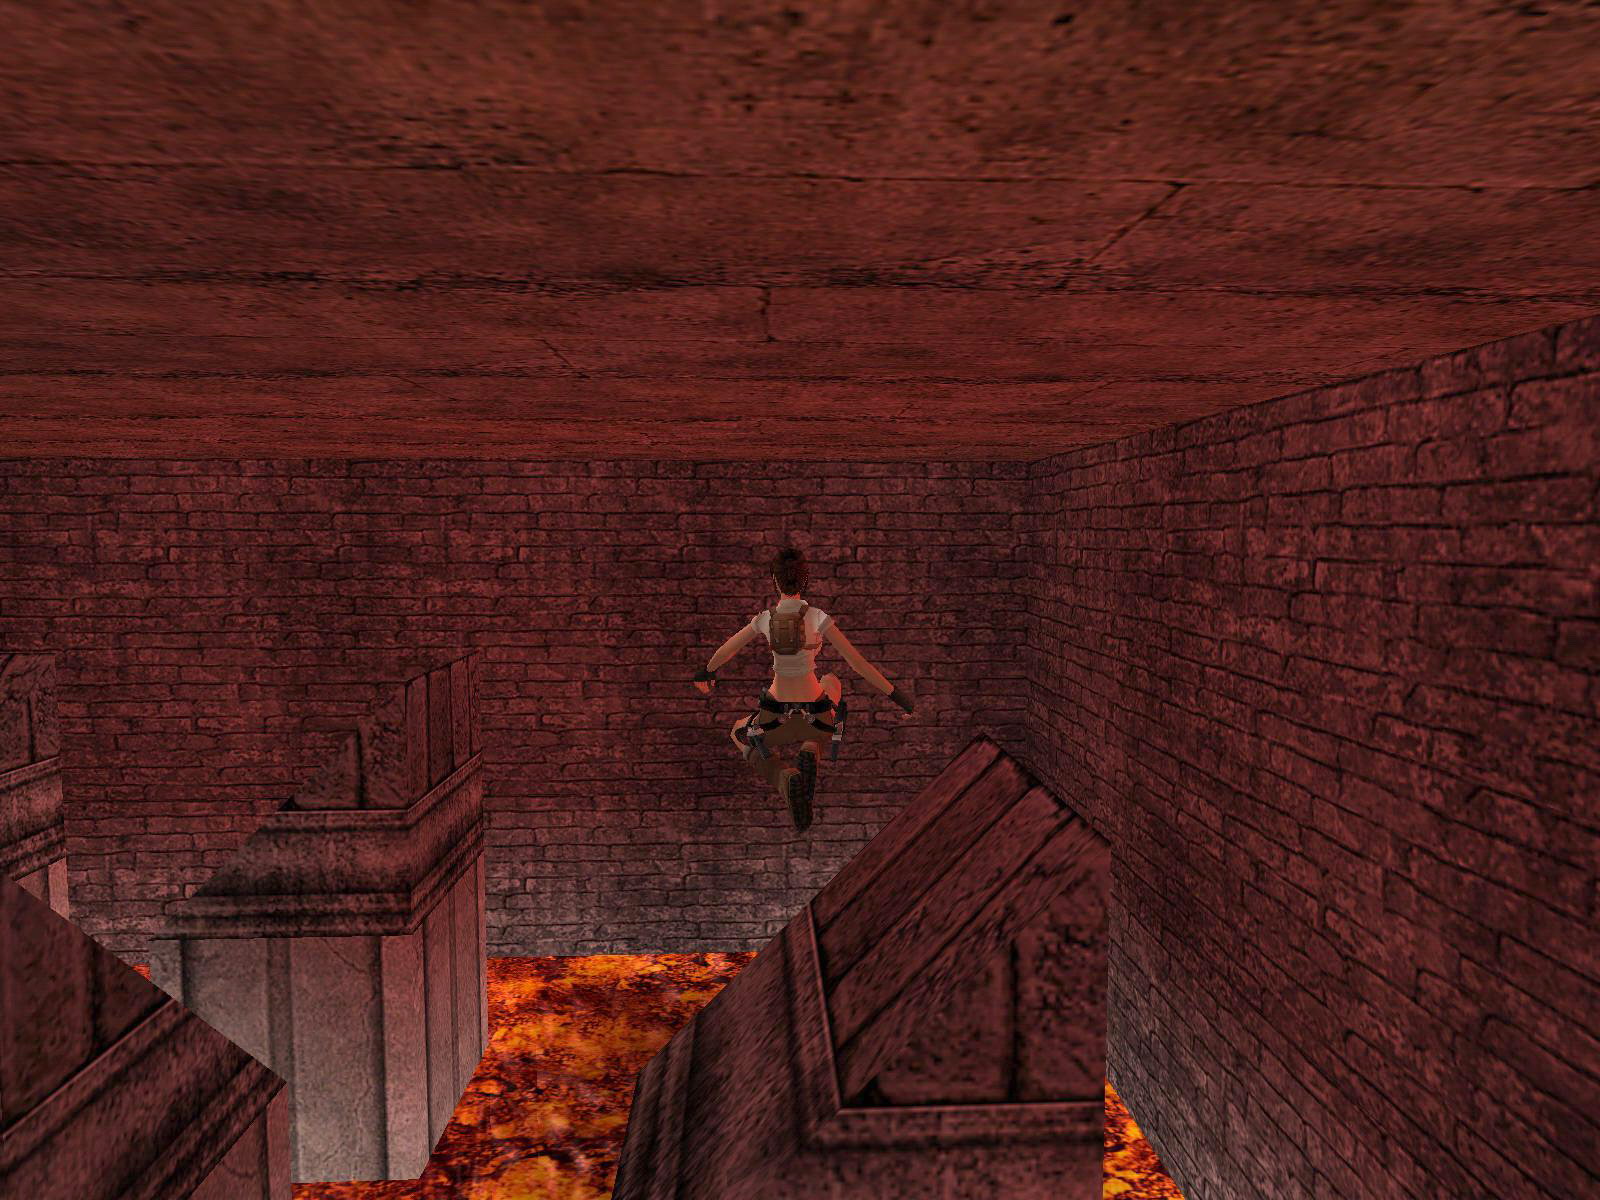
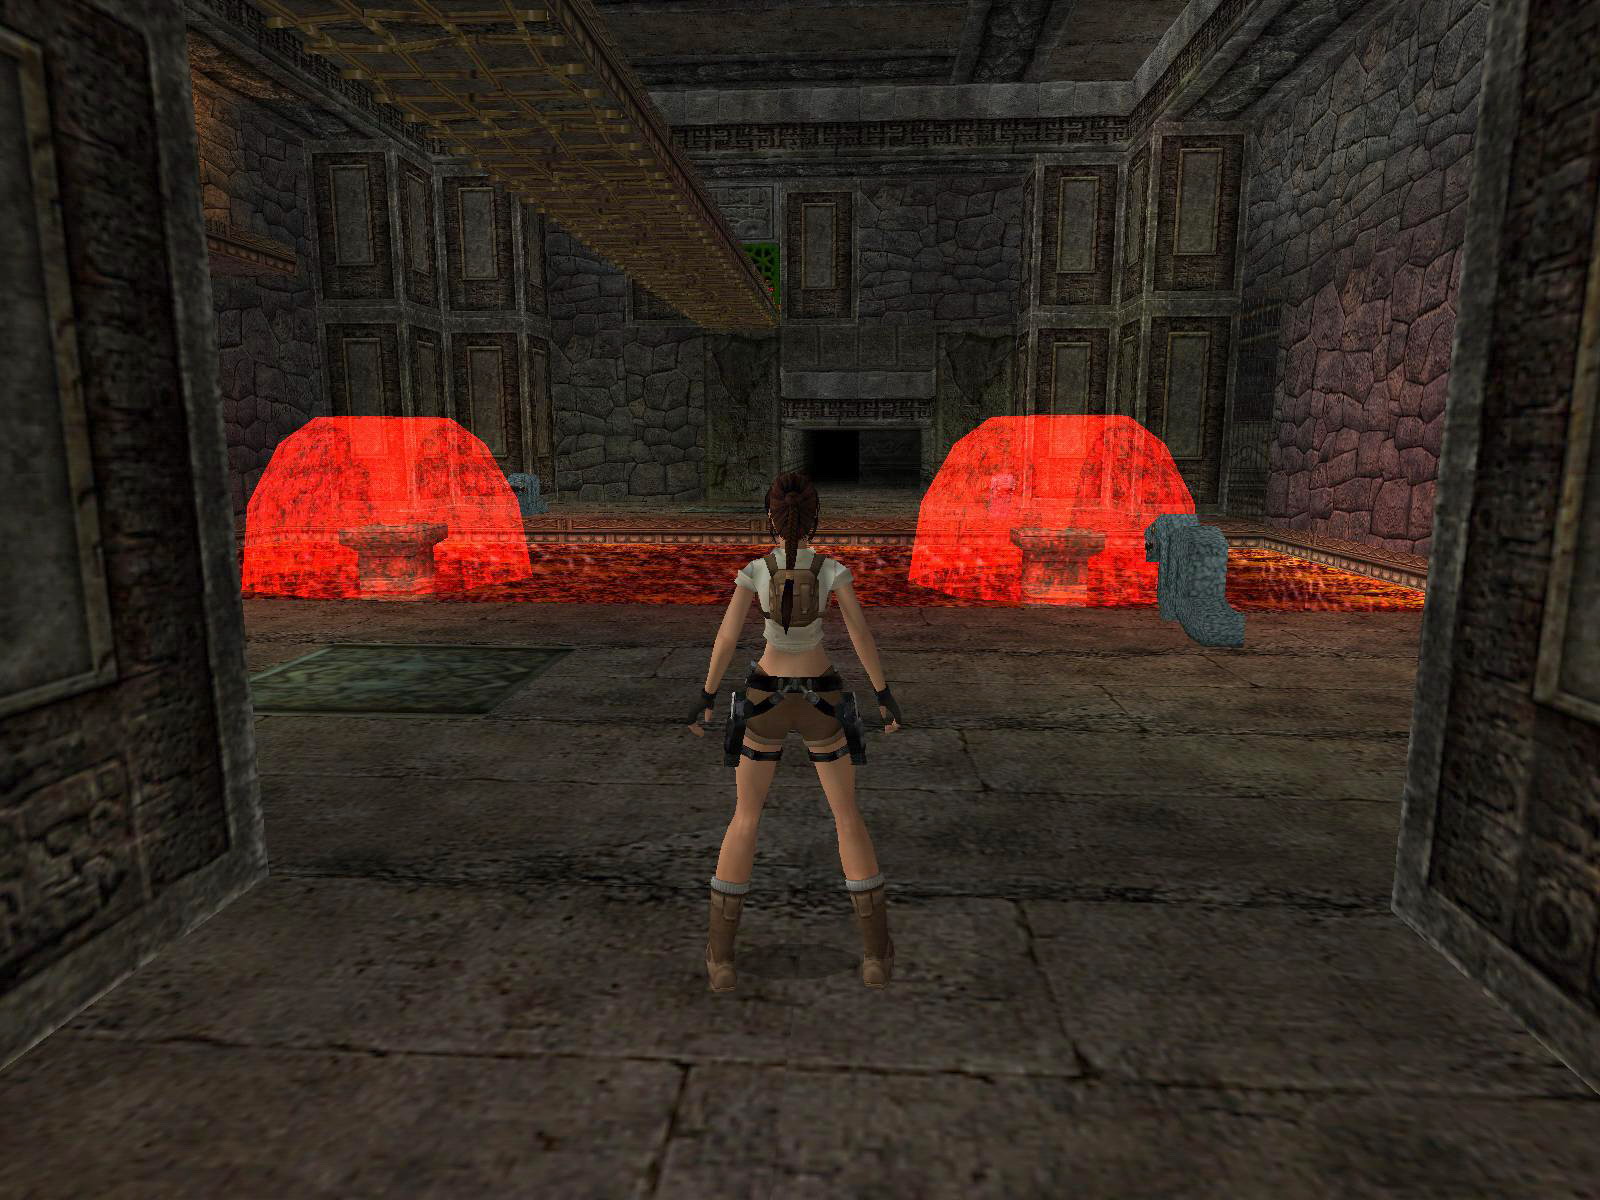
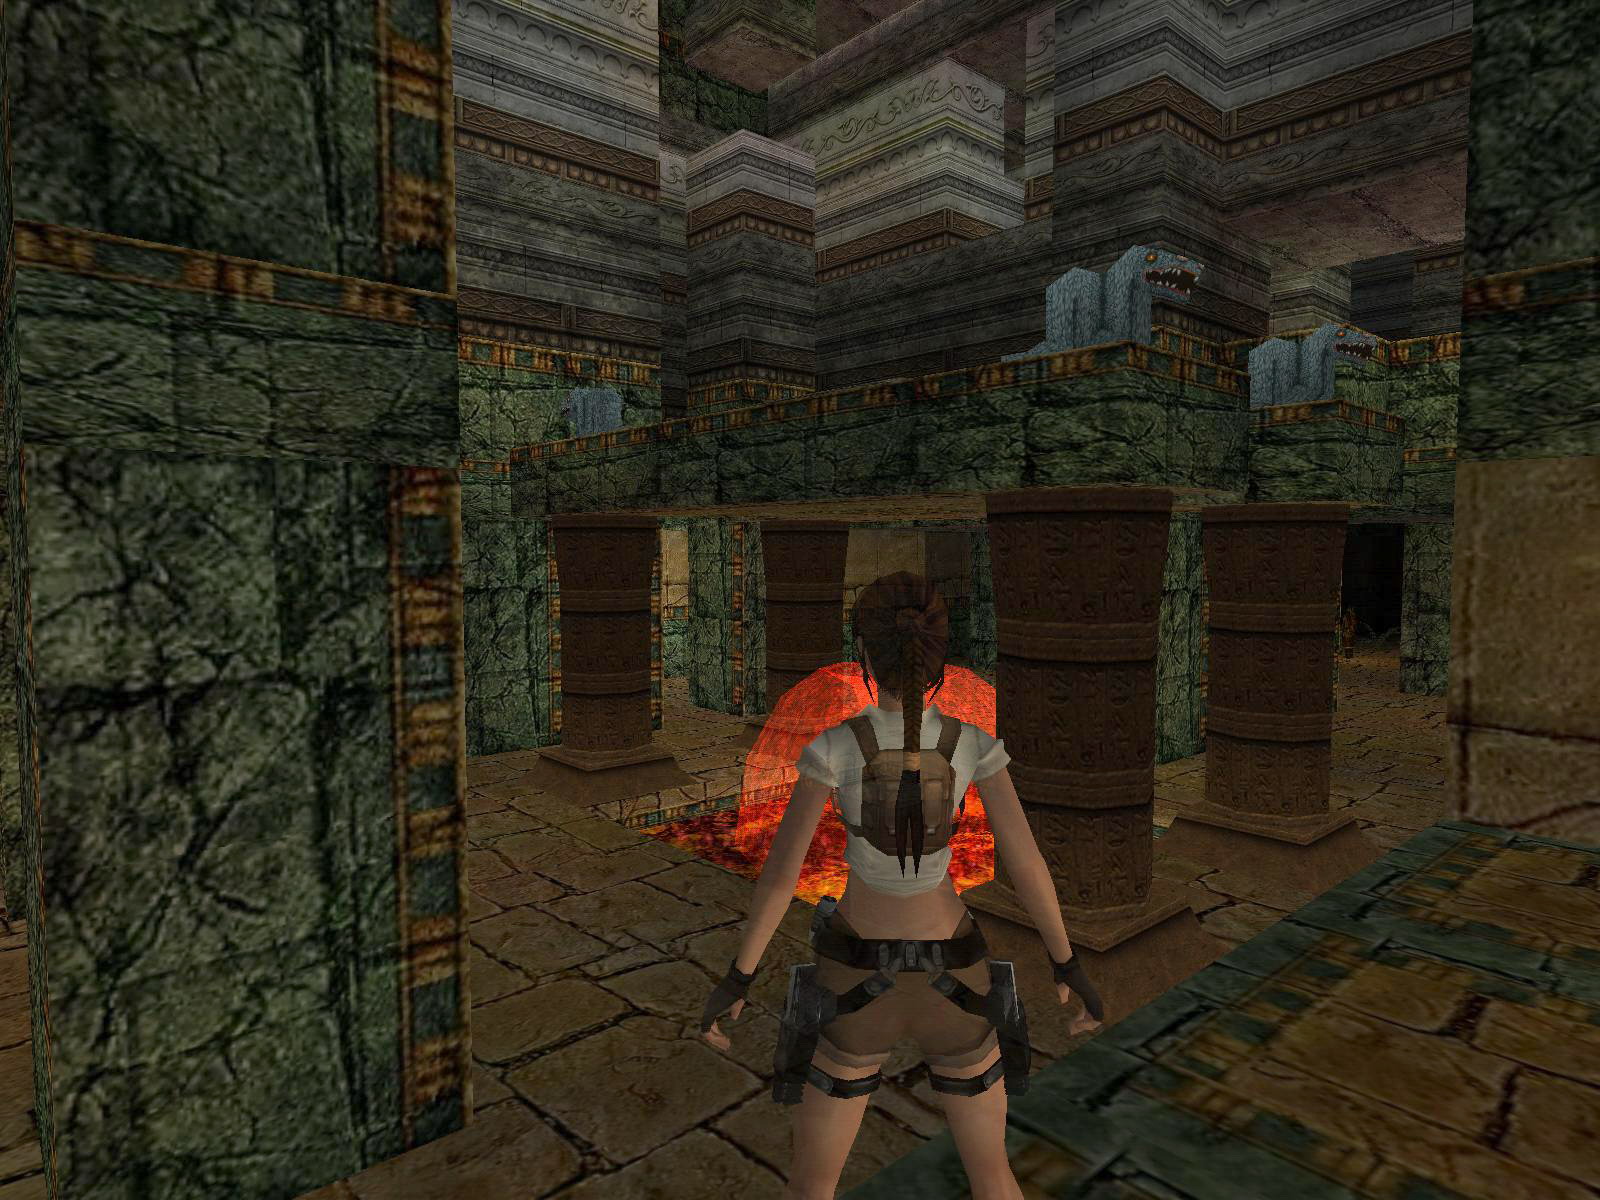
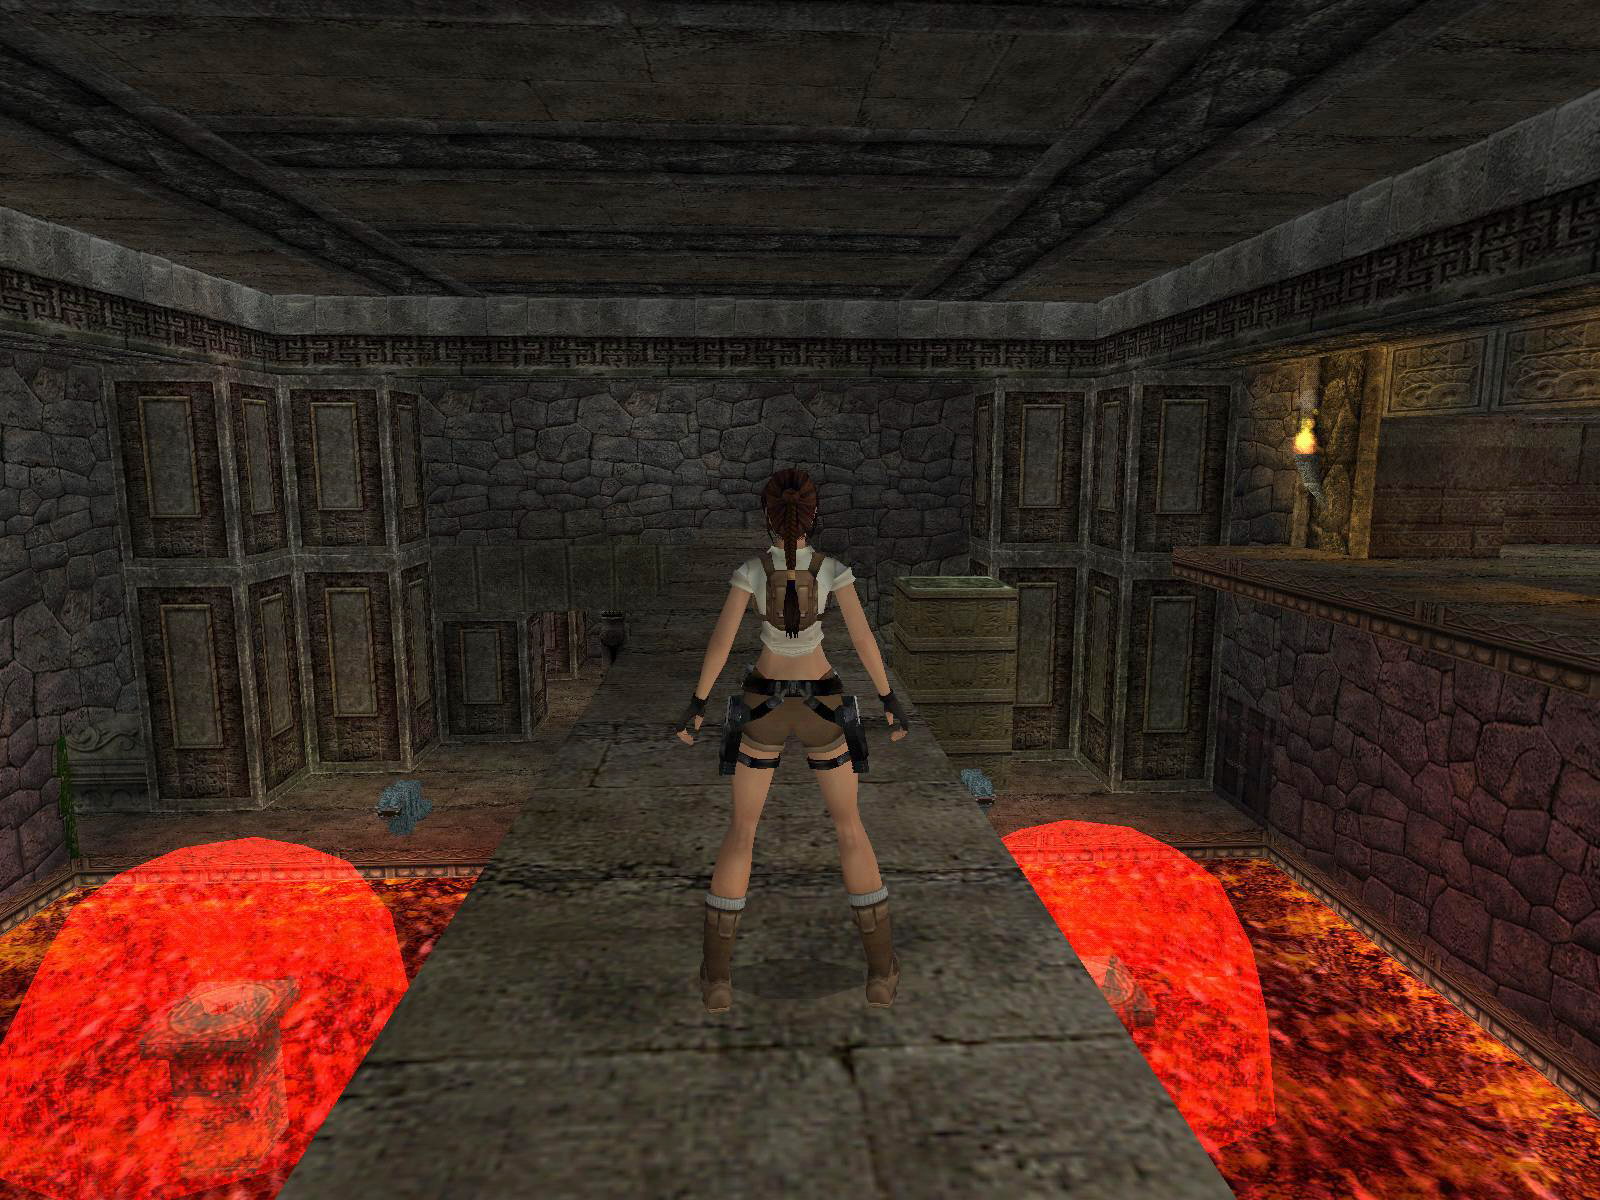
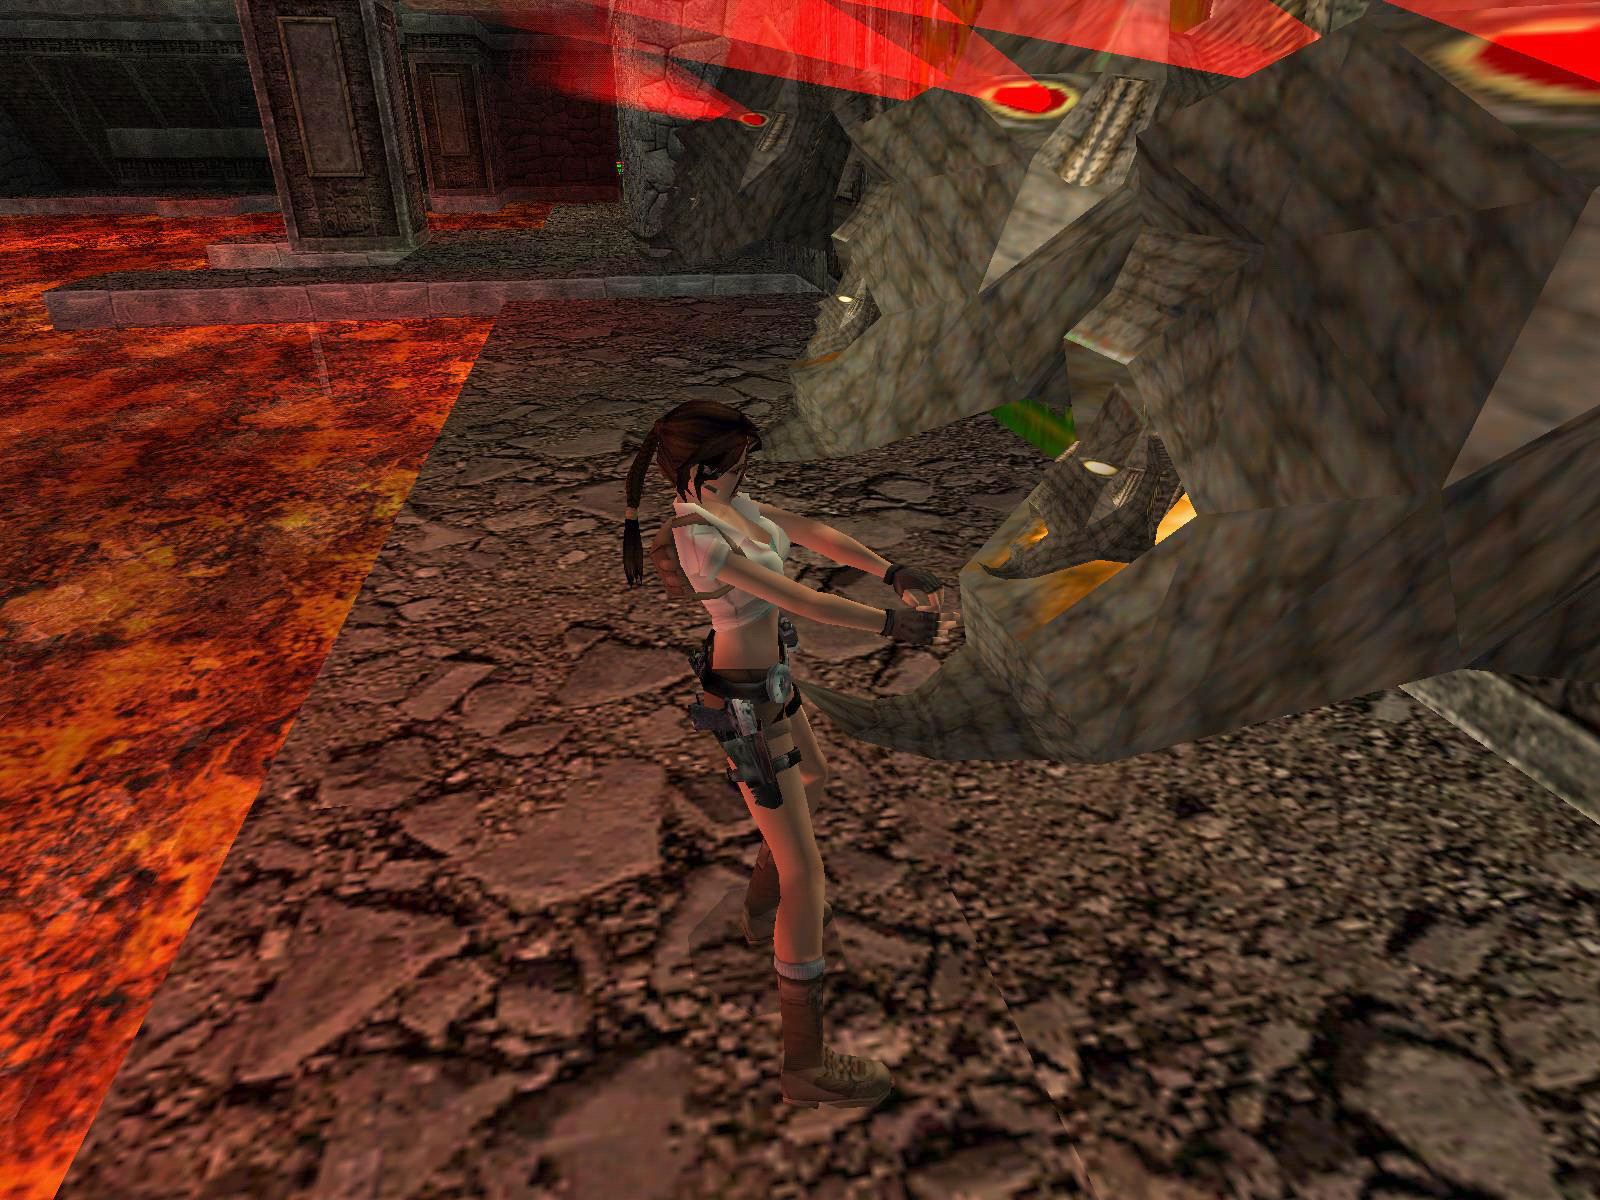
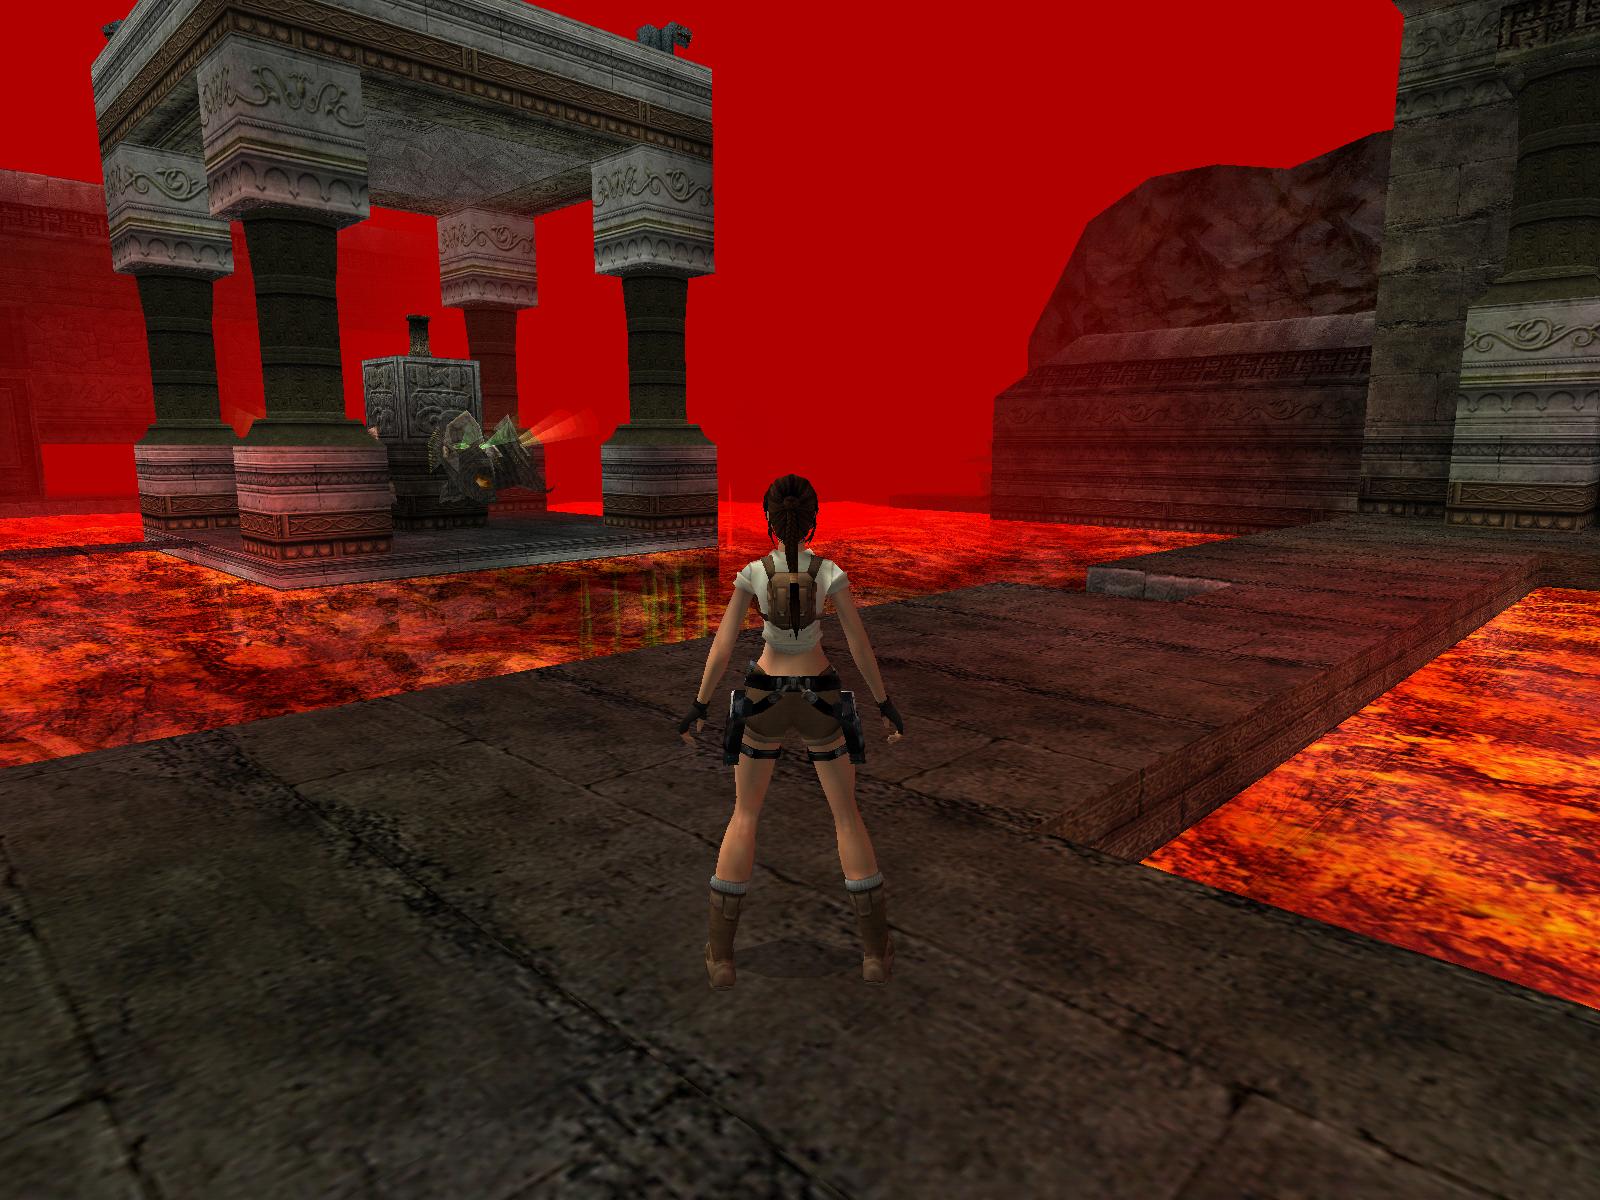
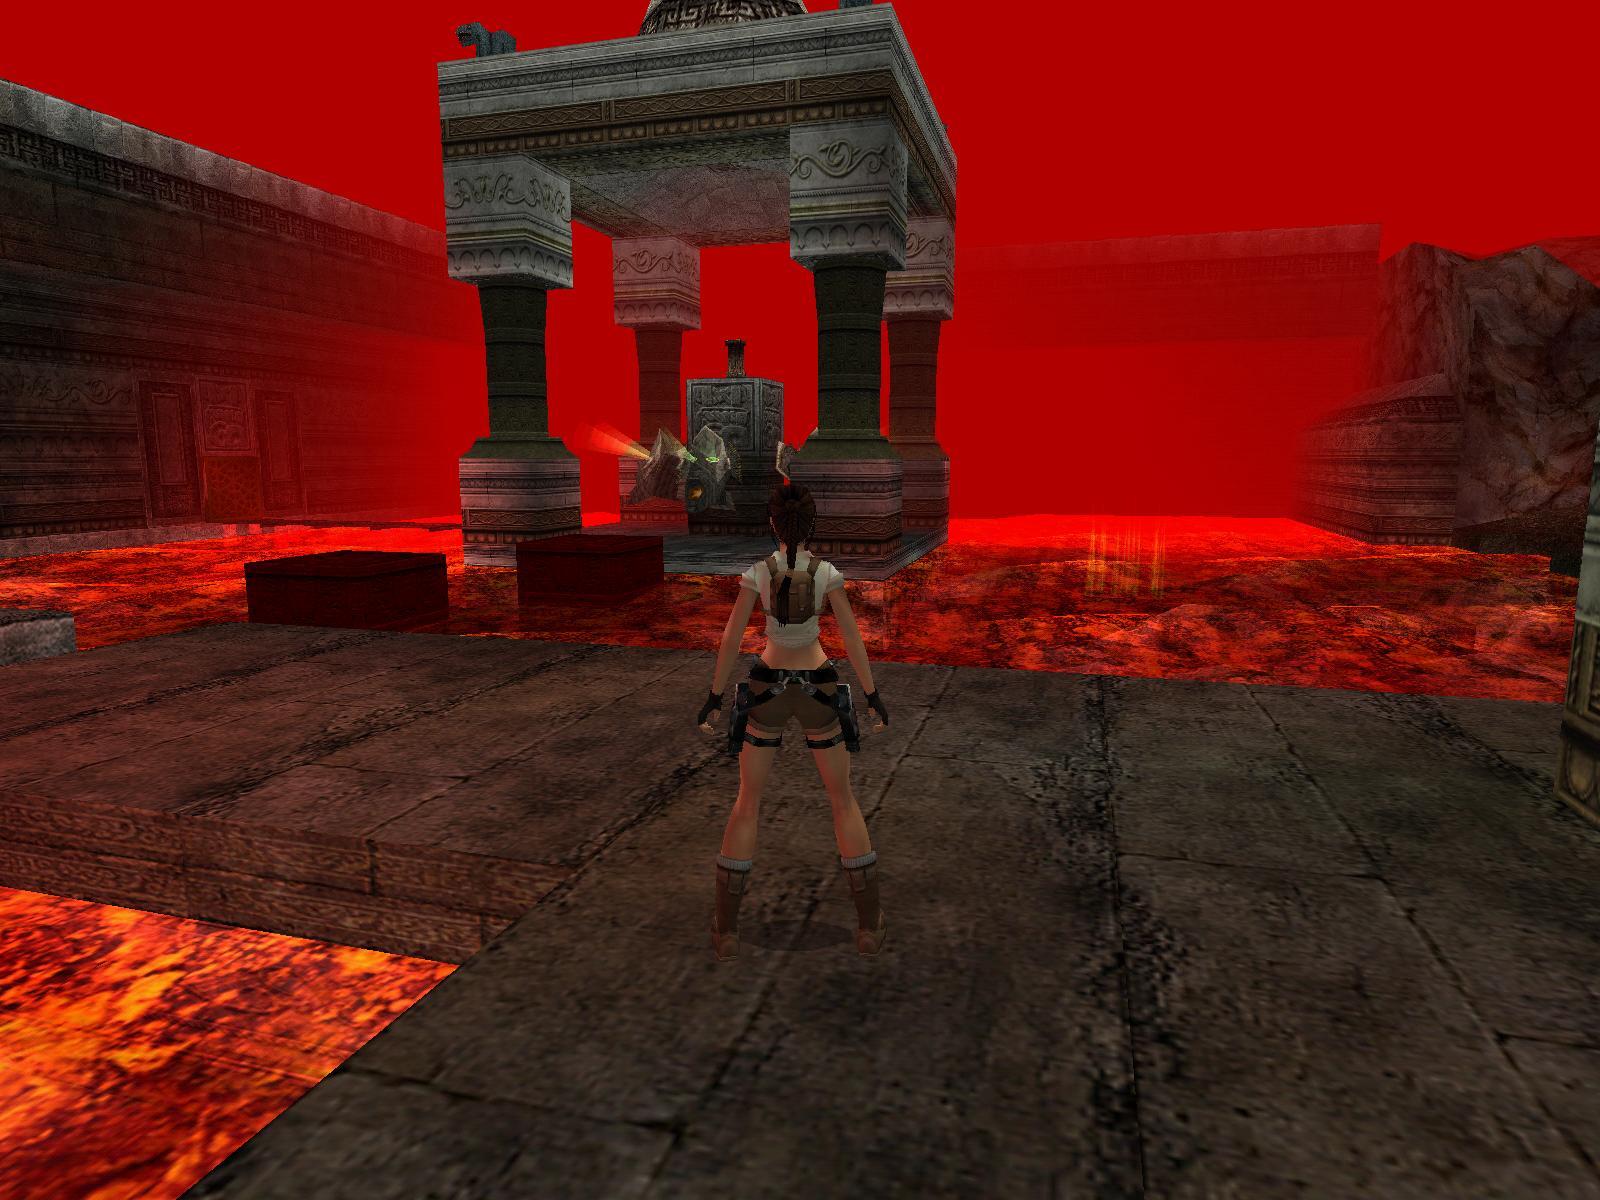
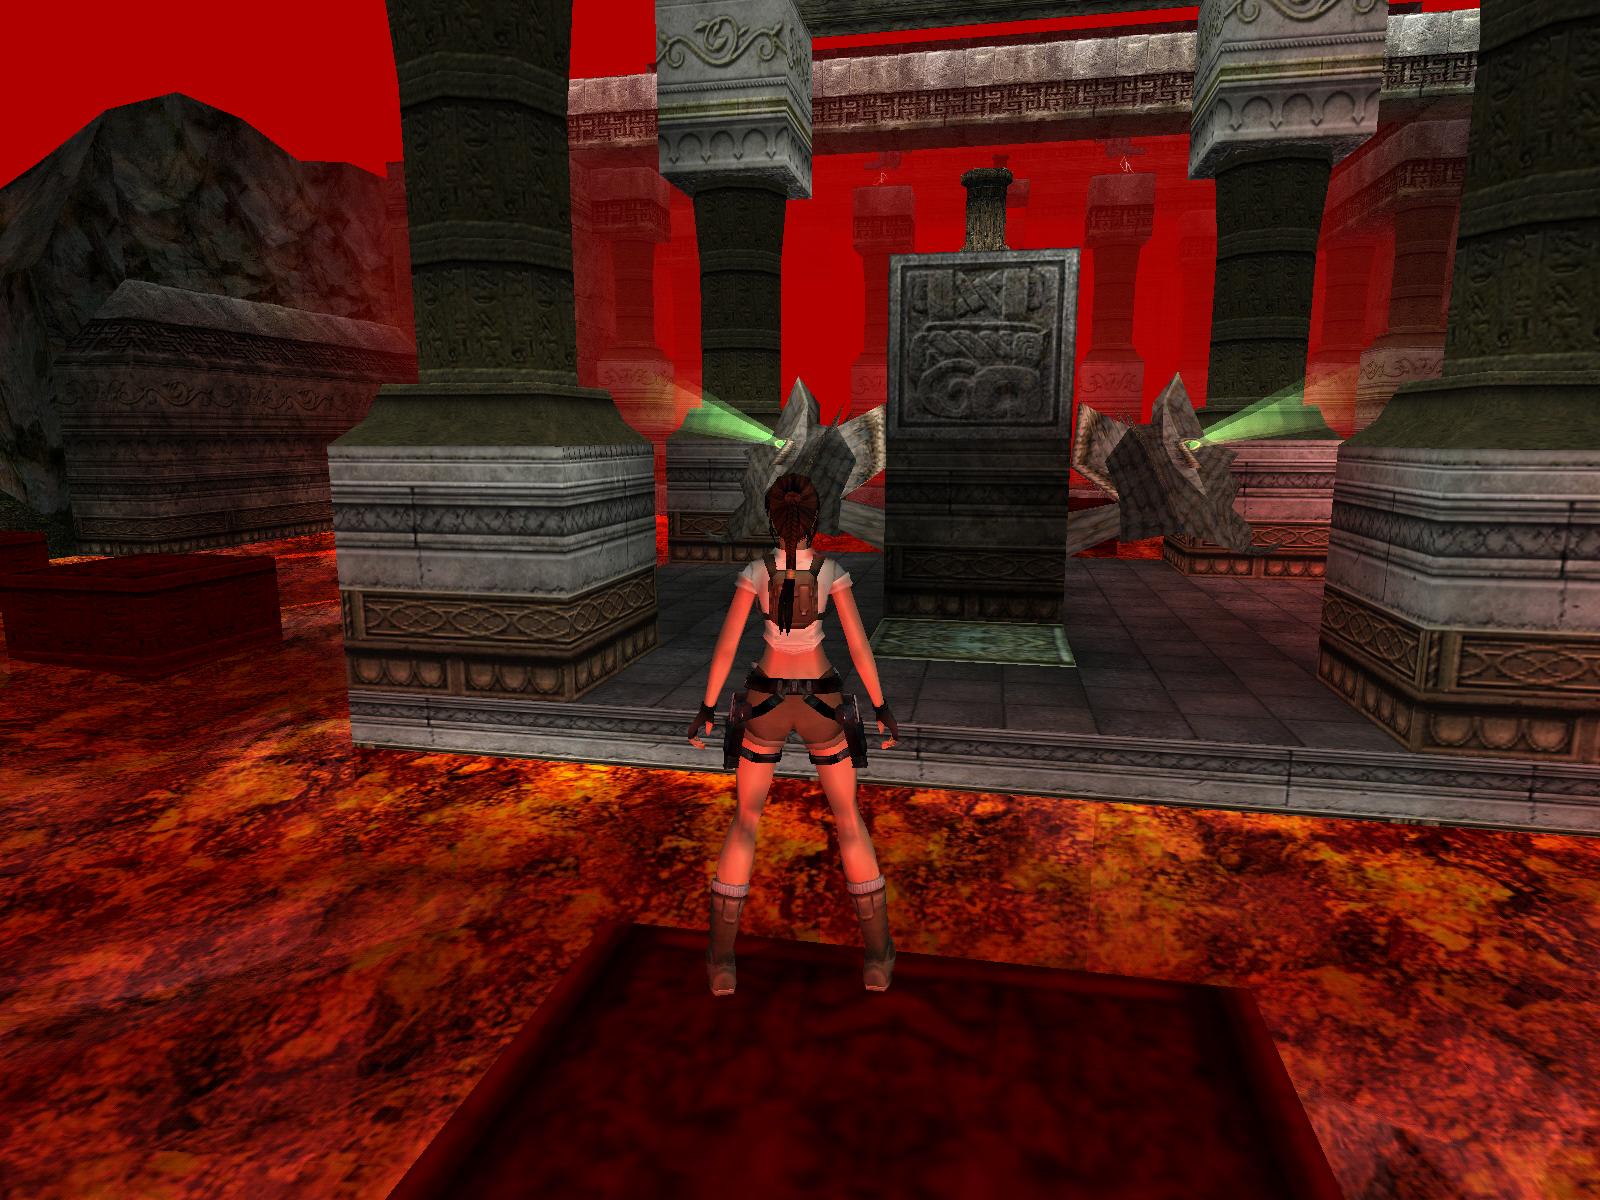
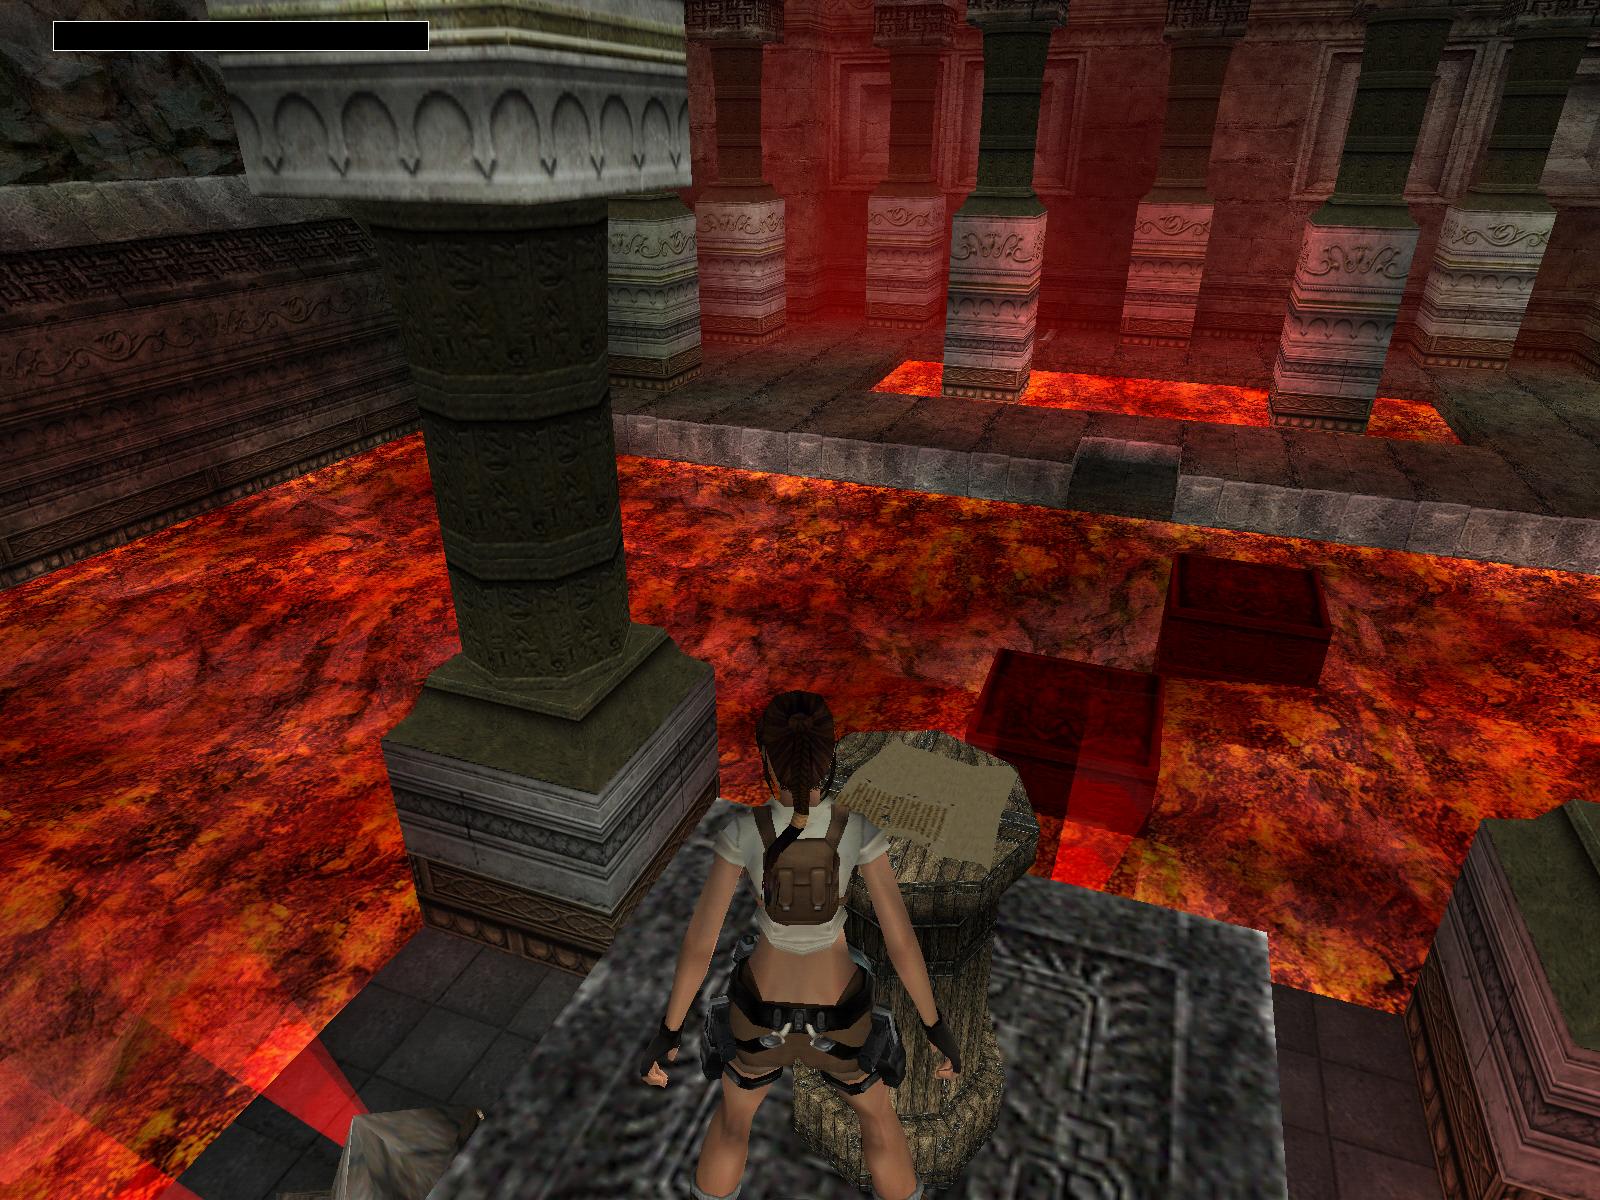
Lava Room, the Genesis Key.
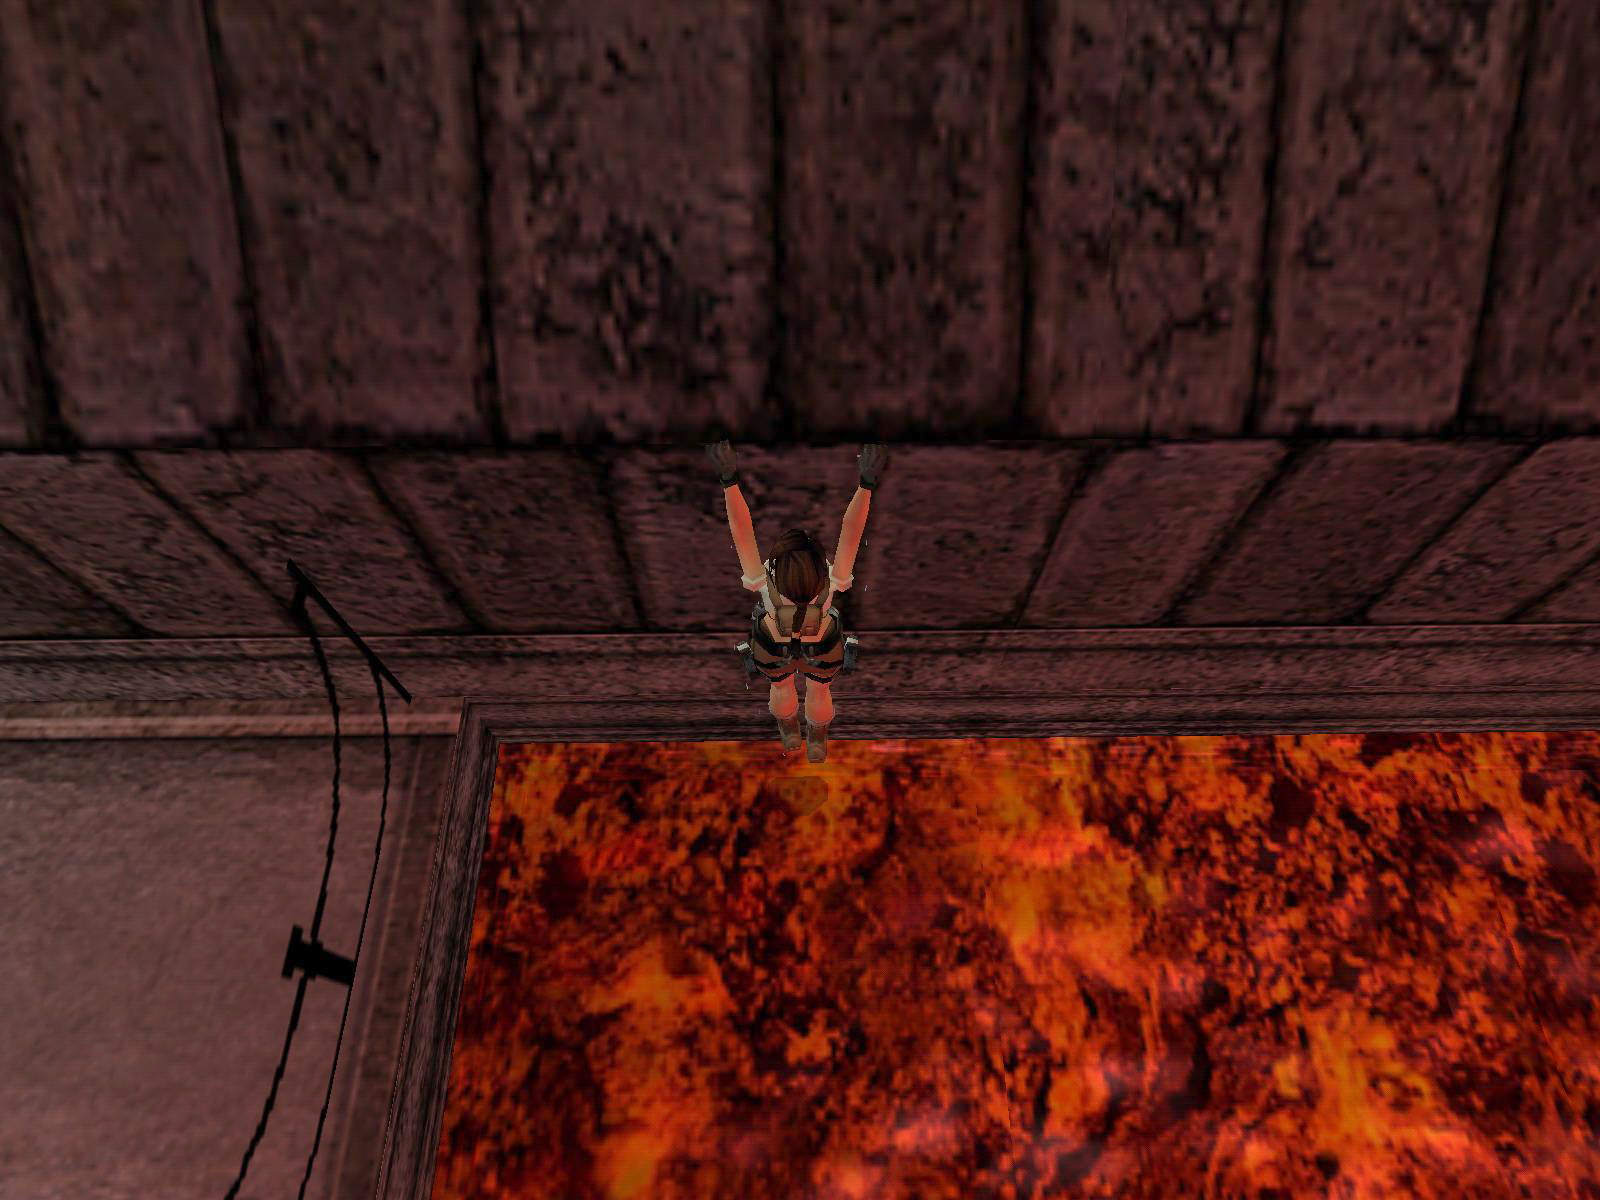
Around the right hand door is some Shotgun Ammo and around the left door is a jump lever (#1) on the N wall. From this lever over the ledges to the S and when you reach the column go left and jump towards another column with a jump lever (#2). Another jump lever (#3) is all the way over on the E wall. You might encounter some small dinos when you go E along the N side, so shoot them. Go back to the guide, another jump lever (#4) is going W, passing a green latticed door (N) and go straight W, take a first opening left. And the last (#5) is on a pillar near the W wall. The gate further down opens (SW). Enter and pick up the Genesis Key from the pedestal.
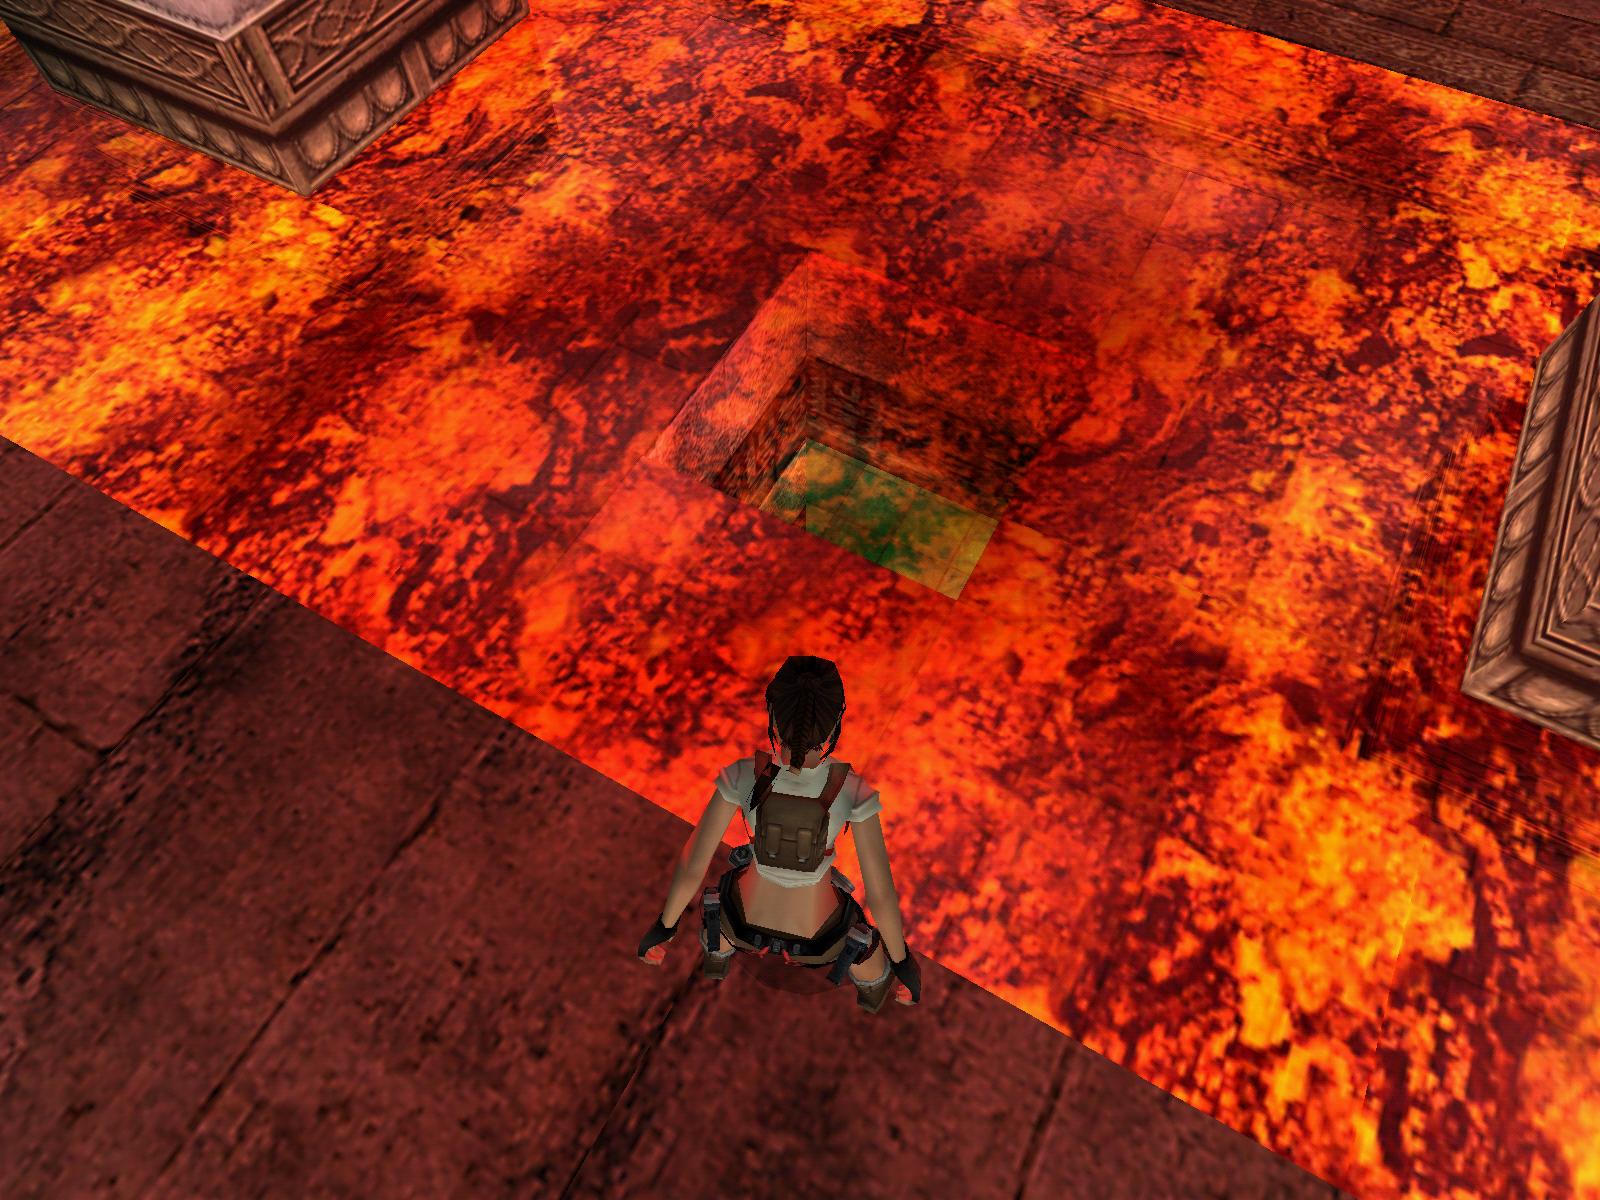
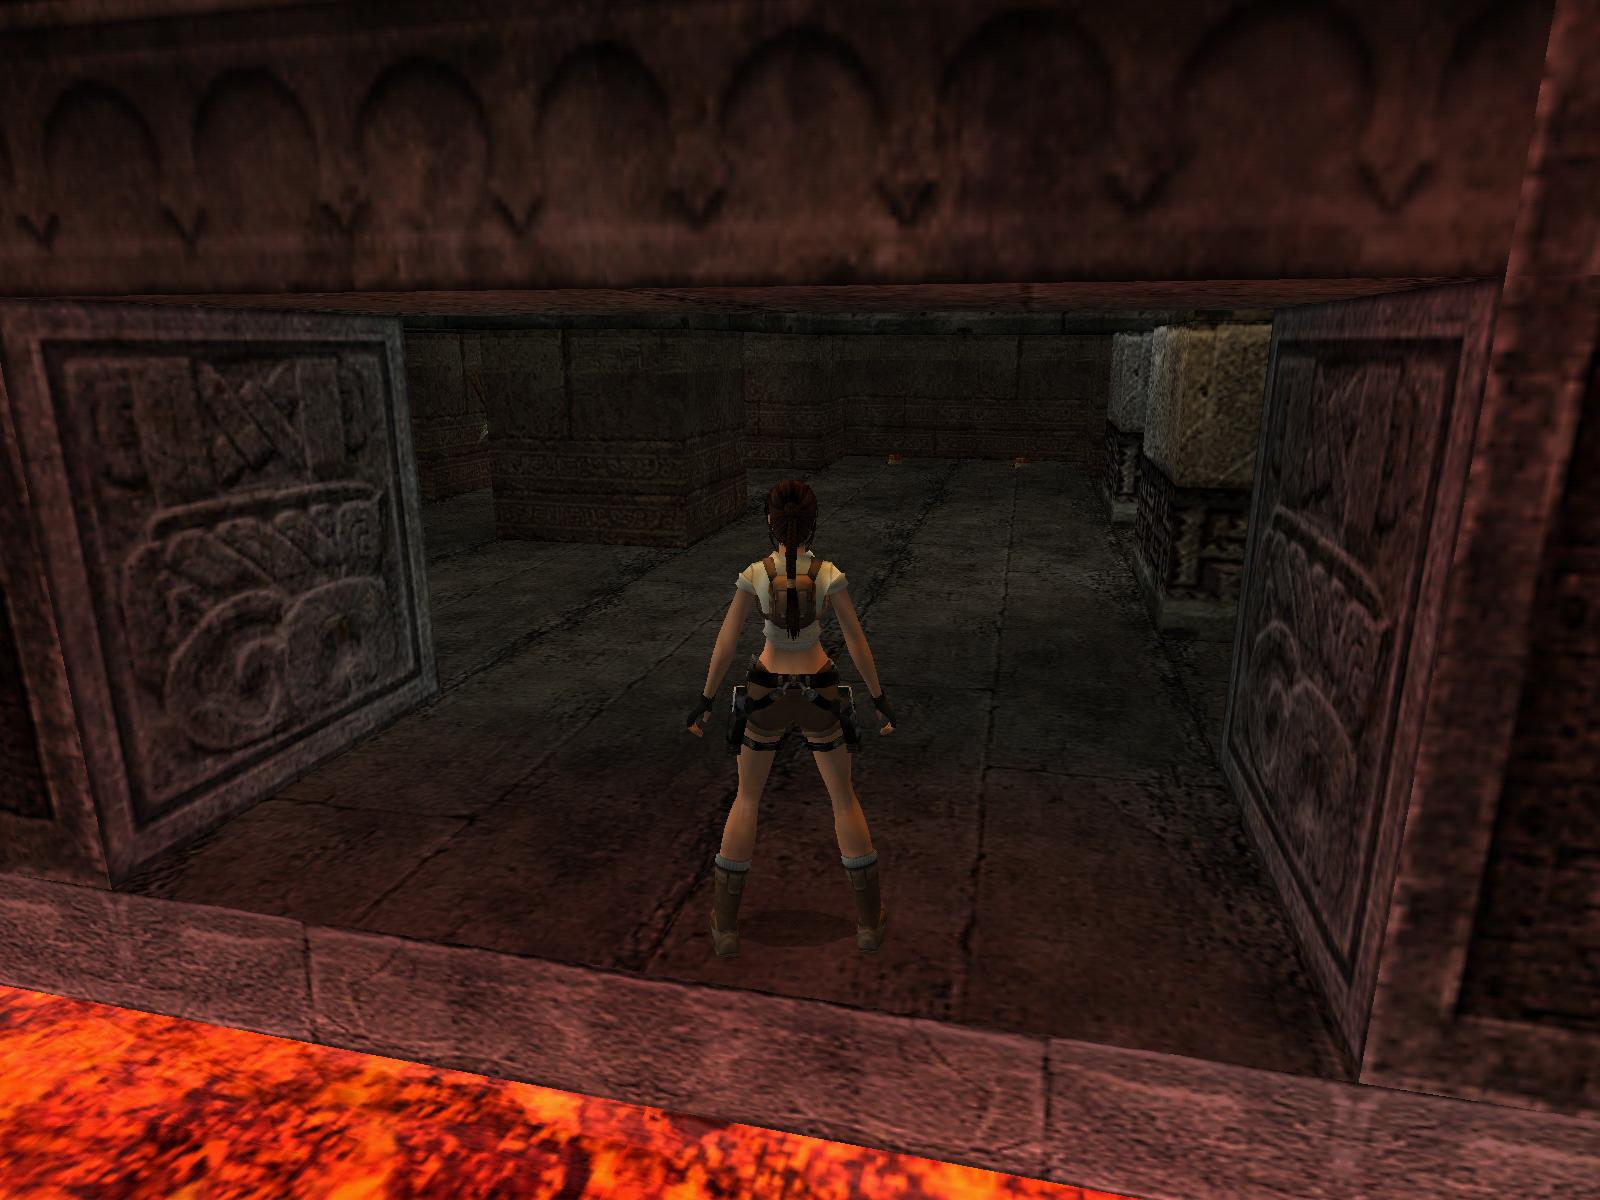
Go back to the lava room for more ledges hopping to the N, go past the (#4) jump lever to the right and insert the Genesis Key next to the gate in the N wall.
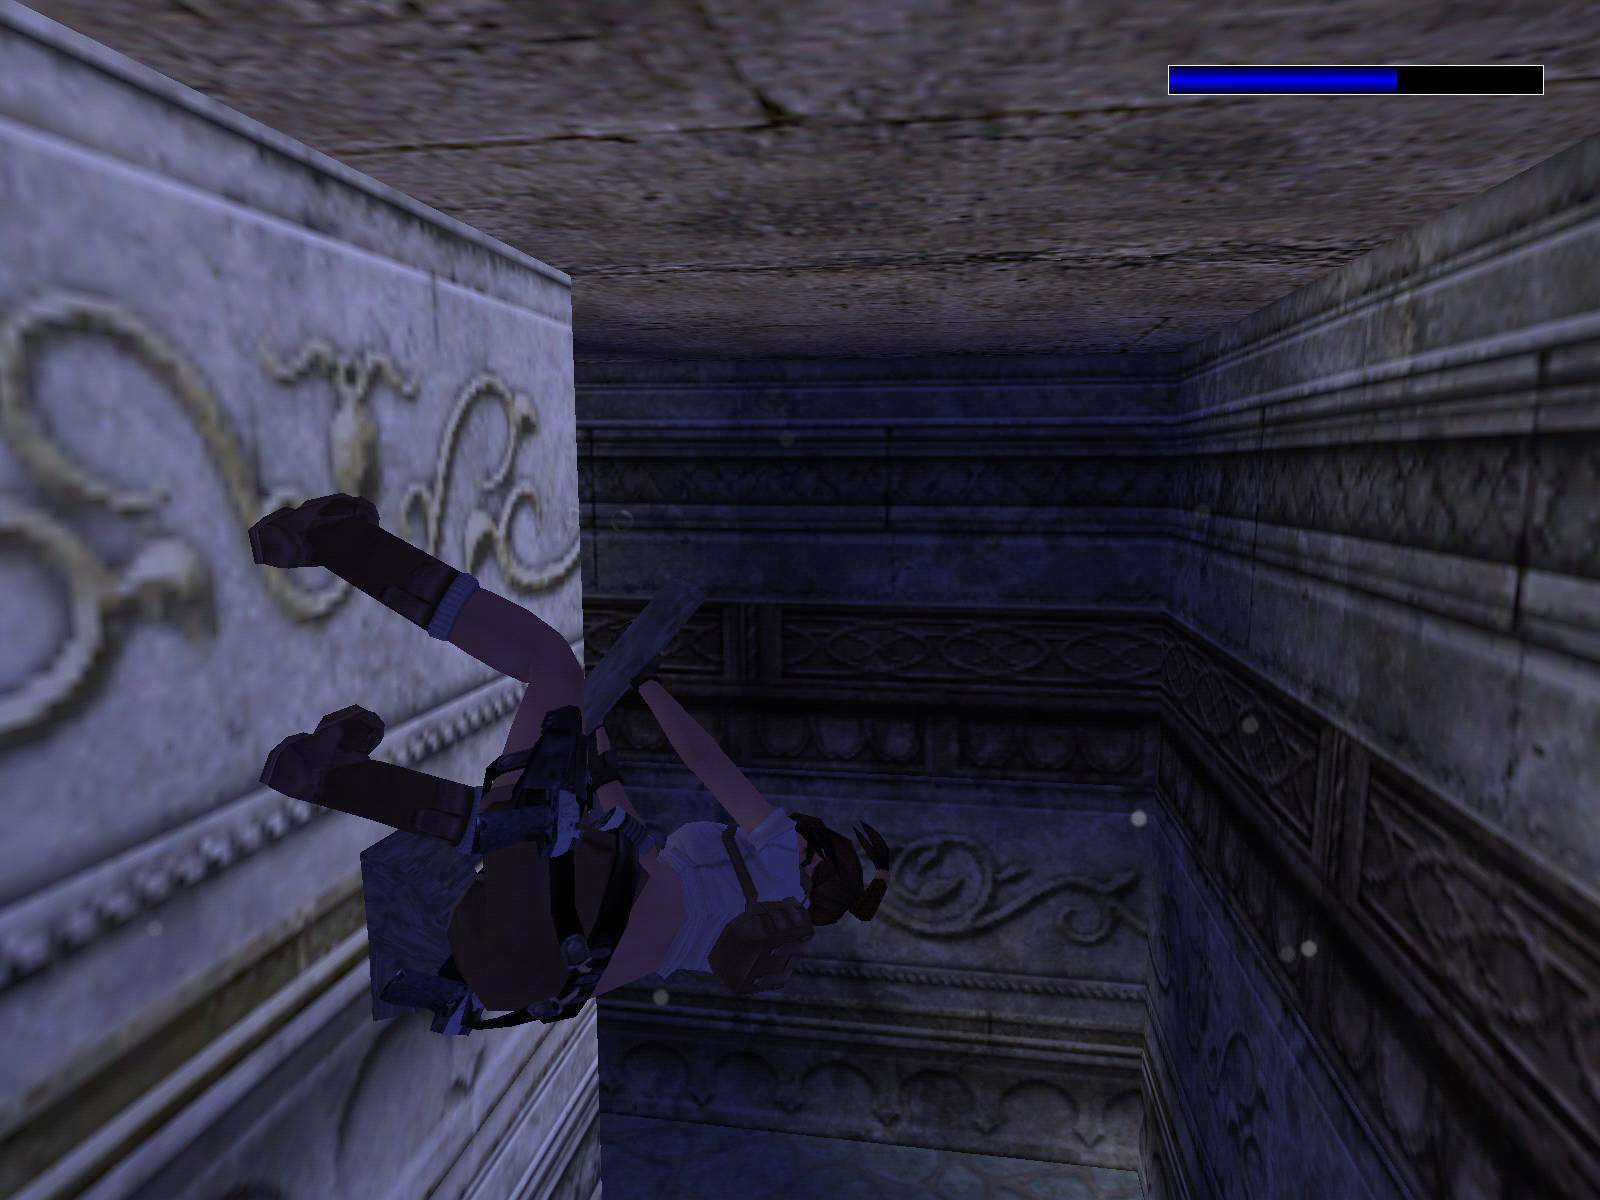
Slide down to the next level.
You must have noticed all the gates in this Lava room, you'll be back...
2. Genesis.

Secret 2:
Follow through and safety drop down, shoot some small dinos. SE is a crawlspace, follow through and use the lever at the end. Go back out and into the opened gate S.
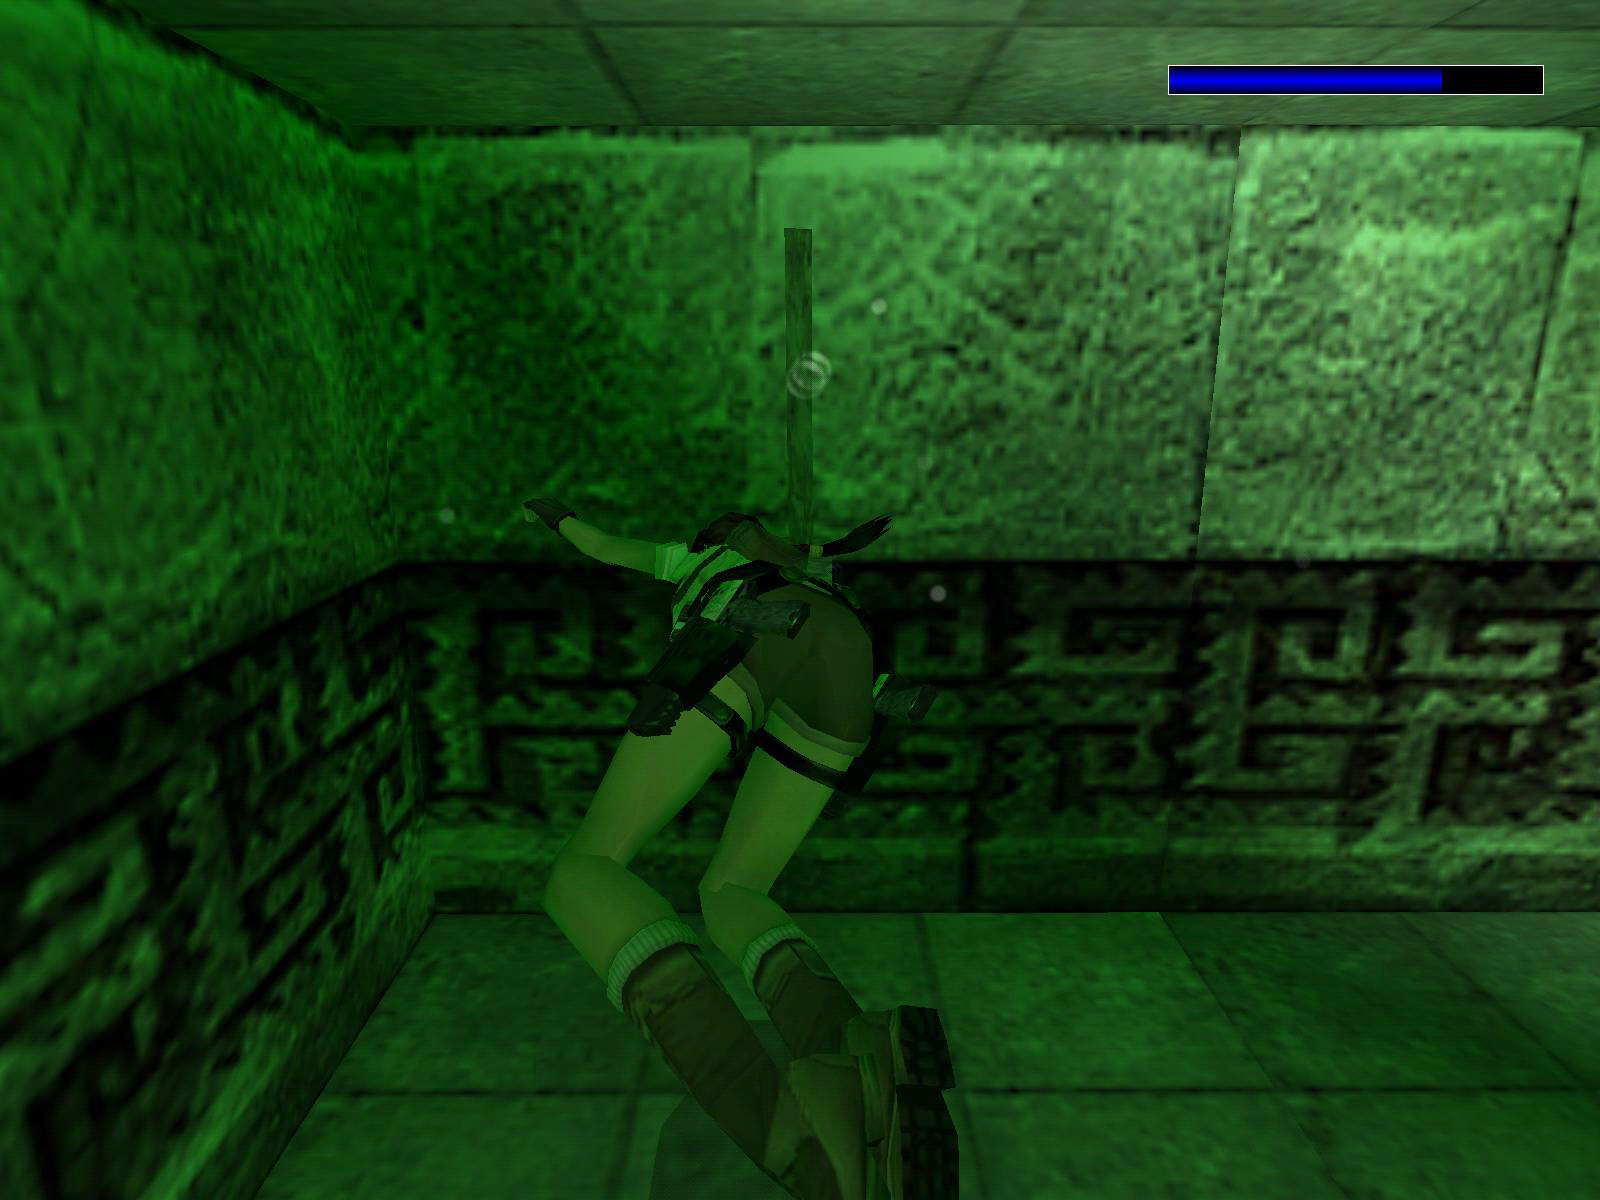
Swimming.
Go to the S wall and jump into the water, swim S and notice that gate to the right, then follow all the way to the end and climb out. There will be a Yeti waiting, kill him and he leaves a small medipack. By that time the spikes stop, so you can use the lever, this opens a door underwater, swim back, it is that gate where you came into the water, swim in, keep swimming to the right and climb out. Use the jump lever E. Back to the water and swim back to the Yeti room. Enter the gate, into the water and swim S, keep to the right all the time and climb out. Jump over that dark metal tile to avoid the spikes and get to the jump lever W, the second underwater gate opens up.
Run back through the spikes near the water but better NOT jump into the water from there, but diagonally onto the safe floor SE and then jump in the water. Swim back and run E through the Yeti room to the other waterhole and now just keep swimming to the right and you'll end up where you need to be. Climb out into a hallway, go W.
The gate opens when you approach, enter and climb the block, watch the fly by there.
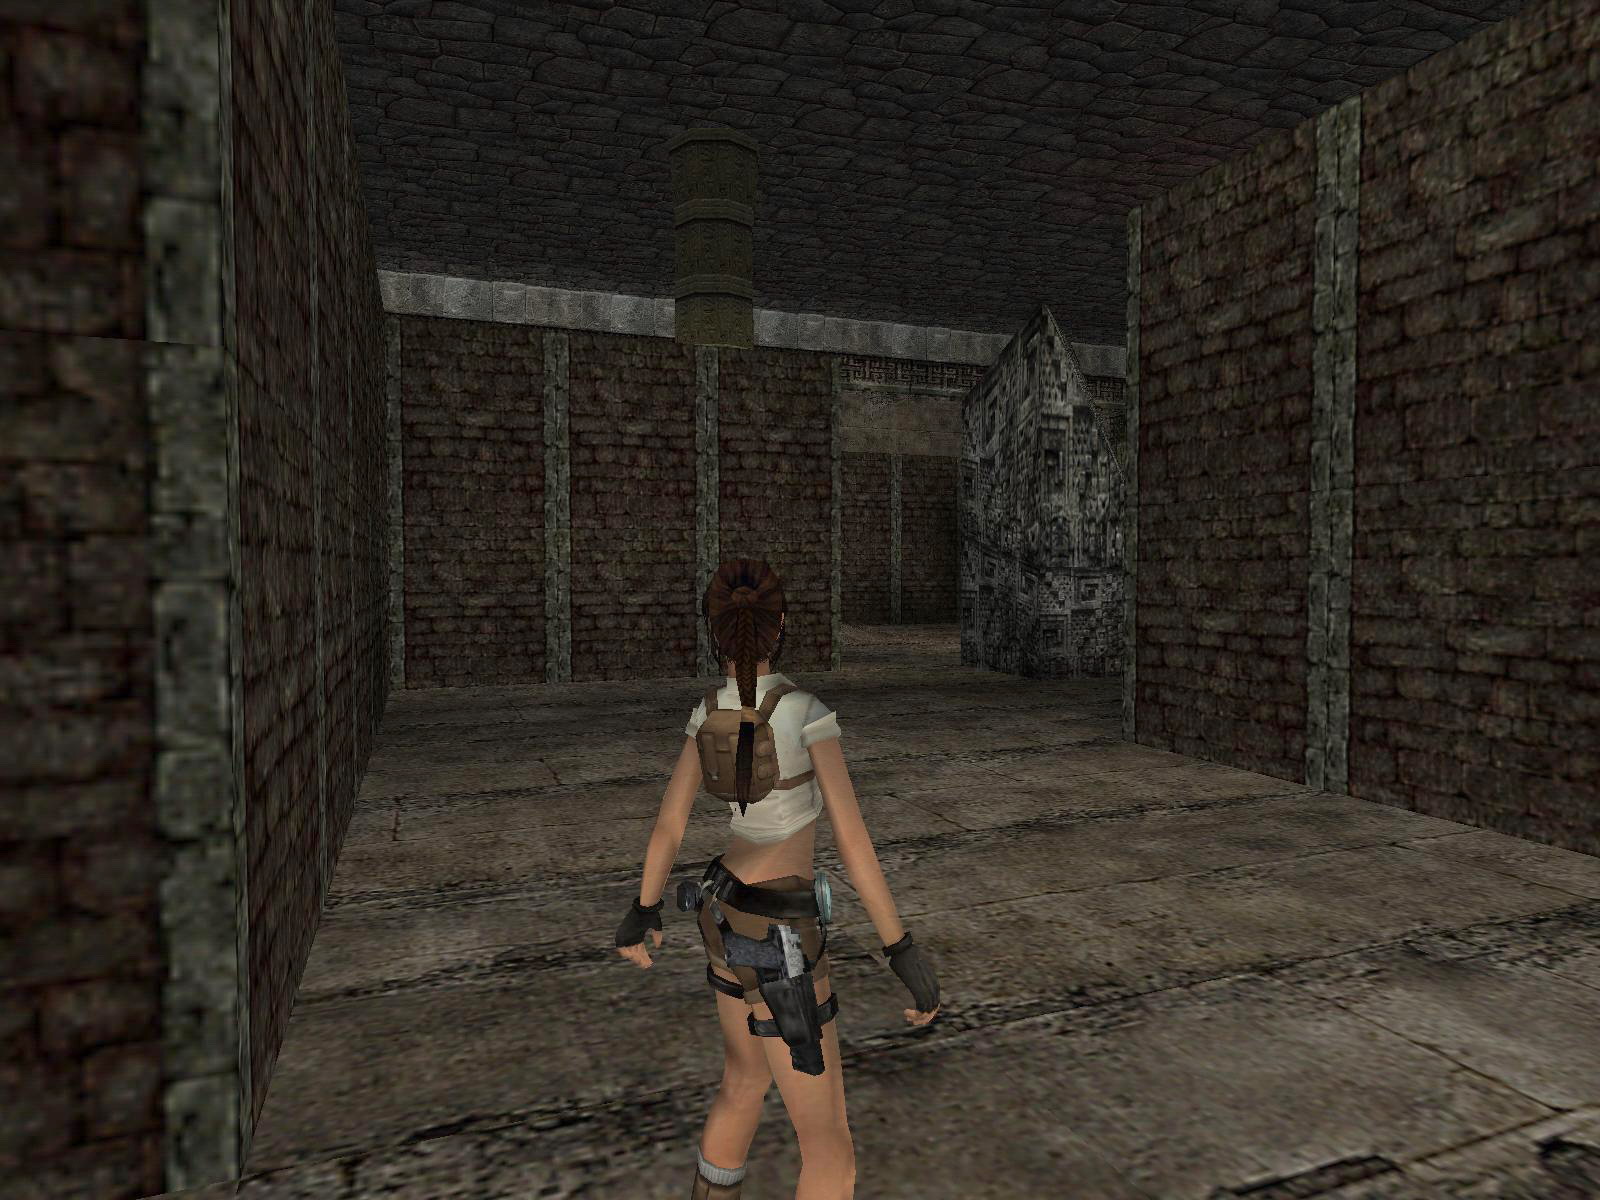
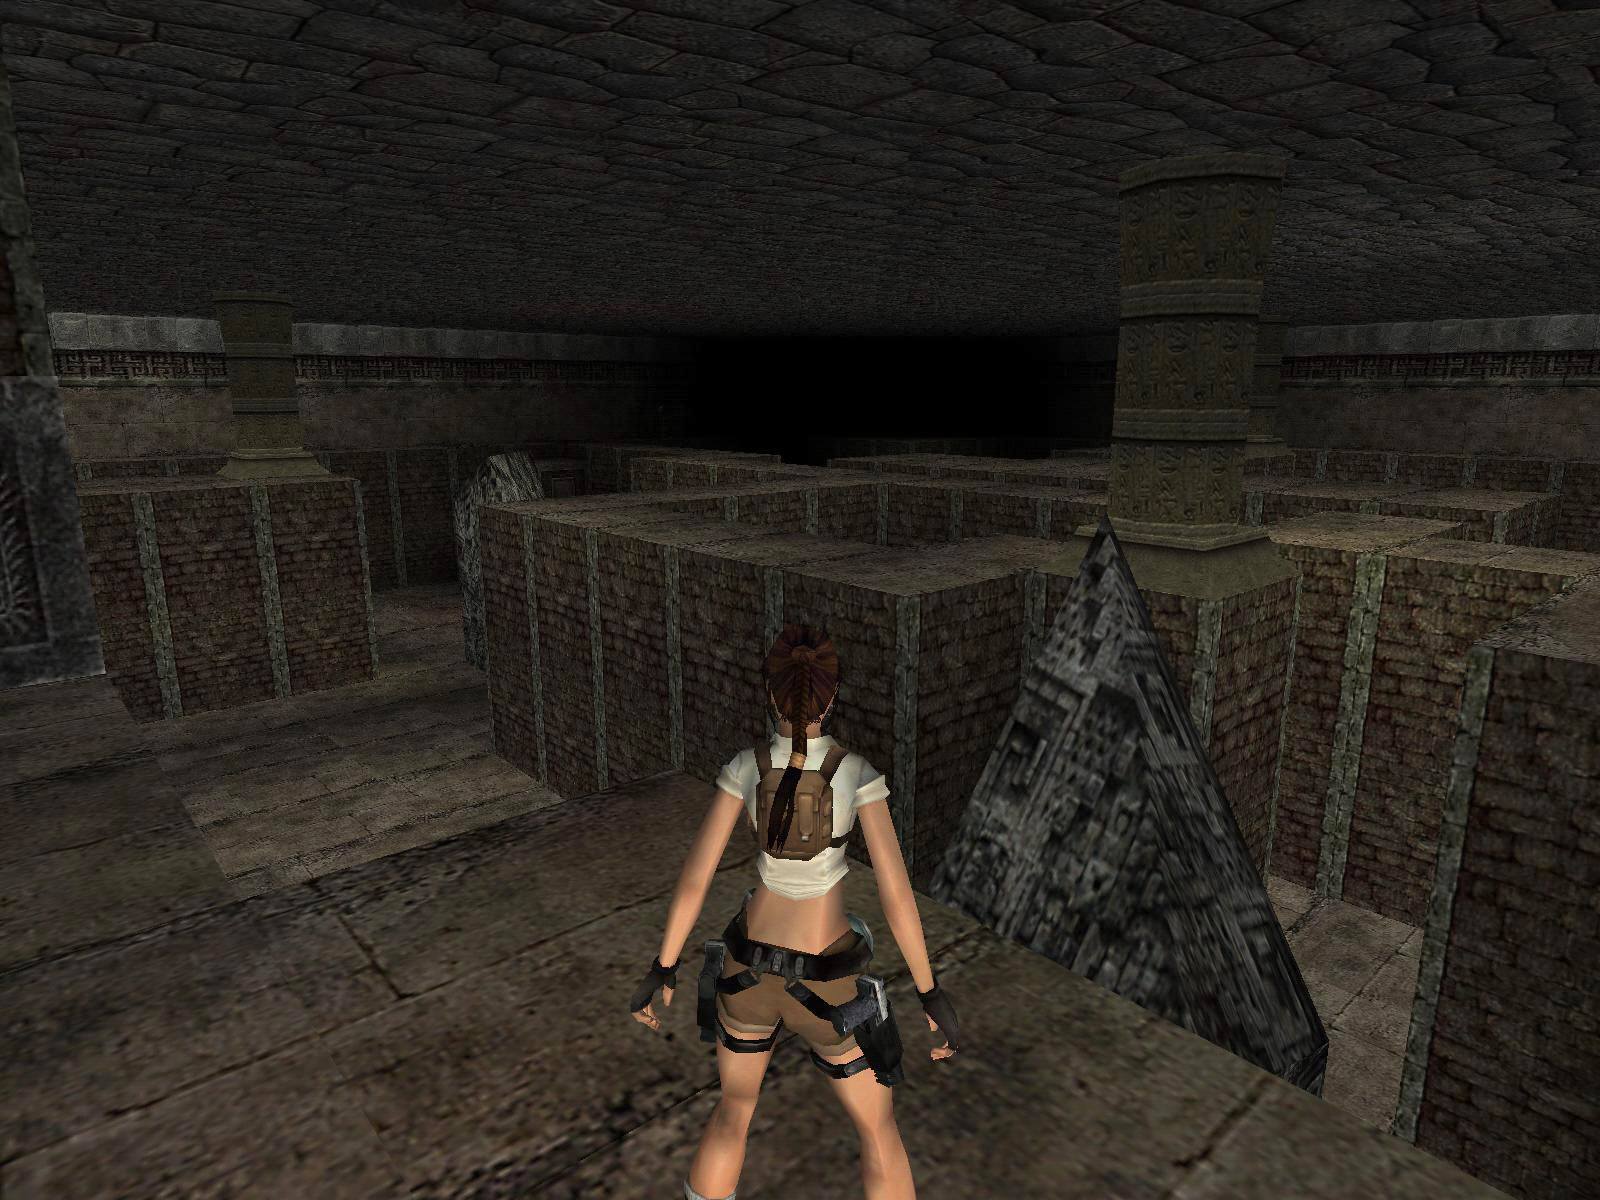
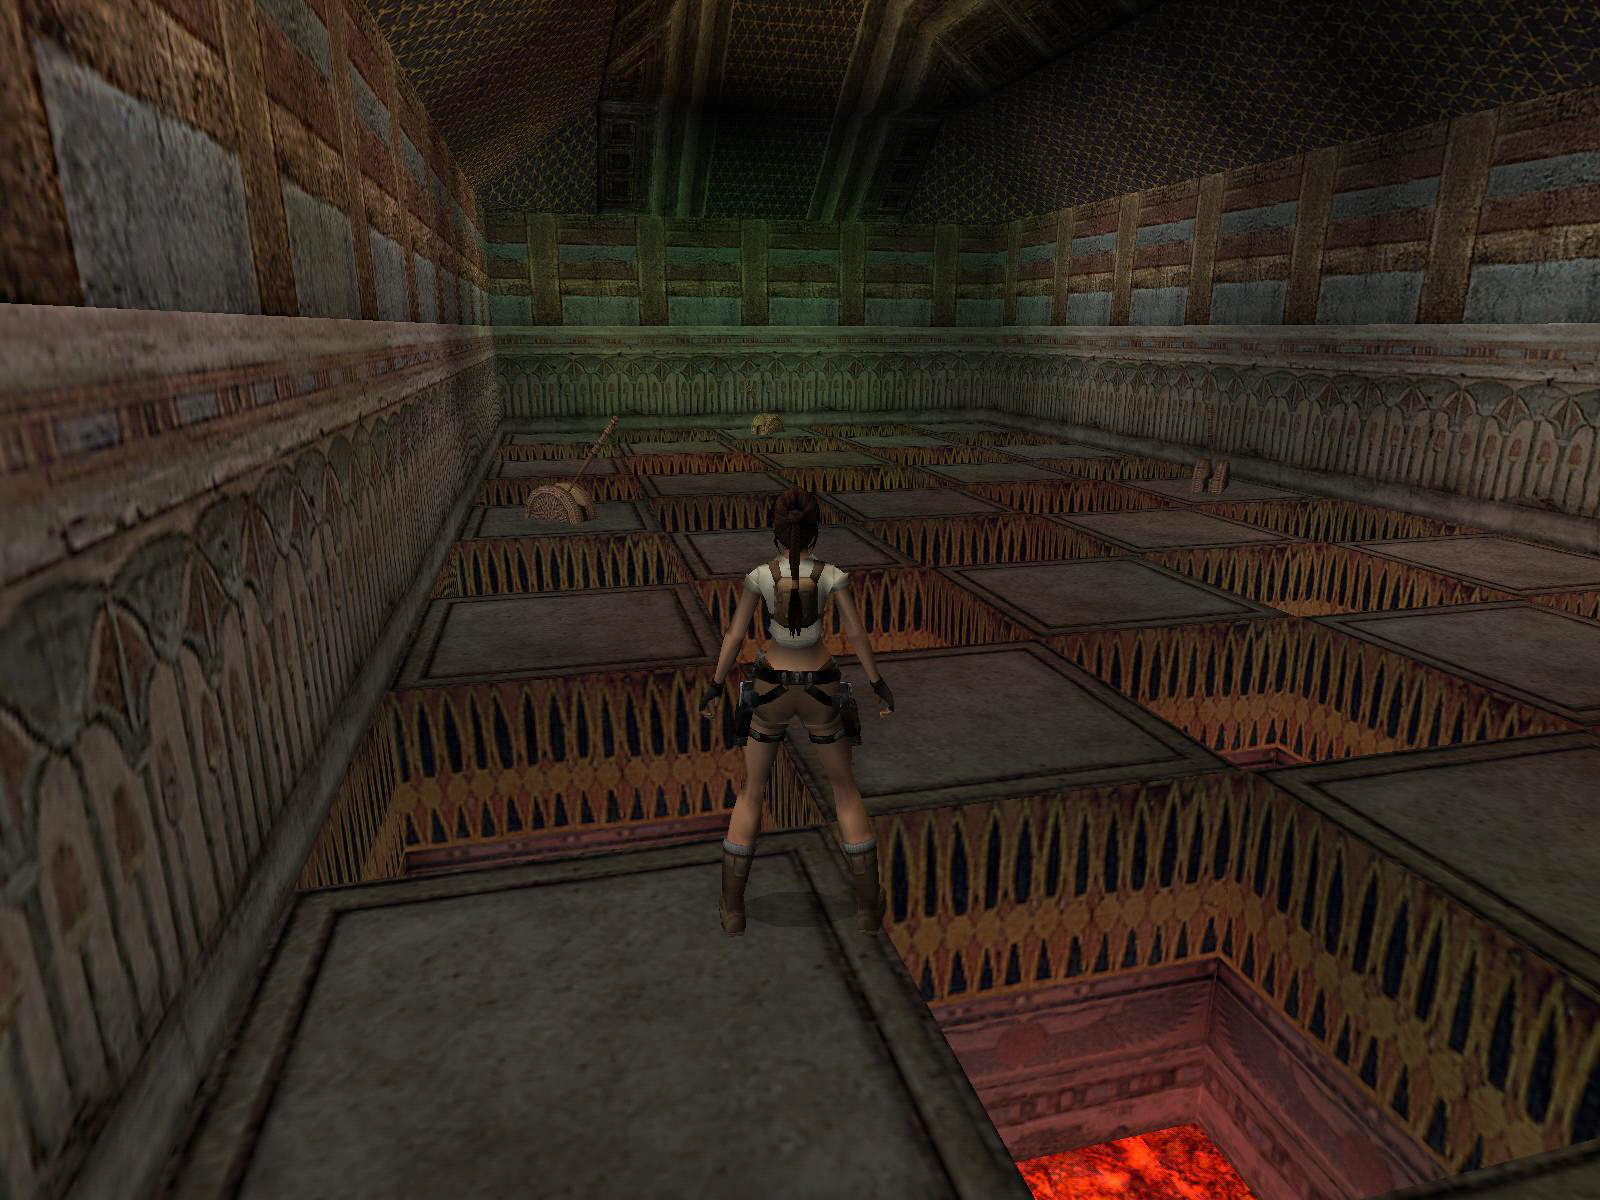
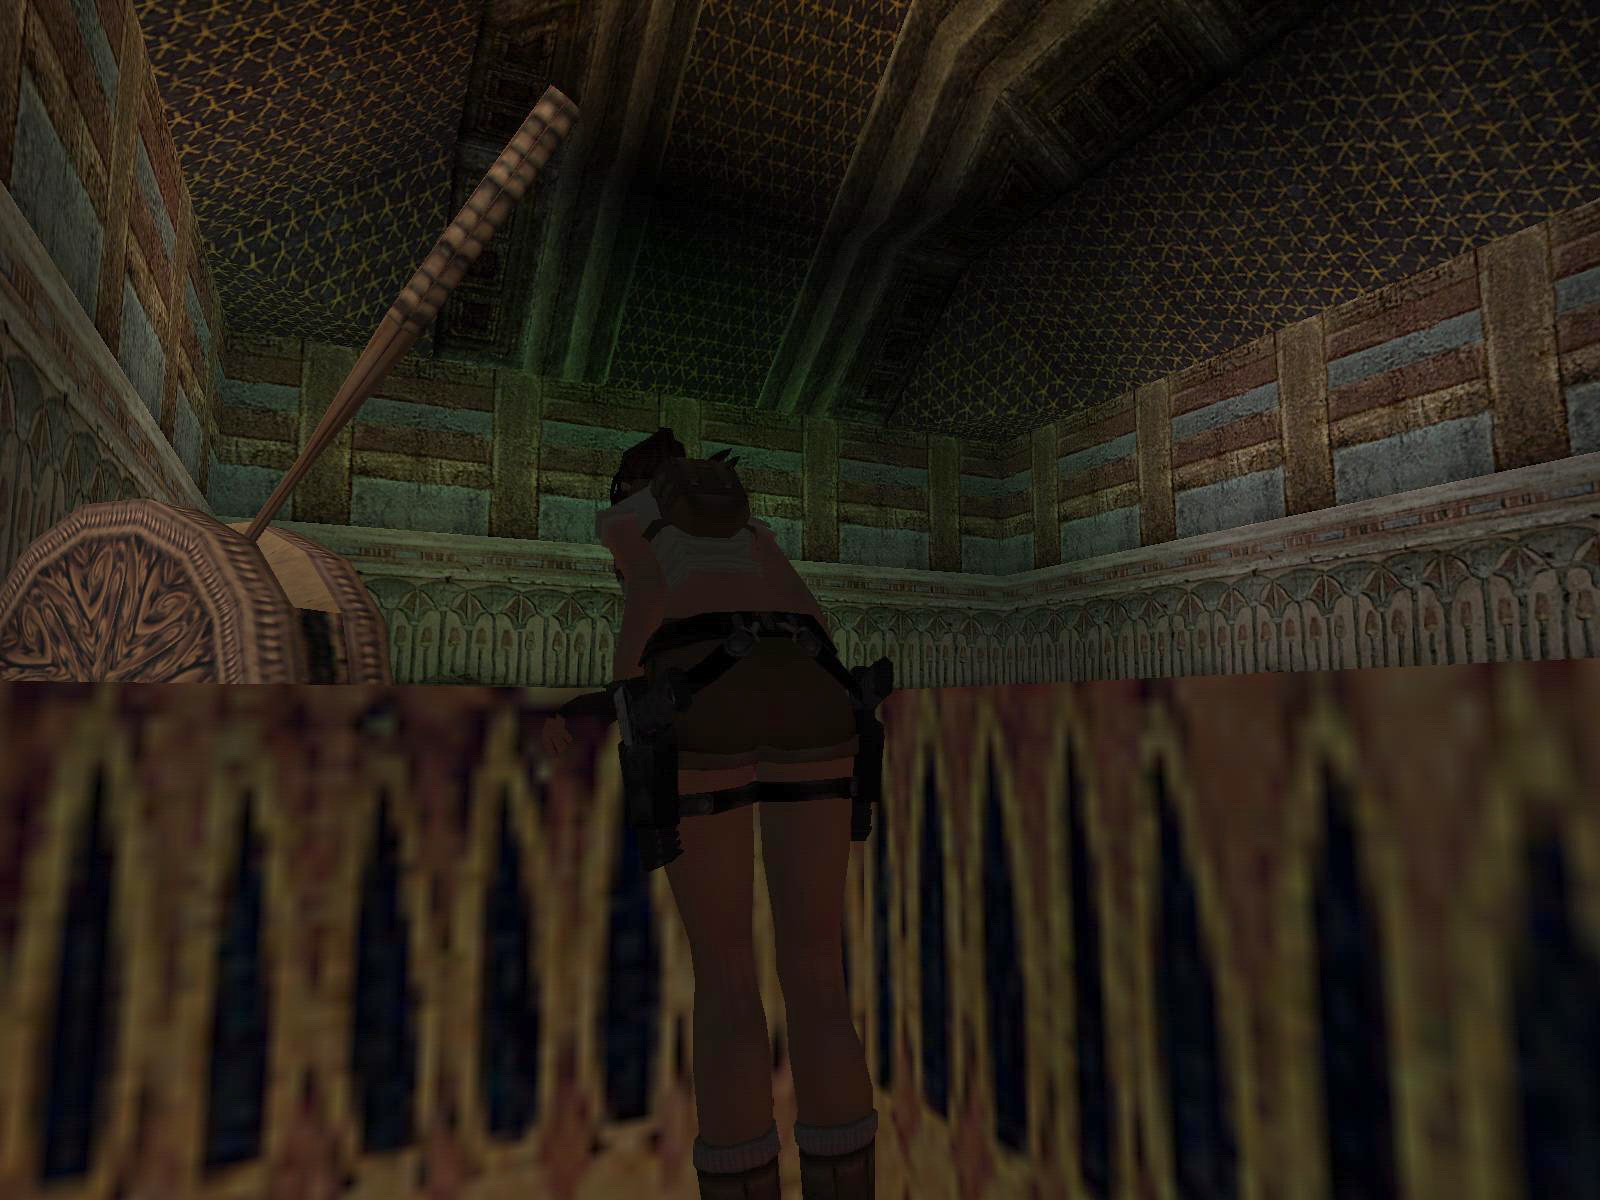
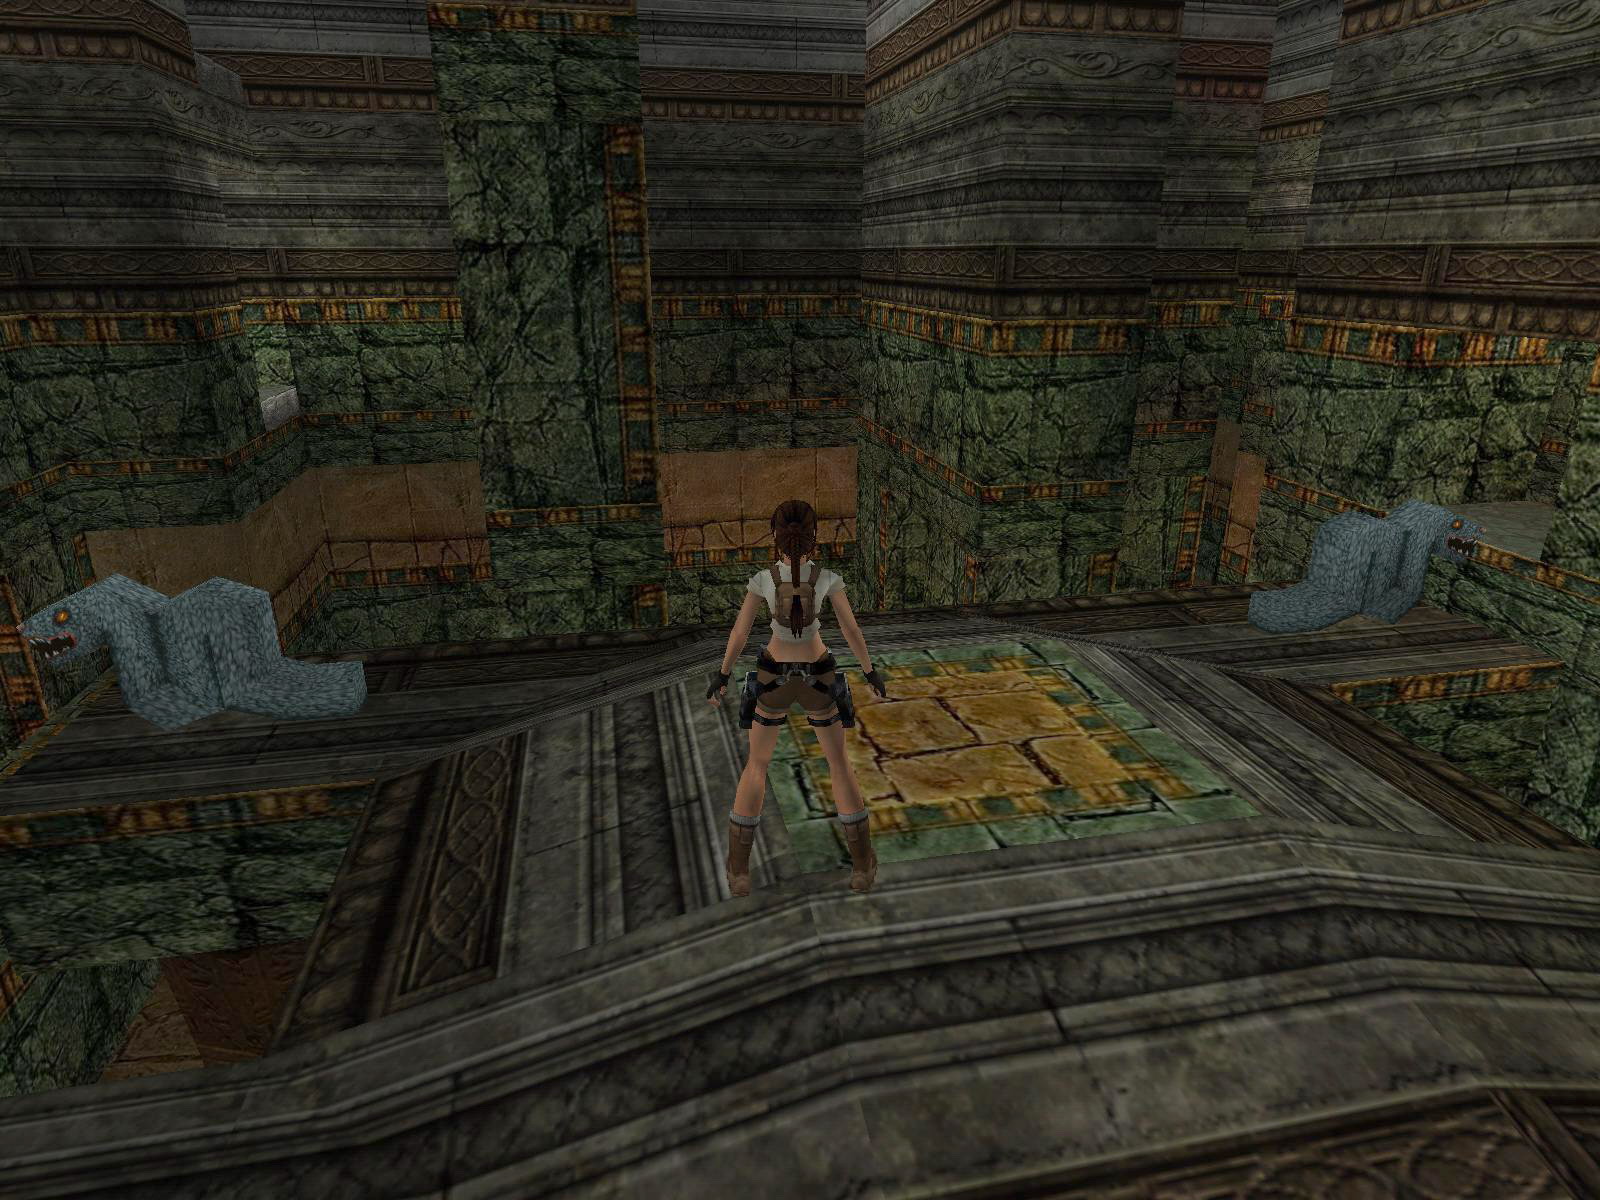
The Labyrinth.
From where you come in, go left around the corners to find a lever (#1) in the SE corner of this room on the N wall. Go back to the entrance and to the N where you'll find a grey, pointy block, pull up on the N side of it and backflip onto the wall behind. Look SE and use that lever (#2) there. Go over the top of the walls to the far SW corner and throw the lever (#3) on the W wall. Turn left and drop into that lower passage there (SW) to throw the lever (#4), a shaking of the room indicates that a block went up somewhere. Go back to that grey block NE and get back onto the walls above. Go over to that Skull cage at the S side.
A Skull.
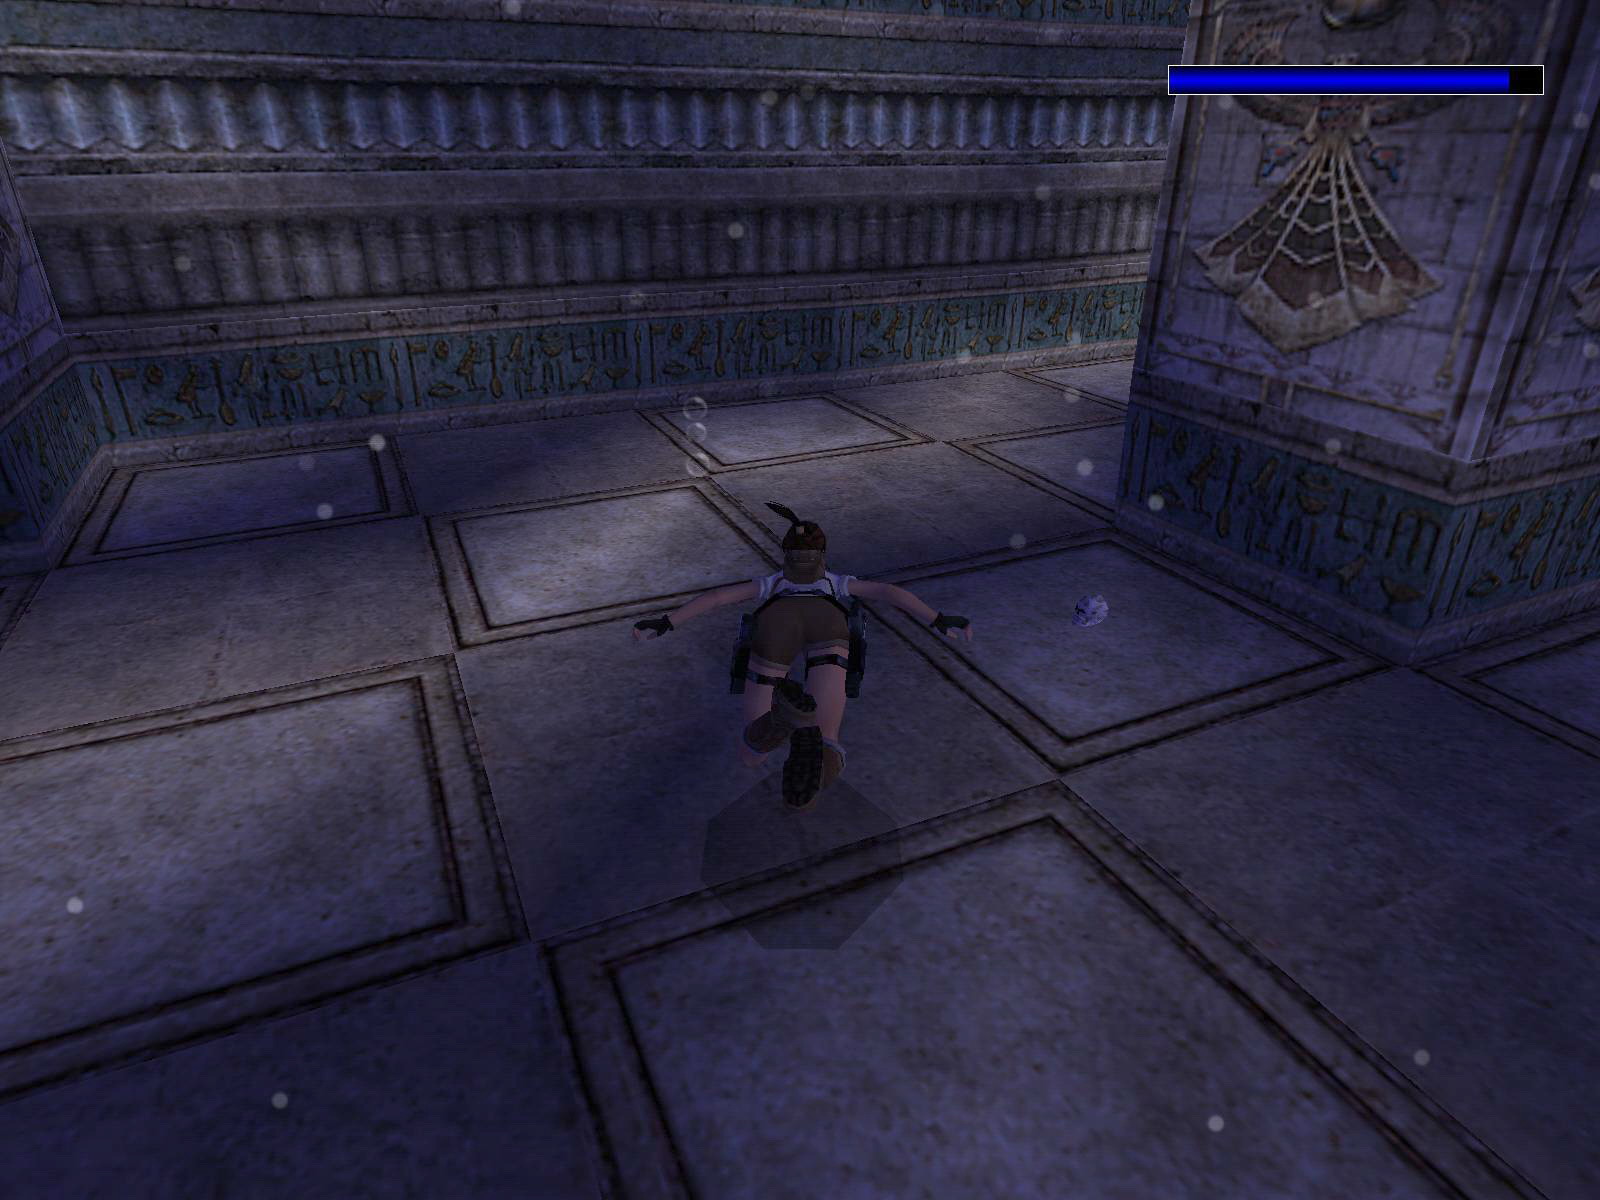
Pull it over the raised block to the metal tile and a trapdoor opens up, just below. Safety drop down and go into the water. Swim in and up and get the Skull from the pedestal. Back to the water and swim back.
Another Skull.
Go NW and place the Skull on the stick, roll and jump in the water, get another Skull from a pedestal and see a cut scene. Swim back and leave this labyrinth (E).
The door opens, again take a swim, down a ramp and then take a right and swim up N at the end.
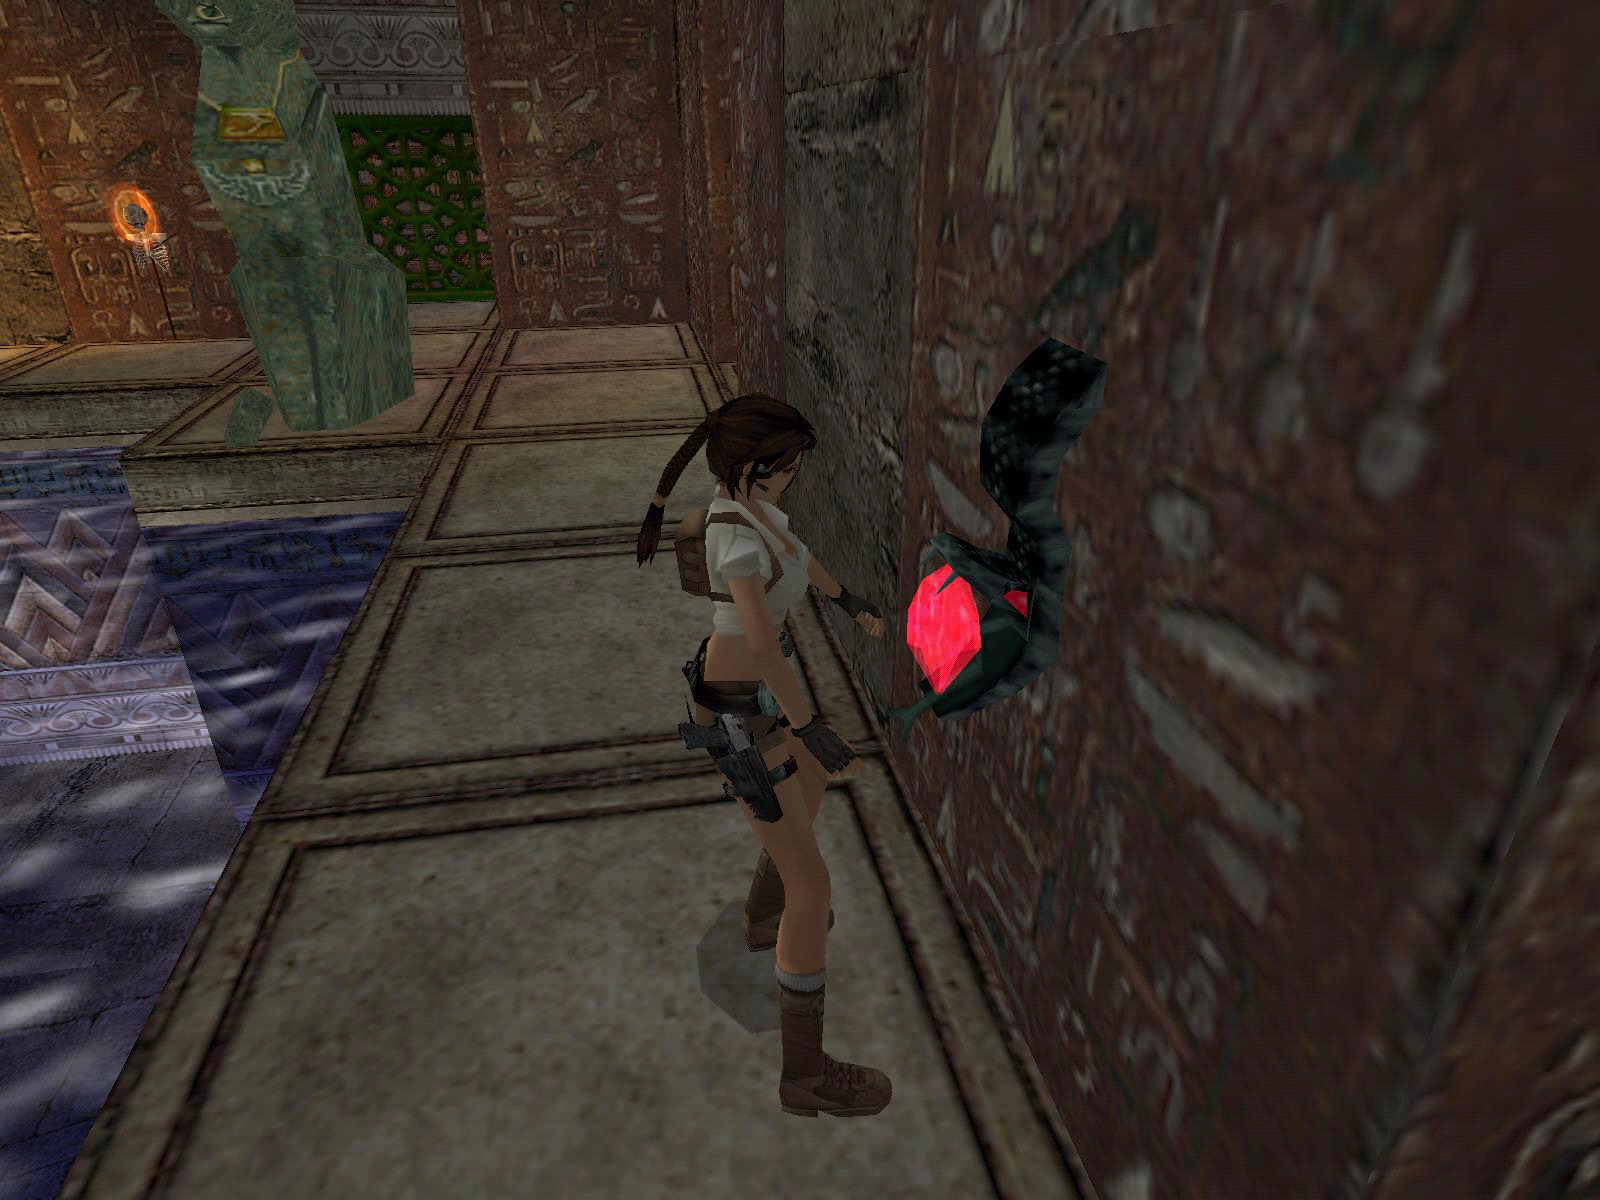
The Fire Stone.
The Skull goes to your right (SE), and again jump into the water in the corner. Swim through till the end and pull out, run N up a ramp and save at the end. Look down and see an opening behind an iron tile. The tile is a trap, so the way to go is just do a forward jump with Ctrl and you'll land safely into the passage behind the tile. Follow through and at the end you can get the Fire Stone from the pedestal. Drop down the hole in the corner and you'll drop into a pool. Climb out and go to the W, run over that iron tile, the spiked ball hanging in the air will drop down and the door left (S) opens. Place the Fire Stone in its receptacle and watch the fly by.
Boulder Hop.
Back to the pool and swim through the opening (N). At the end climb out and save, then go up the ramp and dodge the boulders. Best is to walk (not run) in the middle and swerve first left and then right. Go to the left and swerve right after the third boulder.
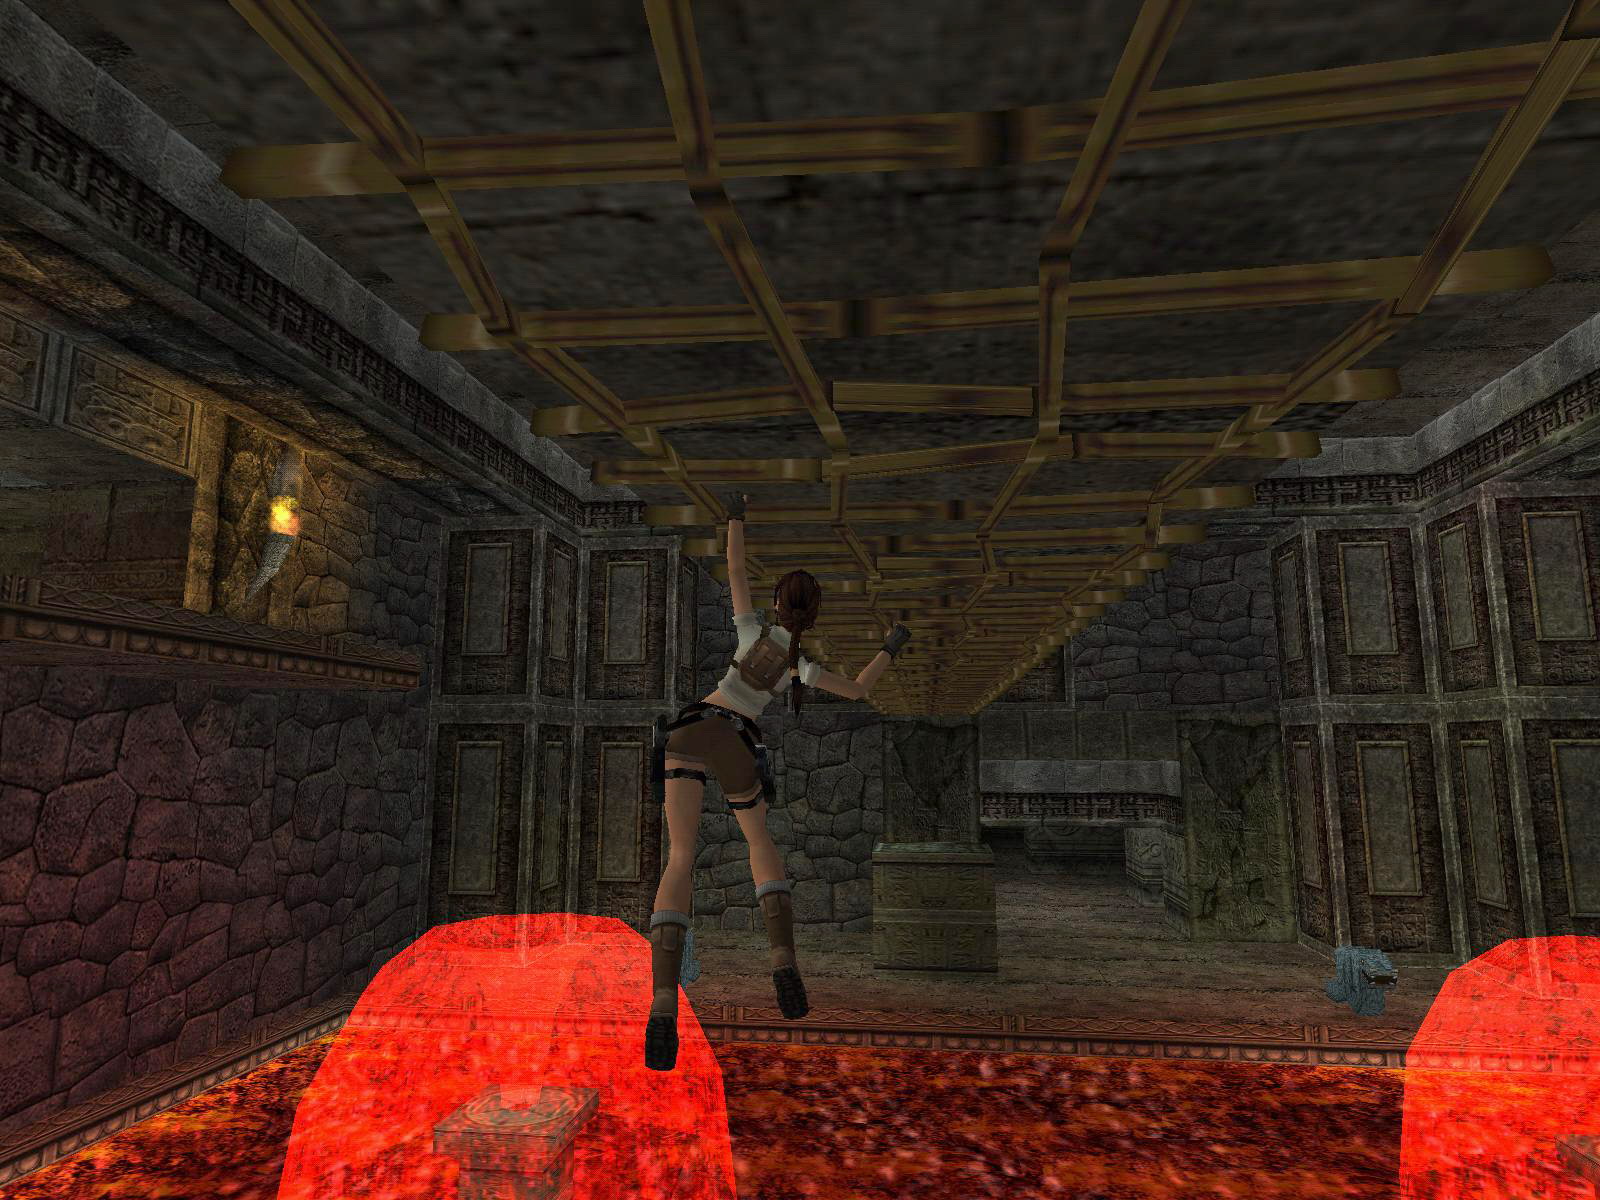
All the way in the W is a jump lever. This raises a block SE. Climb on the block and jump into the passage W.
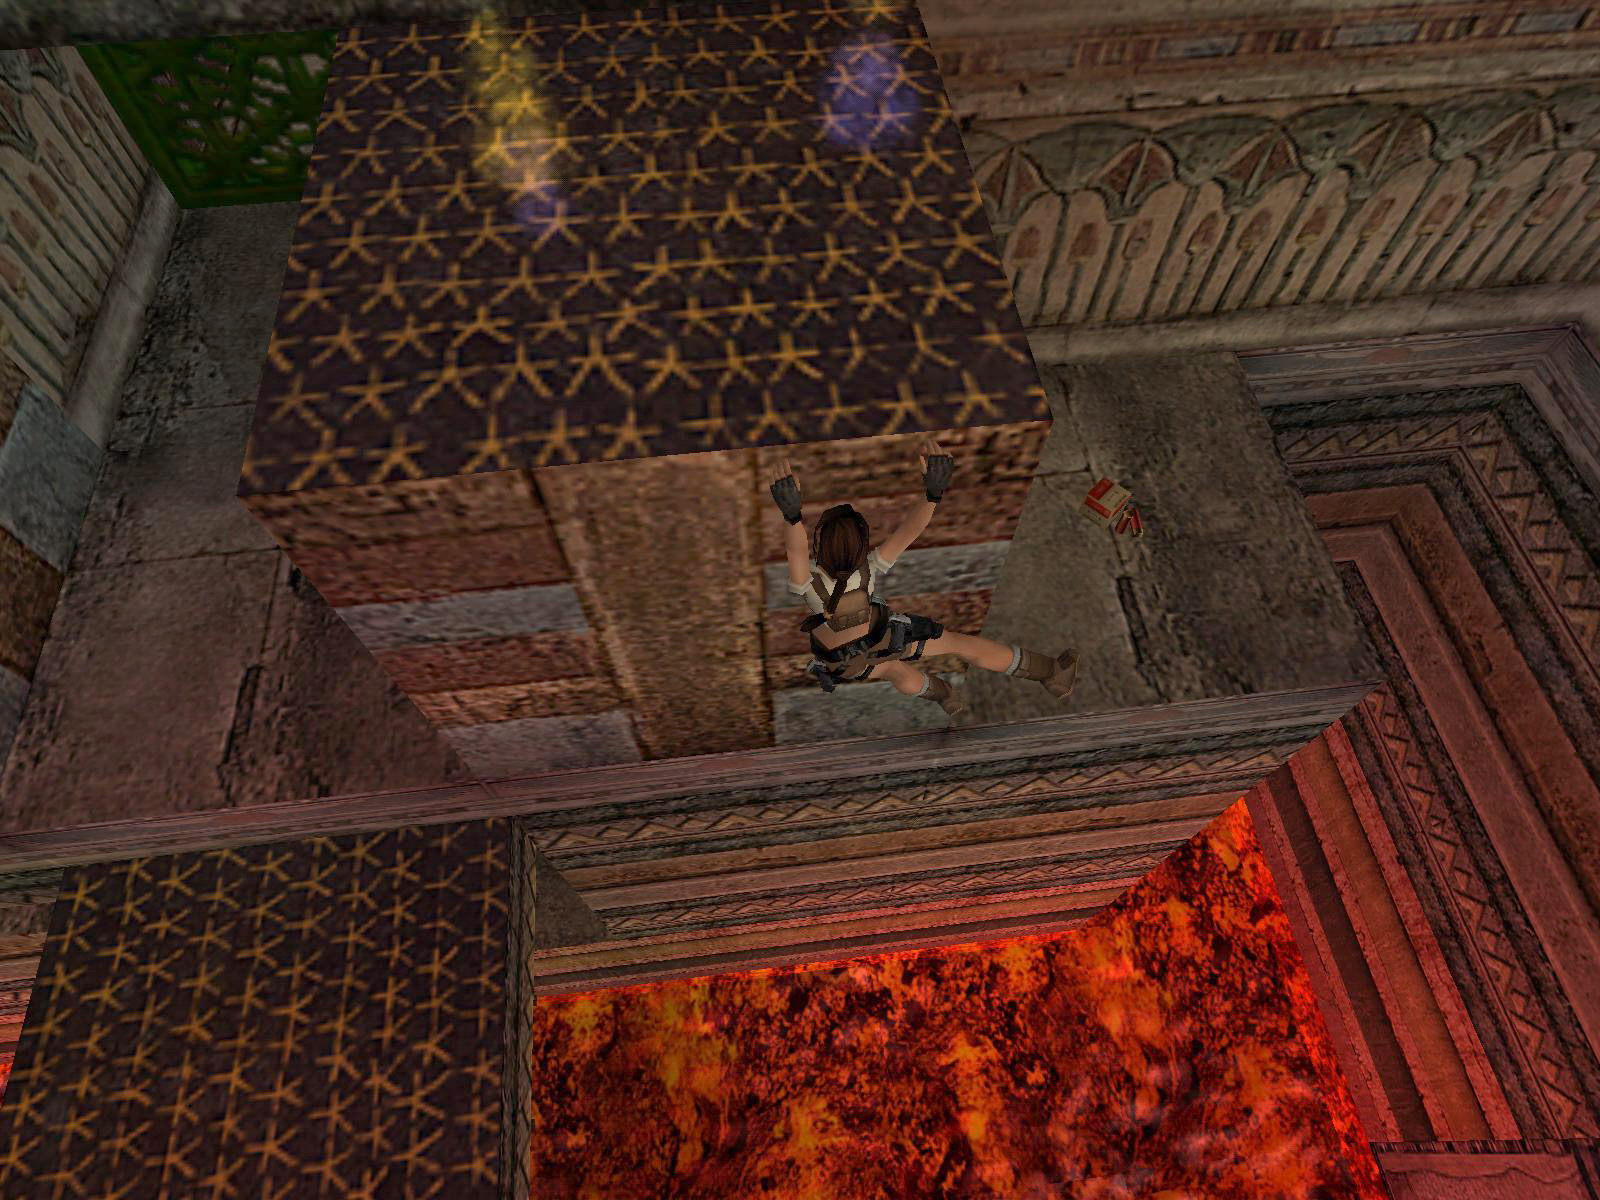
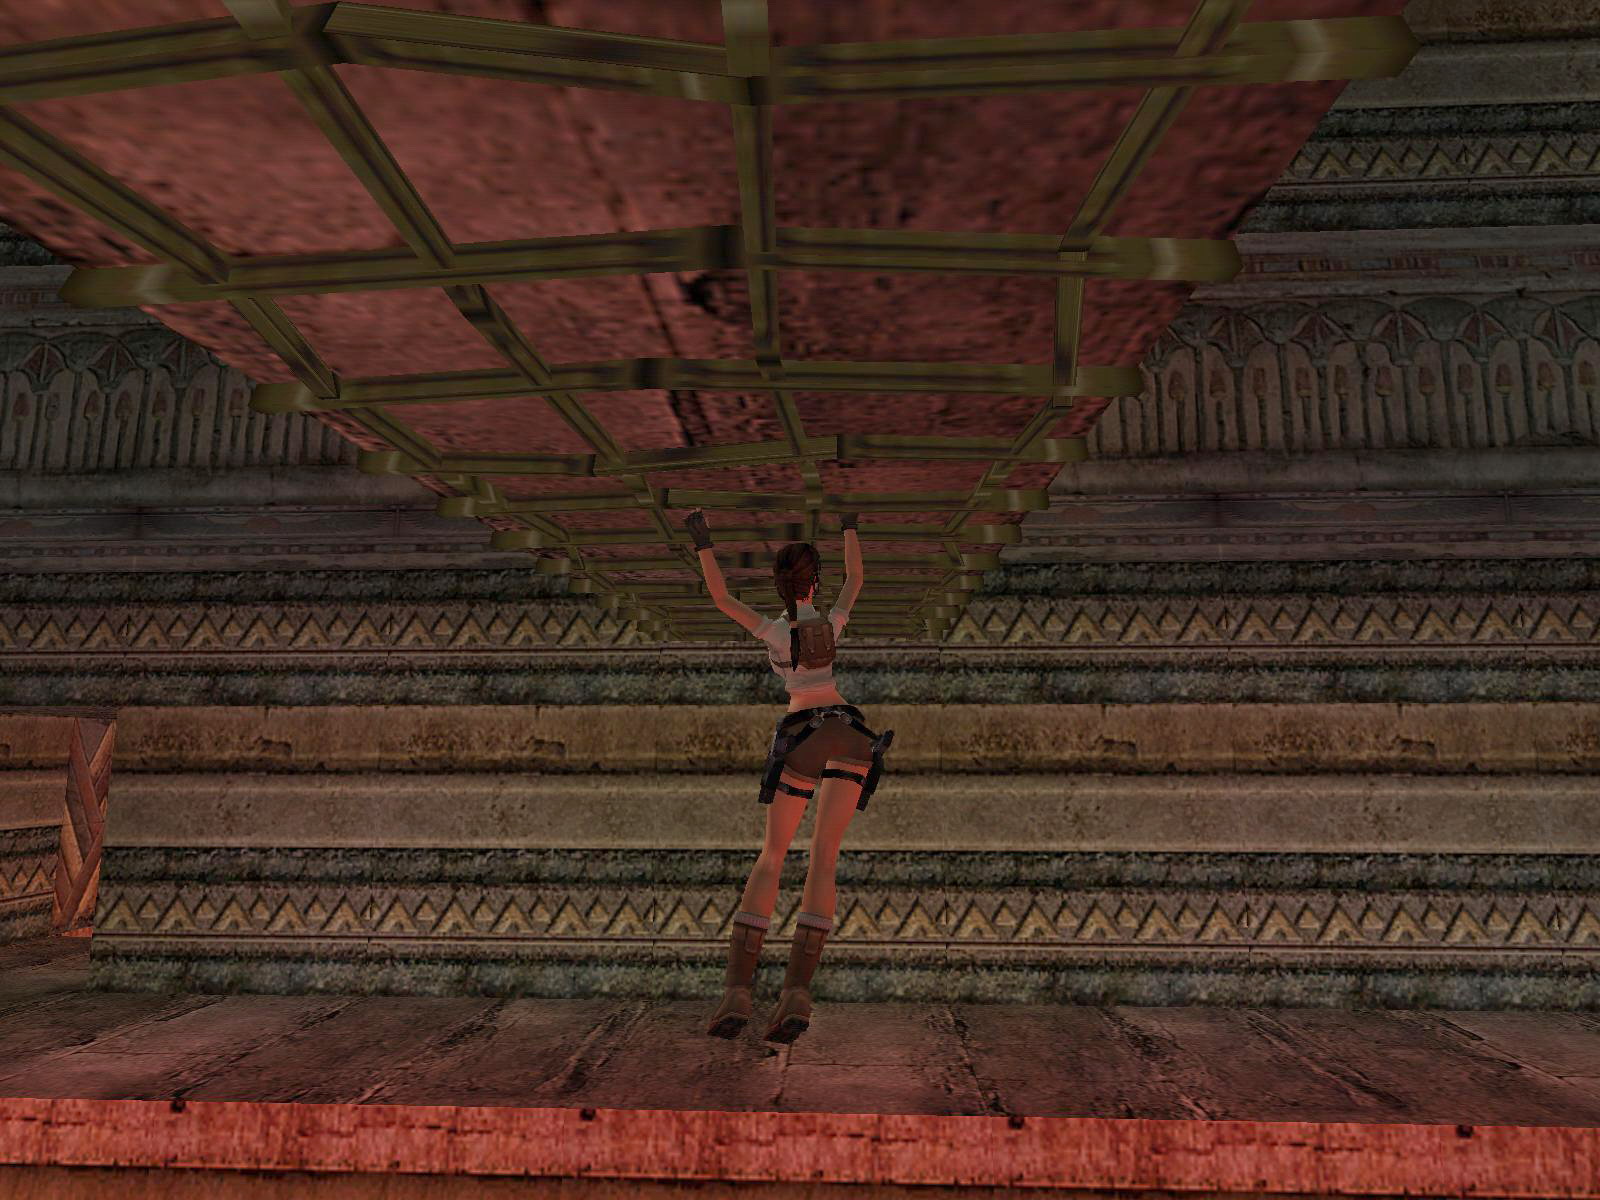
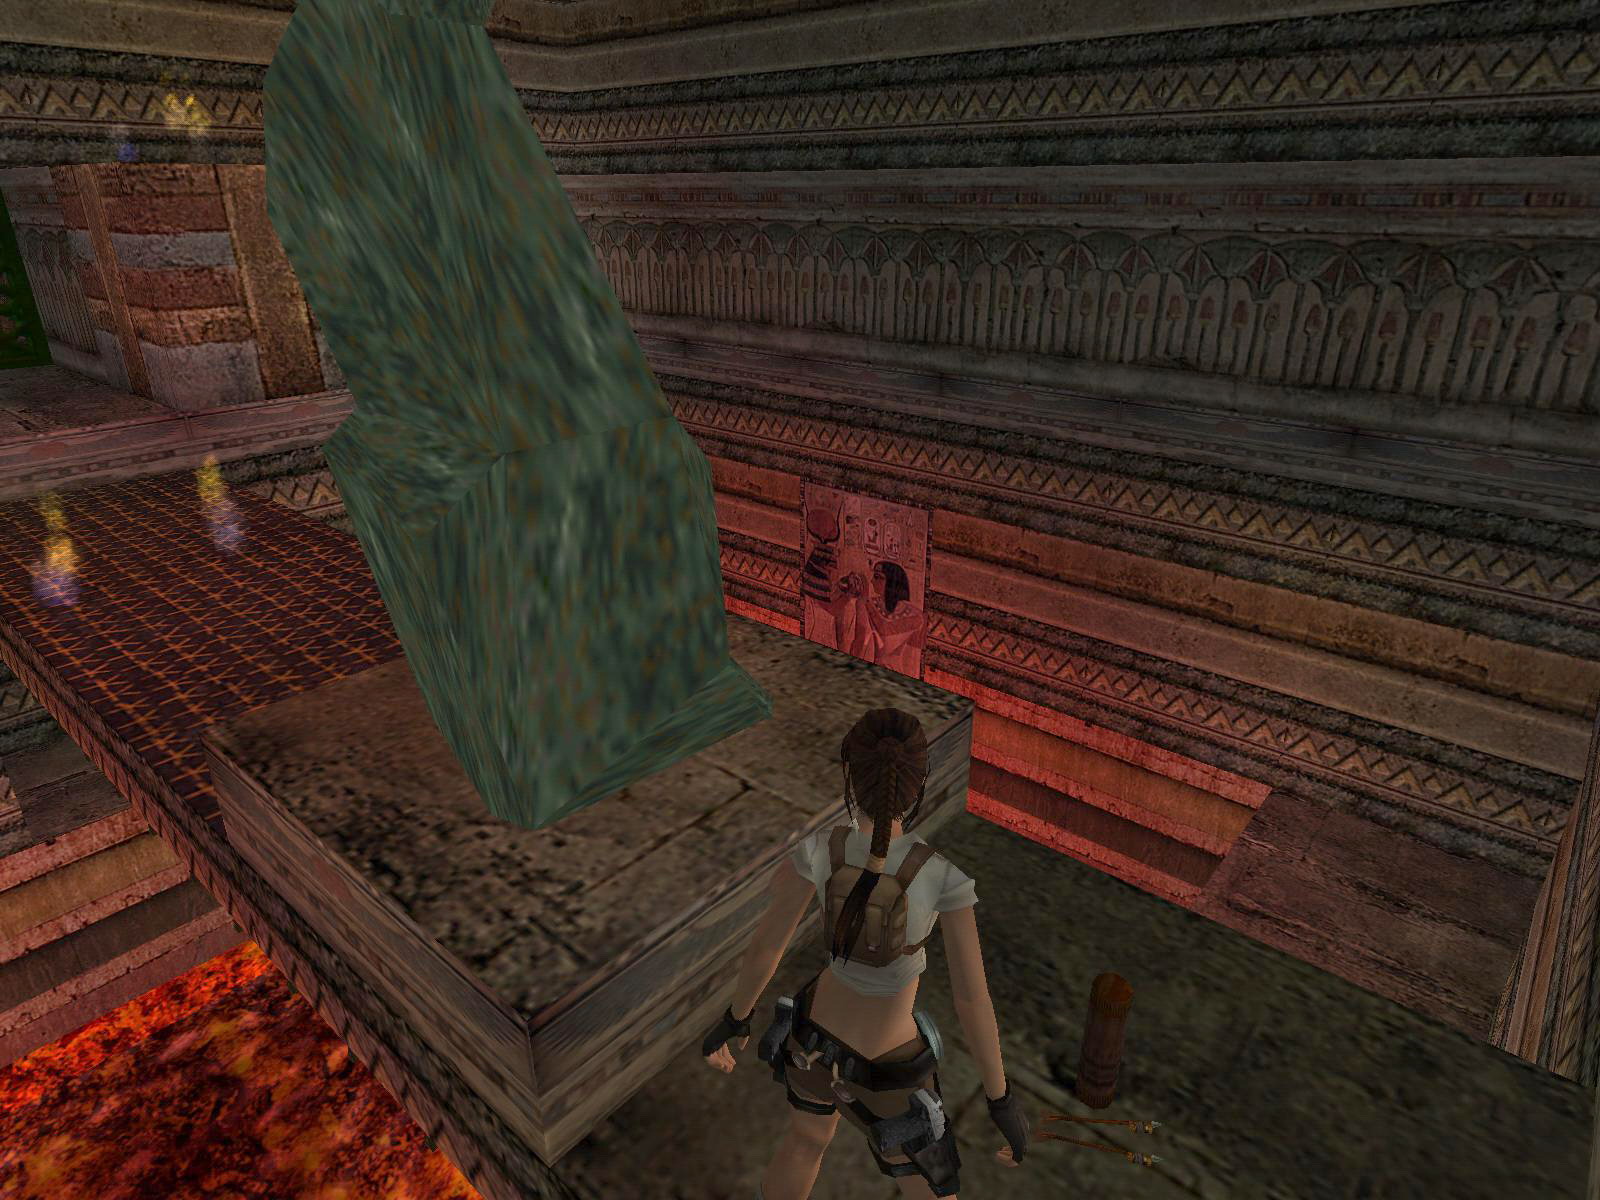
At the end, take a running jump (no grab) to the left corner of that block on fire, as you are save on the corners. Safety hang and shimmy to the corner near the roof of that middle structure and jump up there. Jump and grab a crack up in the S wall, left. Shimmy left and go into that passage to use a lever, Fire is out and the Spikes up N are gone. Run out onto the raising block and hop into the passage W to get back to the roof like you did before. Jump up and grab the ledge N, go in and use the jump levers around the corner left and right to open the gate below. Run and jump back to the roof and safety drop down.
Another Swim.
Go into the corridor N and at the end jump into the pool. Swim to the closed gate and up to the right and use the underwater lever (SE).
Climb out the pool onto a block SW and go into the opening. Use the jump lever in the room on the end and jump back into the water. Swim through the open gate (E) and follow through until you can swim up and climb out of the water. Go straight and into the water again to go down a deep pit, follow through and end up in a pool of sorts.
Swim W and swim to the right just after the narrow part and go into a crawlspace. Climb out at the end and grab SECRET #2, Explosives Arrows, back to the water and now climb out at the ledge S. There is a ladder on the right hand side. Go up, jump to the alcove W and climb the right hand block, running jump to the ledge NE and again a running jump with grab to the next. Up the ladder and save here.
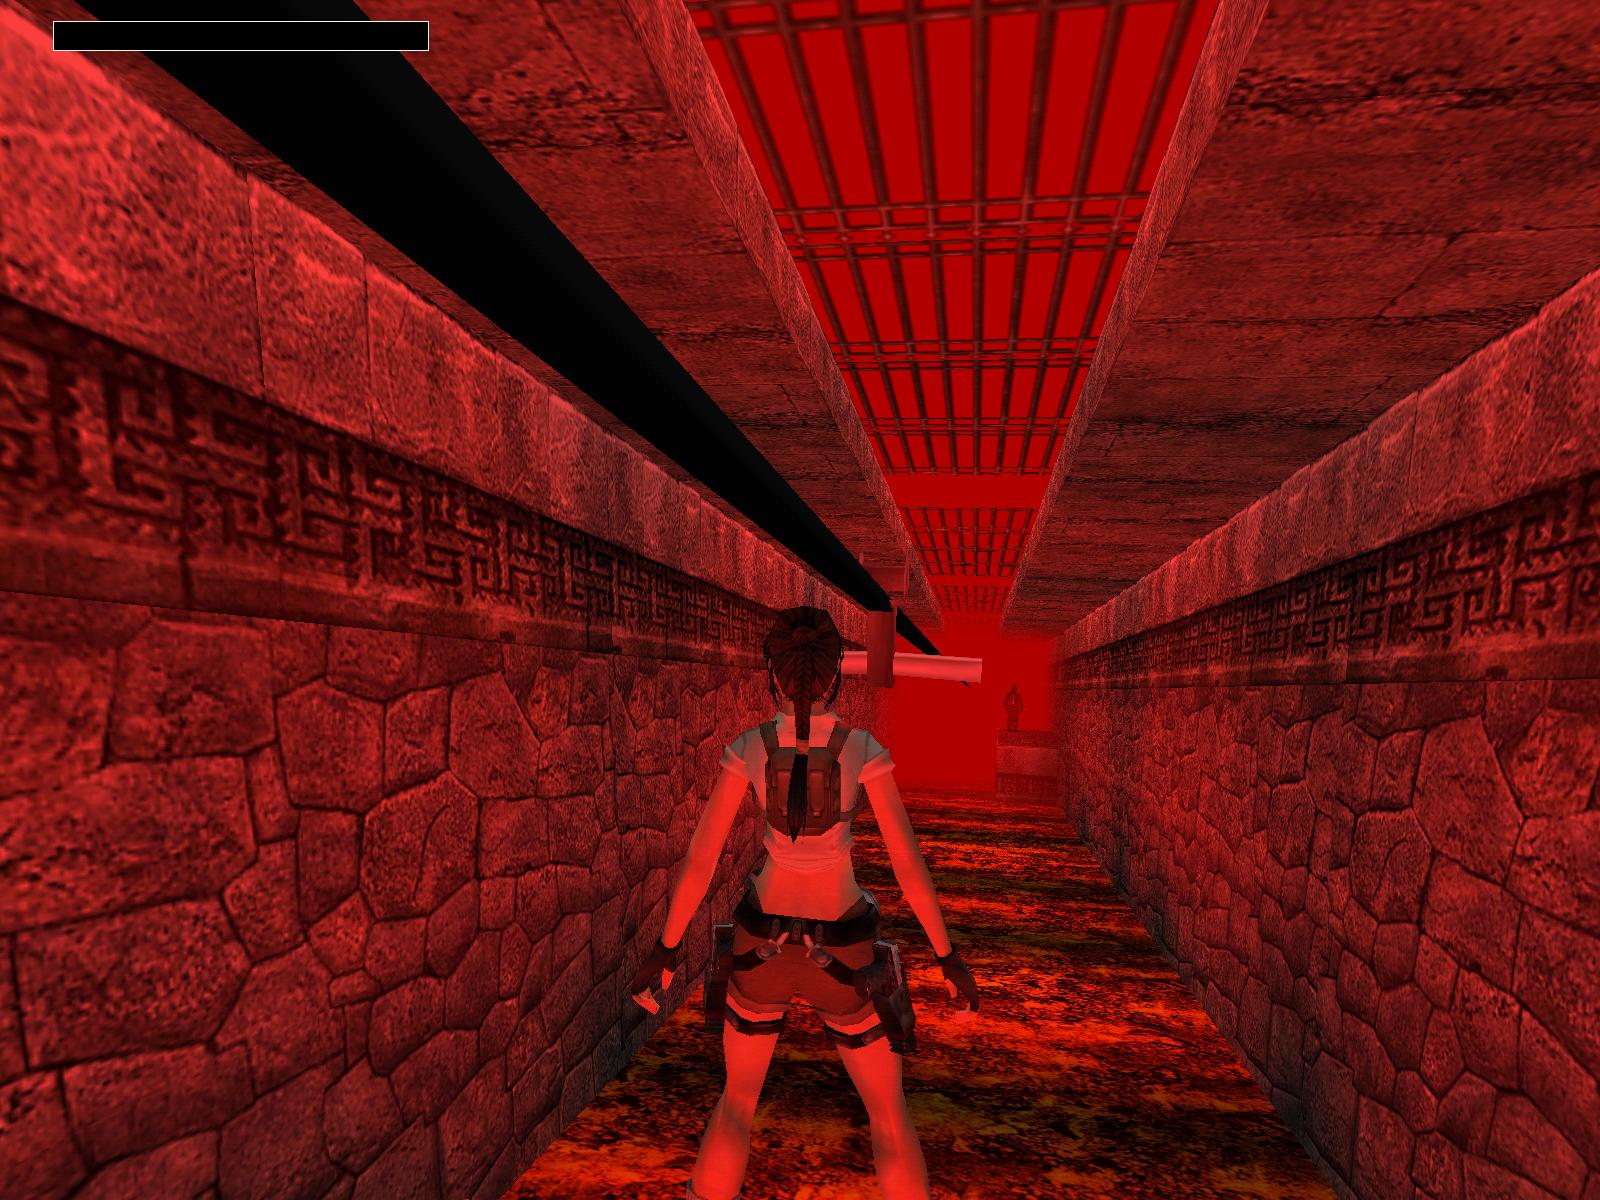
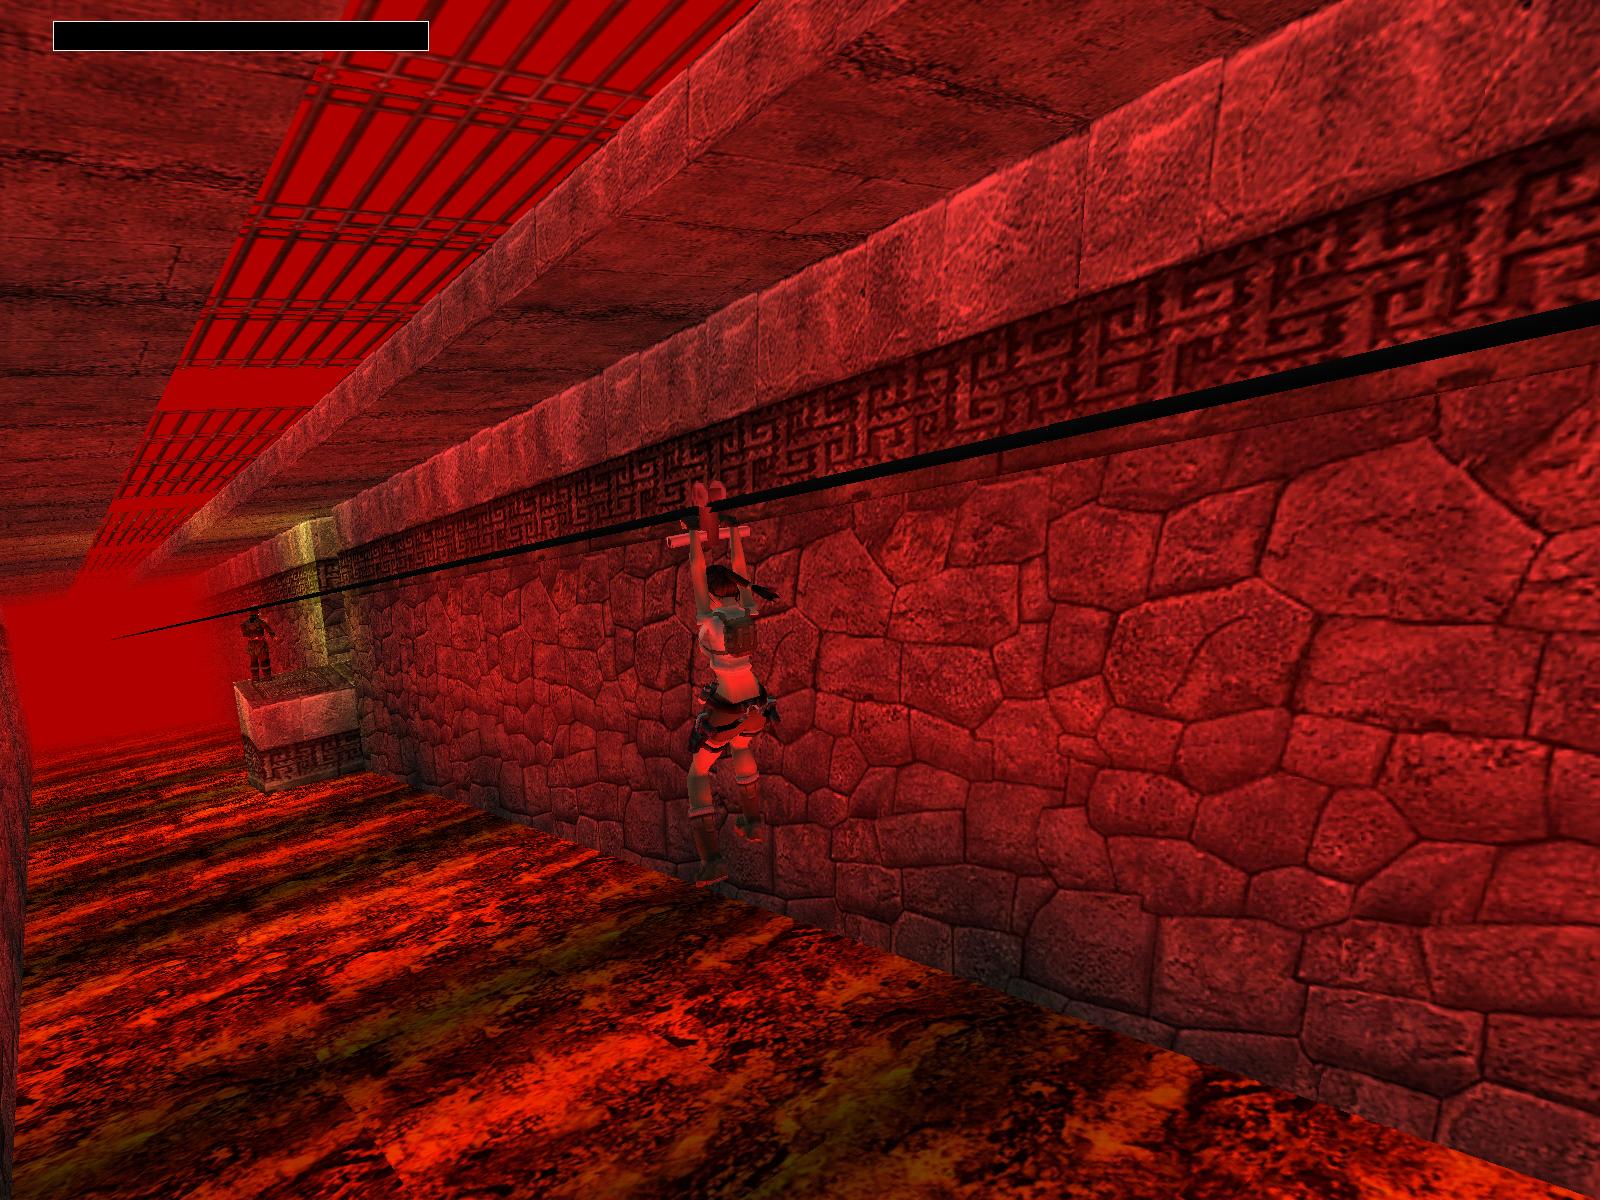
Fire Run.
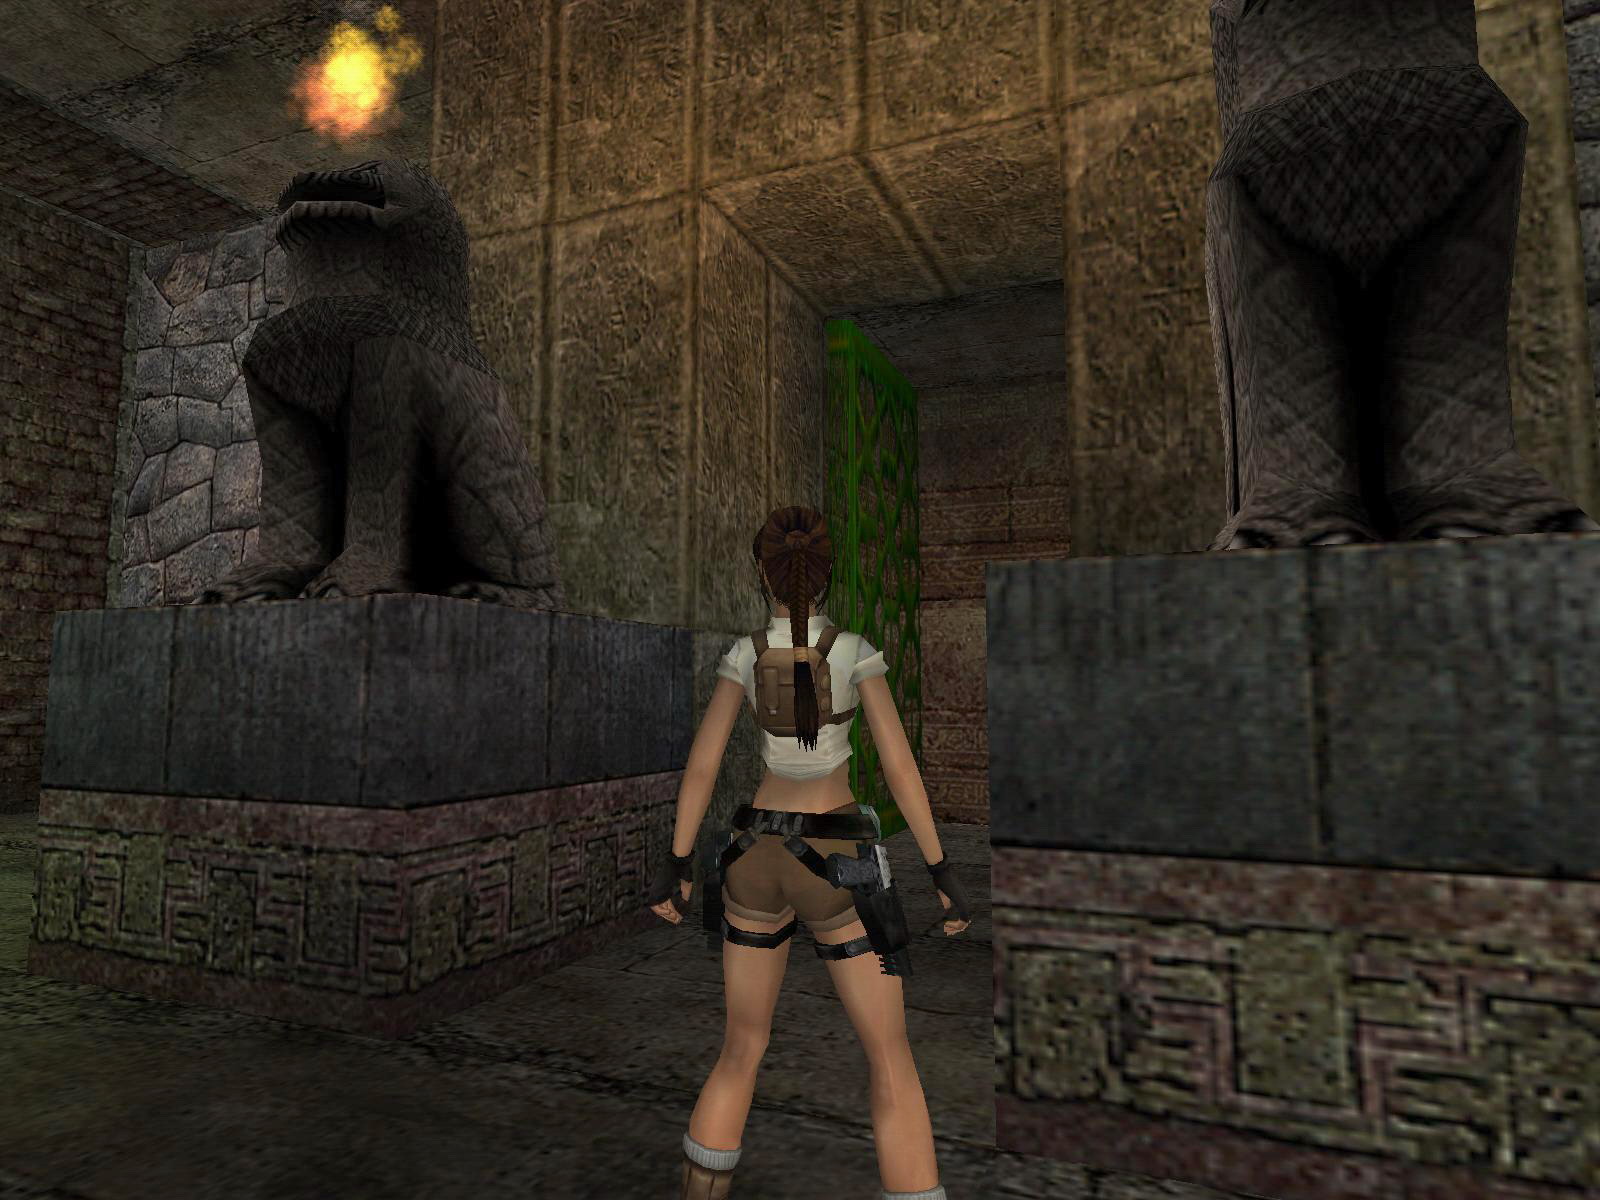
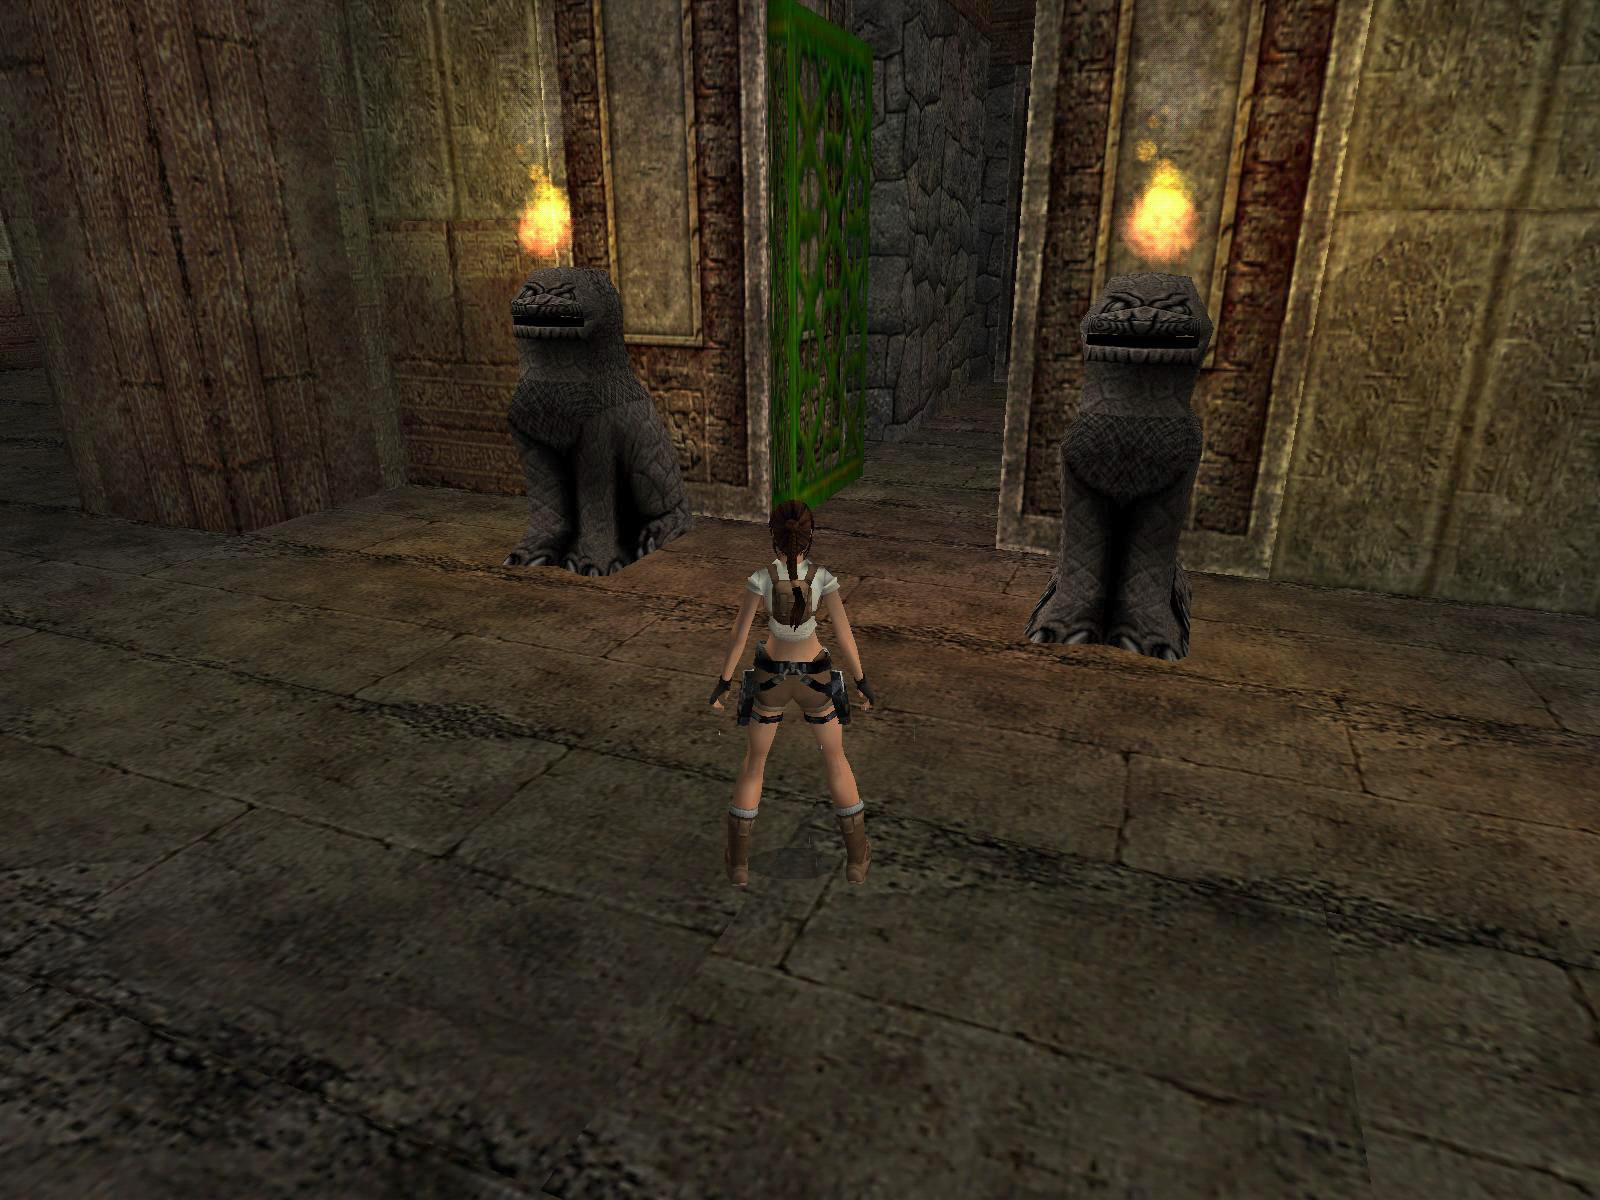
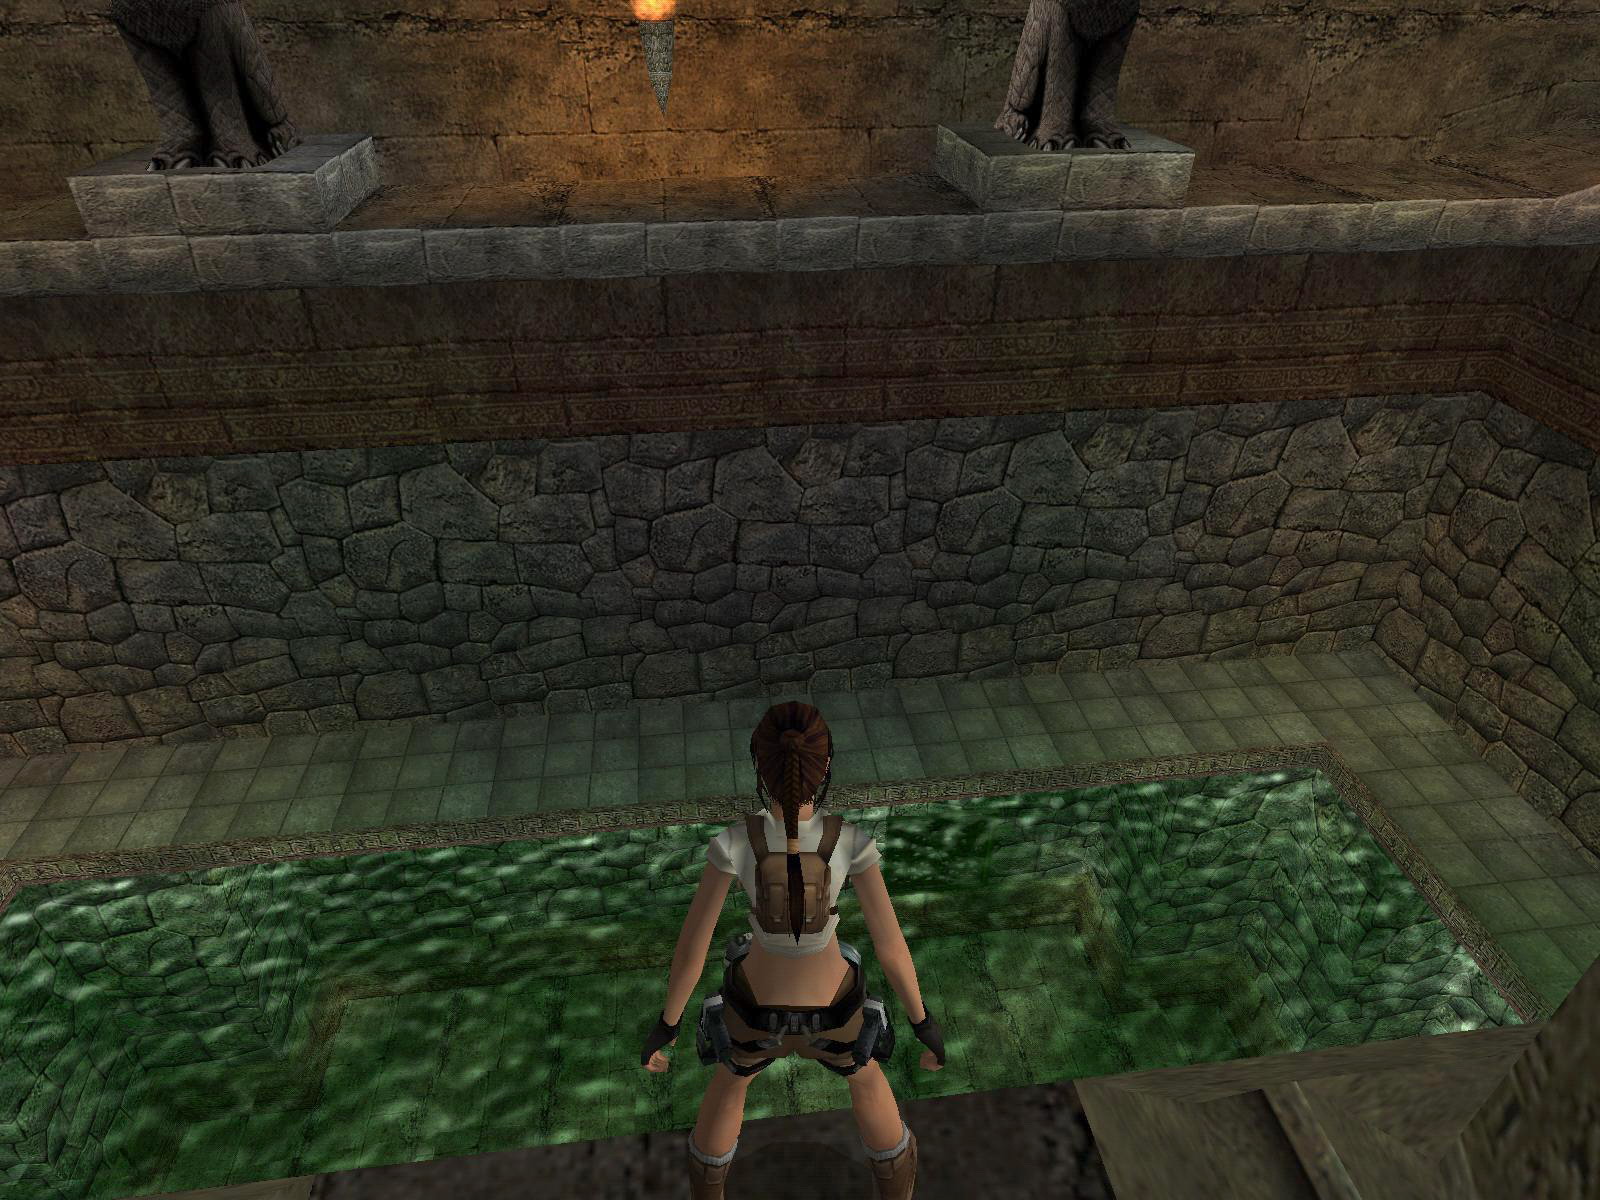
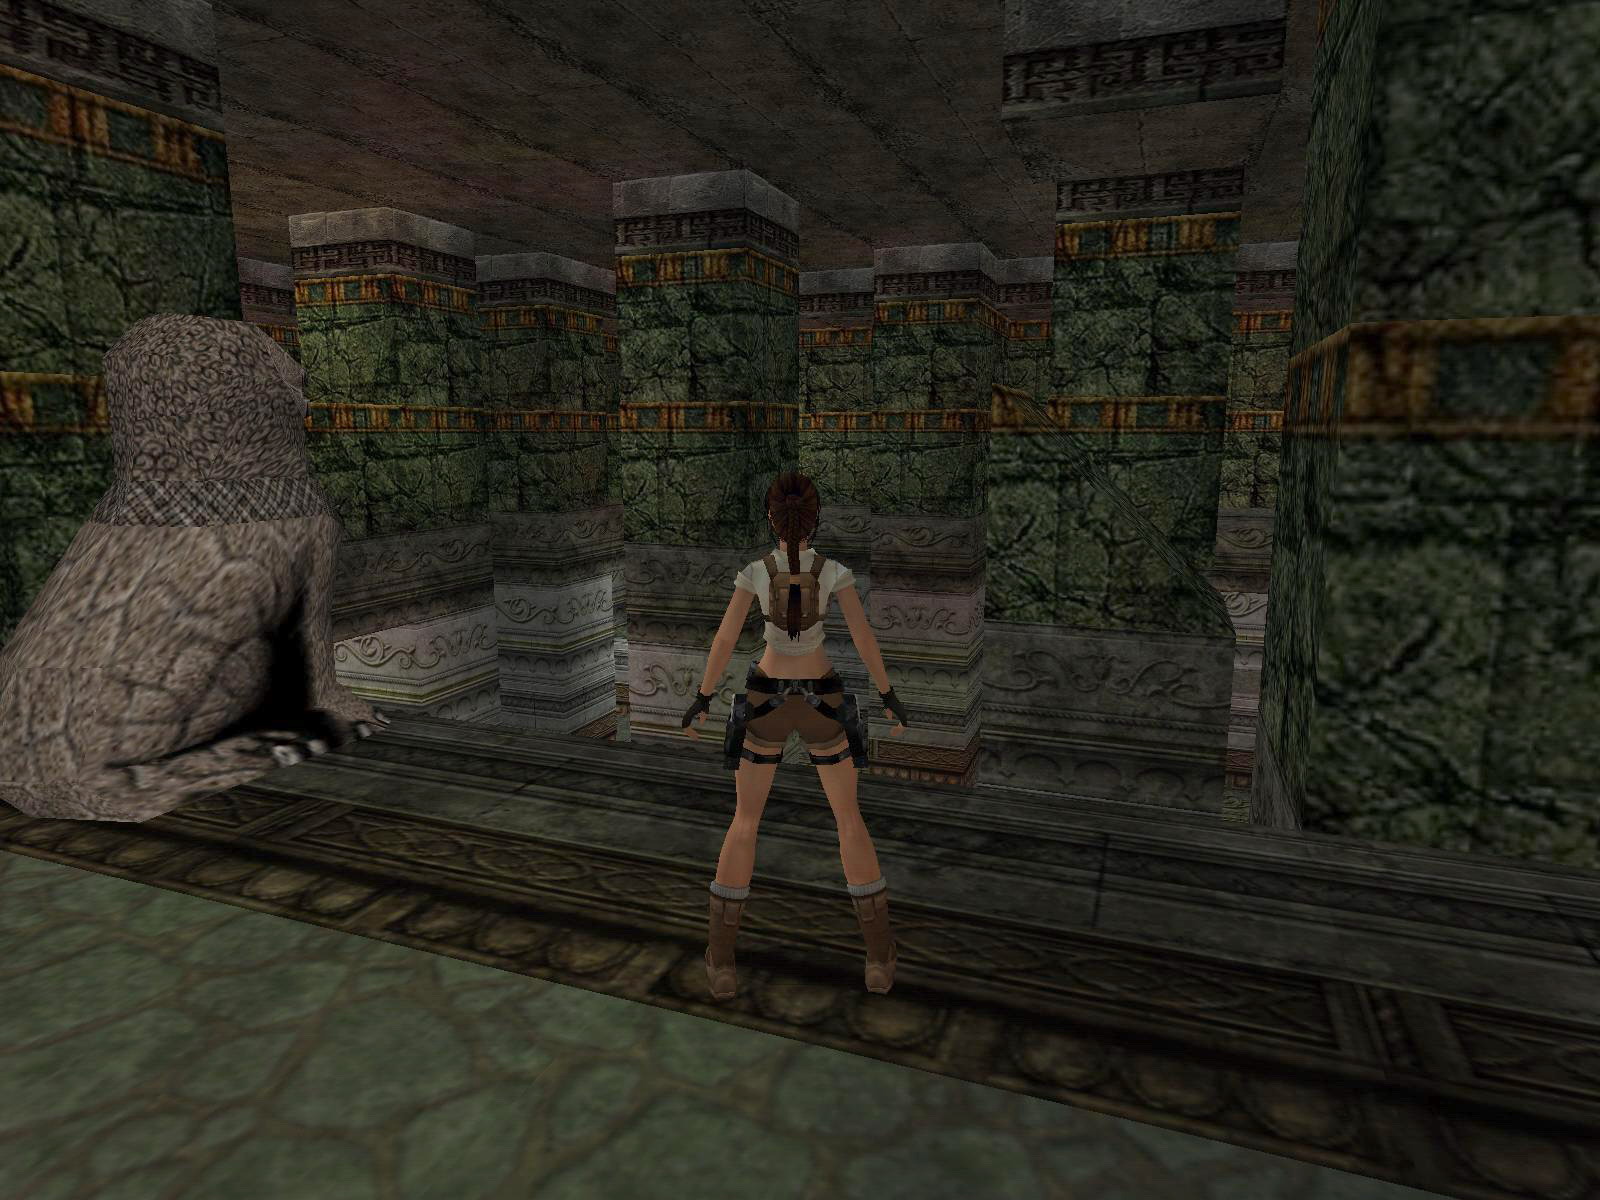
Next are timed runs over flames, so better do it in one go. Take running jump/grabs to a higher ledge E then go to the other side, use the monkey climb to get to the next ledge, again a couple of running jumps plus grab and in the corner use the monkey climb to get over the spikes. Follow through and jump down and you are back at the poolroom. Do two banana jumps to pass the lion statues to the N end of this ledge and crawl in. Drop down and again and save.
Boulderrun.
Slide down and jump before you reach the end of the slope, run around the corner left, follow through, jump over a pit and immediately back flip back for another boulder (stand back a bit though) jump over the pit again and follow through; up some blocks and into the water again.
Wraith Pool.
You end up in a pool with wraiths in and above the water. Climb up N and go right. Notice the 4 metal plates on the floor of the pool. There are safe tiles. Around the corner and go into the opening in the next corner. Follow through, save before a slope down and sprint down along the left side and almost at the end a simple side jump up to the right. Climb up one more block and use the lever on the right. Watch the fly by and turn around to drop down. Go W and you are back at the pool. Enter the open gate N, jump down and watch the fly by.
Walk Low, Climb High.
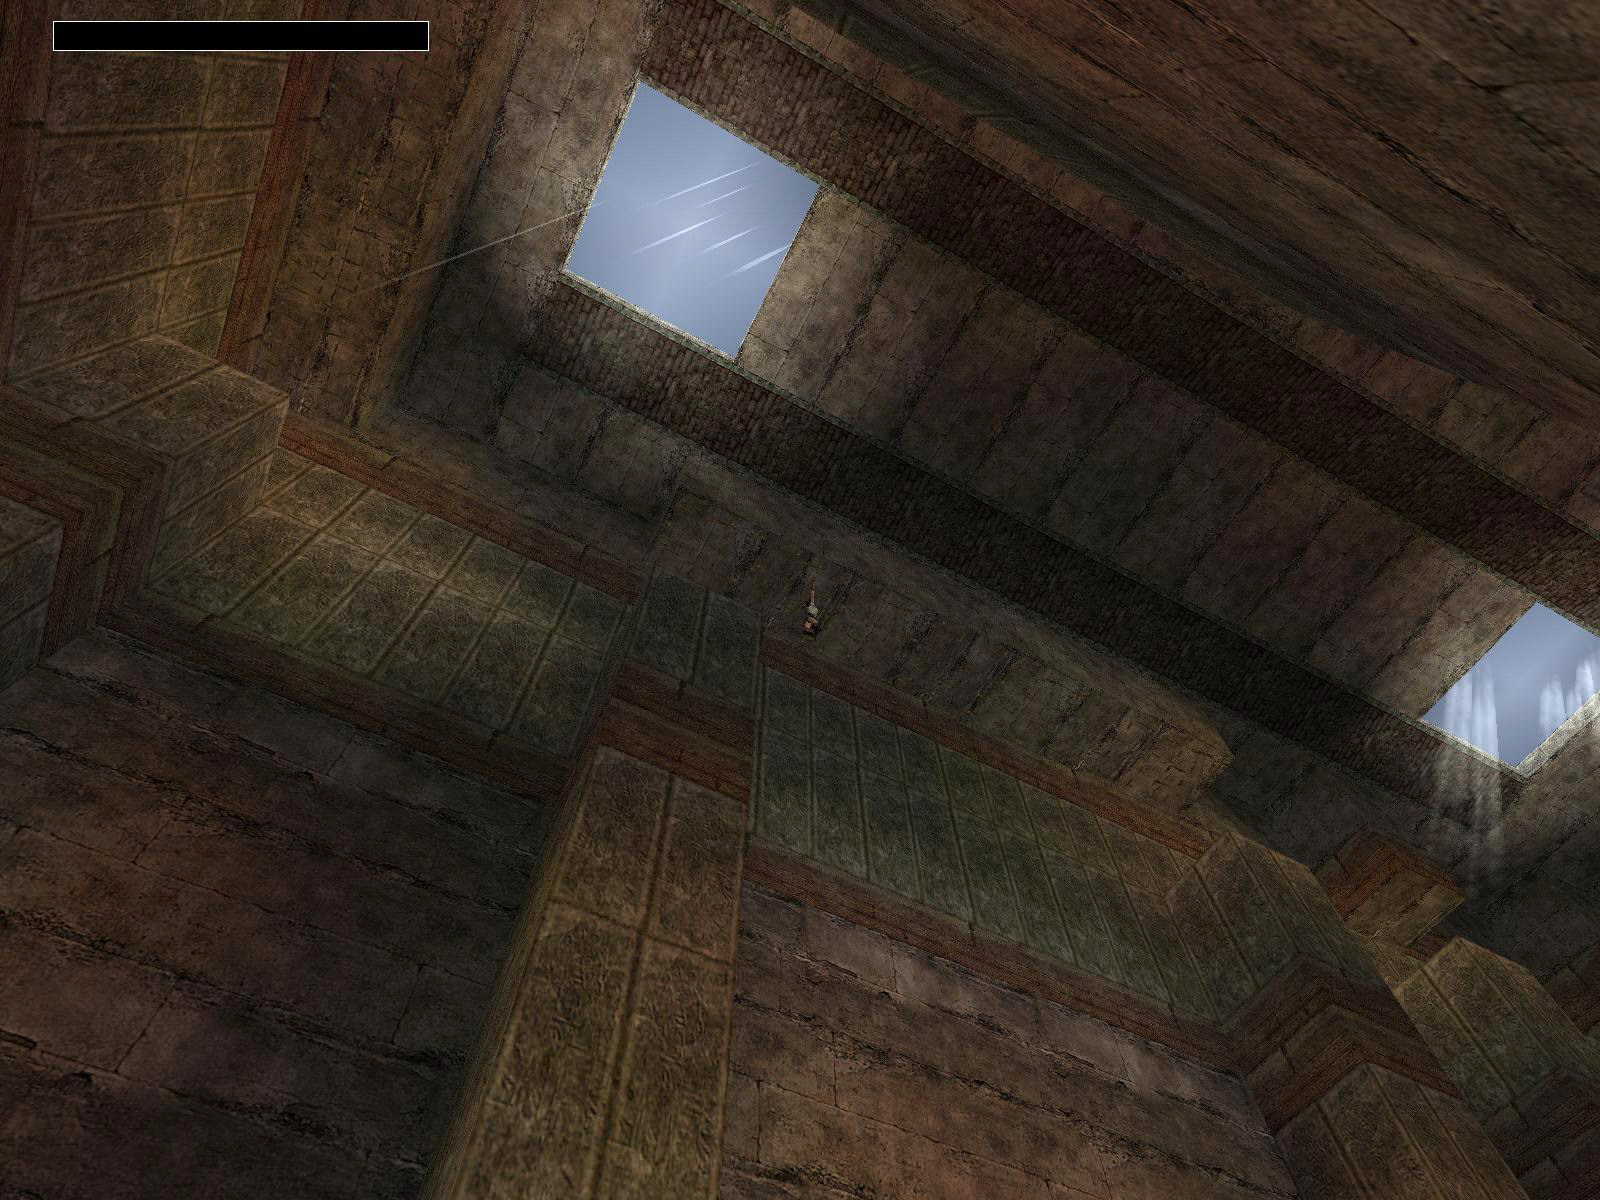
Go down and go to the N and shoot a couple of small dinos. On a pillar (facing S) is a ladder, climb it, take a running jump and grab the pillar with the burner, shimmy around the corners till you can hoist up and jump into the alcove W. There is a ladder on the left, go up, face the popping up spikes and time your jump to the other side. Next is a running jump out over the popping spikes to the right (N). Then again take a jump to the right to get the Shotgun Ammo. Next jump is the N and again another one to the N. Walk N, face E, climb down a ladder and jump to the jump lever on the E wall. Climb back up and continue the next ladder as well. Save and take a running jump/roll in midair to slide backwards and hang on the slope. Shimmy to the left and pull up, roll/jump to the right and grab at the last moment to pull up (Or stand on the corner of the ledge, aim for the slanted block, take two steps back and then a hop back, runjump onto the slanted block and maybe you have to slide a little to jump veering right and grab the next ledge).
Take a standing jump plus grab to the iron tile near the spike boulder and shimmy to the left (or right) and climb up just around the corner, immediately hop back to hang from the tile as the boulder comes crashing down. Hoist up and continue to the S, climb the ladder and jump to the ledge in the W. From there a running jump with grab to the burner and shimmy around all the way and pull up in the last corner, take a standing jump with grab N and from there time the spikes that are popping out a bit further on, with a curved running jump to the right (E) when the spikes pop up and aim to get to the right side of that tile so you can just take a hop to the ledge E. Continue N (there is a closed trapdoor to the right) jump to the last ledge and climb the ladder on the right. Follow the ledge over popping up spikes to the opposite wall and pick up a Medipack.
Grab the monkey climb to the next ledge, then a running jump, another monkey climb, running jump till you end up at a small room on the other side. Use the jump lever there. Go out and you can take a running jump down to the E, hop back and climb down the ladder, jump back to the ledge next to the now open trapdoor.
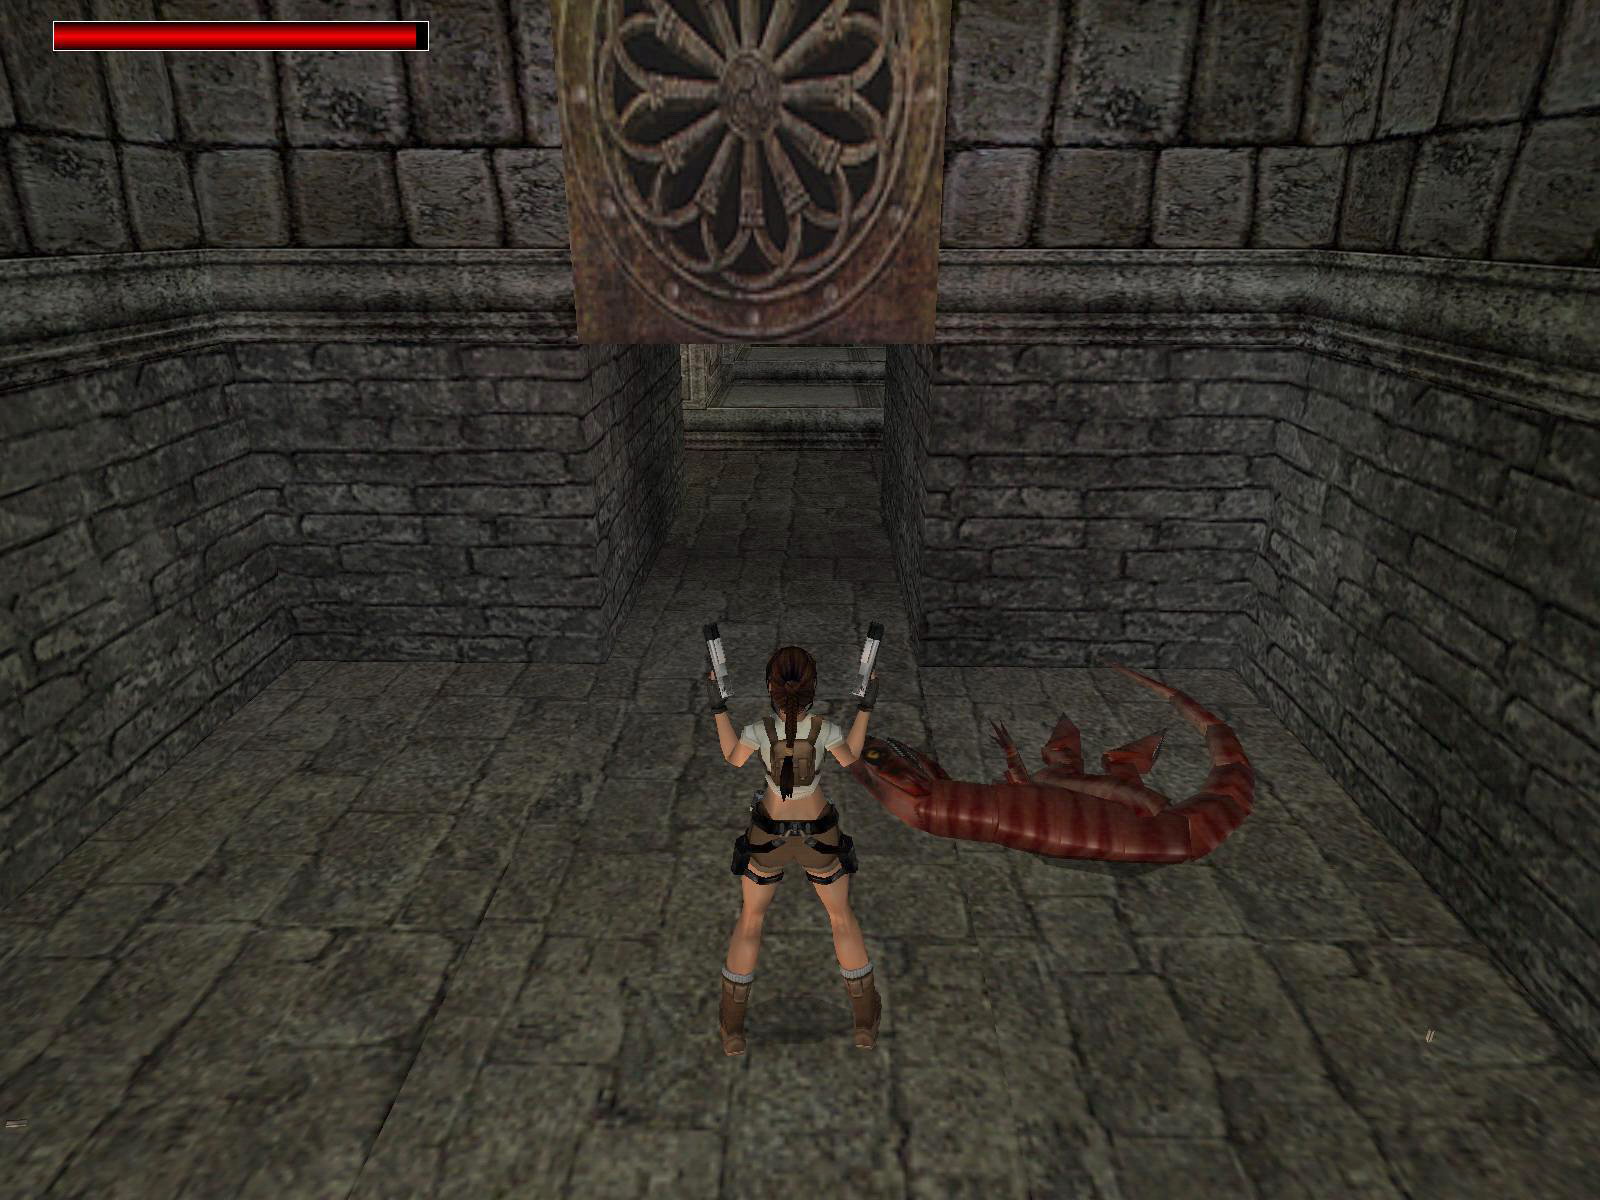
The Dragons Head.
Face W and climb down this long ladder, follow through and jump down in a small room and pick up the Dragons Head form the pedestal and see a gate opening up.
Go into the corridor, jump up at the end and down, jump over that boulder and go left, towards the entrance (S). Climb up and the door from the cut scene is in the S wall of the poolroom. Follow through and the level changes.
Marooned - part two.
Follow through and get a cut scene of the Exodus Key. At the end you can lower yourself down at the lava lake. Go to the room in the SW corner and get the Exodus Key from another pedestal and use that one on the left door in the S wall (SE). Slide down.
3. Exodus.


Secret 3:
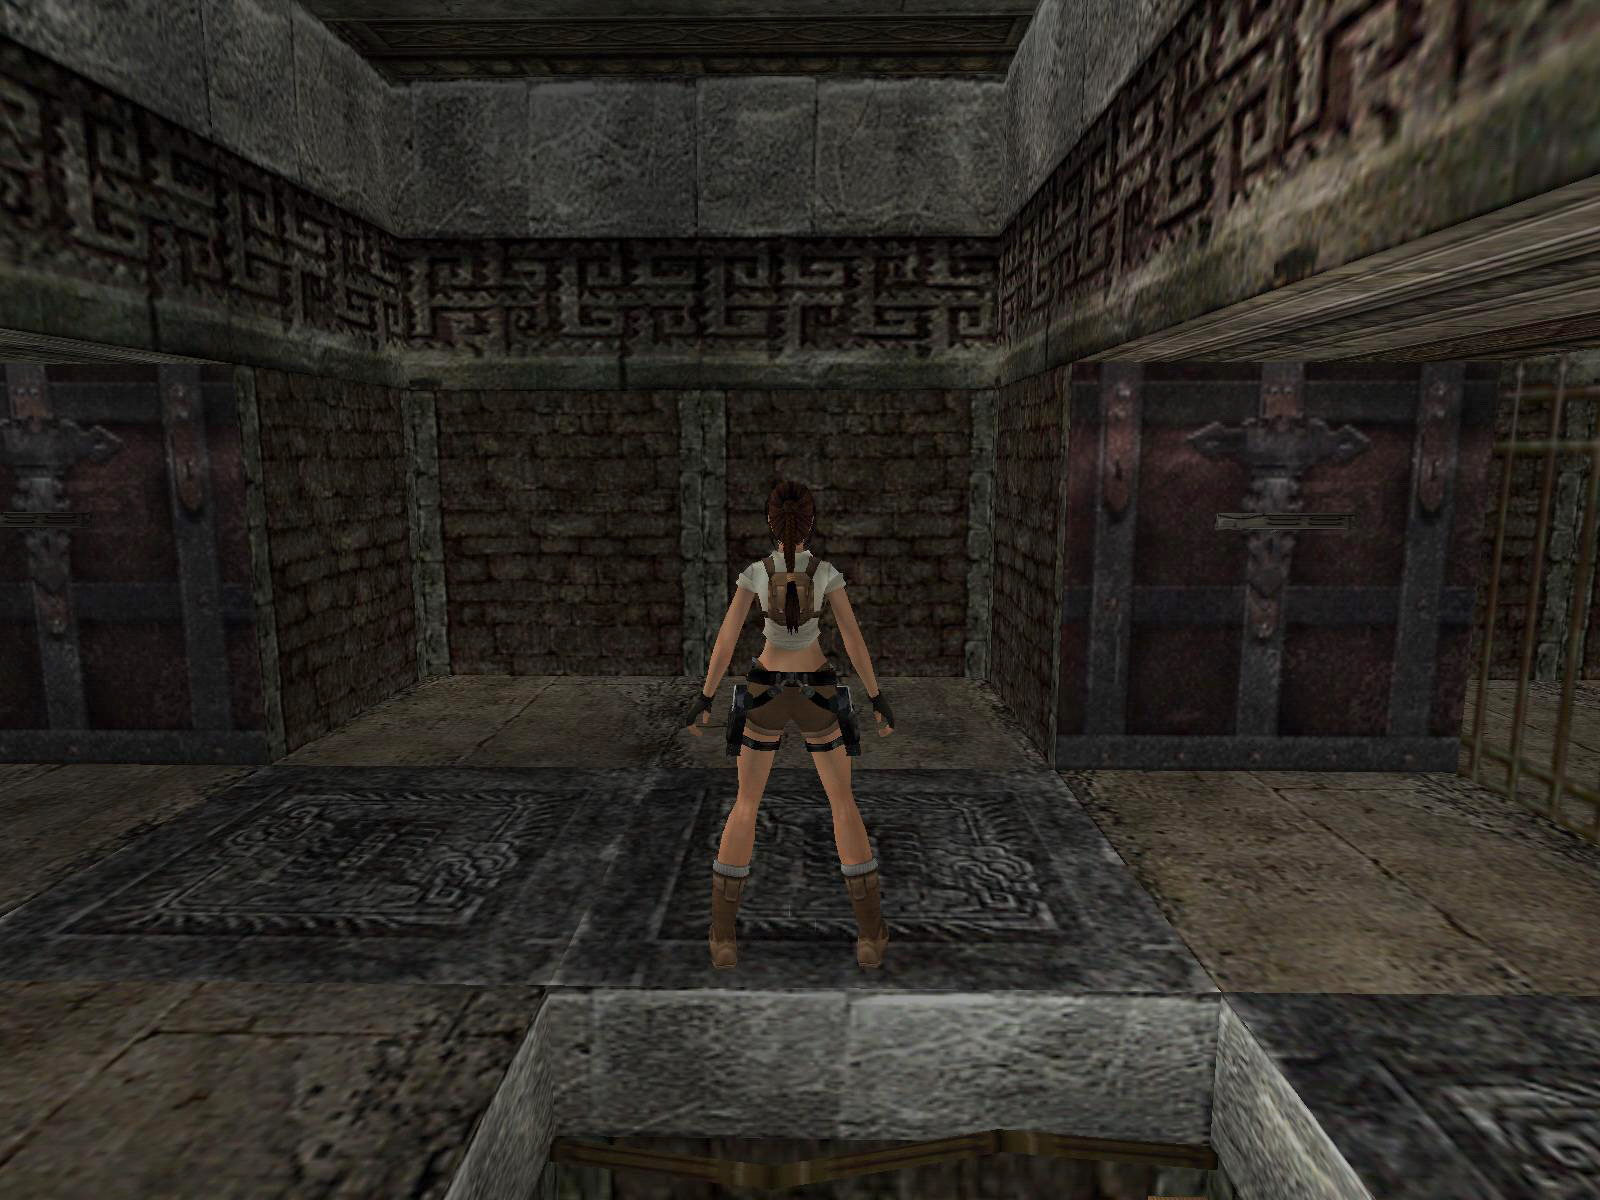
Poolroom with many gates.
In the NW corner is a nicely hidden jump lever. Enter and slide down facing E, grab, let go and grab again to crawl into a crawlspace. At the end, drop down, go through another crawlspace N and also drop down into the next room.
A Skull.
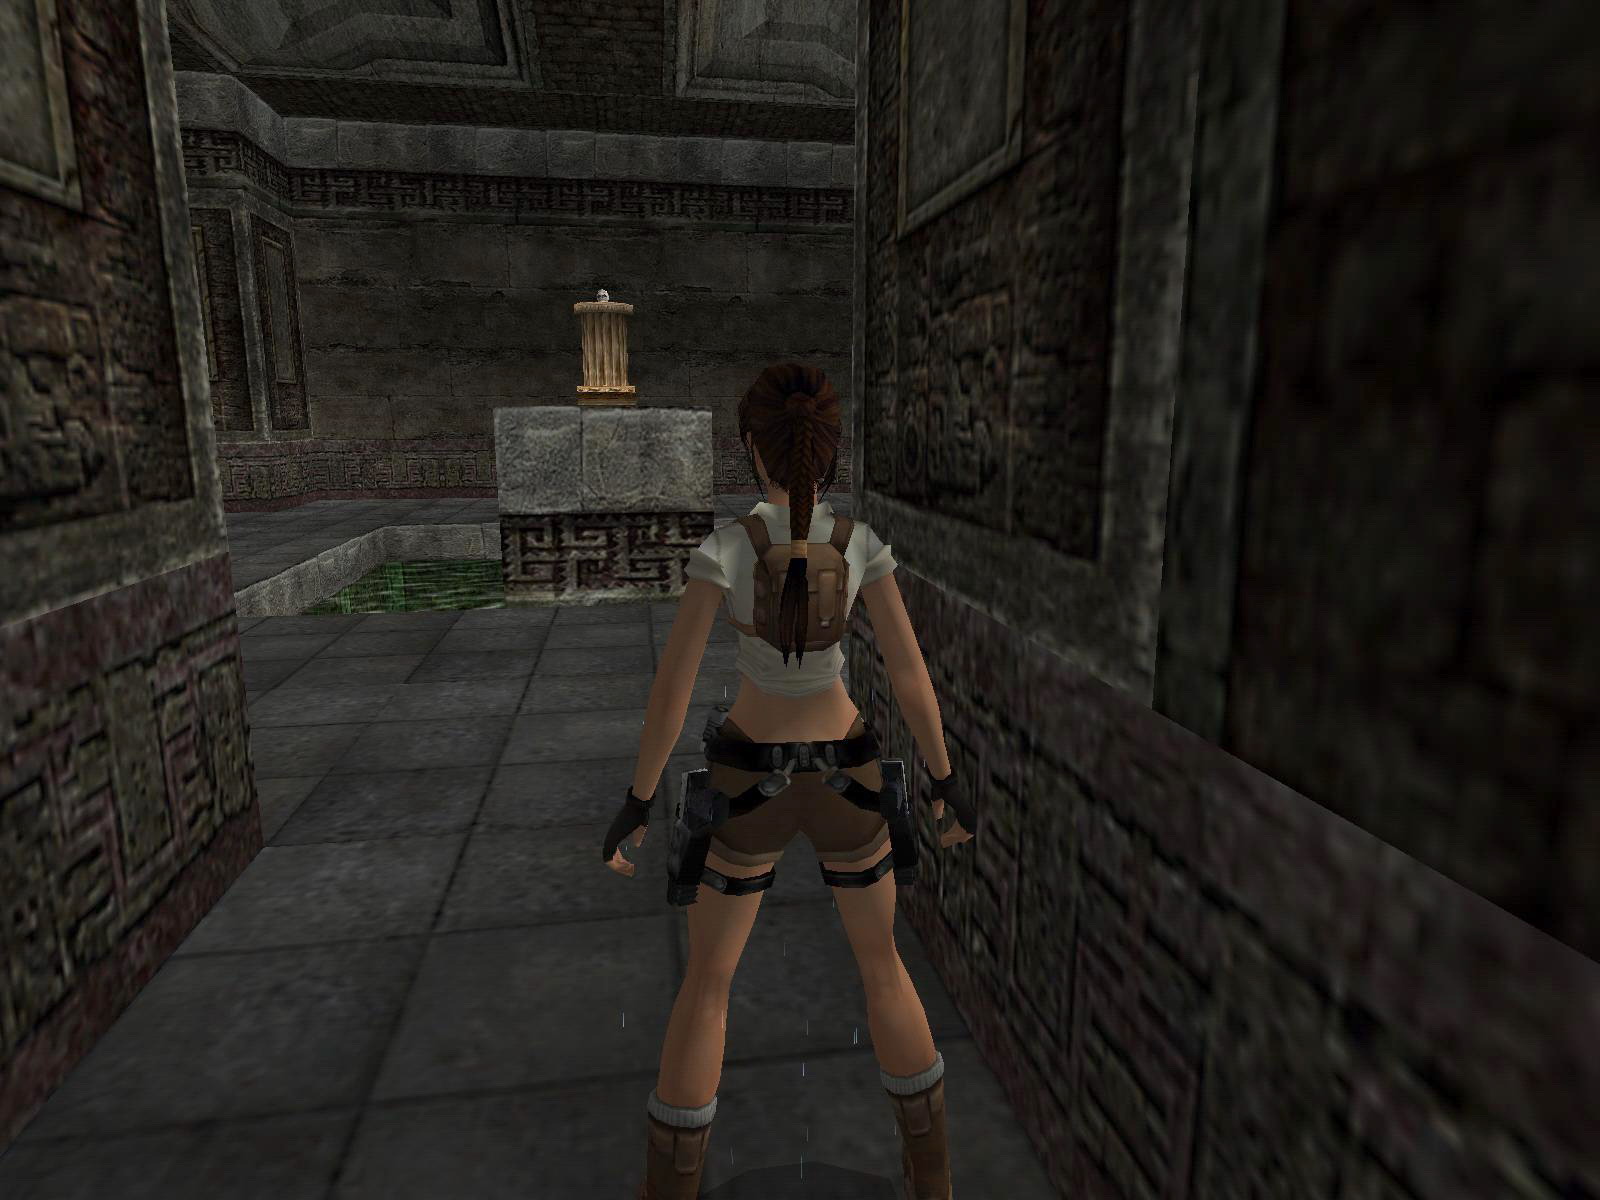
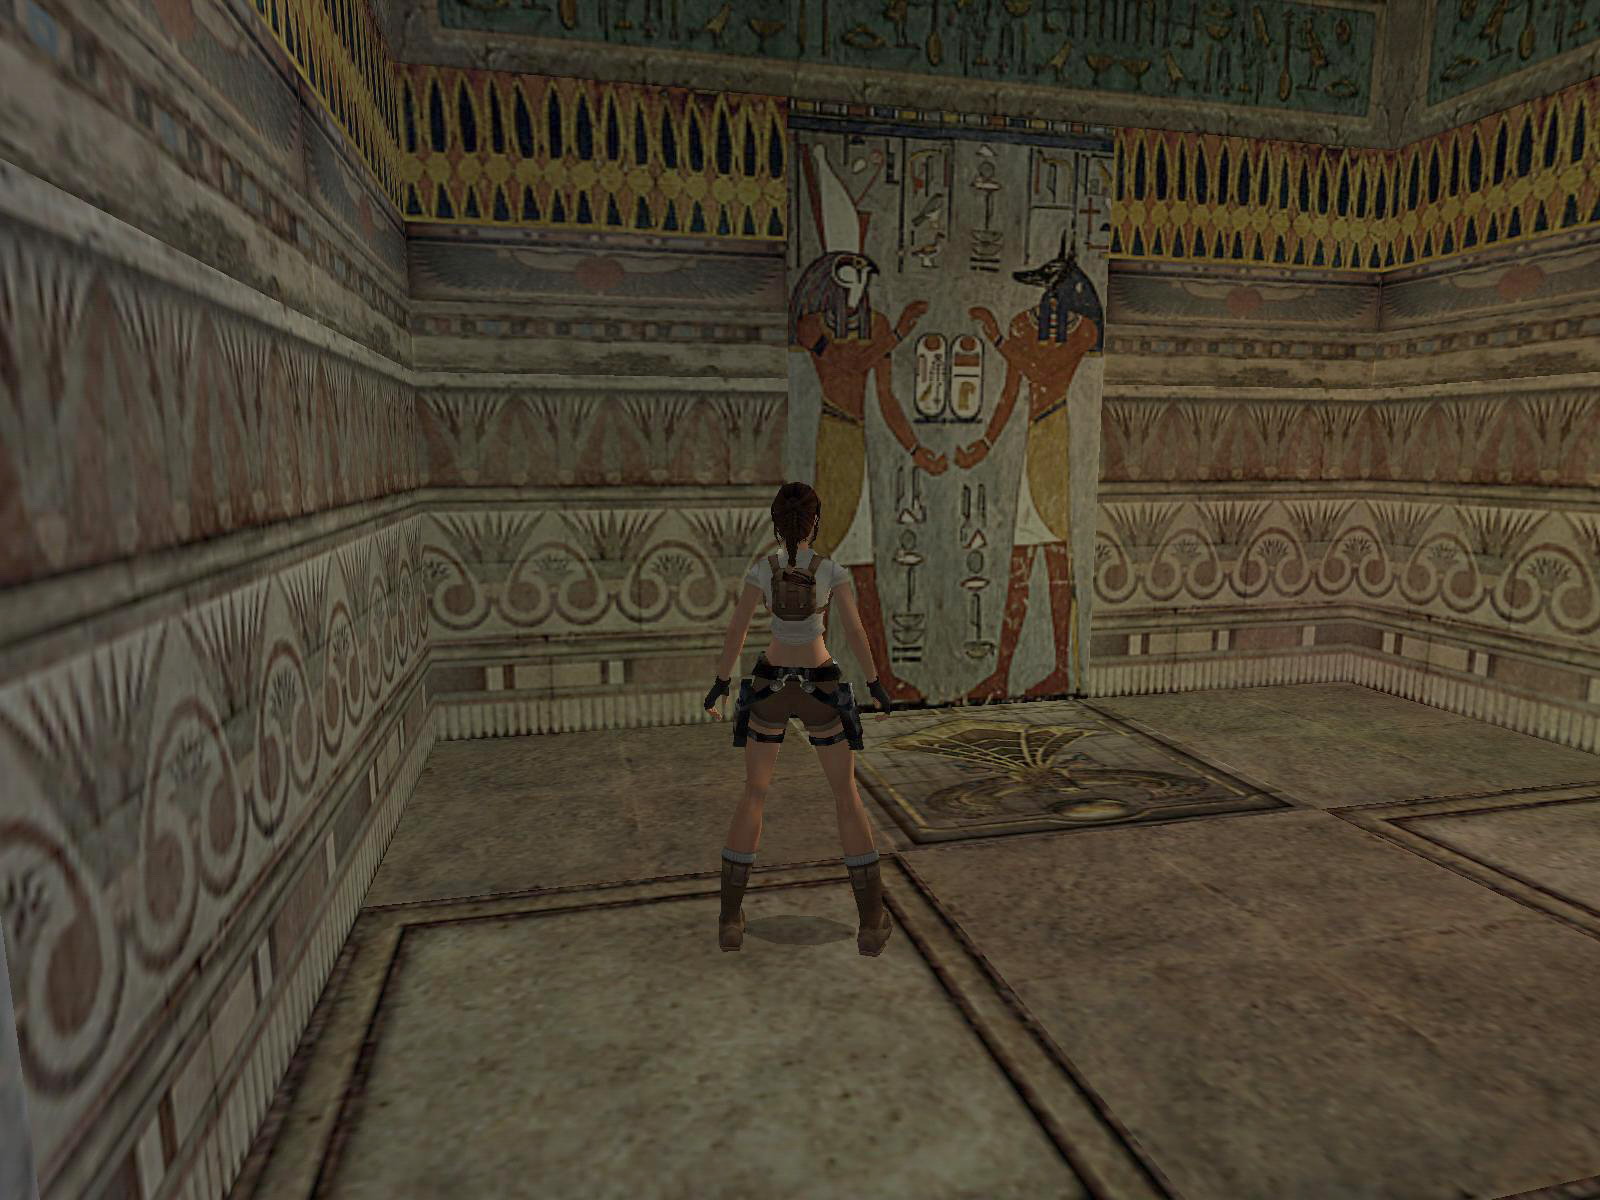
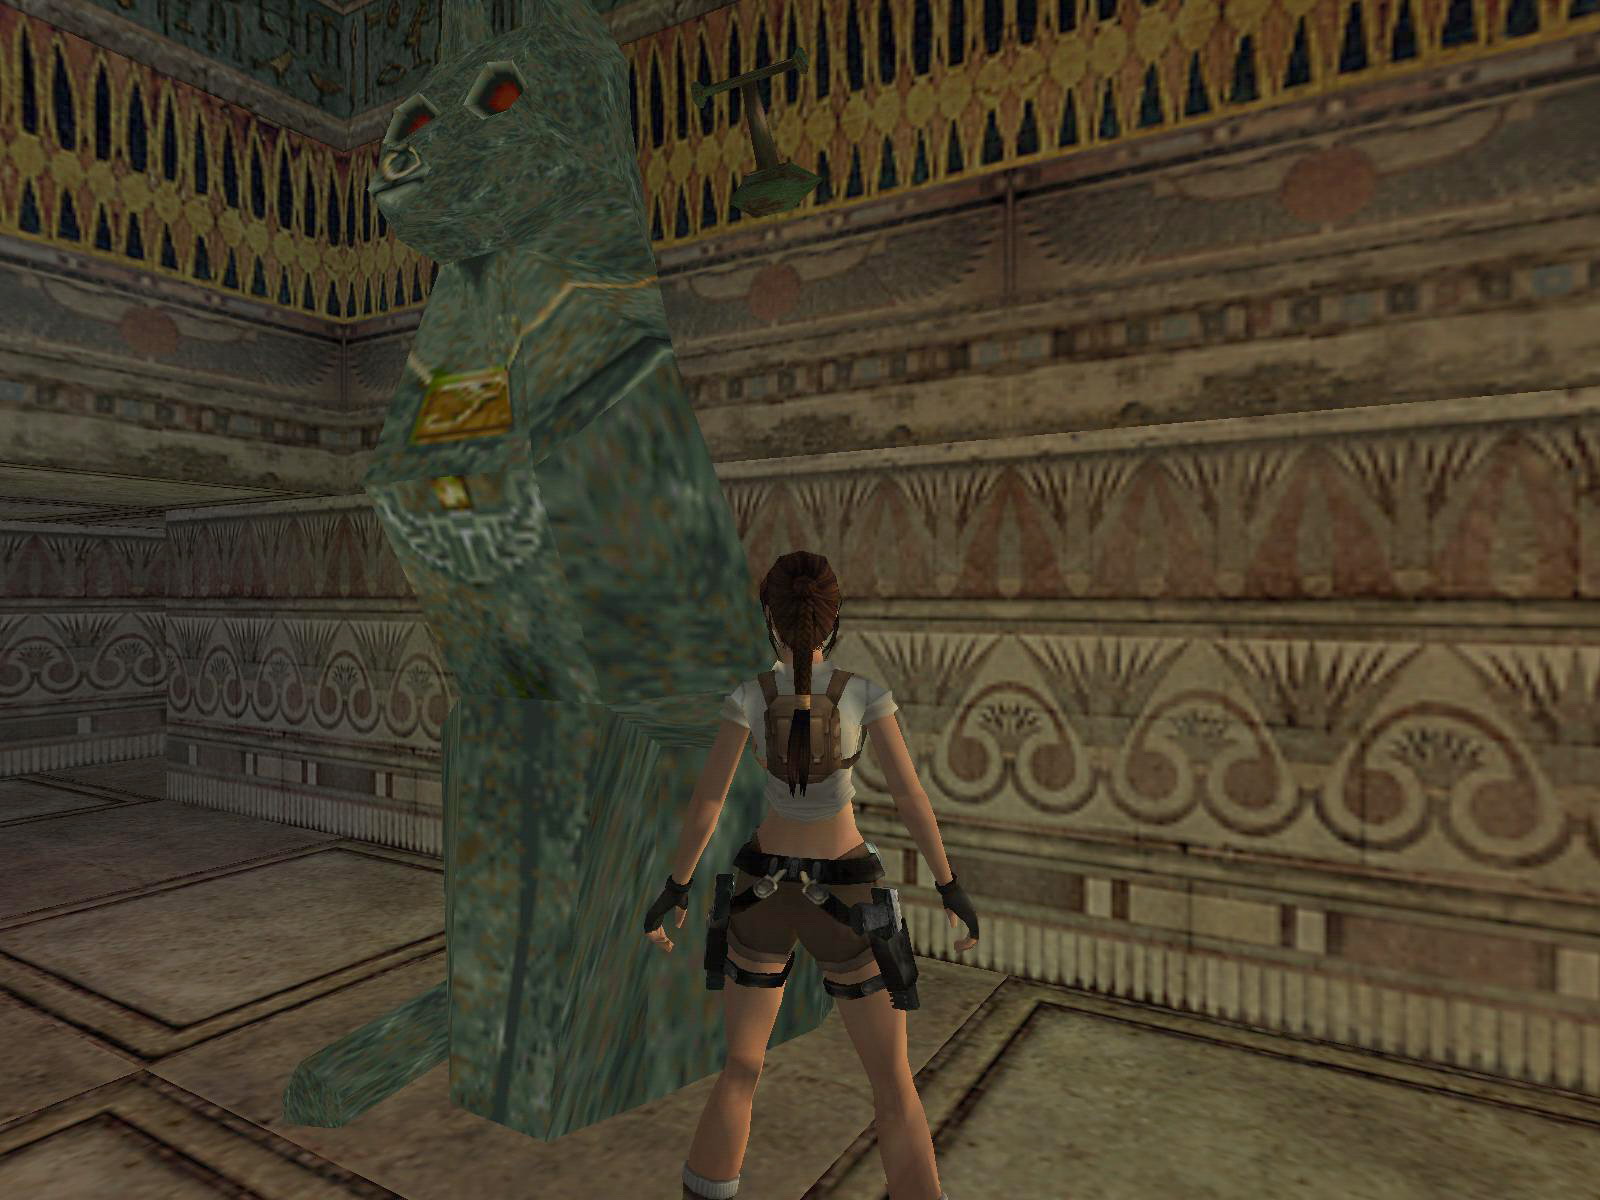
There are two marked tiles, one in the S and one in the N, this opens up a piece of the wall E. Enter and the gate opens up for you, follow through and when you step further pillars will raise. Find a jump lever almost at the other end of this room on the left wall (E), turn N and use the floor lever that appeared. Also a cat statue appears N as well as another jump lever near the statue on the E wall.
Use the next floor lever that appears behind you. Now go behind the cat statue N and use the jump lever, this lowers a pillar at the W wall and reveals a floor lever (SW). Now retrace your steps and you finally can get the Skull form the pedestal (NW).
Go S into the open door, follow through, climbing up and you hear a door opening and you are back at the poolroom with many doors.
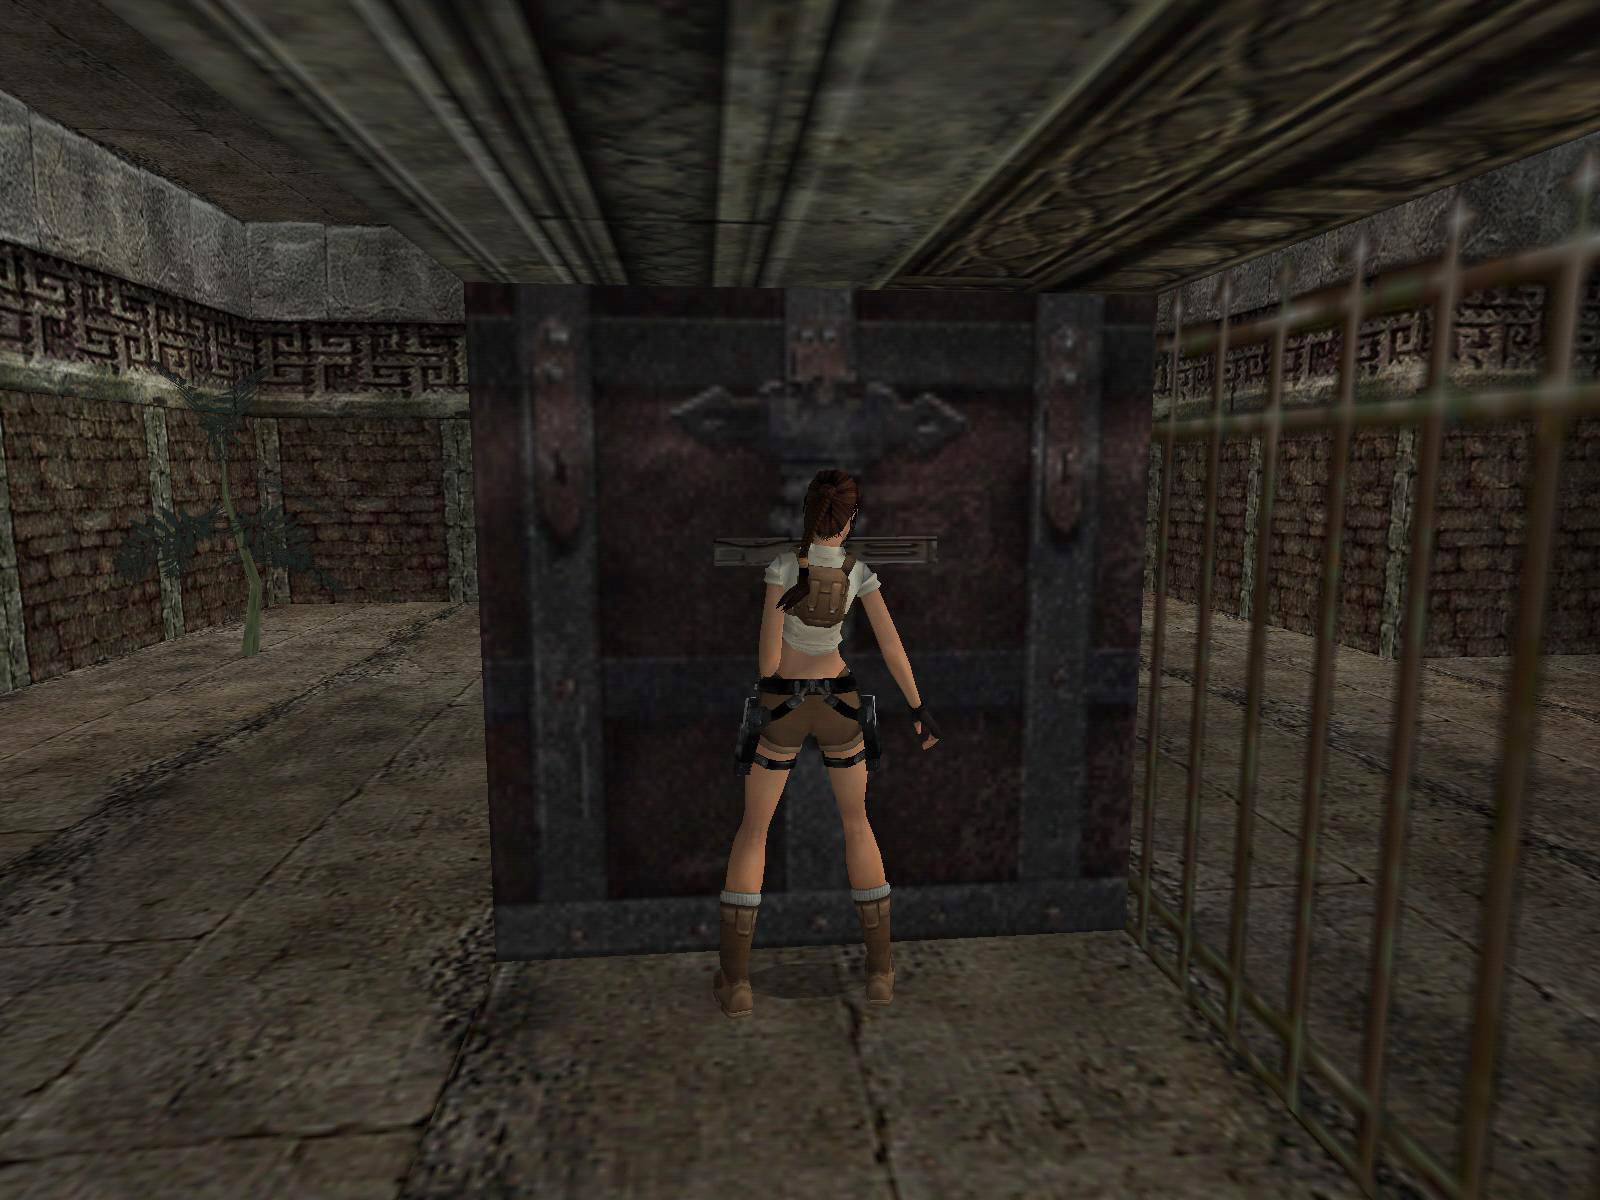
Lava Rooms.
Place the Skull on the stick (E wall) and enter a lava room. Shimmy the burning block on the left and get the Shotgun ammo. Get back and shimmy to the other side. Face W and safety drop and let go and grab the crack and shimmy right till you can safely stand. Grab the monkey climb to the other side and grab up onto the ledge over the monkey climb to get SECRET #3, Explosive Arrows. Drop down and go into the opening NE.
Jump down and jump the ledges to the floor lever NW. This opens the gate on the other side (S) so jump back and go in.
Use the lever around the left corner and climb the ladder in the other corner, pick up the Flares, safety drop down, climb up W and go left to the open gate. Drop down back wards and shimmy left and stand up around the corner. Take a running jump and grab the opposite crack and shimmy left to hoist up. In the next lava room, take running jumps to the ledges and grab the Fire Stone; this opens also the door there. Go through this passage, taking running jumps over the burning tiles and the gate opens at the end, you are back at the pool.
Place the Fire Stone on your left and enter. There are four floor levers in here, use them all, best way to get in the right place to flip them is to hang and shimmy right into the corner and then hoist up. Jump back to the entrance and go to the poolroom a gate W is open.
The Guide.
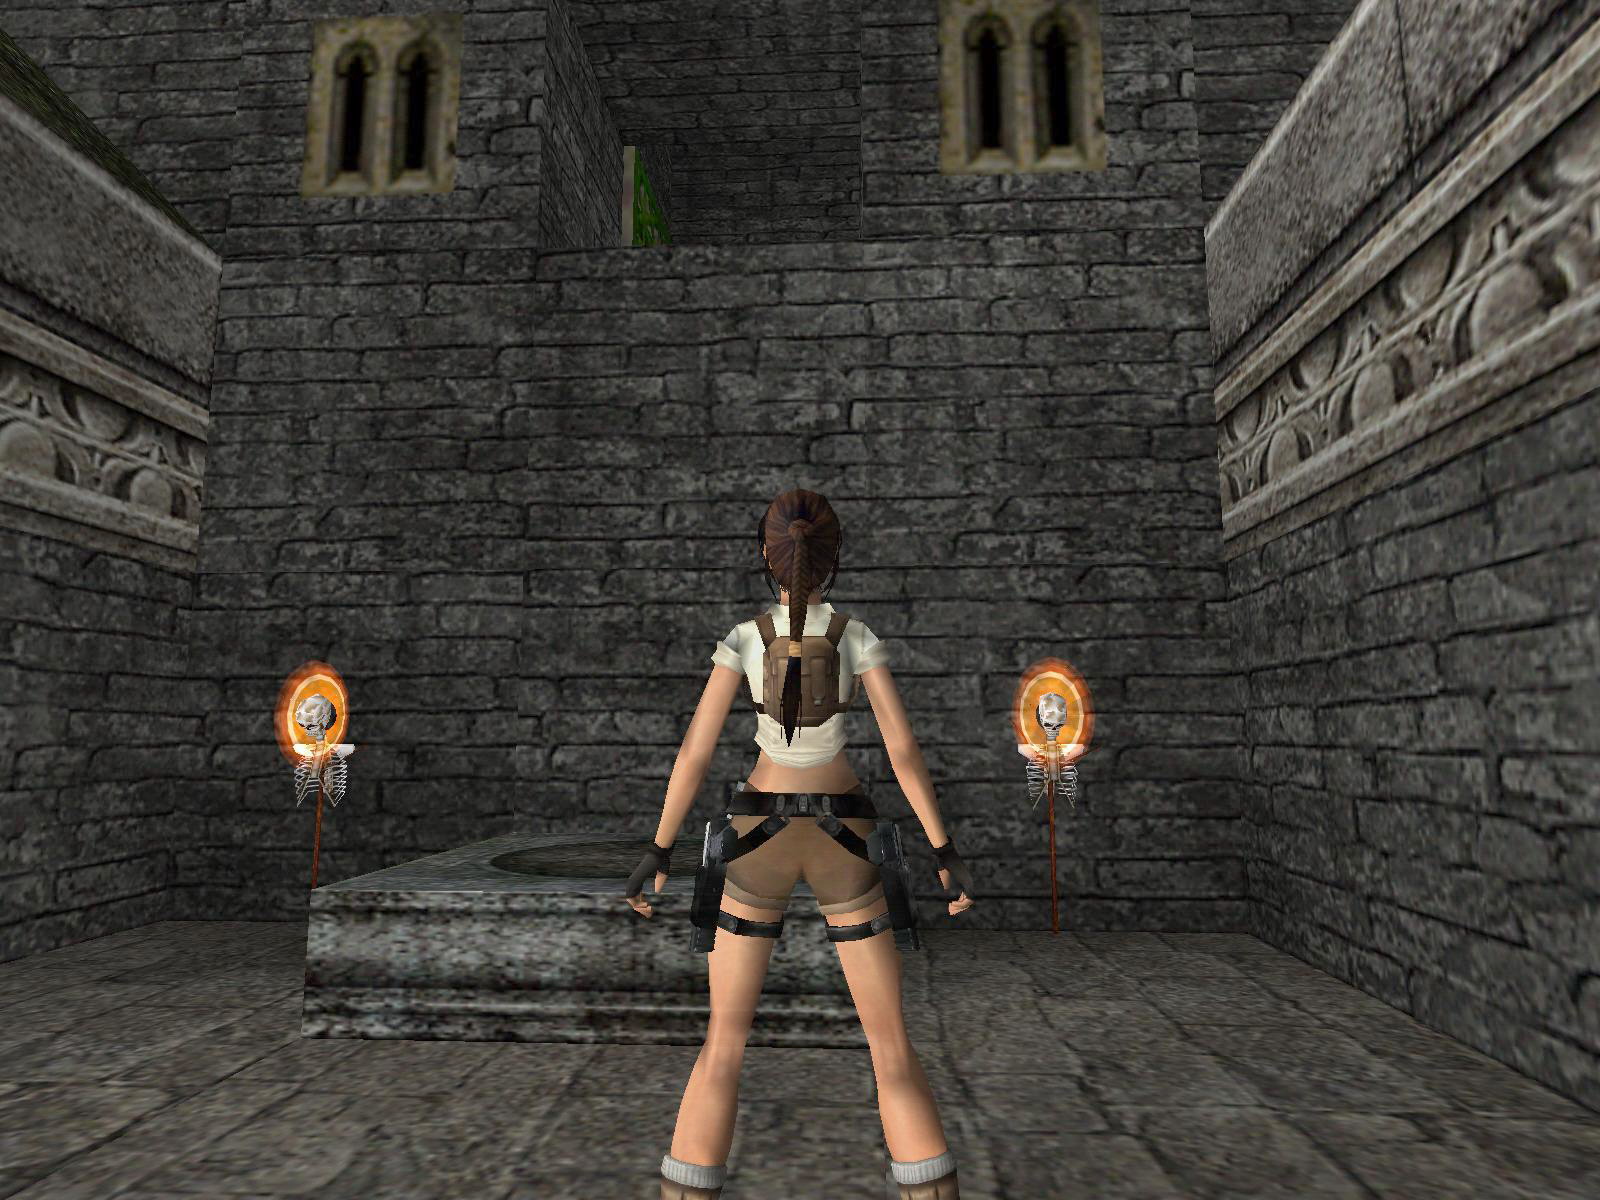
Apparently you also opened a door for the guide to continue as he is waiting for you in the next room.
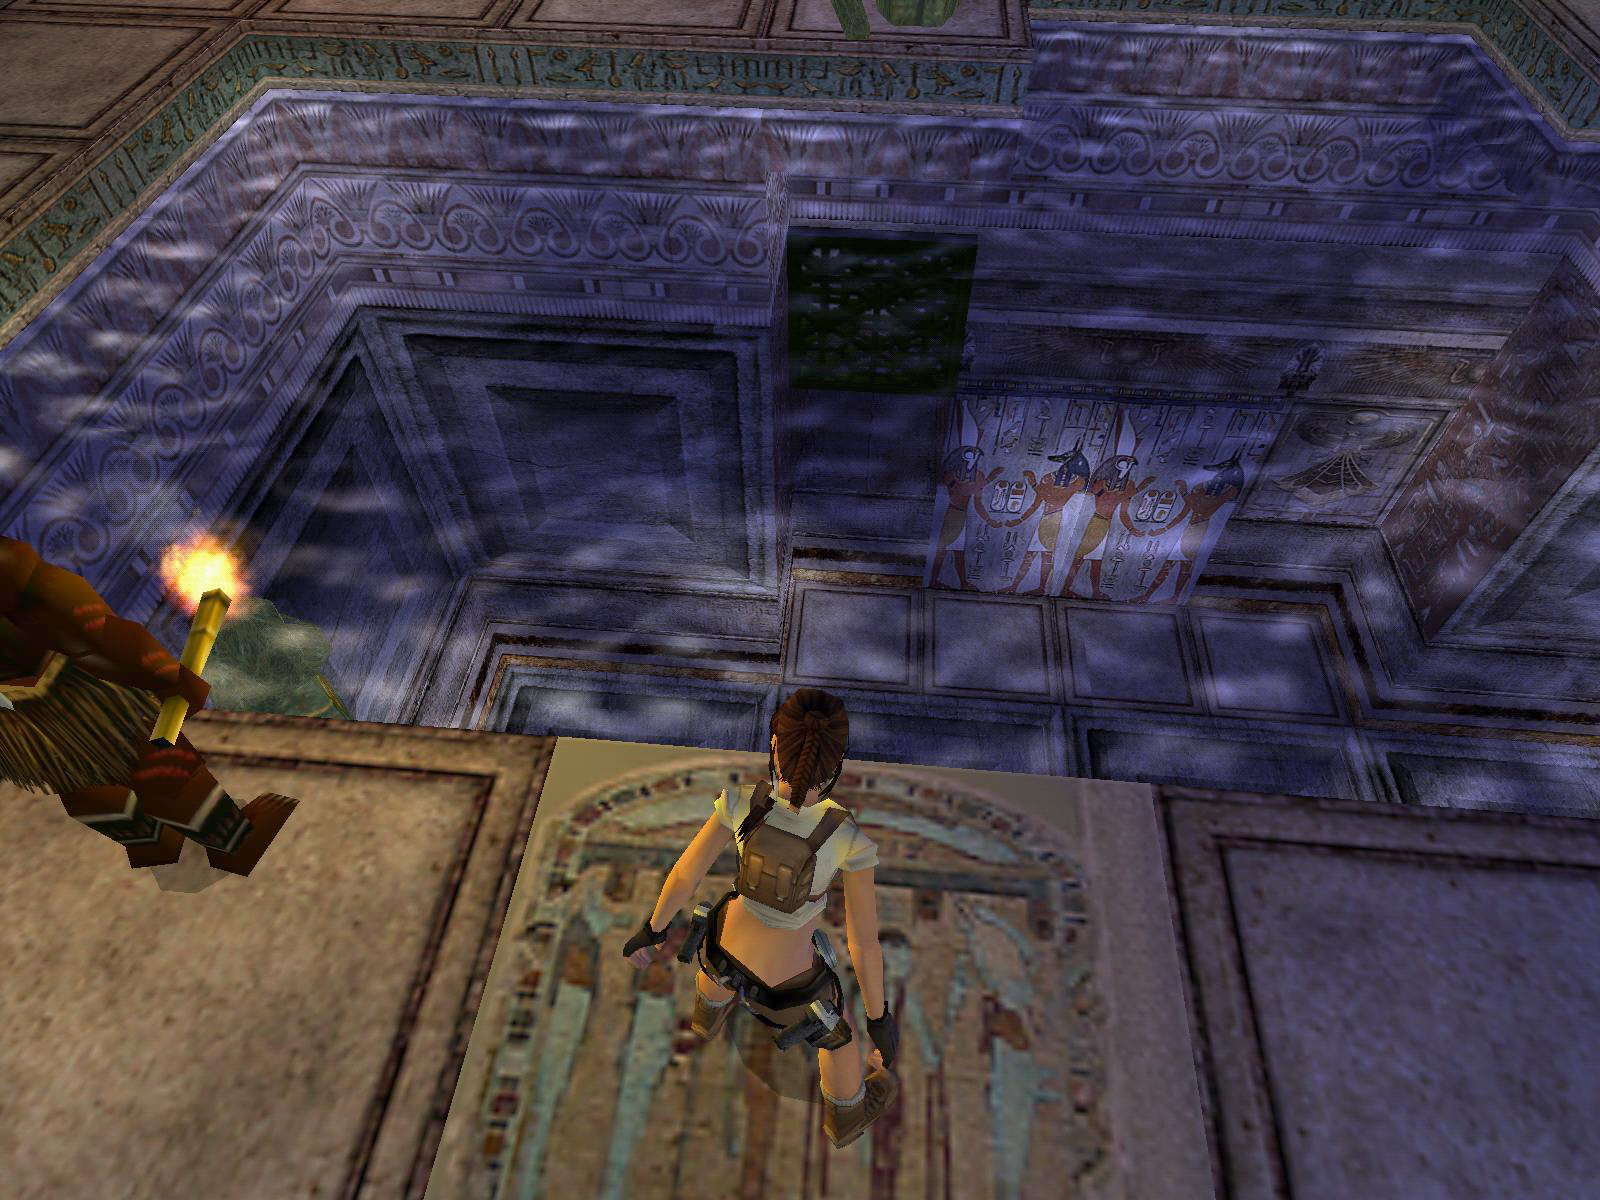
There are four marked floor tiles exactly the same as the one beside the Guide. So stand on all four of them, then stand on the one beside the Guide and he lowers his torch to the water and a gate in the water (W) opens. Dive into the pool, go through the open gate. Climb out and you are at another pool area.
The 4 Skulls.
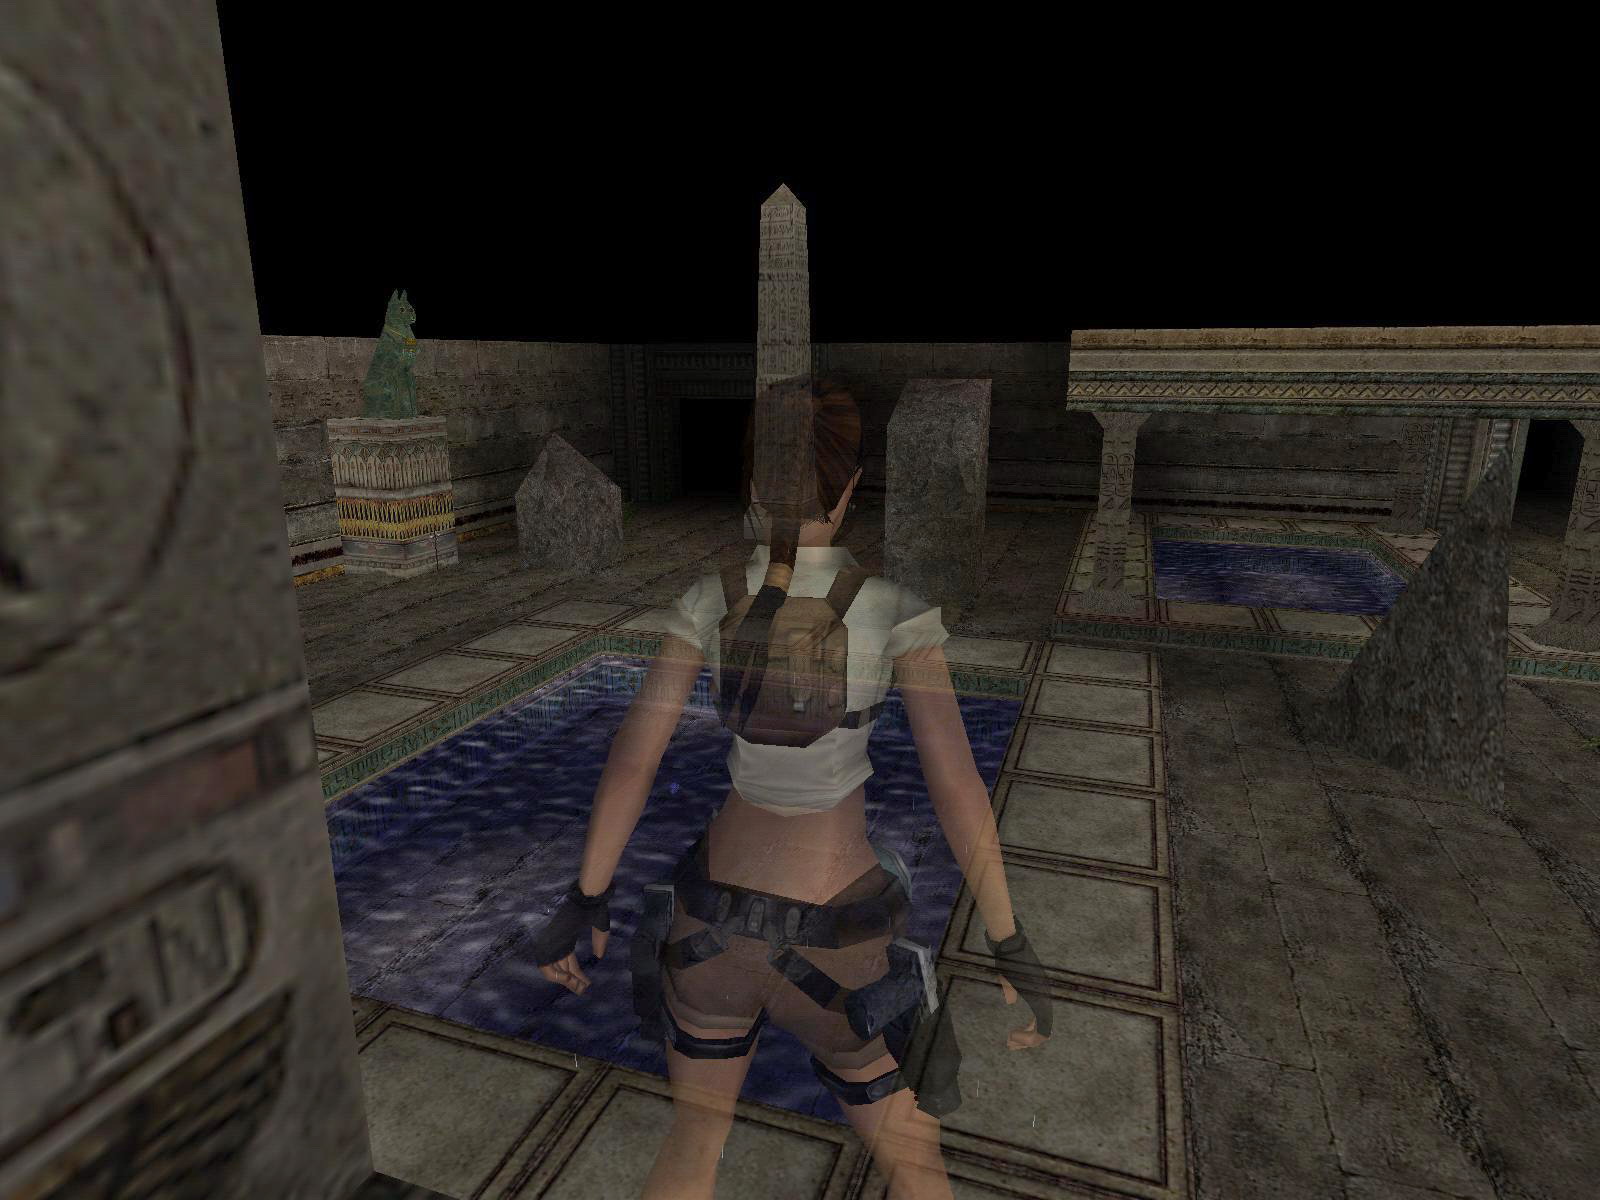
Drop down and jump into the pool and get the first Skull. Get out, go the guide (NW) and follow him to another pool. Dive in and retrieve the second Skull S of the pillar.
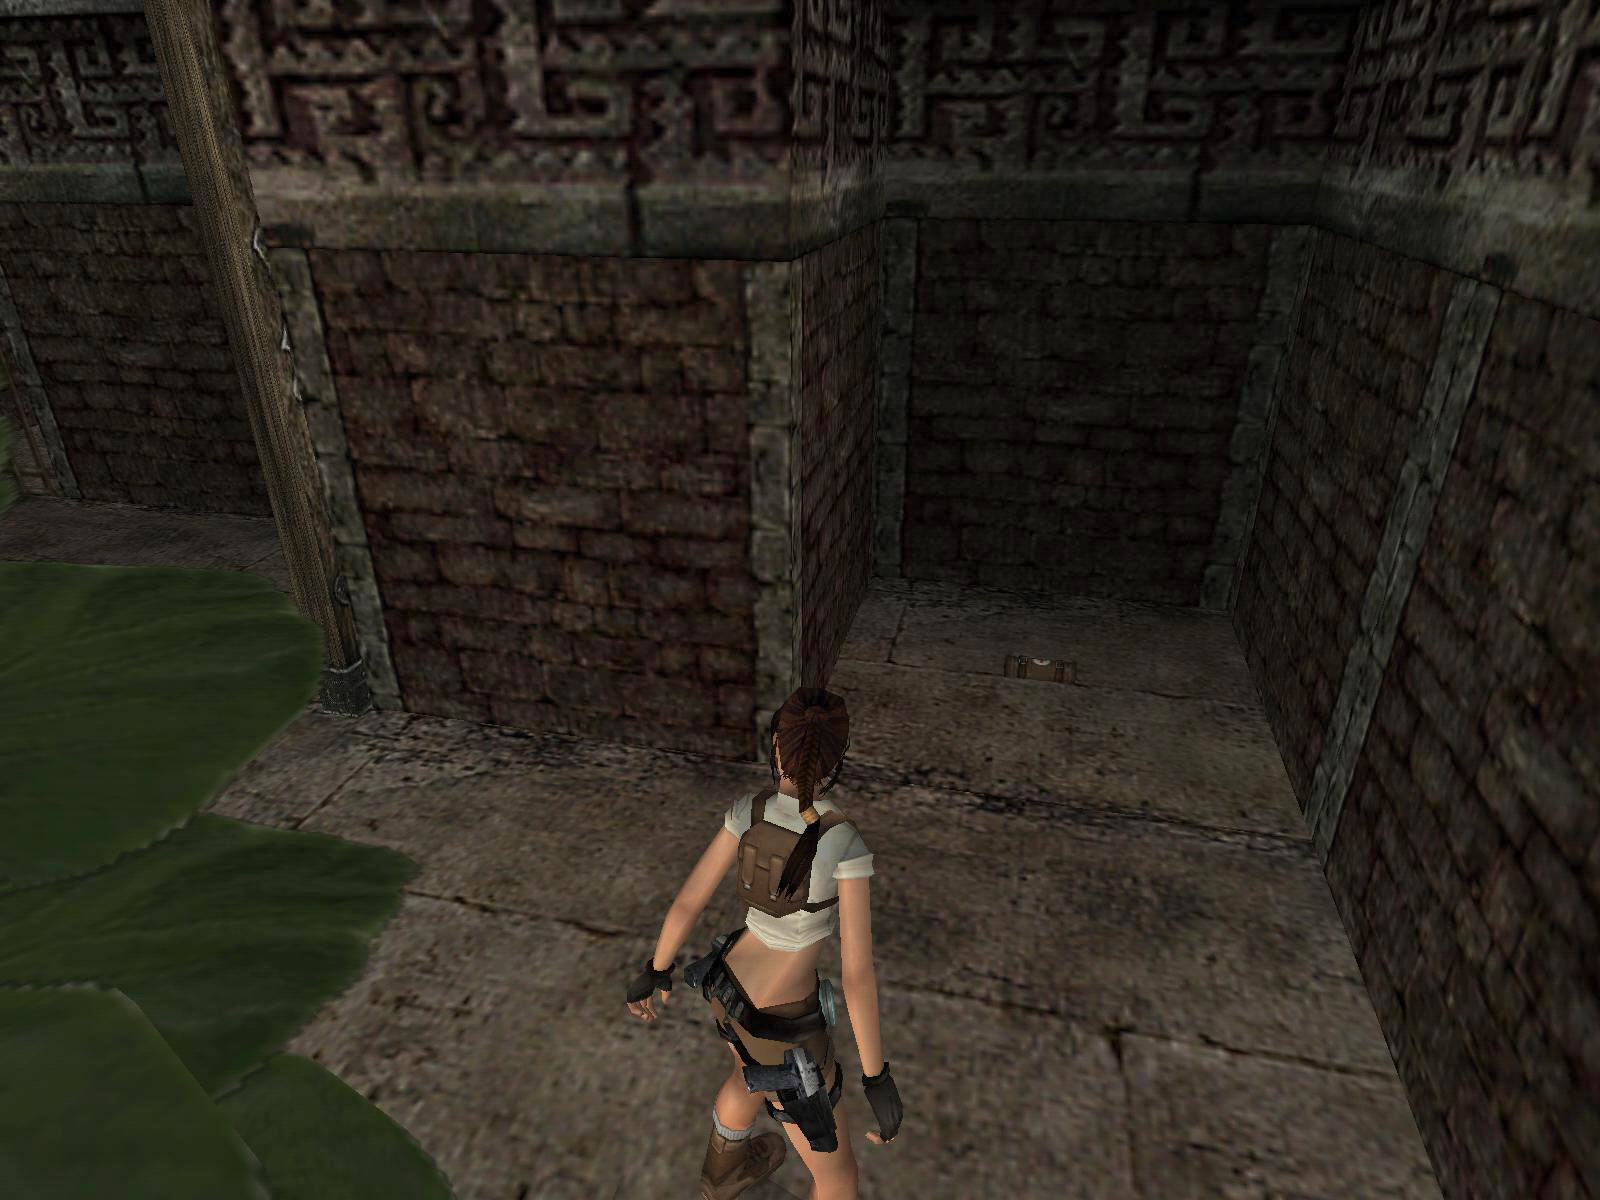
In the building NW is the third Skull in the plants behind a pillar on the E wall.
Keep going N and in the corner go right into another room. Go all the way to the end and jump in a crawlspace NE for the fourth Skull (notice the trapdoor above).
Back out to the pools and place the Skulls N and S wall, big doors open up.
A Torch.
Those doors are NW so enter there and go into the structure. In the NE corner is a jump lever, go out and take a left and at the end a right, back to the crawlspace where that Skull was and into the open trapdoor.
Crawl through at the end hang and shimmy right, crawl in again and follow through, stand up and through the corridor and jump from ledge to ledge. At the end a gate opens, crawl in and through. Step on the tile (see a cut scene) and follow through till you see a pedestal on the left with a Torch on it.
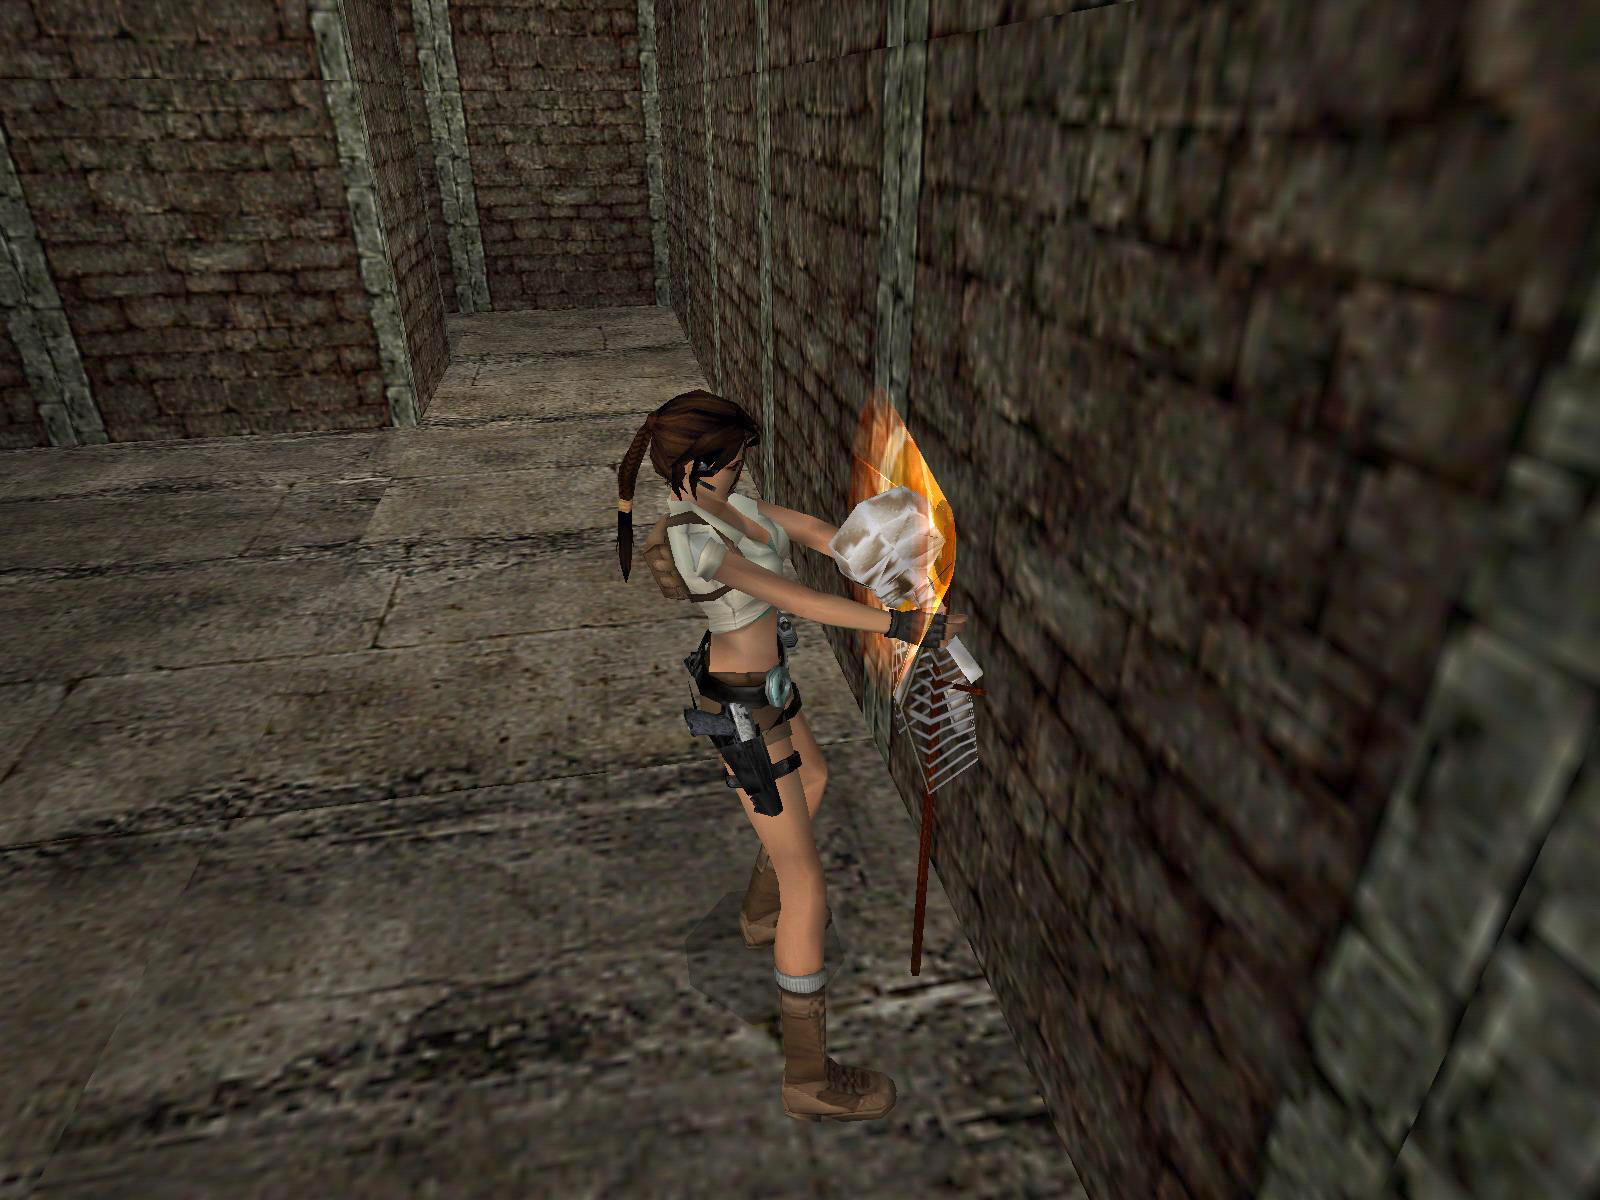
Timed Torch Run.
Bummer, the fire goes out, back to the tile where you got that cut scene and run over it, sprint to the fire and carefully get onto a corner to ignite the Torch at the burning tile.
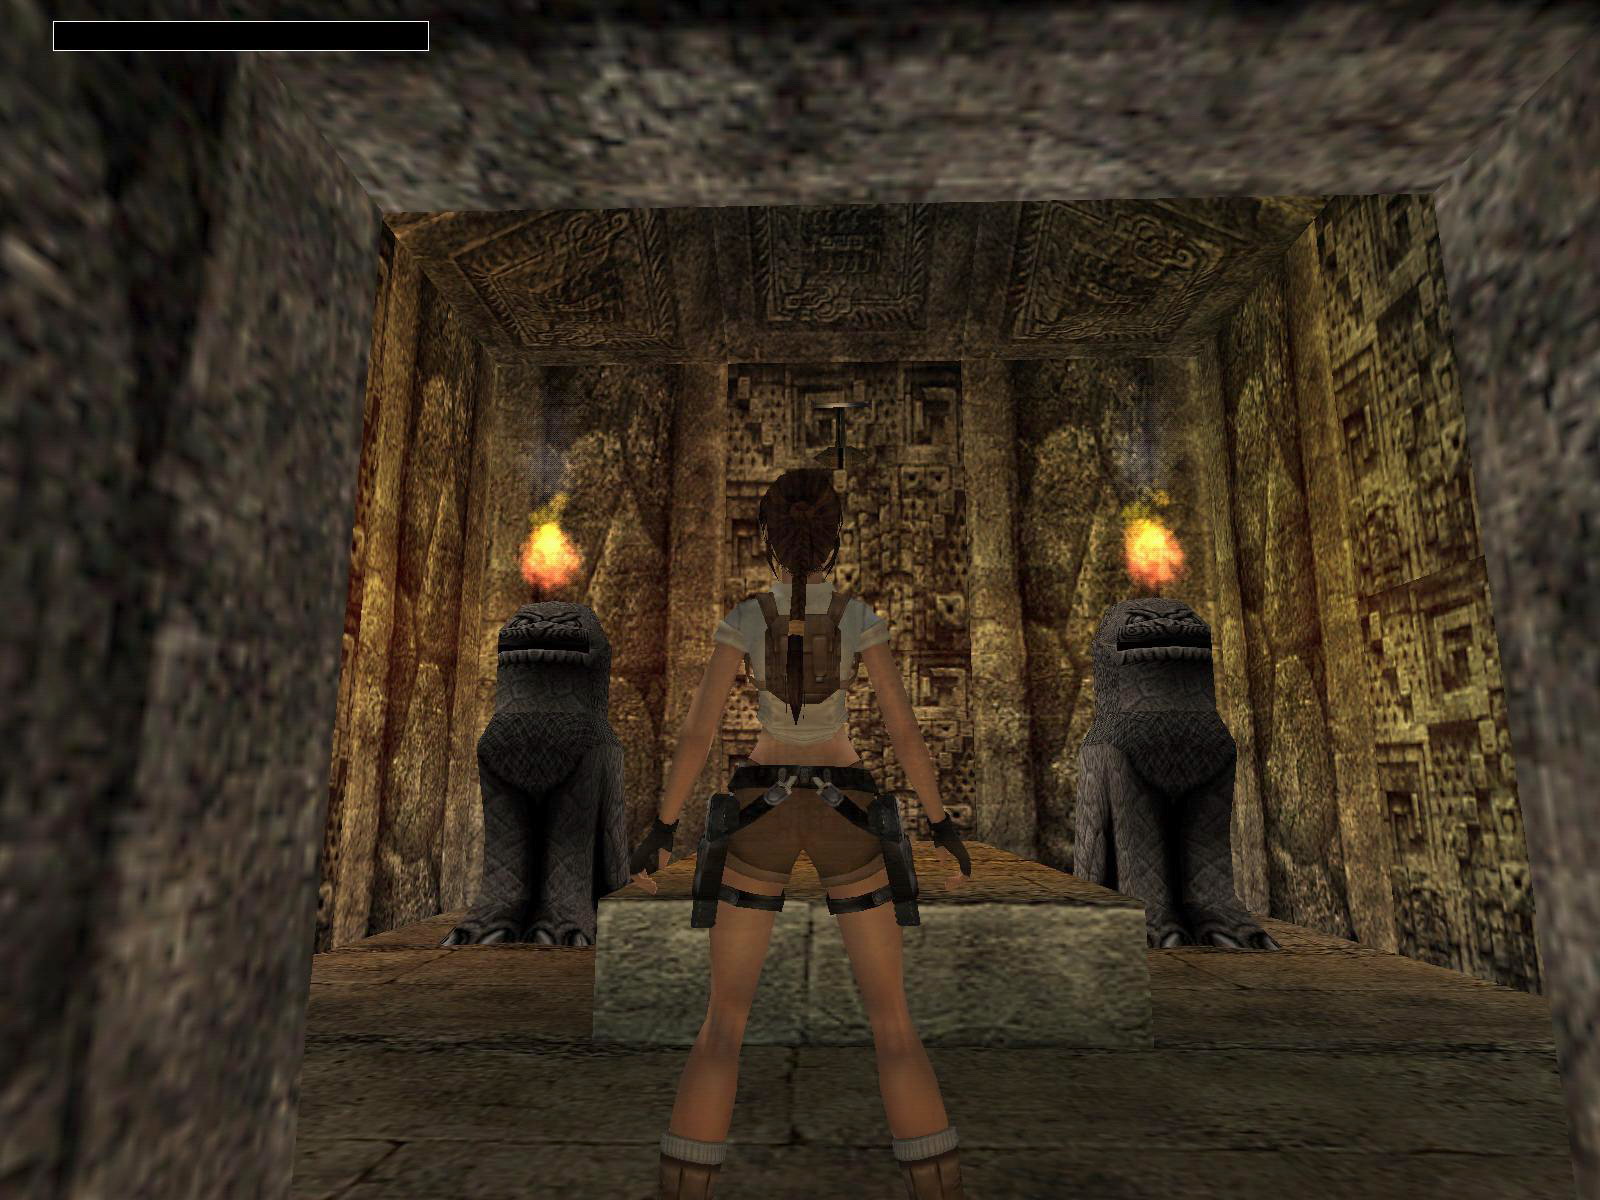
There is a wall torch a bit further down; light it and enter the door. Leave the Torch and take a running jump to the W, jump down and climb up the hill in the corner.
Between the two cat statues is a gate that opens when you approach.
Fiery Climbs, the Fire Stone.
Climb up one of the ramps (you have to do them both anyway) and use the monkey climb to get to the two jump levers, avoiding to get burned. A door opens so back to a ramp, on the monkey swing and now through two emitters to get into the opening in the middle (Nice trick to get past the second Tight timed emitter; face the wall and shimmy sideways so Lara will almost disappear in the wall, this way you can already get to the middle of that square without burning, then turn Lara a bit so you shimmy out of the wall again when you go to the gate).
Get the Fire Stone and go E, slide down and end up in one of the side rooms of the pools. Go SE and to the poolroom SW to place the Fire Stone N. Turn around and jump into the pool, swim through the opened door S. Hoist up and go into the opening E and to the right.
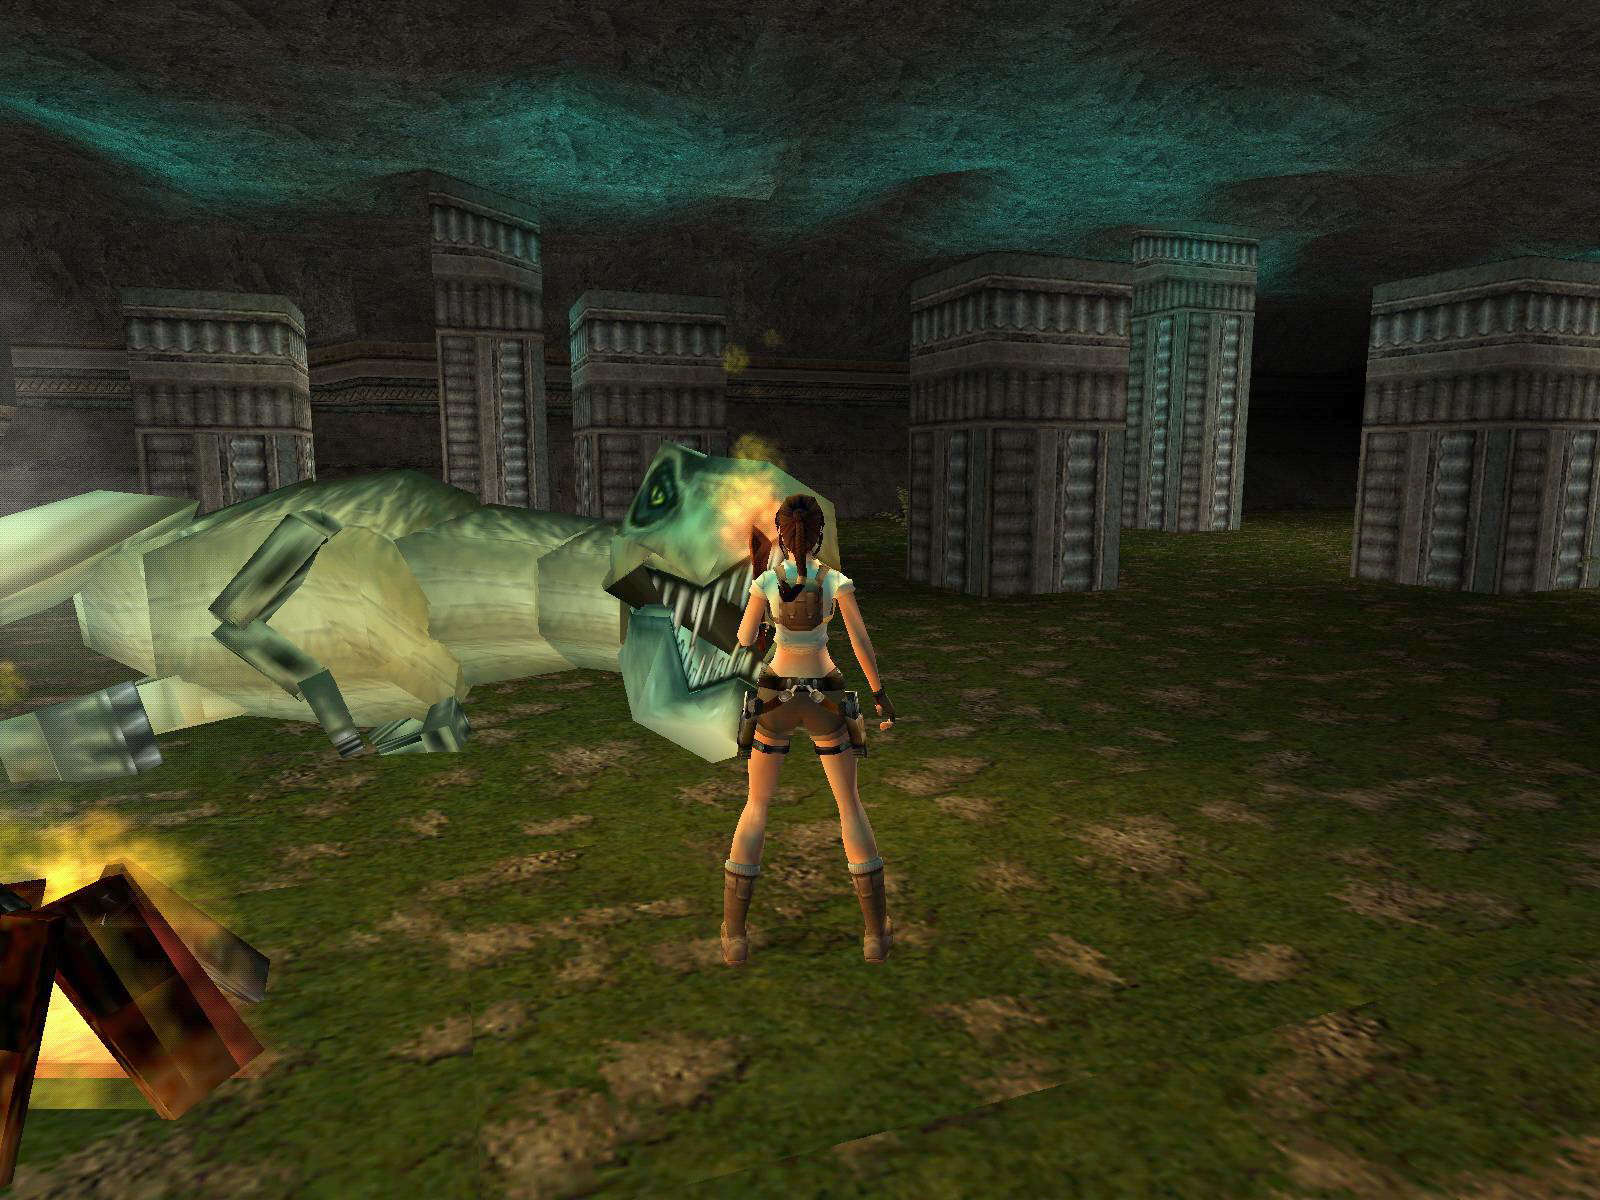
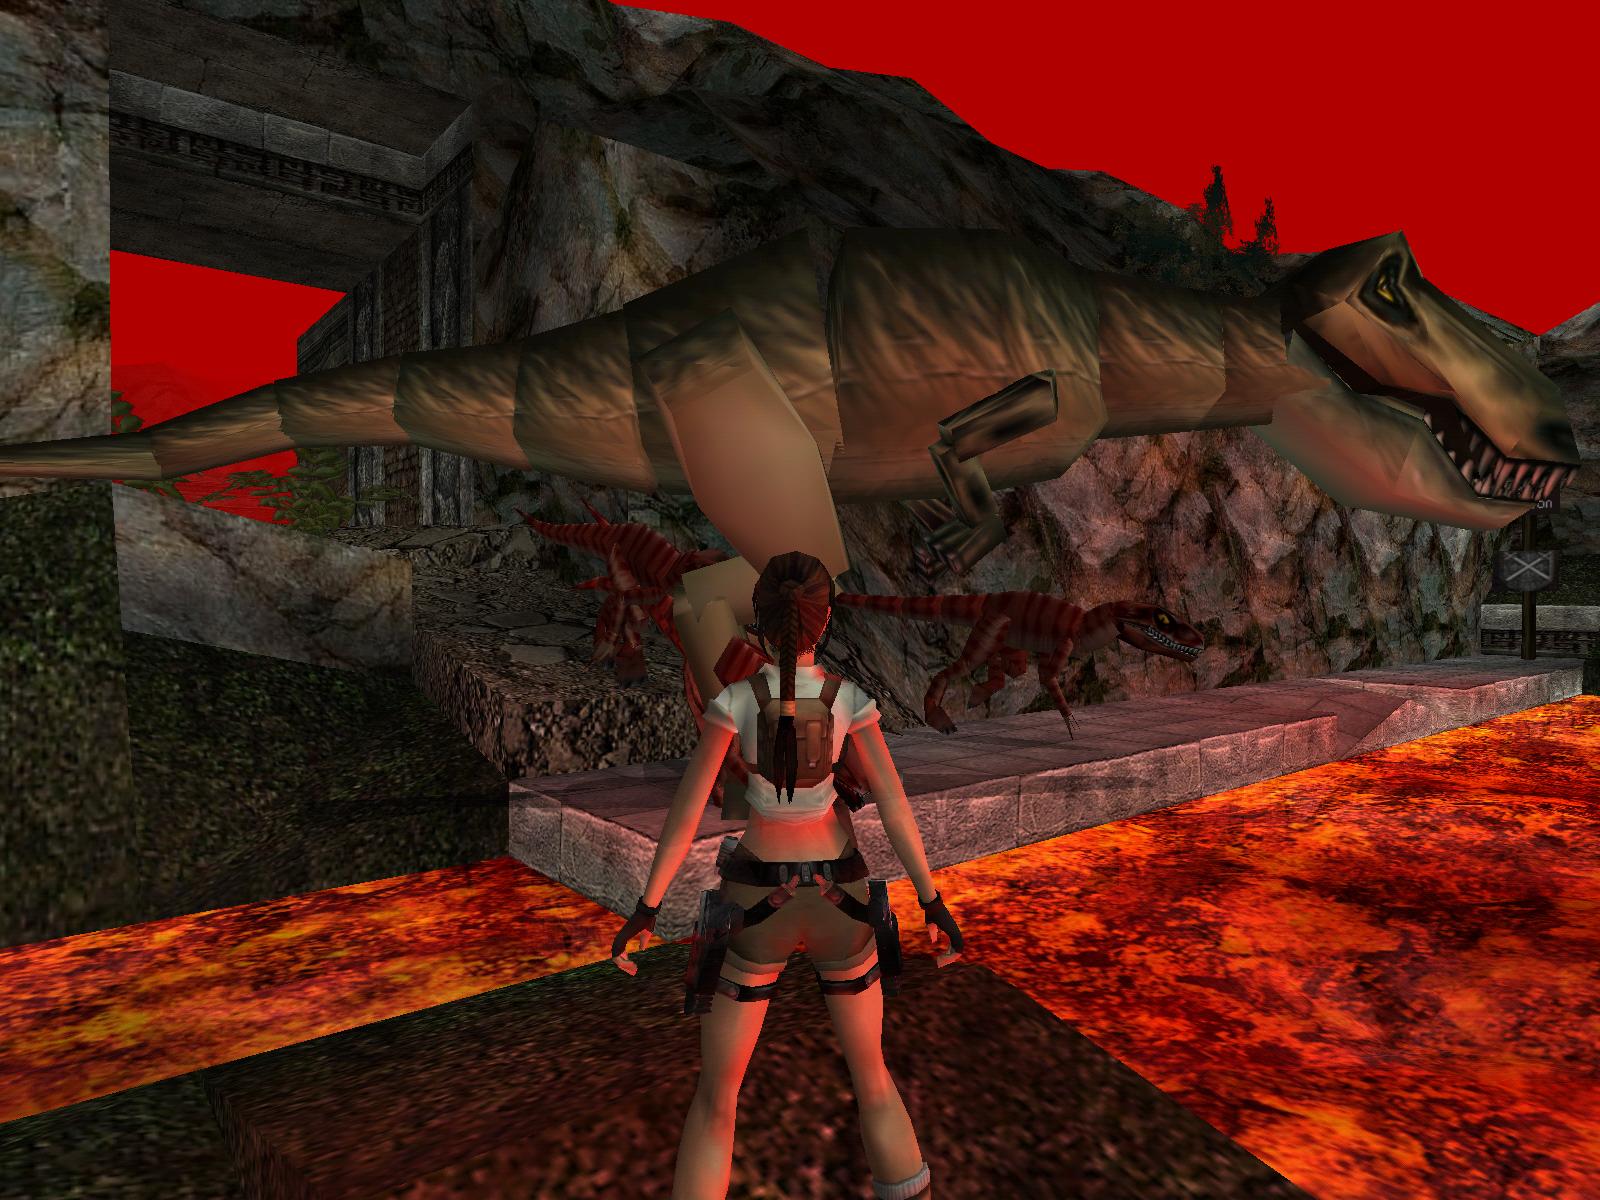
There is a dead T-Rex near a campfire. Go to the E wall and grab a Torch. Ignite it near the fire where the T-Rex is laying and get the fright of your life LOL
Torch Hopping.
Go SE and stand facing N, back flip and slide/jump onto the block and take a running jump S and light the first wall torch.
Runjump back onto the block. Now we are doing some pillar hopping as the next Torch is also at the same wall but way in the back SW. Take care as one jump or two is a bit nasty, the last one you have to jump around the lower ceiling. After igniting the second wall torch go to the ground floor and leave the Torch. The door halfway this wall opens up so jump in there and get to ledges jumping over a lava abyss.
Lava Canyon.
Half way there is a tile on your left, go there and look at the ceiling in the next room. Jump higher and higher and follow through and do some more ledge jumping. At the end is a jump lever E. Turn around and the door left down a bit has opened. Jump back to the previous pillar, jump down with Ctrl and follow through. At the end safety drop and the door W is open now, so jump all the ledges again, go straight and into that gate.
Watch the fly by
High Lava Room.
Jump to the pillar left and to the next, then there is a slide and a monkey climb, best way is to stand in the left corner and aim for the wall, jump over and up and crab the monkey climb. Get off and take a running jump and grab the pillar E. Shimmy left and jump up for another monkey climb. Then take a running jump S and shimmy left or right till you can stand safe again. Aim for the burning pillar SE and jump there so that you can grab the ledge and shimmy left and hoist up. Jump to the next one S, then face W and drop down to the ladder and climb down. Climb up at the corner and use the lever, then up the block that appears and climb back up. Now jump to the NW and then SW and at last to the S wall, up the monkey climb towards the lever.
The second Dragons Head.
Back to the monkey climb and make your way back to the N wall as there is a pillar that stopped burning. Then jump NE to the E wall and jump along that side to the ledge with the pedestal SE. Pick up the second Dragons Head and leave through the open gate.
Go to the left over the balcony.
Marooned - part three.
Follow through, through a crawlspace and drop down in the lava room. Go to the SW corner room again and pick up the Loch Key. This goes in the NE corner of the lava room. Slide down and watch the fly by.
4. The Loch.

 .Secret
4:
.Secret
4:
The first Skull.
Dive S into the Loch, swim to the E in a small channel and climb out on the left back. Take a running jump over to the other (S) side and pick up the Skull from the pedestal.
Back to the water and now swim W and climb out at a stone pier S. Follow through and dive into the small pool there. Swim to the end and end up in a cave.
Cave with the Lake, second Skull and the Shotgun.
Swim to the NW corner, get out and go NE and grab the Shotgun. Back to the water, now swim to the island and climb up E. Jump up to get the second Skull from inside. Go out and around the right, climb the block and get the small medipack.
The Fire Stone.
Swim back (SE) and climb out of the small pool and return to the Loch. Standing on the pier you can see a torch burning NW, go there and climb out. Follow through and kill some small dinos. Place the two skulls W, this will open up the gate above. Climb up and follow through and save at the slide. Slide down, sprint to the right (or left) and around the corner again, after the next corner you are safe. Follow through, left or right, take a running jump to grab the ledge and pick up the Fire Stone from the pedestal. Jump into the open gate on your left, follow through till you are almost to the boulder room but take a right, then when you are back at the boulder room the gate slams shut so follow through (right) and at the end the gate opens and you are back at the place where you placed the skulls.
Go to the lake and jump in the water and swim SE and go down to the building in the back left to place the Fire Stone. Enter and go to the big hall.
Hall.
Step on all the fours marked tiles in the corner, this opens a gate to the library in the E wall.
Library.
Go immediately to the right and use the lever there. Go up the stairs now and take a right, at the end is another lever. Go down the staircase and take a right, at the end is another narrow staircase. In the small downstairs room you can pick up the Shotgun Ammo and flip the lever in the alcove E, a gate opens in the Hall.
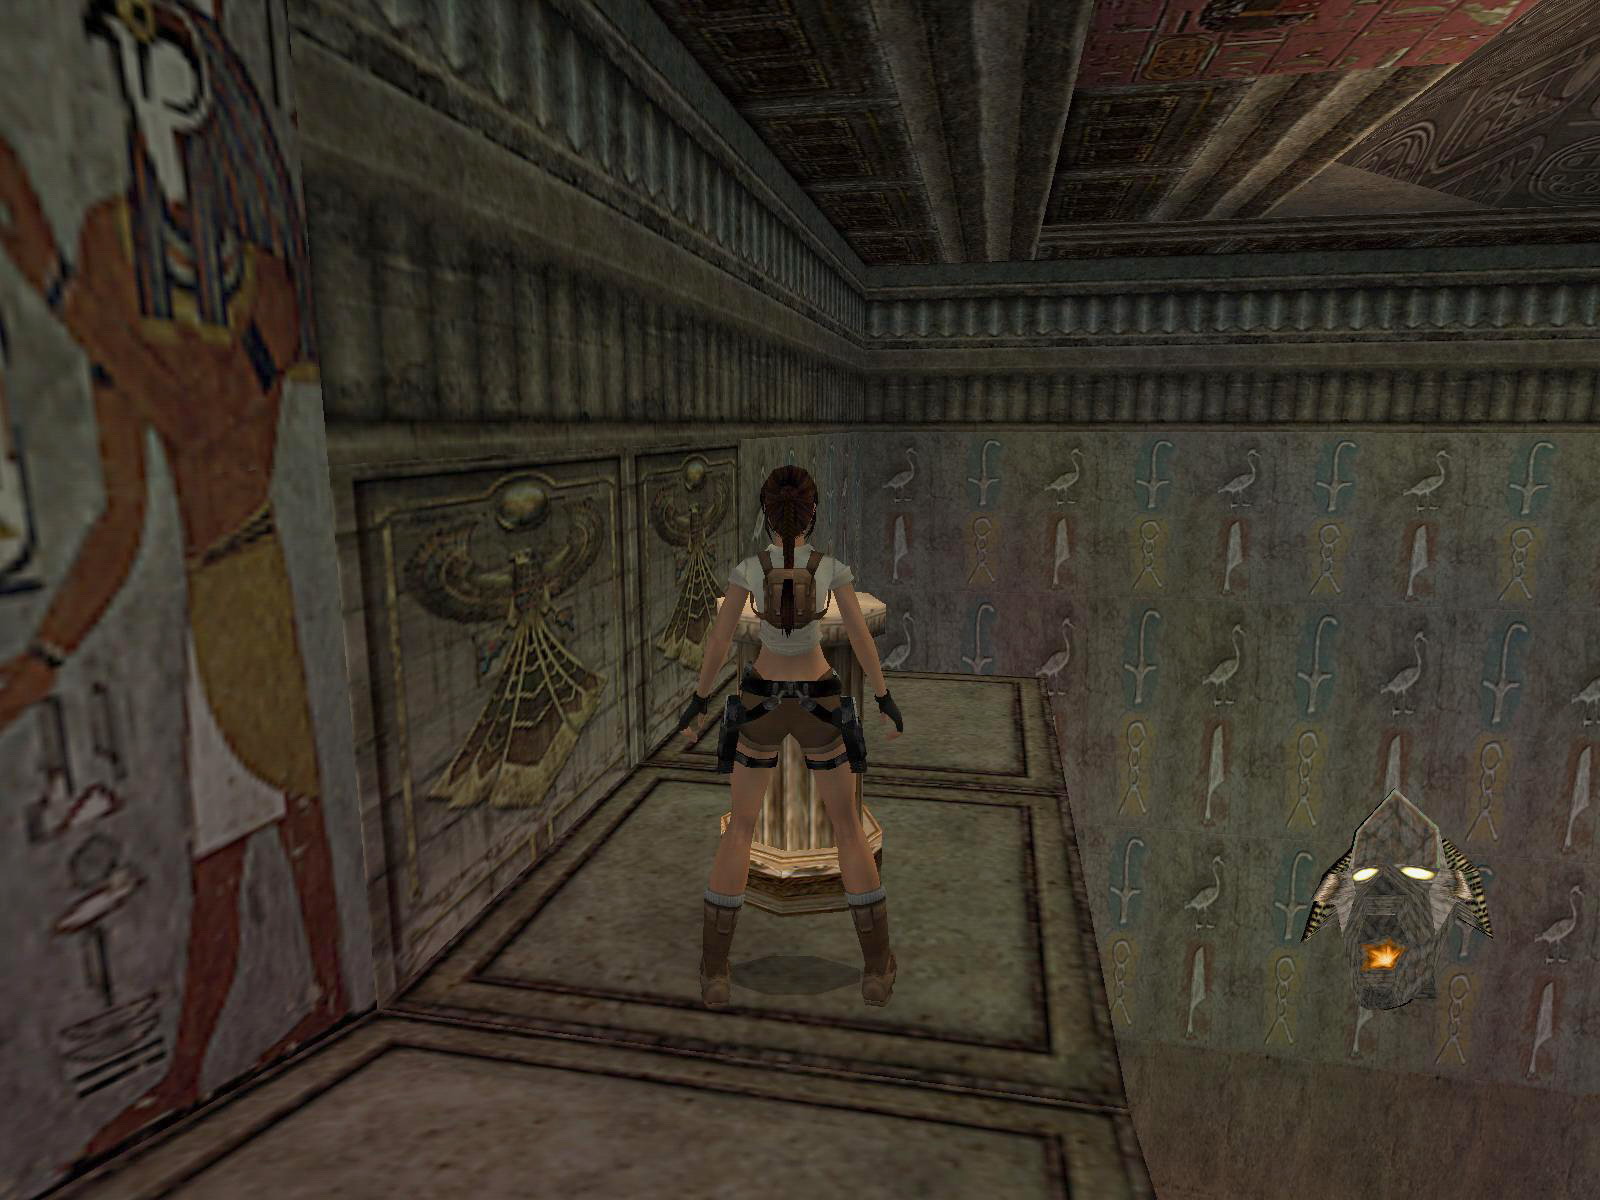
A Torch.
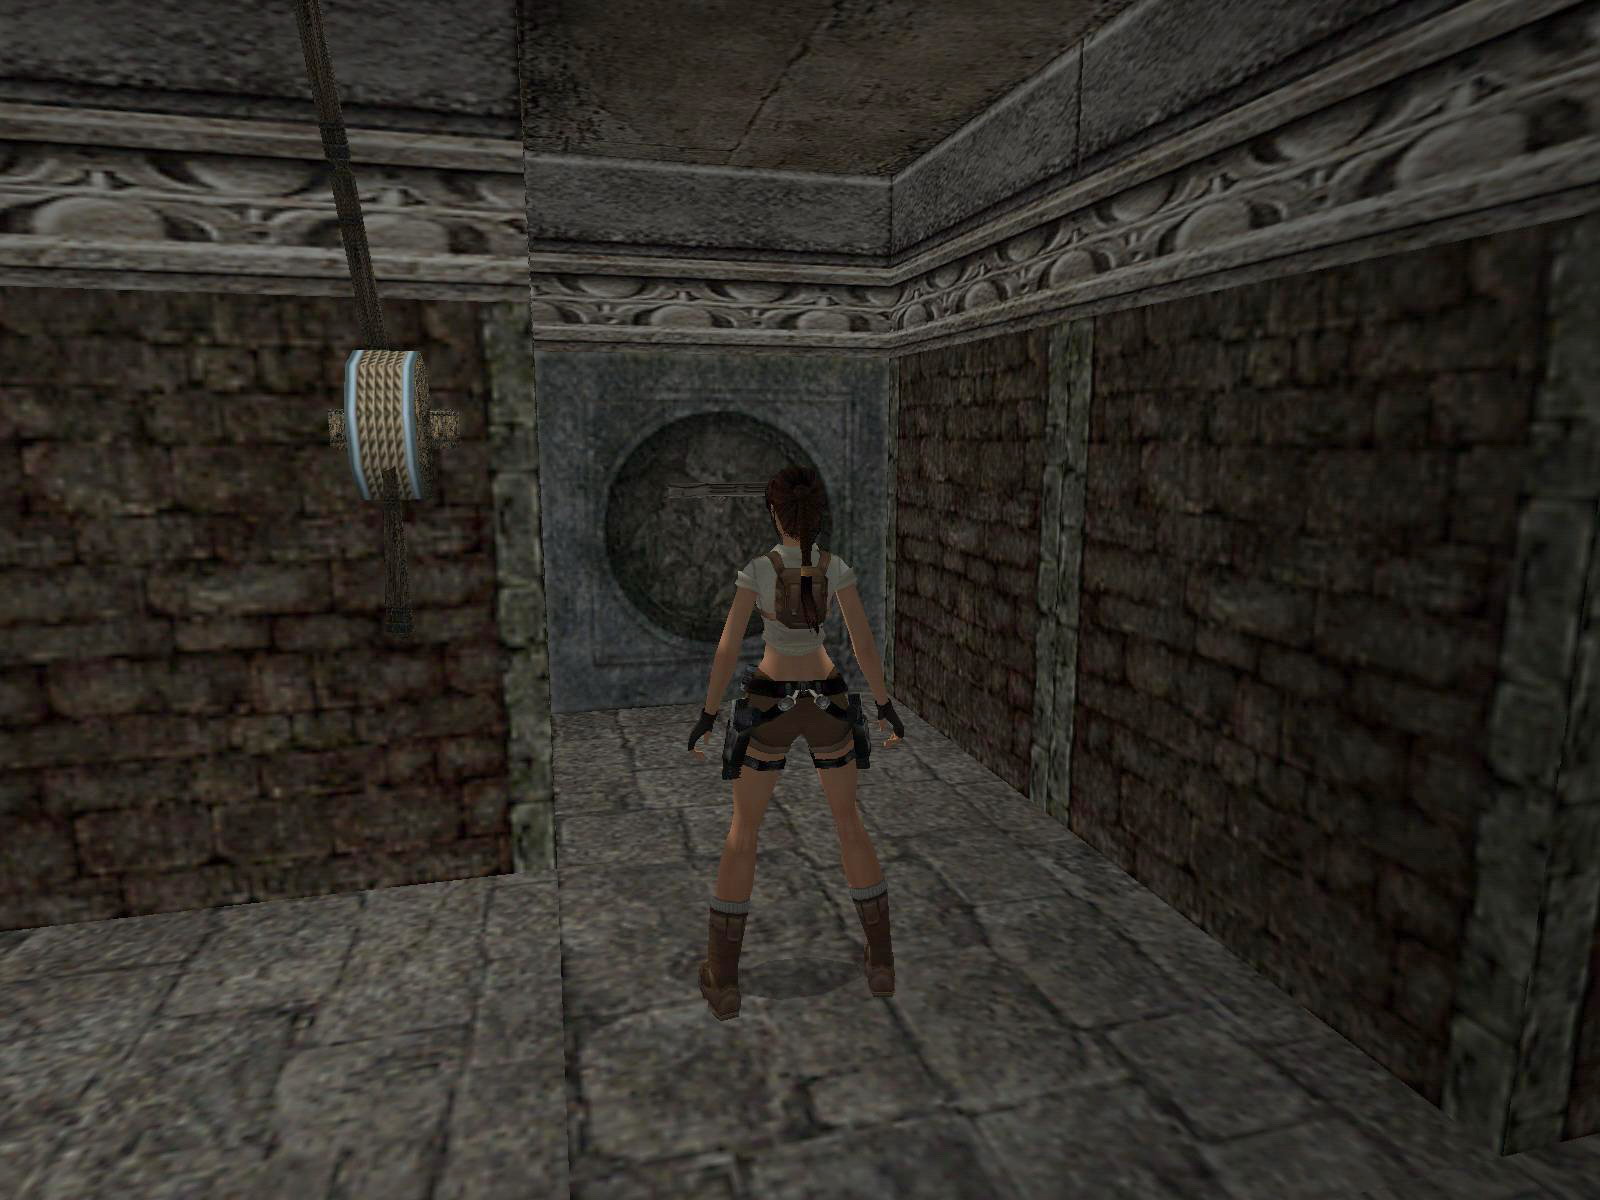
Notice the rope on the E wall before you go back up and back W to the Hall, the S side gate is open. E is a lever; watch the fly by, this only means some back tracking.
Go back and out the N opening, jump in the small pool and swim through, climb out N, near the wall torch and go into the opening.
Follow through and a gate will open. Run as fast as you can over the pool SE as that is a sort of safe place to get the Raptors.
Pick up the Shotgun ammo nearby, and go to the SE corner to find a block you can pull up on. Pull up even higher, jump to the other side and use the monkey swing to get to the tower in the middle. Pick up the Medipack and also a Torch. You can throw both of them down if you want, but keep an eye out where they fall.
Dropping Boulders.
A save way down is to get onto the monkey swing and let yourself drop in the small pool below. Now get the Torch and shoot the barrier N, jump over that pit onto the corner of the alcove and ignite the Torch carefully, just standing in front of it does the trick. Use it on the ropes in the corners of this place so that the three boulders can drop. This action opens the gate E, do take the Torch with you!! Get in, take a running jump over the lava and follow through, jump up, leave the Torch so you can pick it up again and use the lever S. Watch the fly by. Pick up the Torch and jump all the way up, be careful of the boulders though. The exit is in the NW corner; a door opens so now you can ignite that dangling rope you saw before. The opposite gate opens; this is SECRET #4, Explosive Arrows. You can leave the Torch now.
The Castle Key.
Go back up the staircase S, head back to the Hall and into the gate S. Get the Castle Key from the pedestal and watch the fly by. This means back to the Loch and into that small channel (where you picked up the first Skull) and jump over the banks to insert the Key on the Castle door. Get in and when you are looking down at a courtyard better jump up to grab the fire block to the right and shimmy to get some Shotgun ammo. To the other side is a small medipack.
Now shimmy back to the middle and do a safety drop down onto the slanted block and slide down.
Go into the opening left (NE) take 3 hops back and sprint down to jump out as a boulder is coming down onto a trapdoor. Drop down into the open trapdoor, go into the room and jump on both marked tiles near the hole with lave deep down below. The gate NW opens.
Timed Gates.
Follow through and use the TIMED lever in here.
The gate it opens is back and on the other side to the right (SE). Shoot the Raptor and use the Timed lever, this opens the gate opposite. The same story with this timed lever, this one also opens the door opposite on the left.
Again a timed lever in here, this one opens the last gate in the S wall. The next gate opens when you approach.
5. The Castle.


 .Secret 5:
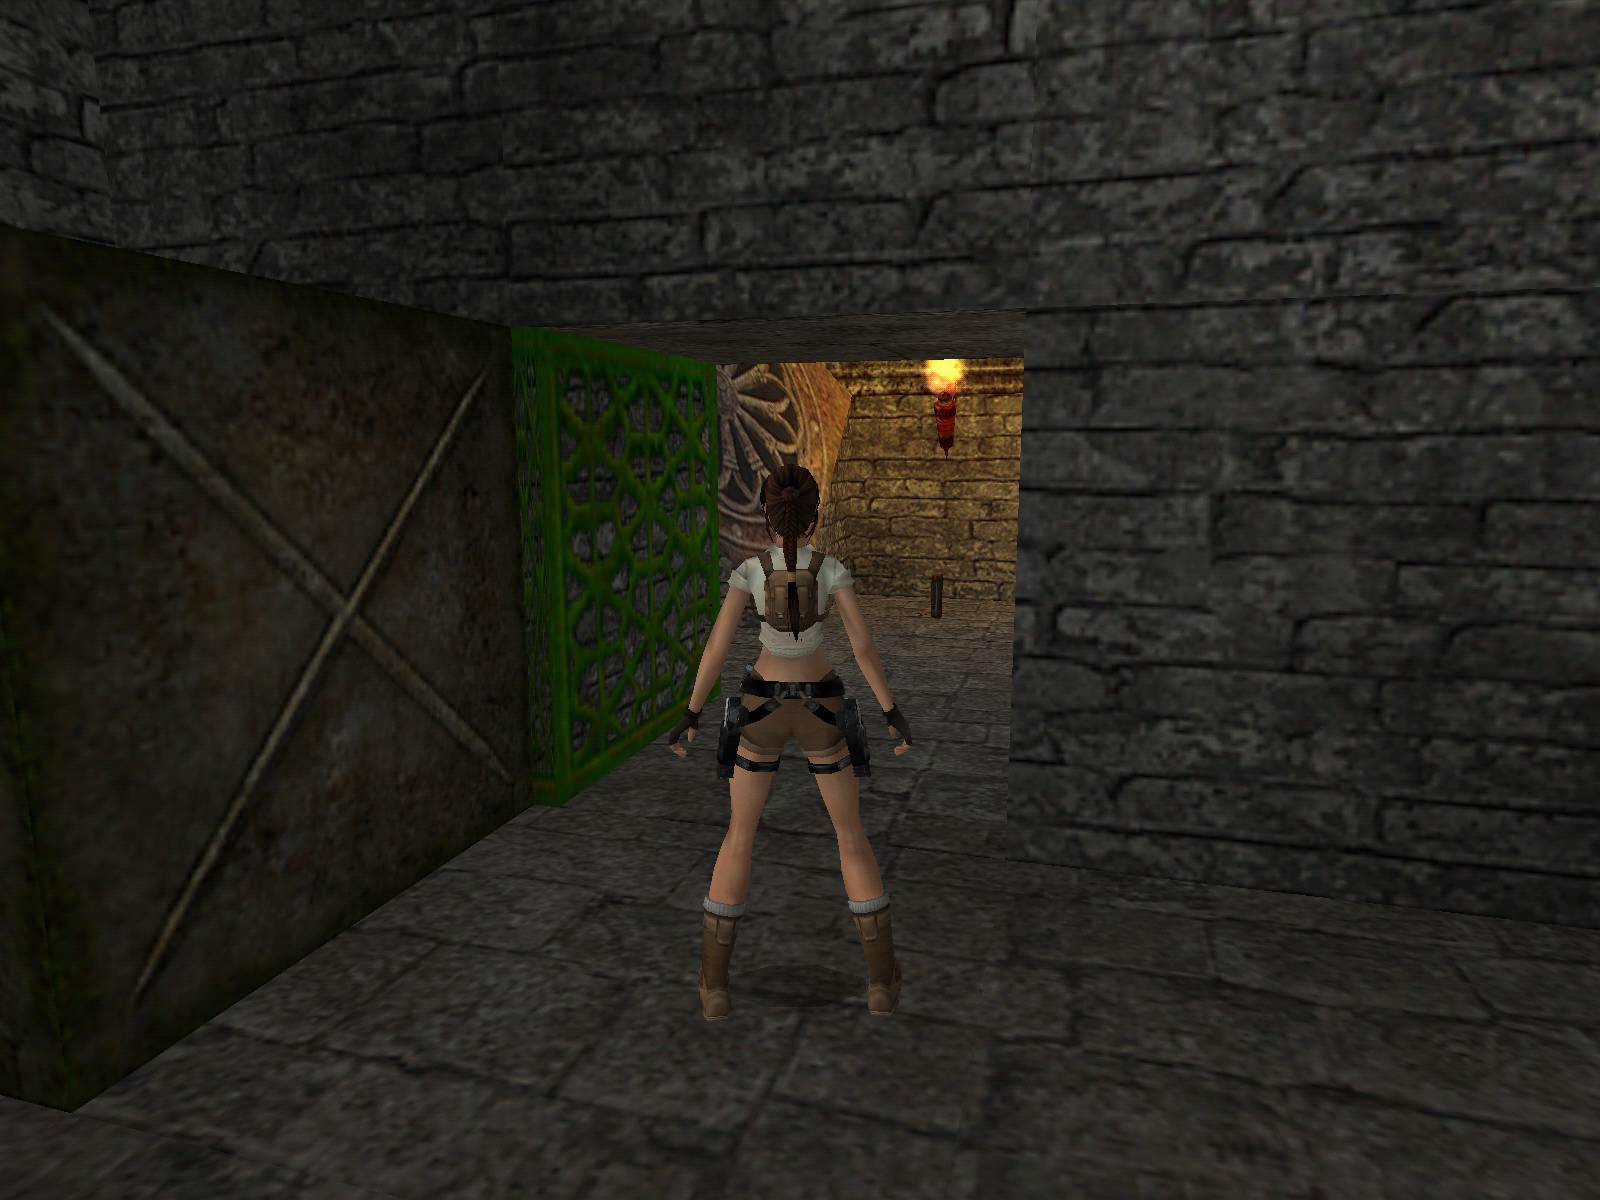
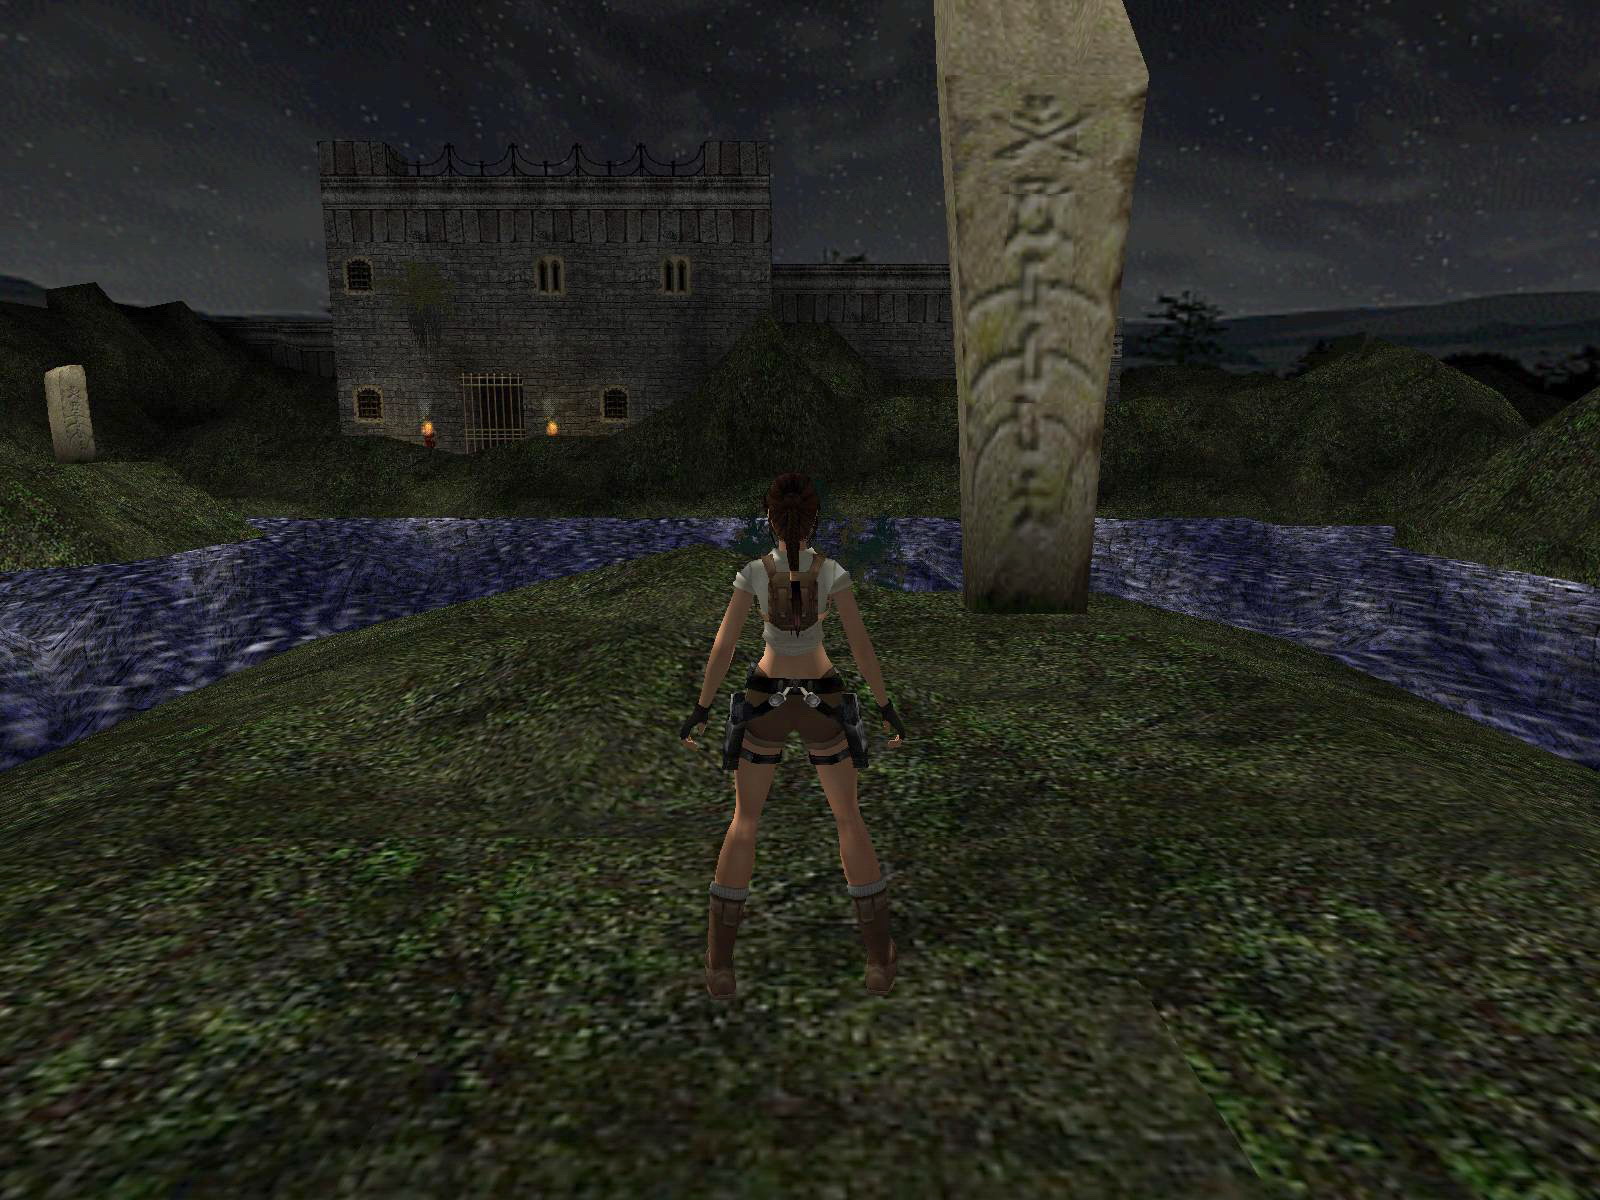
Lara arrives in some shallow water, swim to the other side and climb out, the door should open. Follow through and watch the fly by.
Go around the corner and jump W, the area near the W wall has some small dinos and a door that needs the Crowbar to open up.
Get a Medipack, Shotgun Ammo and Flares inside and leave.
The Skull, the first Fire Stone.
For now descend the staircase N, behind the block with the receptacle (left one) is a lever. This fills the second pool and also the guide turns up again. For now just follow the guide, and he walks to the huge pit E, take a running jump to the pillar there after he's done. Pick up the Skull and make your way down to the bottom and place the Skull next to the gate N. Enter and at the end take a running jump into the pool way down. Get out, shoot some small dino's and go NE, pick up the Fire Stone and get to the ladder on the N wall a bit back. Once on top jump first to the W pillar, there is a jump lever behind it. Jump back (E) and start jumping from pillar to pillar and when you are at the E wall, there is another jump lever behind the pillar, you'll see the gate opening up. Jump to the pillar S.
Now line up for the jump W and take the running jump holding grab to the safe corner next to the fire bowl, better drop and shimmy your way passing the fire bowl, so you wont burn Lara. Get back to the tower and over into the gate on other side for SECRET #5, Explosive Arrows. Then climb the tower and jump to grab one of the corner pillars (NE-NW).
Another Skull.
Go back down the stairs W and jump in the water. Climb into the SE opening, jump into the pool there and swim through N and up.
At the lava pool N jump to one of the sides, grab the edge and shimmy to the end, back flip and use the jump lever on this small balcony. Jump back to the side and back flip/turn with a curve to get on solid grounds again. The gate S is open, go inside and pick up another Skull. Back to the water and swim up, out of this room W to the next pool, swim across and head S up the stairs.
Lava Basements.
Place the Skull N (NE) and the door right (E) opens. Look down into the opening and lower yourself on that block in the lava field. Now we are going for some fun jumping. Take a running jump and grab to the first block on the right, hoist up, slide/jump and again and grab the next block, which is save.
Stand all the way to the left and take a running jump (no Ctrl) and keep sliding and jumping to the last block, jump up to catch the jump lever between the plant on the wall. Climb on the raised block climb up into the same cave you might say. But it is not, go E and get a Medipack around the corner left, and leave S. Avoid the boulder on the ramp, and jump down into a big cave area.
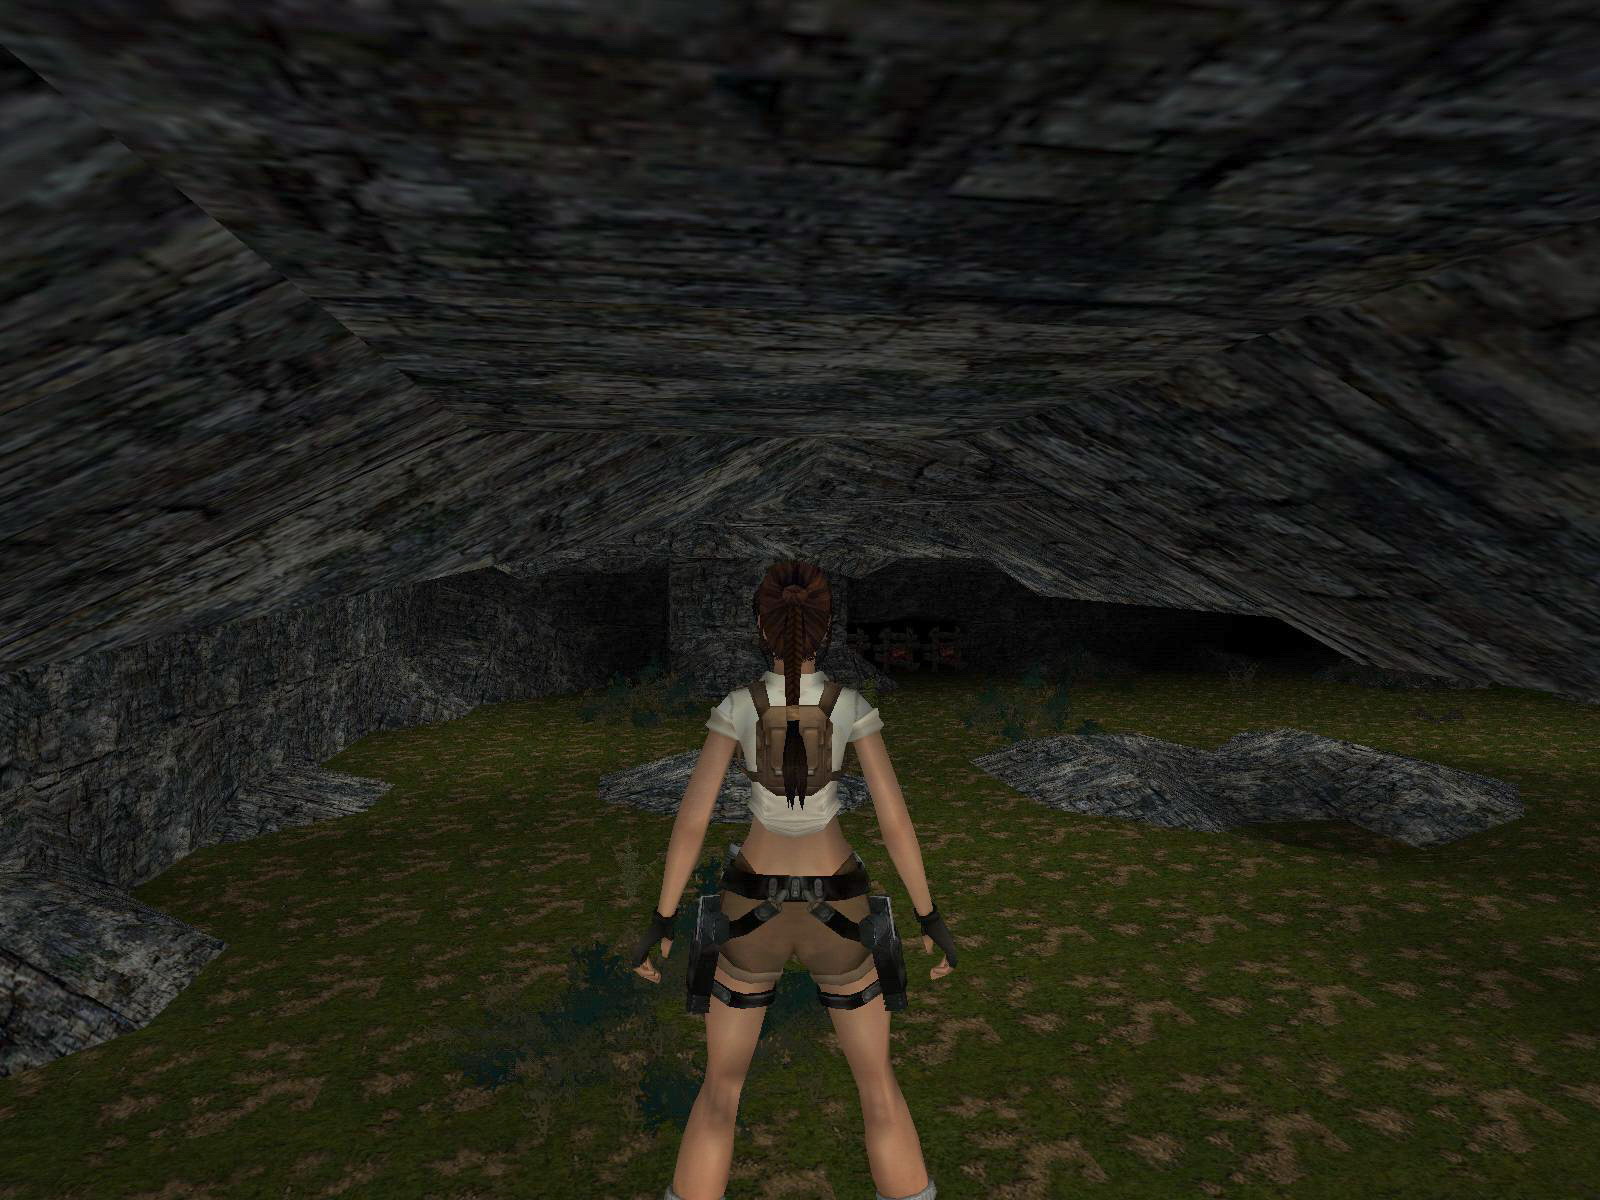
Big Dark Cave, second Fire Stone.
Shoot the barriers S and go in, careful as a herd of Raptors are trying to eat Lara. Keep going down and jump the pit to get the second Fire Stone and watch the cut scene. So go back up again and in the cave go left (W) into the gate you just opened. Follow through and you end up at the start of this level. So get in the open gate, jump to the W and go down the stairs to place the Fire Stones. Enter and on the back of the last pillar is a jump switch, climb on the block that appears in the middle of the room and jump to one of the ledges on the side.
High Pillar Jumps, the third Dragons Head.
Go N and take a running jump/grab to the first pillar, face W and climb down the ladder. Then jump S and use the jump lever, jump back and climb back up.
Running jump and grab the slide, slide jumps to the ledge where the spikes were.
Now aim for that slanted pillar NW and keep jumping and try to slide backwards from the last slope and shimmy all the way left (or right). Take a back flip and you end up in a corner of the burning tile and no harm is done. There is even some water in this alcove in case you are ablaze.
Jump N and then to the ledge with the closed gate W. Go from there to the S and to the pillar with the box.
Push the box on both marked tiles (you can shimmy past the block) and the gate N opens, leave the ladder for now and go N. Use the jump lever in there and go back to the ledge with the push block and climb down the W side. Jump N and then to the next and a running jump to grab the ledge in front of the open door. Watch out because there is a boulder waiting to smash Lara, take two jumps backwards and sprint back around the corner. Follow through and at a junction go straight and around the corner get the third Dragons Head.
The door you hear opening is just around the corner left (E wall).
Marooned - part four.
Continue and use the monkey climb to the left and drop down to the floor. Go to the SW and pick up the last artefact, Temple of Fire Key.
Go back out and use it just around the right hand corner in this room. Slide down into...
6. The Temple of Fire.
 .Secret
6:
.Secret
6:
Lava Fountains, Wraith Pool.
Enter and use the lever on the W wall, go into the gate E, to the Black Labyrinth. There is just one room you have to go and that is straight and take the last opening left. Flip the lever there and out again to the Lava Fountains. Climb the block that appeared and monkey swing to the other side. Keep going sort of straight to a pool. Watch out.. in this pool are wraiths.
Jump in and on the first underwater ledge in the NW corner is a small medipack.
NE is a marked tile and above it is an underwater lever on the pillar. Get some air and dive again, deeper this time and find the dragon statue NW, behind it is an opening and in the opening facing S is another underwater lever. Surface to get air and now dive W for that trapdoor from the cut scene. Swim in and follow through. Climb out and jump up S and watch the fly by, ending with a view of the next Dragon Head.
High Labyrinth.
Go all the way to the W wall and stand behind the guide. Lara can then climb the block he raised. Jump SE, SE, NE, then go N, around the right hand corner down on the roof E and from there SE, S, E, look down NE for a small medipack, stand with your back to the wall and take a jump with Ctrl to get there. Now back to the pillar and jump NE and up. On the pillar (W) is a jump lever. Jump down SW, and back W and turn right to jump into the higher opening up N. Take a running jump up (no Ctrl) NE.
Now jump N, then down NE (no Ctrl) behind the pillar and N again to the ledge along the wall, head W and follow through, jump up to the opening S in the end and right around the corner there is a lever.
Jump back to the ledge N and jump SE at the end of this ledge, climb up E and use another lever. Cut scene of a trapdoor.
Jump NE follow through and look down S near the end of the ledge. Jump into that water hole, that is the easiest way. All it takes is to back up against the wall and just run down.
A Torch.
Don't swim the tunnel, but climb out, climb up S again and head W towards the guide and find near him an opening in the N wall (could be he is still standing at the block, just go N from there), jump through the opening in the wall, and go left and find the open trapdoor.
Jump in and jump W, then make your way down carefully to the E. SW are Torches, pick one up and ignite it on the wall torch E throw it on the marked tile you see W, keep going and when you reach some water right, go left.
At the end hoist up W. Draw your guns as Raptors roam this corridors. Jump over an opening in the floor and enter the room on your left.
Wraith Run, the Fire Stone key.
A raptor guards this place and there is a jump lever when you come in on the left around the corner (S wall). Go back and jump into the opening in the floor and find that open gate W. Stand on the NW corner of the small lava pool. Face S standing at the edge and jump/grab the short pole and swing to a block at the end. Jump to the one left (E), this also raises a trapdoor N. This time take a running jump to the next pole and swing N. Try not to swing around the poles as the trapdoor is timed.
Pick up the Fire Stone Key from the pedestal W.
Back down to the floor and out of the room (E) keep going straight and find the receptacle for the stone on your left, just past that small pool of water. Inside the alcove behind the block that lowered is a lever, this raises the block on which the Torch is. Back to the W and left at the pool and climb up again, shoot another Raptor and follow through to get the Torch E. Go with the Torch into the room where you used the Jumpswitch and ignite the middle tile on the first step N, you can throw the Torch away. Save and pick up the Fire Stone, this also awakens loads of fire wraiths. Sprint out, right and down through the opening in the floor, turn and go E and left to the water, keep jumping up and down in the water till all the wraith are gone. Go to the E and climb back up in the corner near the burning wall torch. Jump E then turn around and to the next ledge W, jump over the ledges to the end, turn around and jump to the open trapdoor, climb up there. Jump back through the opening S. In the W is a door and the receptacle for the Gem.
Spikes, Burners and Jumps.
Once inside a block raises N, climb up and turn and jump to the ledge S, go towards the emitter N and jump on it, immediately hang and shimmy to a corner so it will not burn you. The first spikes are lowered. Jump back and get on the block where the spikes were, turn around and jump/grab the burning ledge and shimmy around till you are save. Face NW and take a running jump with slides a couple of times till you are in the NW corner. Now take a running jump S, the spikes are gone, standing on that marked tile, raises a block E behind the burning one. Go there (2 standjumps) and climb the block, face N and jump/grab over to the sloped ledge, pull up and jump/roll and grab the ledge behind. Shimmy to safety and a block will go up where the emitter was.
Time the emitter and jump up and a running jump plus grab to the E.
Top of the Room, the fourth Dragons Head.
You are now on top of the room, go right and to the left past that statue and take a running jump to the sloped pillar E. Slide and jump to the opening in front and run out S down onto a pillar there. Turn and jump with a grab down N. Look NE and take a running jump (no Ctrl) onto the ledge, next is to SE corner, same level. Jump down N and go E, you are looking down to the lava fountain.
Next jump is up to the SE, than into the opening SW. Climb up N, at the end of this ledge jump to the other side (E) just dont grab the artefact from the pedestal just yet.
Go to the SE corner and jump (or run) into the opening SE, jump up S and grab that Medipack, turn around take one step from the edge and jump/grab back and now you finally get the fourth Dragons Head.
Back to the Lava Fountains.
This lowers a trapdoor NE, so now you can climb the ladder there. At the top shimmy around the corner, jump N to the lower ledge and climb the blocks E. Crawl in and through and end up on the stone bridge over the first room. A gate S opens, go there and when you are one step inside a block raises right at the end of the stone bridge.
Go over the bridge and jump on that block and from there to the opening W.
Around the corner left is a lever on the wall, go out and jump to the block again and down to the ground floor. Back to the green door straight E and into the Black Labyrinth, take the second left into the middle room, there is a block there you can now climb.
Jump/grab up W and walk to the end, look left and jump SW on the ledge a little higher, turn around and another jump up (N). Next one is NE, SE, again SE, then NE and the last one is SW for SECRET #6, Explosive Arrows.
Jump back to the ledges till you think you can make a safety drop down to the bottom. Go back out and climb the blocs to get into the opening W. Use the Crowbar on the door and follow through.
Marooned - part five.
Follow through and drop down and now you can place the 4 Dragon Heads at their receptacles S. Slide down...
7. The Lake of Fire.


Map: 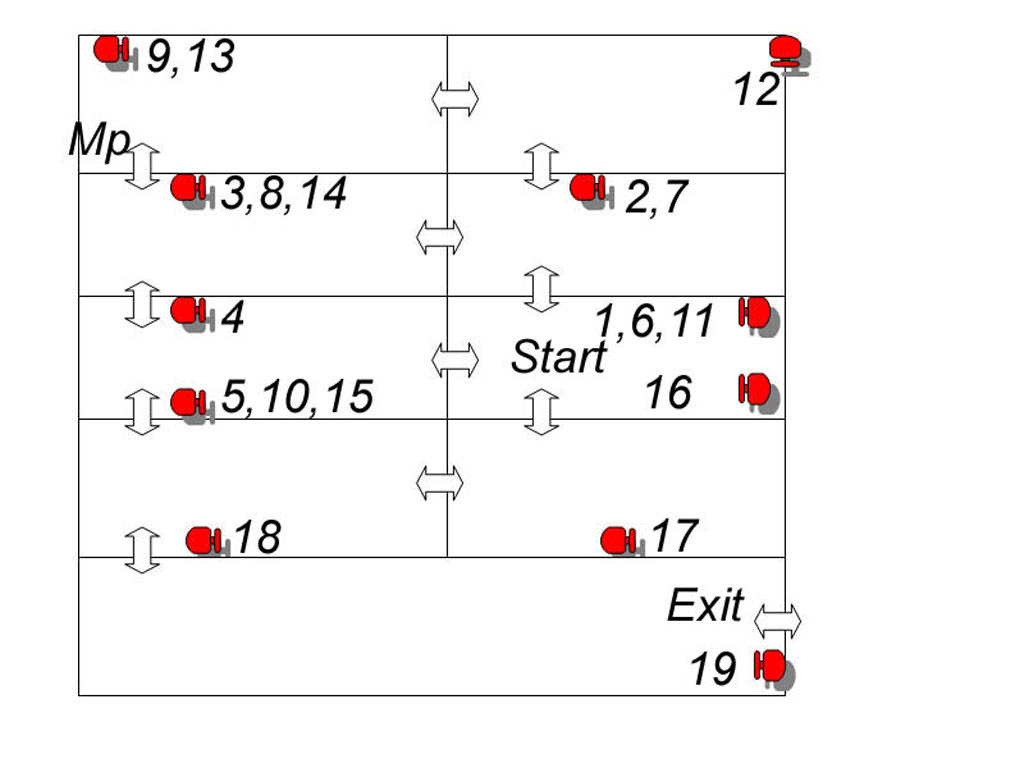
Go through the creaky door and end up at a huge lava lake, stand on the E side of the small lava pool and face W. Look down in the pool and see an opening in the bottom, hop back once and stand jump in there to swim down and follow till you see S the opening ahead, turn to the right there and find an underwater lever S (it raises a block in the next room)
Climb out of the water and follow through, climb the block and climb up the ladder E.
Creaky Door Puzzle.
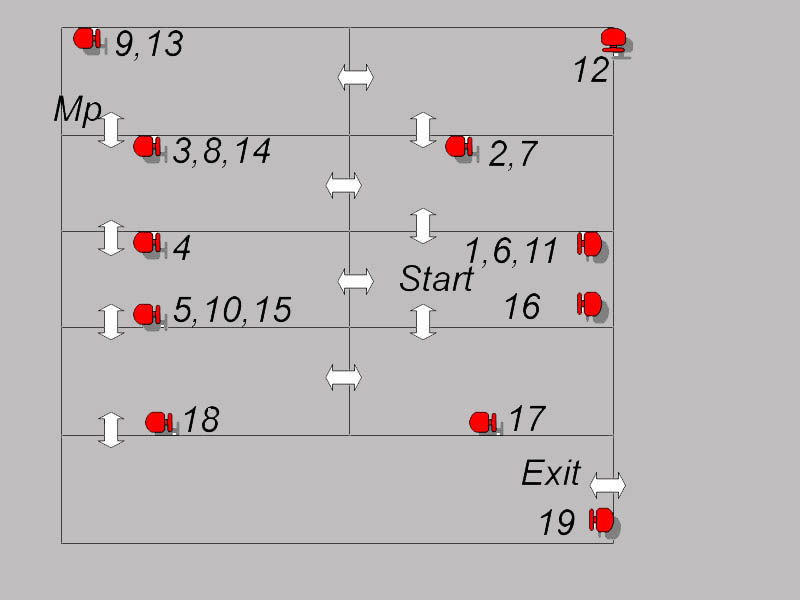
You are in the creaky door area. Save here and pay attention. There are no timed runs but doors close after you have been through them. Be sure to have a look through the gratings so you can see what is going on after using a lever.
For those who want to number the rooms, left to right 1-4 and the rooms behind these (facing W) are from 5-8. The start room where you came up the ladder is room # 3.
Room # 3. The start of this puzzle is the start room.
Face E and pull the left hand lever down.
Turn around and go through the open door right (N) to #2.
Room #2. There is only one lever in here so pull it down.
The door straight ahead (W) opens.
Room #7. In here on the right is also one lever, pull it down.
The door left (S) a bit further opens to #6.
Room #6. Go left and there are two levers here. Pull them both down.
Go E and you are back in the start room #3.
Room # 3. Pull the left hand lever in the up position, go through the door on the right (N) again to #2.
Room #2. Push the lever in this room in the up position and go W.
Room # 7. Leave the lever in the down position just go through the door right (N) to #8.
Room #8. In the SW corner of this room should be a small medipack. Pull the lever in this room down. Go back through the door to the previous room #7.
Room #7. Pull the lever up and leave left (S) to #6.
Room # 6. Only pull up the left hand lever. Go E to the start room.
Room #3. Pull the left hand lever down. Go right (N) again.
Room # 2. Go straight through to the next room N - #1
Room #1. Pull the lever down and into open door W to #8.
Room # 8. Pull the lever back up. Go in the door S to #7
Room # 7. Pull lever down and go S to the #6 room.
Room # 6. Pull left hand lever down and go E to the start room once more.
Room # 3. Now pull the right hand lever down. Door to the left (S) should be open.
Room #4. There is one lever, pull it down. The door W is open.
Room # 5. Walk through this and through the door left
Side passage. Pull the lever down and continue E all the way to room #1.
The Gate. The gate will open when you approach.
Jump to the pillar and get the Dragons Head. Then jump S to the statue and then W, down with a grab to the block that has been raised and then drop to ground floor.
Go towards the lava lake and jump over the raised blocks to the island. Go to the back and run over the tile there, more blocks in the lava see will raise. Jump over them to the E and in the back of this room you can pick up six boxes of Shotgun ammo along the E wall.
The Torch.
Climb on the nearby block and jump up E. Once up grab the monkey climb and follow it to the end, Hang on the ledge and shimmy left, hoist up and get the Torch from the pedestal there. Jump to the floor, back on the block and take a standing jump W and slide/jump (with the Torch) to the ledge with the fire. Ignite the Torch and drop down to the ground floor. Use the burning torch on the wall torch N, the gate next to it opens. Throw the Torch down.
Dont dillydally as a Raptor is in there. Pick up the Torch again and go in, go straight (N) and at an intersection go left, keep to the right and jump up twice, then to the opening right, shoot the Raptor and go further. In the N is a Medipack. Retrace your steps a bit and on the left you take a couple of running jumps over lava pits, for the first jump you have to stand back one step from the edge and hop back to runjump over. There are a couple of Raptors here so be aware. Follow through, passing a shallow pool, go to the right (W), at the end jump over a passage, and jump on the block in the end. Jump to a block higher E and a standing jump to the ledge SW. Jump W and jump up, light the wall torch and see a creaky door opening up. Drop down to the ground floor and retrace your steps, When you come over the opening over a passage, jump down. Go sort of straight E and shoot another raptor.
Pick up the second Dragons Head and see more blocks rise in the lava lake. Pick up the Medipack S, go back W and take the first corridor to the left (S). Jump back to the Island and then over the blocks S to a grassy ledge. Jump over and across (E). Then jump to the small islands that are sticking out of this lava lake. When you are almost SE a fly by kicks in and you see the guide running towards you.
Raptor Battle.
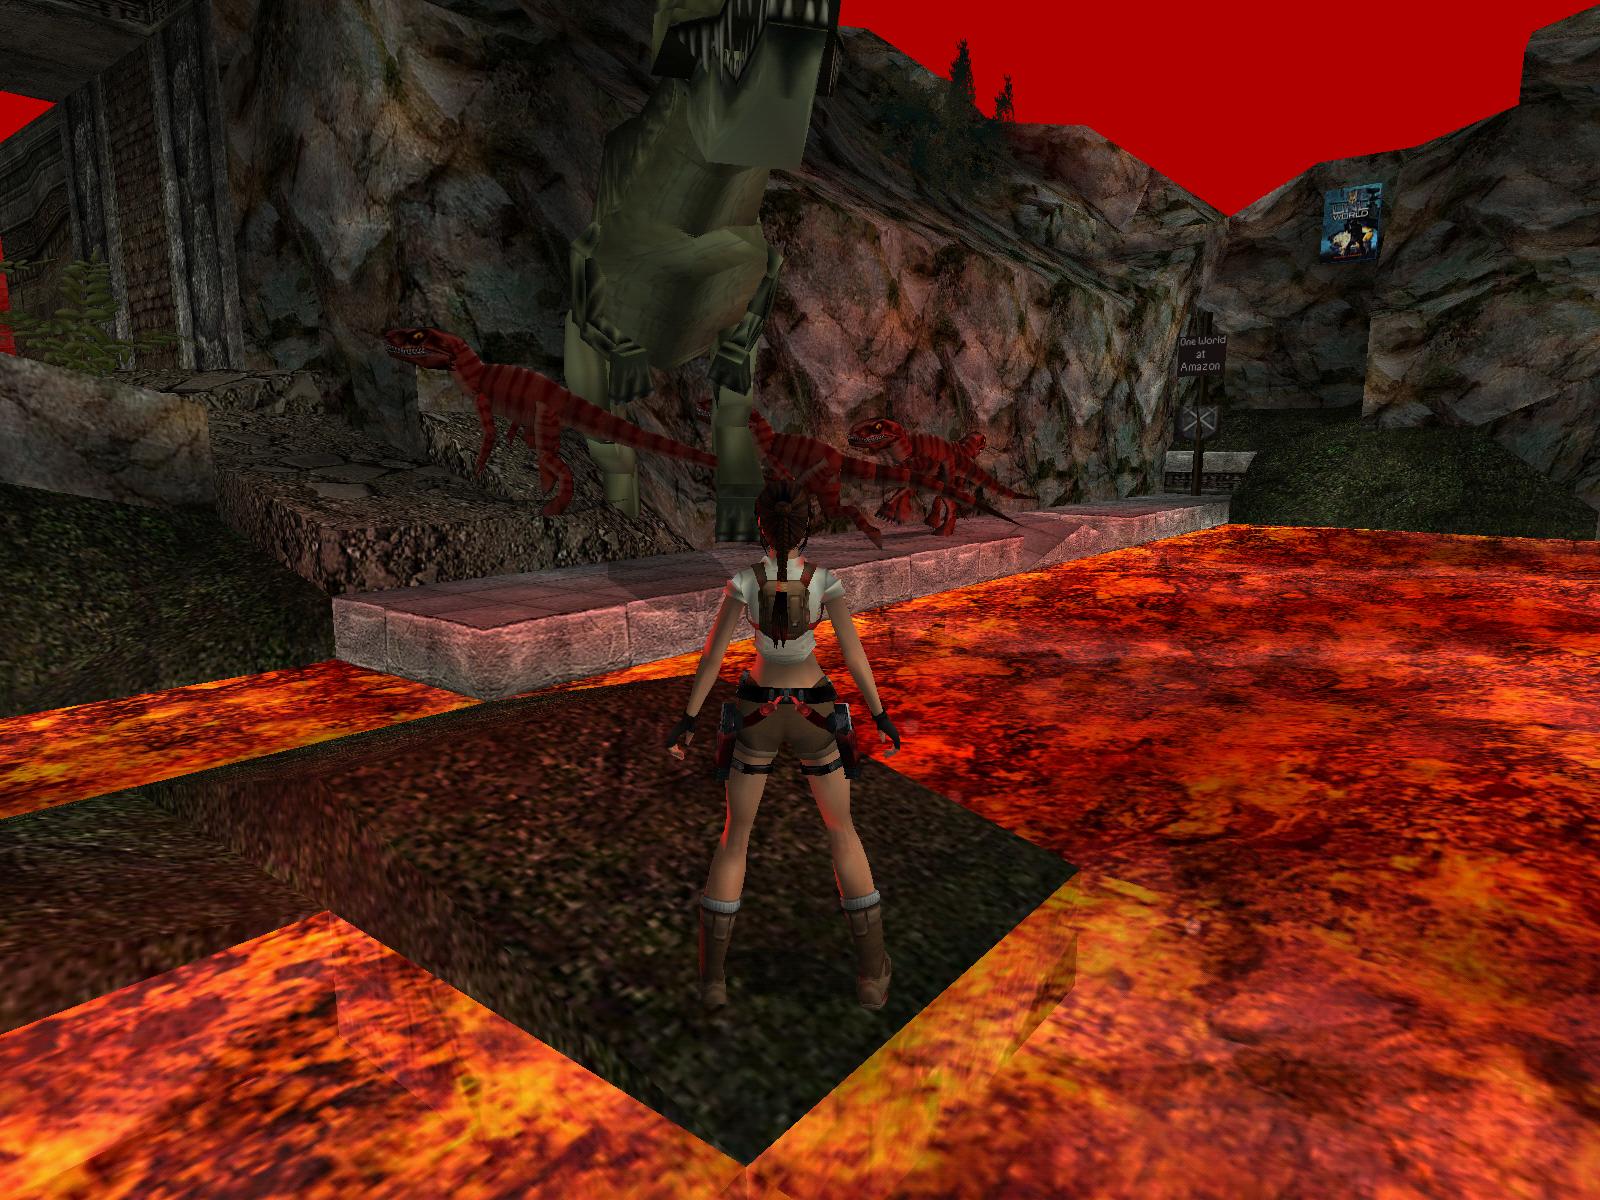
Go S, where the guide came from and find out why you found so much shotgun ammo. There's no need to kill that T-Rex as some raptors will do that for you as soon as you've set them free.
Run E, then left to the big doors N and flip the lever on the left to open these doors and set the raptors free. Run away to lure the raptors away and then sprint back into that opened area N, try to use the lever in the SE corner of this new area. By now the T-Rex should be killed by the raptors and you can take out the raptors. That last lever opened the big doors S. Enter and on the left is the last Dragons Head and on the other side a Medipack.
Go back to the lava lake and jump back N to the central island and place all the Dragons Heads.
A block appears, climb up and get the Flashback.
Read: Thanks for playing.
I hope youve enjoyed Flashback as much as I enjoyed building it.
Have a great day! George.
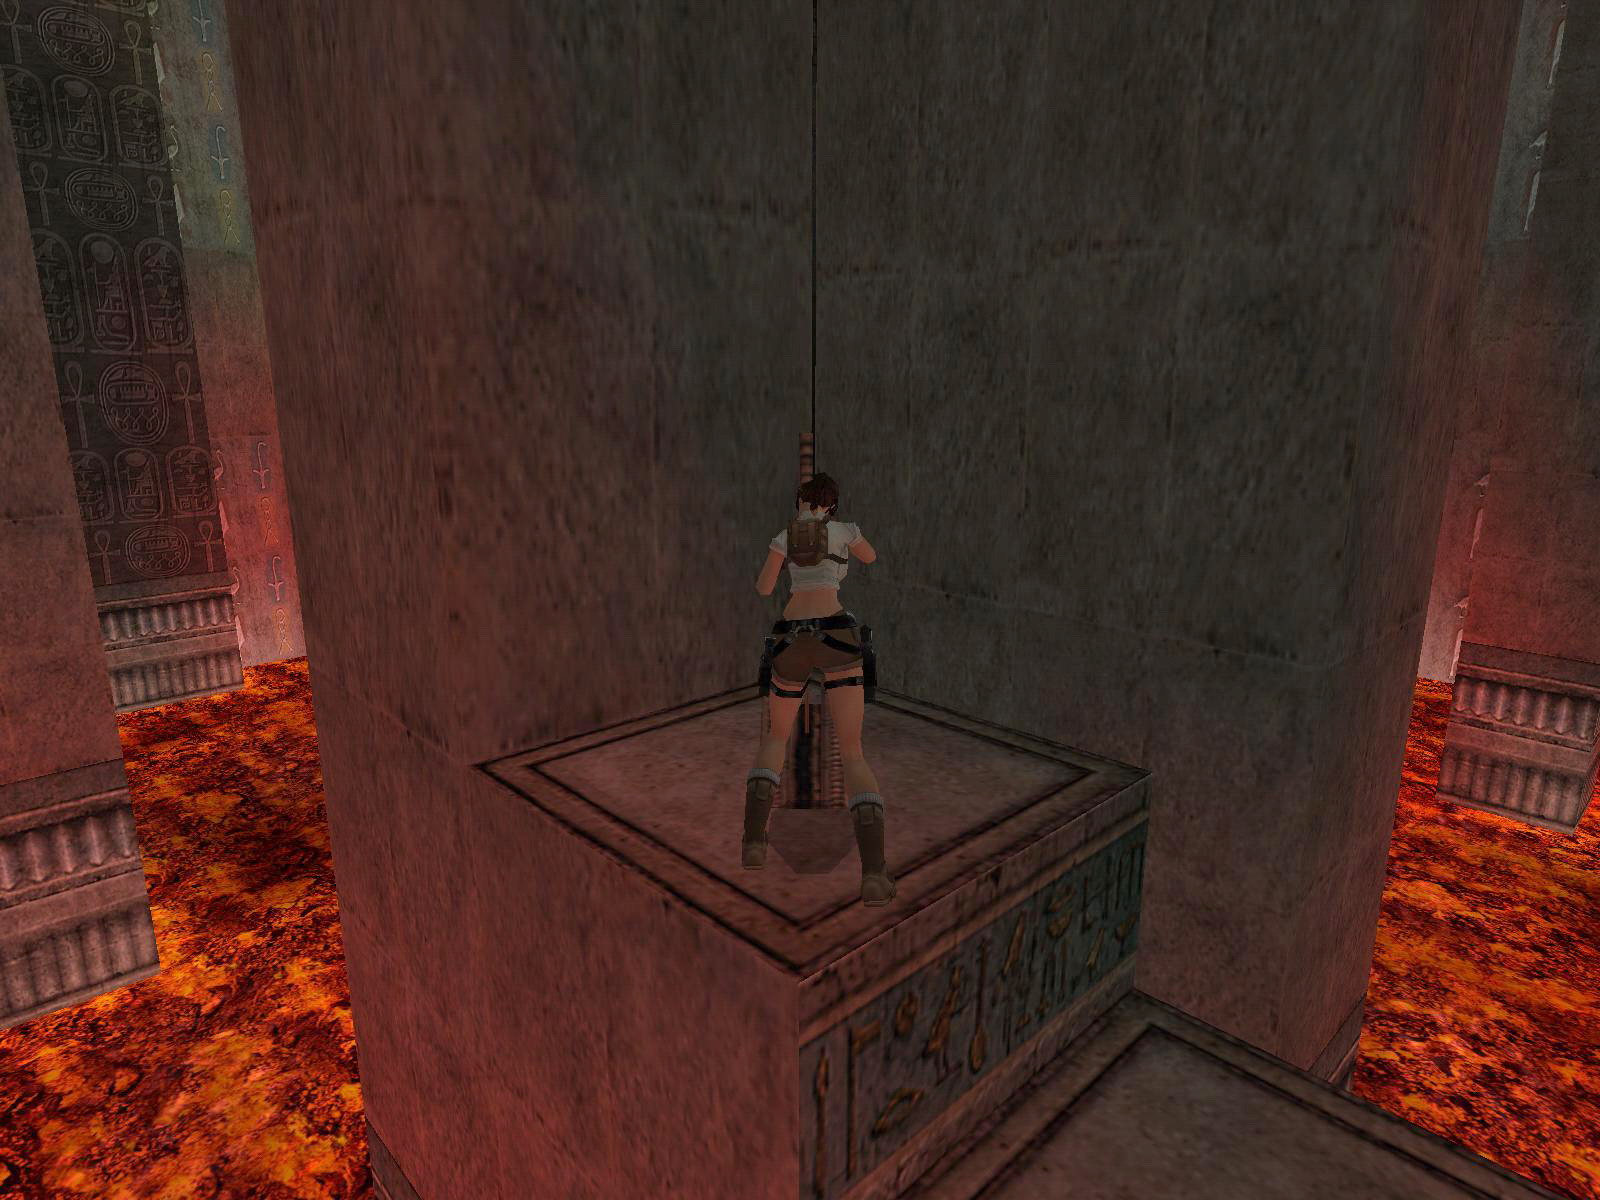
Jump down and the gate N is open so over the bridge and use the zip line to the end... (better not wave that guide goodbye)
27-02-2008
Unauthorized
walk by Dutchy ![]()
Az oldalon közölt képek, a szöveges tartalom, illetve minden sajátkészítésû anyag, a © TR Editor.hu tulajdonát képezi. Azokat semmilyen formában nem lehet reprodukálni, másolni, terjeszteni, csak a szerkesztõség engedélyével.