
TR Forge Advent Calendar 2010 - Curse of Winter
Author: Codo, Horus, Luke, Piper, Soul, Tifa Nazah, uranos1
Download: Here
Story:
Seth took his revenge on Lara and banned her into another dimension where Egypt finds itself in the middle of an ice age. Not only the desert is painted white, but also the old temples sink beneath the cover of snow. Will Lara find the way back?
Walkthrough:
Curse
of Winter
Go W behind the left arm of the big sphinx and in a clockwise direction around
it. You can find a Rope in the first little hole, a Crowbar in the white tent
and a Shovel in another bigger hole. Go back E and into the arms of the sphinx.
Go up the ramp of the white block and use the Crowbar to push down the block.
The Crowbar is broken now. Push the block under the scaffolding and climb
up the ladder. Turn right and jump on the right arm of the sphinx. Head W
and run to the other side, then S up the second scaffolding. Jump E over two
platforms to the ladder and climb up. Place the rope on the extended beam
looking SE and run over the ledge to grab it. Swing and jump to the left arm
of the sphinx. Go a bit W to the non-snowy spot on the arm and use the Shovel
facing E. You get a Female Cartouche. Slide down S of the arm and run W and
up the walkway around the sphinx. At its end place the Female Cartouche and
run back after watching the cutscene. Climb and jump all the way back up to
the left arm of the sphinx and look SW. Jump with a little right curve to
the just created block. Climb up the ladder and jump twice W to the two platforms.
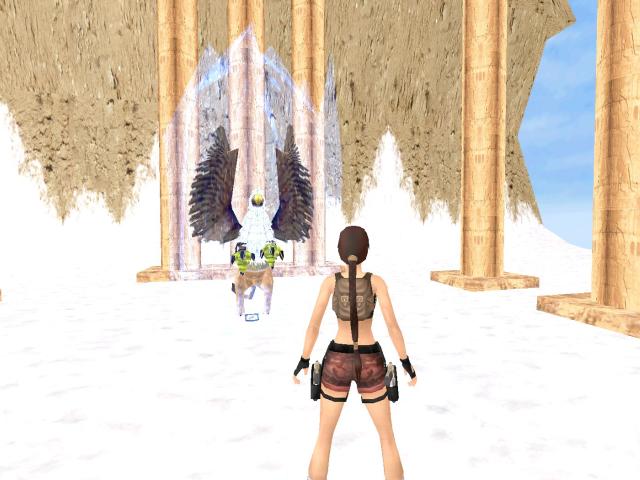
Climb another ladder and get to the top of the sphinxs back. Go W and shoot
the ice the bird is frozen in. Then you have to shoot the big bird, its not
hard when running and jumping all the time. Pick up the Animal Cartouche and
place it E in the receptacle. Two W blocks raise; climb on one of them and
up the platforms to the ladder. Climb it to the top and you will find a hole
in the snow. Look at the hole facing S and jump to the S ledge of it. Shimmy
as far right as possible and drop. On the floor roll forwards. Pull the lever
to let the knife freeze. Jump over the hole and into the next room. Shoot
the NW vase for a Little Medikit. Jump to the jumplever, pull it down and
slide to the next area. Jump on the breakable tile and jump once more to prevent
from falling in the spikes. Climb up the ladder in the corridor to get the
Large Medikit you maybe saw while climbing up the sphinx. If you want you
can climb back the way you came and left around the pillar. Drop in the dark
passage and quickly jump on the ladder again to prevent yourself from the
boulder. When its away run into the dark for Flares and climb back to the
corridor with the ladder. Drop in the S hole with the breakable tile and into
the tomb. Shoot two bats (no need to pull the lever) and drop in the N hole.
Curse of Winter (Part II)
Slide down around 2 seconds, then perform a jump with a right curve on the
middle slope. Slide but jump over the opening trapdoor. The boulder behind
you will fall in it. Head left of the little room and jump over the slope.
Jump further, then to and fro with right curves until you get to the N slopes.
Jump again to and fro with left curves and then over the E one, with a big
left curve, then perform a backflip with a mid-air turn and grab the ledge.
Shimmy left and climb up, then (again) backflip with a mid-air turn and a
left curve onto the safe platform. When finally done run E into the new tunnel.
Pull the lever and see a cutscene of a boulder rolling into a door. The door
closes afterwards. After the cutscene pull the lever again and you now have
to be quicker than the boulder; therefore there are two paths. The hard path
is when Lara turns around and runs into the darker, left room. If you want
this path, jump on the ledge in front of you, run a bit up the ramp, avoid
the boulder with a jump to the left slope, jump on the second and with a right
curve to the third. Jump to the swingpole and jump over the next two slopes.
On the safe platform immediately run and jump right and then to the door.
The easy path is completely different; instead of running in the dark chamber
climb up the right ledge and backflip with a mid-air turn, then directly stand-jump
up the slope.
SECRET: Go E of the entrance to the snowy
area and jump in the N passage for a Large Medikit and Flares. Get back and
throw the switch again, then, if you still want the easy path, climb back
up again.
Run S through the snowy area and into the hole in the other part of the area.
Jump directly into the door.
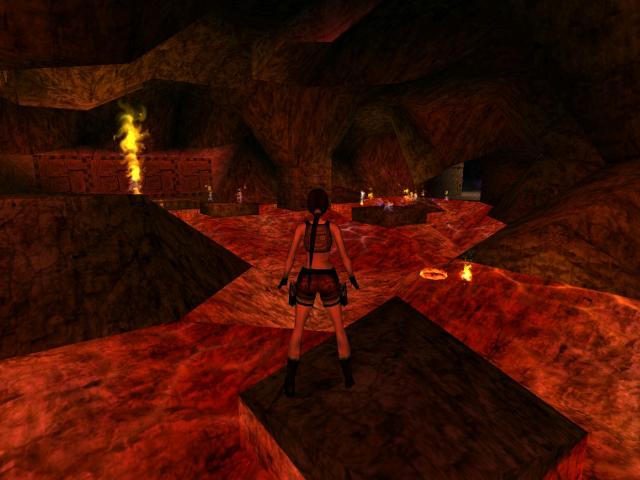
On both ways you slide down a bit, then jump over the knife blade hole. At
the fire lake jump up to a monkeyswing and get to the other side of the corridor,
avoiding the temporary fires. Drop onto the slope and jump to the safe tile
in the lake. Jump to the SW block, using the higher part of the tile, then
to the SW shore and finally to the four levers. These ones turn the fires
off and on. To turn off all fires pull the first, the second, the third and
the forth lever down and the third one again up. Jump to the NE block and
follow jumping over the other ones, to finally get to the N exit. On the NE
stones pick up Flares, then find a lever in the SW corner.It turns off the
spikes over the central platform. Now get to the W wall and jump up the rocks.
Head E and jump to the ladder, climb up and use the ladder to monkeyswing-move
to swing around the right corner where you can find a jumplever. Drop to it
and use it to turn off the spikes on the platform. Pick up the Violet Ankh
and place it SW near the door that opens then. You arrive at a big chamber;
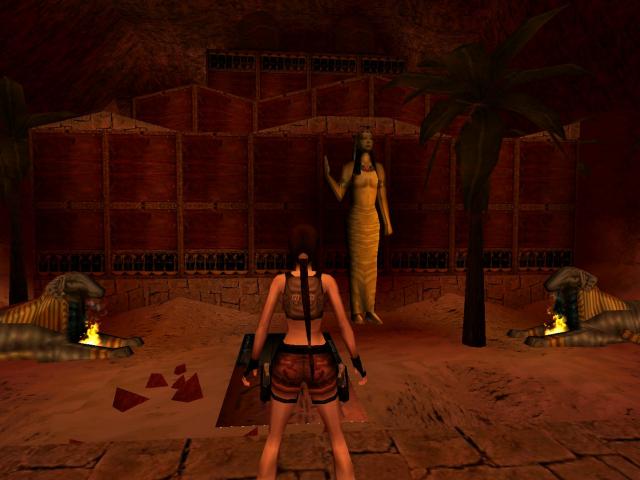
on the middle E wall is a Little Medikit. Now go S to the statues and shoot
a bat. Now go W behind the right statue and jump over the spikes. Pick up
a Large Medikit and pull the timed lever down that raises a block in the first
part of this chamber. Climb out and run back, then left and up the block.
Pull the lever that raises another block E. Jump and run there and pull it
quickly down. You have to do this two times more to and fro, then an earthquake
happens. Now run to the middle of the W wall and climb up the structure there.
Shimmy left around two corners and drop to a jumplever. Pull it down and you
will fall to the floor. Climb back up again and shimmy again in direction
of the jumplever until you can climb up at a risen platform. Jump E to the
dog statues, drop to the ledge and shimmy around, then jump to the second
platform E. Shimmy around the left corners until you reach the second jumplever;
use it and drop back on the floor. You get a little cutscene of the cellar
room. Drop in the hole in the central part of the room and go S upstairs.
Get the Green Ankh Piece 1 and push the floor lever. Ignore the hole for now,
take the Flares and leave the cellar again. Climb up the NE blocks, then shimmy
right and climb in the crawlspace. Trigger one by one the first two boulders
in the right corridor and quickly sprint to the left hole and hang on the
ledge there. You have to duck under the third when triggered. The forth is
a bit more difficult; you have to run on the last tile, then quickly jump
back and duck. If done, climb up the ladder and get another Crowbar. There
are many things to pry off the wall, but only prying off the Green Ankh Piece
2 in the NW corner doesnt result in instant death. Climb out again and head
S. Combine both Ankh Pieces to the Green Ankh and place it in the S receptacle.
The tiles a bit N of you lower, get down there. Two jumplevers S and E have
to be pulled down to open the SE door. Shoot the giant scorpion in the following
room. Get some Flares W on a pedestal. There are two levers W and E of the
entrance in this room. Pull the E and then the W one and quickly climb up
the central structure. Kill two scarabs here and climb down the ladder. Jump
in the water and pull three underwater switches, then pick up a Large Medikit
and get in the open passage. In the next room get in both of the N and S passages
to drop in the holes, avoid some little scarabs and push a floorlever each.
In the next chamber jump over the marked tiles (the other part of the floor
is deadly) and push the floor lever. Return all the way over the tiles, in
the underwater tunnel and up the ladder to the last room and enter the W door
there. In the W room you can find Flares, the Grenade Gun, Grenade Ammo. Dont
take the Torch yet as this could cause a bug. Go back and into the N room
in the passage. Shoot the wall with the Grenade Gun and enter a dark tunnel.
On the end you get to a electricity puzzle. Your task is to change the direction
of it now the E mirrors get current, we want the W ones to get. This map
shows how it should float:
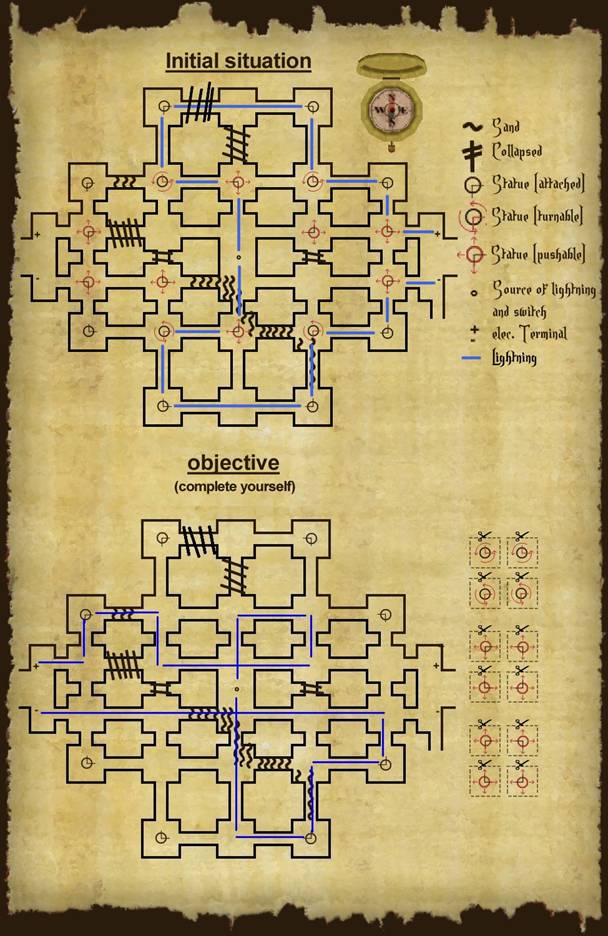
Pull the switch in the middle of the area to turn of the electricity.
After you solved this puzzle the rope on the container can be pulled; this
opens the W exit doors. Enter the outside area and pull down all four levers
on the two pillars. Go E and look through the mirror to see the broken wall
at the W side of it. Run through it and jump up the stair. Run to your horse
and the level ends.
THE END
Walkthrough by manarch2
Az oldalon közölt képek, a szöveges tartalom, illetve minden sajátkészítésû anyag, a © TR Editor.hu tulajdonát képezi. Azokat semmilyen formában nem lehet reprodukálni, másolni, terjeszteni, csak a szerkesztõség engedélyével.