
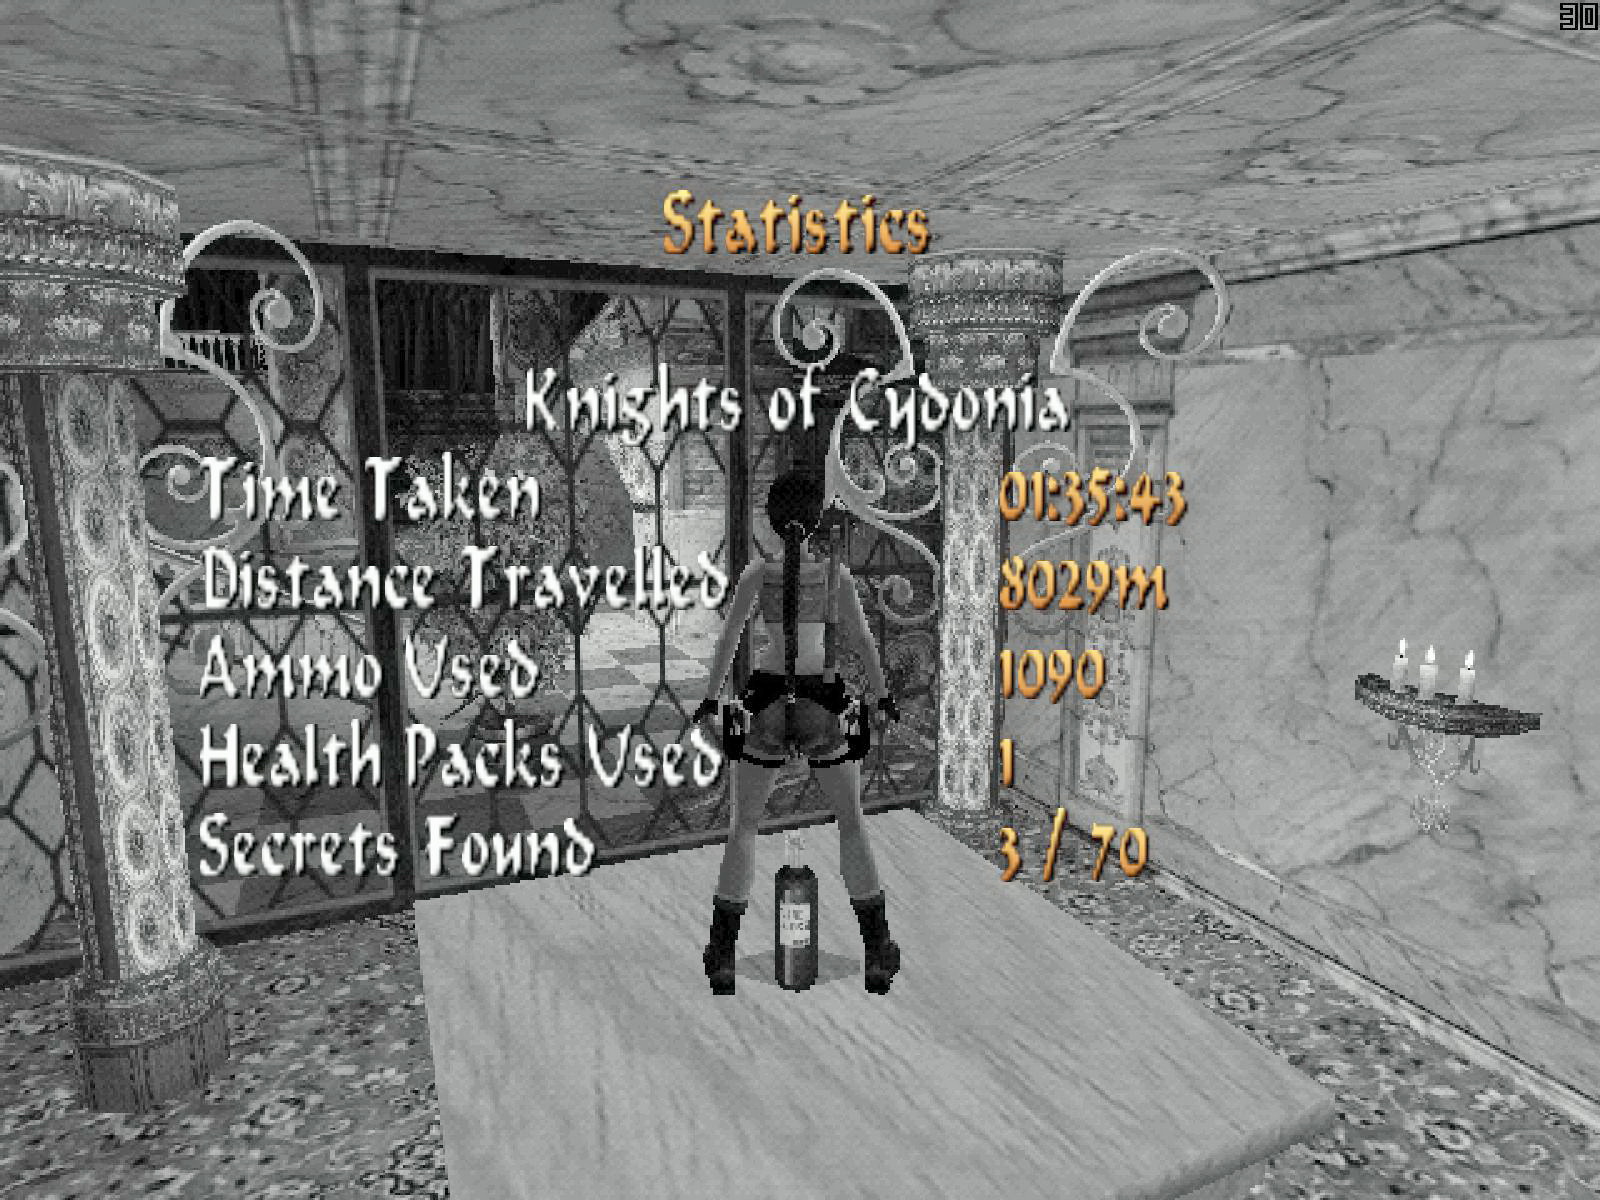
BtB2010 - Knights of Cydonia
Author: BtB2010 Nadine L. (Horus) ....Homepage.....eMail
Download: Here BTB 20010 Package
Story:
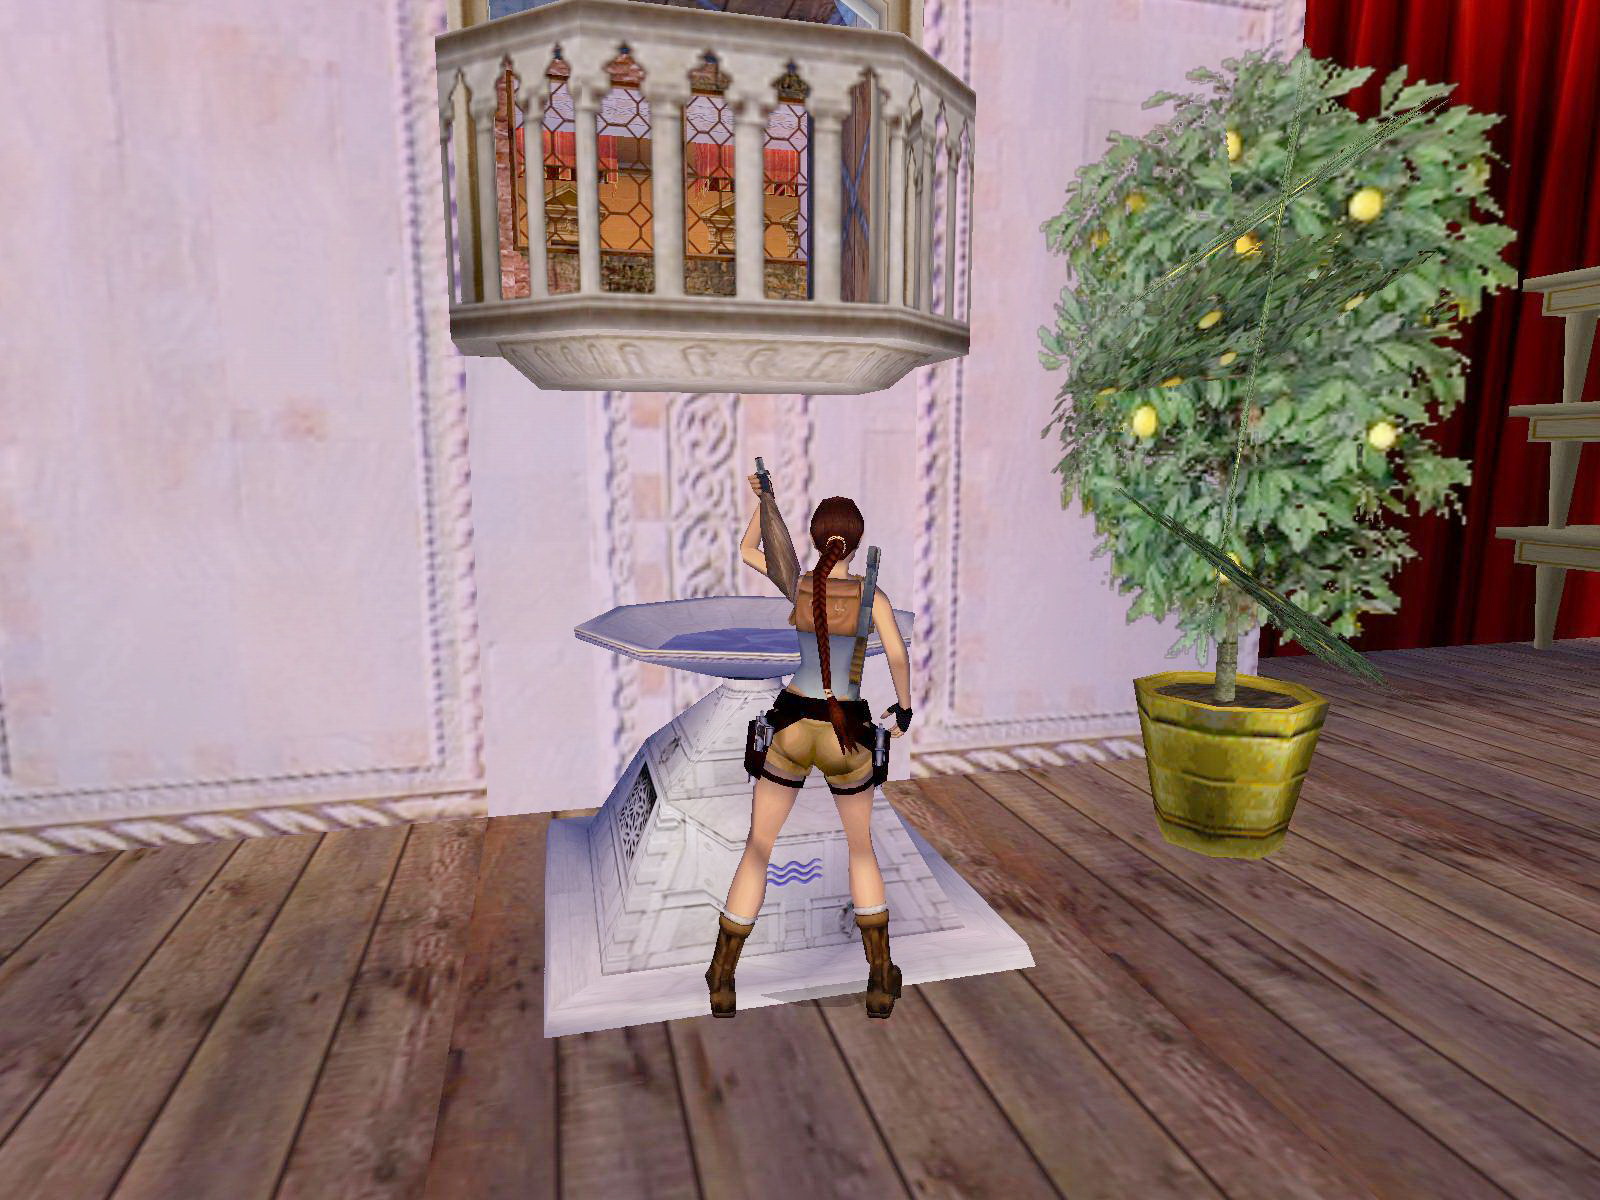
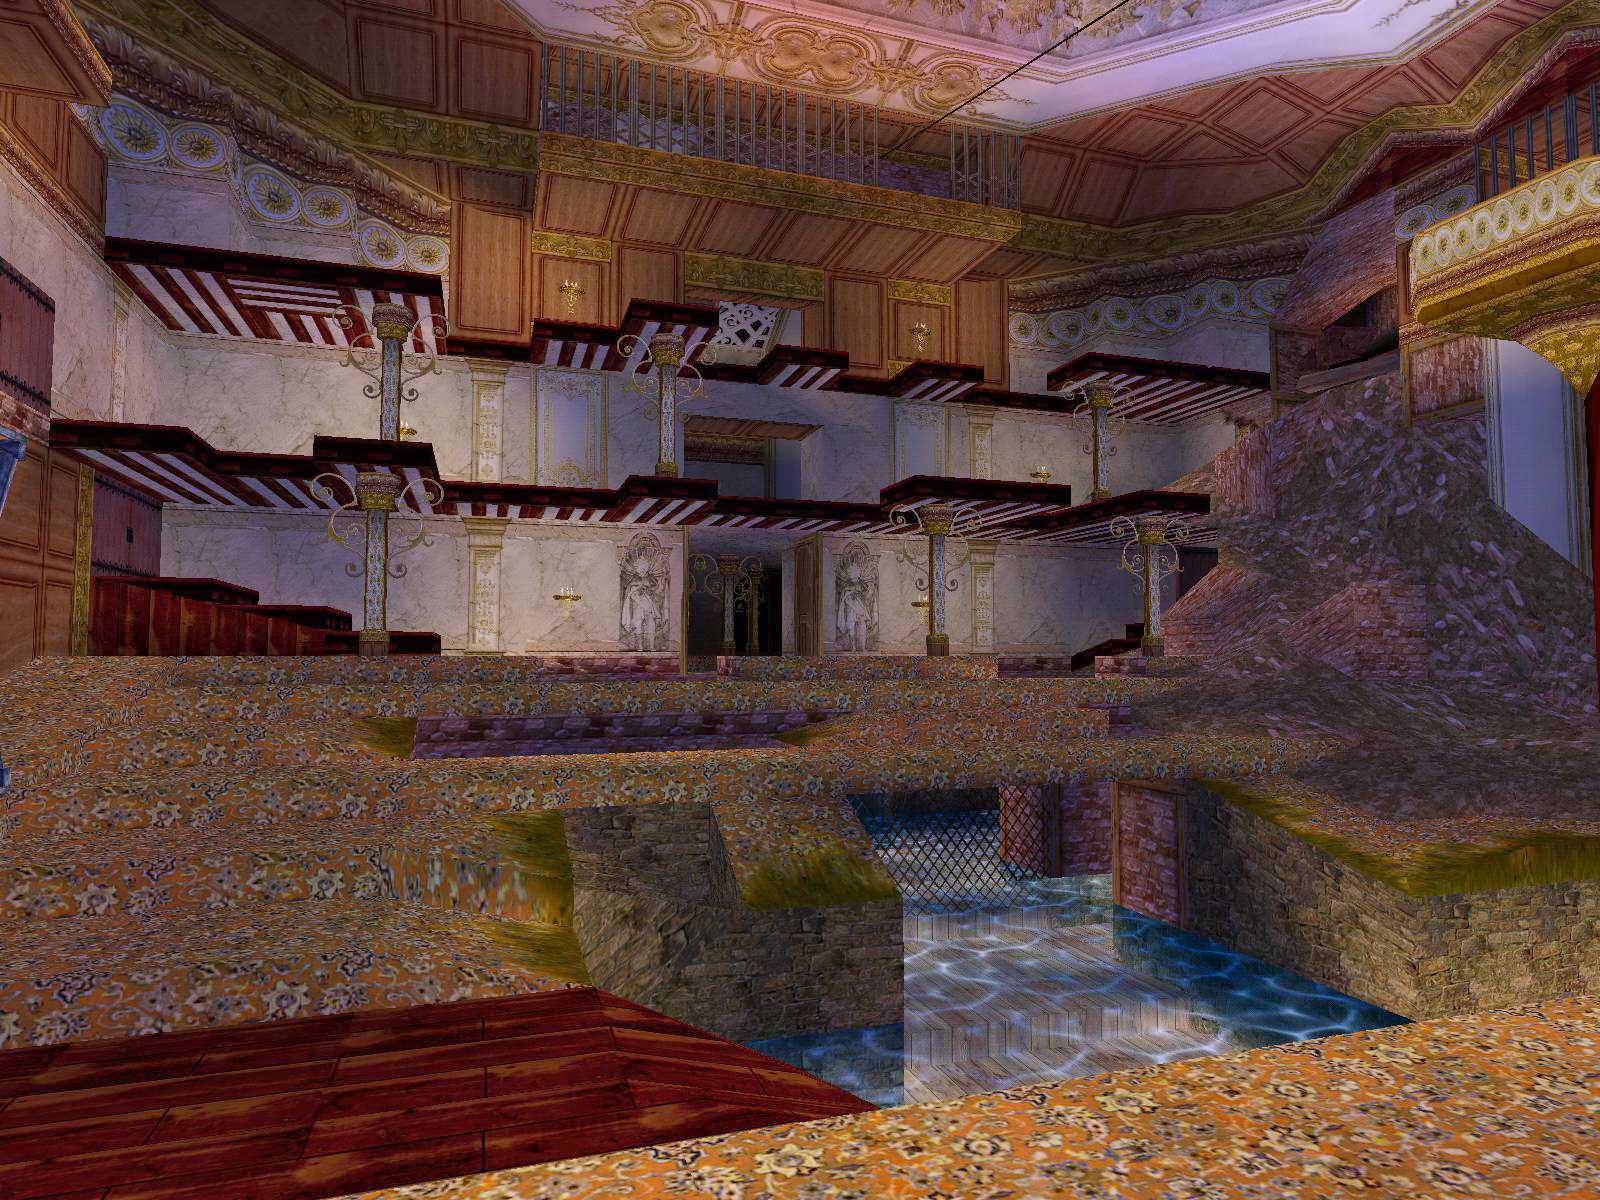
There are only very few people who know the legend about the Wine of Cydonia. Most don't believe any such wine ever existed. The Wine of Cydonia is told to be the finest and most delicious of all liqours, but sadly only very few bottles of this very special spirit have been made. Rumour has it that there is one bottle of the Wine of Cydonia left - but it is kept by a group of ex-Mafia criminals known as the Knights of Cydonia who are said to inhabit an abandoned theatre somewhere in Venice.
Lara, thinking she deserves a good drink more than anyone else, sets out to Venice in order to find the Wine of Cydonia.
Walkthrough:


Secret 1:
Secret 2:
Secret 3:
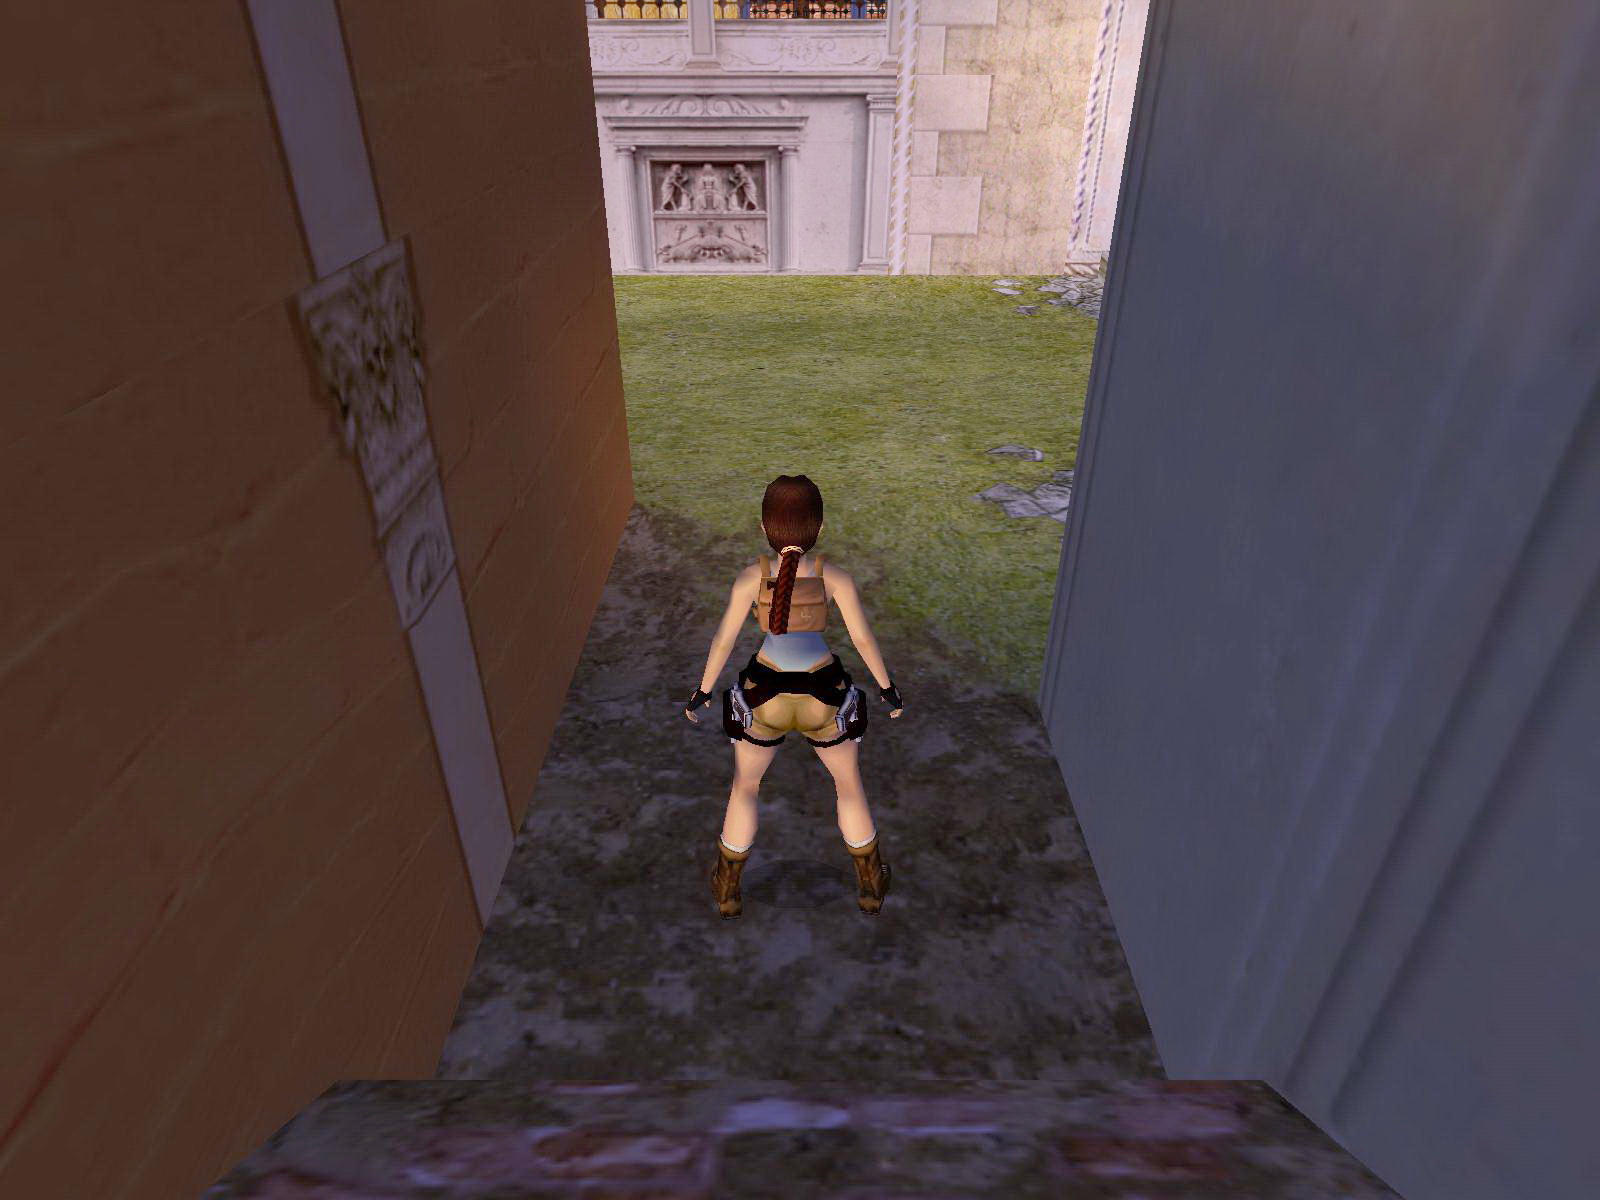
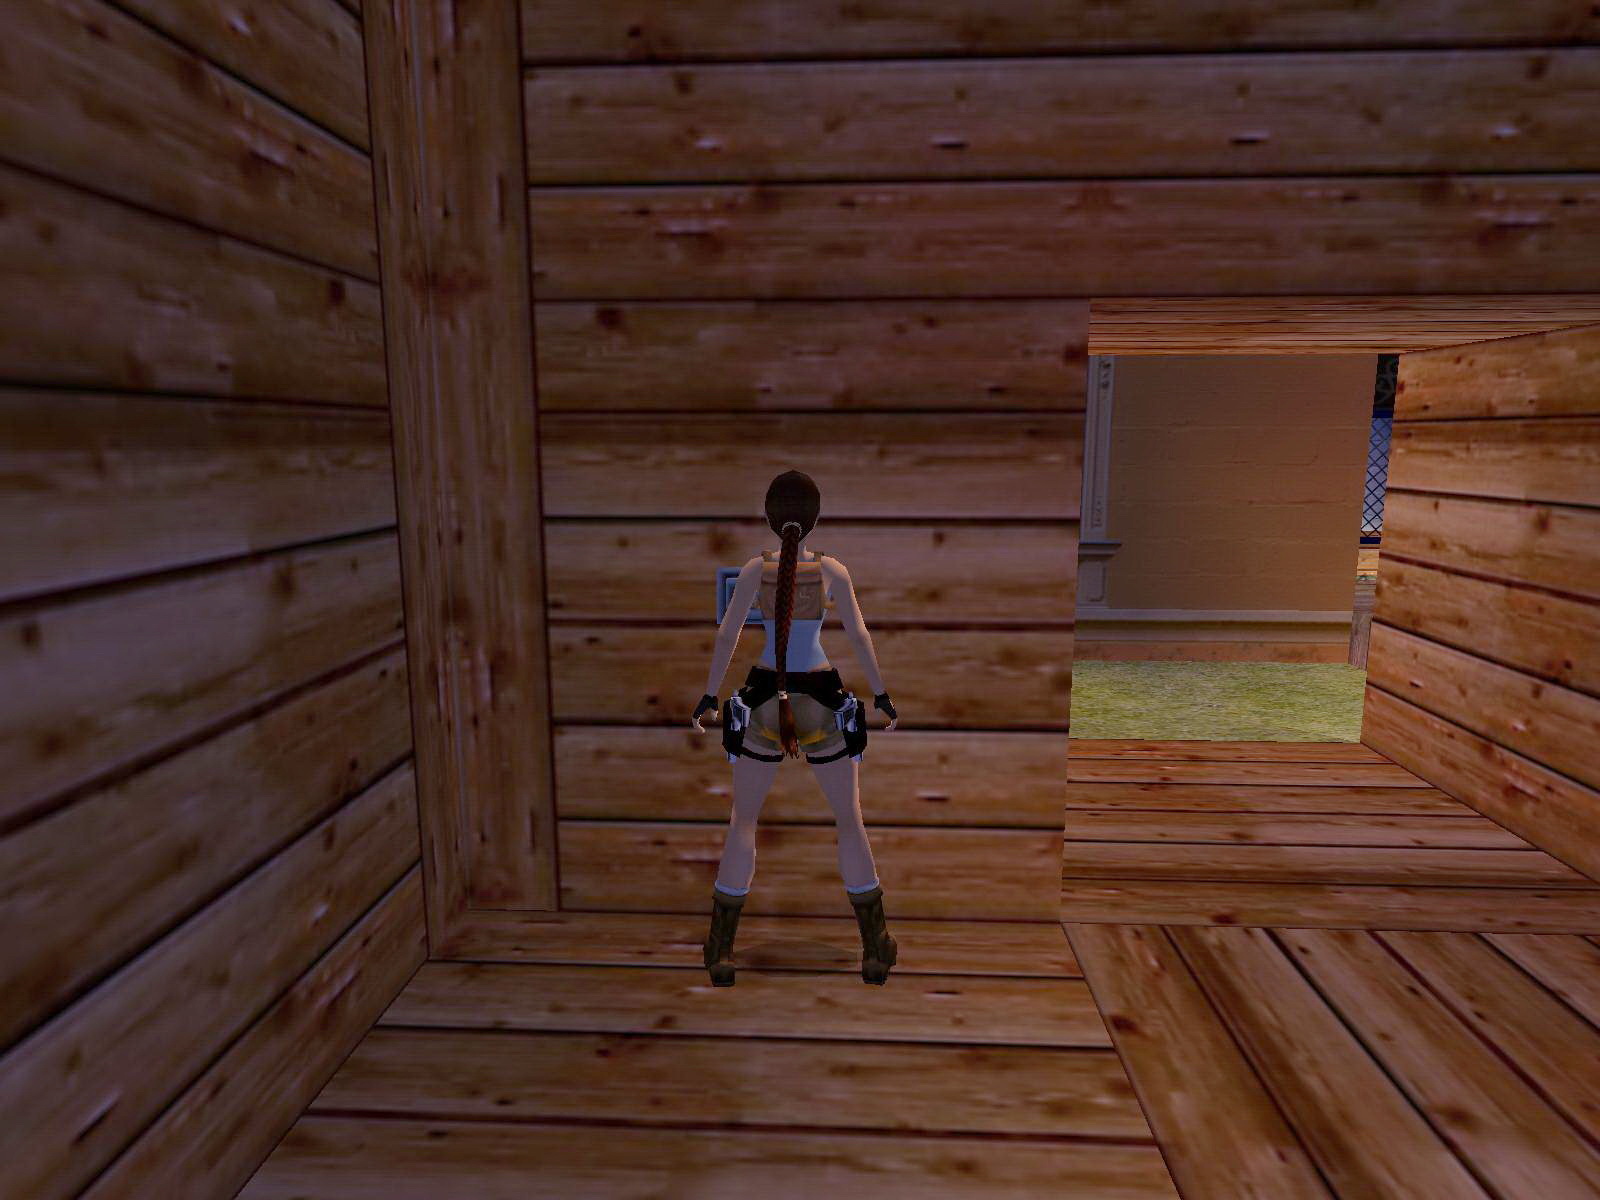
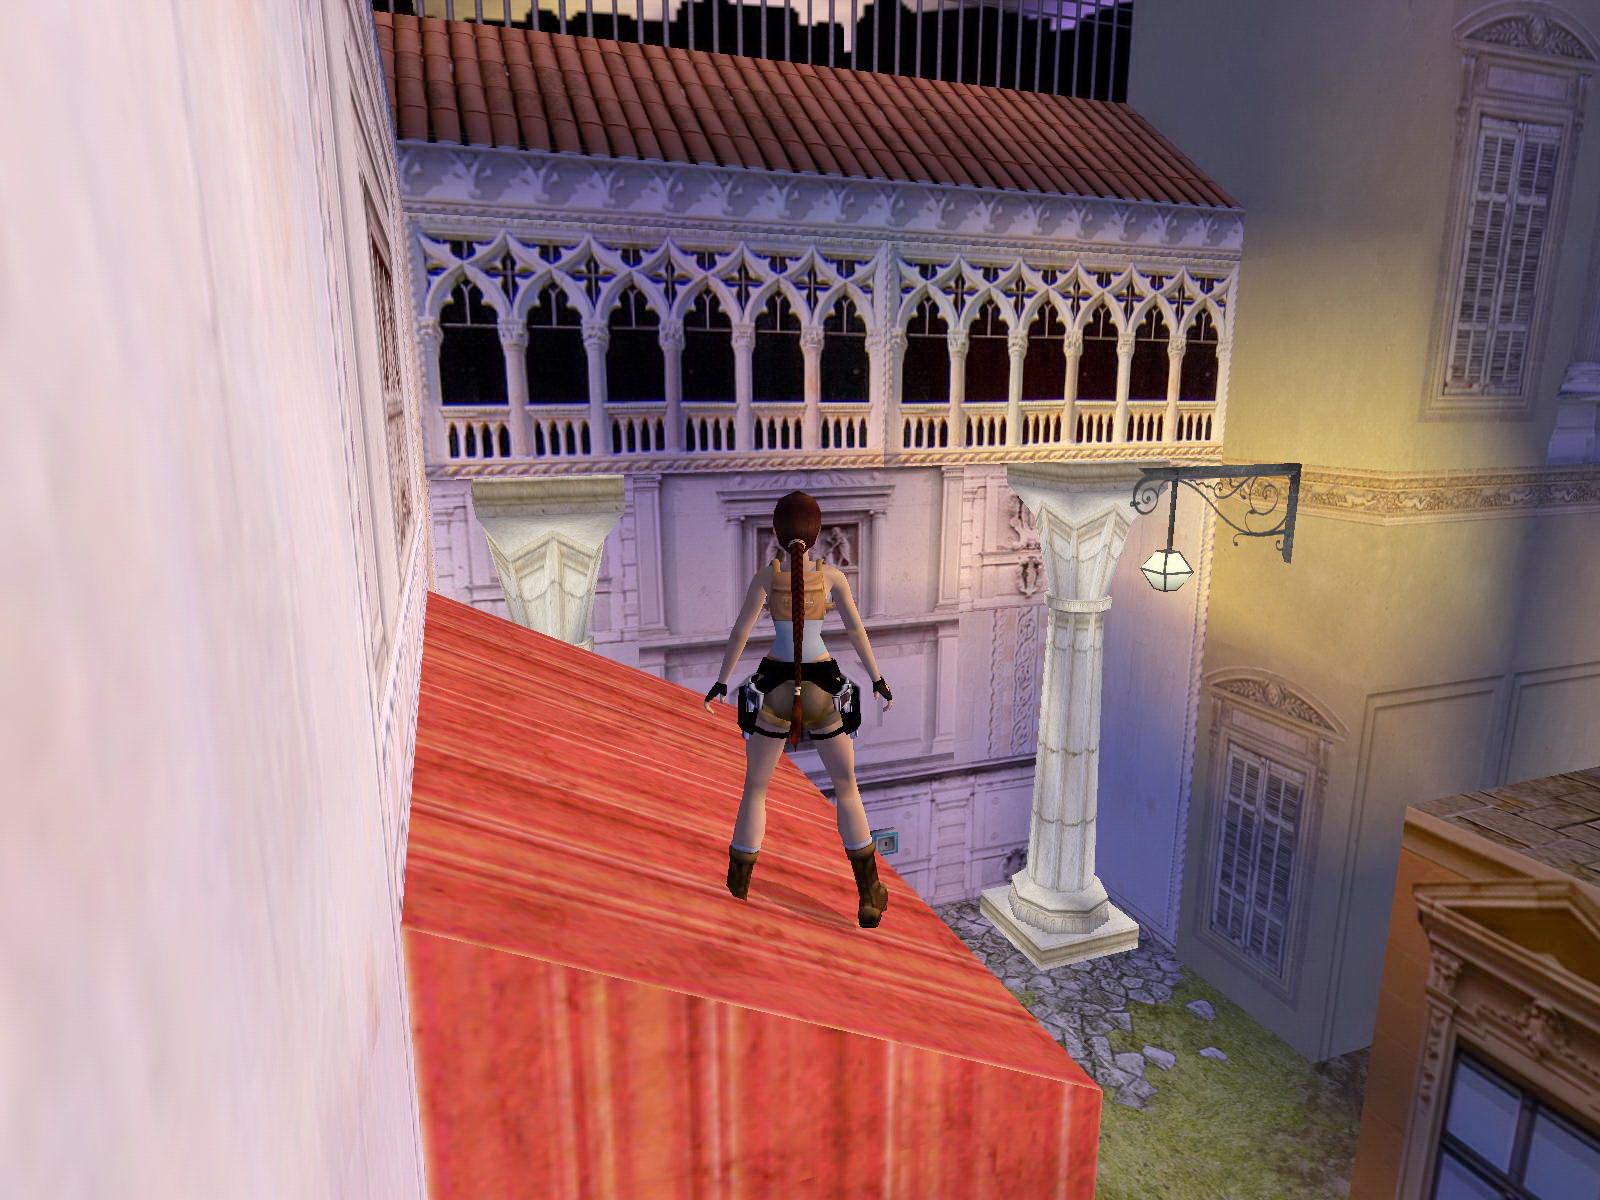
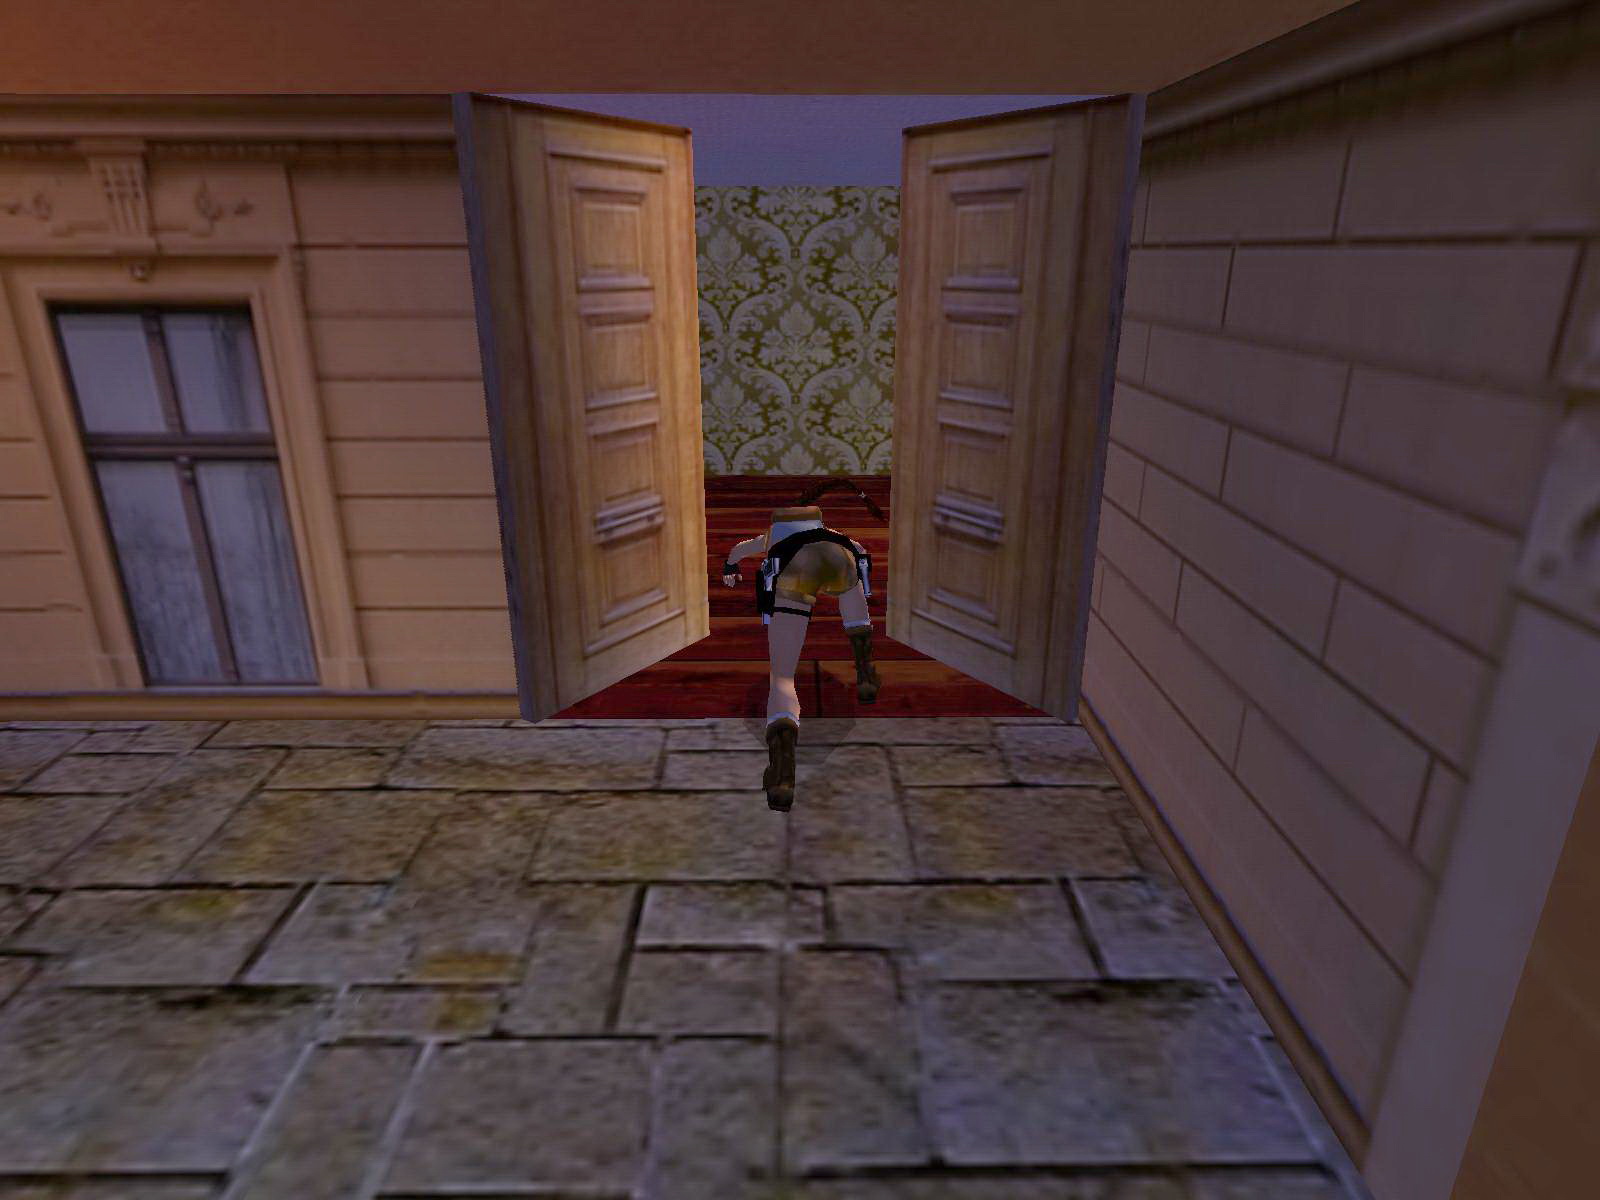
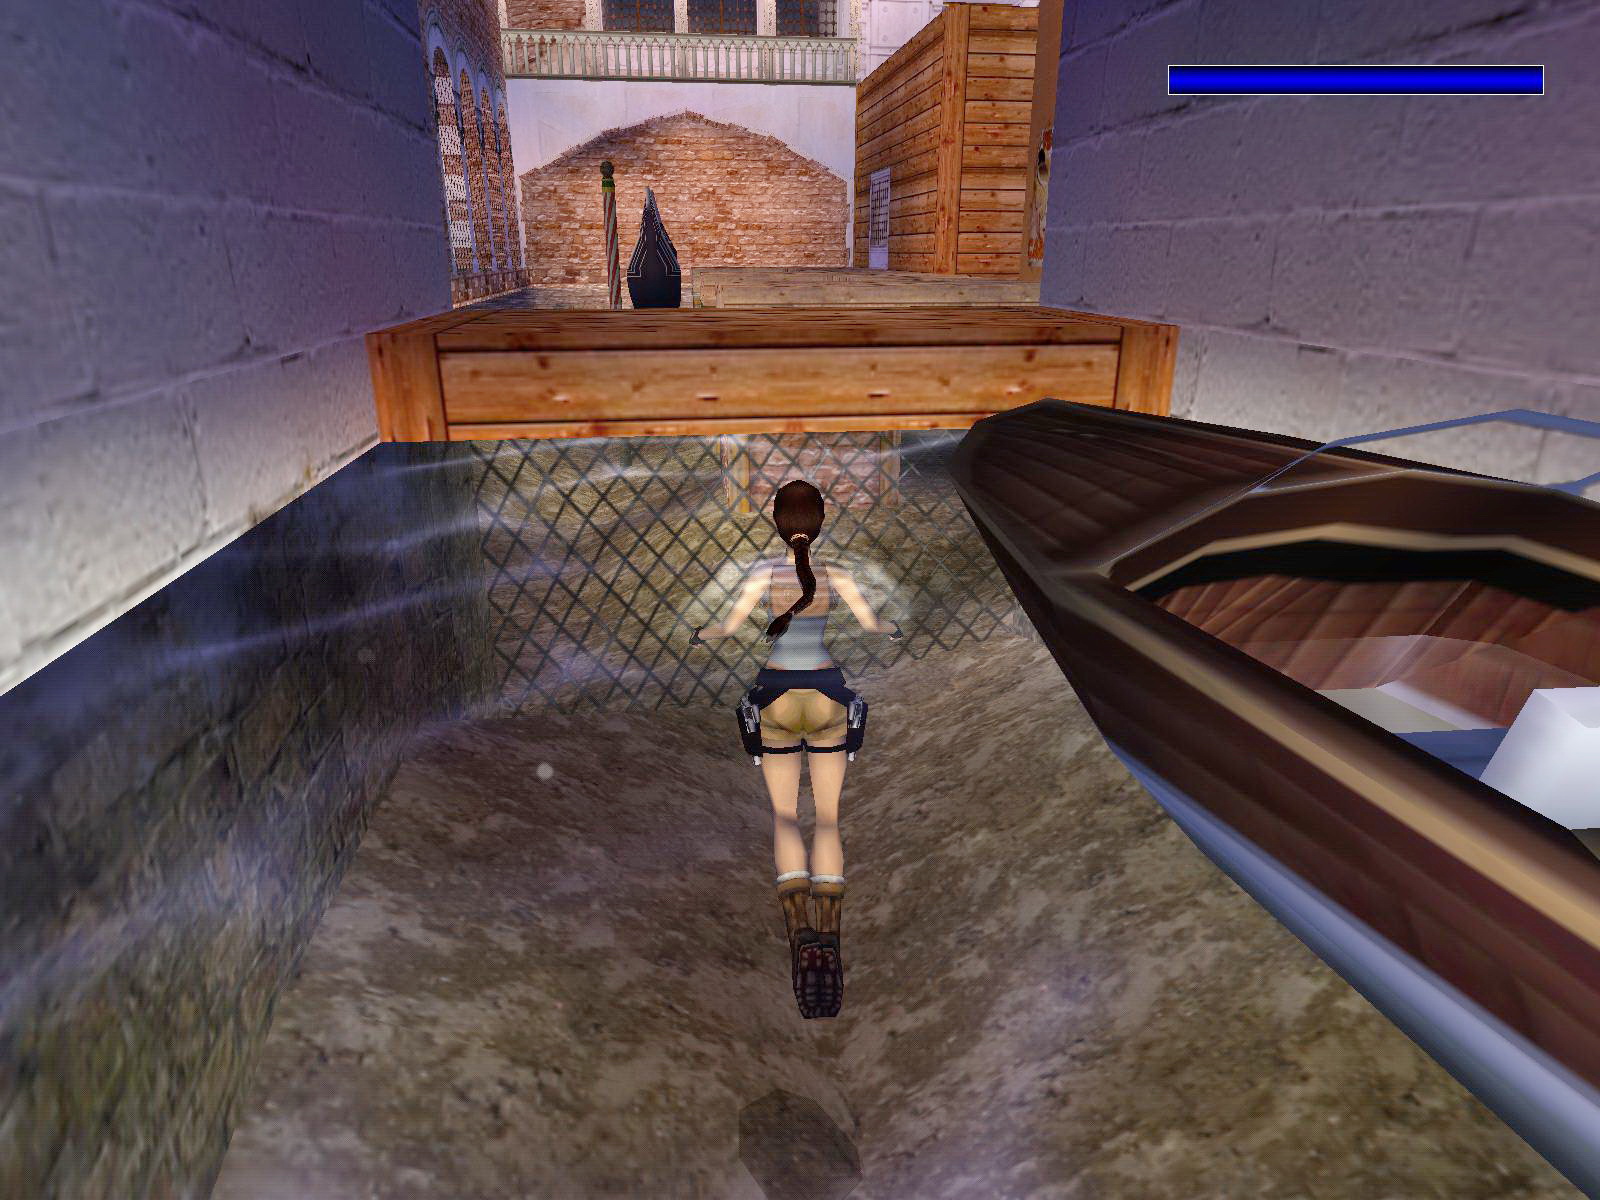
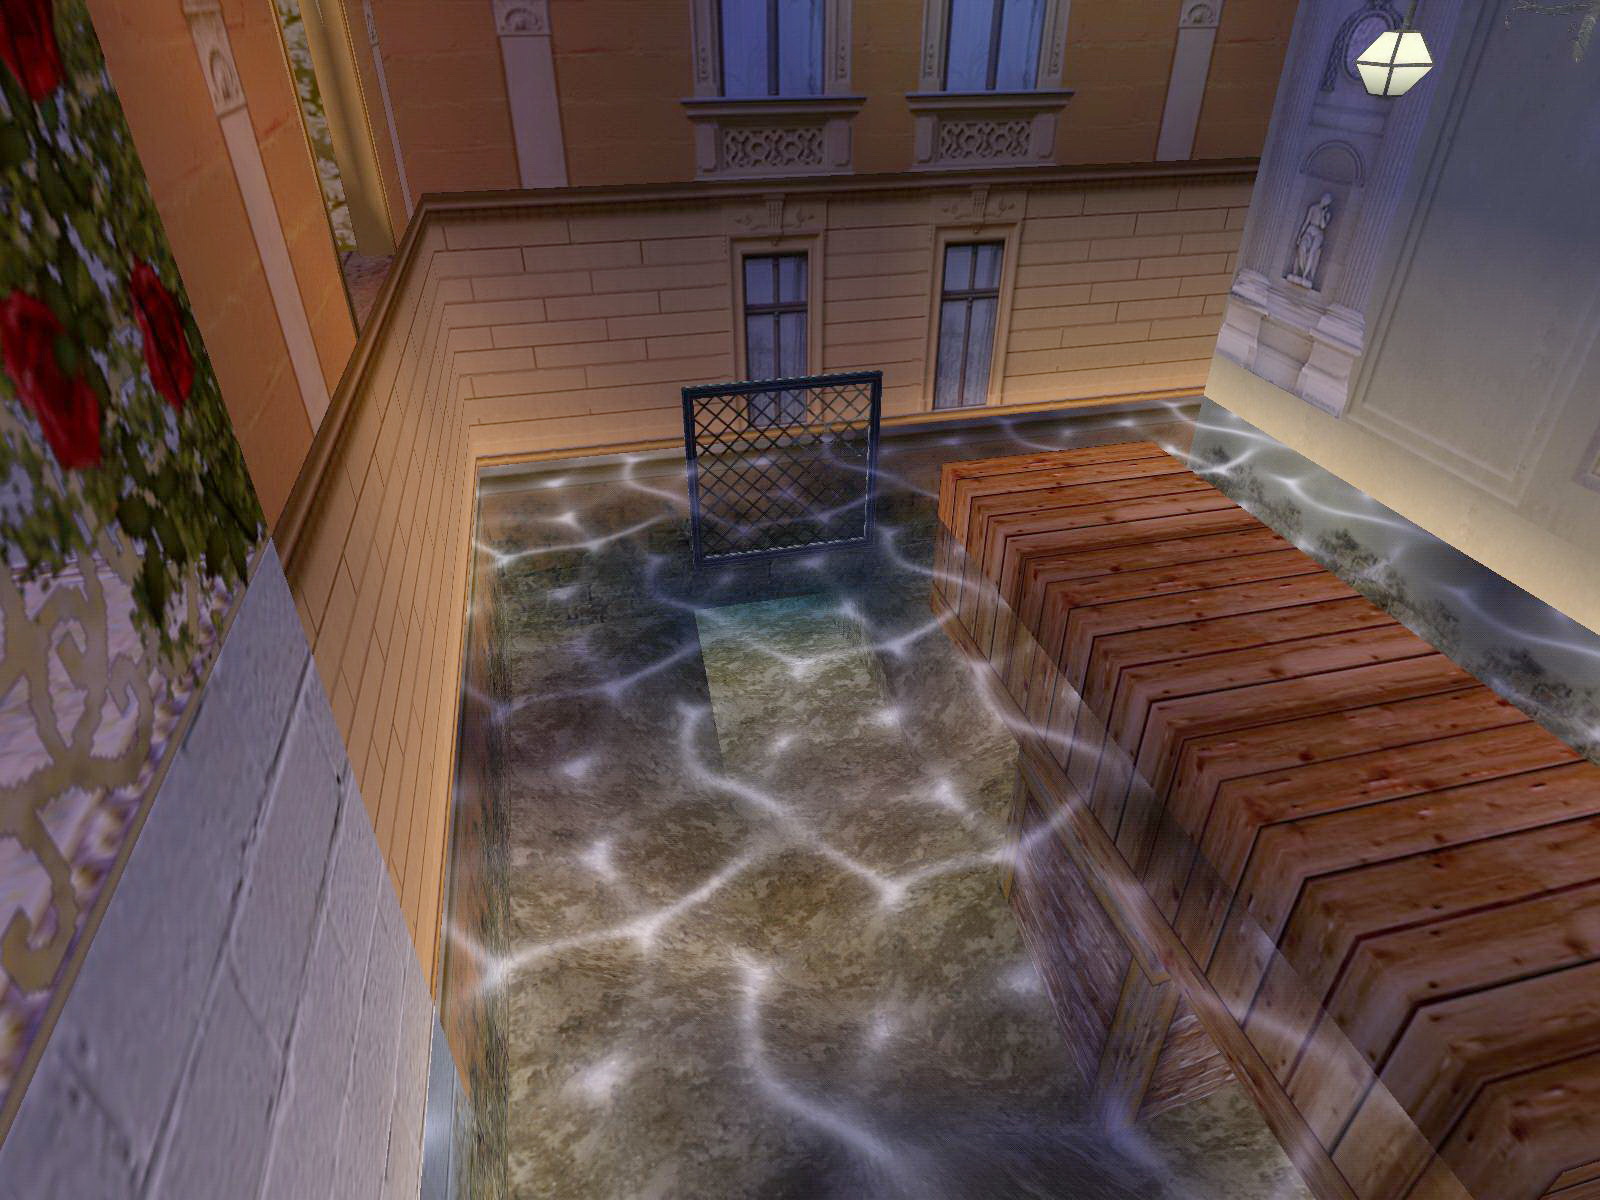
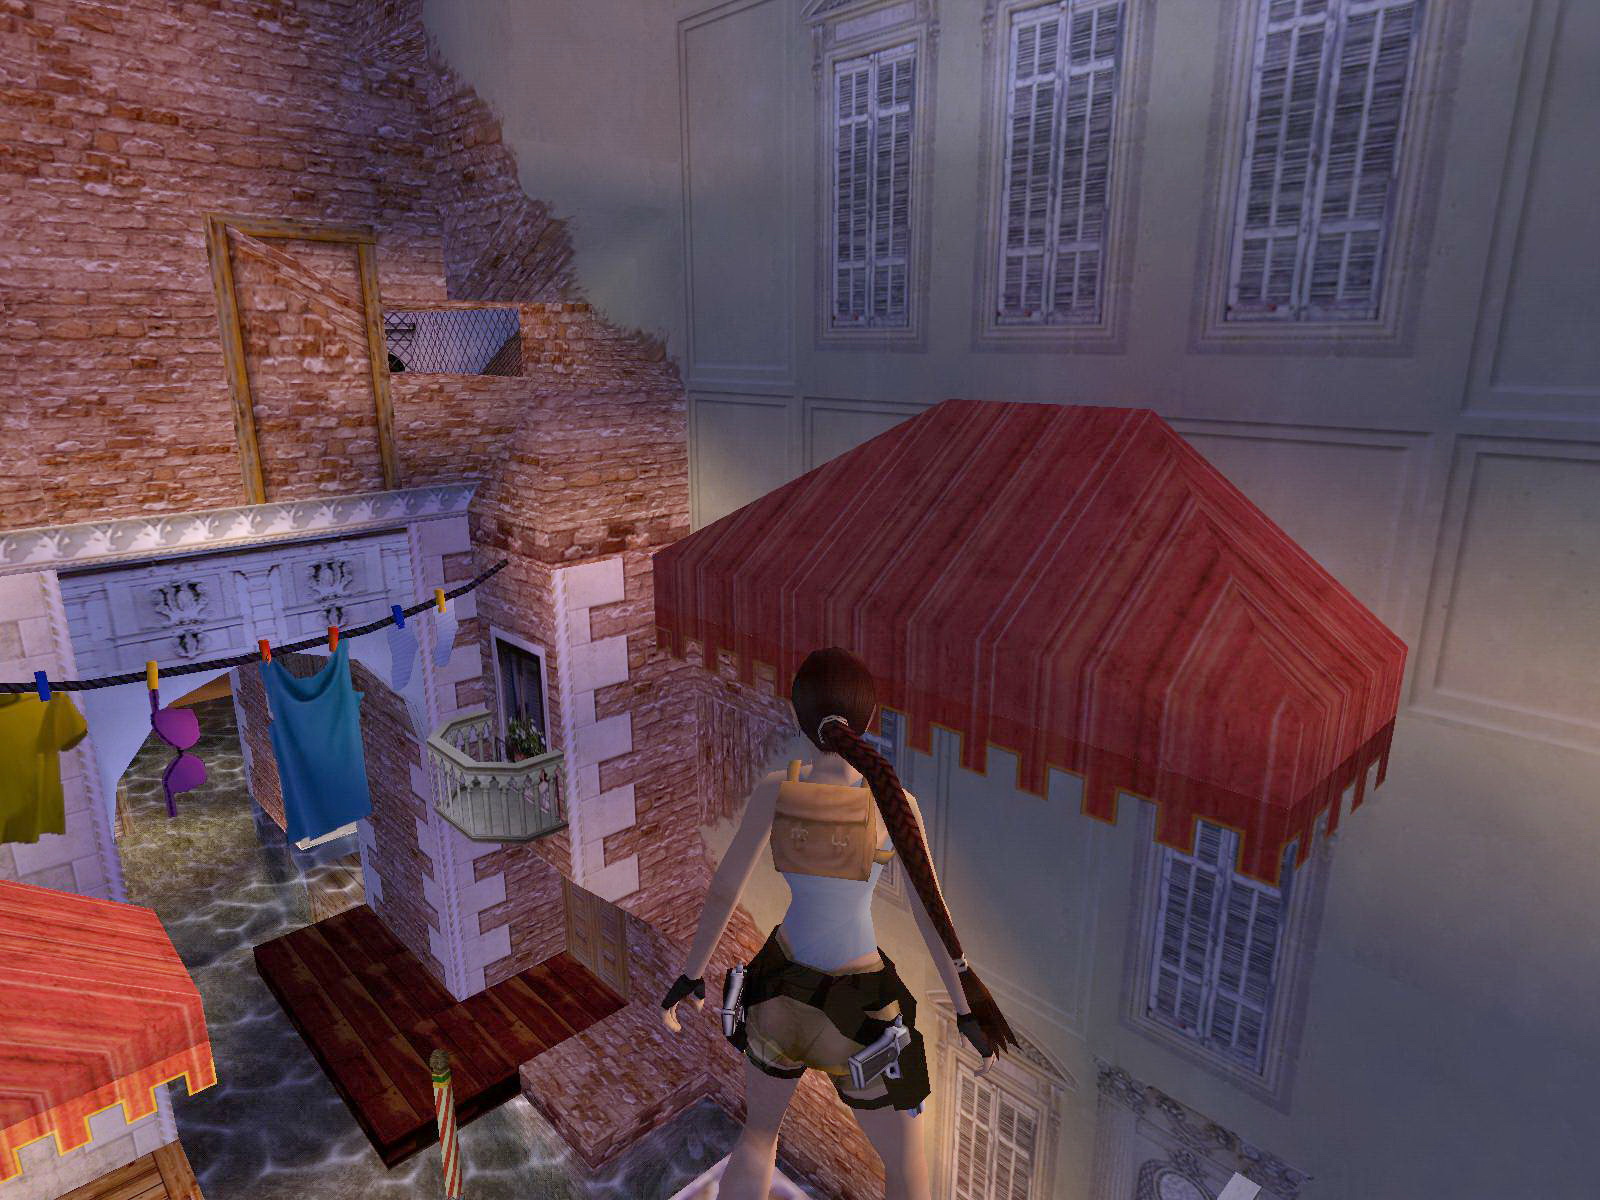
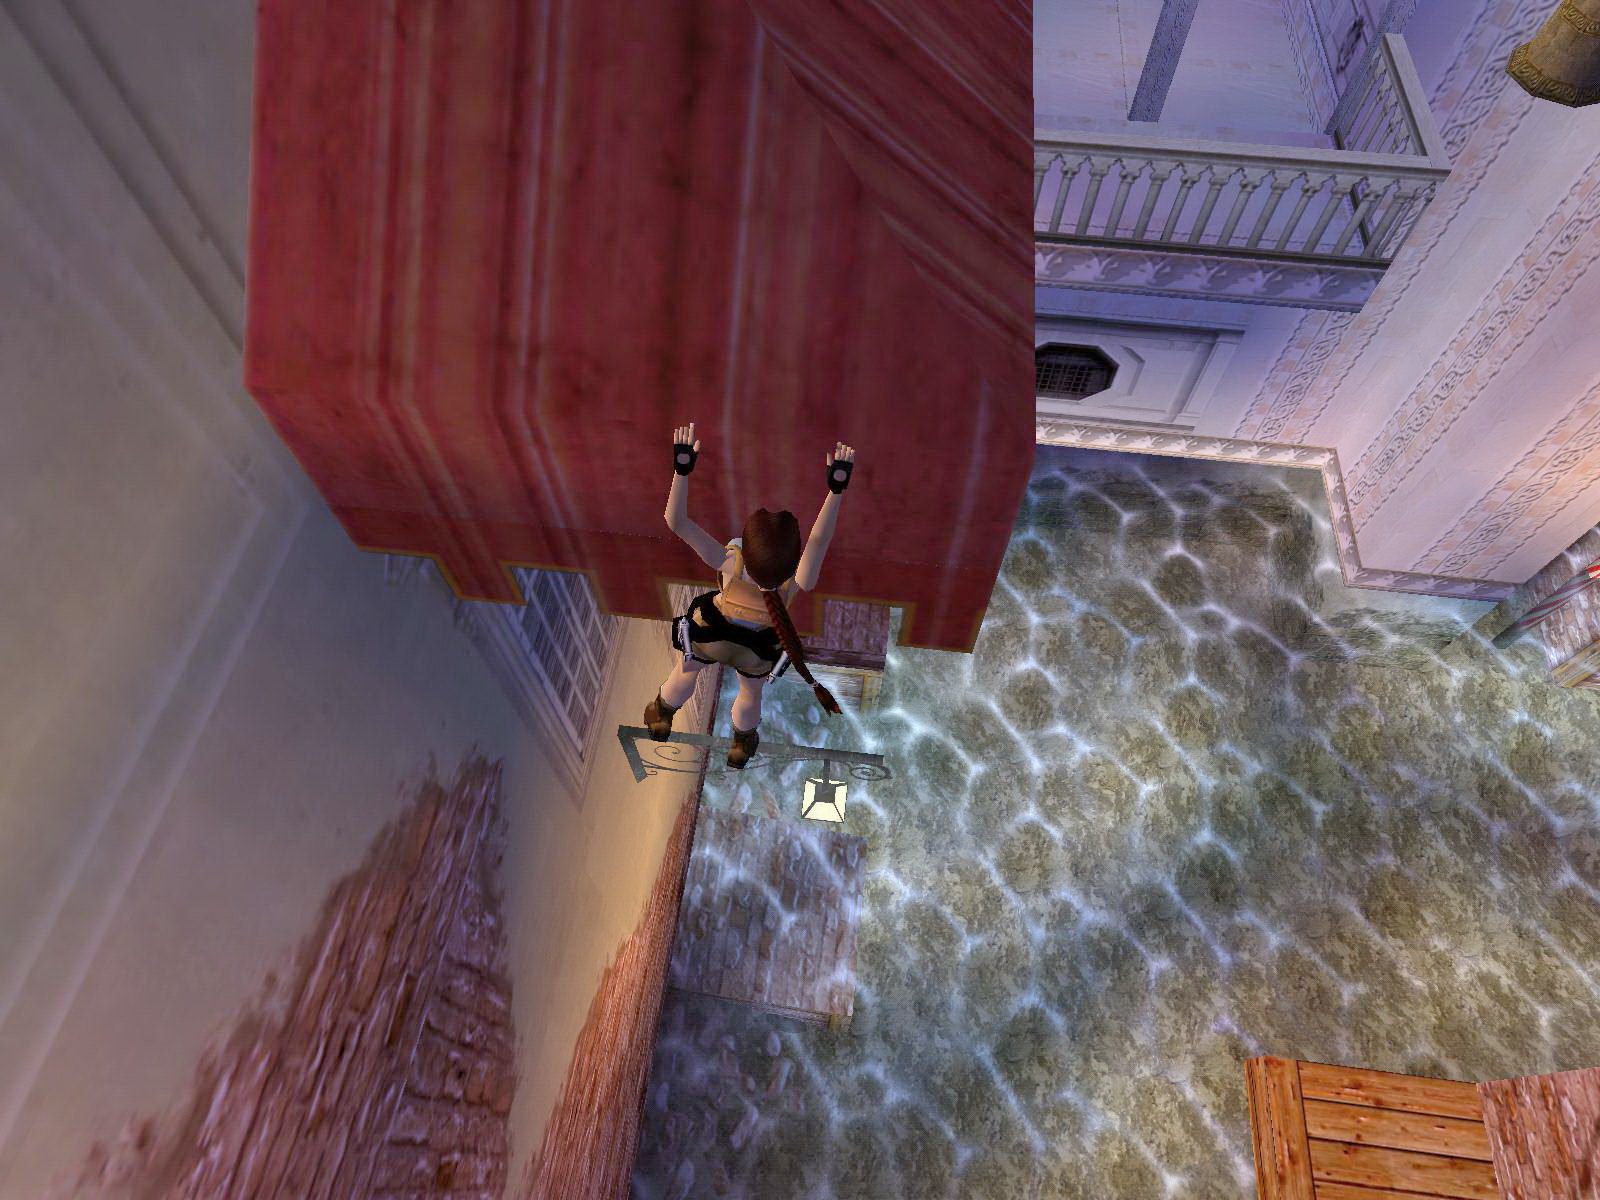
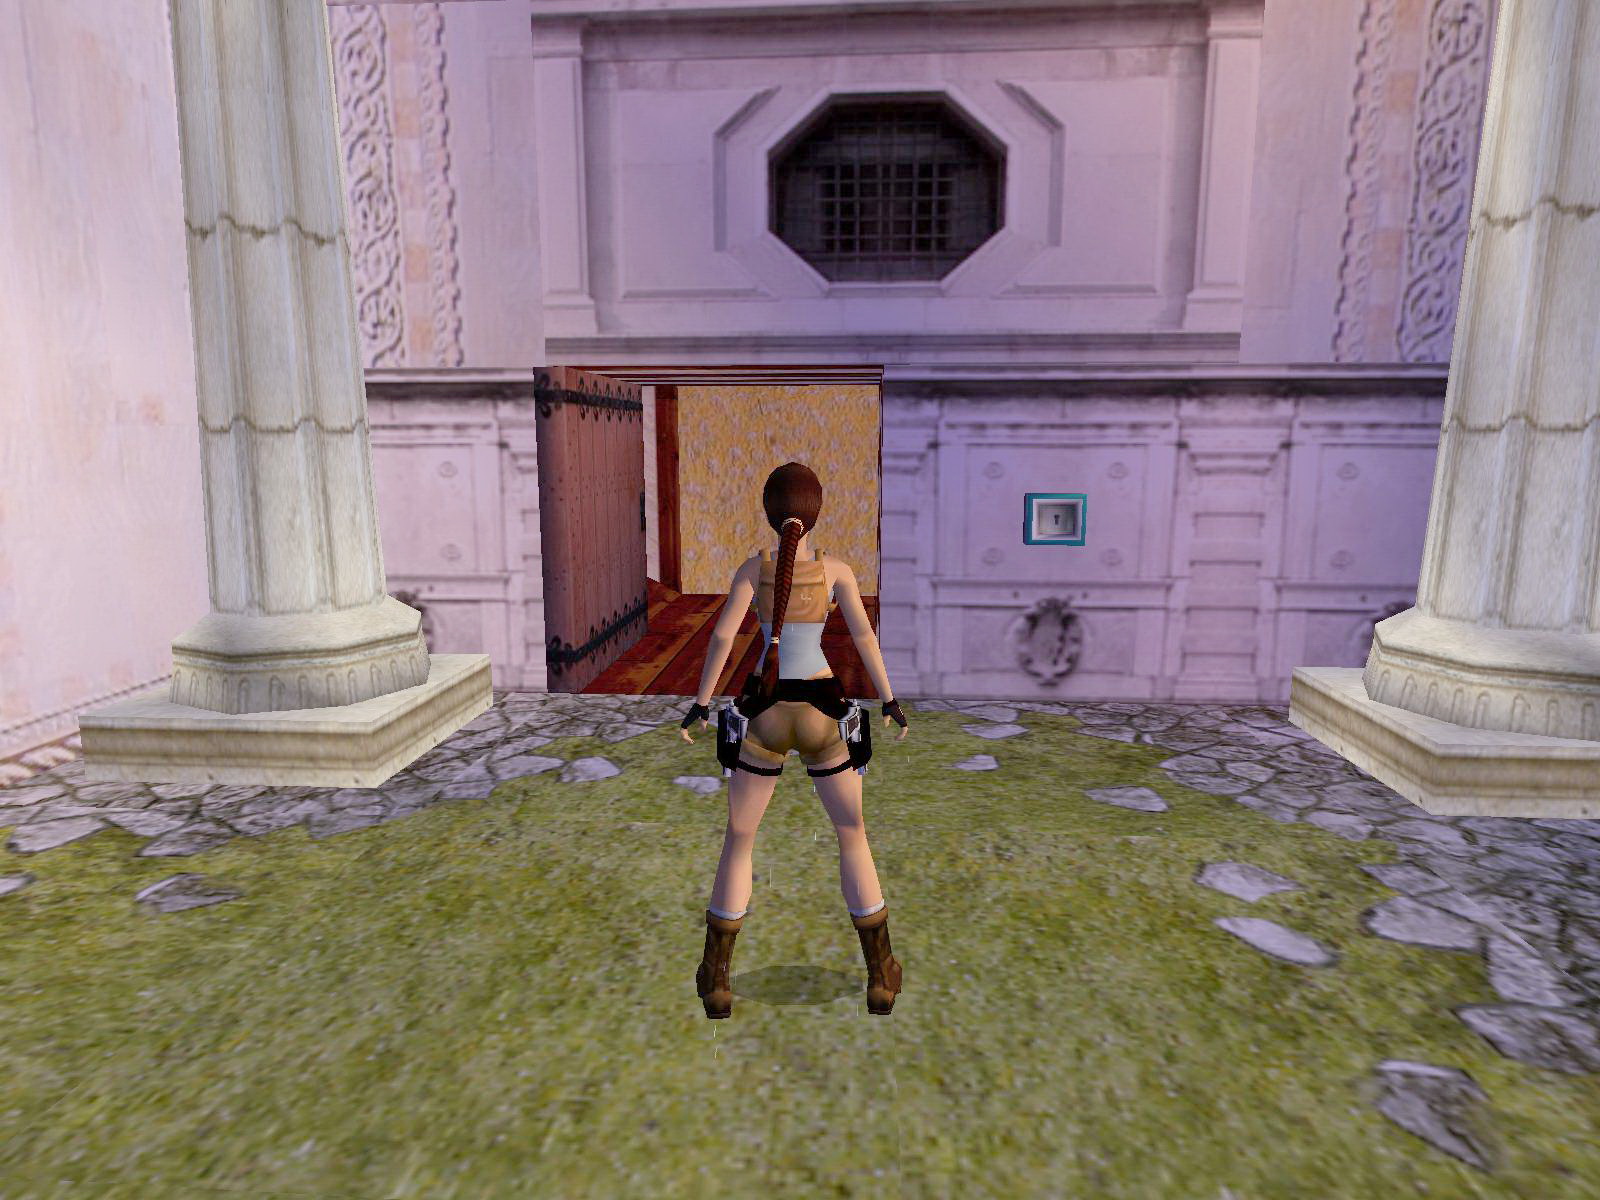
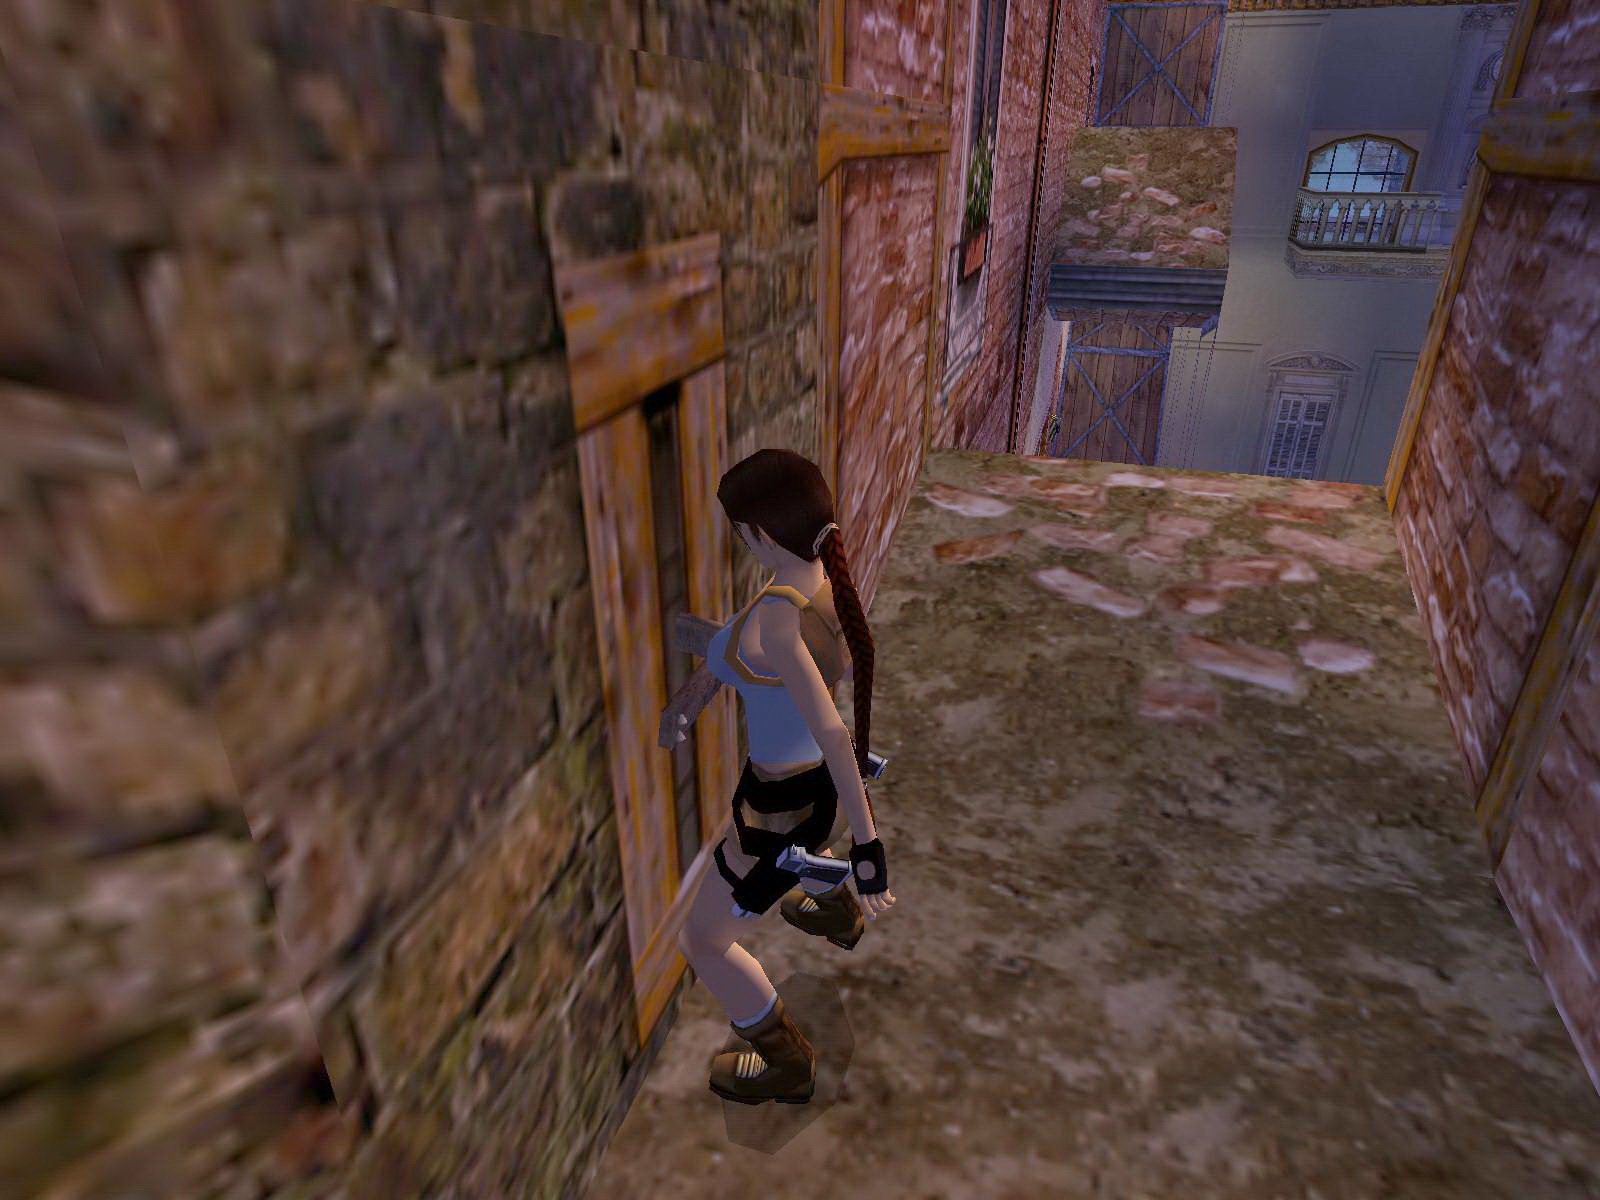
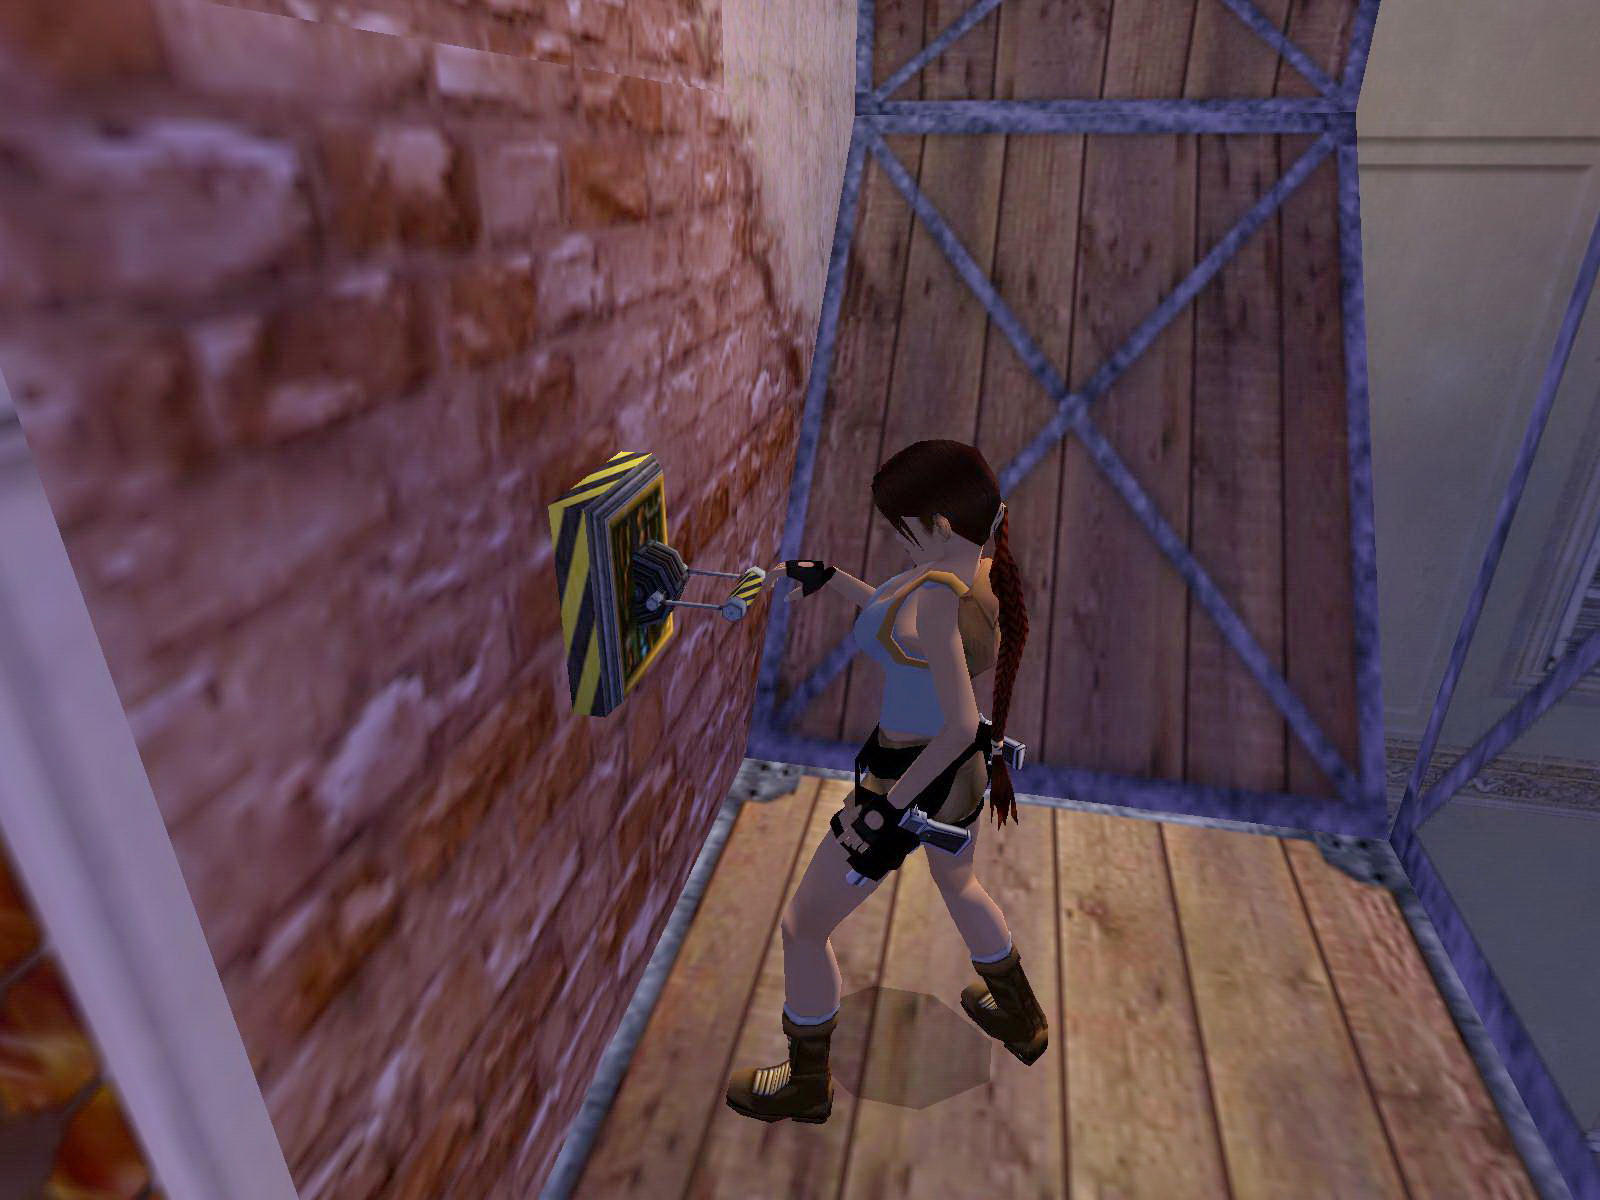
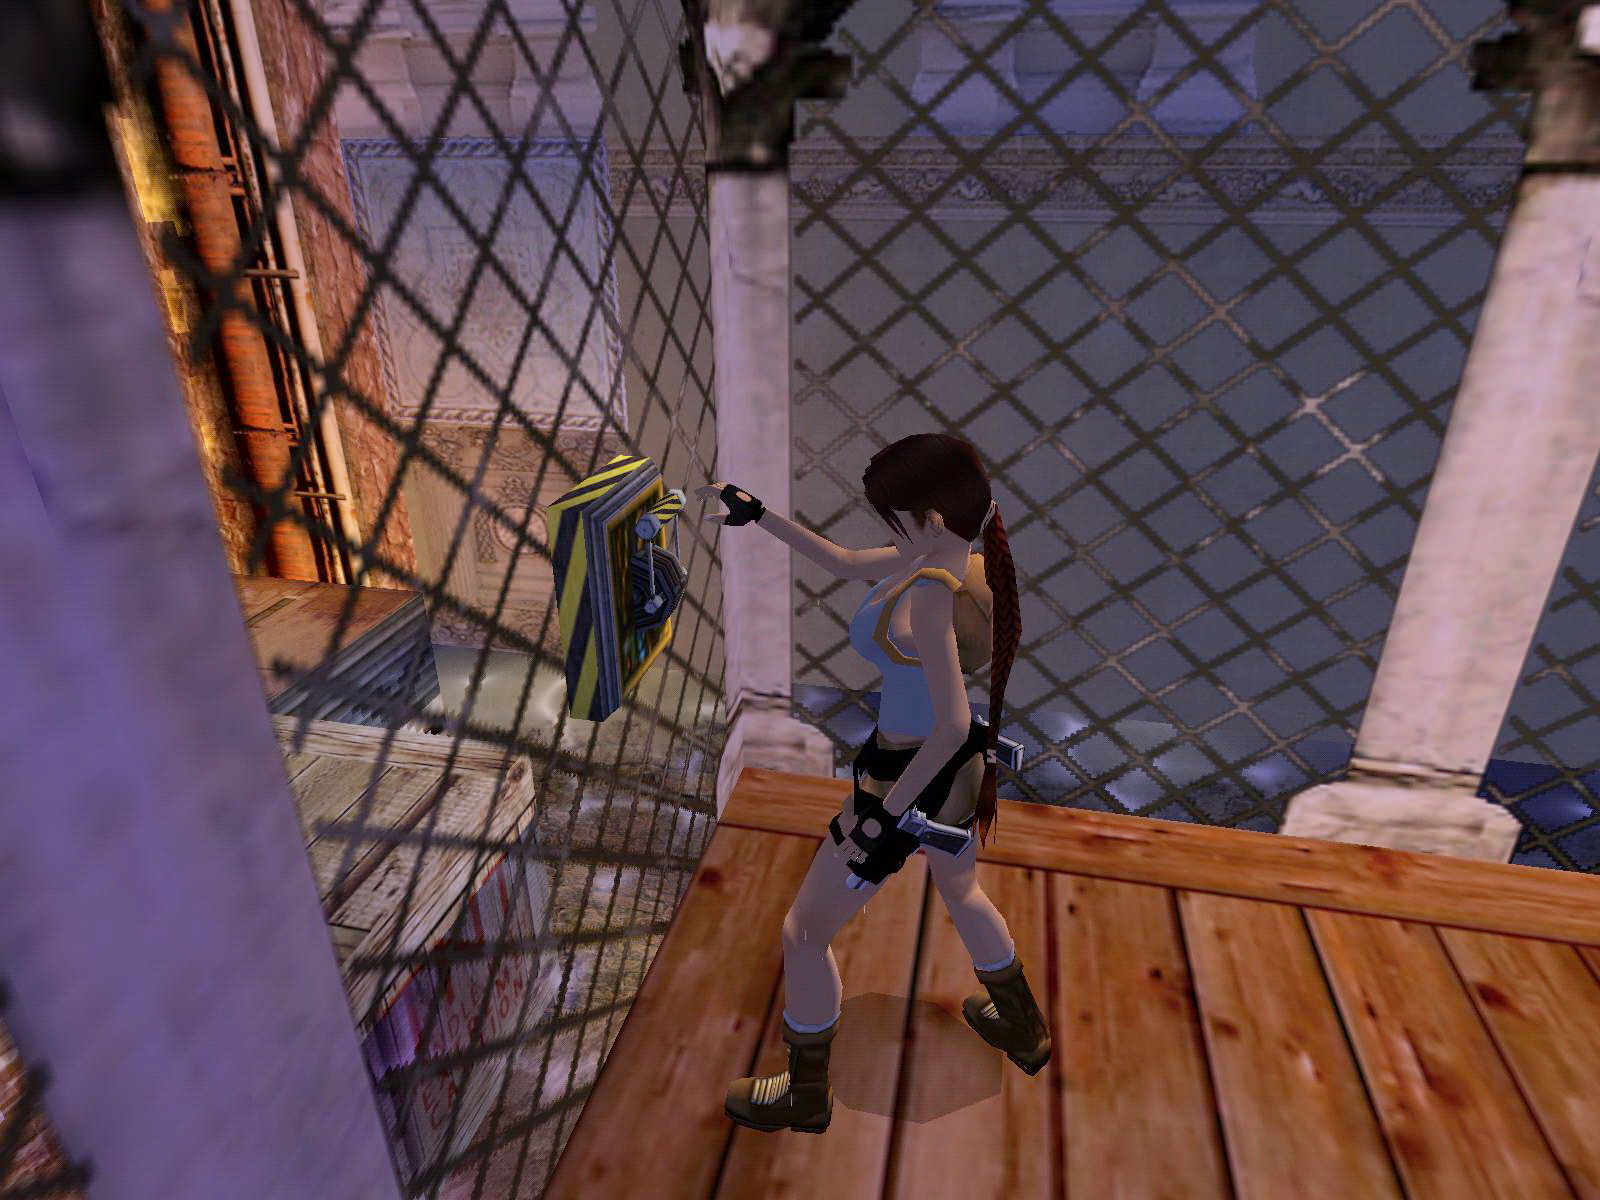
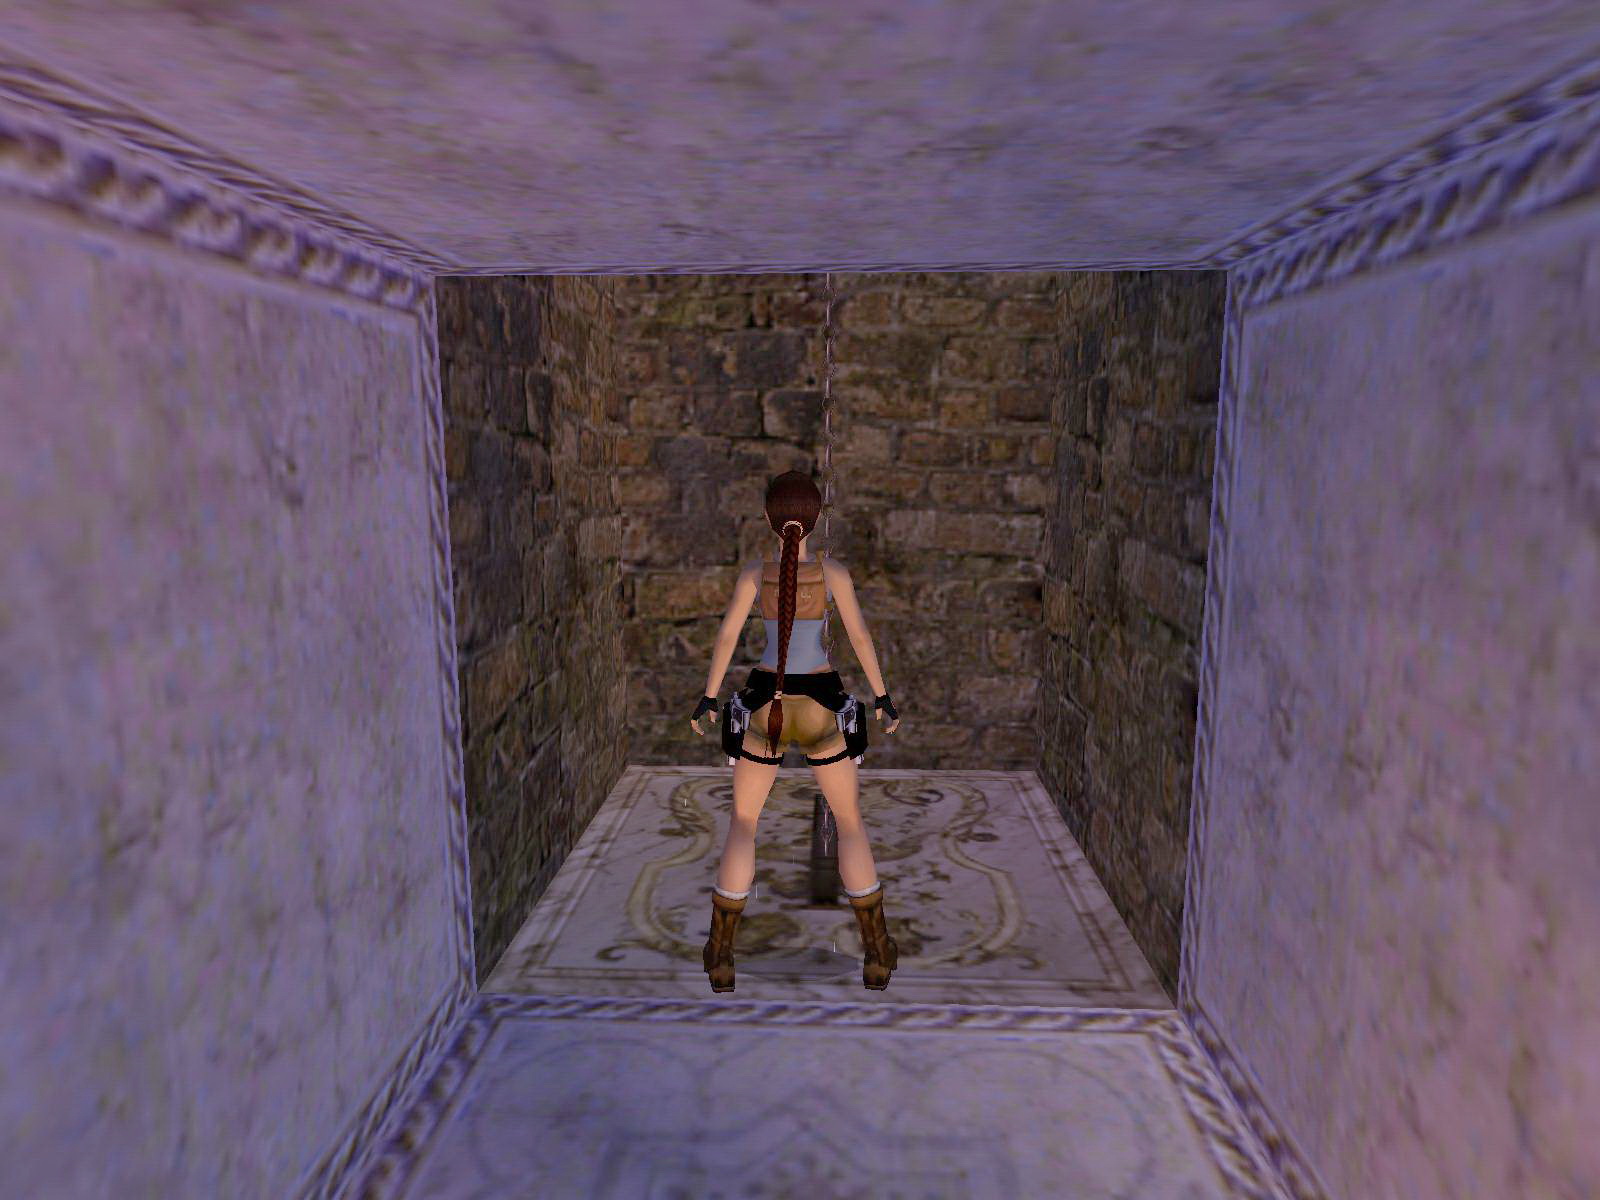
Go left and to the water, step inside the wooden shack S and just right around the corner is a button. Push it, backflip with roll and jump up against the ladder; then backflip before the trapdoor closes. Jump NW to the red awning and then to the terrace N, open the doors and go in. Shoot the window and go push a button at the other end of the balcony, a gate opens up below. Hop over the fence and get into the boat house N, just inside left is a crawlspace in the wall, jump and grab in to follow to a chain pulley. A big door opens below outside. Go back and out of the boat house and swim E a bit.
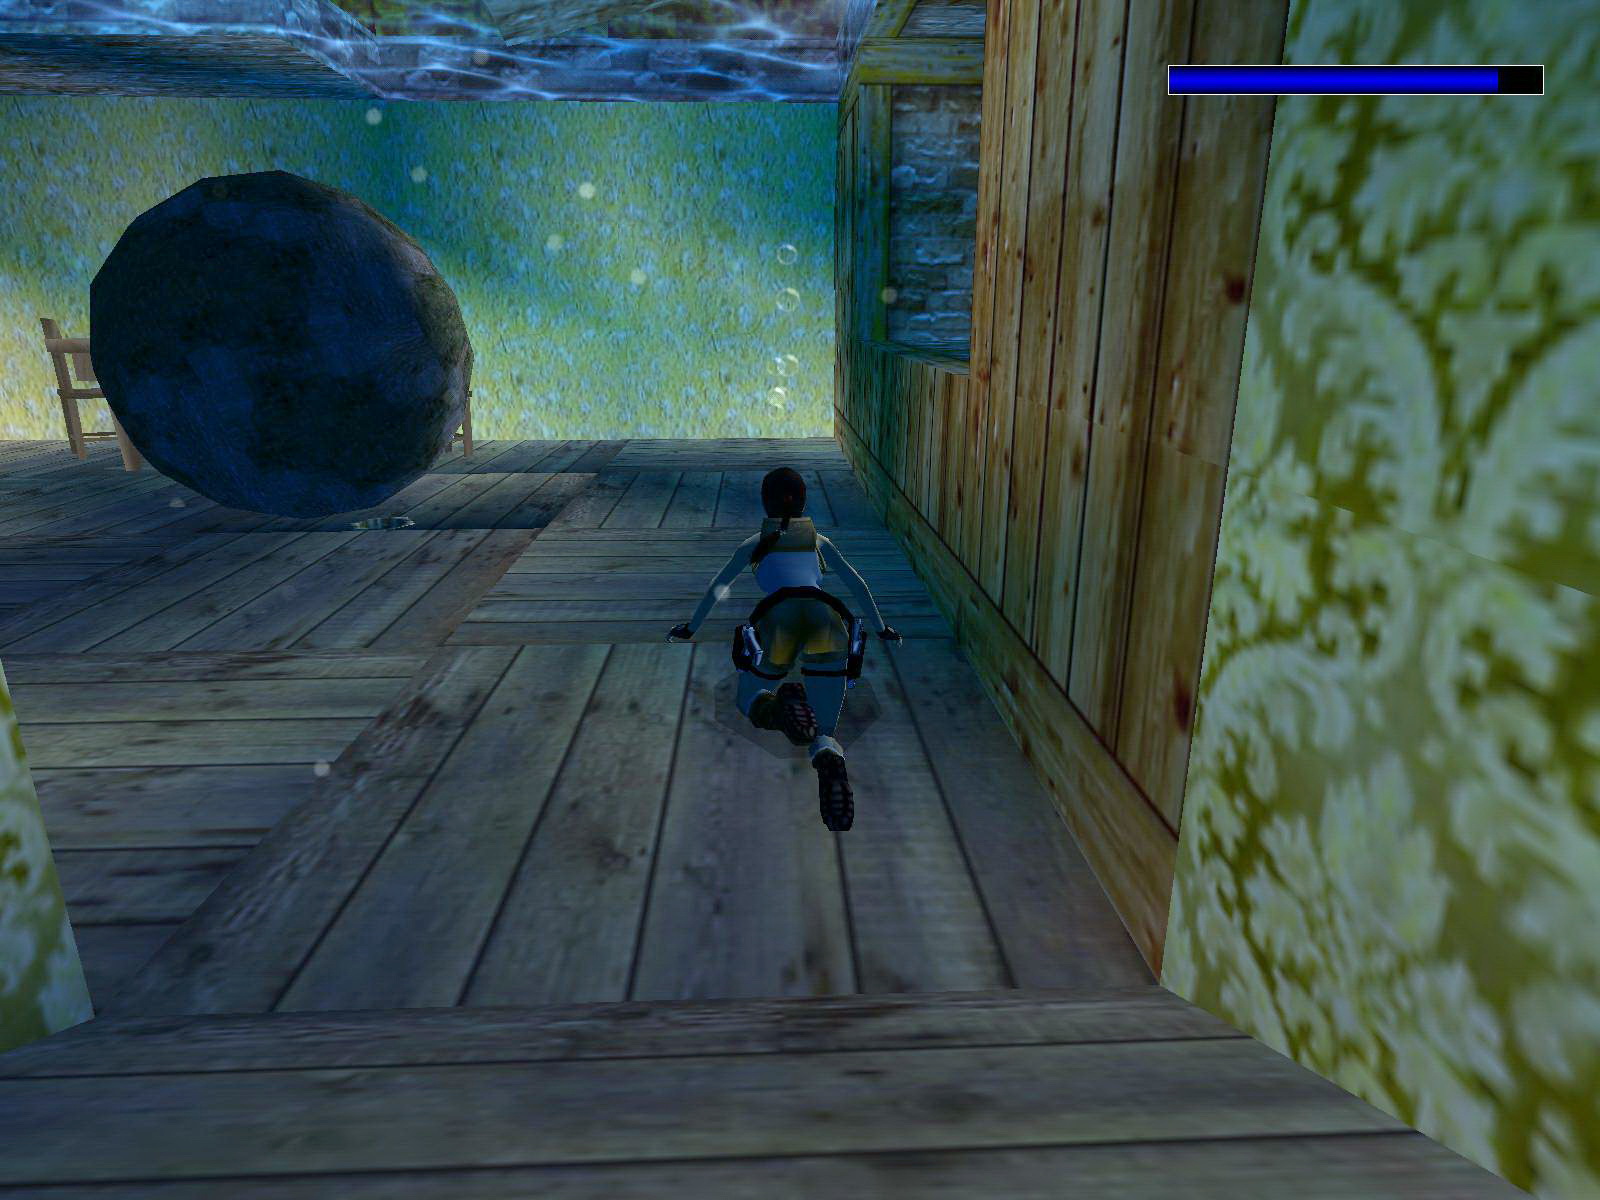
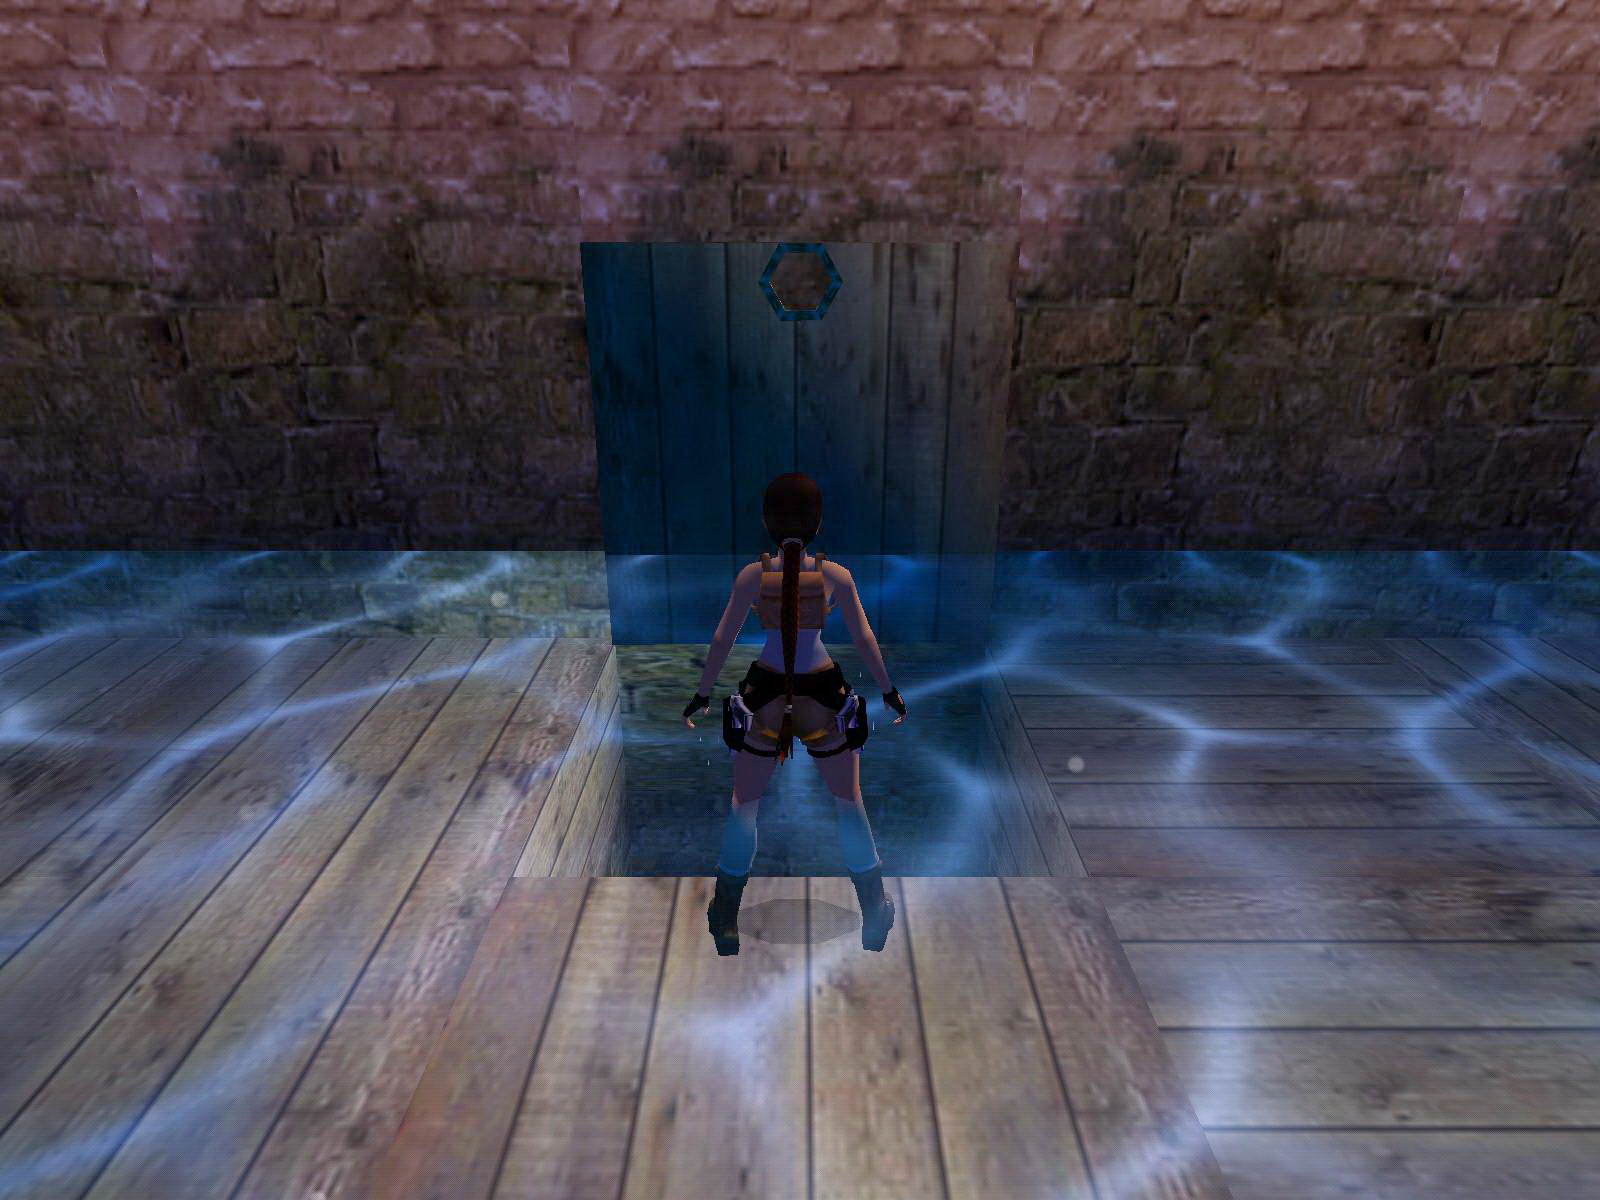
Flooded Basement, the Theatre 1st Floor Key.
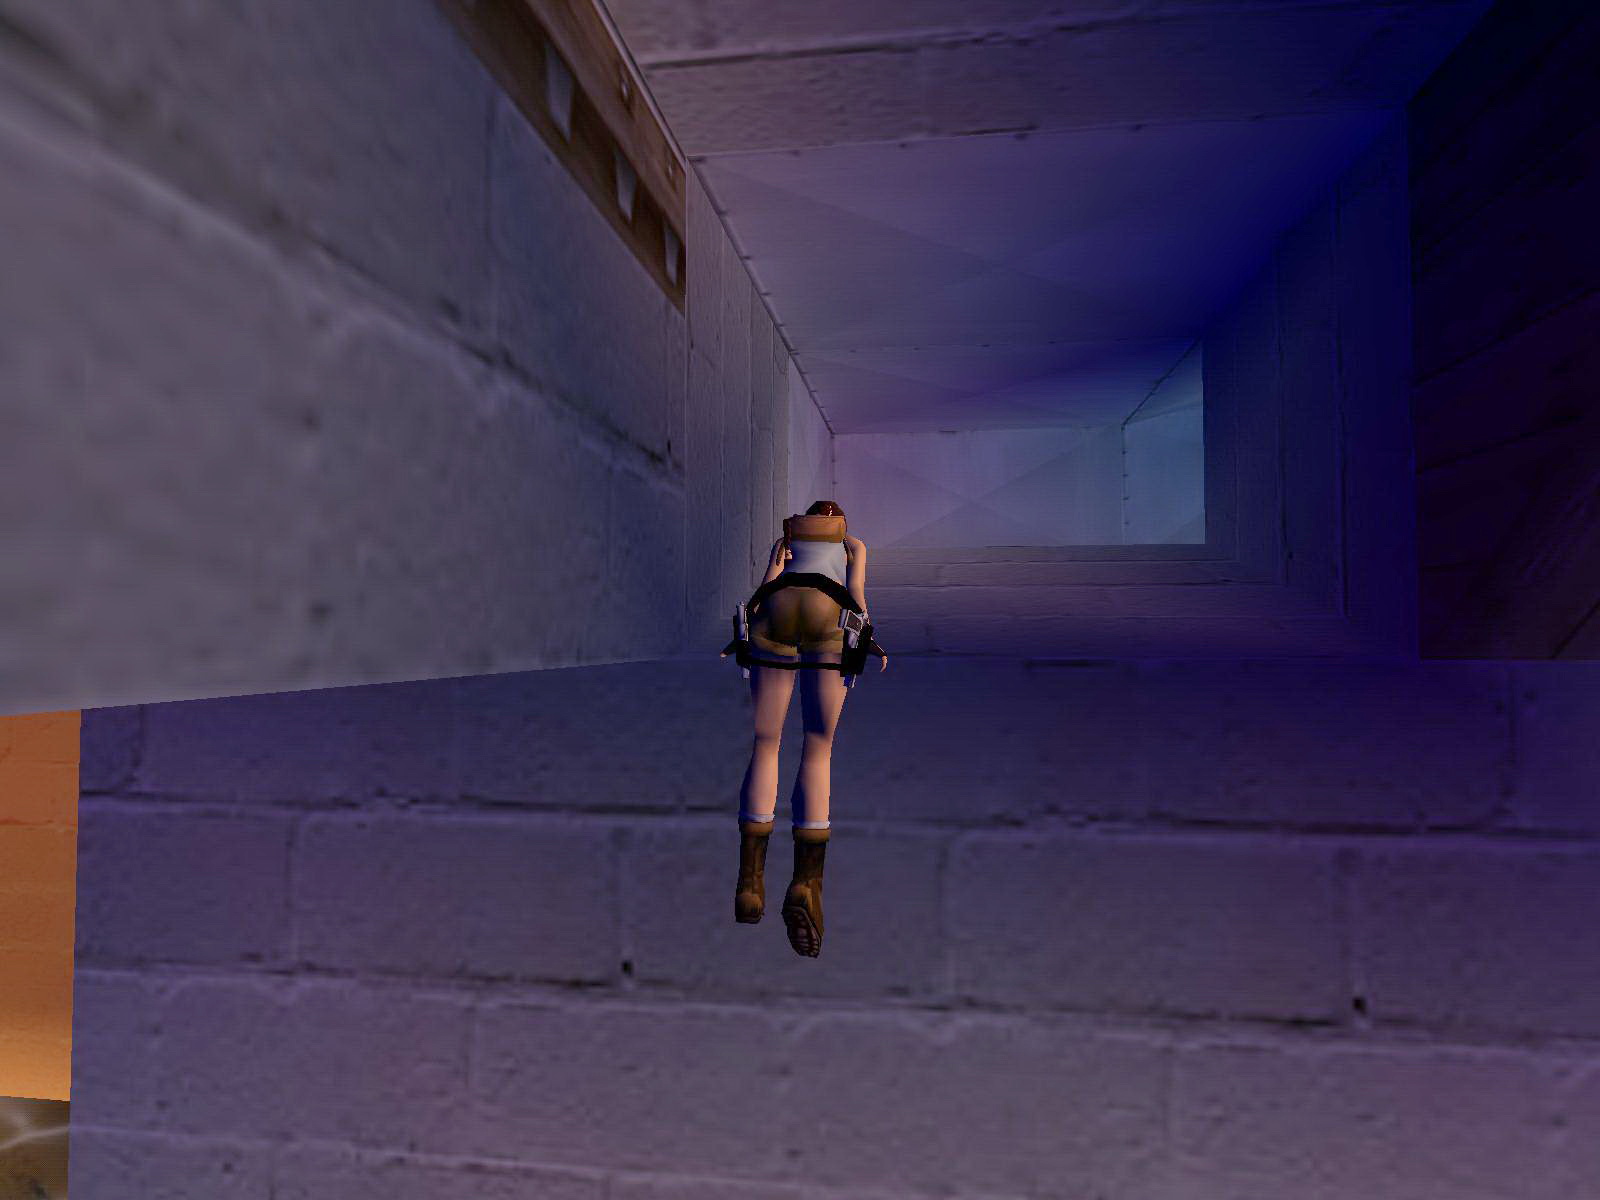
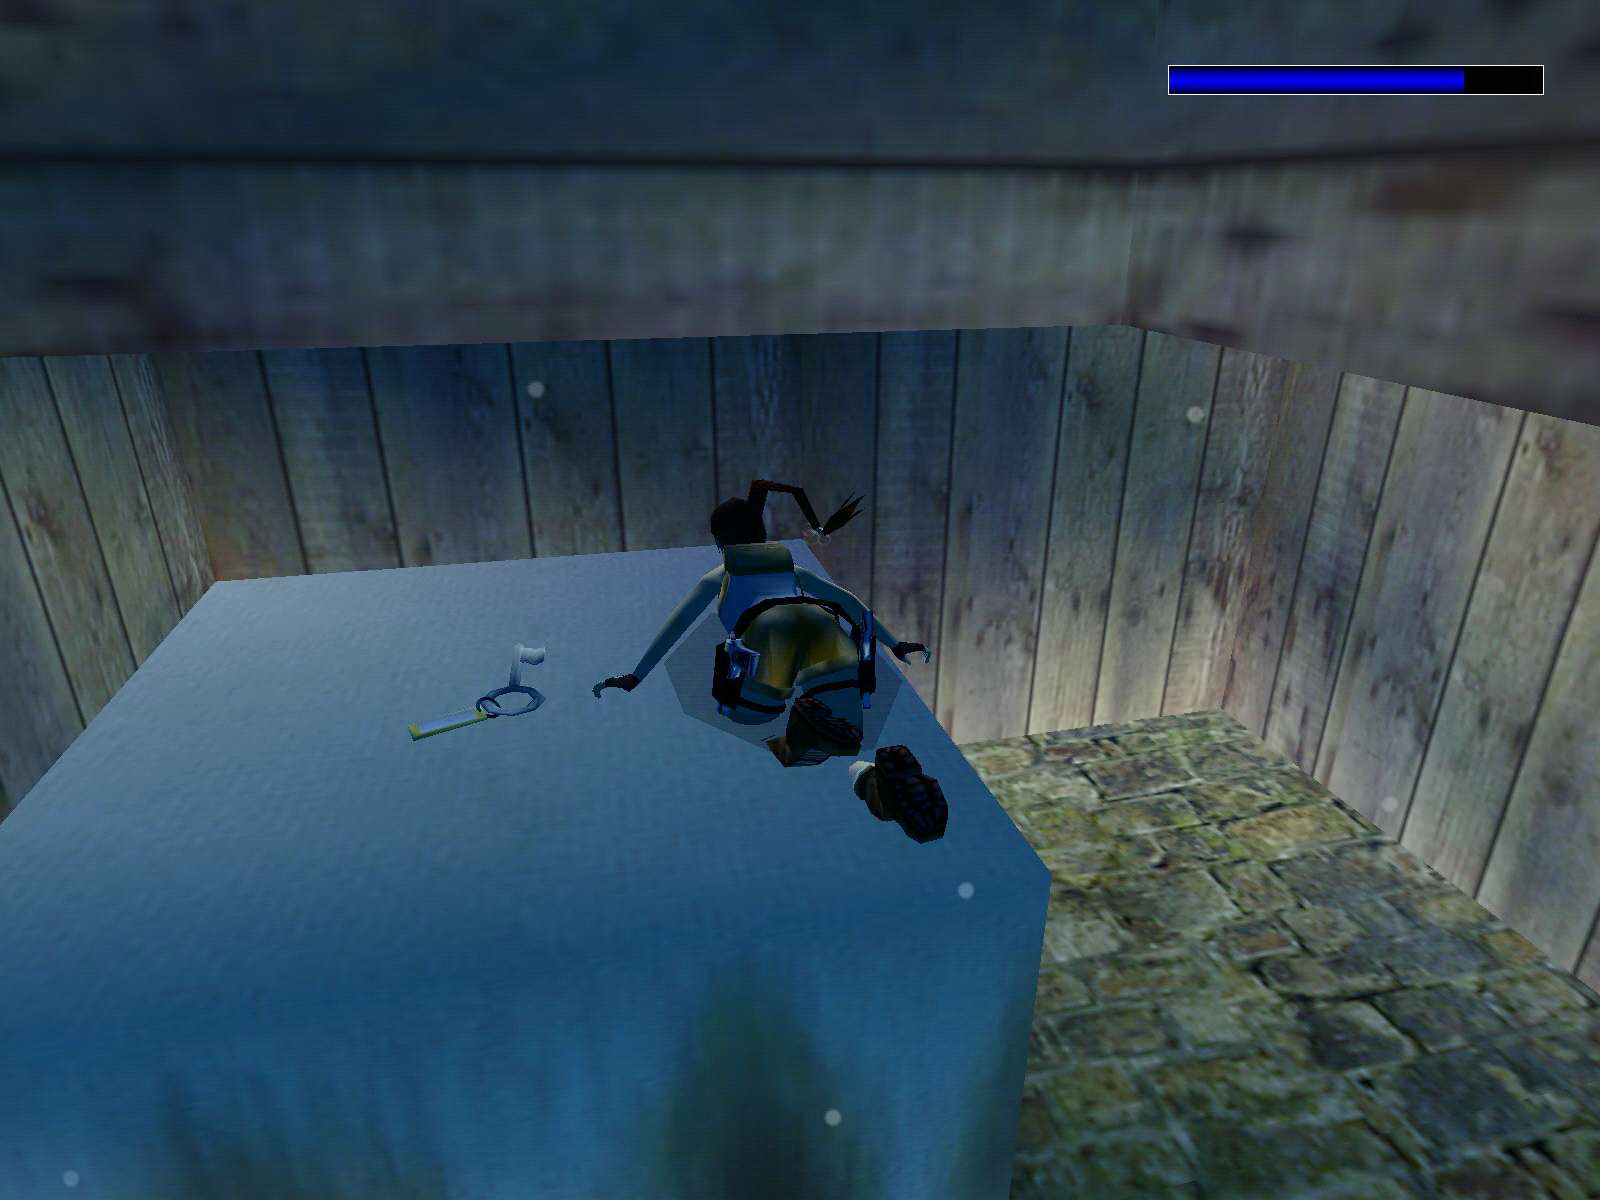
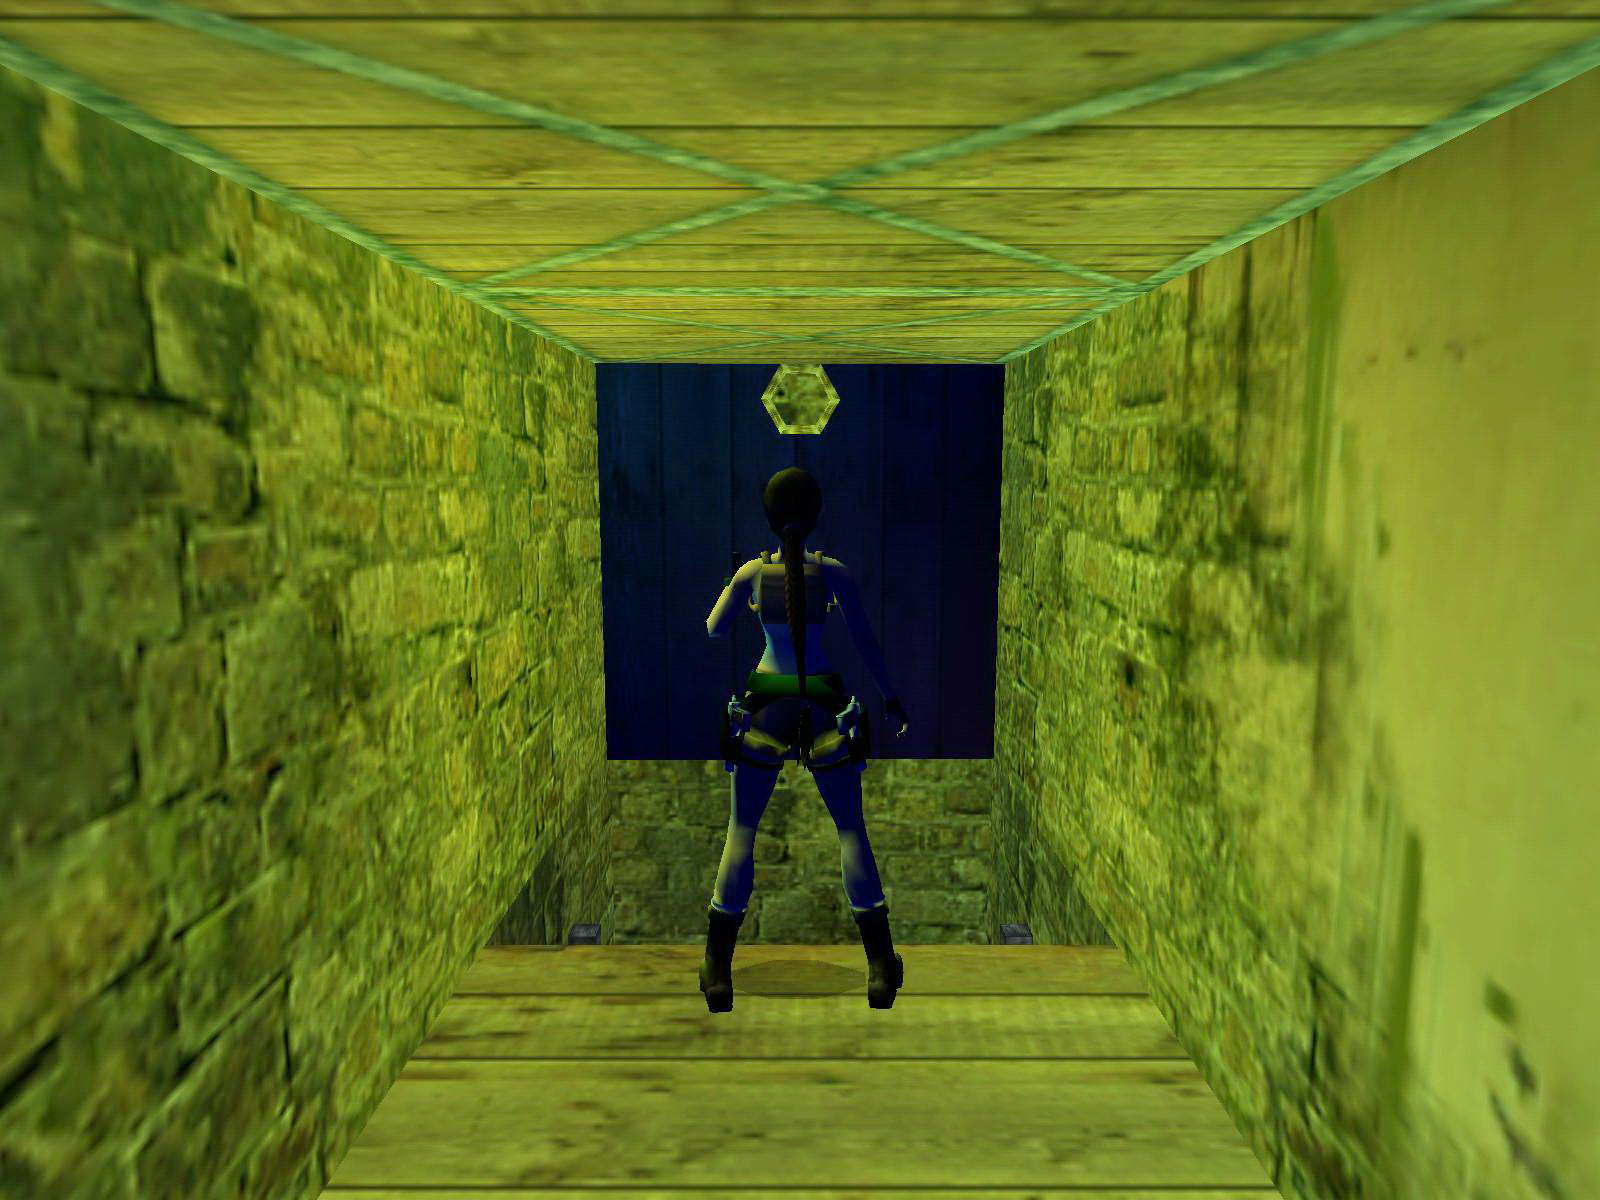
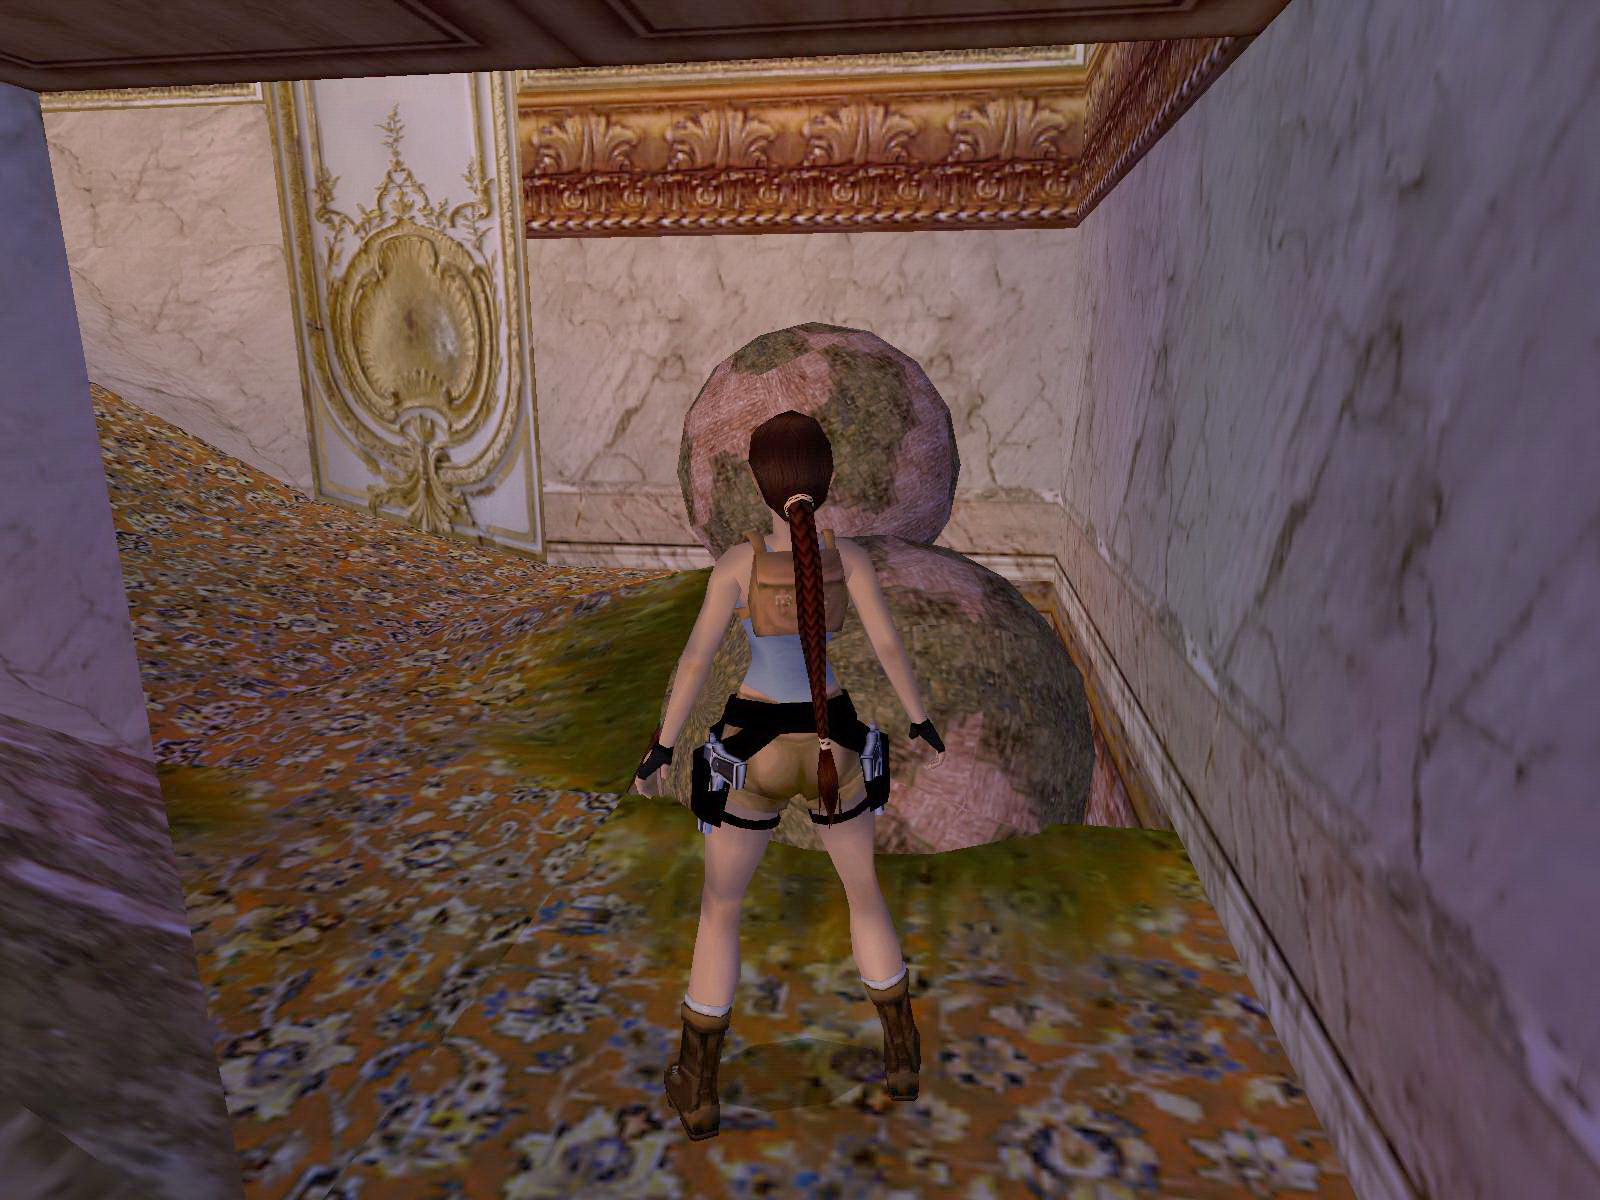
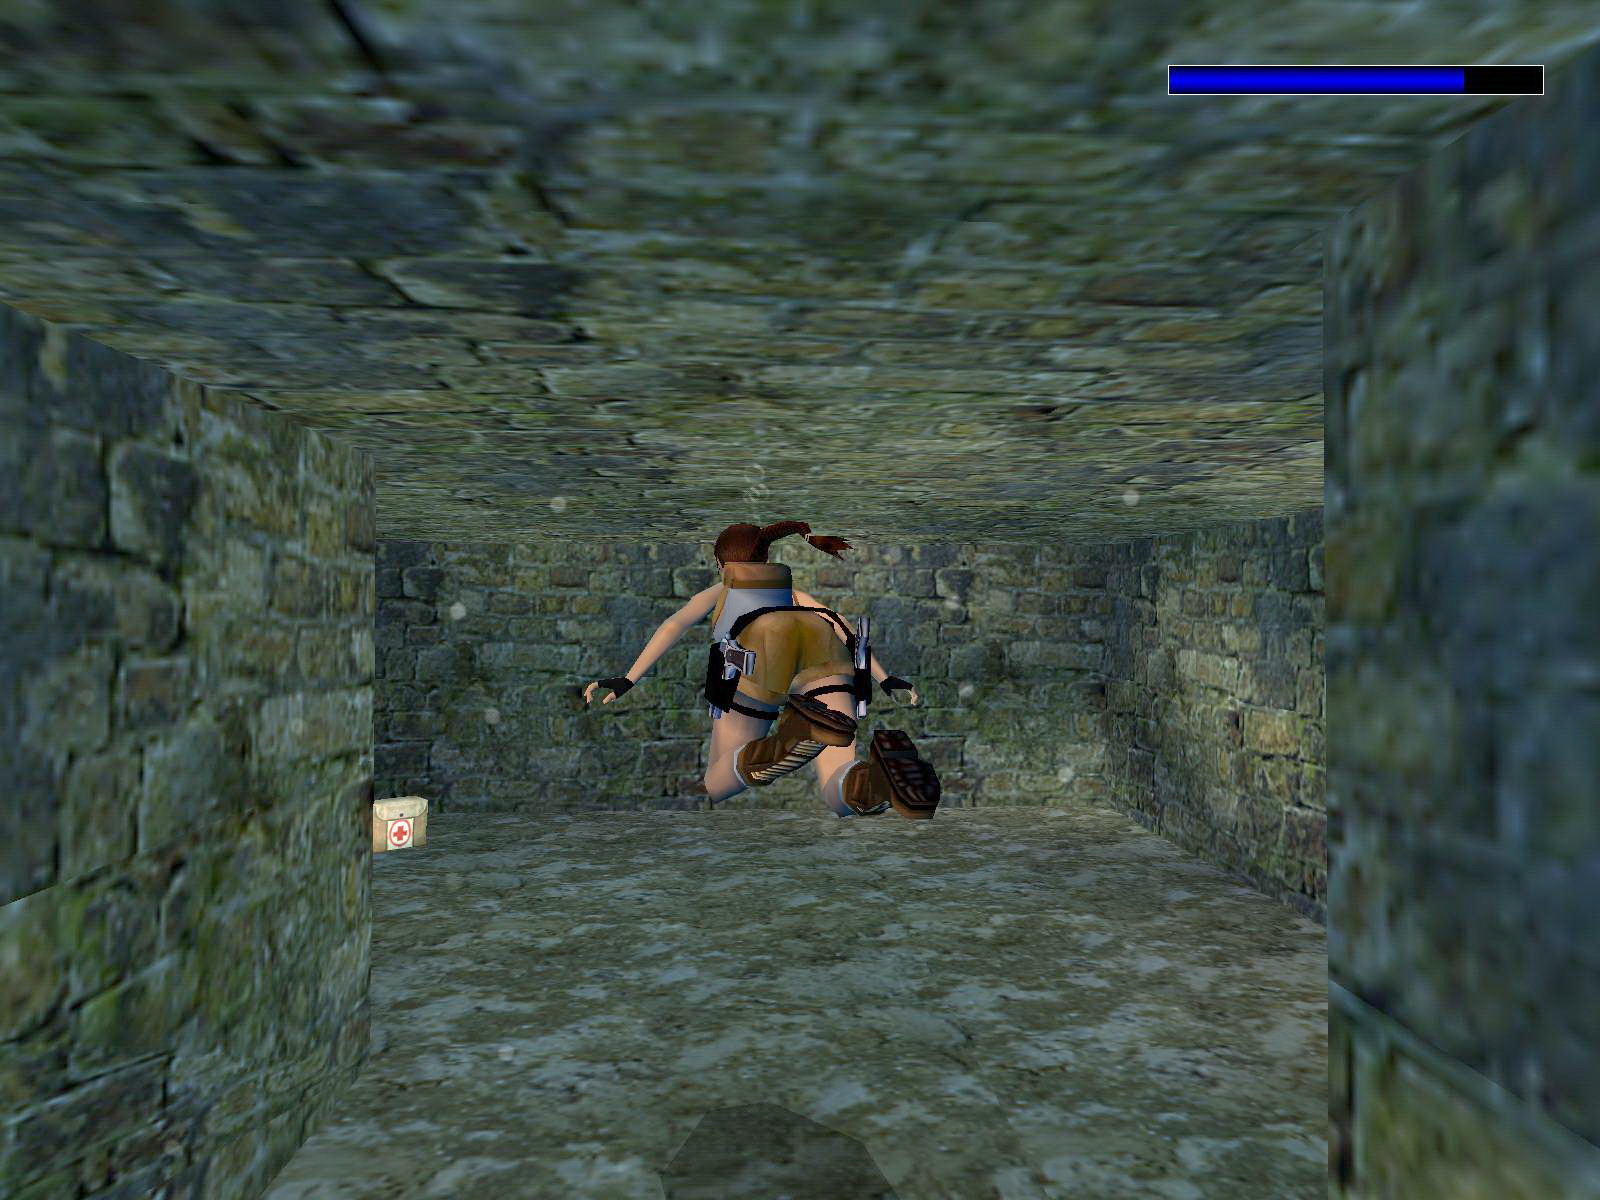
Swim into that door N, climb on the jetty and shoot the window W, jump in and go down to a flooded basement. Swim straight as a boulder will fall into the water. Climb out in the NE corner and look SW, theres an opening in the wall Lara looks at. Jump to the wall left of the opening (time the swinging crate) and grab the crack in that wall (a curved running jump can do the trick). Traverse to the opening and use the button to open an underwater gate. Get out of the basement and up the passage, hop into the water where the gate opened N, climb onto the jetty in the next room and turn around to jump and grab the chain SE. Climb up to just above the dark line in the wall and backflip to a ledge. Open the doors and throw the lever inside. Youll get a view of an open trapdoor in the flooded basement. Return there and swim down to get the Theatre 1st Floor Key N. Go back out side and to the wooden shack where the level started (SW).
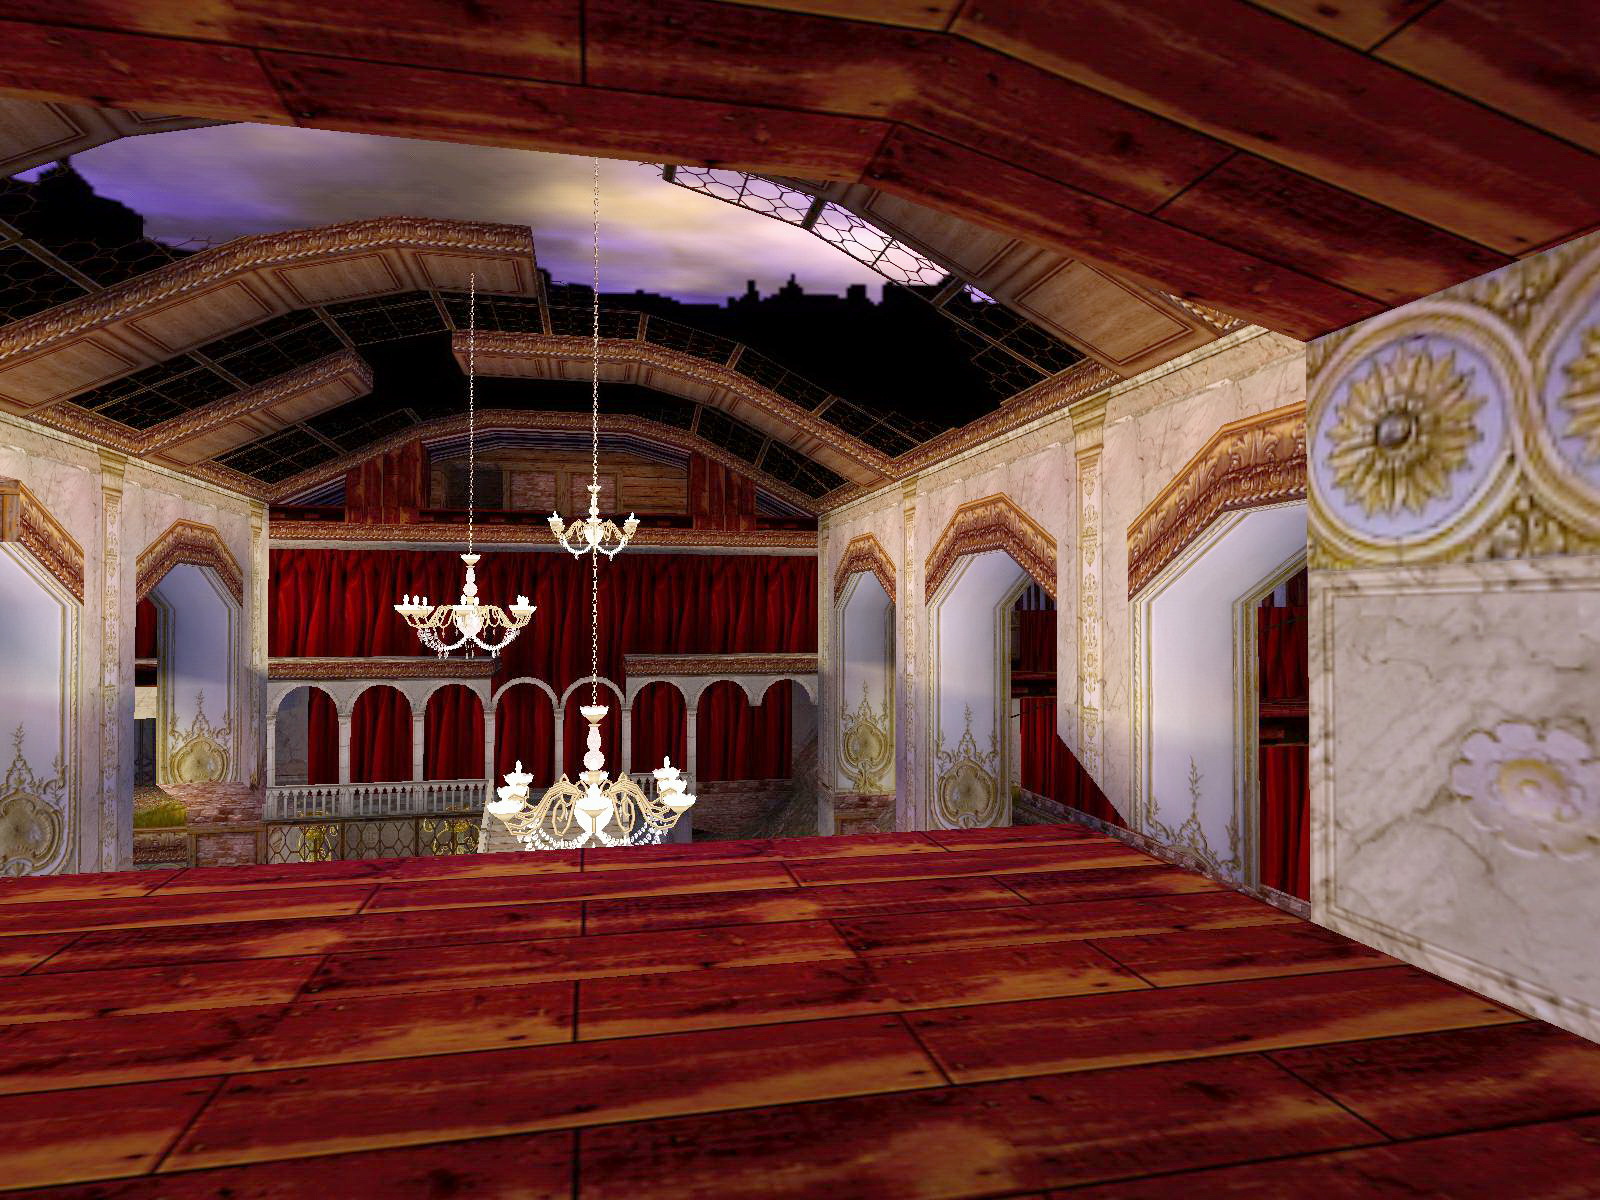
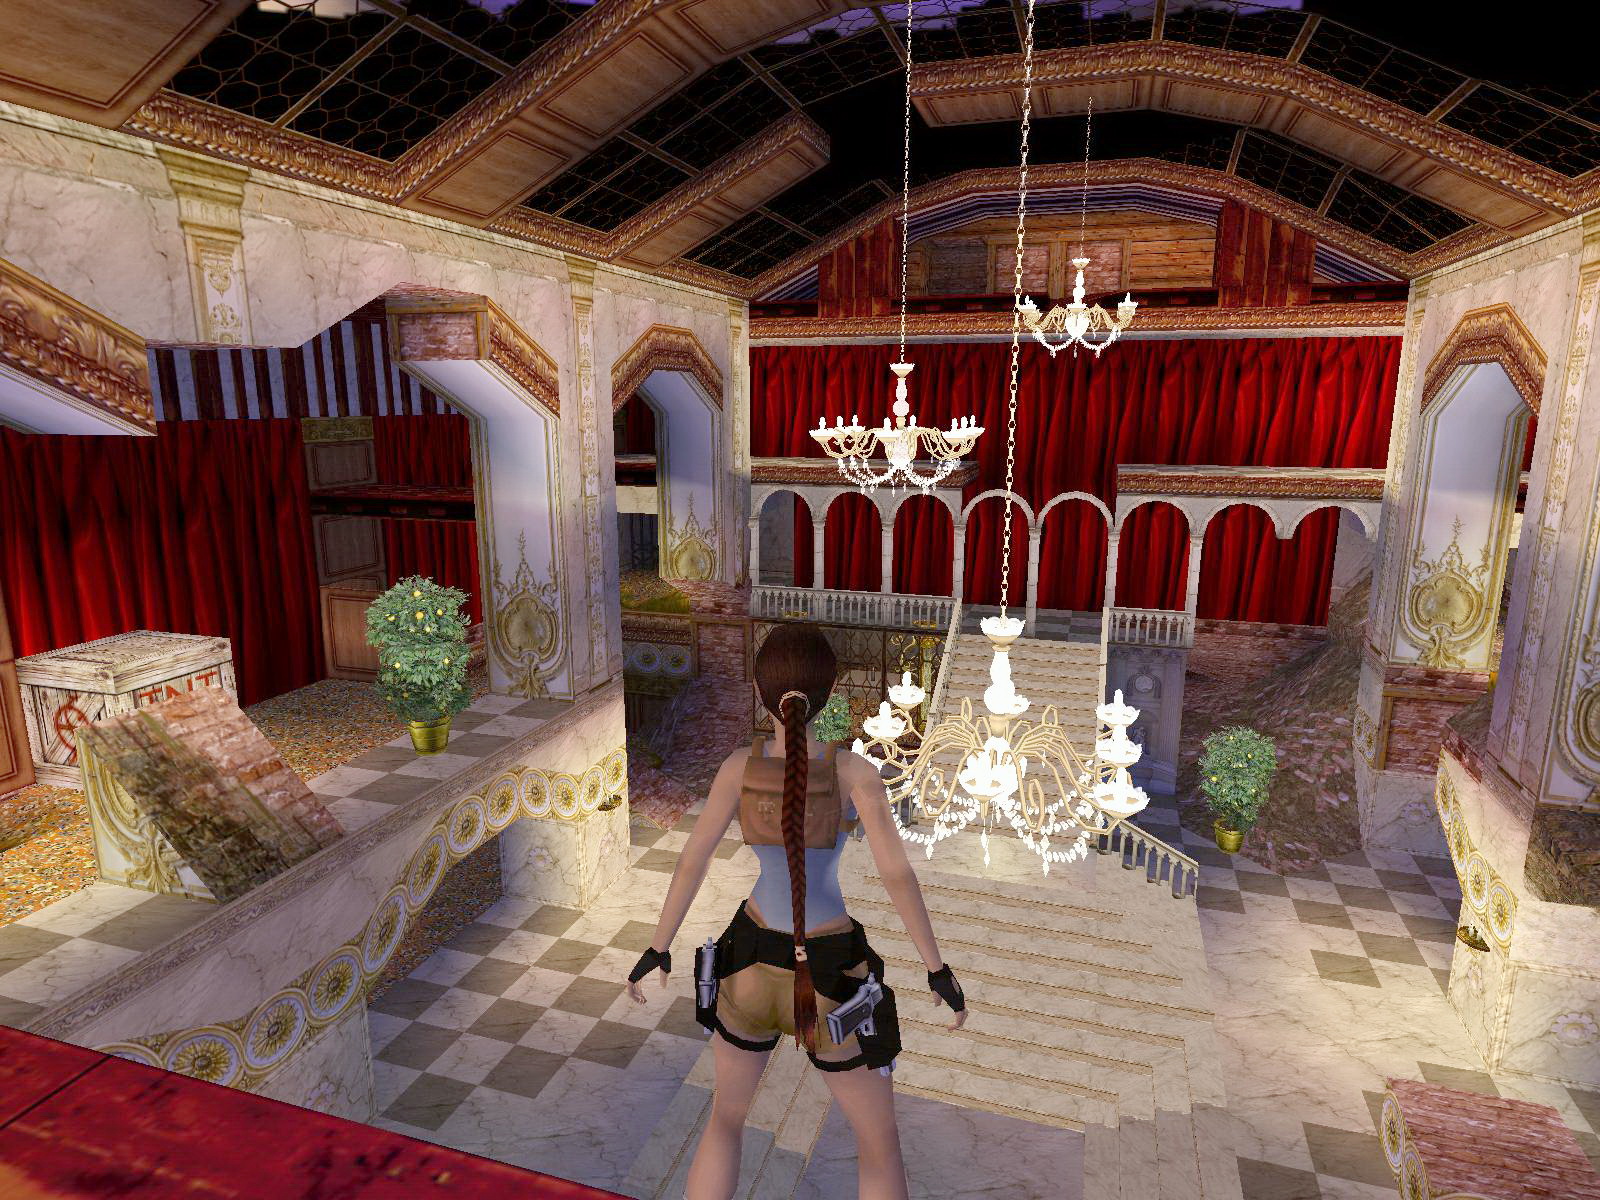
The Theatre, the Shotgun.
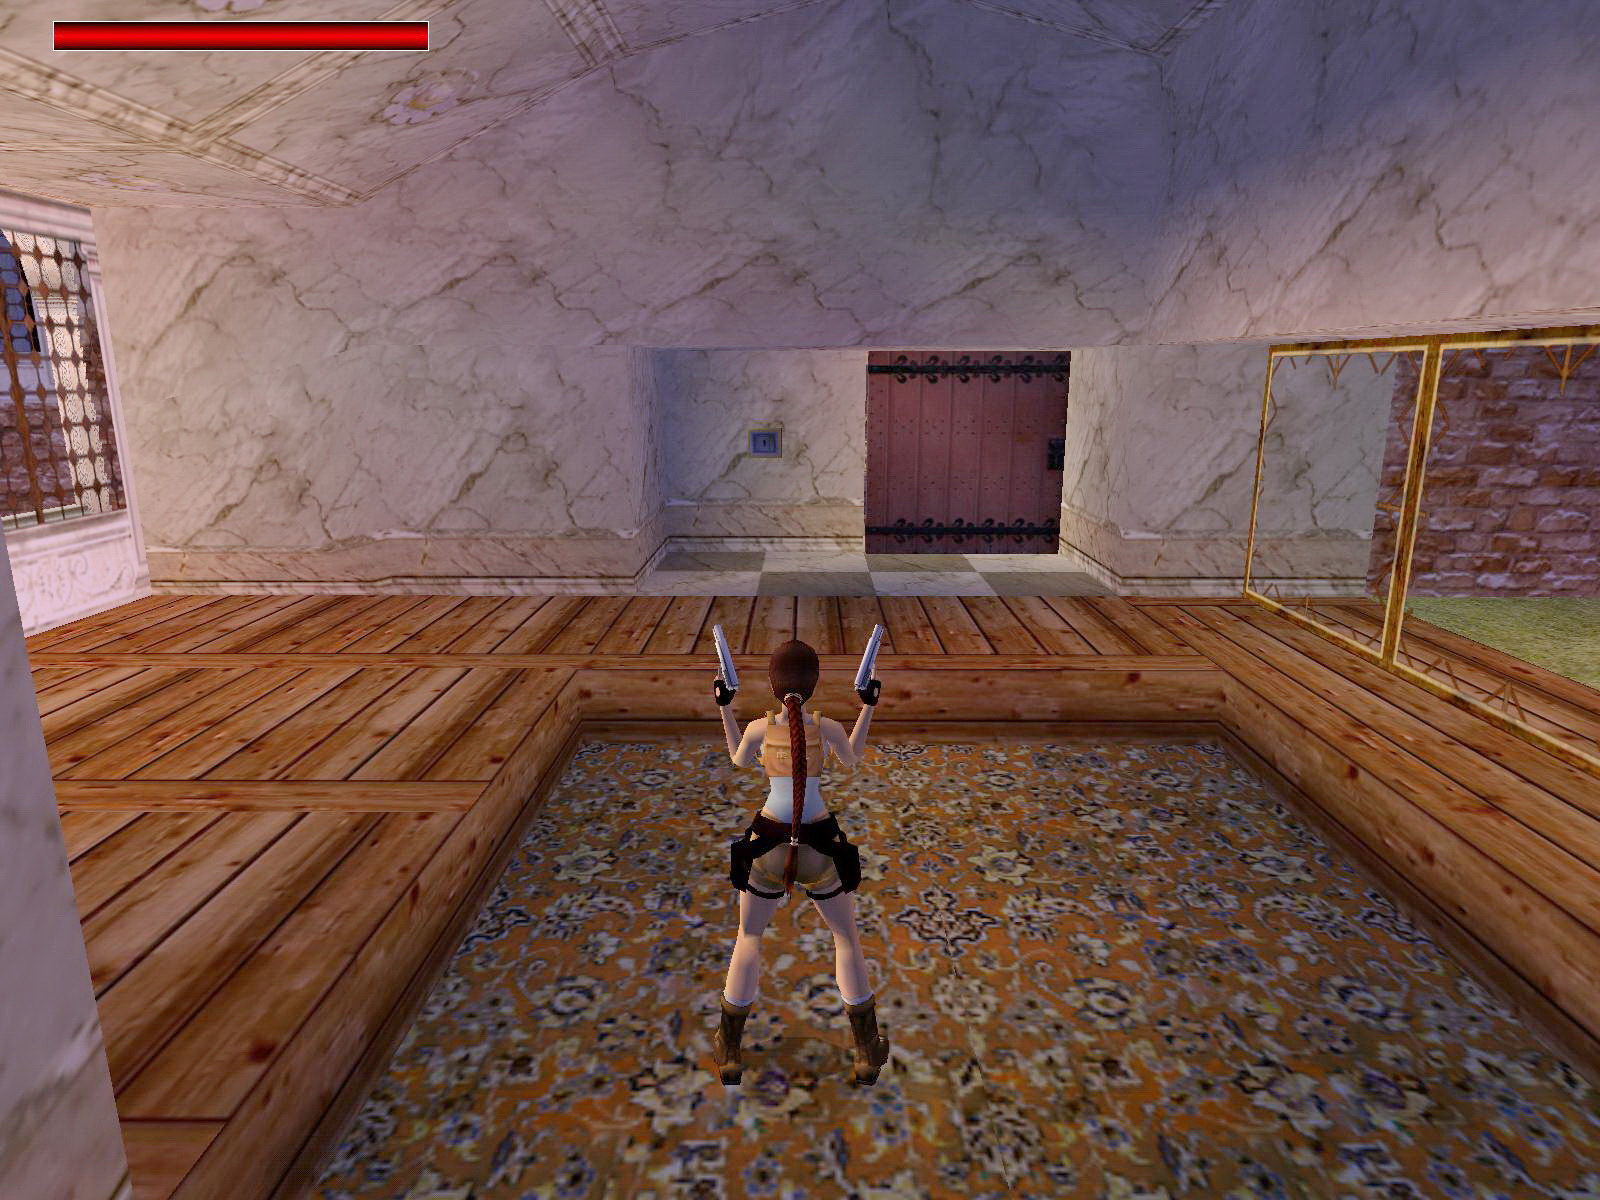
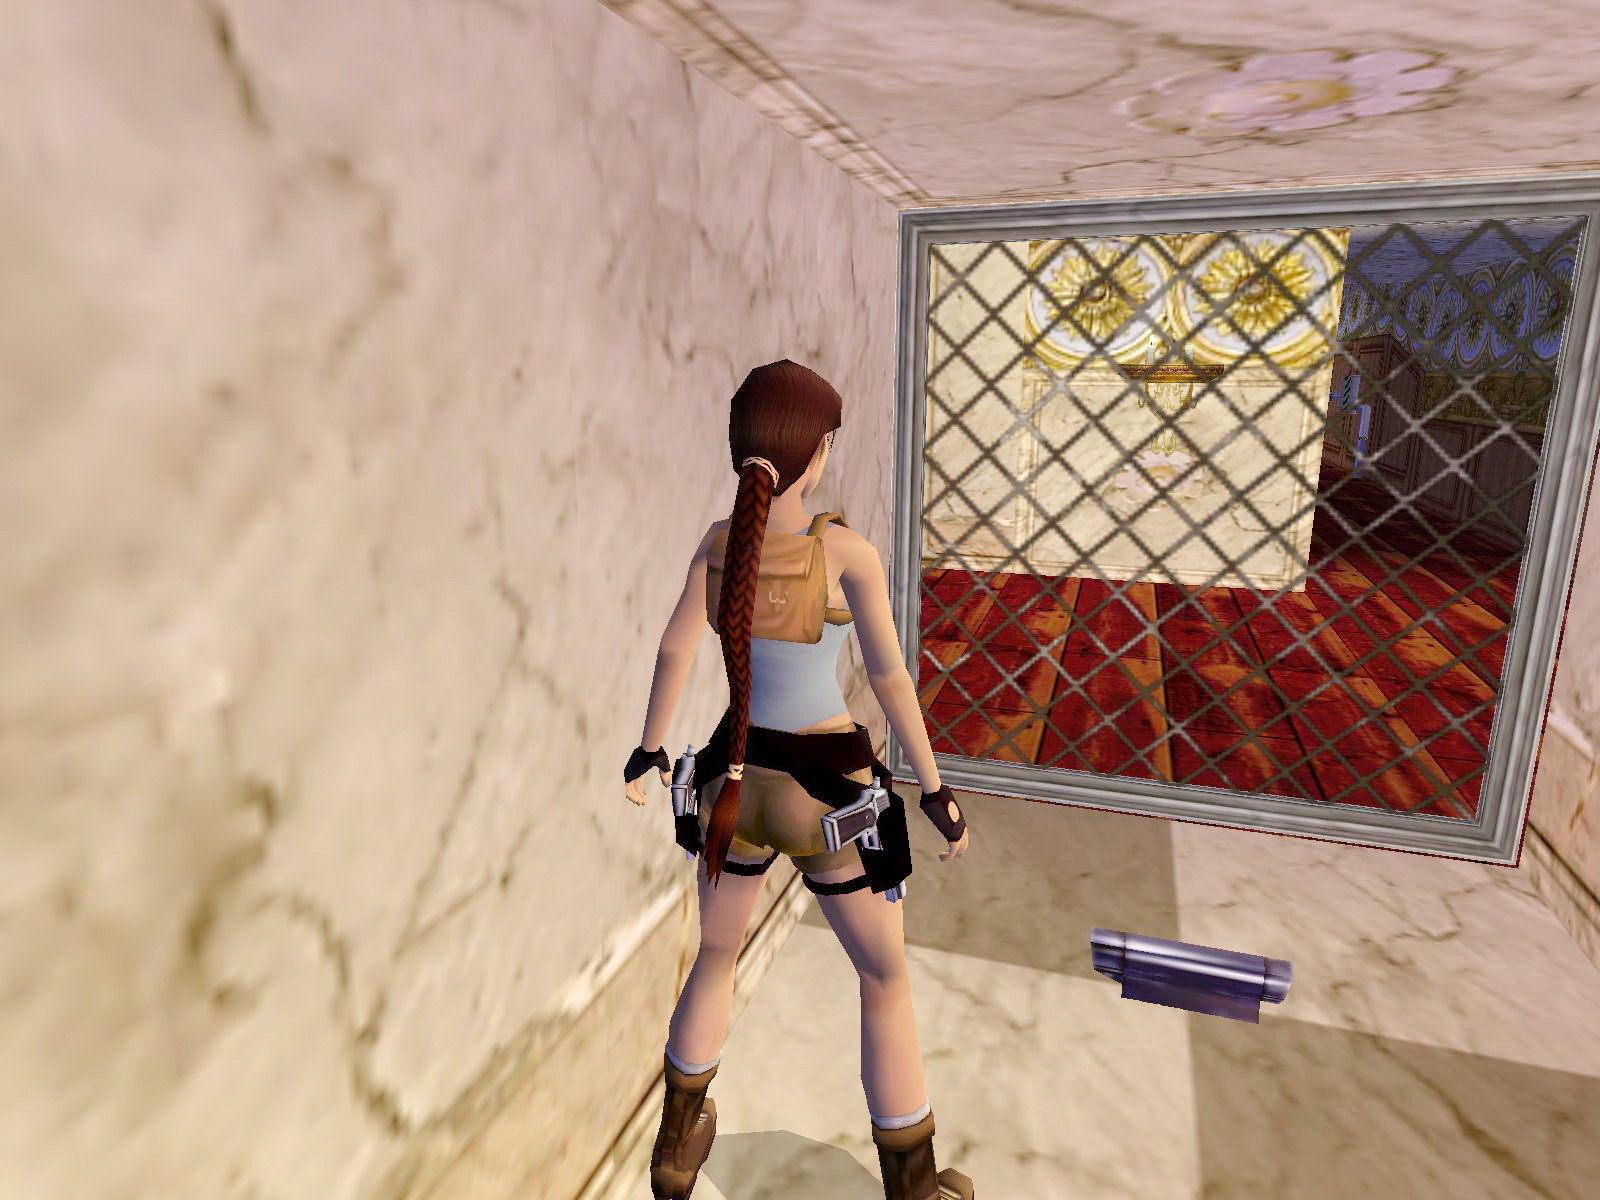
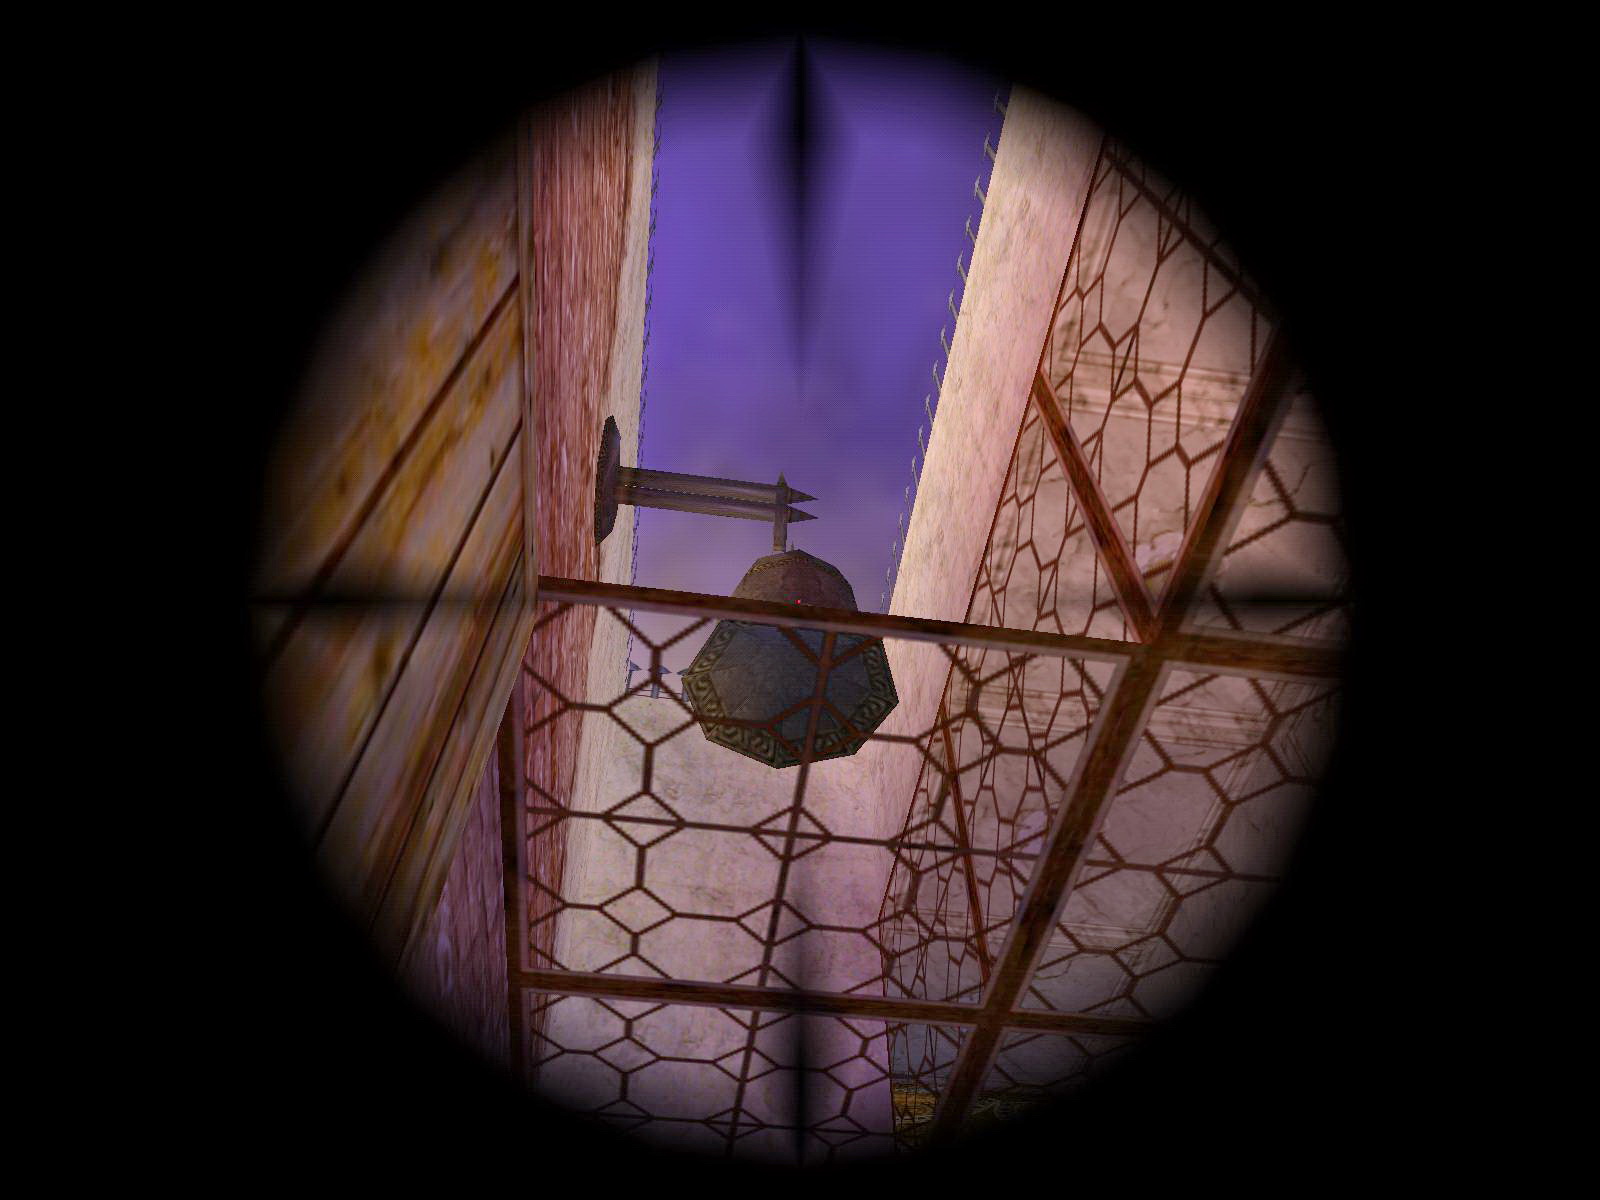
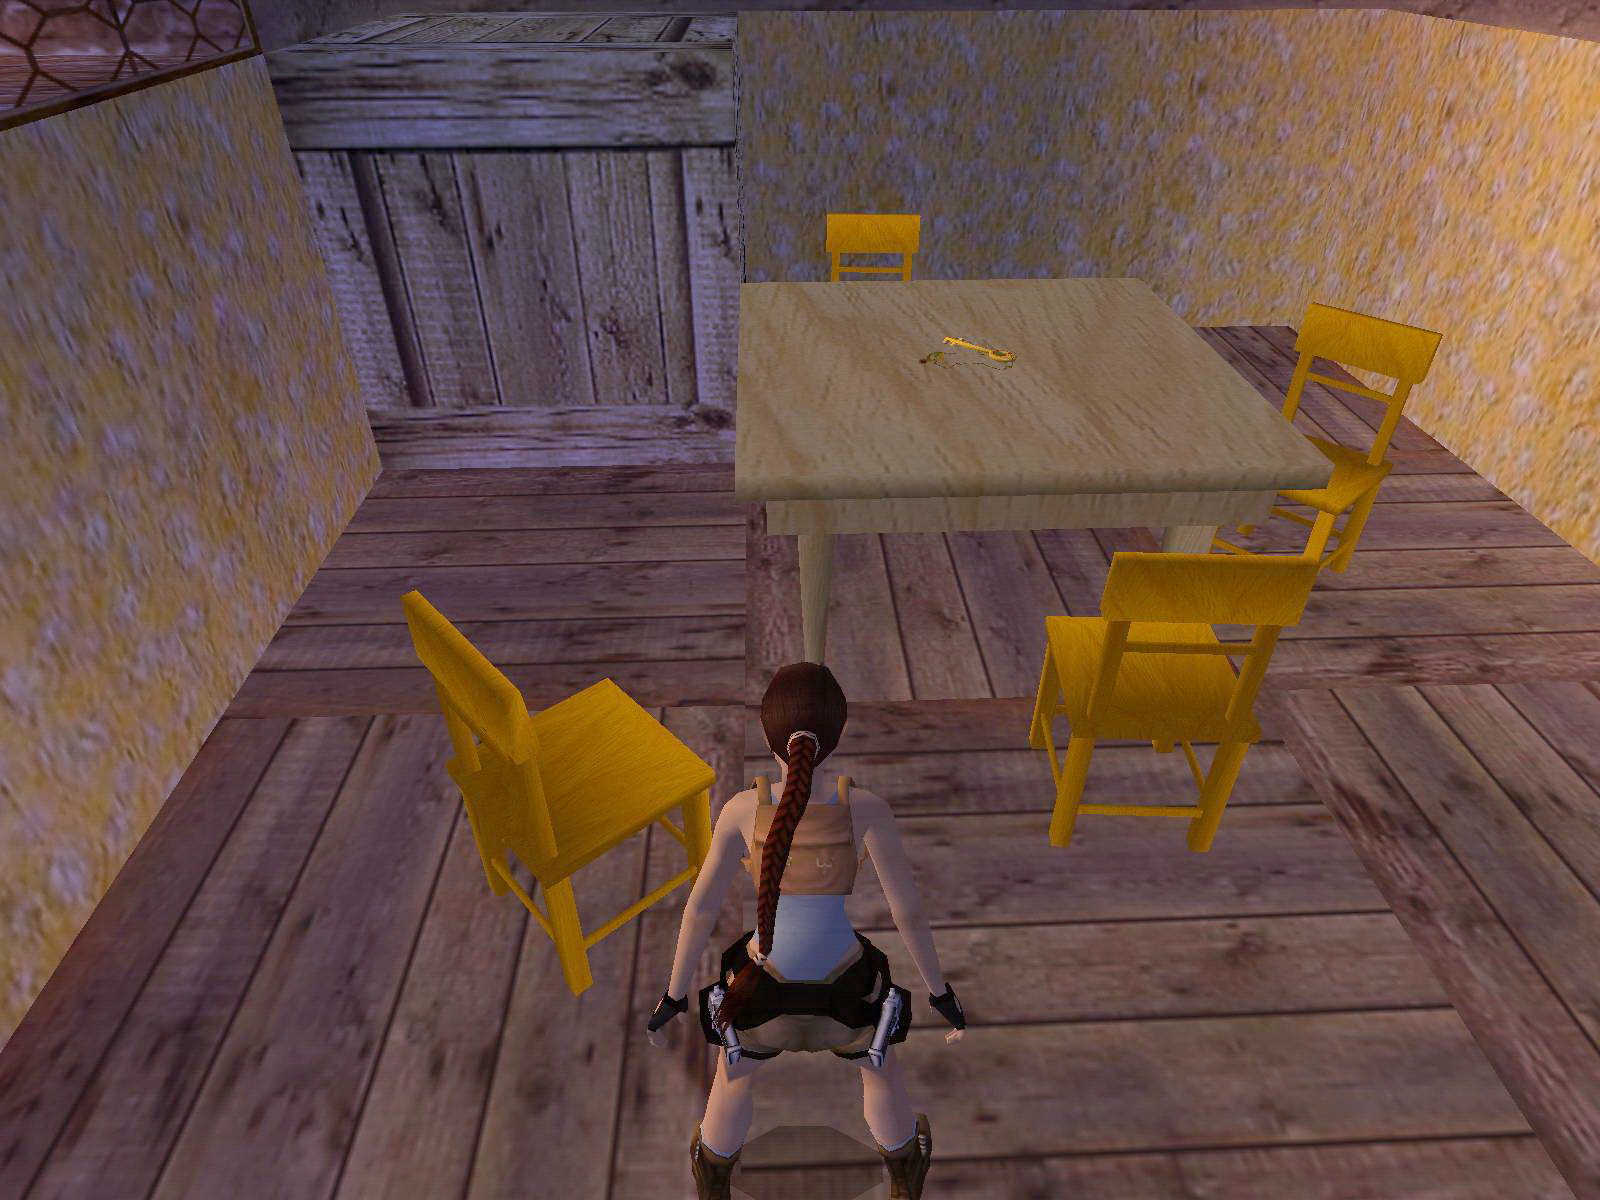
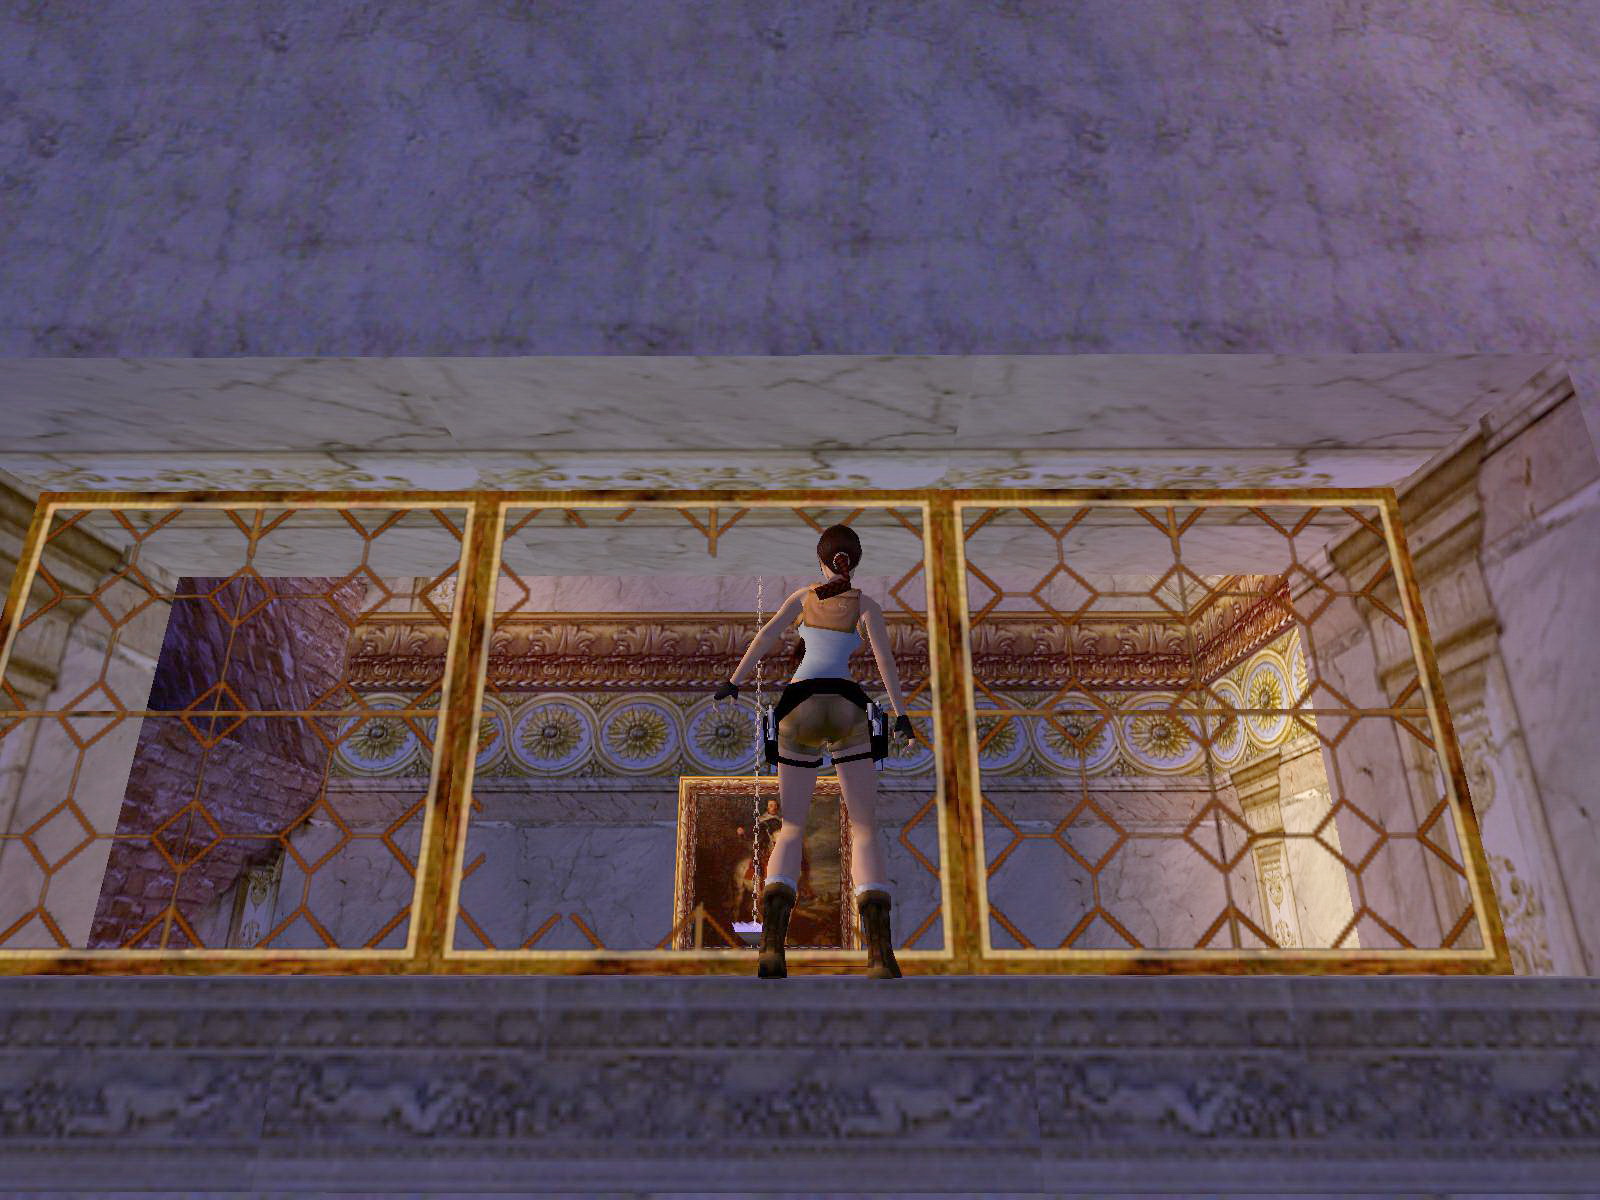
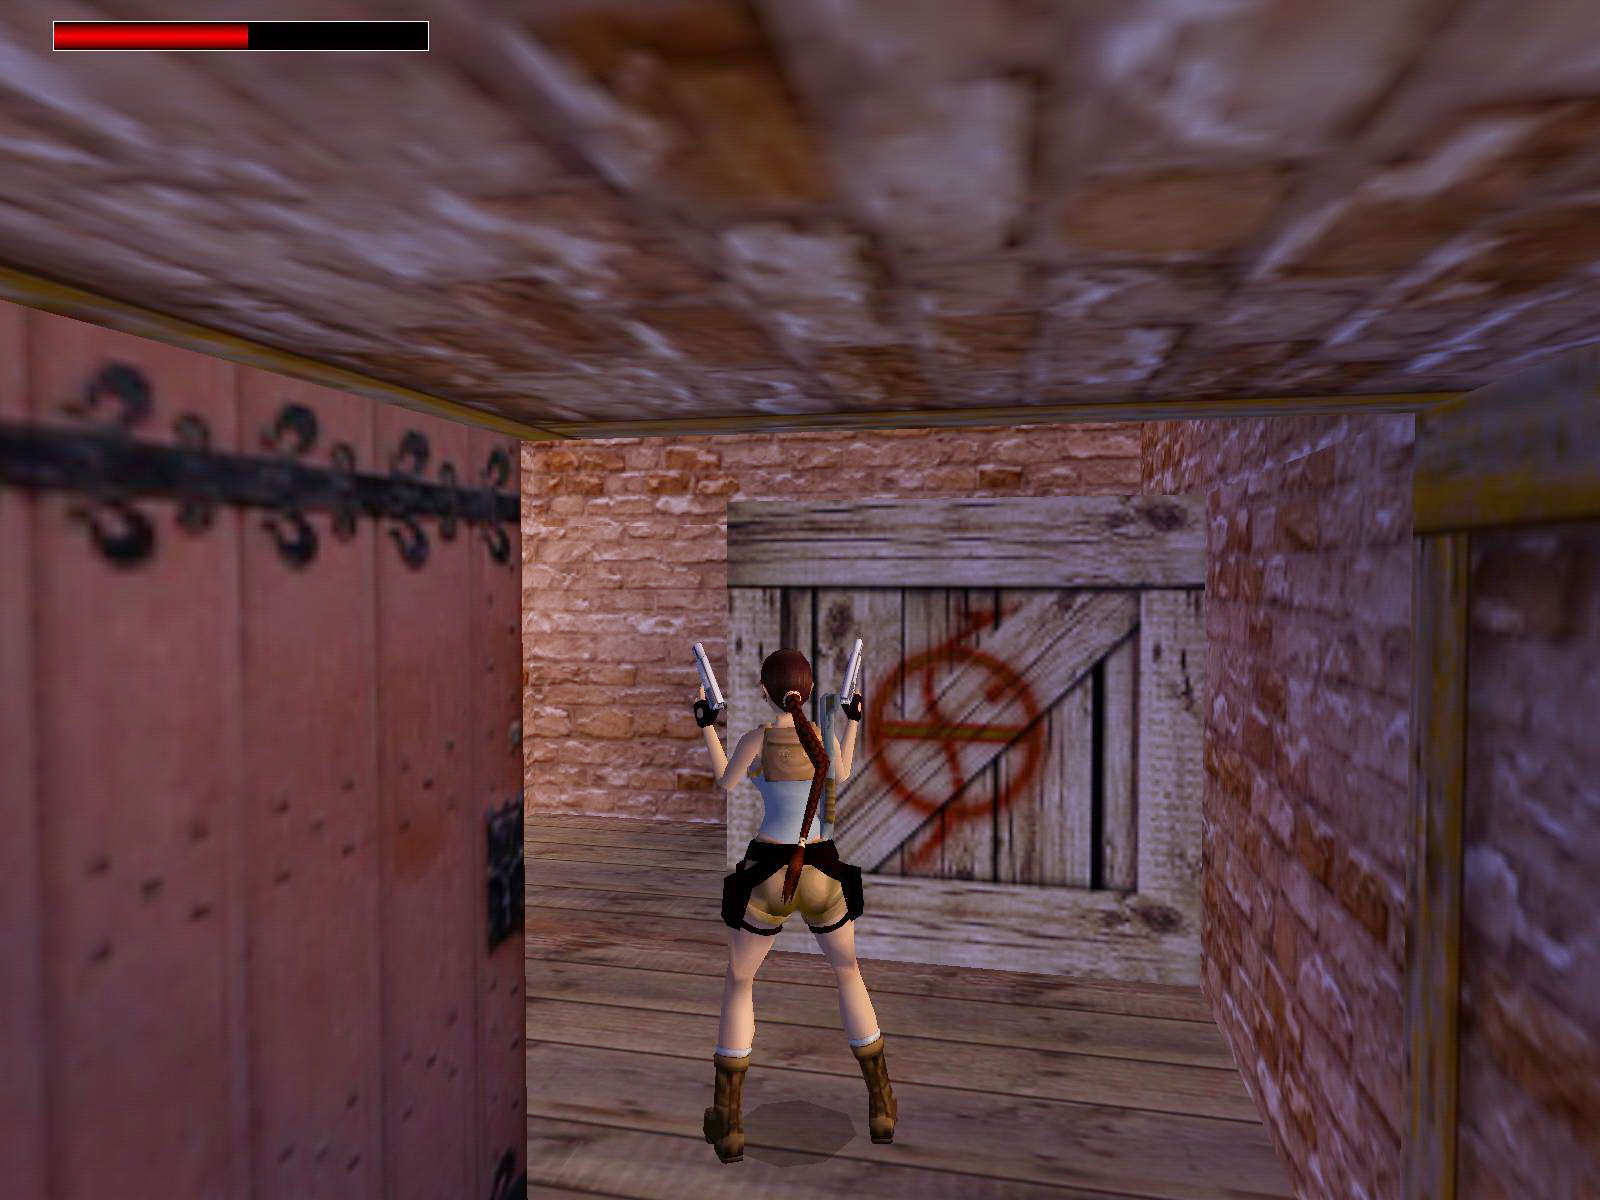
Make your way back up the timed hatch to the roof of the wooden shack and shoot the window S. Go in, shoot the dog and shoot the windows S and look up there to spot a Bell. Back inside and open the door E with the Key. Go in and throw the lever on this balcony to open doors below. Hop over the balustrade and throw another lever NW to open the front doors of the Theatre. Go E and left into the staircase, follow up to where a Gangster attacks, get his Shotgun ammo and the Shotgun from the table.
The Attic, a Lasersight.
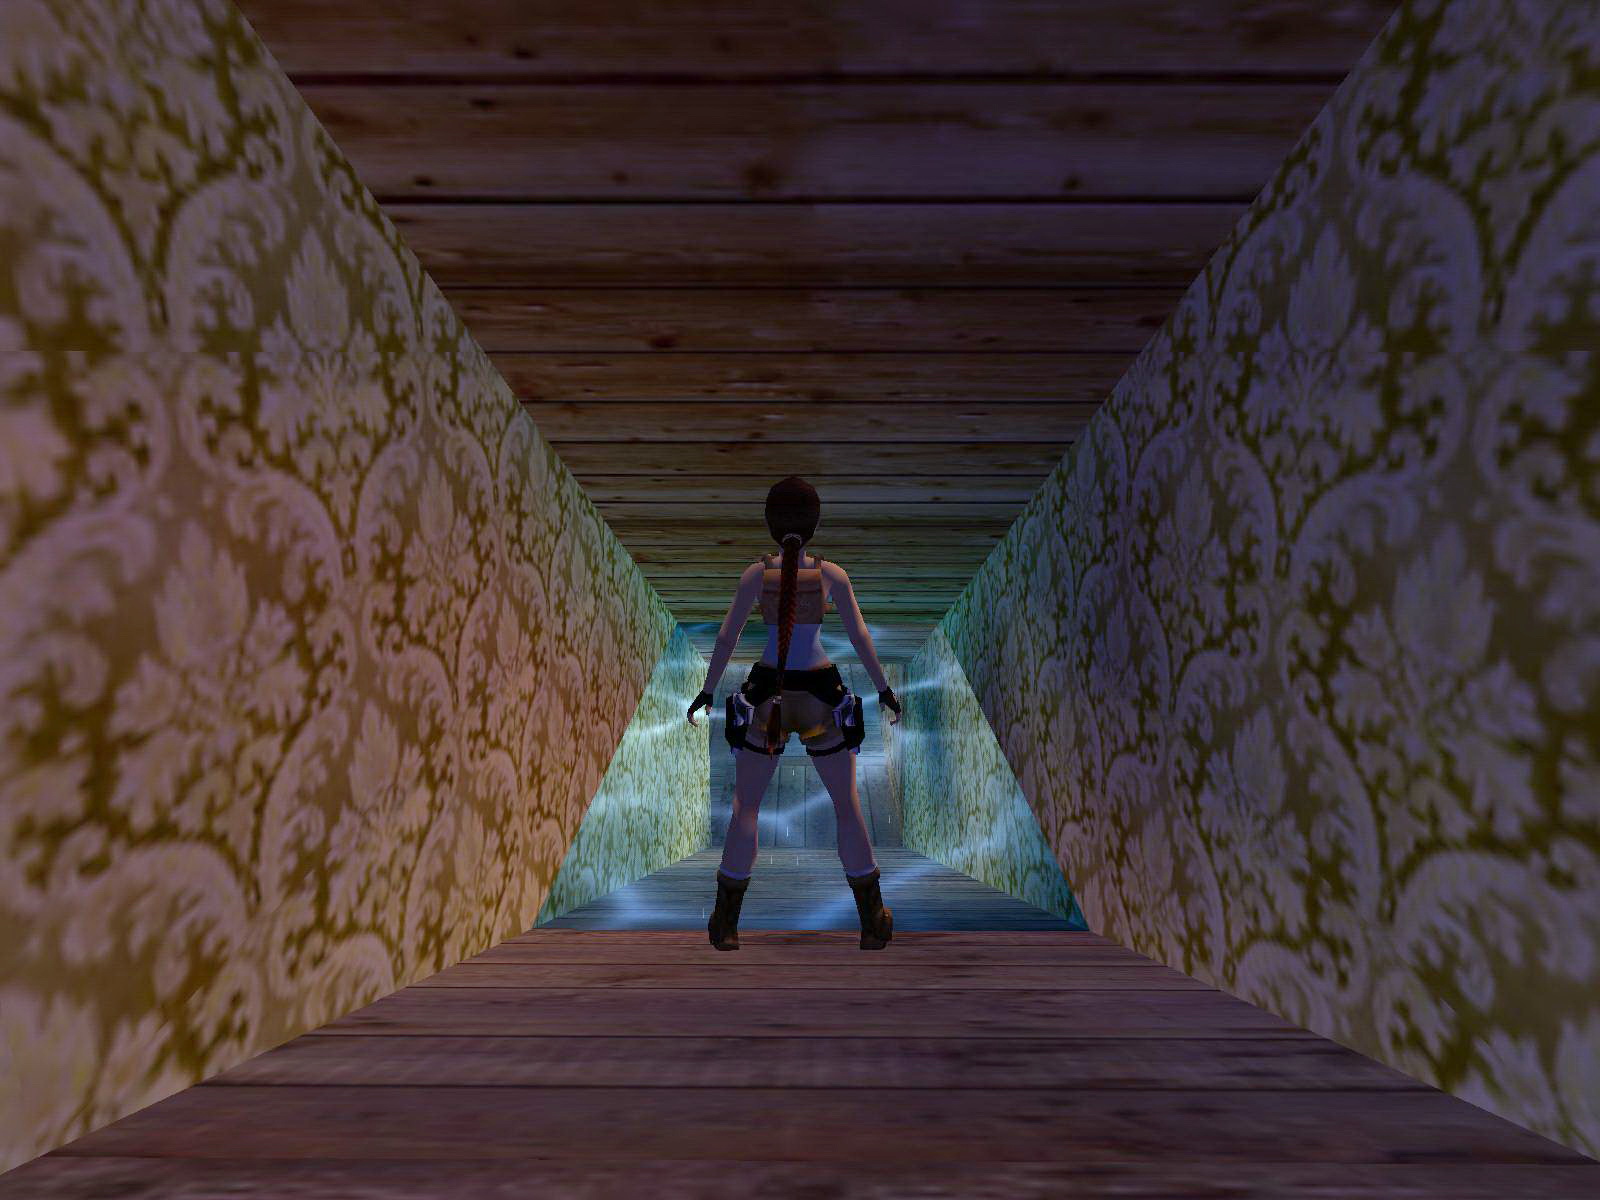
Follow the passage up to the attic (notice the receptacle for the Rose when you get there). On the W wall of the attic is a Timed switch, opening more doors on the ground floor (use it later). Then go into the passage W and throw the lever there to open a trapdoor behind the window. Theres a bell too behind that window, its the one you saw before. Go back out and into the passage E to collect the Lasersight.
The Glock 17.
Go back to the attic, to the Timed switch W, pull it, hit look to get out of the flyby and backflip/roll over the balustrade, jump over the E side balustrade and run/sprint down to the first floor balcony and jump with a roll over the balustrade to land on the ground floor. Sprint through the doors E and shoot the Gangster (drops a small medipack) and his dog. Go through the passage N and up to another Gangster. Either shoot him or run past him to the end of the passage and first get the Glock 17. Pick up the Glock ammo dropped by the Gangster and go back down to the Hall.
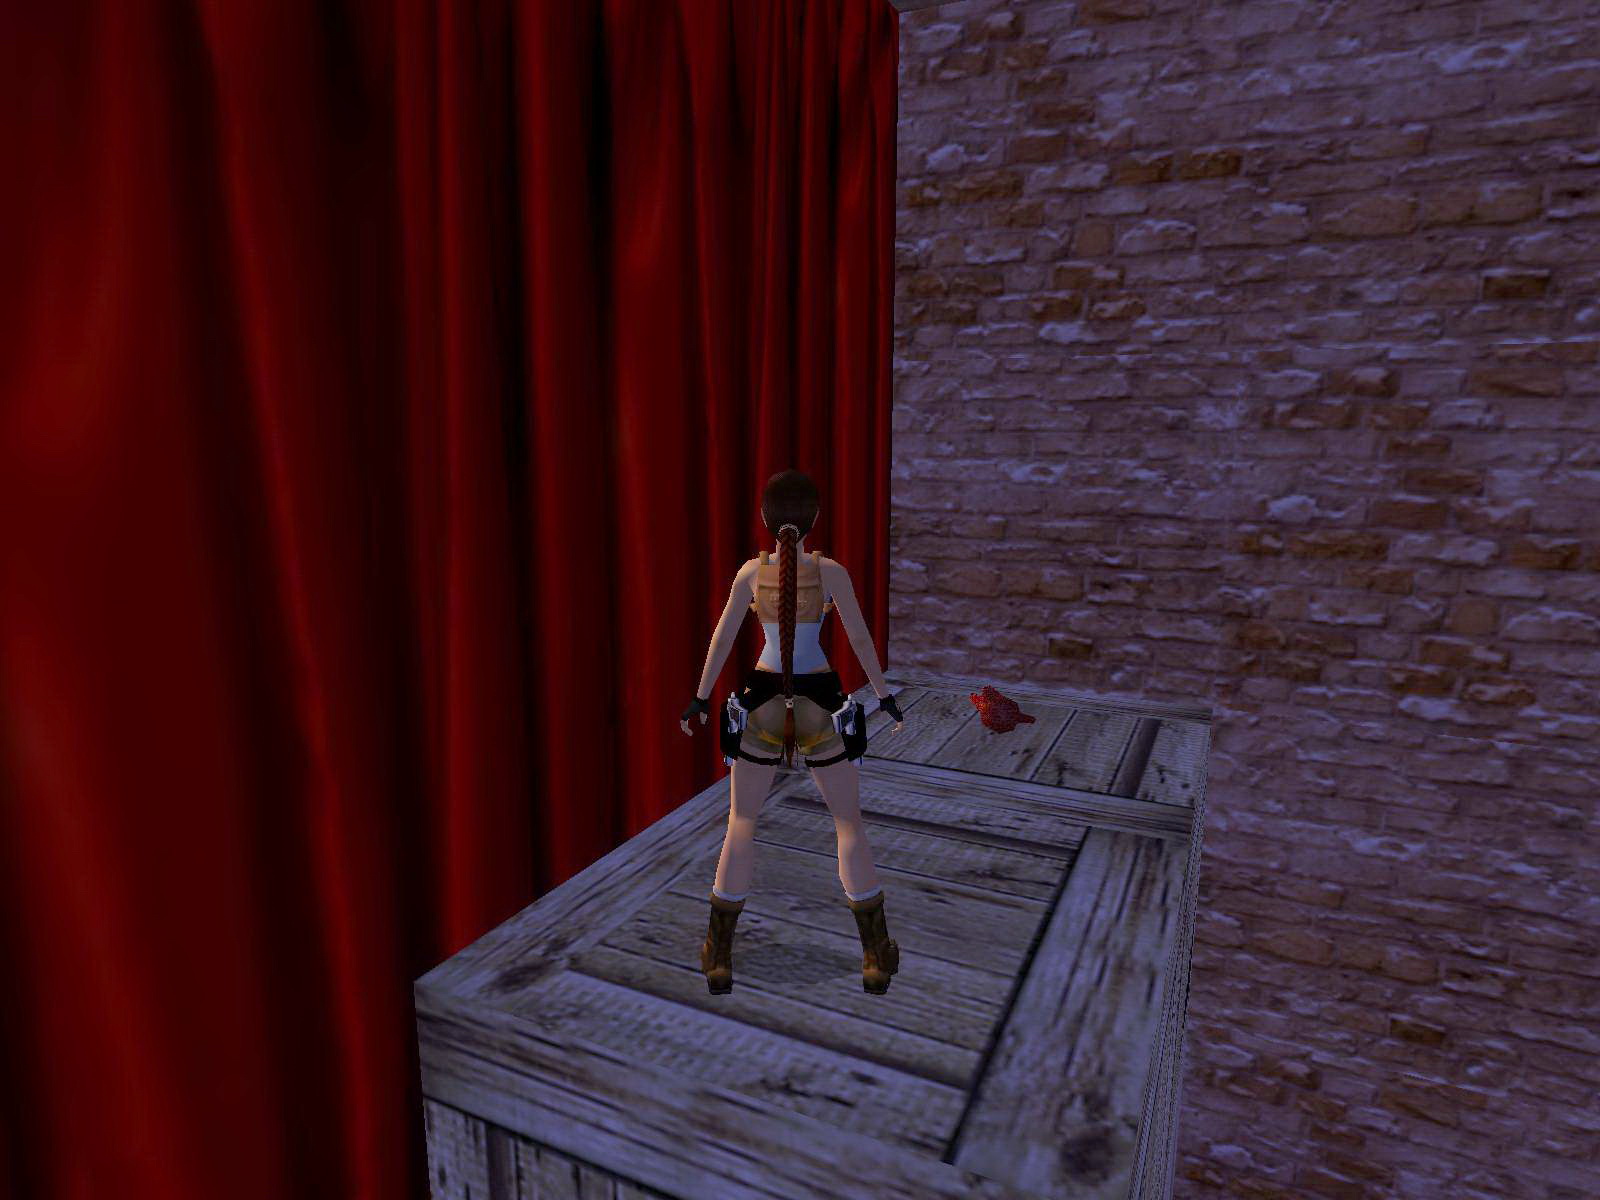
The Bell, a Marble Rose.
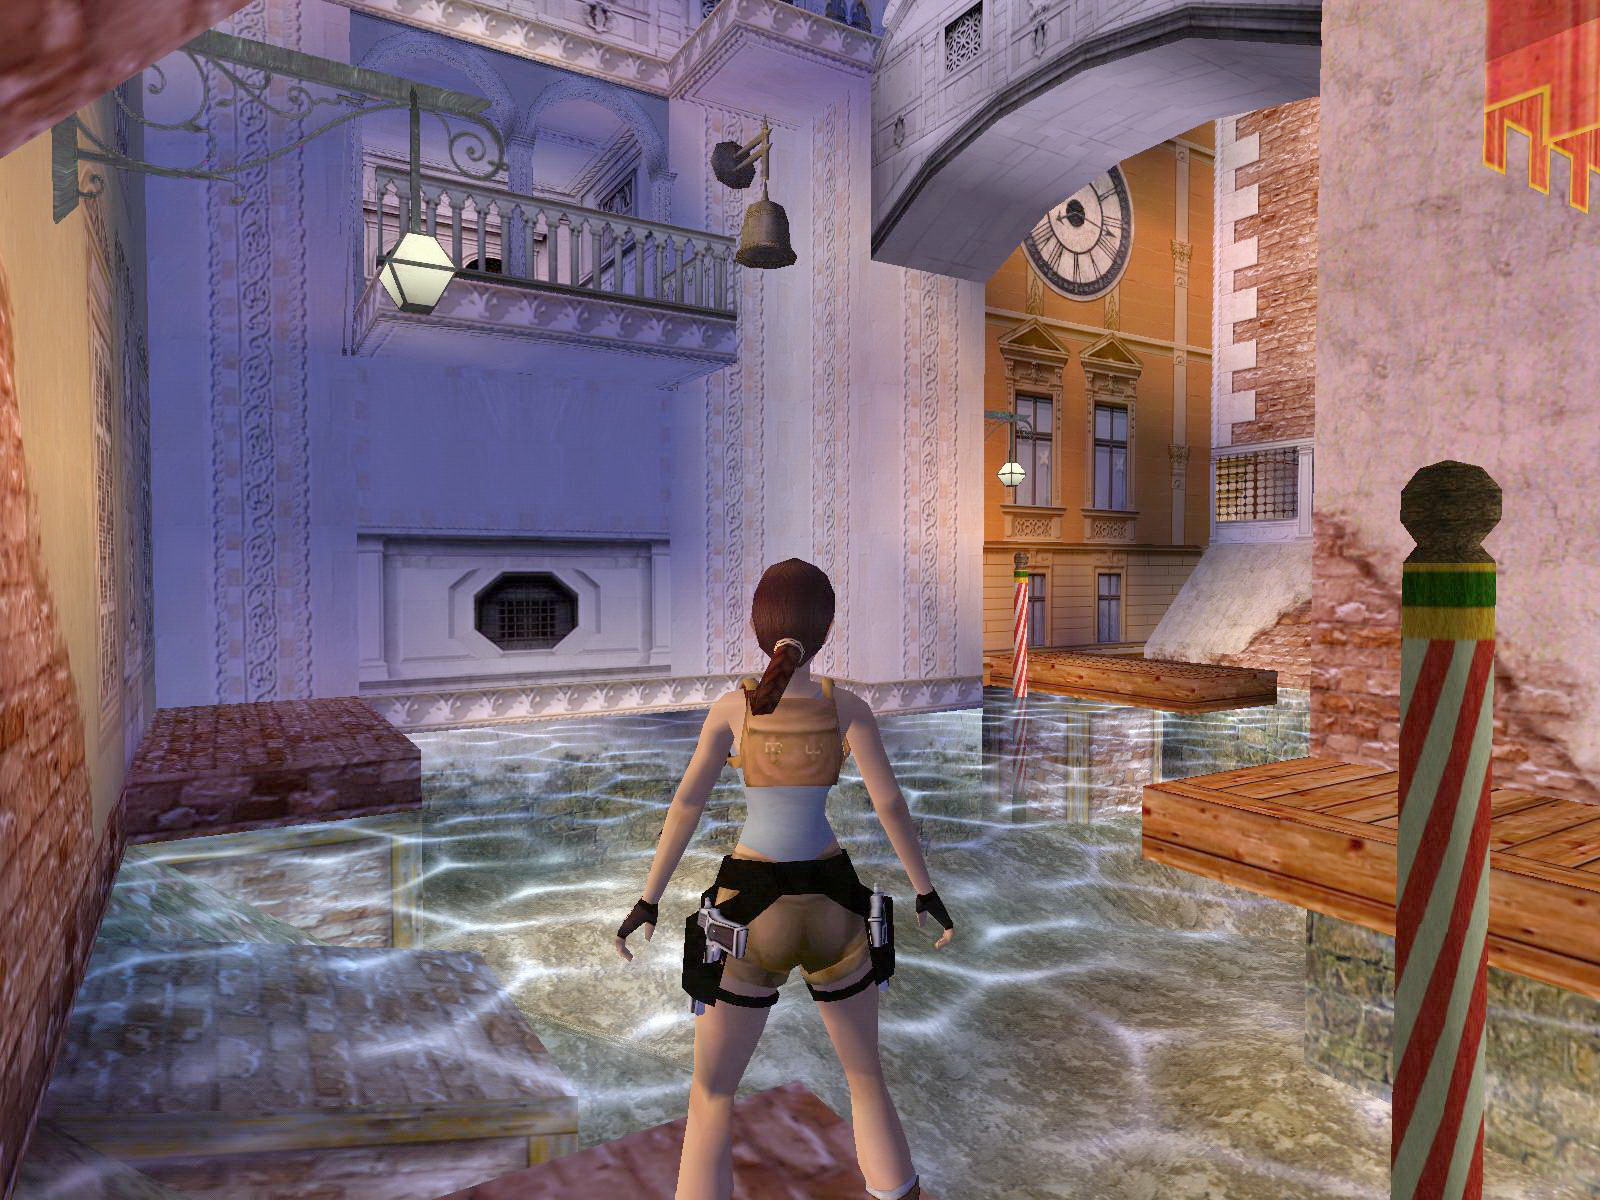
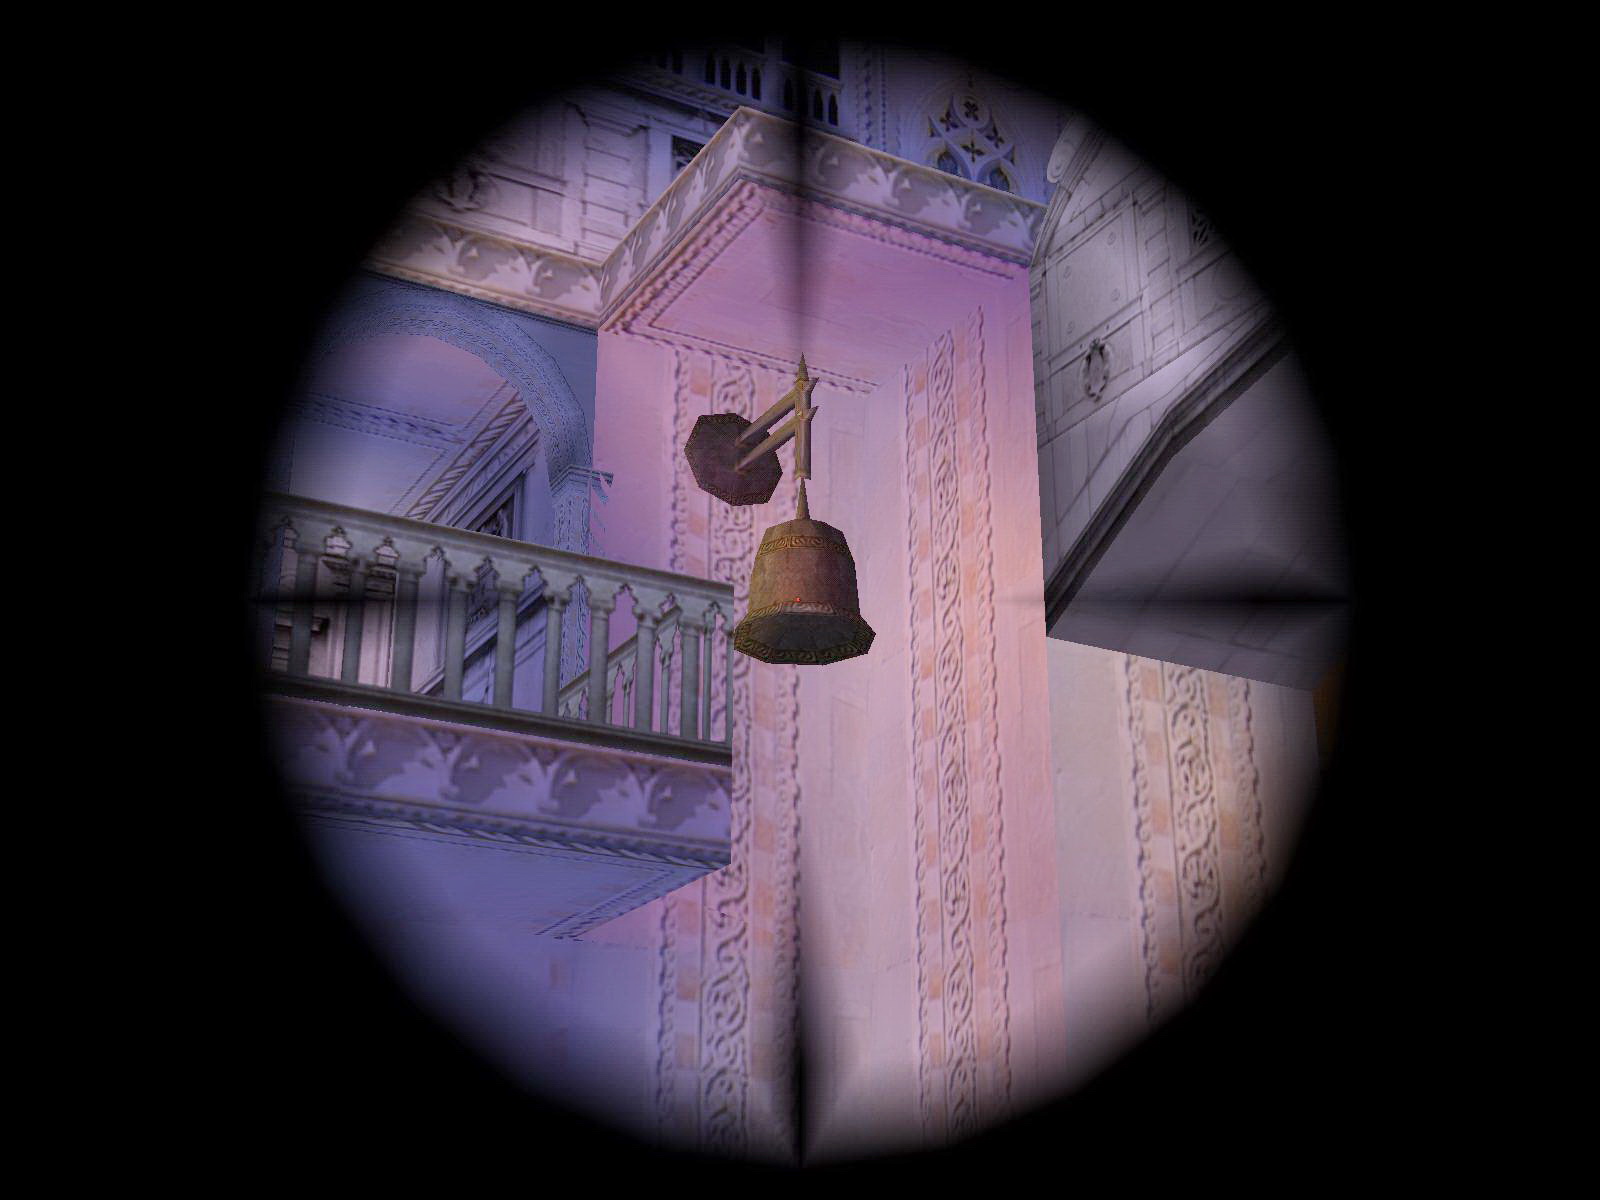
Go out the front door N (opened by the lever left of it) and swim right (E), climb onto the first jetty S to get some Glock ammo. Look up E and shoot the Bell there. A block goes up in the NE corner, get up there and climb up to the balcony. Pick up the Marble Rose there. Get back into the Theatre and go up to the attic (jump in the water and climb out, go in and take a left (E) and immediately a left again, up the ramp, over the balcony to another opening left, follow through and after the room with the table). Just to the right before you get to the attic is the receptacle for the Rose.
The House Key and a Torch.
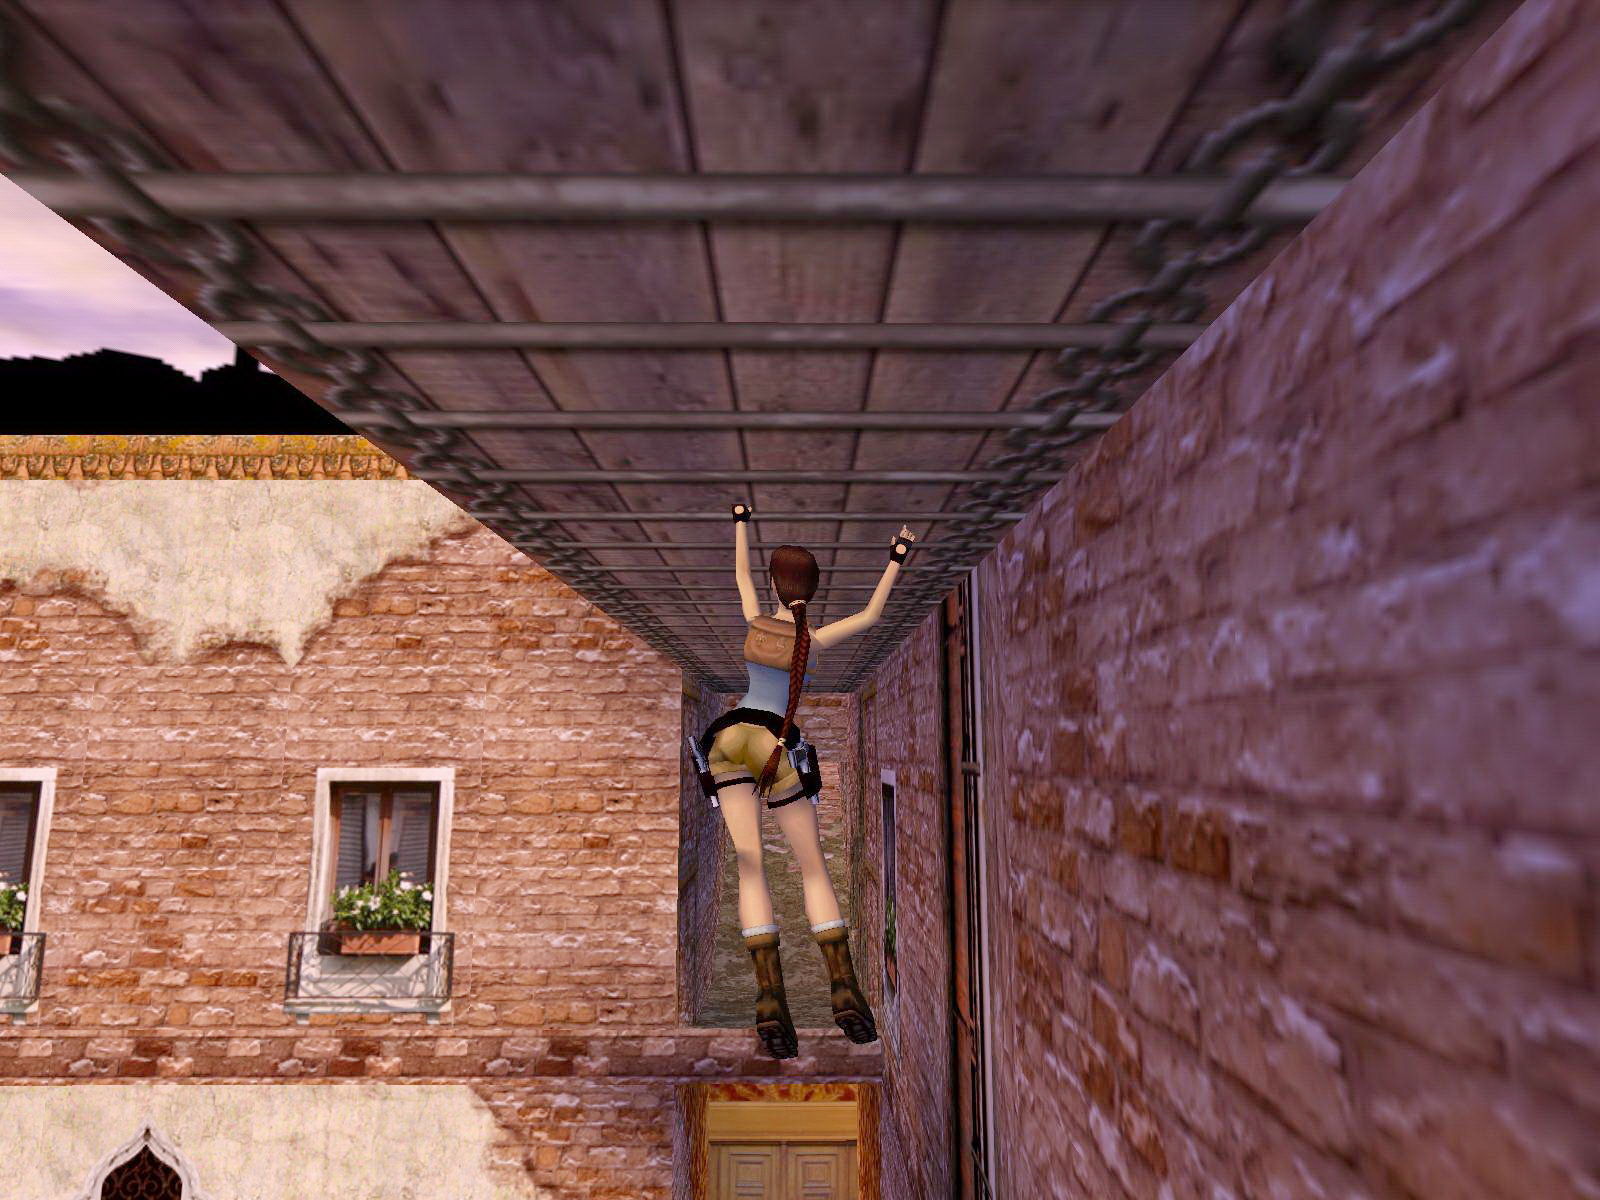
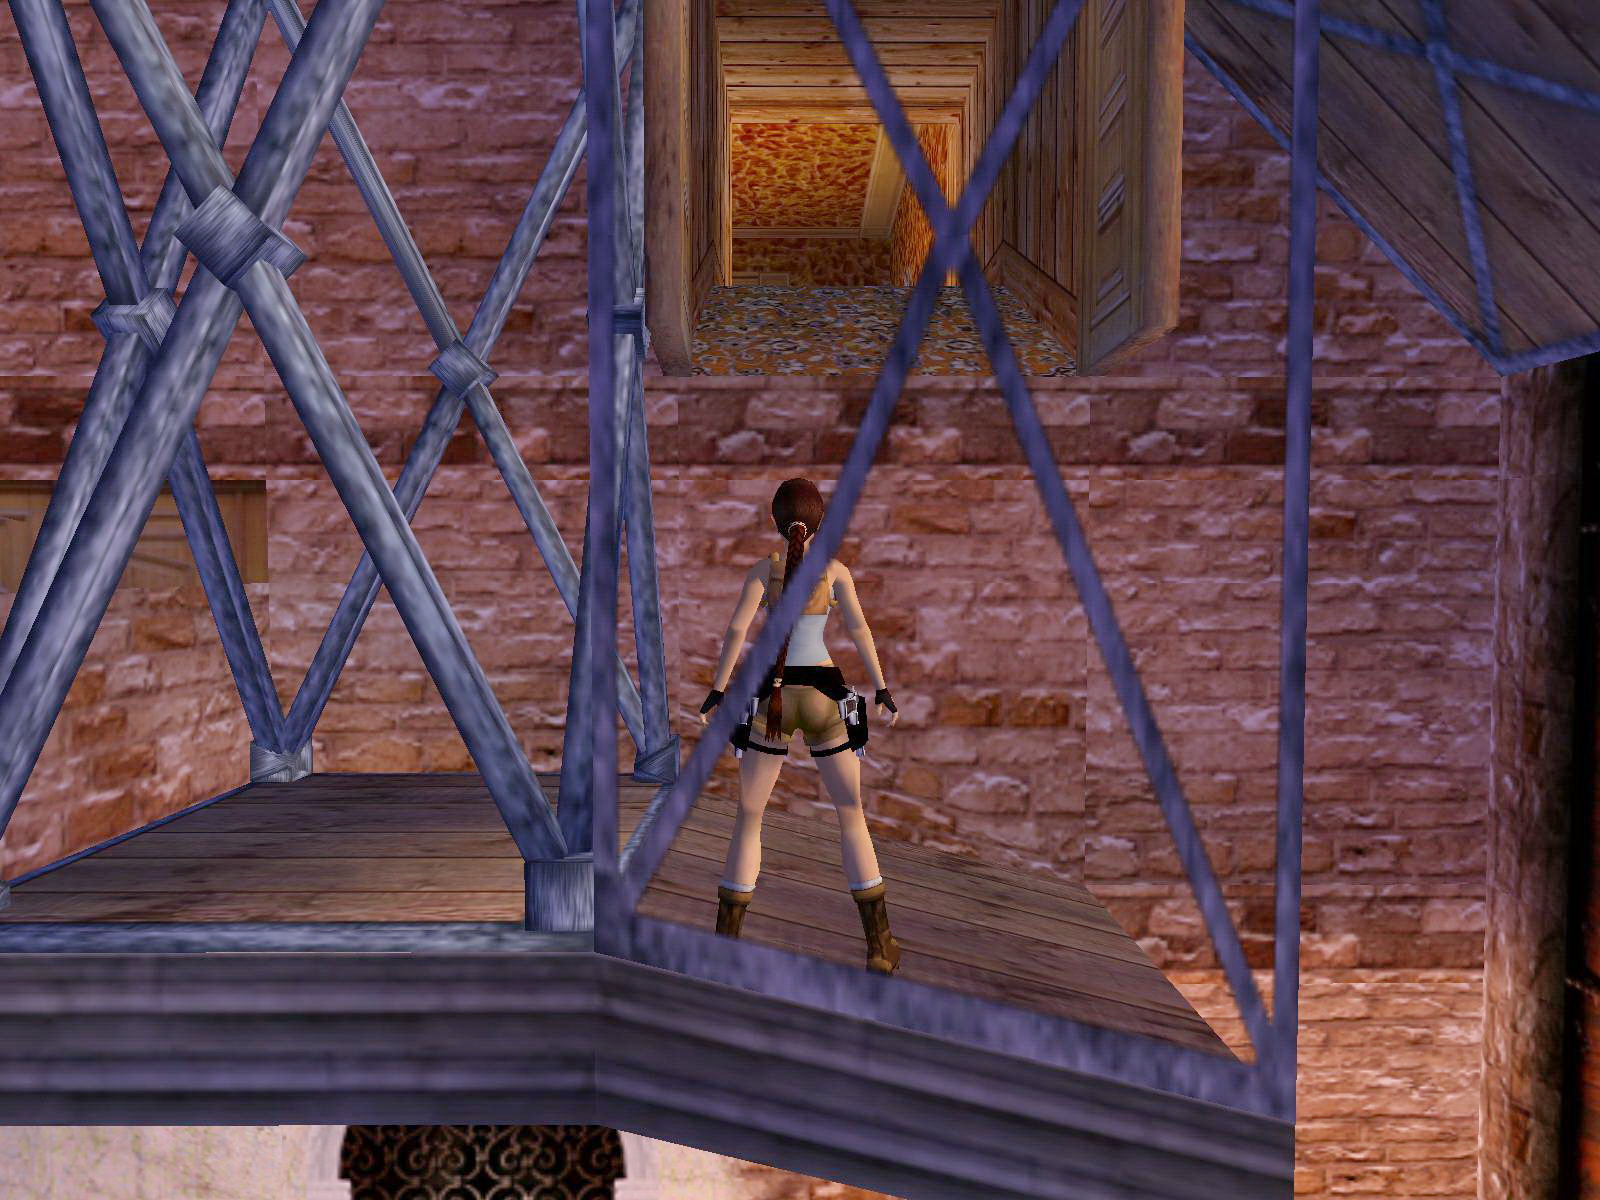
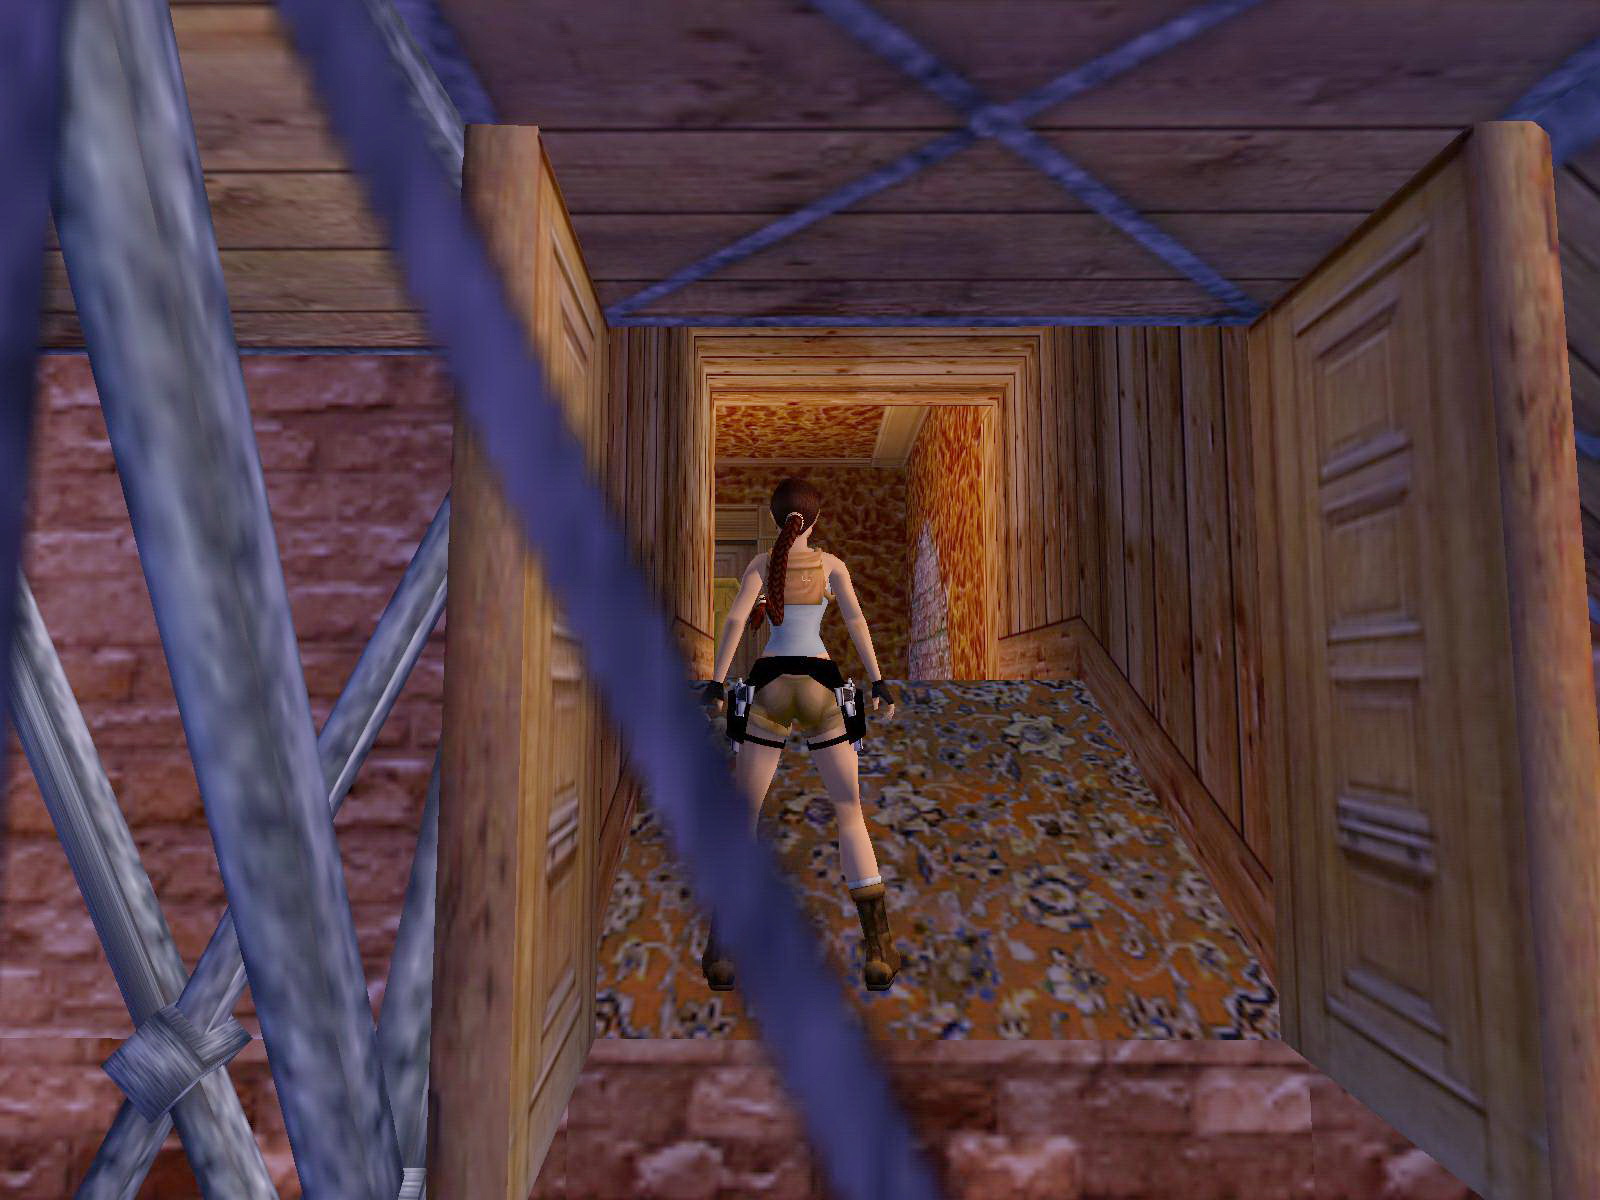
Inside go down left (straight are double doors) and drop down to the ground floor, on the table is the House Key. Climb back up and go out, turn left in the upper passage and open the double doors. Go over the bridge to the ledge E and from there a jump to grab the red awning N. Traverse left around the corner and pull up, backflip with roll and jump again to grab the crawlspace. Climb out backwards from the other end and traverse to the left side, drop onto the walkway there. Throw both Torches down (just to be sure) and drop down yourself.
The House, Sewers.
Leave the Torches for now and go N to the canal, back left to the first square and W to the door you can open with the House Key. Follow through to a courtyard and open the manhole. Climb down; follow up another ladder to a valve closing off the gas supply. Go back to the first square and into the wooden shack.
The Theatre Lobby Key.
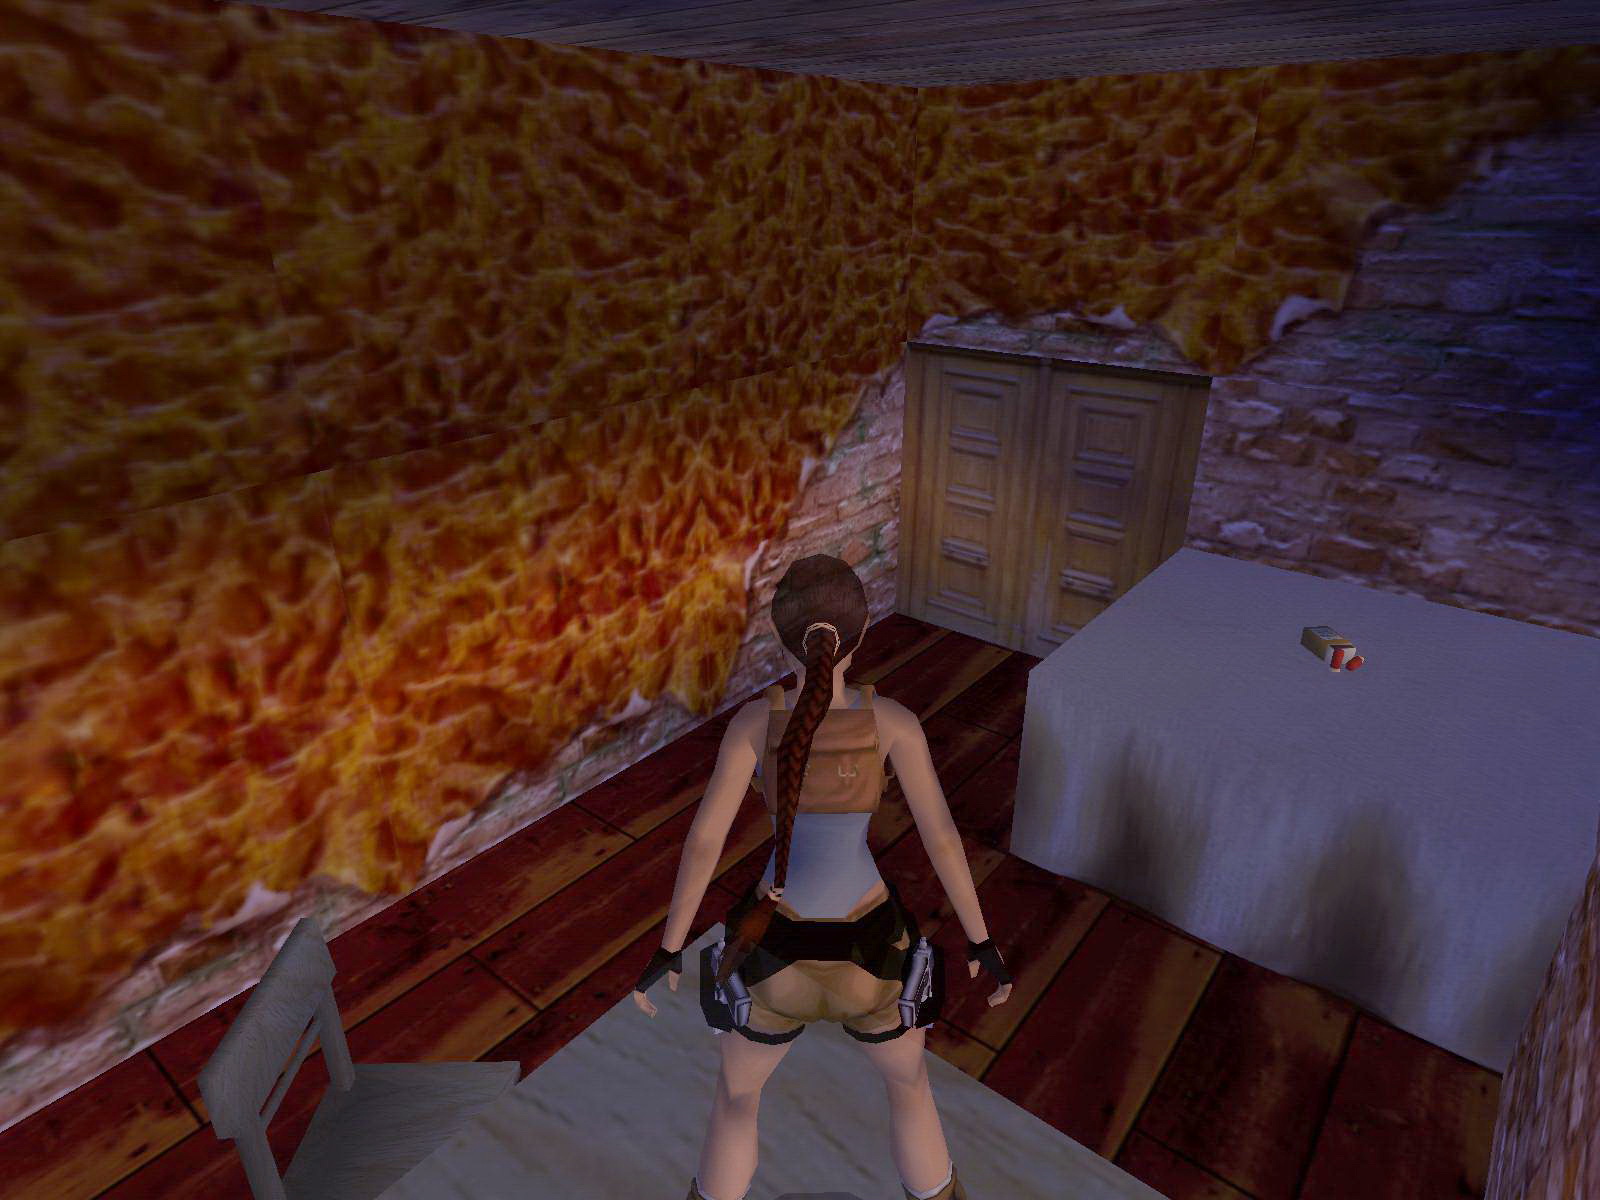
Go up the timed ceiling hatch to the roof again and S into the room where you shot the windows S. Stand against the W wall and look up E to shoot the Bell. A trapdoor opens up S, drop in and climb into the crawlspace W, follow through up one ladder, open the trapdoor and down another ladder. Drop through the breakable floor and turn around to pick up the Shotgun ammo. Follow through to a room with Shotgun ammo and the Theatre Lobby Key on the tables. Open the doors E and you are in the wardrobe of the Theatre. Open the doors E with the lever NE and get back into the Hall.
The Theatre Lobby, ignite the Torch
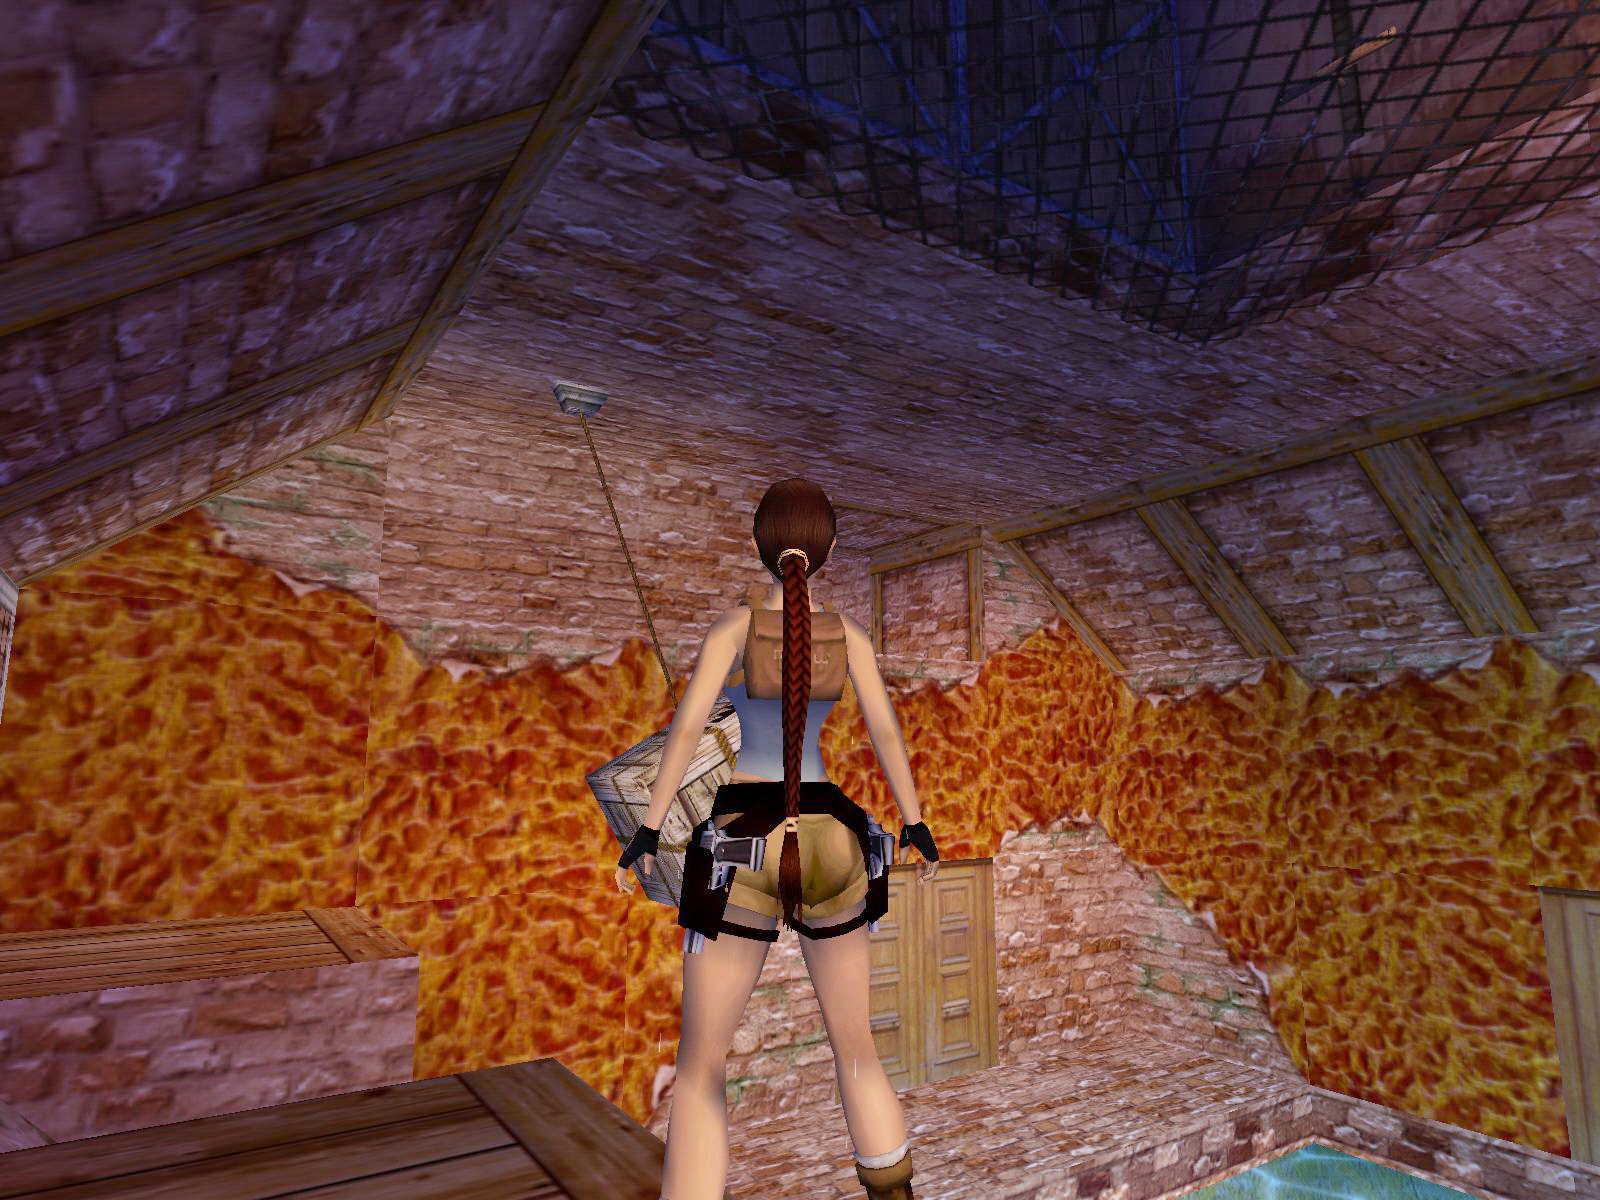
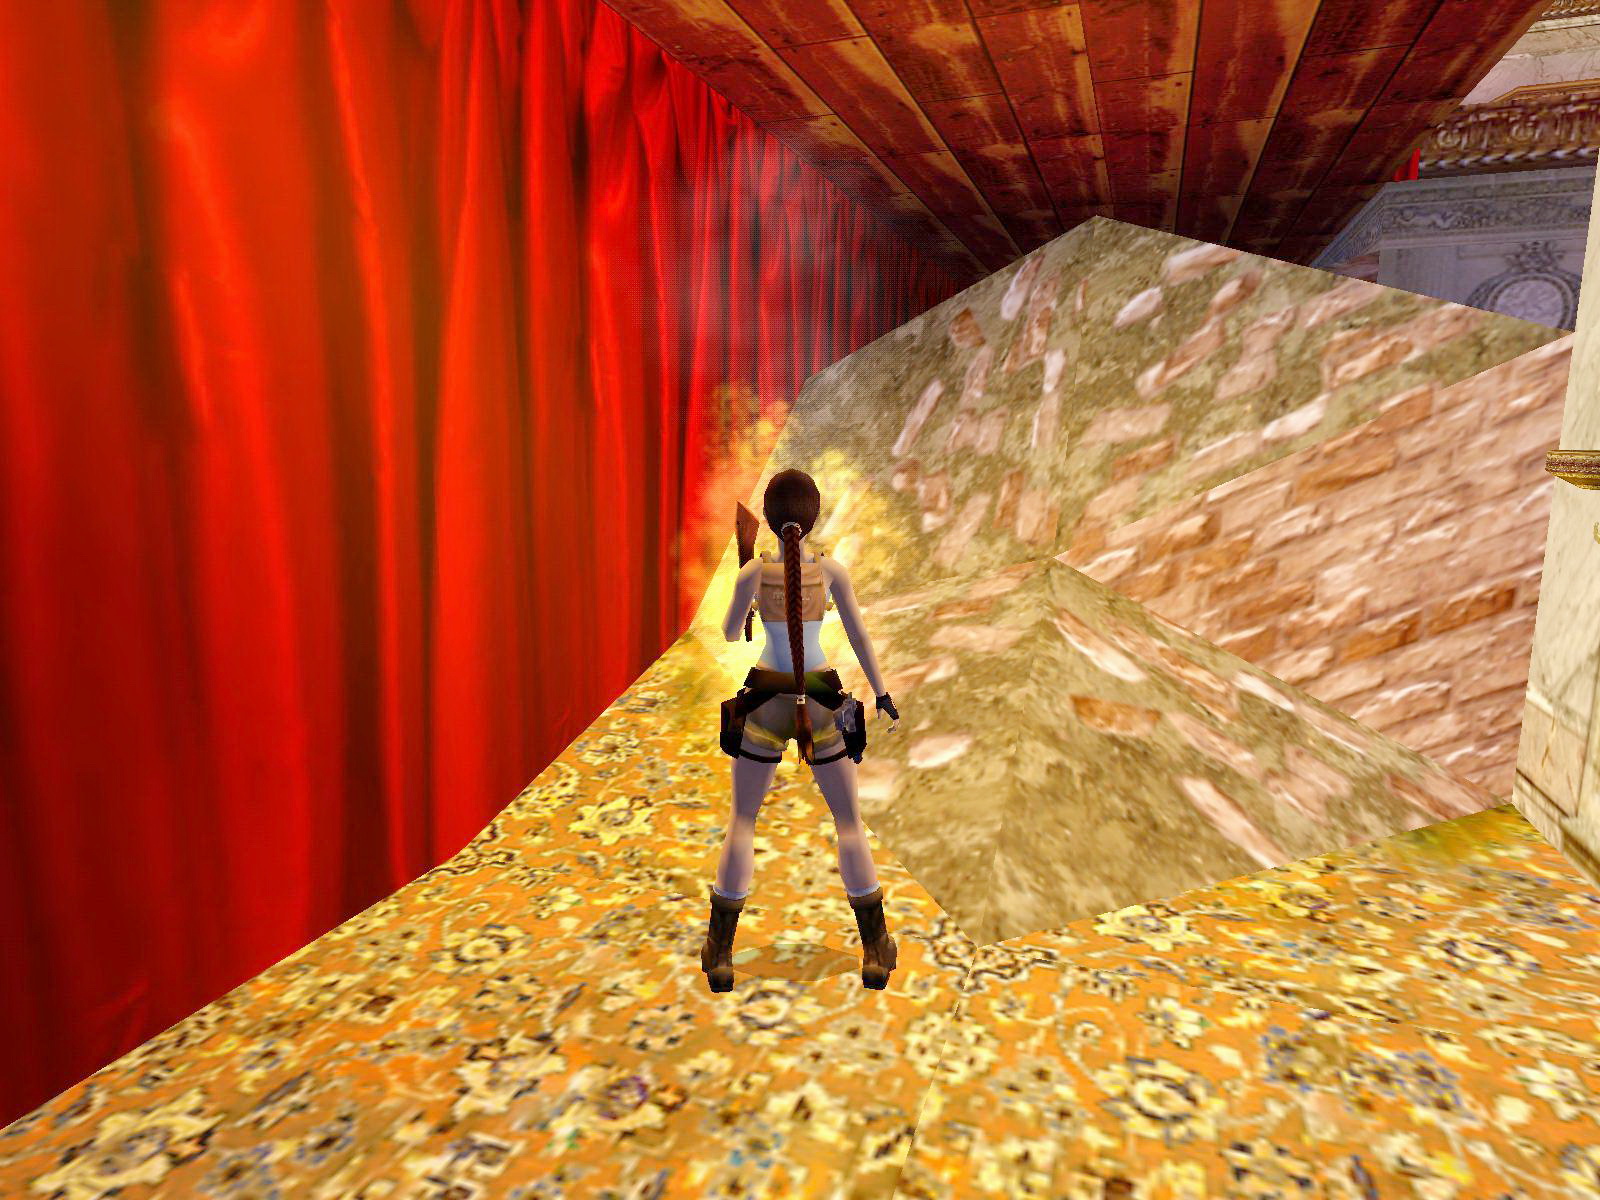
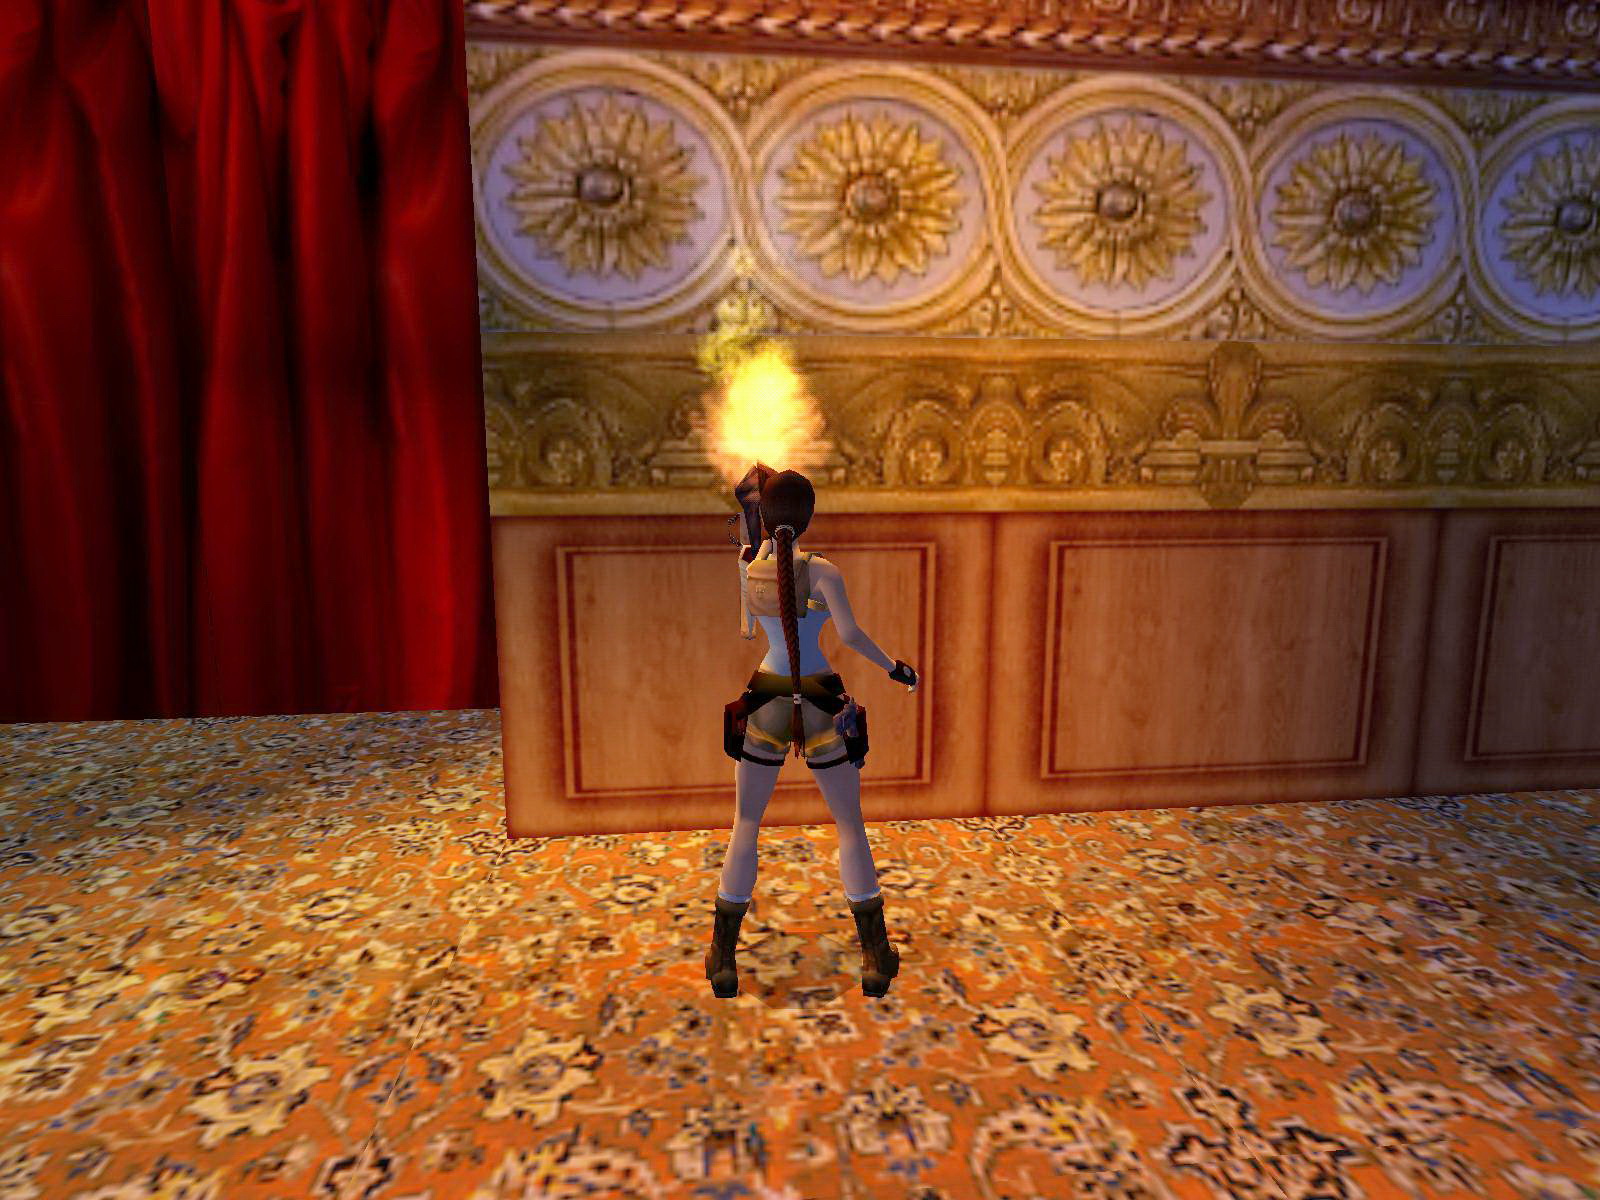
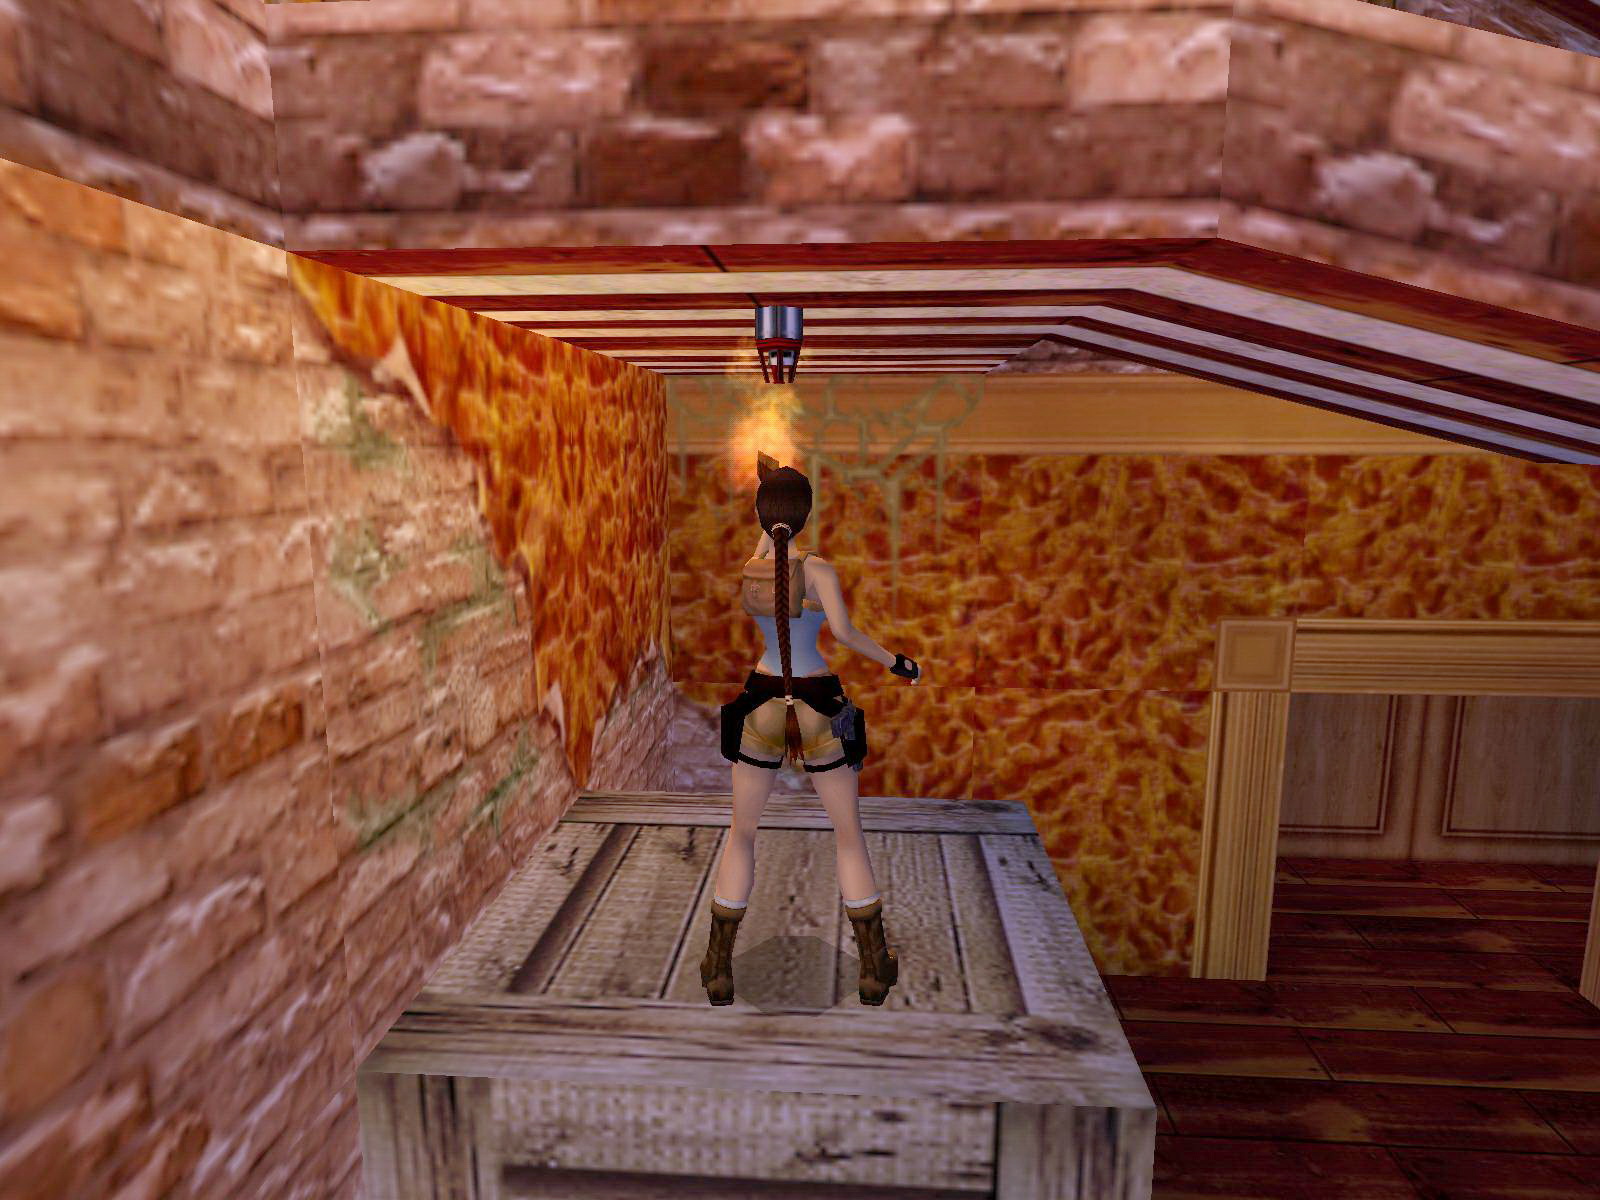
Open the doors (S) to the Theatre Lobby and get one of the Torches from the yard N. Enter the Lobby, go right and just past the pile of rubble is a block on the floor, hop on and turn N, hop onto the lower tip of the upper floor and find the flames there. Carefully ignite the Torch and get back down. E (next to a curtain) are 2 wall torches, light those and the curtain lifts.
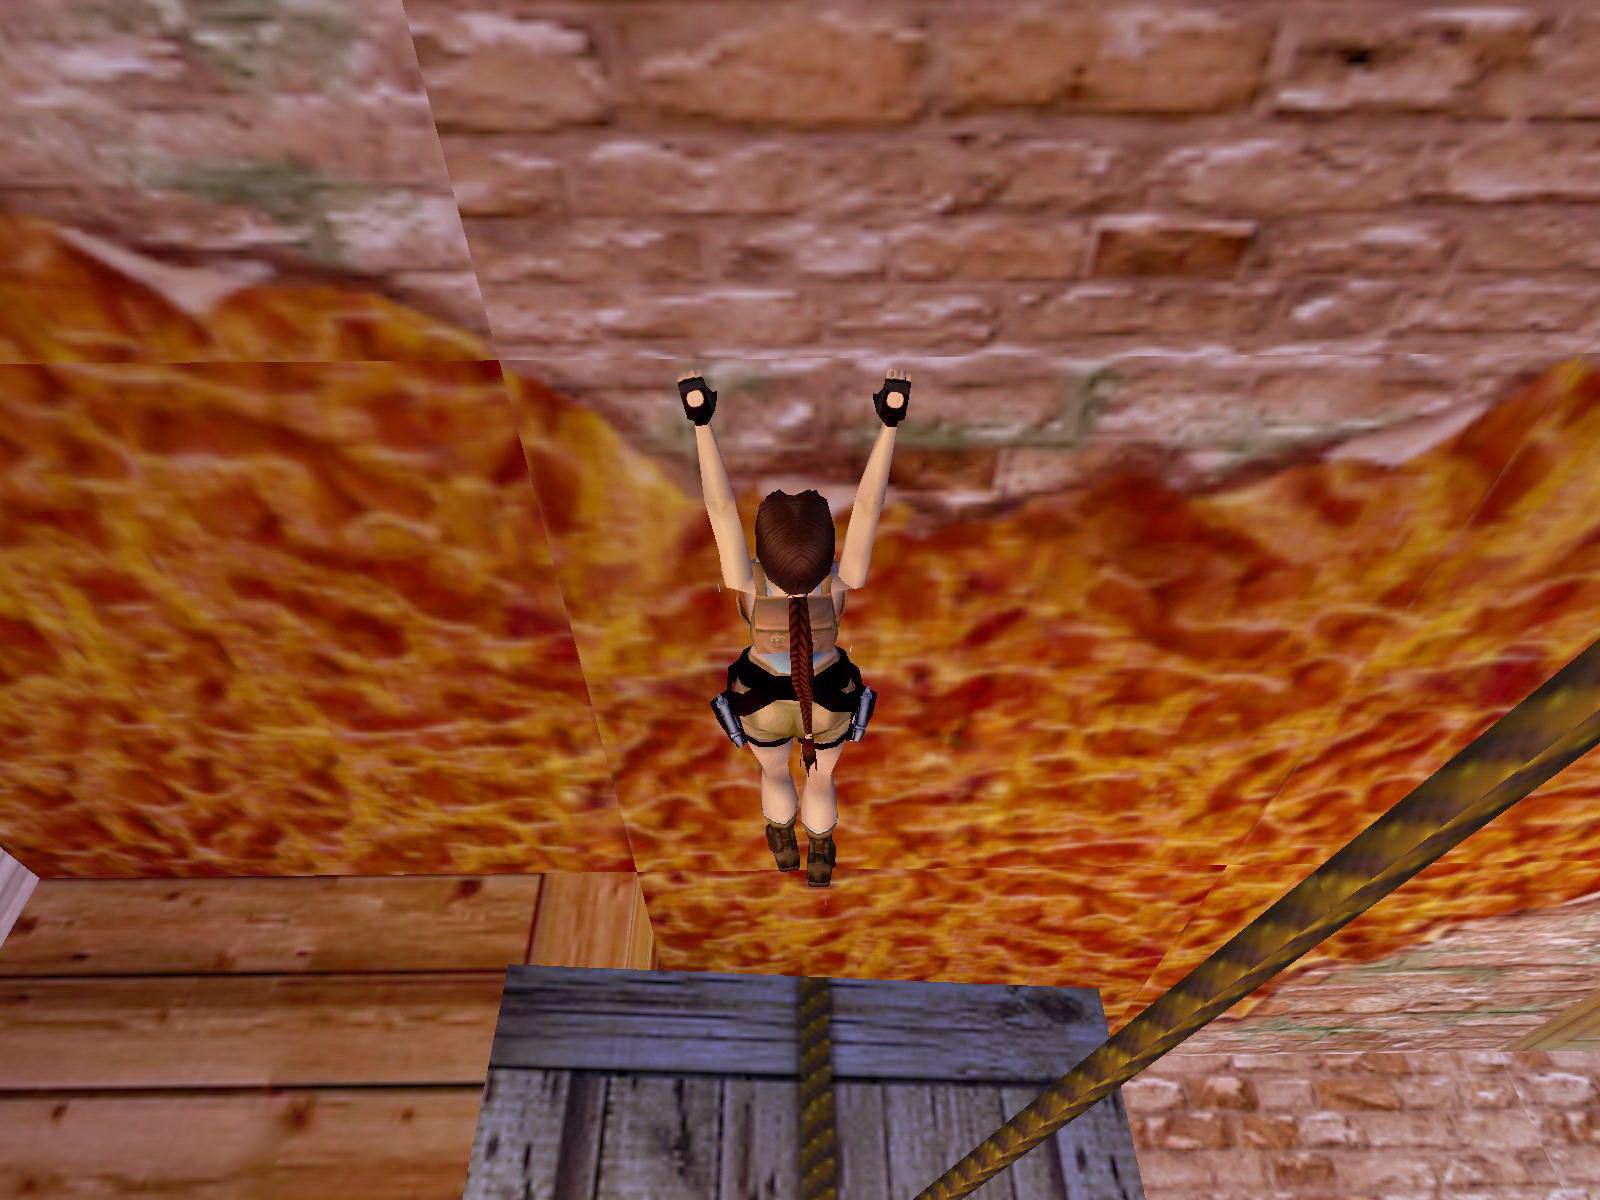
Upper Floor.
Jump up over the crates taking the Torch to the upper floor, quickly drop the Torch in a safe spot and turn around to shoot the Gangster, jump where he was and go behind the curtain to get a Medipack. Jump back and get the Torch, hop onto the crate SE and hold the Torch under the sprinkler. The door E opens up, leave the Torch and get in there. Get into the crawlspace E and follow through over some breakable ledges. A flyby of the next place kicks in.
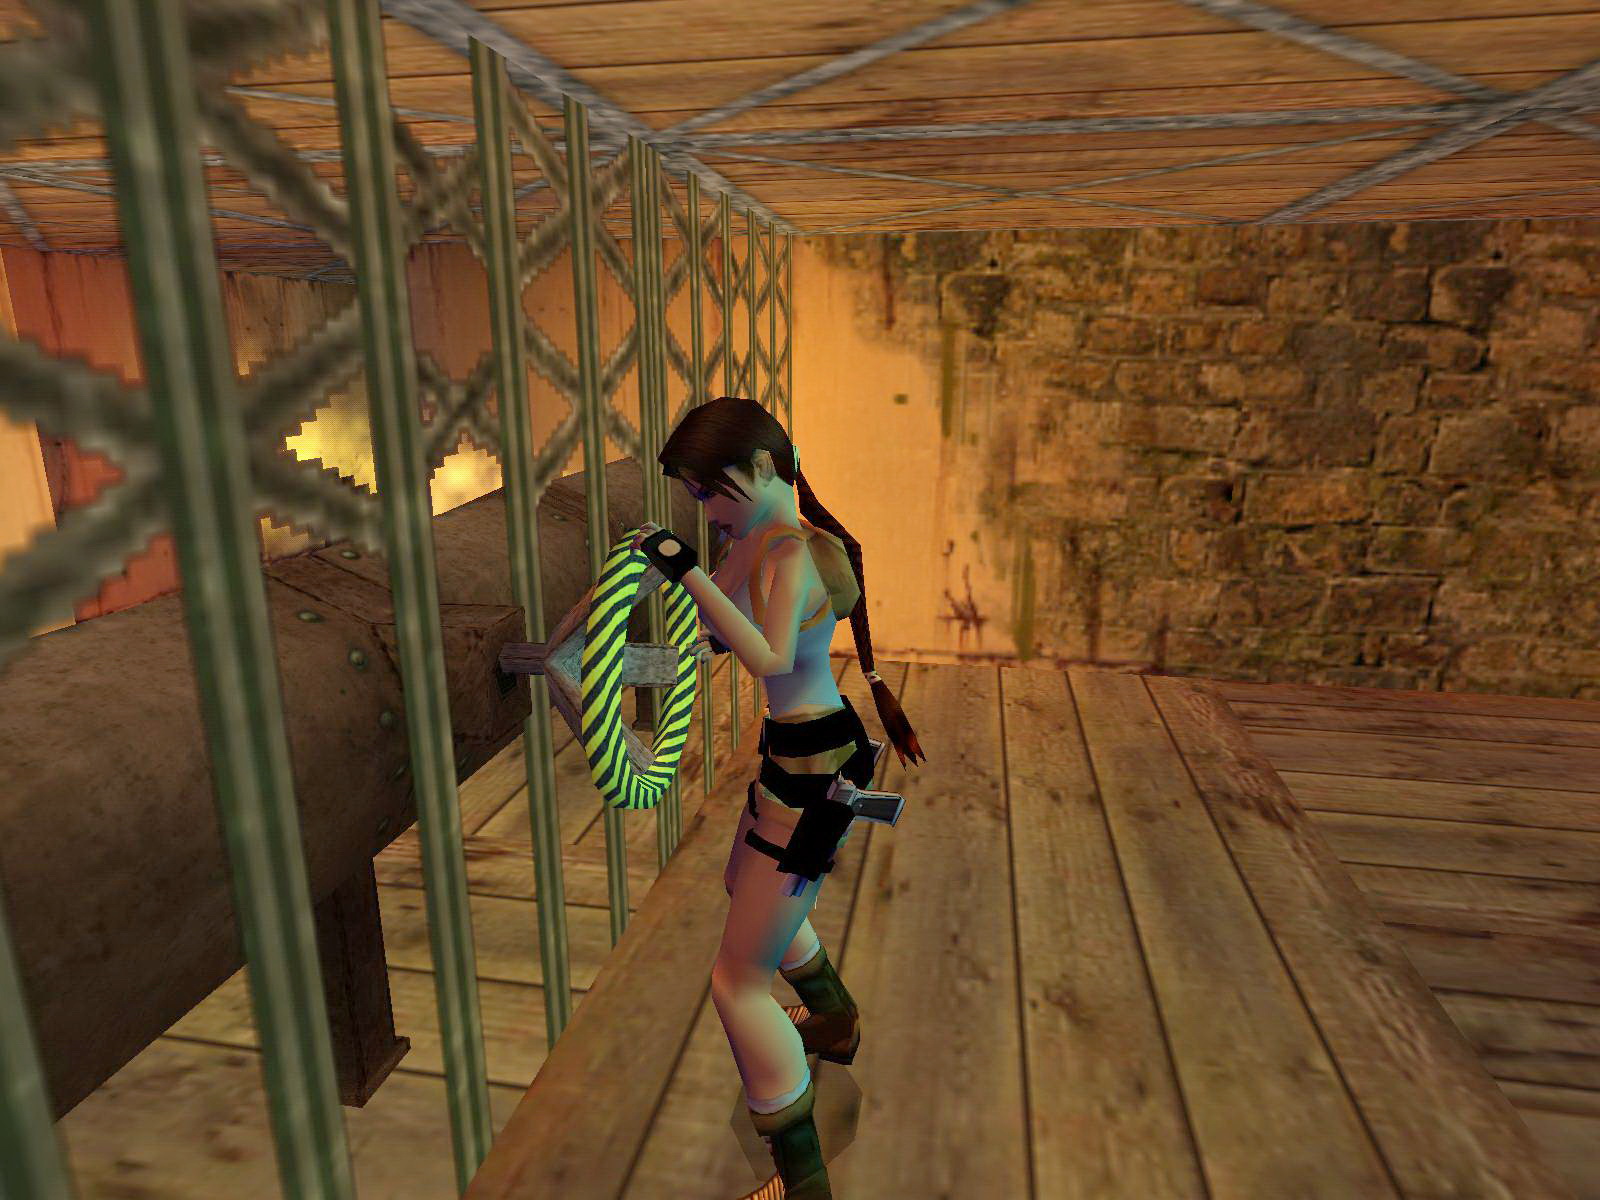
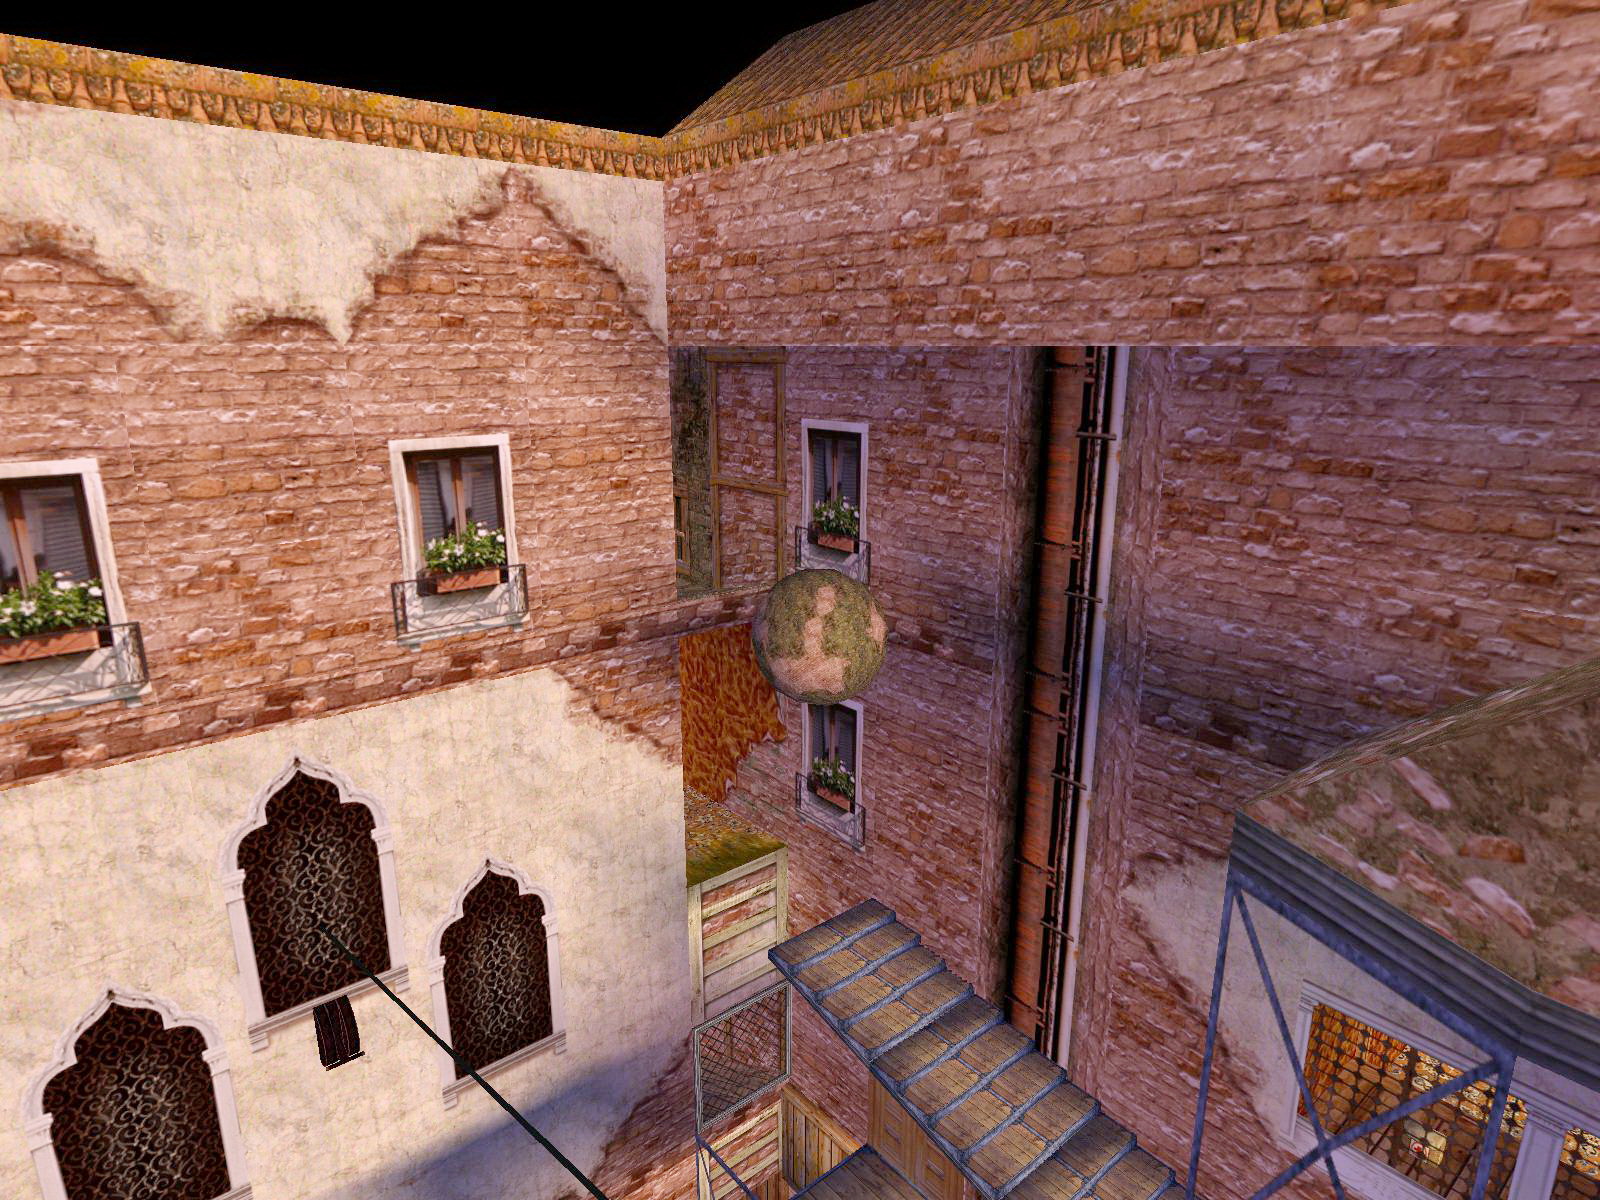
Boulder Puzzle Courtyard, the Crowbar.
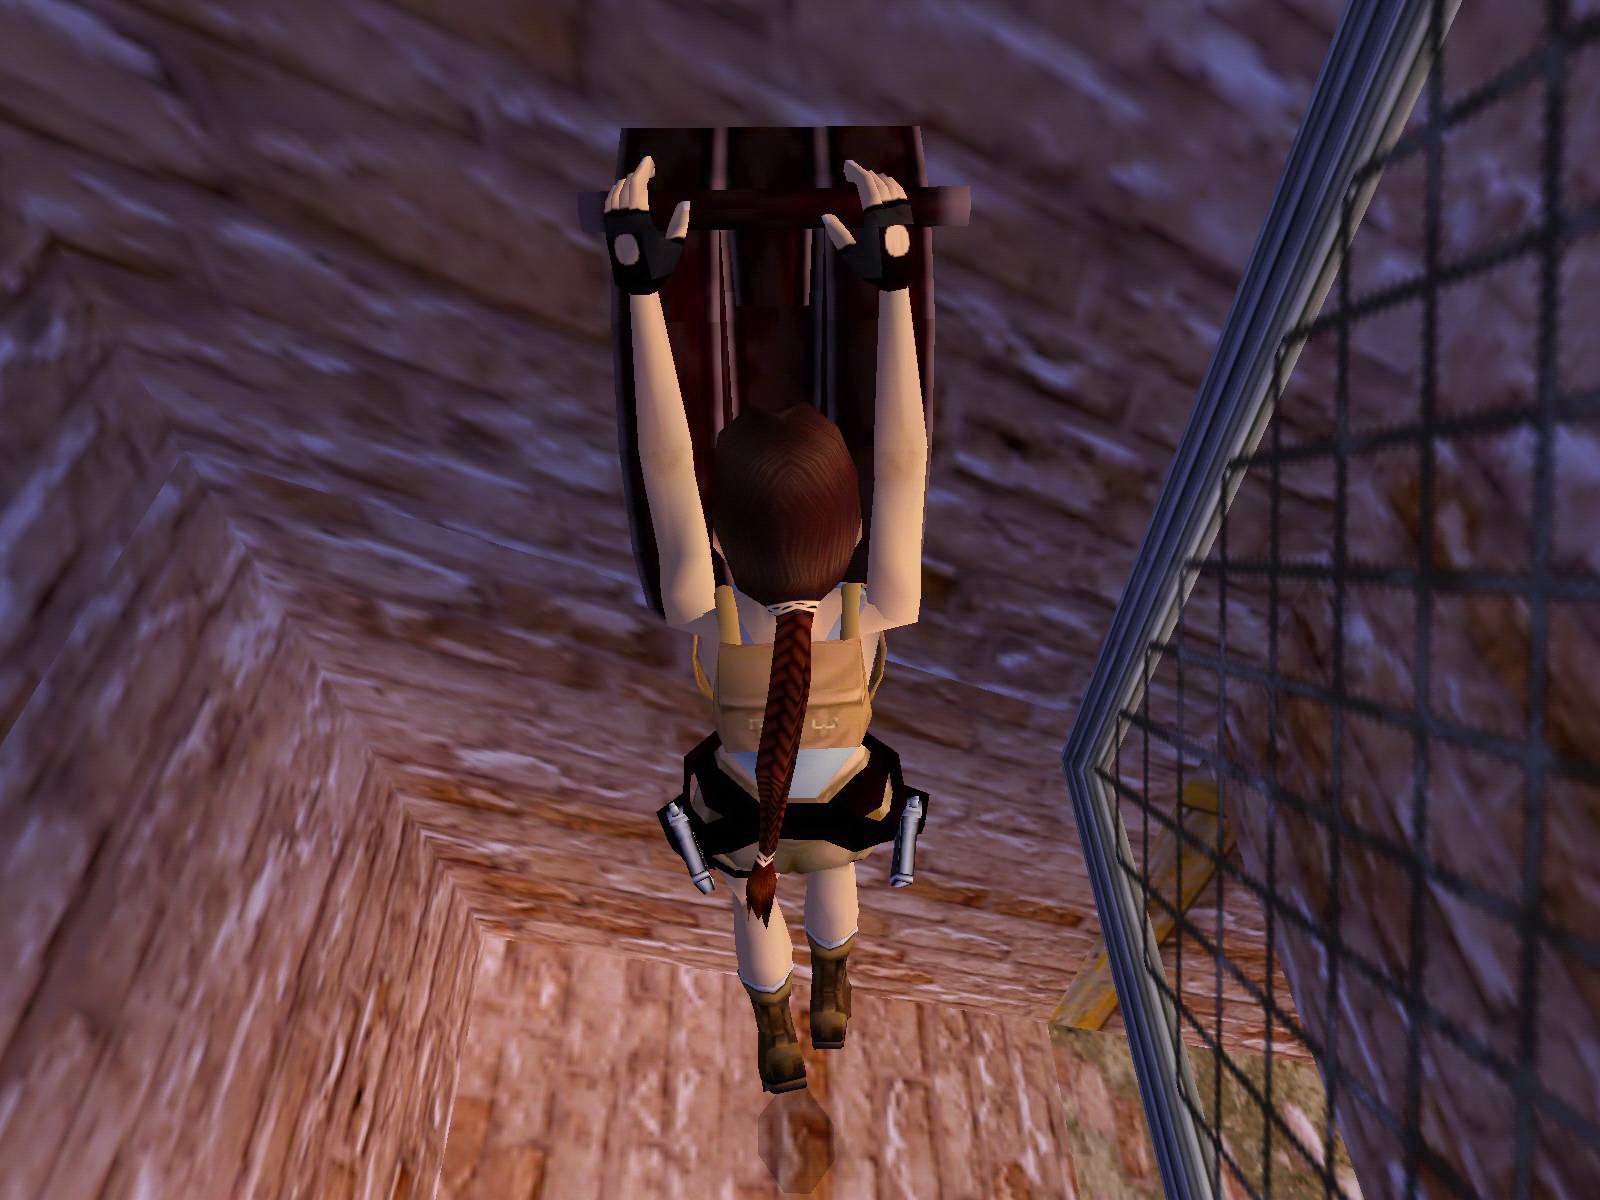
Drop out of the crawlspace, climb the ladder S about halfway up and back flip/roll/grab the wooden ledge. Just inside the courtyard, turn around and grab up to the ladder, go up and inside to get the Shotgun ammo. Turn around again and run to jump over to the ledge N, walk up to the middle, turn and grab up to the steps above.
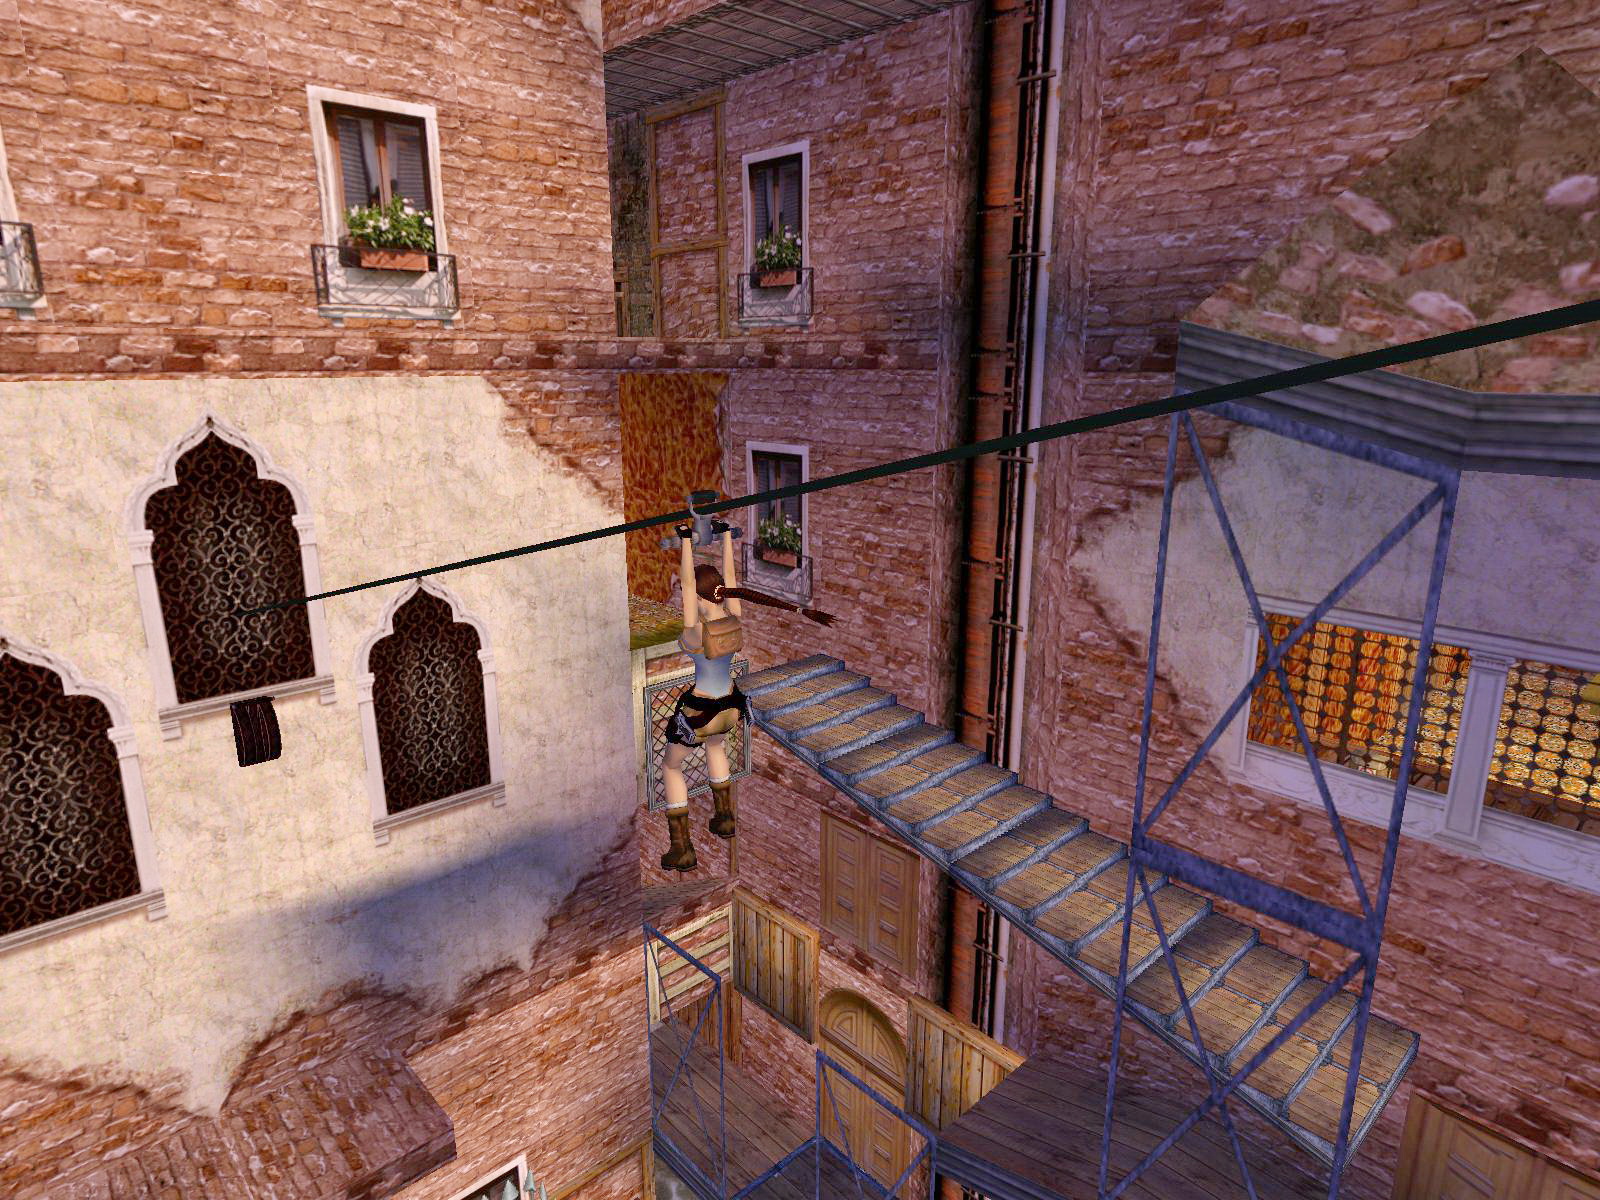
Jump E onto the crate on the terrace and shoot the windows E, get inside and jump onto the crate N, climb up into the wall above and jump out SW to the upper window. Shoot them and jump out right around the corner to get onto the wooden ledge (N). Hop to the balcony with the zip line.
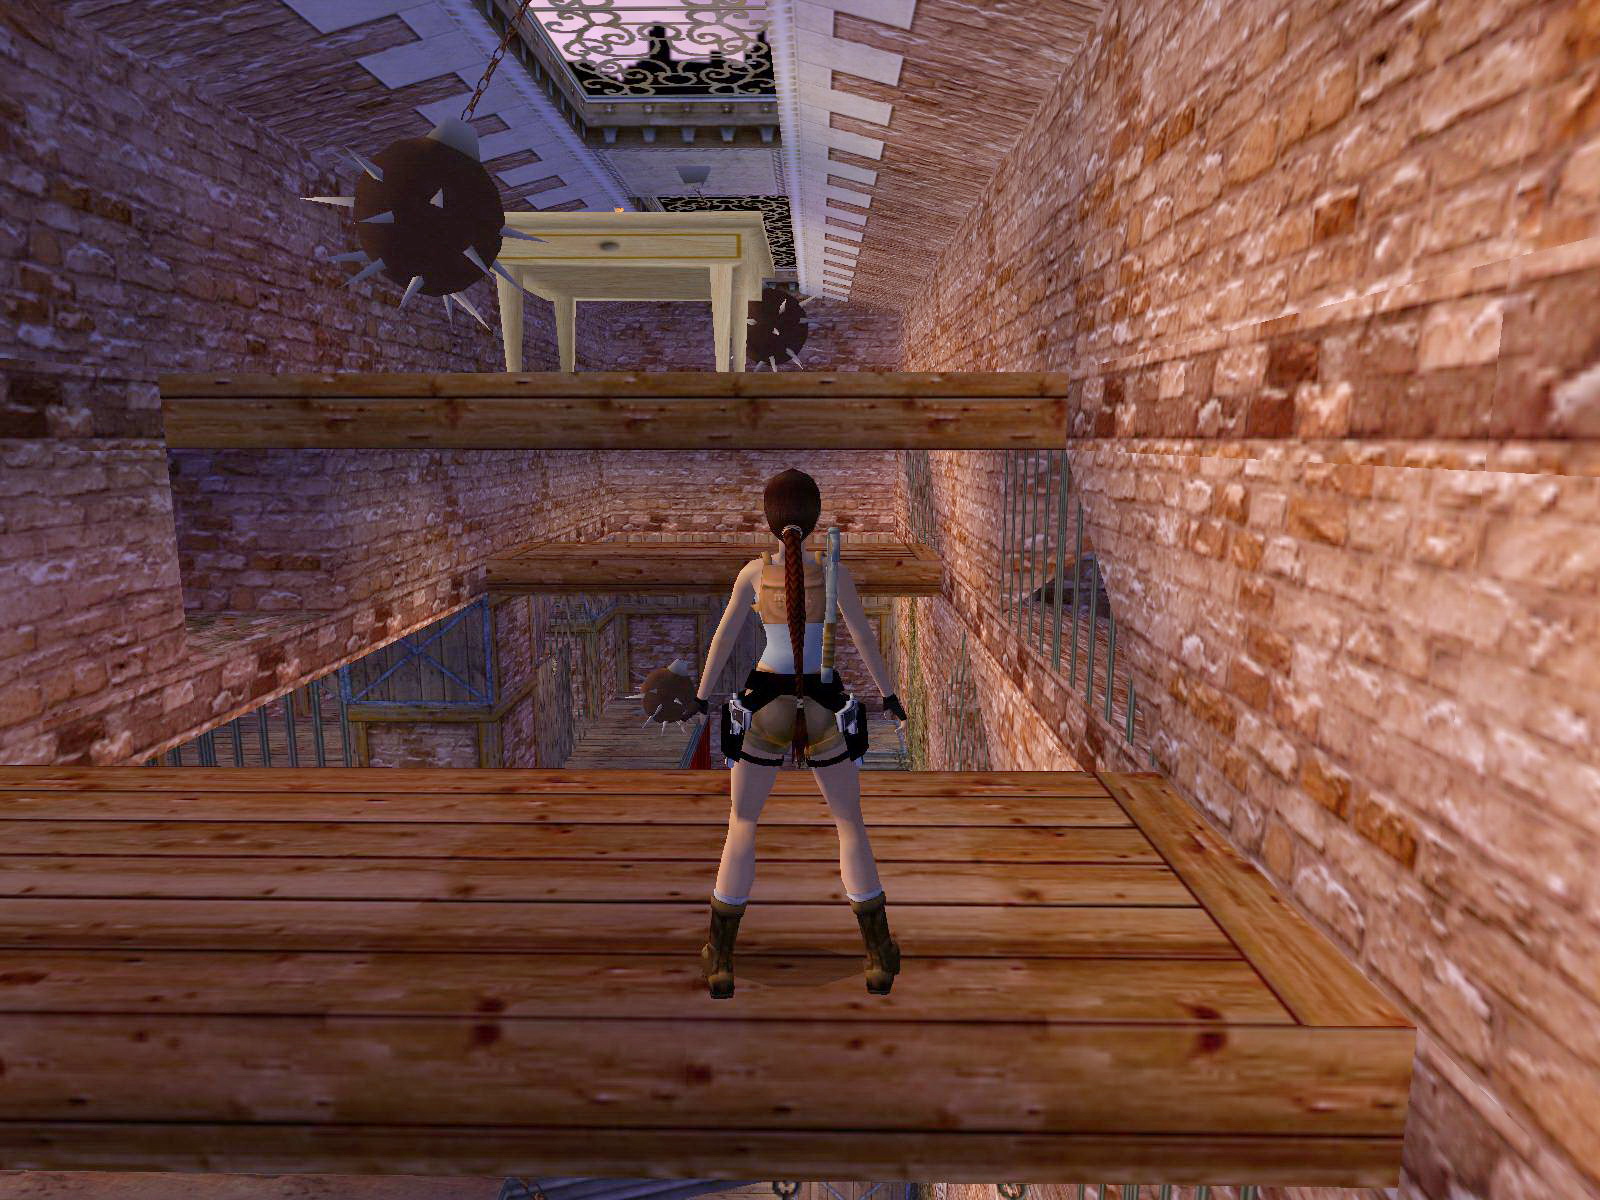
2 Jump Levers.
You now have to operate 2 jump levers from here, one at the end of the zip-line and one on the ramps W. To create a shortcut back up, shoot the window N and get down into that room, open the doors and step onto the balcony to get the Glock ammo. Go back in and up to the balcony with the zip-line, ride it to the end and grab the jump lever (#1). A trapdoor opens up. Go back up over the terrace, through the room N and from the upper balcony you can jump to the ramps W. Open that trapdoor and jump to grab the jump lever (#2). Slide and back flip/roll onto the steps to get out of the way of the boulder. A platform rises and a trapdoor opens up way up W.
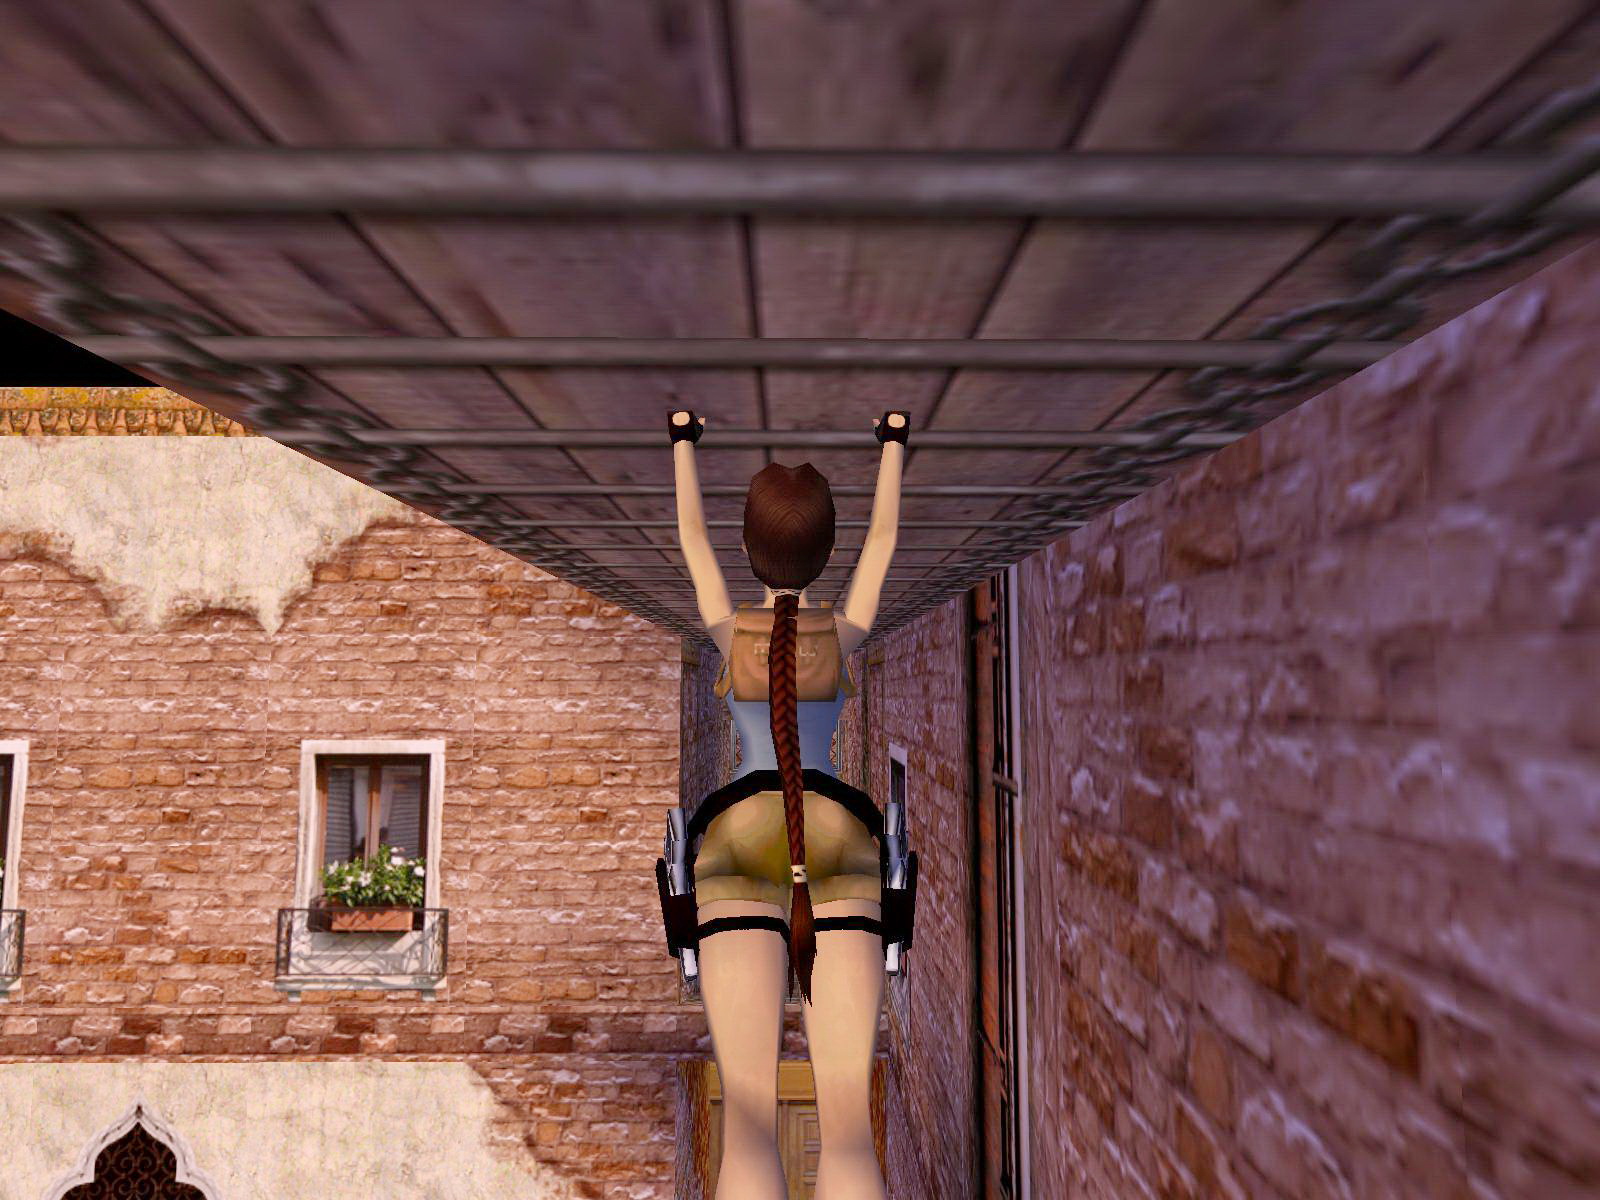
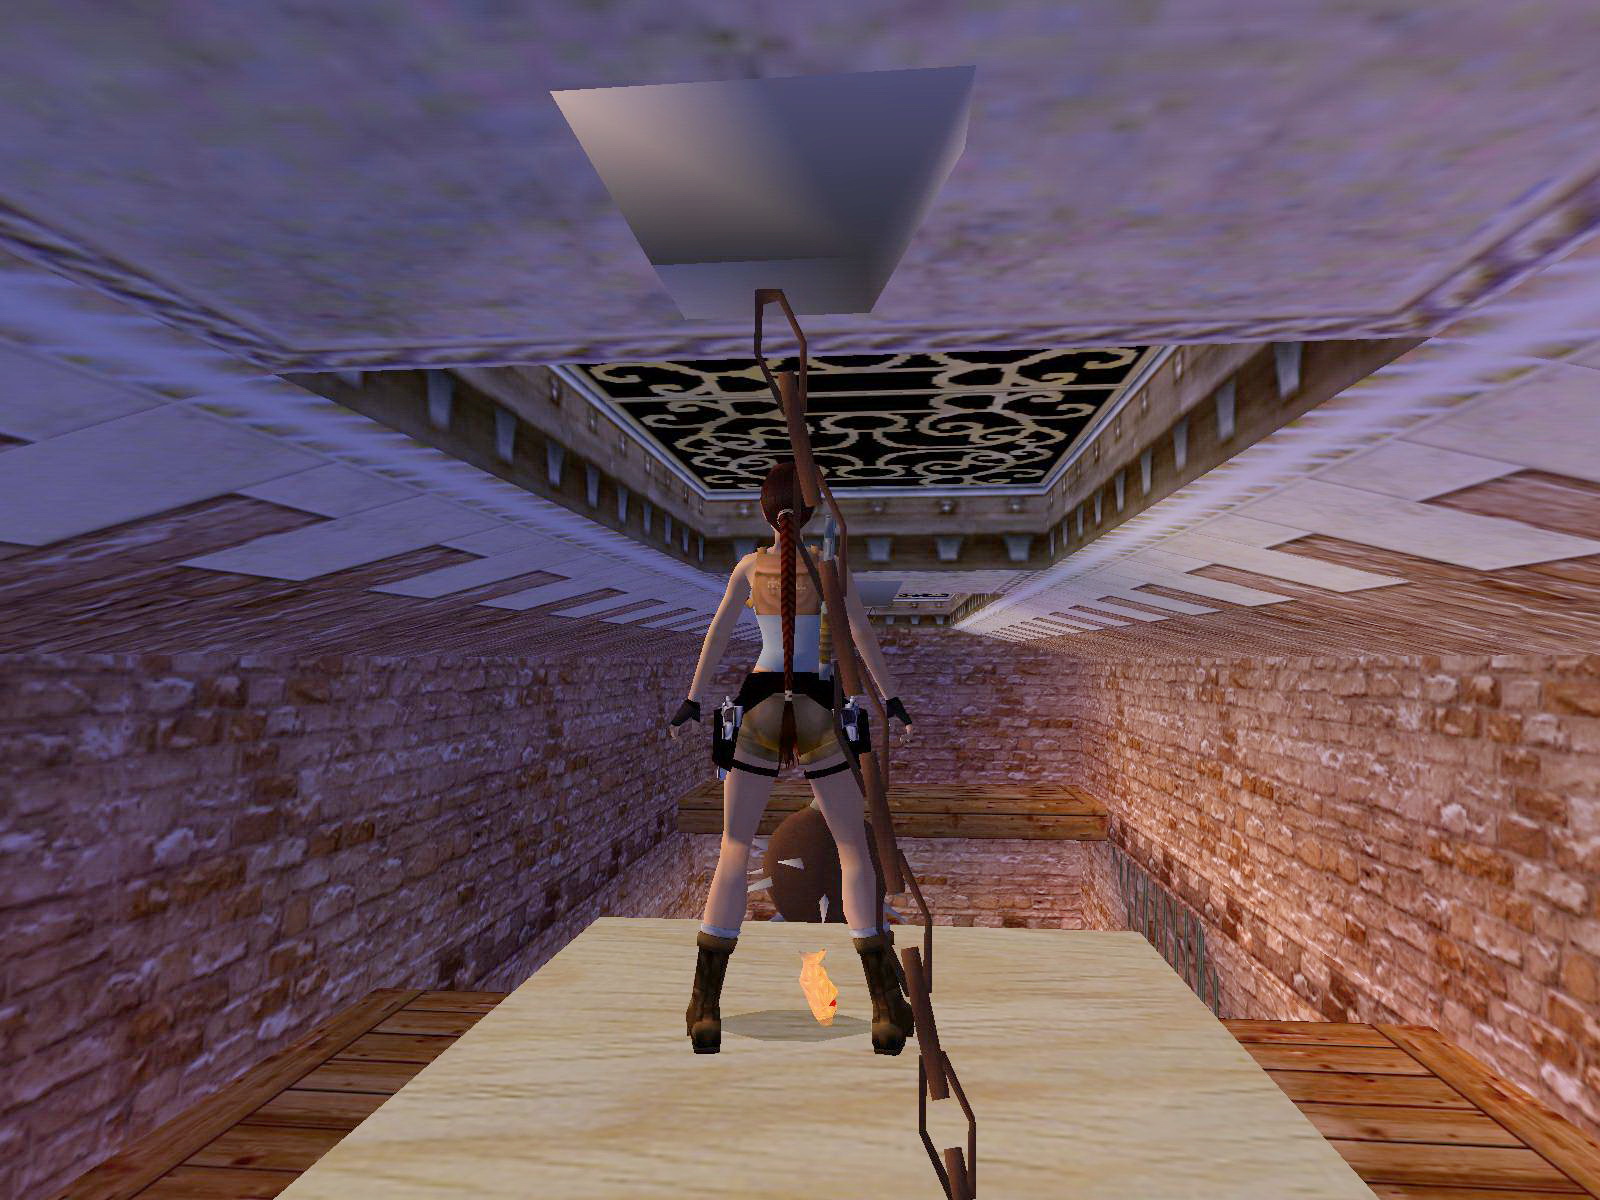
Jump to the N onto the platform and use the switch to open another trapdoor. Then use the slope under the jump lever N to backflip and jump/grab up to the ramp above. Stand against the mound S and hop over the top, slide a bit and jump to grab the monkeyclimb. Go over to the opening S and use the lever there to open an underwater gate.
Dive down into the water and find that gate SE, go in and up through both open trapdoors to use the 2 switches. Platforms will rise and lower so the path of the next boulder will not lead to death and destruction but to the Crowbar. Now swim back out and go up the ladder in the SW corner again, back flip to the wooden ledge and climb the ladder again to a short passage with a closed door. Turn around and jump to the steps and over to the terrace E. Into the windows and make your way down the crates into the lower room. Behind the crates in the SE corner is a small medipack. Now get out into the fenced area W and throw the now safe lever.
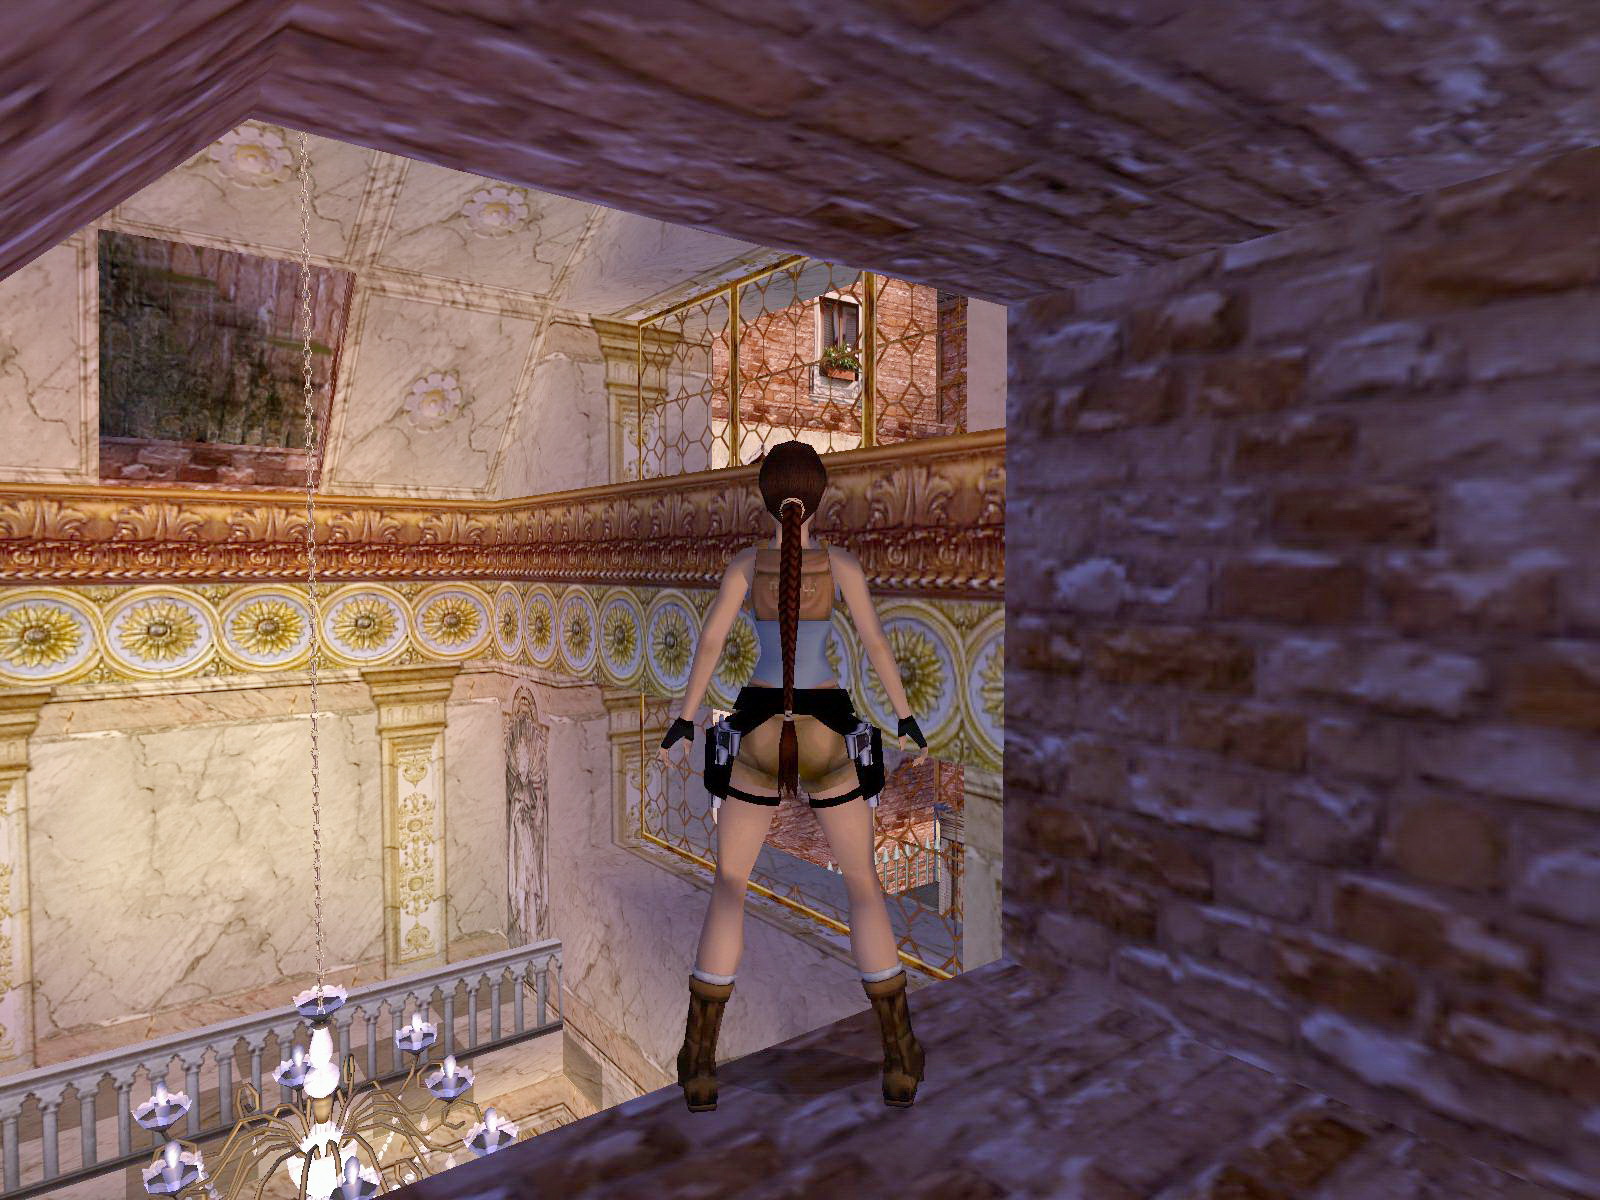
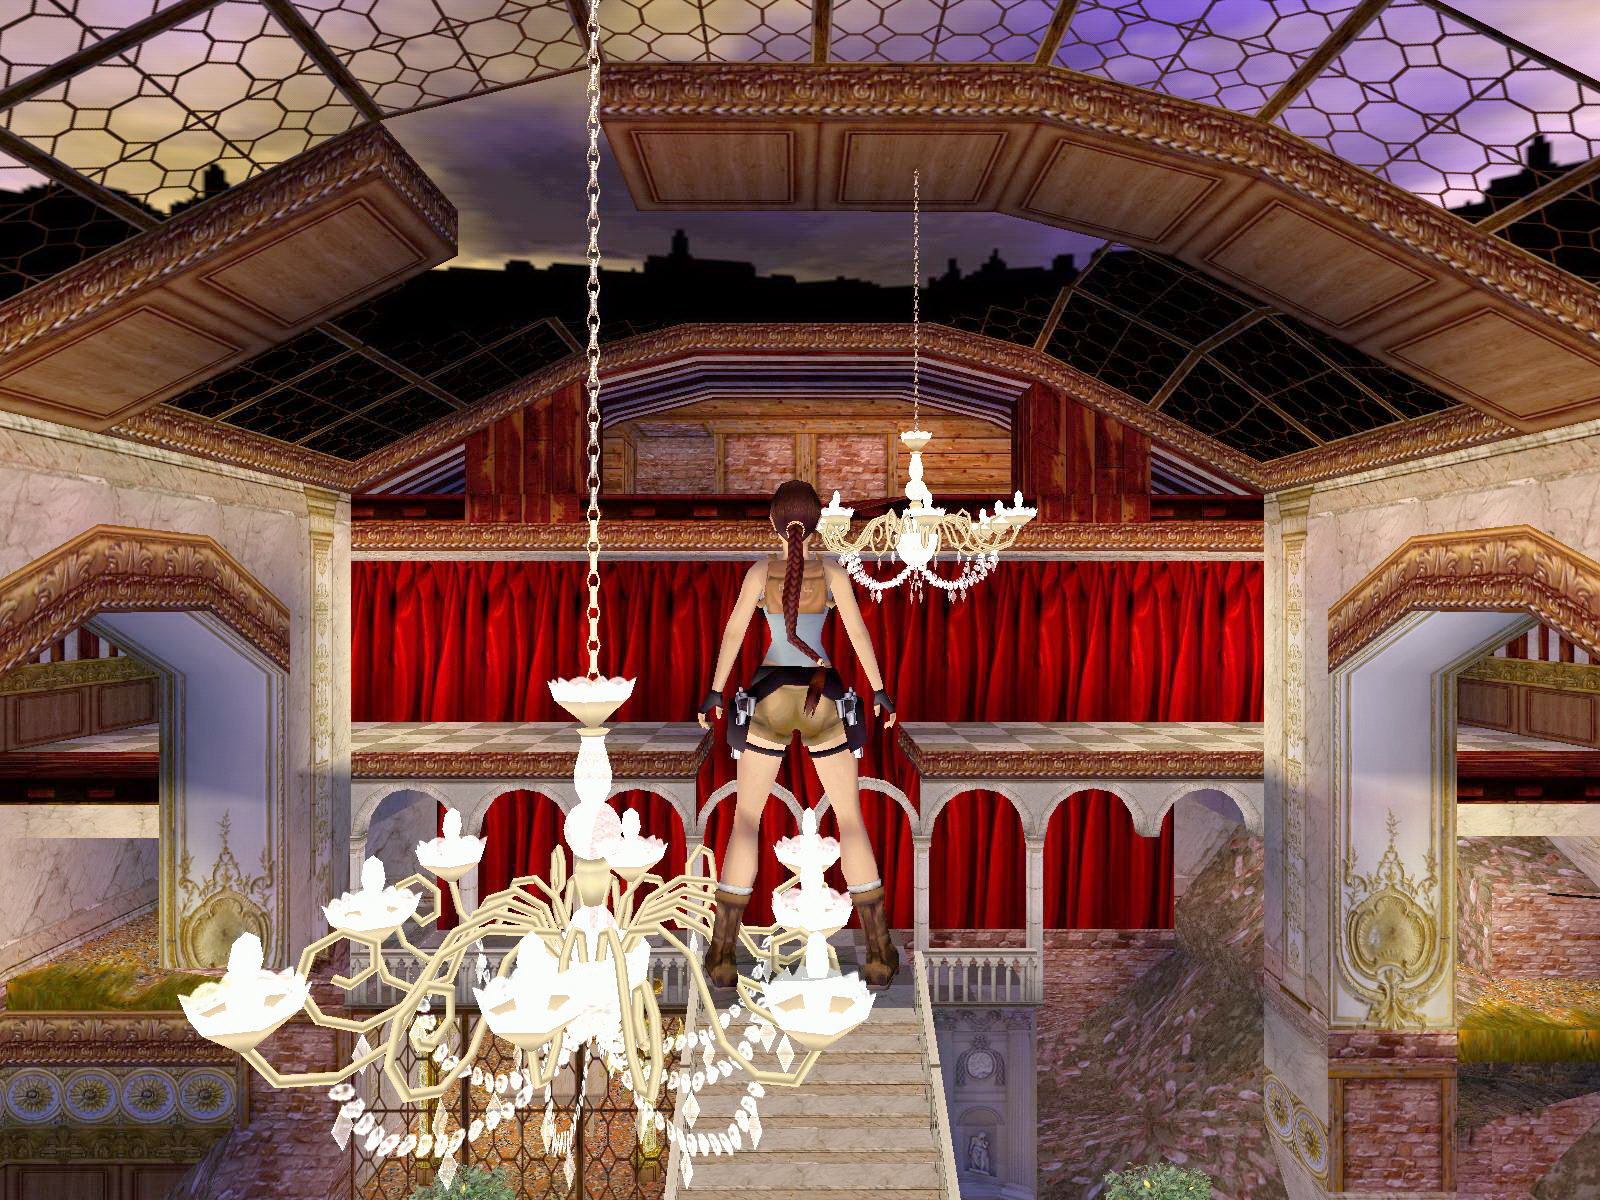
The Boulder will end up on a trigger tile and a block in the N wall lowers (NW) Go back out, dive into the water and climb up onto the TNT crate NW, jump into the alcove to pull the chain pulley and a painting opens up. It is inside the room with the crates E. To the ladders, back flip, again the ladder and via the stairs E. Jump from the chandelier into the open painting and finally get the Crowbar.
For the Secret.
You have to get back up to the monkeyclimb way up W, you know how to get there by now. Go to the place where you used the lever and the last boulder came from (way up SW). Where the boulder was is a jump lever, go use it and then get back onto the terrace E, from the NW corner of the terrace you can jump and grab the fenced ledge to the right of the raised platform and pull up. Get into the opened doors and get Secret #1, a Medipack and Shotgun ammo.
Mask Piece #1.
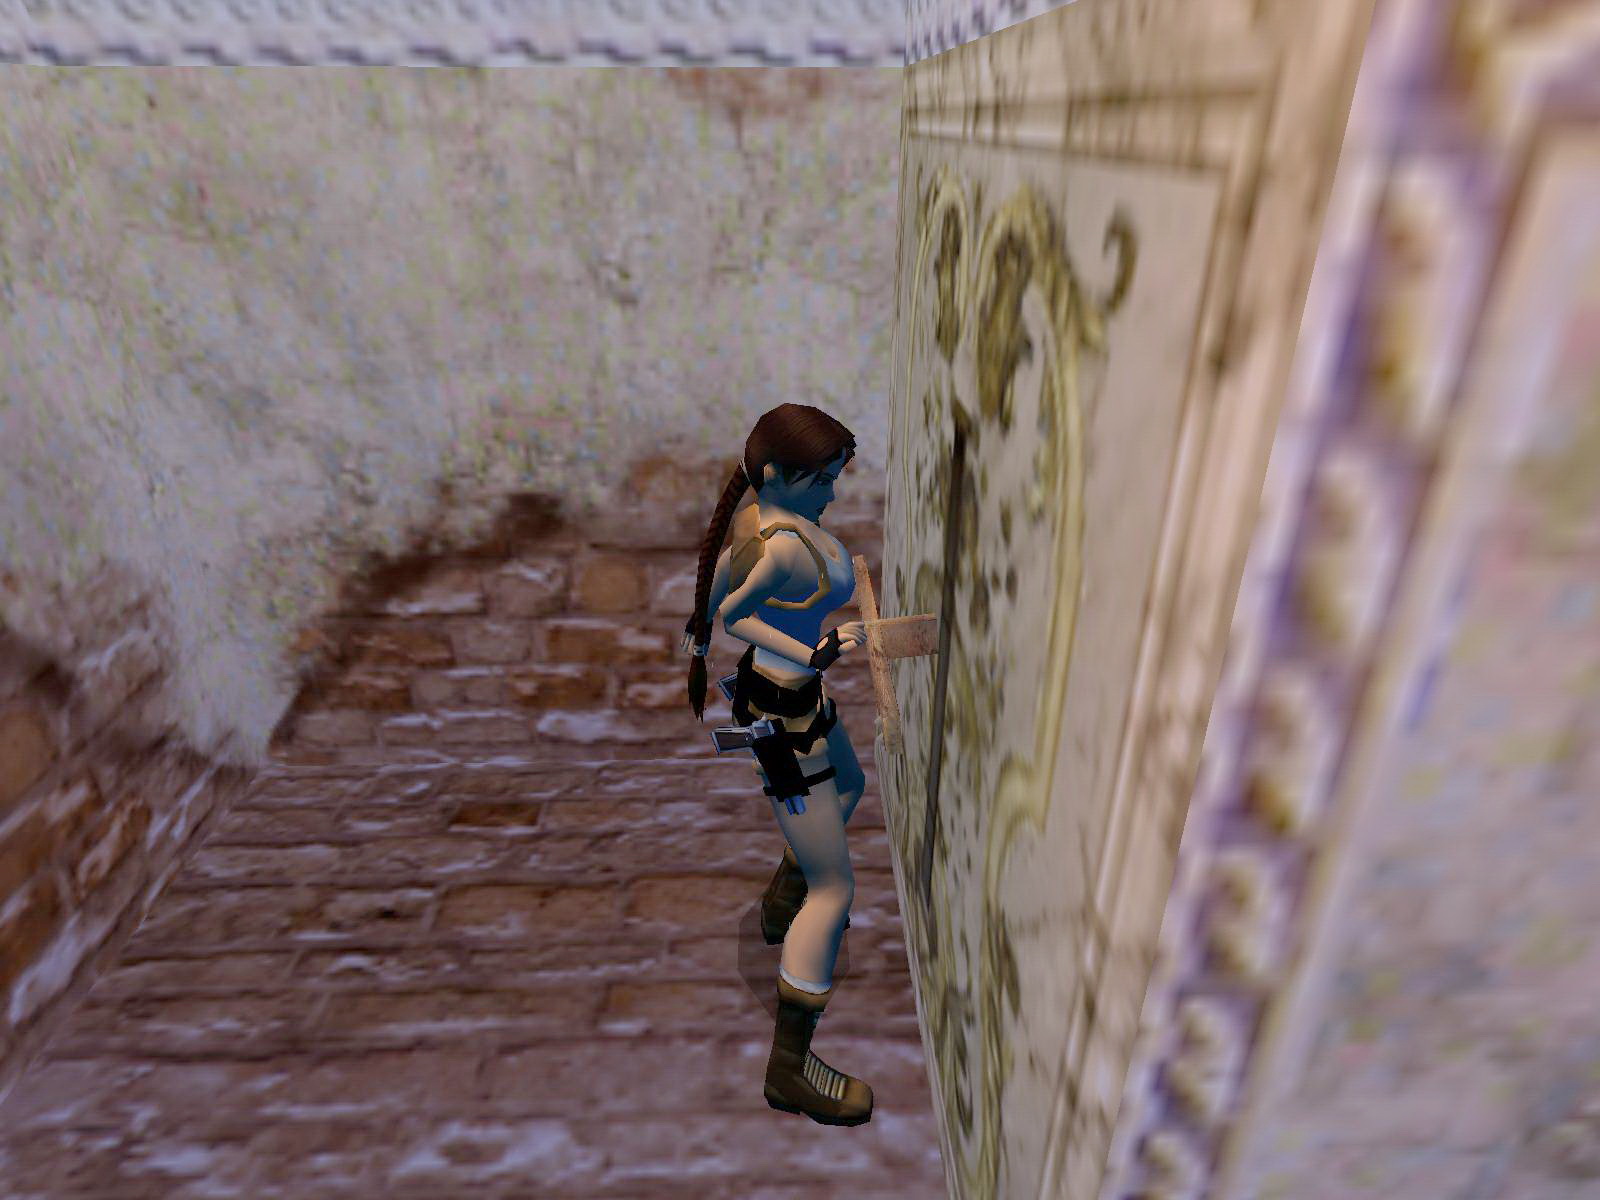
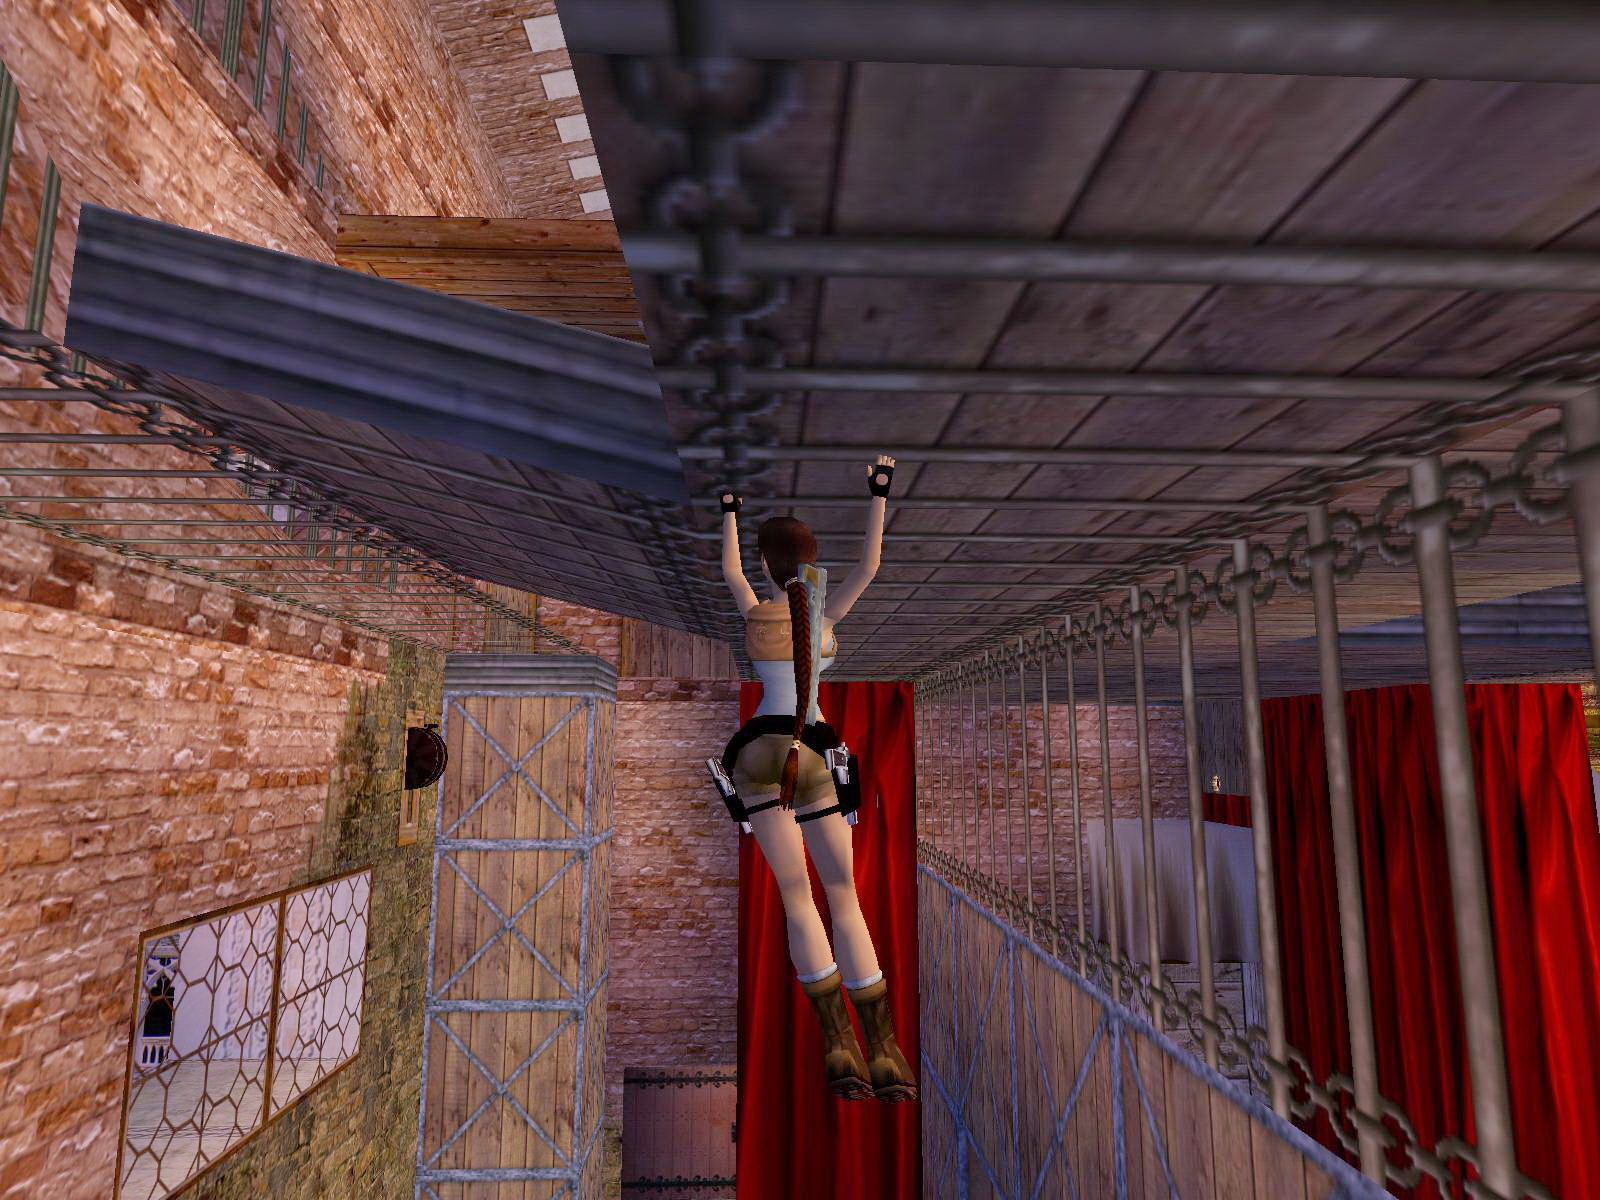
Get back to the SW corner of the courtyard, up the ladder to the wooden ledge and jump to grab the crawlspace W. Follow through, jump and grab the ceiling over the deadly pit to get back to the first floor of the Theatre. Go SW into passage and open the crowbar panel. Go N, jump over the ledges to the N side and get Mask Piece #1.
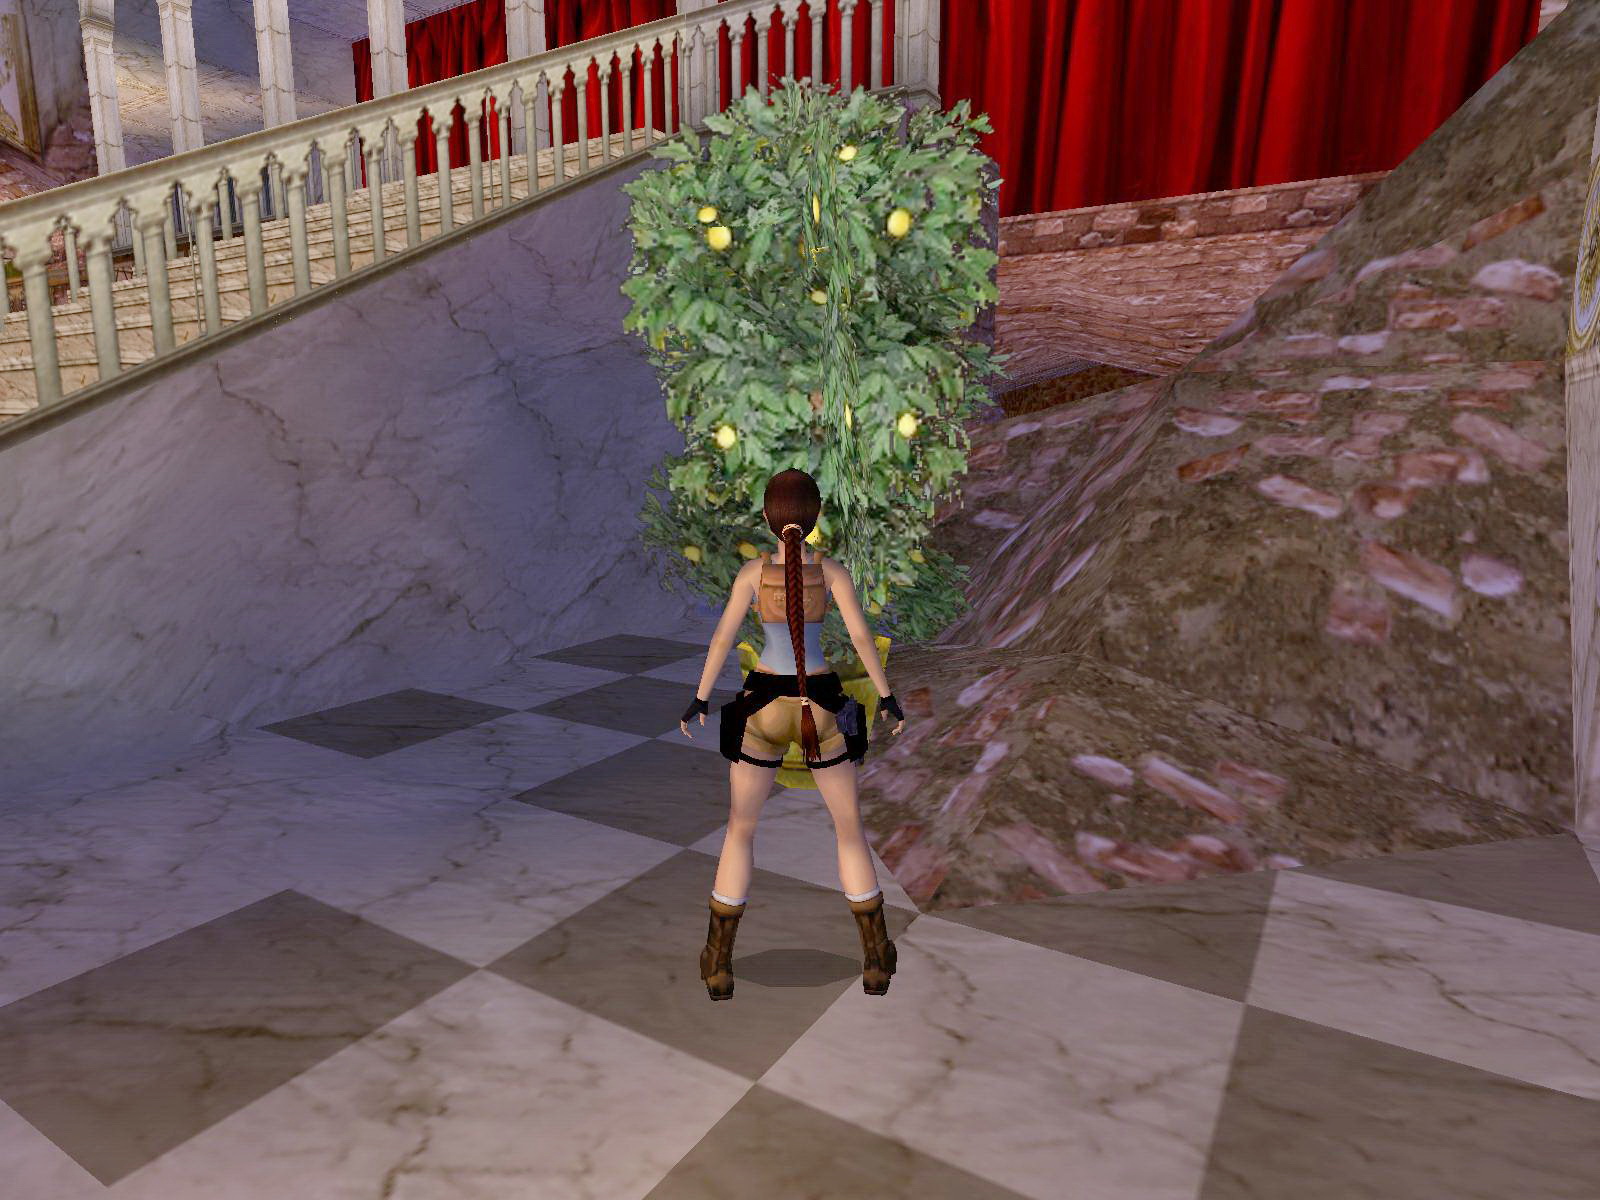
A wraith shows up, drop down to the ground floor, run out N and go straight through the hall to the canal. Then get back inside and to the right of the big stairs and in the S wall is a crevice, get in and get Secret #2, Shotgun ammo.
Now return upstairs the theatre through the room E and once there climb the crate next to the crowbar door. Jump to the wooden ledge S and follow this broken walkway around to the far NW corner and use the lever there to open a shortcut to the other corner (for later).
Jump back S one ledge and use the zip-line there. You have to land in the caved in passage S. Go left around the corner very careful as Boulders will come down. Head E and drop down through the broken glass floor to get a small medipack in the NE. Then head S to the stage area.
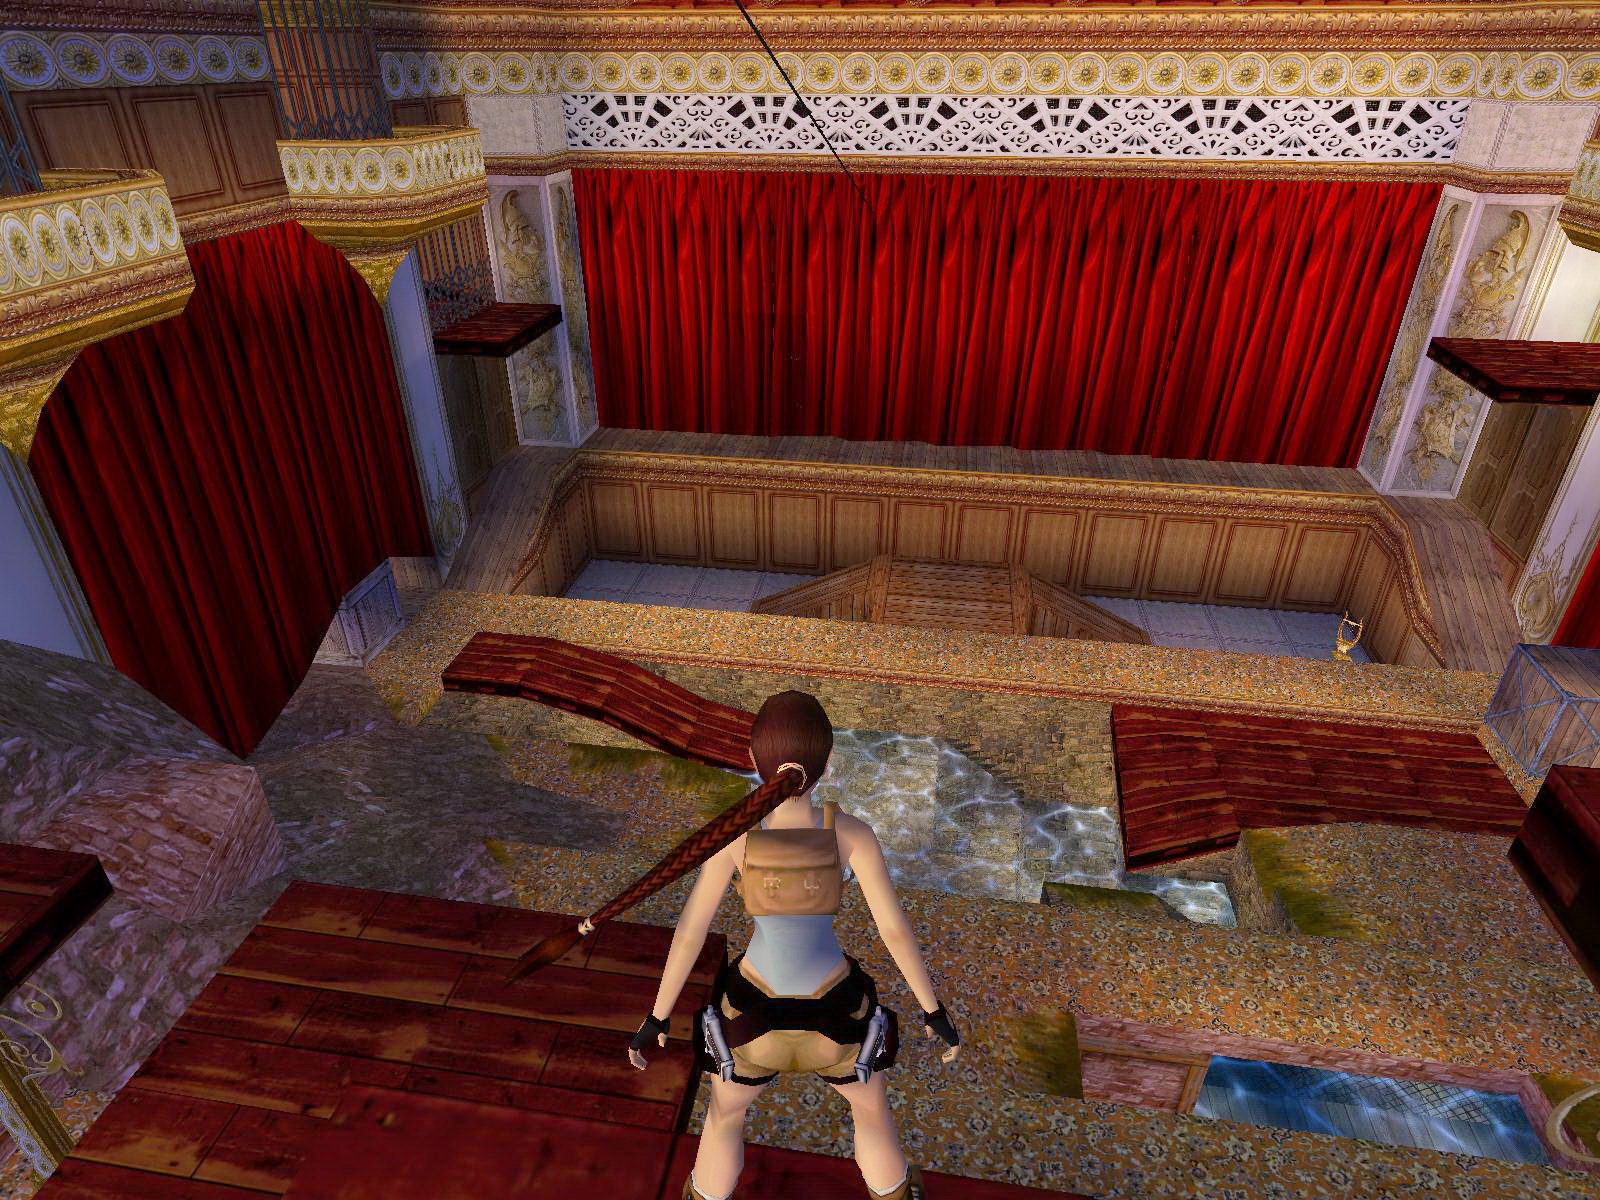
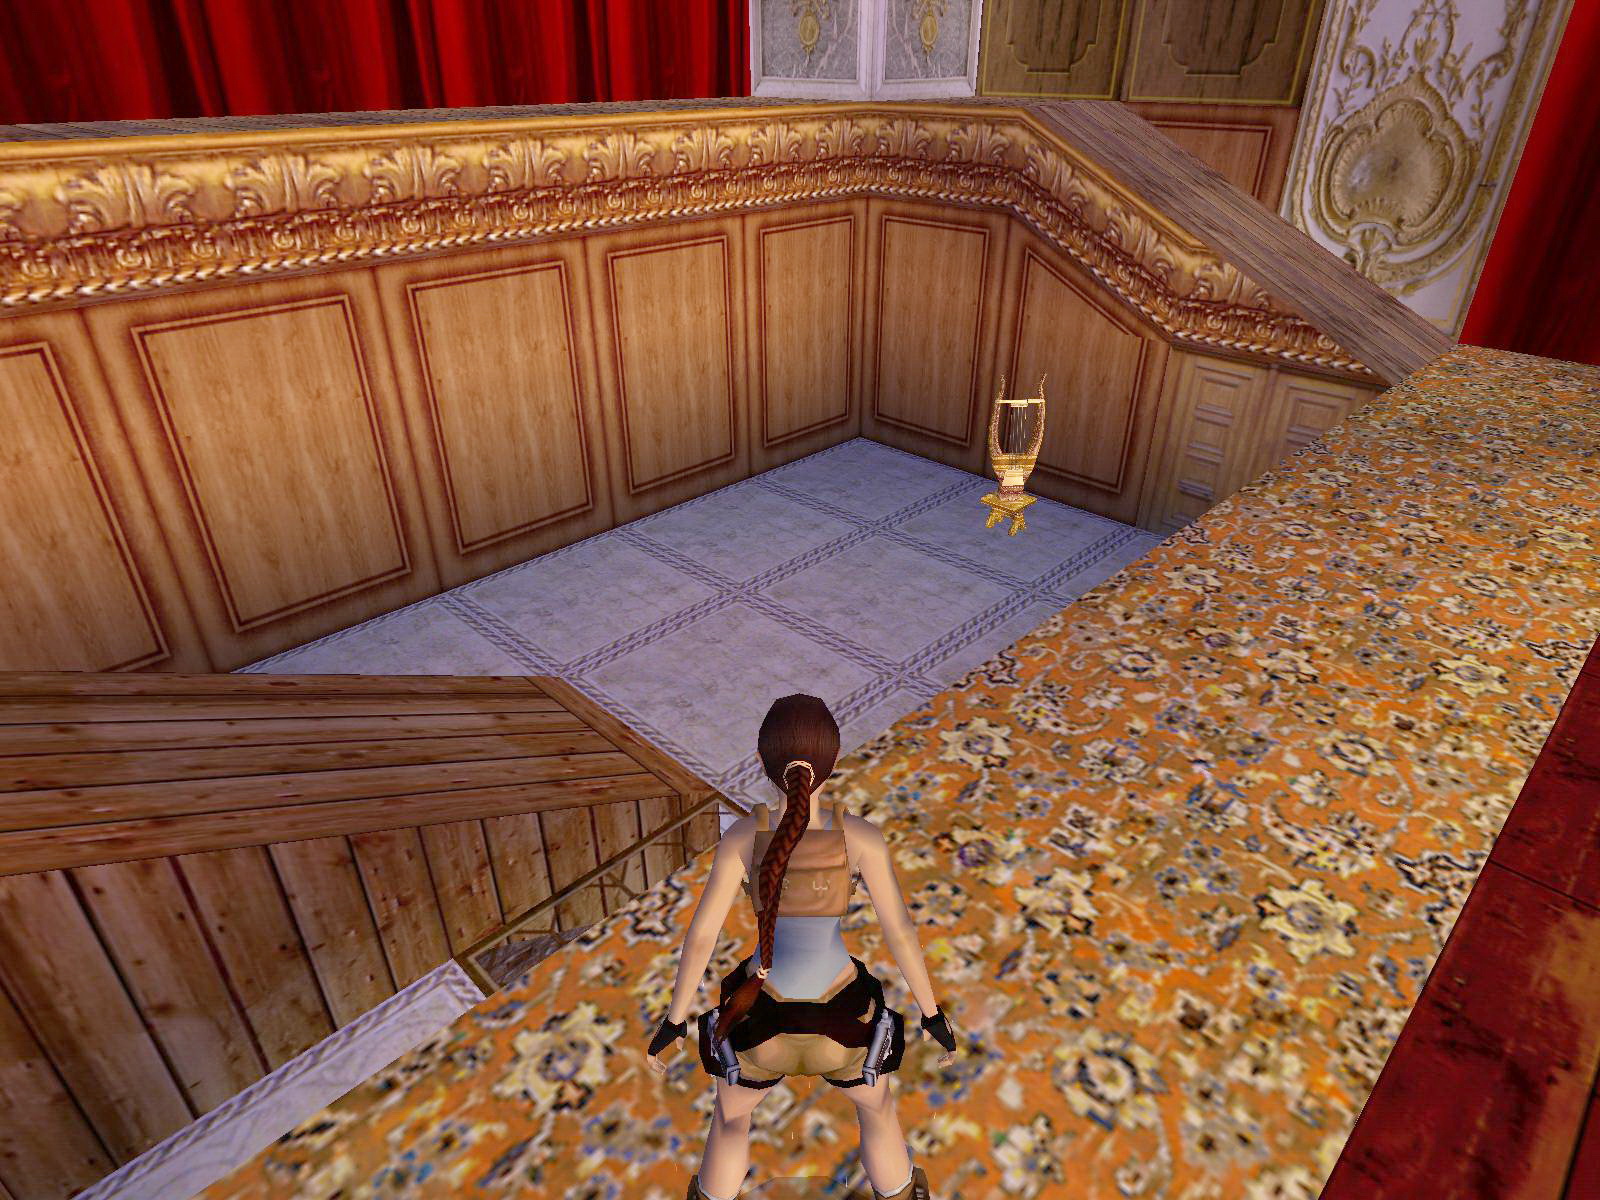
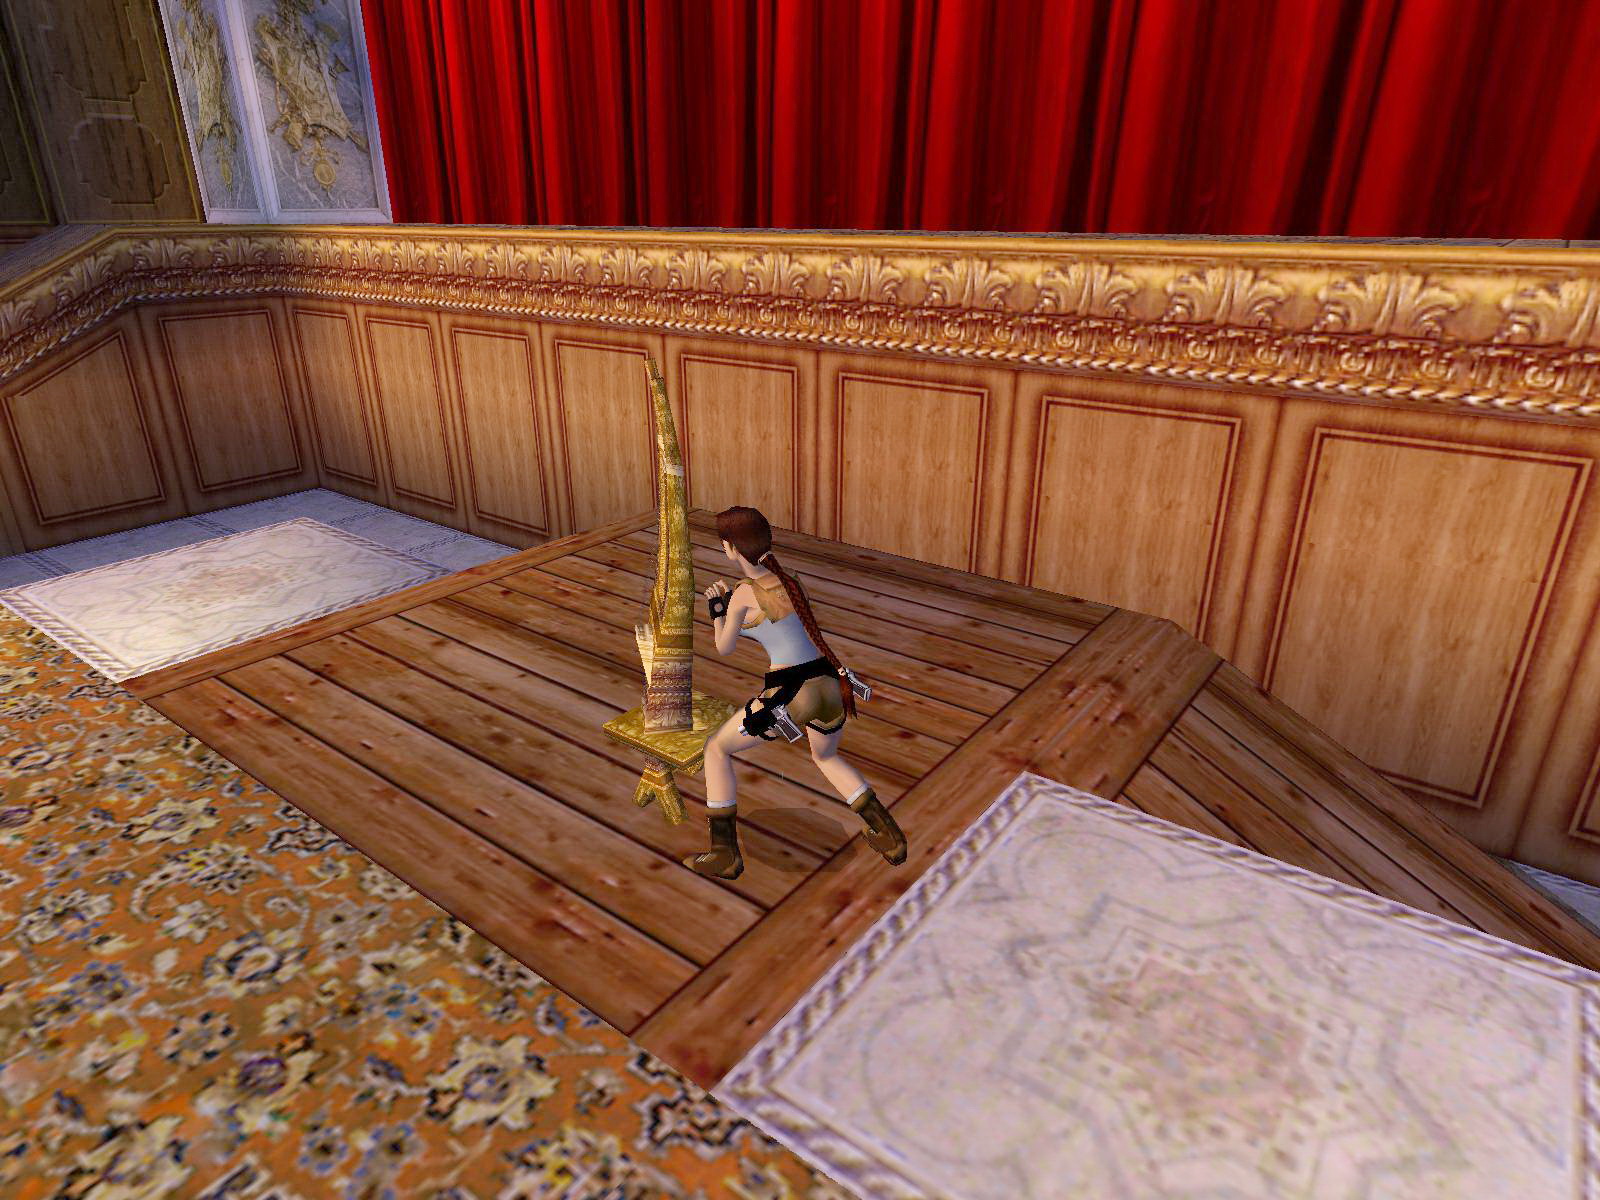
The Stage, Harp Puzzle.
Go to the NW and drop down to the ground floor, head S and notice 2 lowered raising platforms along the W wall. In the orchestra booth in front of the stage is a harp. That one has to go to the E side of this lower floor. Push it to the white block NE, under the glass floor you can spot a lever.
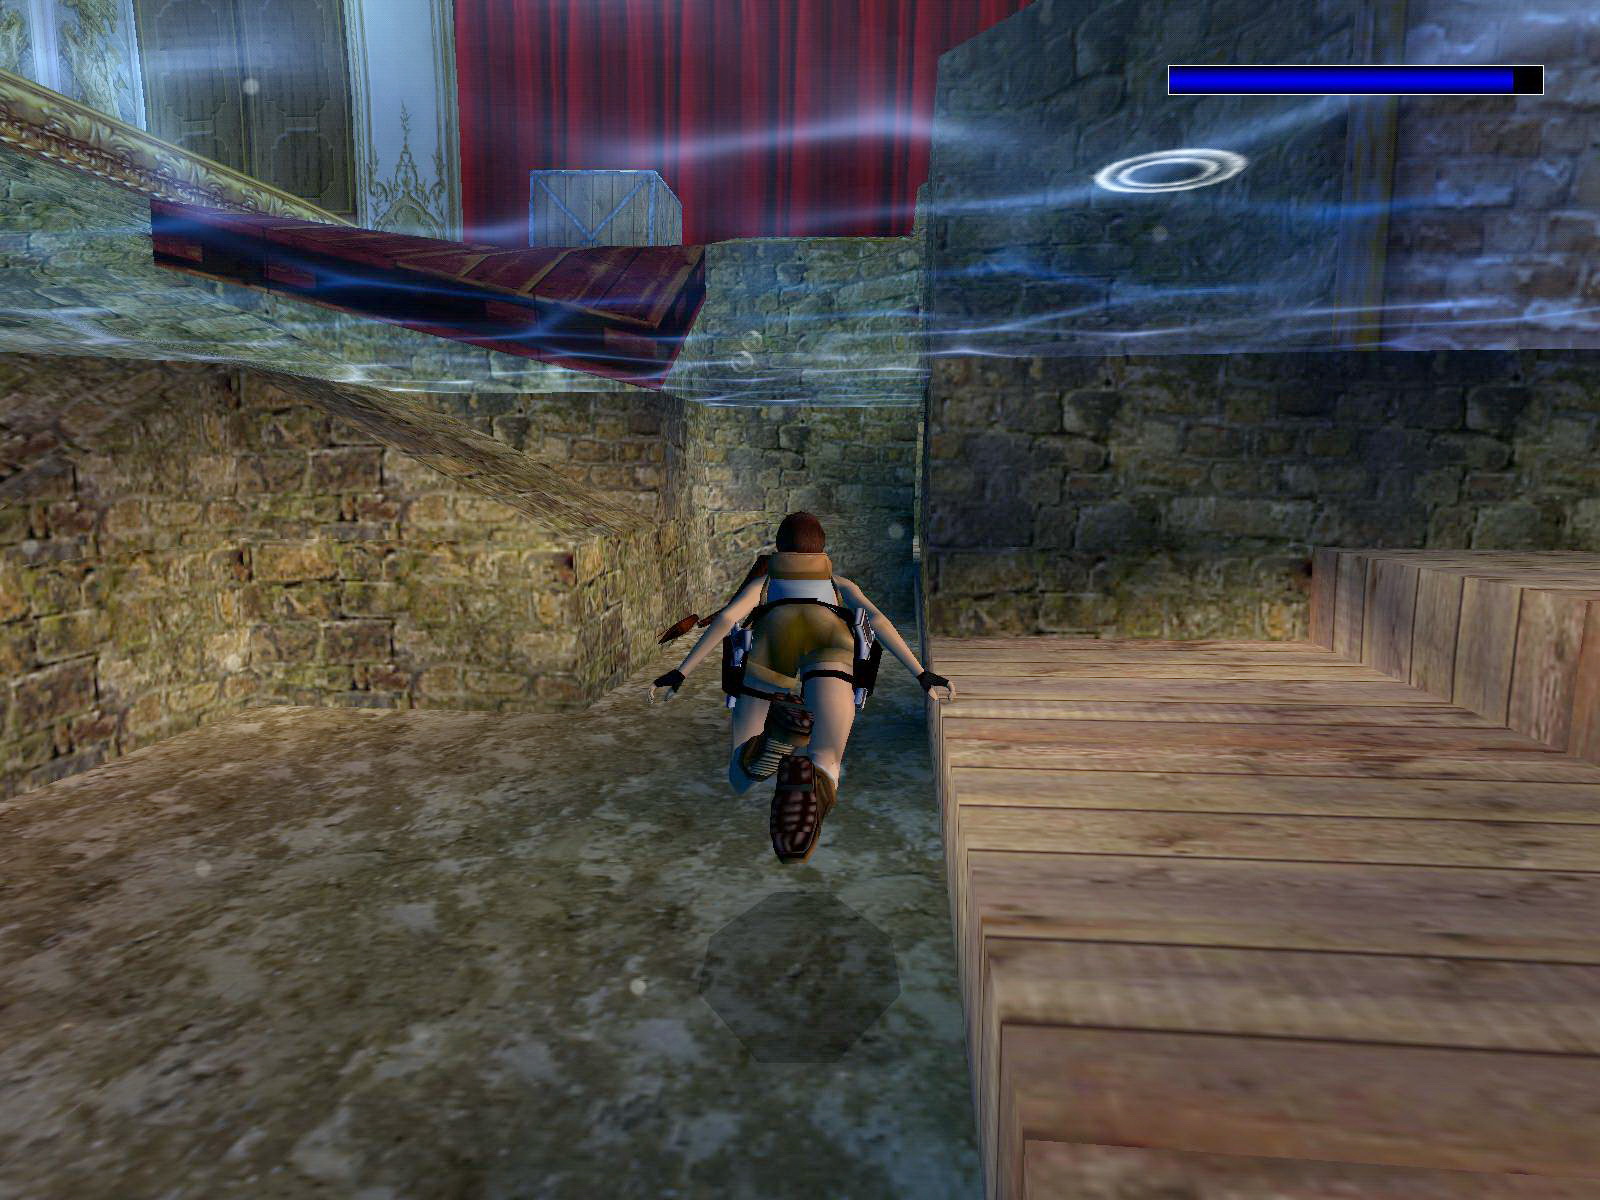
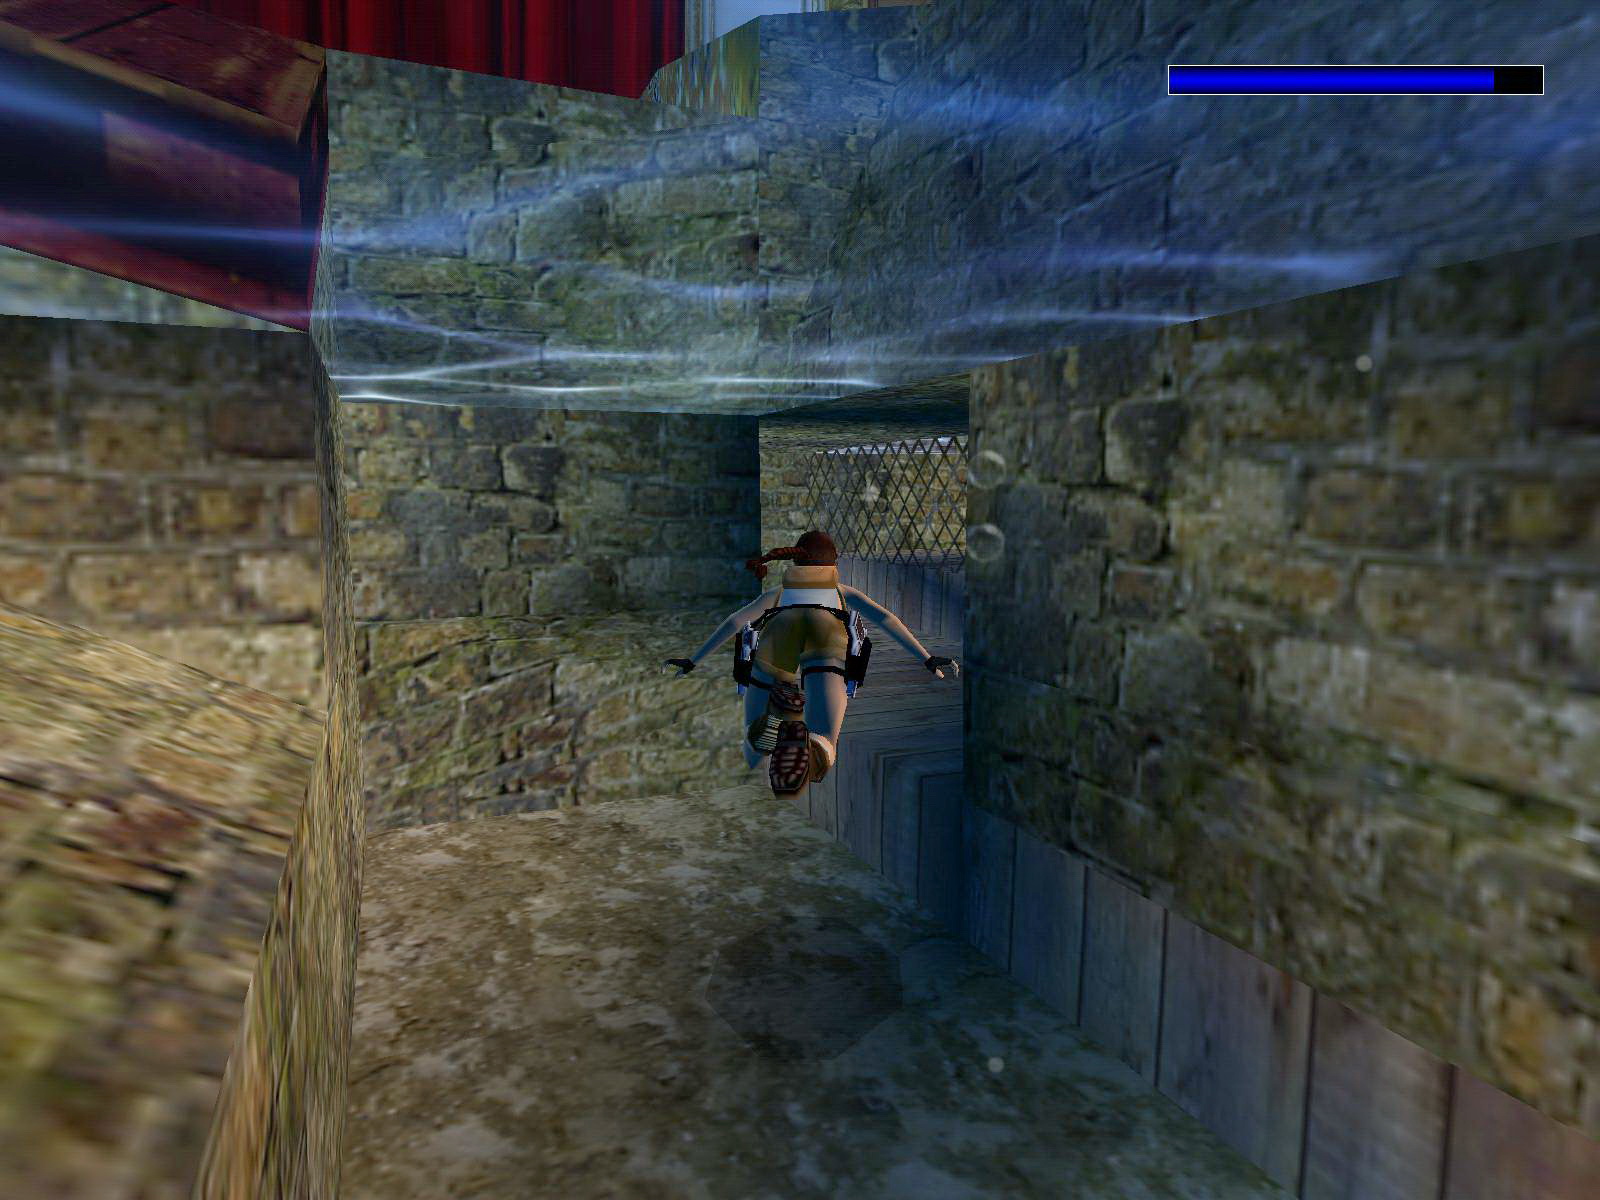
Go to the N side of the room, under the balconies and get down into the fallen floor. Theres a trapdoor along the N wall, in the shallow water. Open it, get in and swim through the tunnel to the end and then climb out to the right, you should stand under the harp. Throw the lever and see the block above go up.
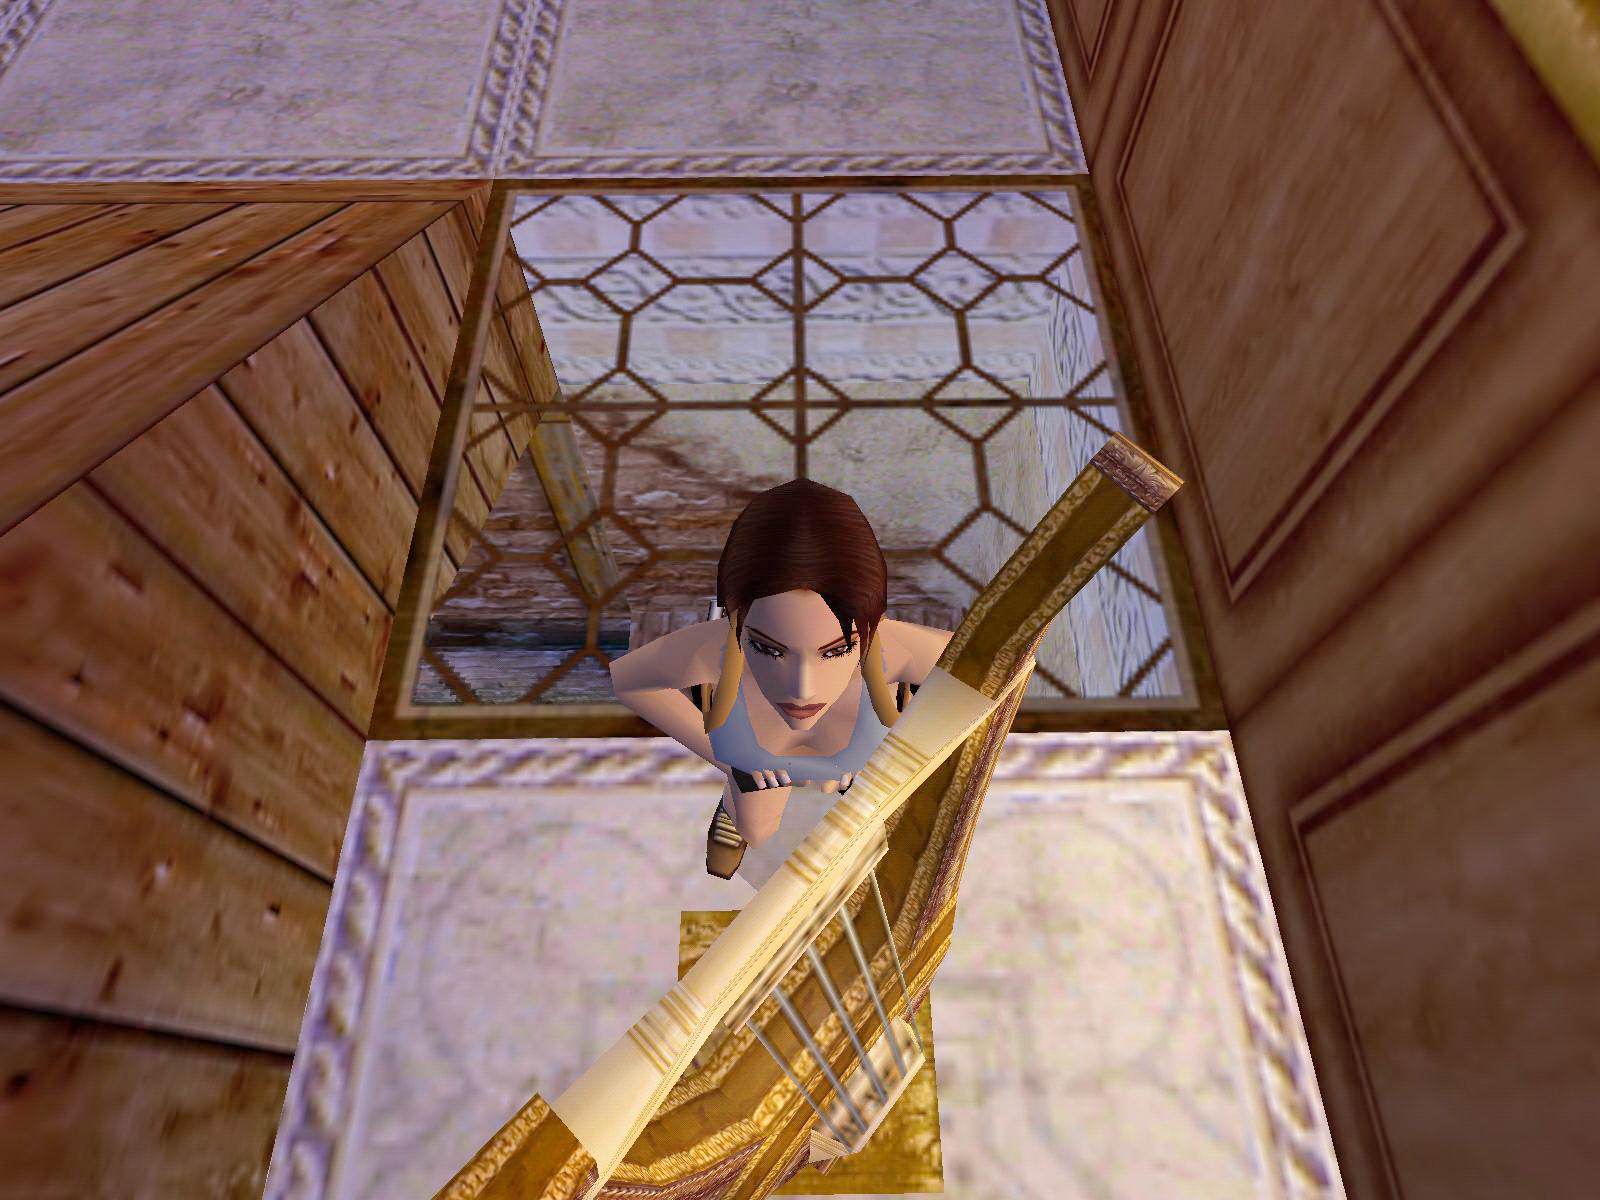
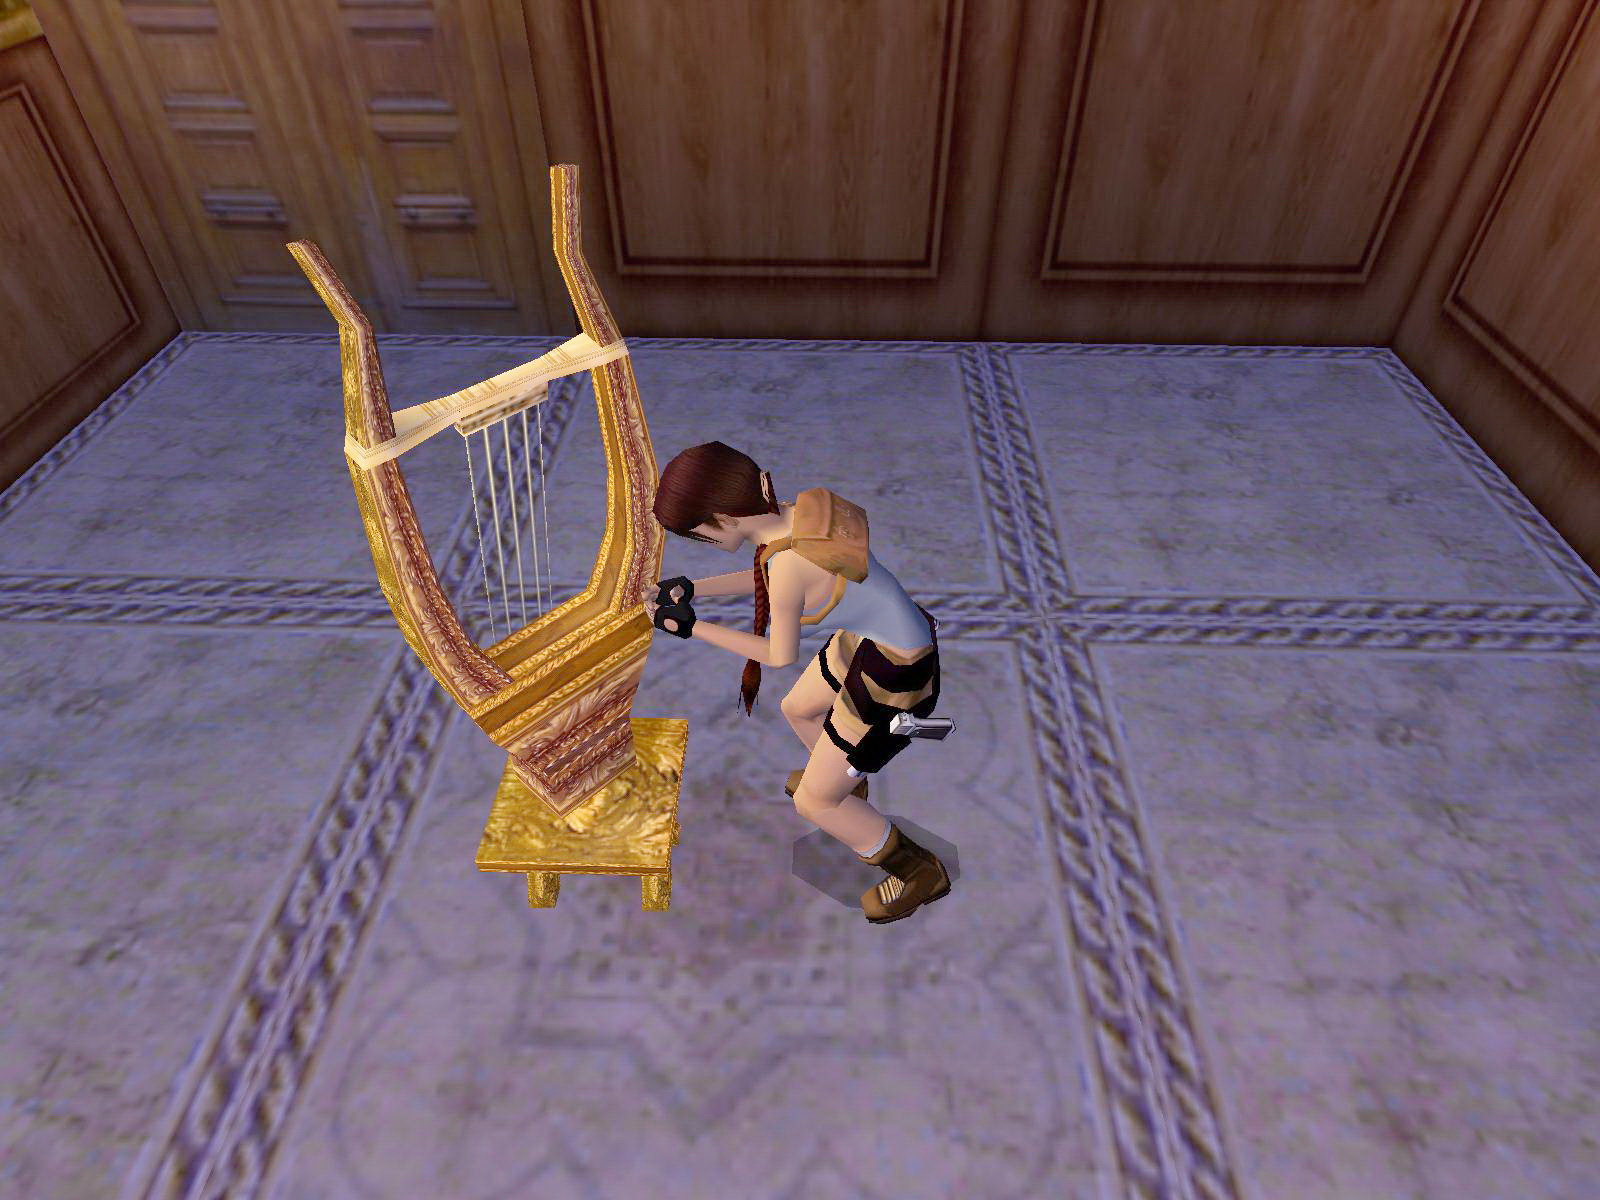
Hop over to the next ledge to the alcove S and open the ceiling hatch. Climb up and move the harp onto the next raised block (E). Go back down through the hatch, throw the lever, this lowers the block again and put the harp on the one marked tile in the E section. The platforms go up along the W wall.
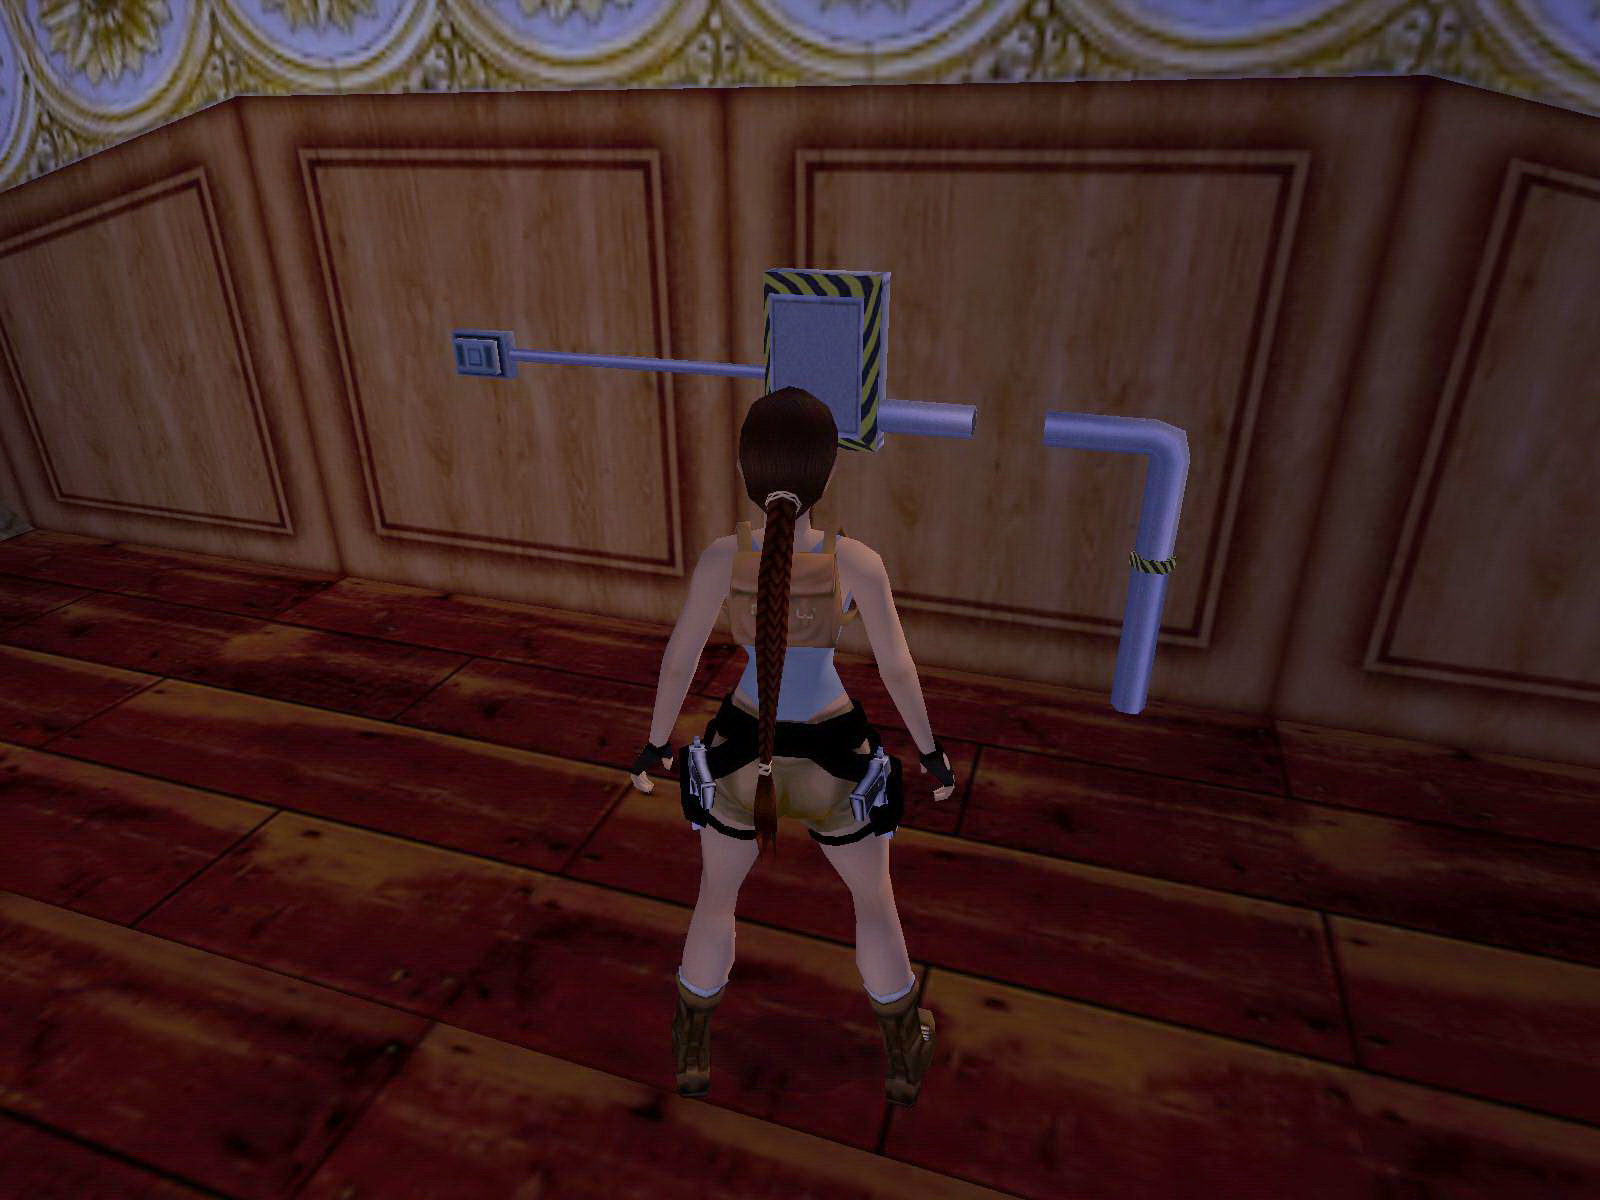
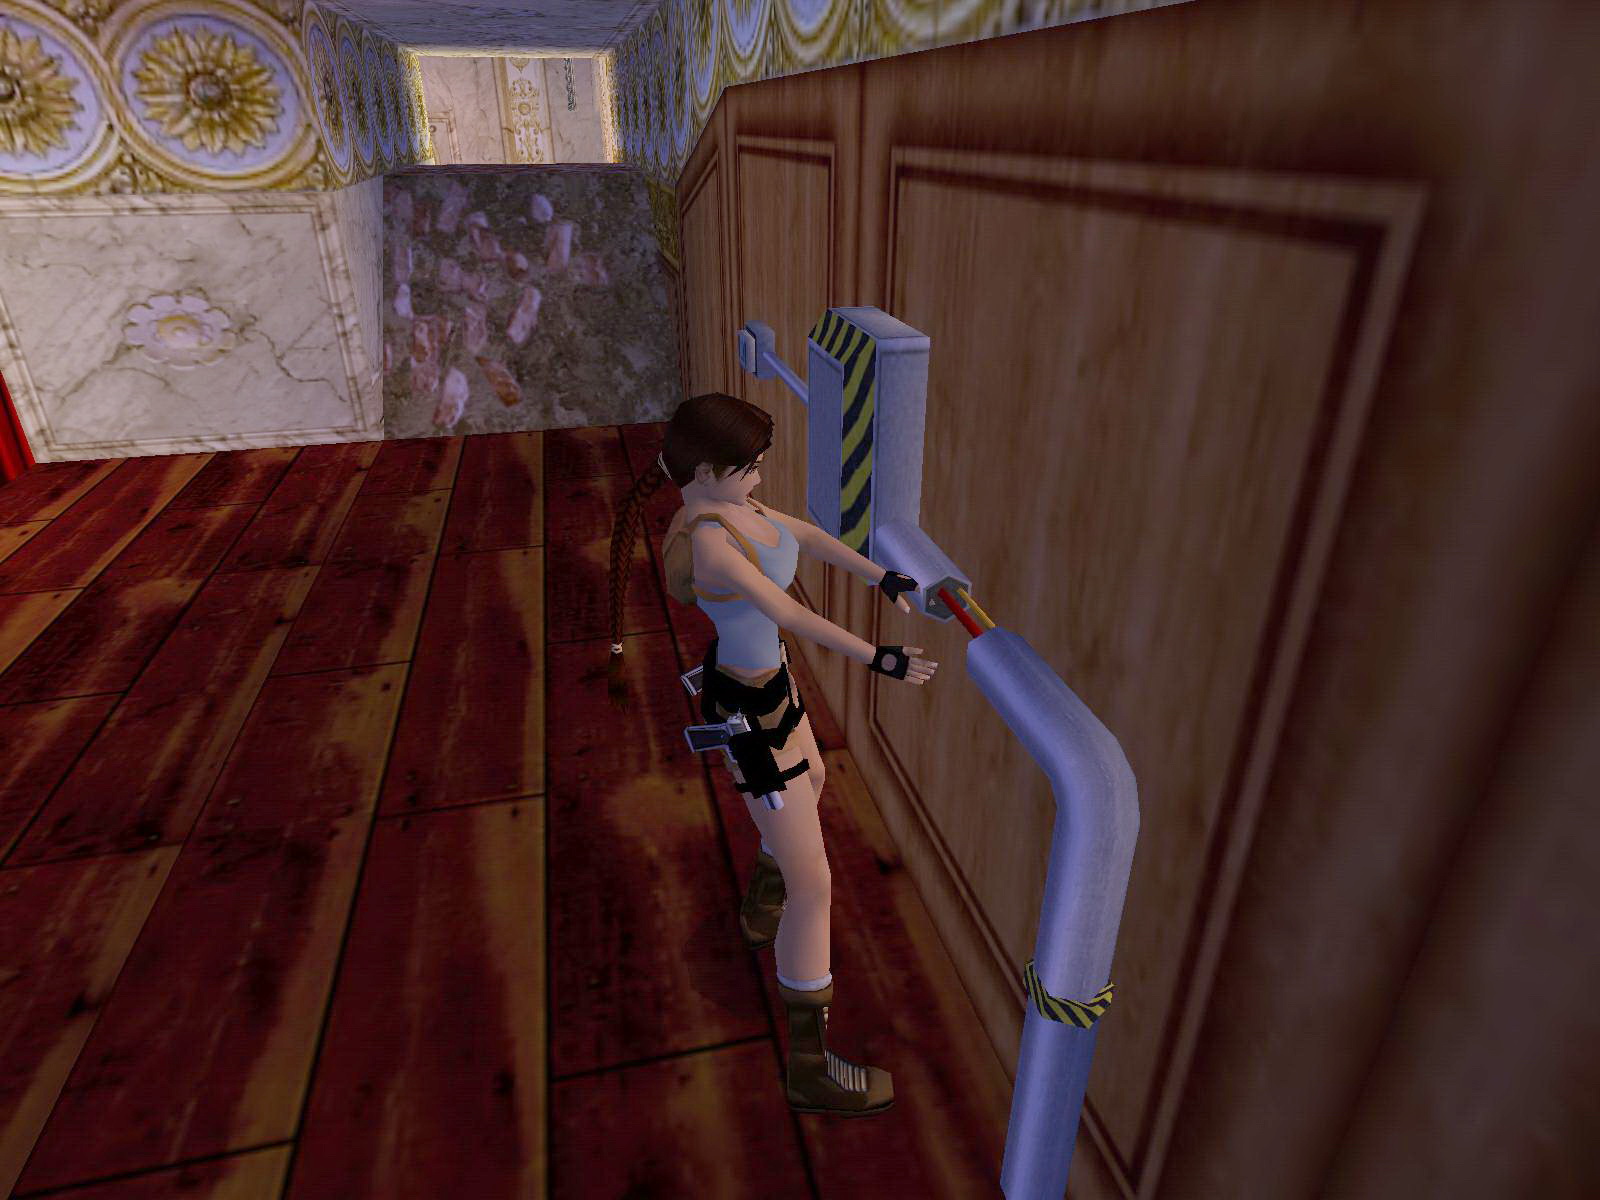
The Wires.
Go to the NW corner of the room, stand on the steps facing a bit SE and jump to grab the balcony above. Walk to the SW corner and jump over the platforms to the balcony SW. Inside you can shoot the cover from a fuse box and pry out the Wires.
Return to the first floor balcony N and into the corridor there, use the crate to jump up through the glass floor and go to the Theatre Lobby. Just hop right around the corner, down to the ground and now you have to go way up to the far NE corner.
Route #1: Go into the room E and make your way up to the first floor, jump over the broken walkway around to the NW corner and go into the opened gate there (or throw the lever to open the gates). Youll come to the attic, go into the passage SE and follow through to the NE corner of the Lobby.
Route #2: Leave the Lobby N to the Hall, go right then left up the stairs to the attic, left into the SE passage to get to the NE corner of the Lobby.
On the N wall is a fuse box, place the Wires there and push the button to open the curtains behind you.
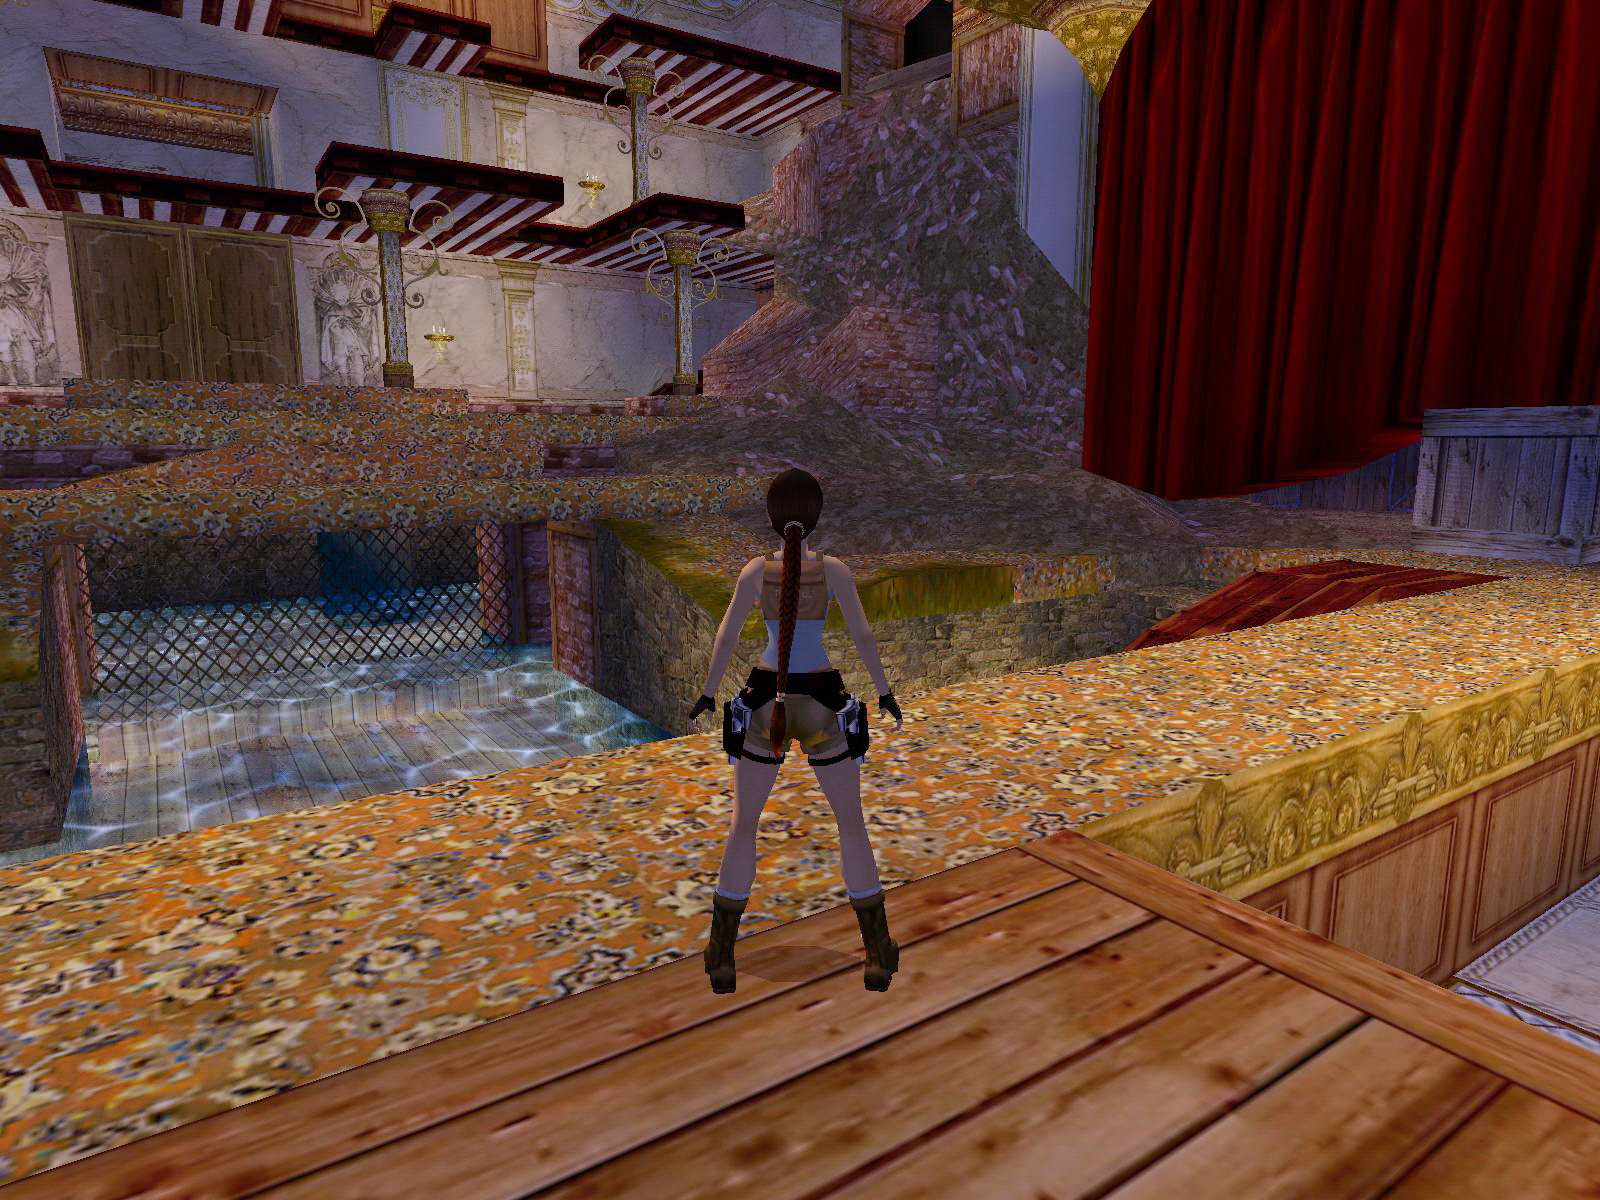
High Jumps.
Jump S over the chandeliers and then aim for the lowest tip of the wooden broken floor part straight ahead . Enter S and go left over the broken floor to get a small medipack from an alcove NE, in the alcove SW is Shotgun ammo. Now go through the opening S to a control room. There are 2 levers, one opens the big curtain on the stage and the other opens gates to the W side balconies.
Backstage.
Use the zip-line to get down to the stage and shoot the Gangsters there. Up a ramp NW is some Shotgun ammo.
Timed Monkey Climb for the Code Card.
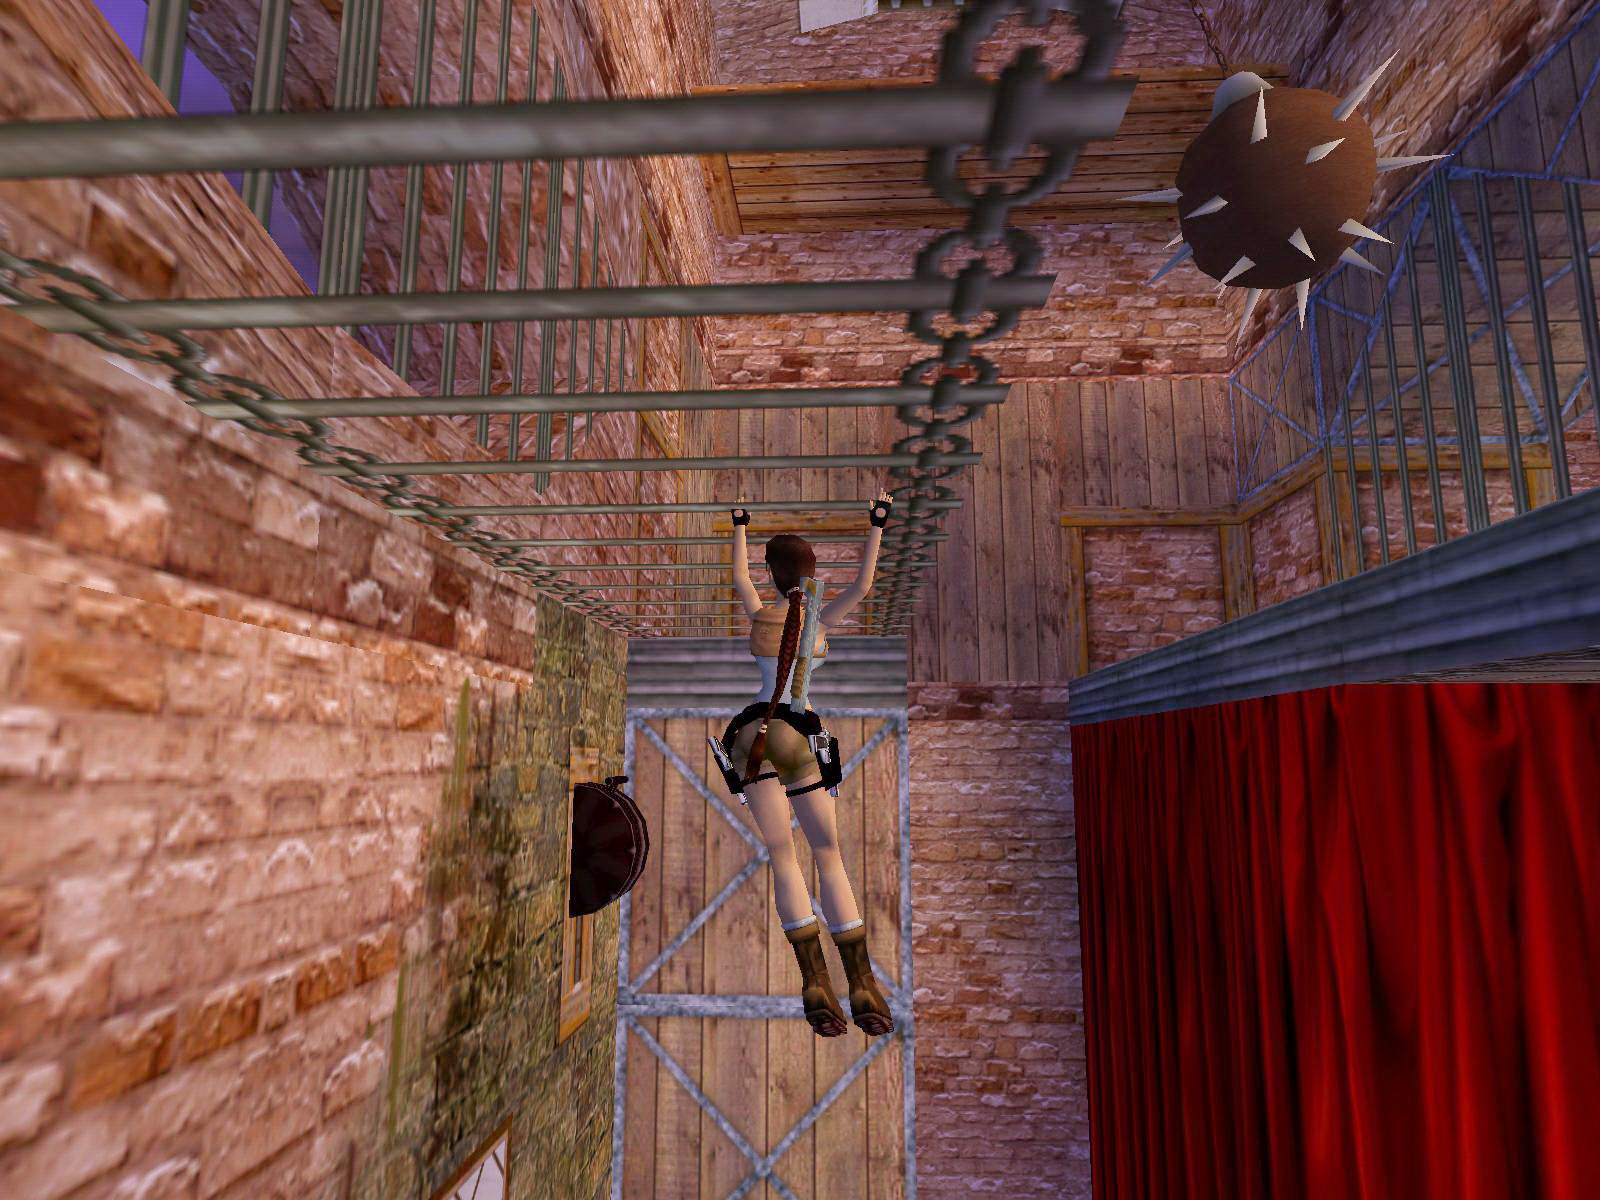
Go to the Timed lever SW (S wall), it will close the trapdoor over the death pit to it for a while. Look up and spot the jump lever there. The route is to hop on the crates SE and look up left (N) to spot the monkeyclimb over the blocks. Jump onto the slanted block E, jump again and one more, slide a bit and jump to grab the monkeyclimb. Go left to the grating and quickly get to the jump lever, drop and immediately side flip left.
The door opened W, climb up in that room to get the Code Card. (BTW, I had to do the run twice as the door wouldnt open, so keep a save in front of the lever.)
Raise the Platform for the Heart Prop.
Go out and S to the stage, behind the curtain W is a stack of tables, climb up there and jump onto the crates N to open the ceiling hatch, climb to the attic and throw the lever W, a platform rises back in the Theatre.
The Bag of Sand.
Get down and go to the far NE corner of the Theatre, use the Code Card to open the door. Get on the crate and grab up to the balcony NE, go around to the other end to throw the lever. An explosion rocks the room, go down and get the Bag of Sand where the floor opened up.
The Heart Prop.
Get out of the room; go left to the E wall of the Theatre where a crate holds the curtain up. In that room is the raised platform, climb it, get on the hanging crates and jump into the alcove N, then use the monkey climb to get to the S passage. Follow to the next corner where you have to trigger a boulder. Quickly run back a bit and get up into the passage when the boulder came to a complete stop.
Go past the boulder and open the trapdoor in that attic and stand at the NE corner of the opening facing N, hop back onto the roof below and slide before you jump with a right curve onto the crates. Get the Heart Prop and get back down to the stage floor.
Mask Piece #2.
Go S backstage and head into the SE corner to climb the ladder there. Go over to the receptacle for the Heart Prop in the middle N room. Climb the ladder and walk to the S end of the passage, run jump out to the right hand ledge and then jump up E to get Mask Piece #2 from the table after you saved. A wraith shows up. Jump down E, get one more floor down and get down that ladder fast. Run for the nearest water, N of the orchestra booth. If you go N and wade through the water to the right a small mediapck is in the NE corner. For a Secret; swim W and then into the NW opening, and left around the corner to get Secret #3, a Medipack. Get back to the ground floor.
A Waterskin.
We still have those passages up W, go up to the first floor balcony N, out N, up through the glass floor and S into the theatre again. To the SW corner and jump to the balcony there, use the rubble inside to backflip and jump to the wooden ledge and jump S over the rubble. Go get the Waterskin from the balcony and shoot the Gangster. Get back over the rubble and the shortest way down is a long jump into the water below where you got the secret. Walk up onto one of the submerged rocks and fill the Waterskin
Place the Cydonia Mask.
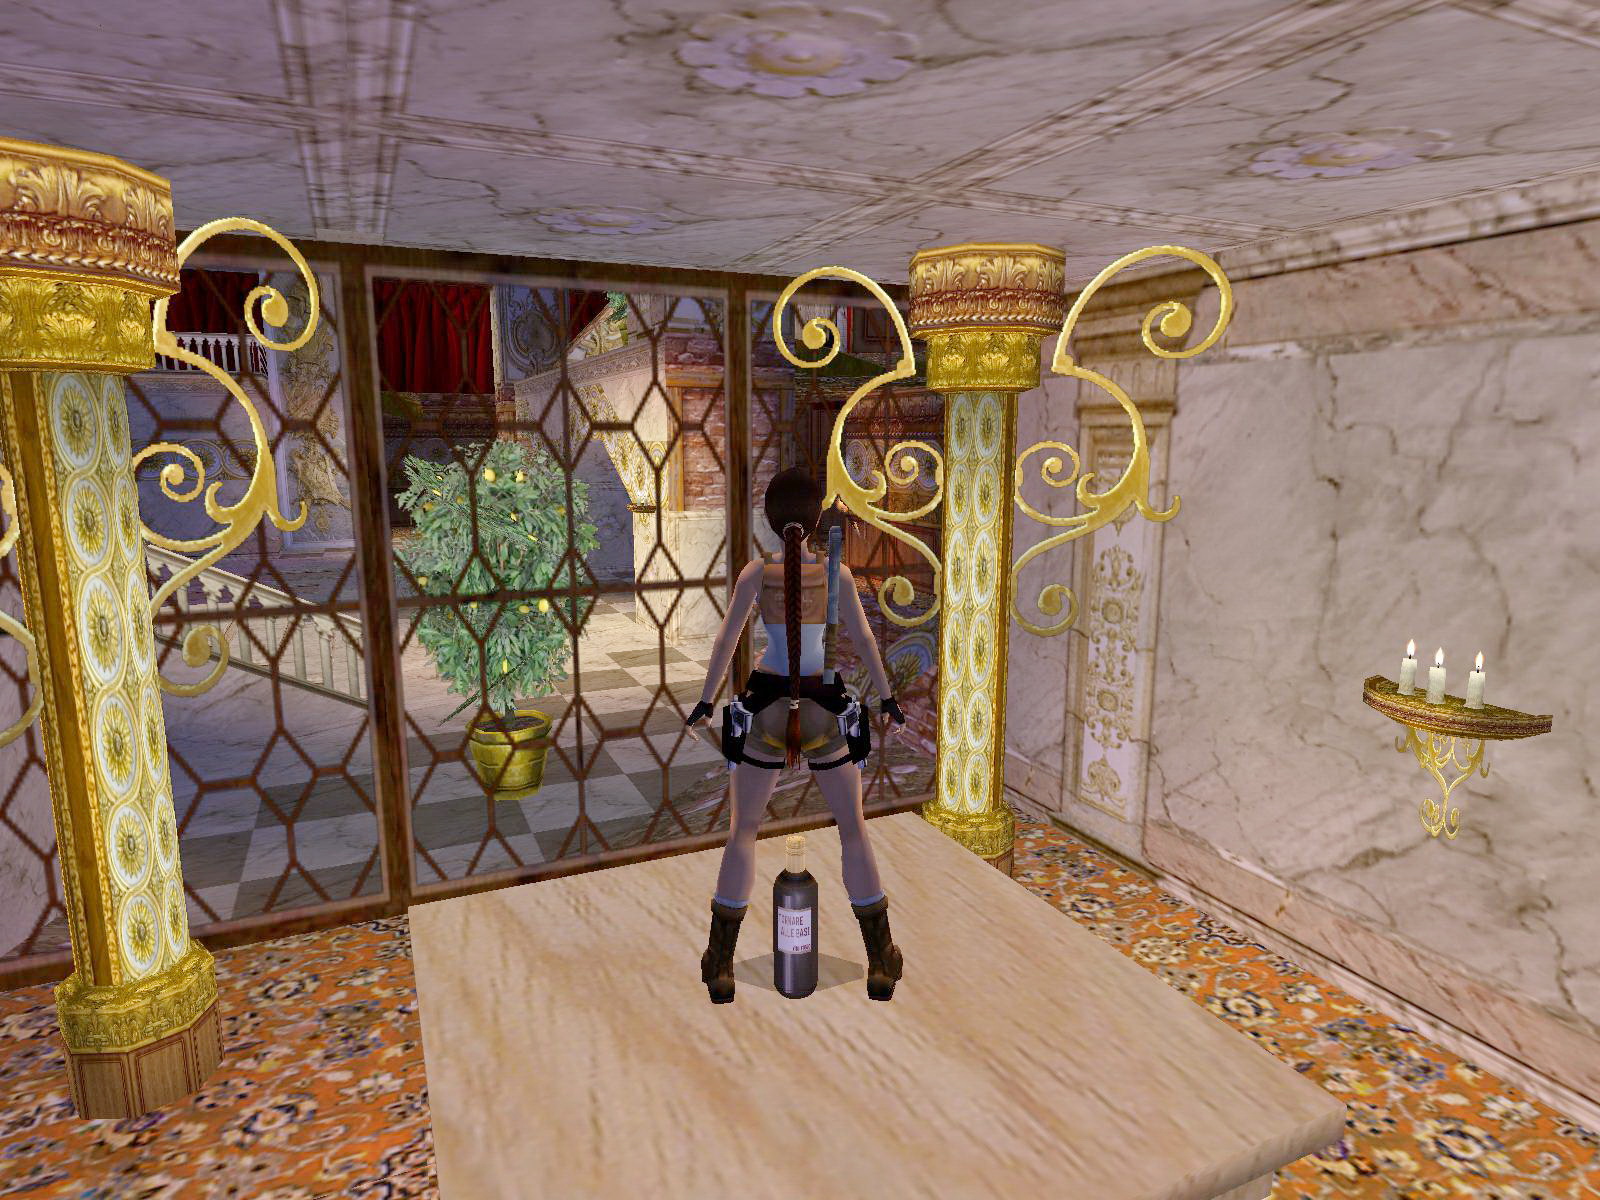
Now get up the stage and put the Bag of Sand in the left bowl, the water in the other, the stage trapdoor opens up. Go down and place the Mask there, the doors of the Theatre open up. The show is over, go out those opened doors N and pick up the Bottle of Wine on top of the table.
04-01-2010.
Walkthrough by D&G Productions.
Az oldalon közölt képek, a szöveges tartalom, illetve minden sajátkészítésû anyag, a © TR Editor.hu tulajdonát képezi. Azokat semmilyen formában nem lehet reprodukálni, másolni, terjeszteni, csak a szerkesztõség engedélyével.