
Back To Basics 2009 Classic – 03. Heirs of the Medjai
Author: Nadine L. (Horus) Website
Download: Here + Script file
Story:
It is rumoured that an Ankh of supreme power has been handed down for generations among the Medjai, the Nubian fighters in the ancient Egyptian army. Now the heirs of the Medjai guard the Ankh in an old temple complex near Karnak. Lara sets out to find the Ankh, which is supposed to give the bearer ultimate protection.
Walkthrough:


Secret 1: 
 Secret 2:
After
falling down into the water, go to the SE corner and face E back up against
the block and swim along the surface to the slanted floor E, as soon as Lara
puts her feet on the bottom a backflip with roll and grab the block. Jump
NE then turn around with your back to the wall jump forwards and grab the
ledge W (left).
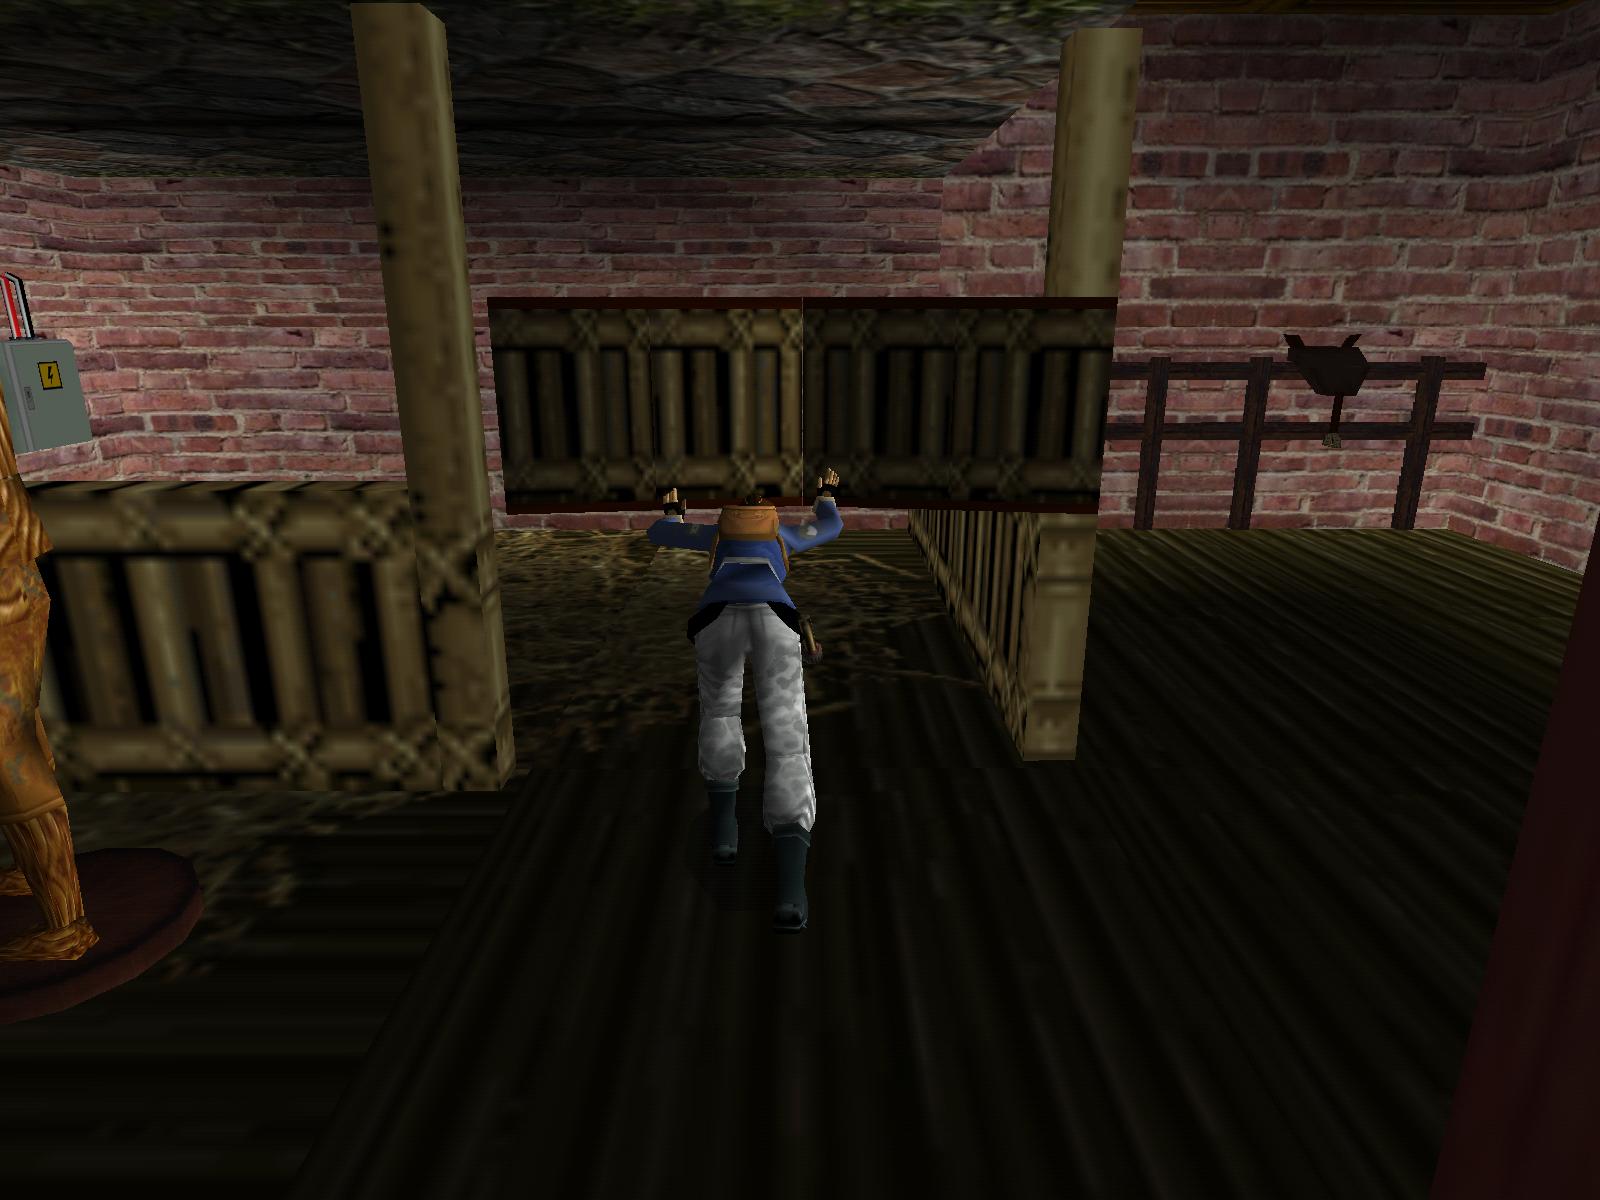
Hang from the W side and shimmy to the opening S to climb through and drop
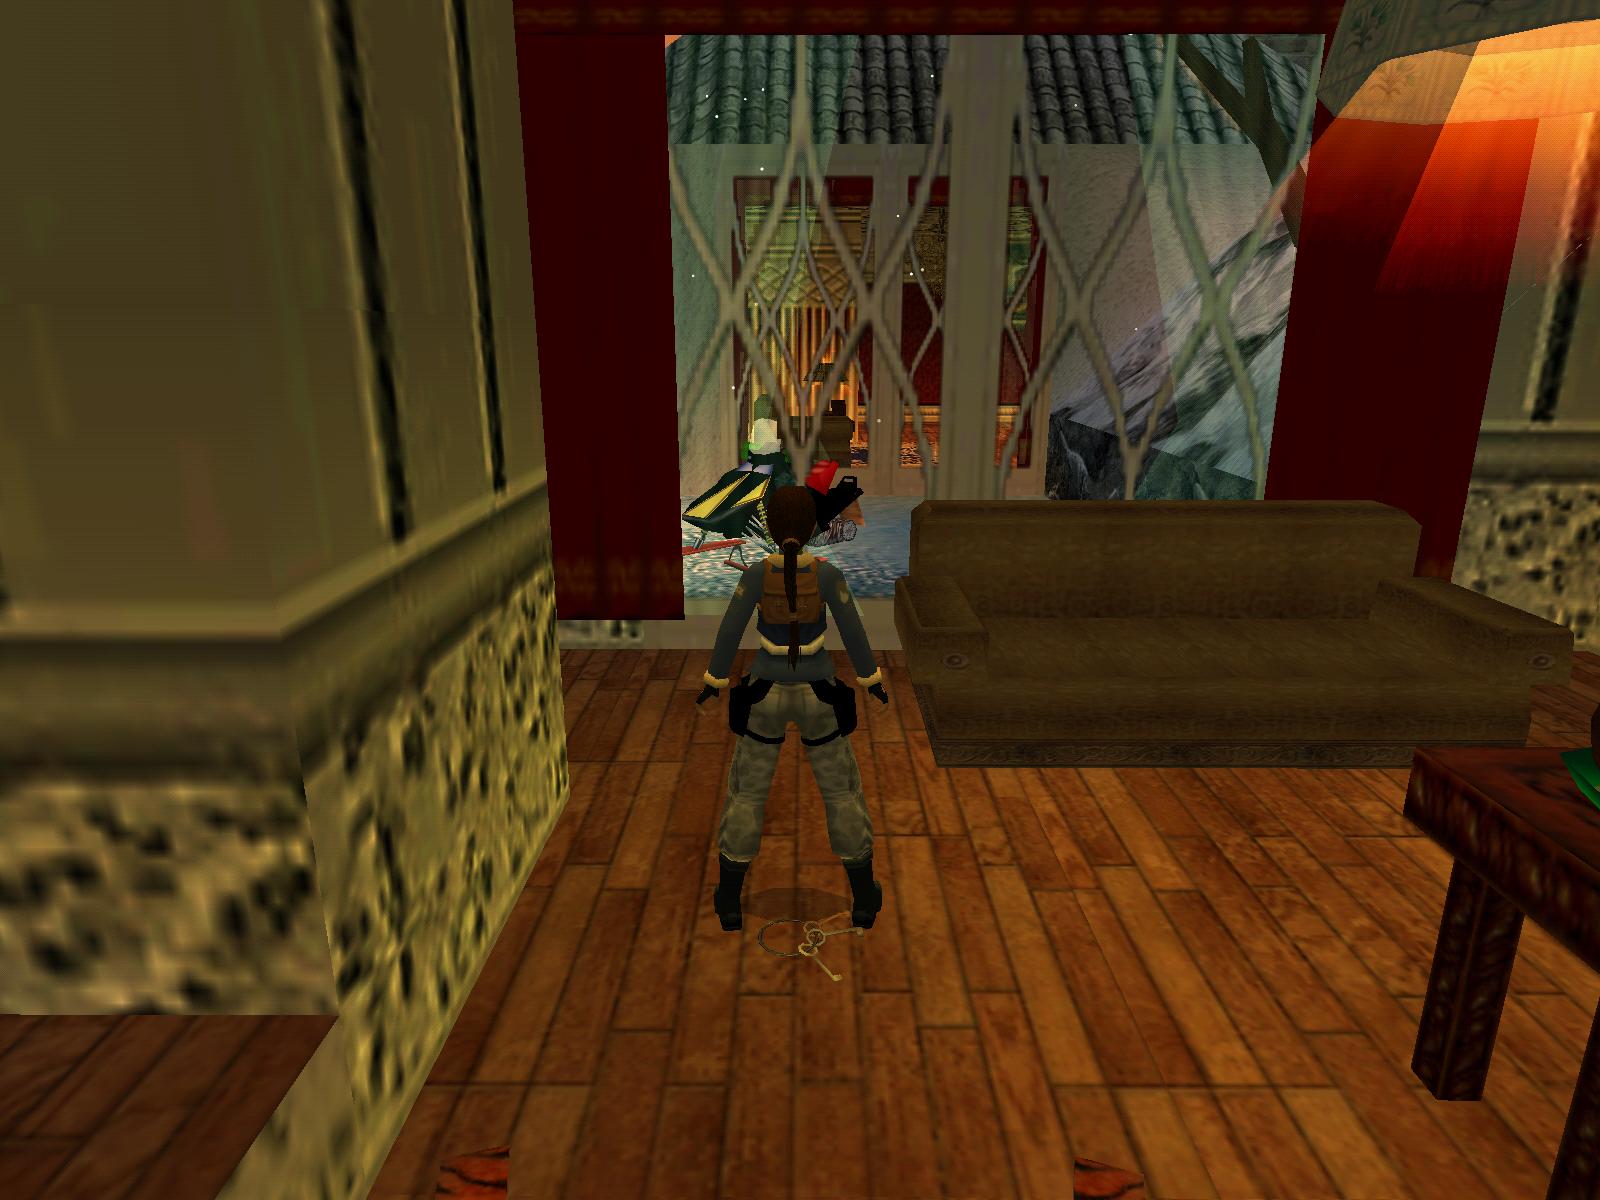
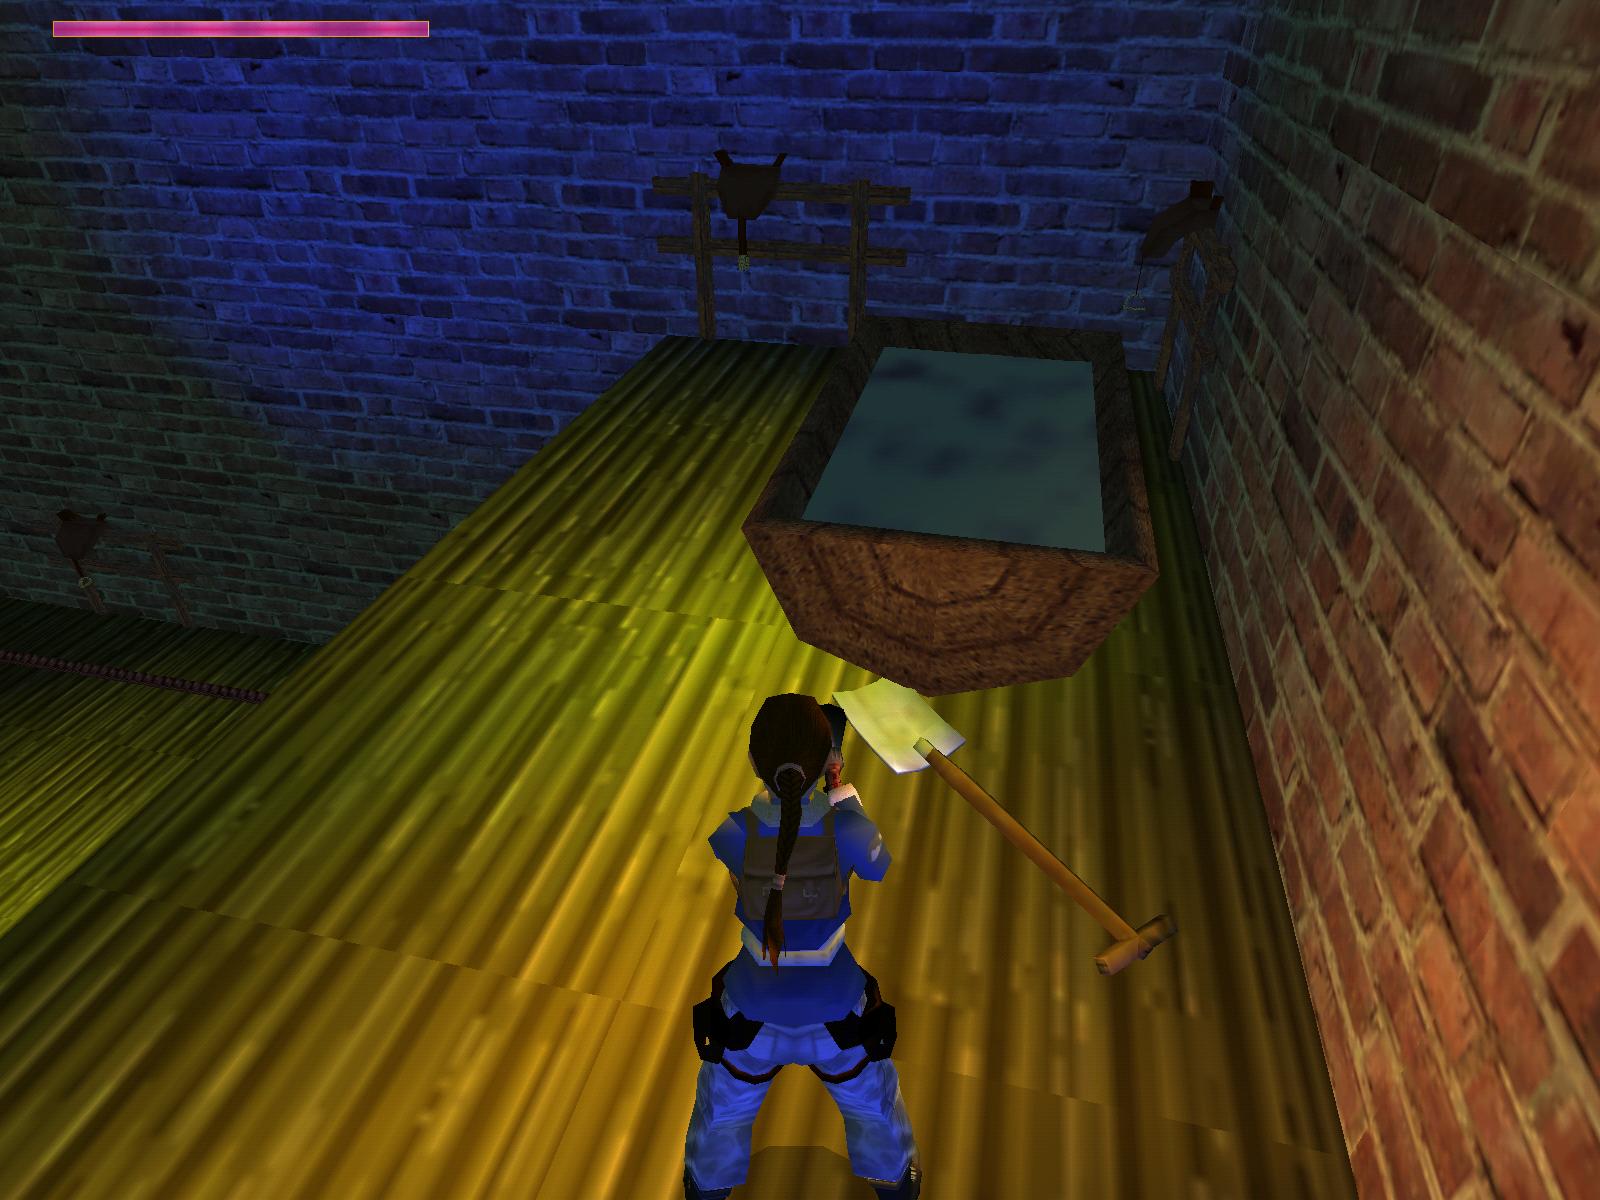
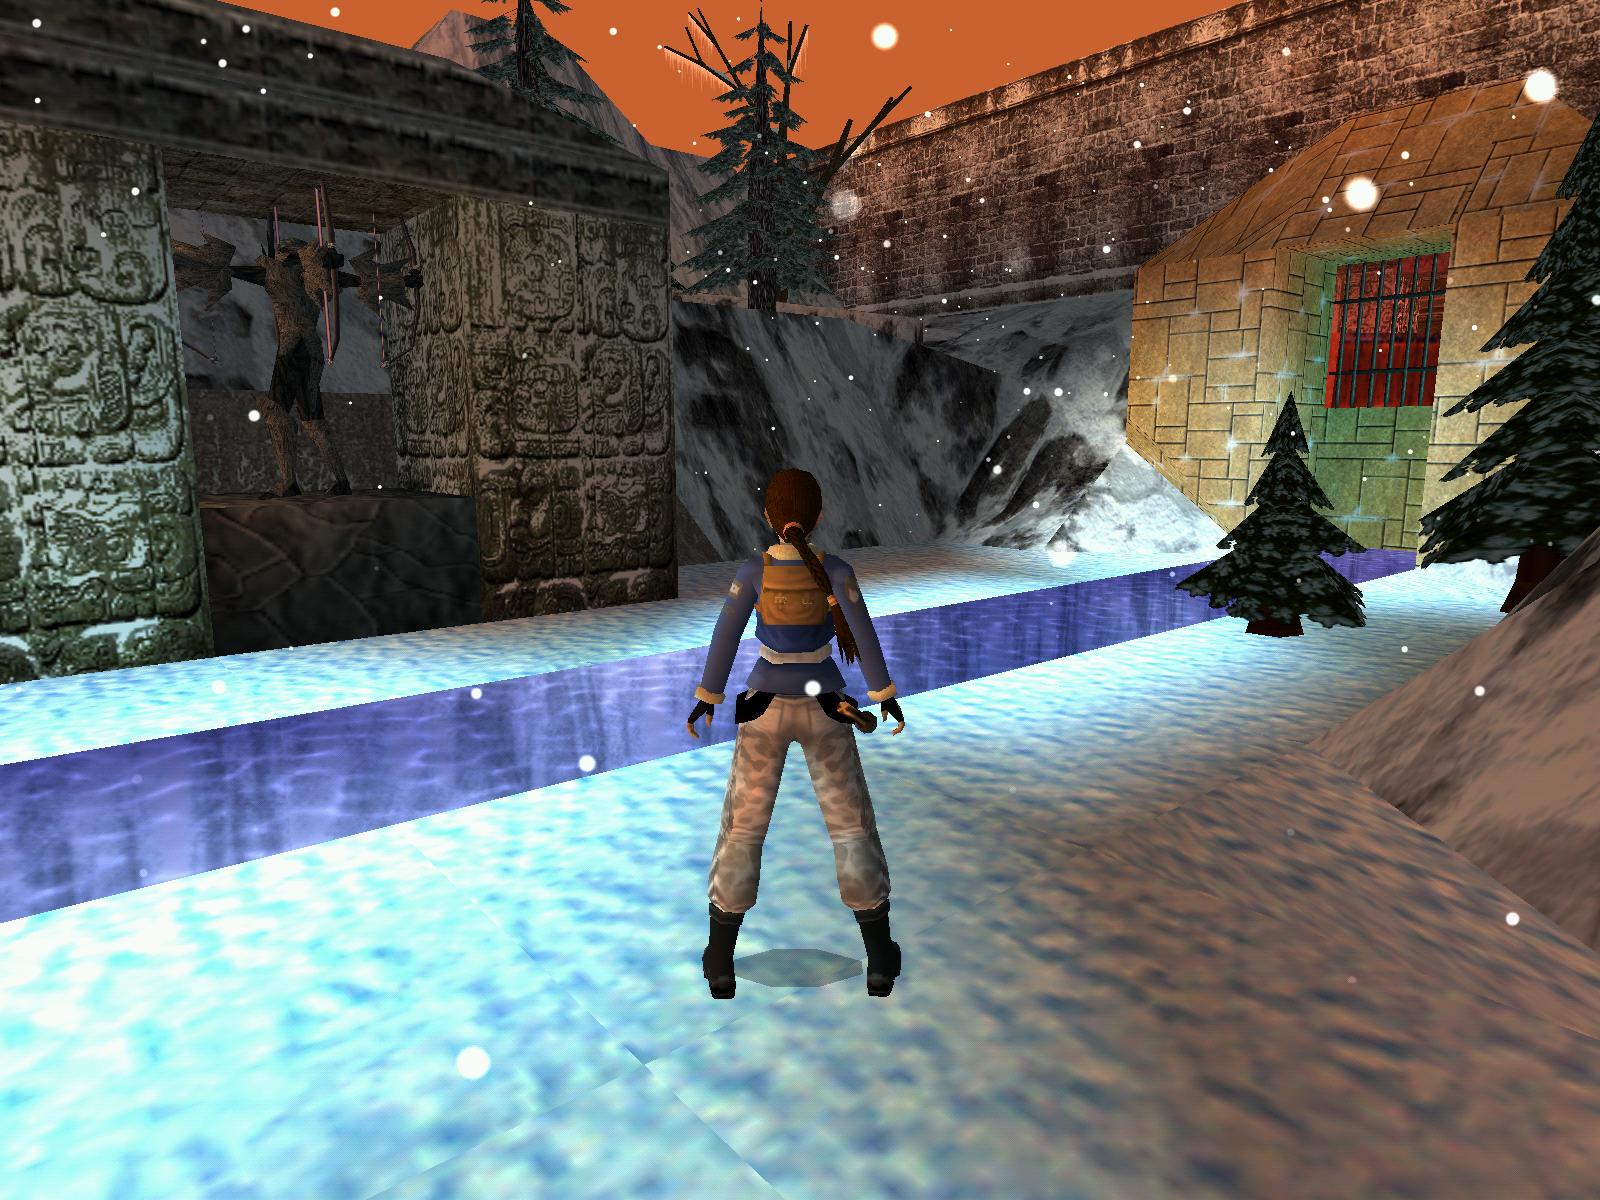
into a yard. W are 2 gates with the Canopic Jars and E are Flares.
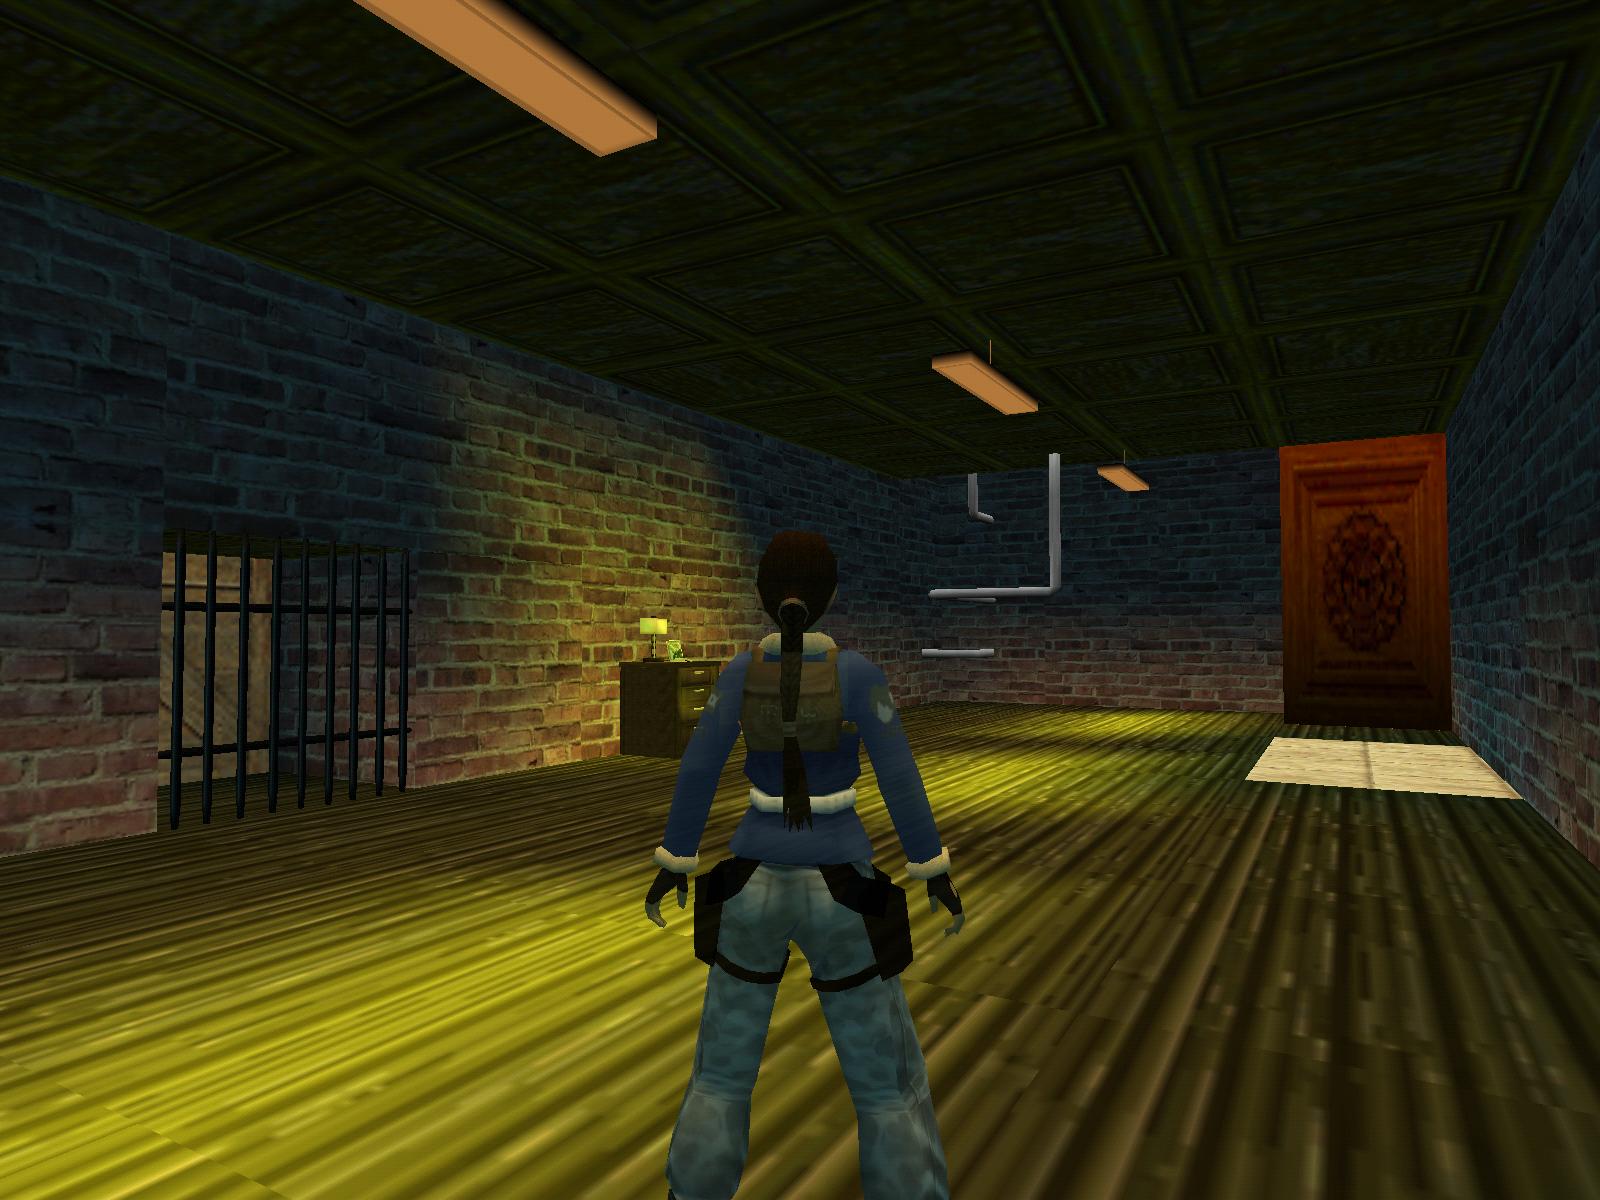
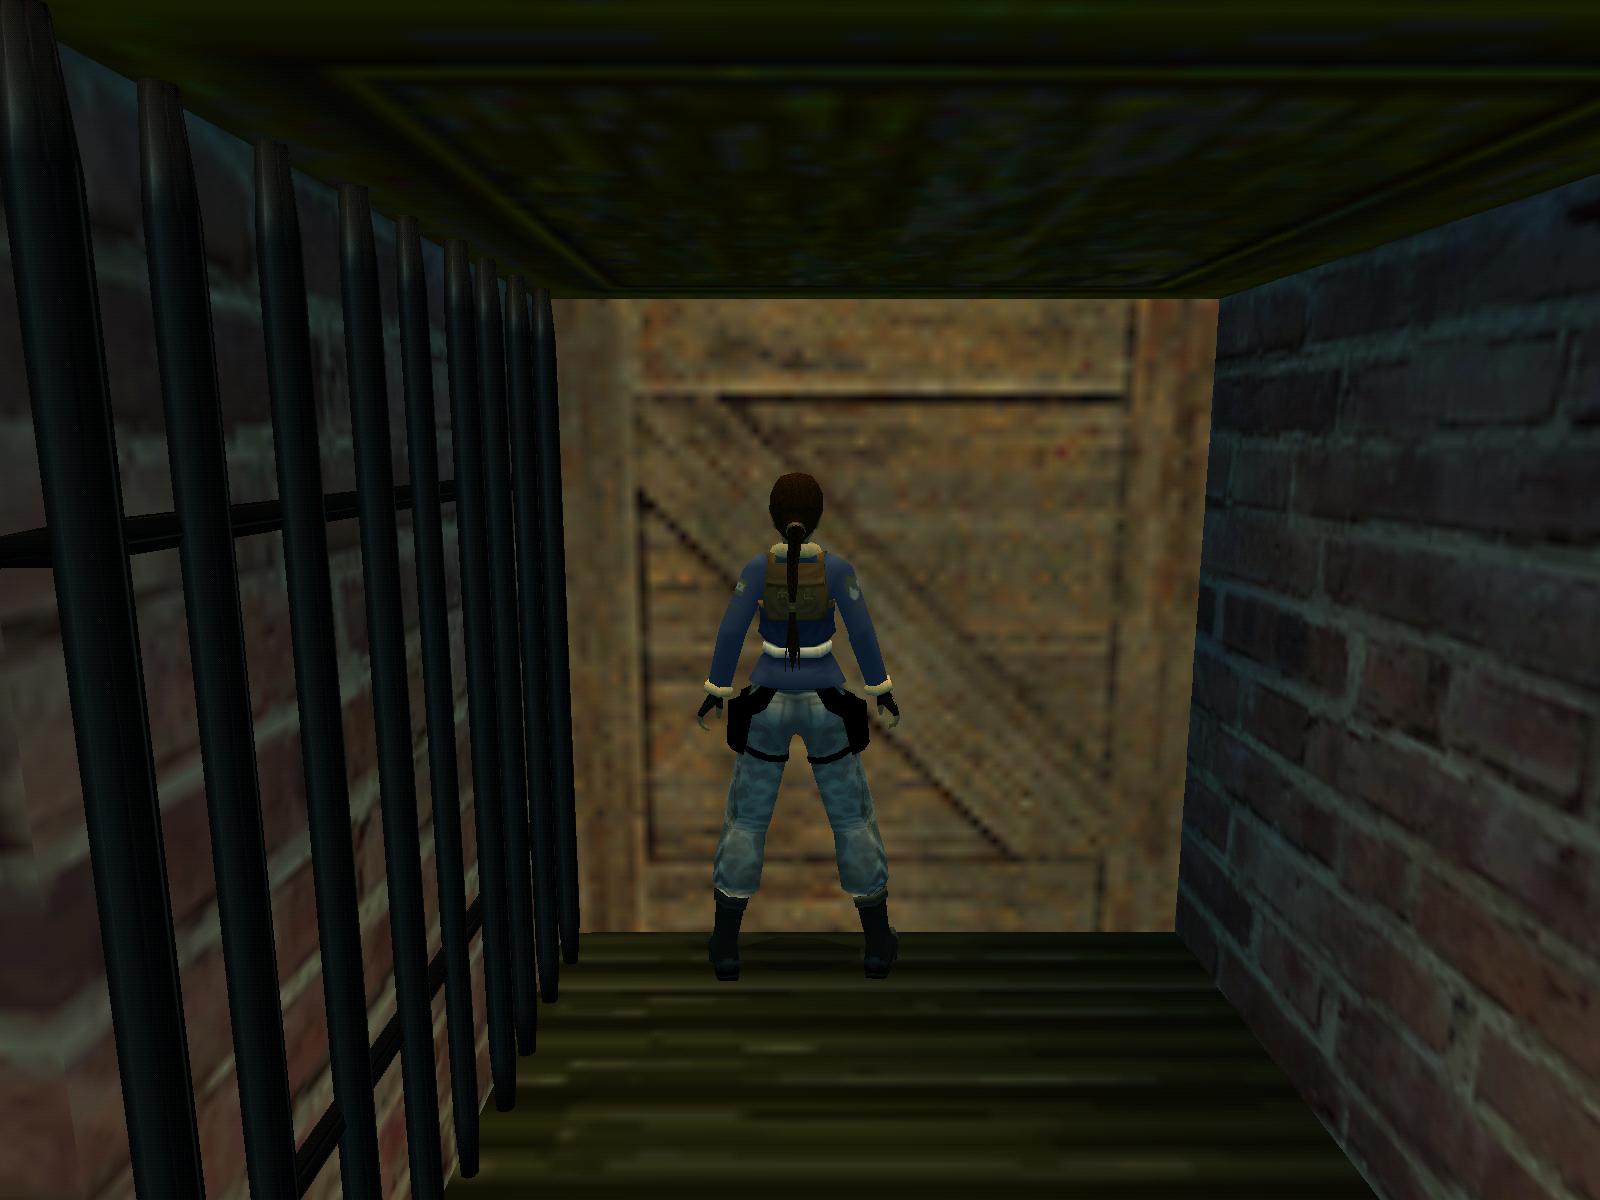
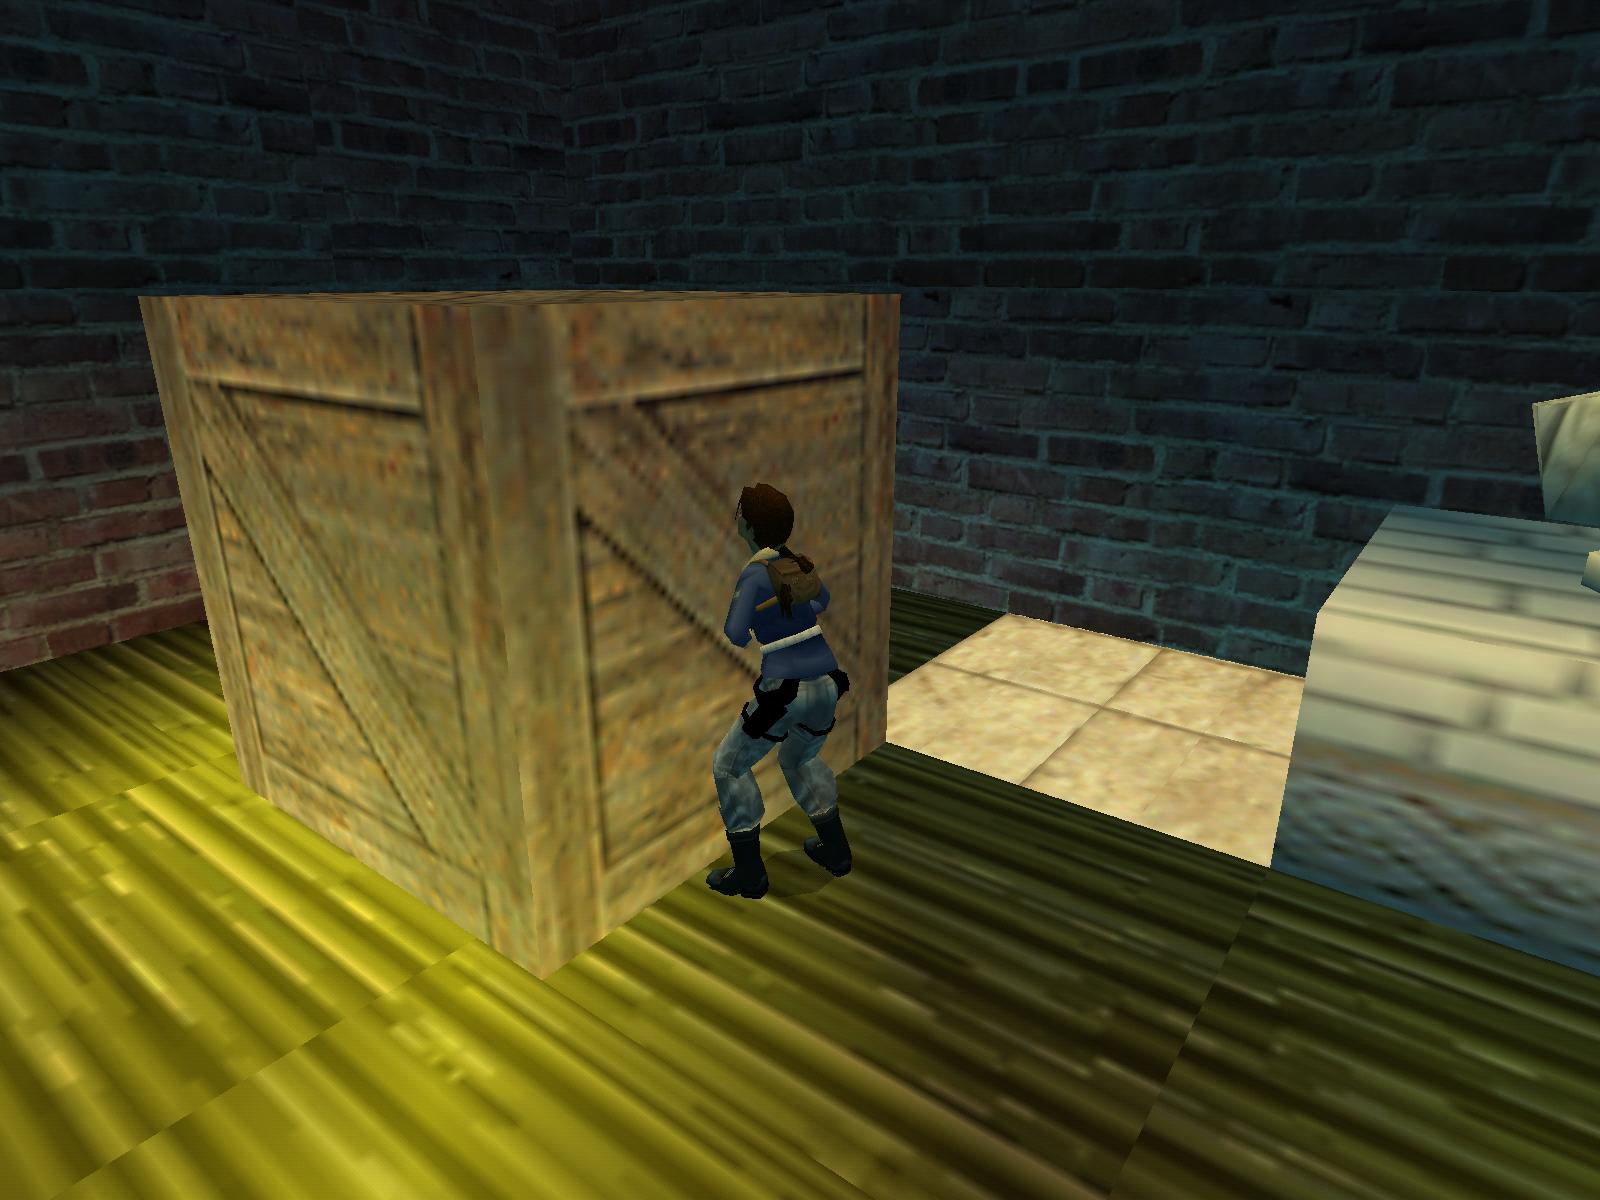
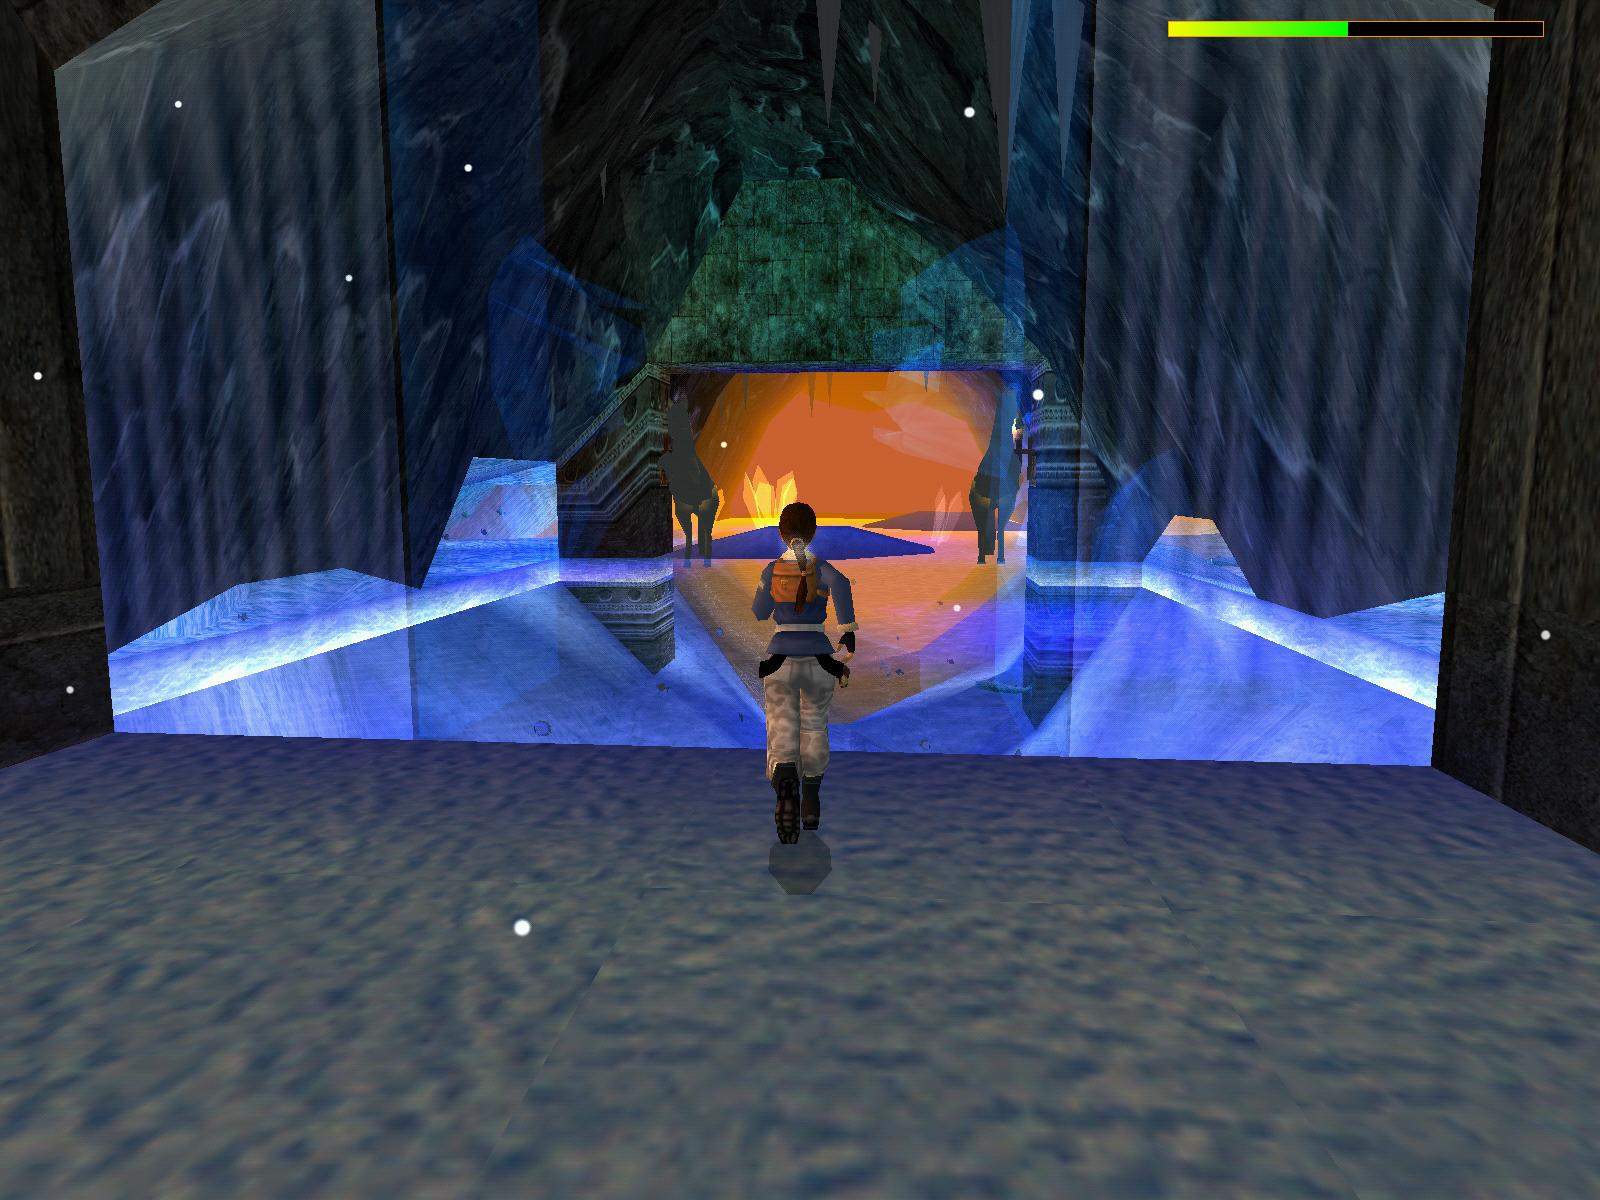
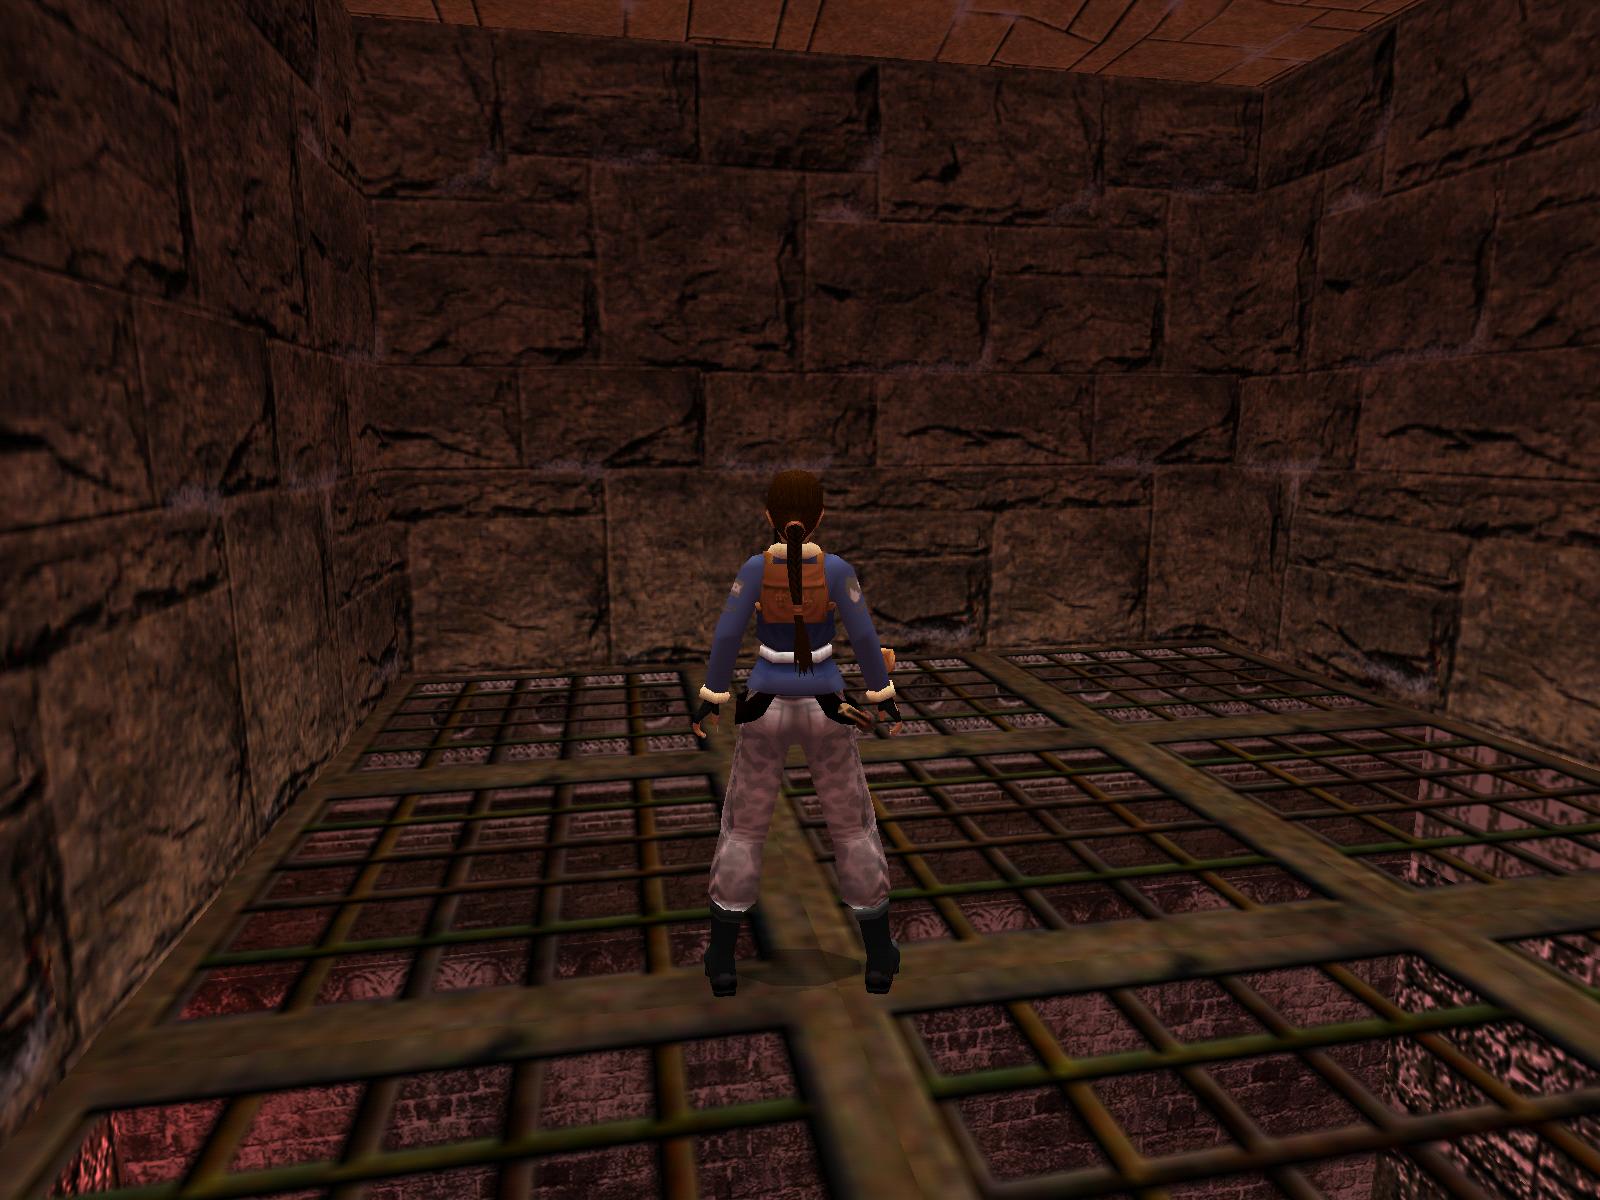
Main Room.
Go through S and wade right around the corner on the right, shoot the vase
on the block for a Medipack. Go W and into the niche on the right,
get the Uzi ammo and turn around and standjump left around the corner
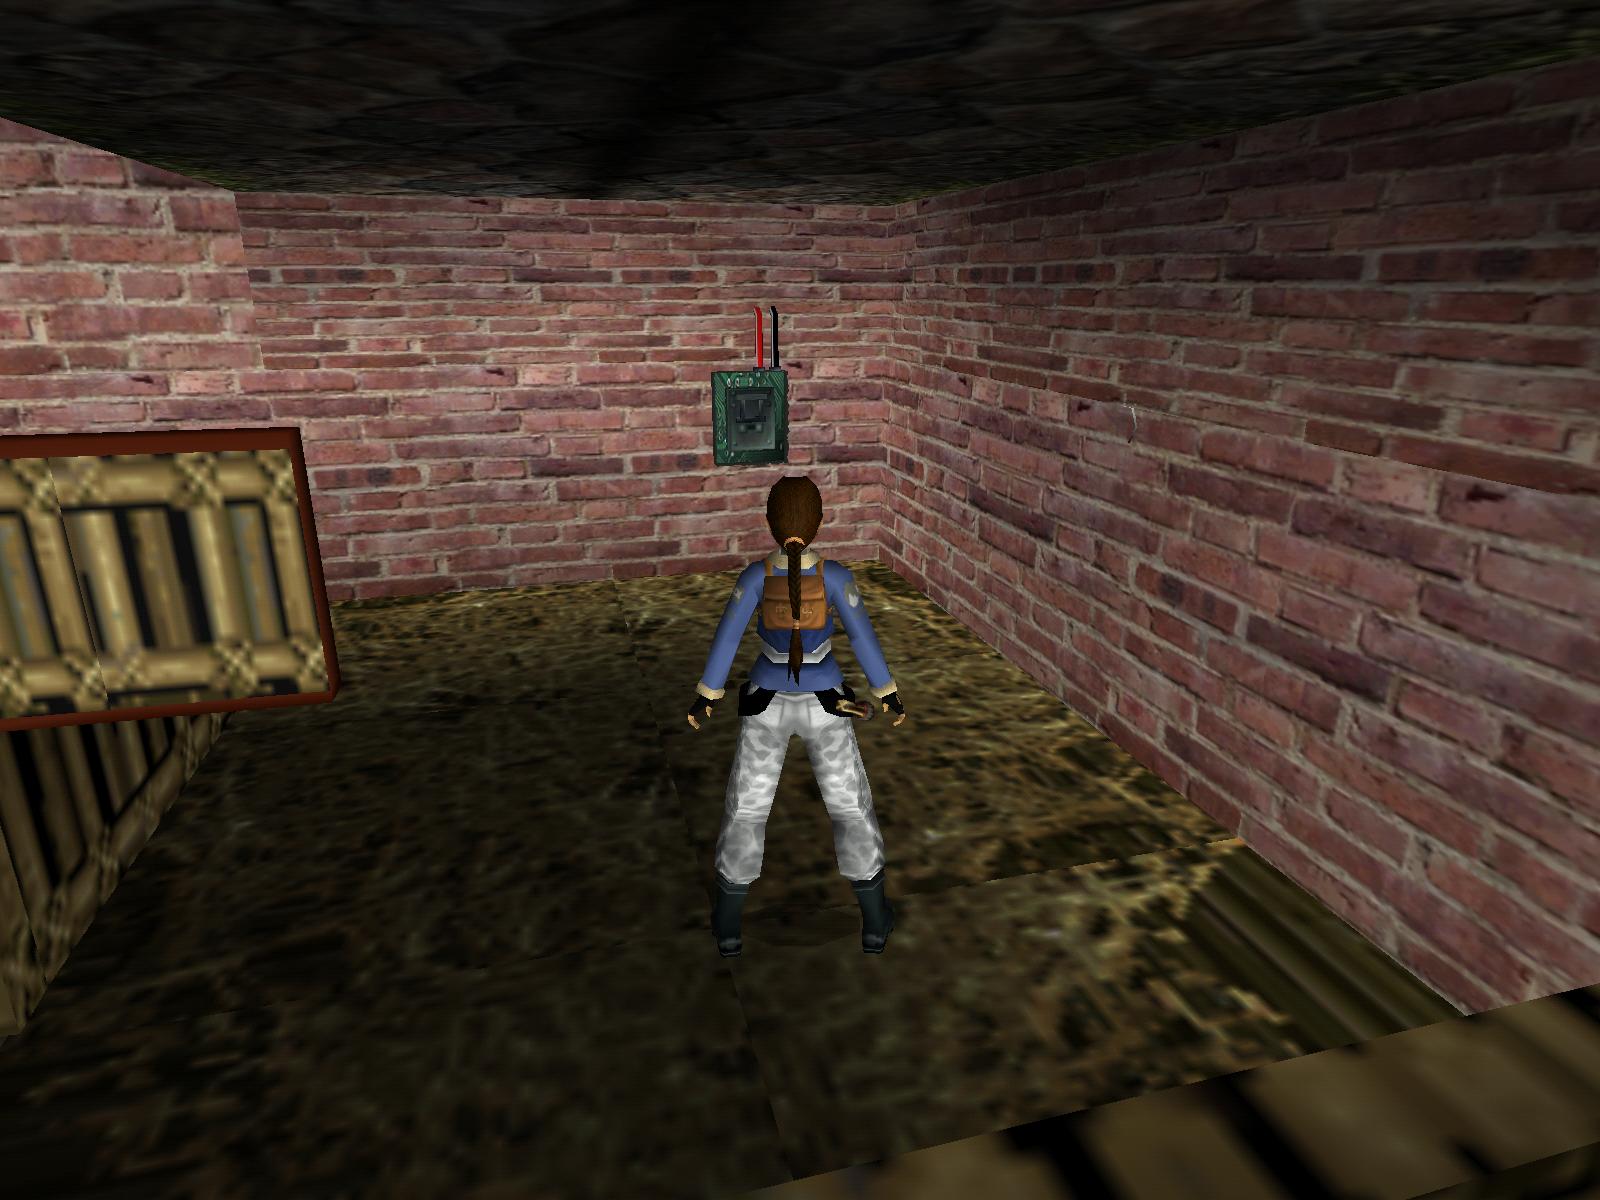
to grab that upper ledge. On the S ledge is a reach-in switch. Use it to open
an underwater door somewhere. Jump down from the E end.
Behind the fallen pillar NE is more Uzi ammo. Climb up on that fallen
pillar and go in N, swim through and get onto the ledge E, when the flames
are down. Duck and crawl under the reach-in switch, stand when the flames
are gone and use the switch, backflip away (gate opened). Back to the Main
Room, to the palm tree W and take the first corridor left (S) into the passage
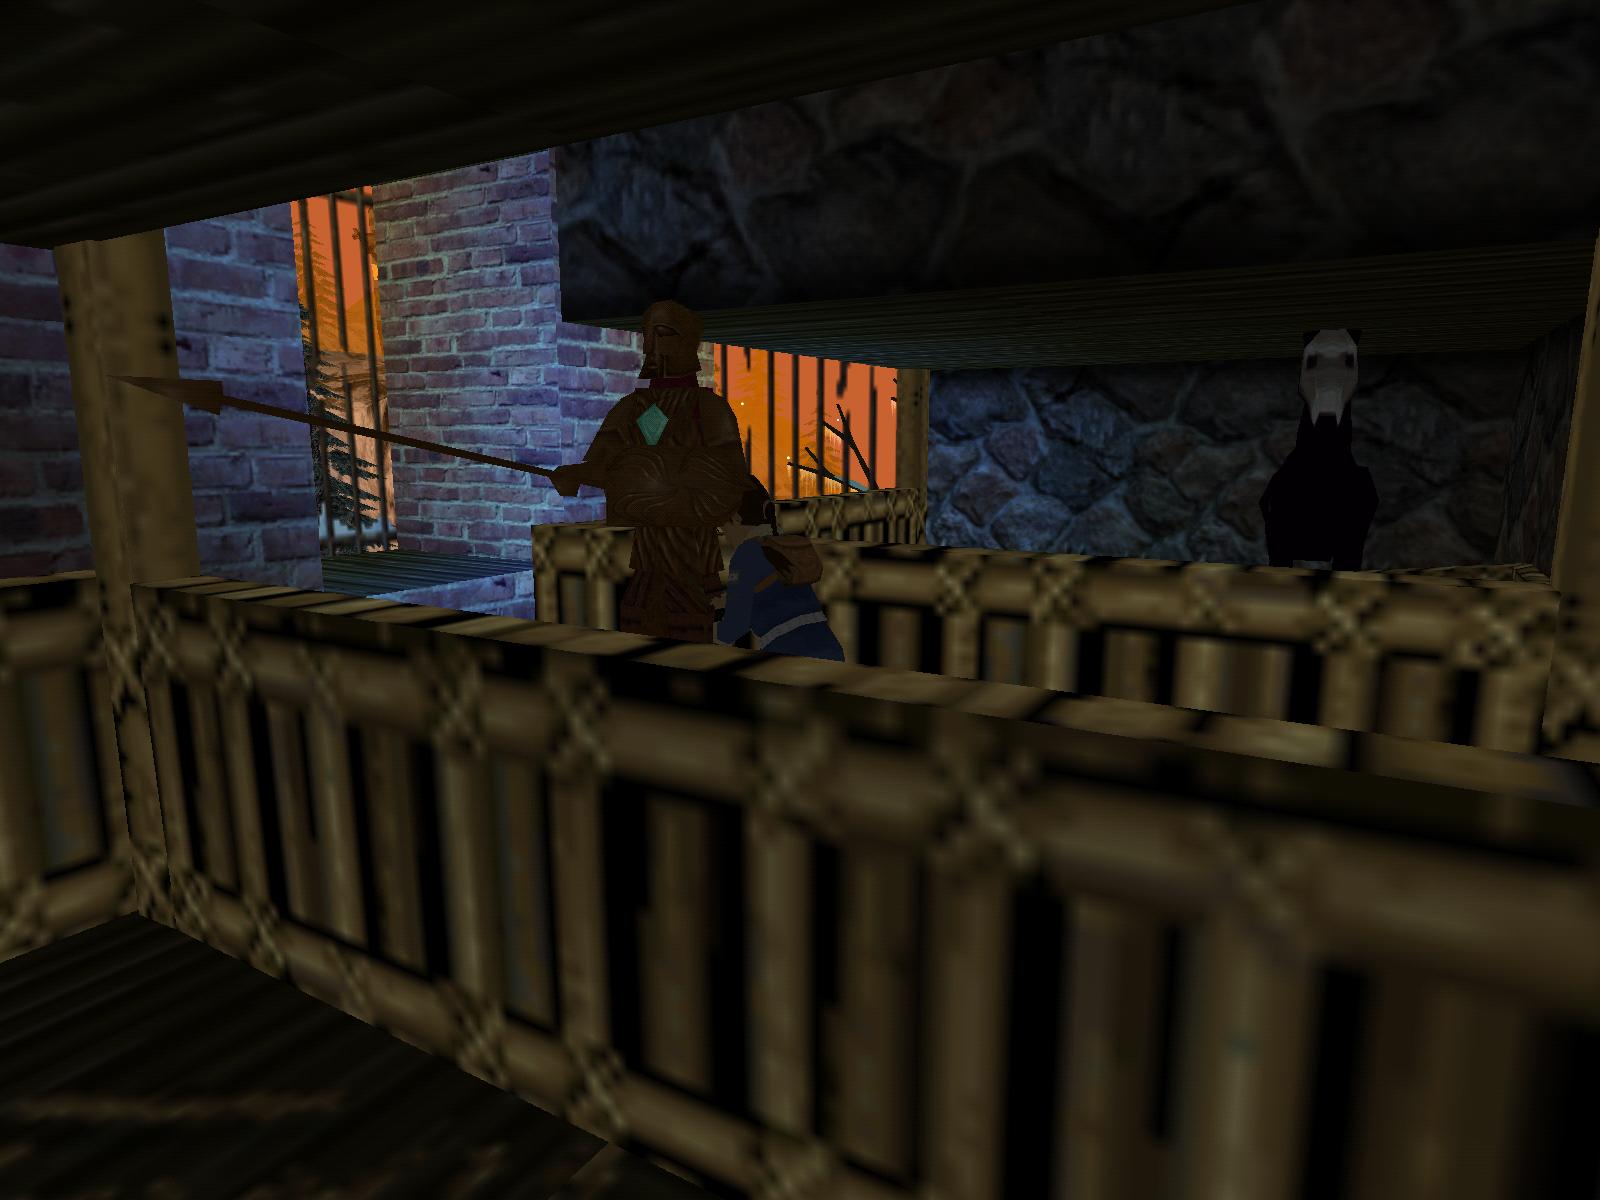
going up to the opened gate, follow through to a room NW where a Medjai attacks,
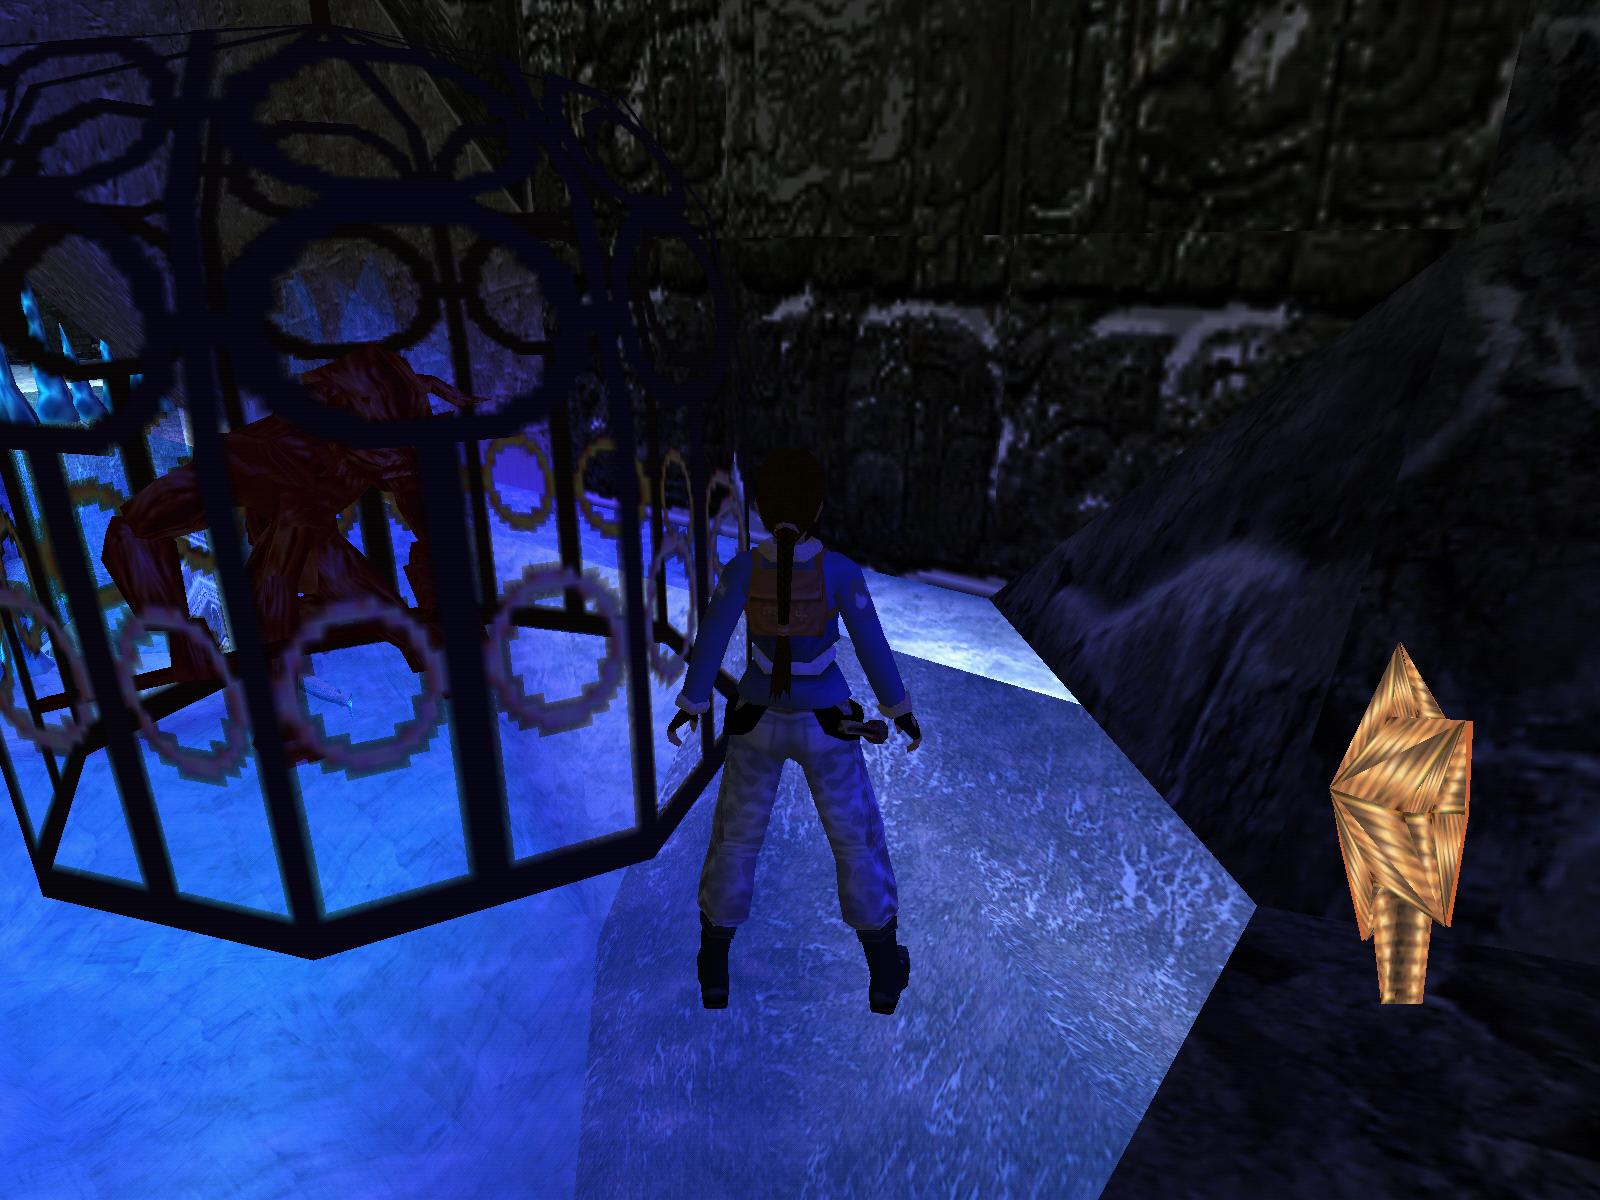
get the Uzis he will leave behind. Push the button in that room with
the cage and watch the flyby of another gate opening up (notice the cage with
the Star behind it). Go back down to the Main room and left around the corner
into the flooded passage.
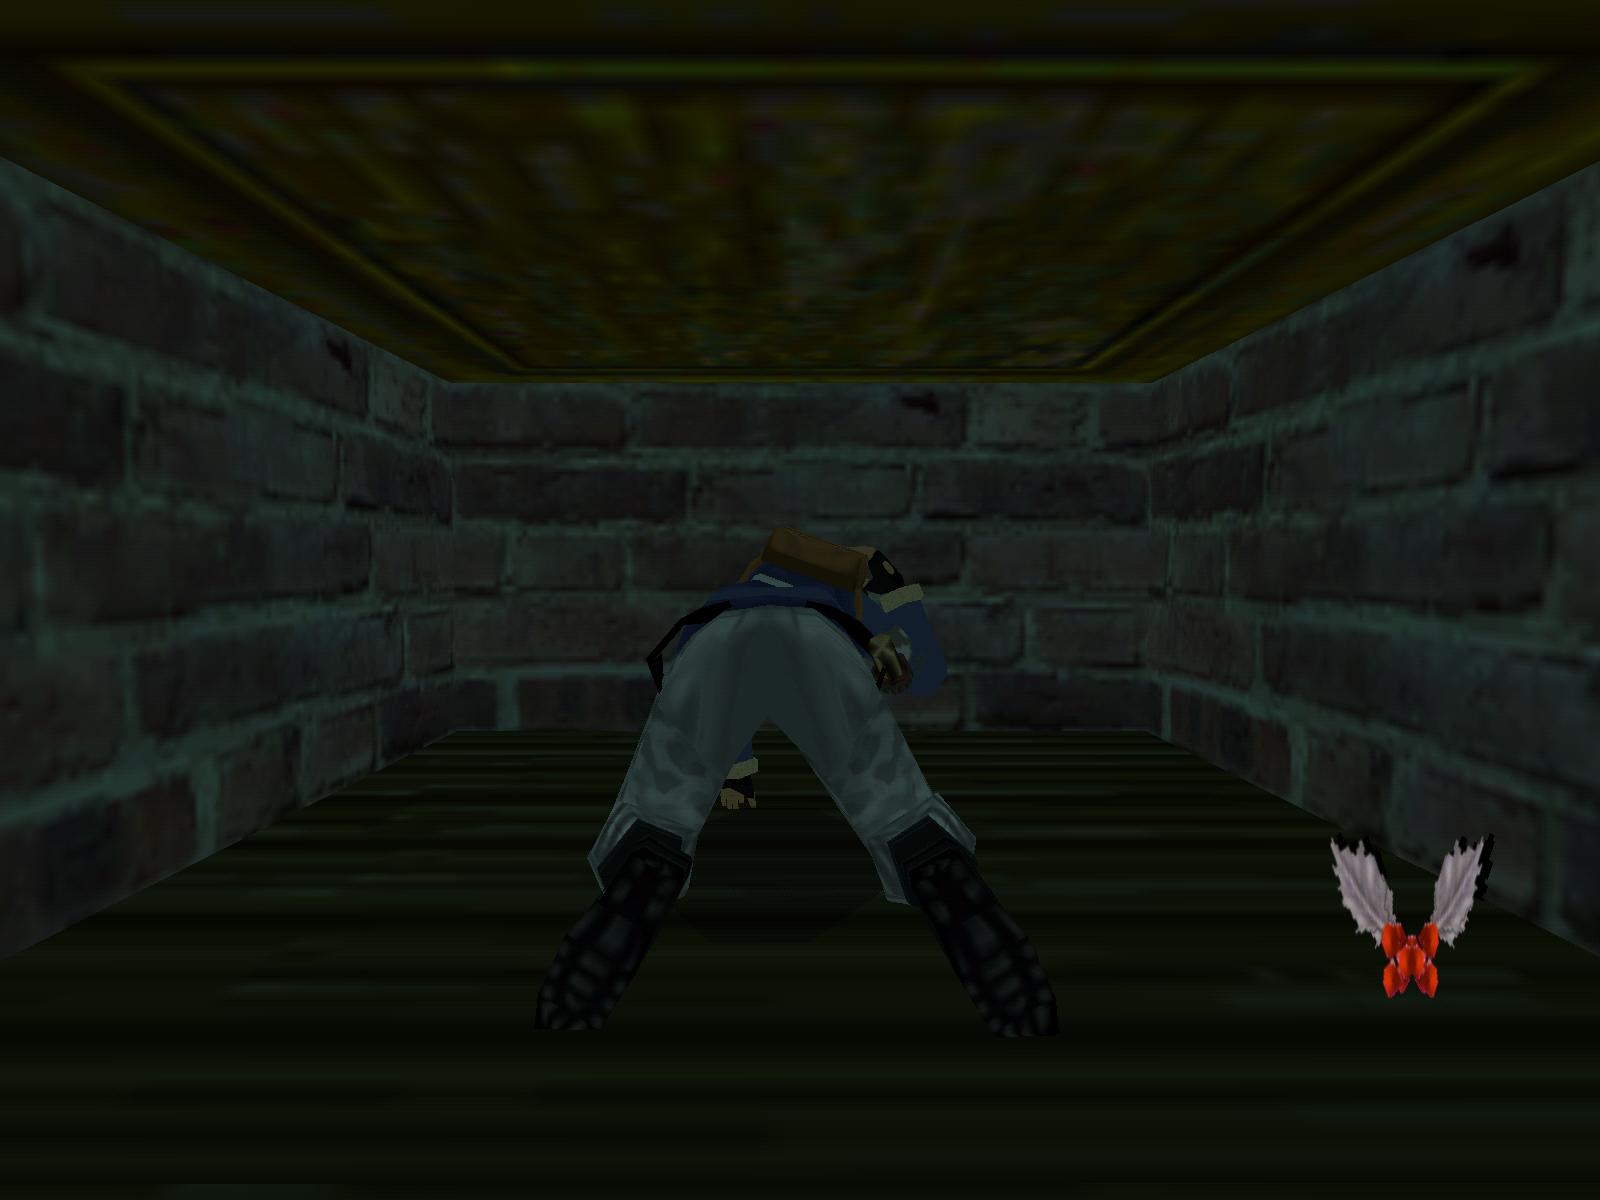
Get the Flares behind the opened gate and open the underwater door
E, go swim in and careful at the Bird blades. Swim into the door E you opened
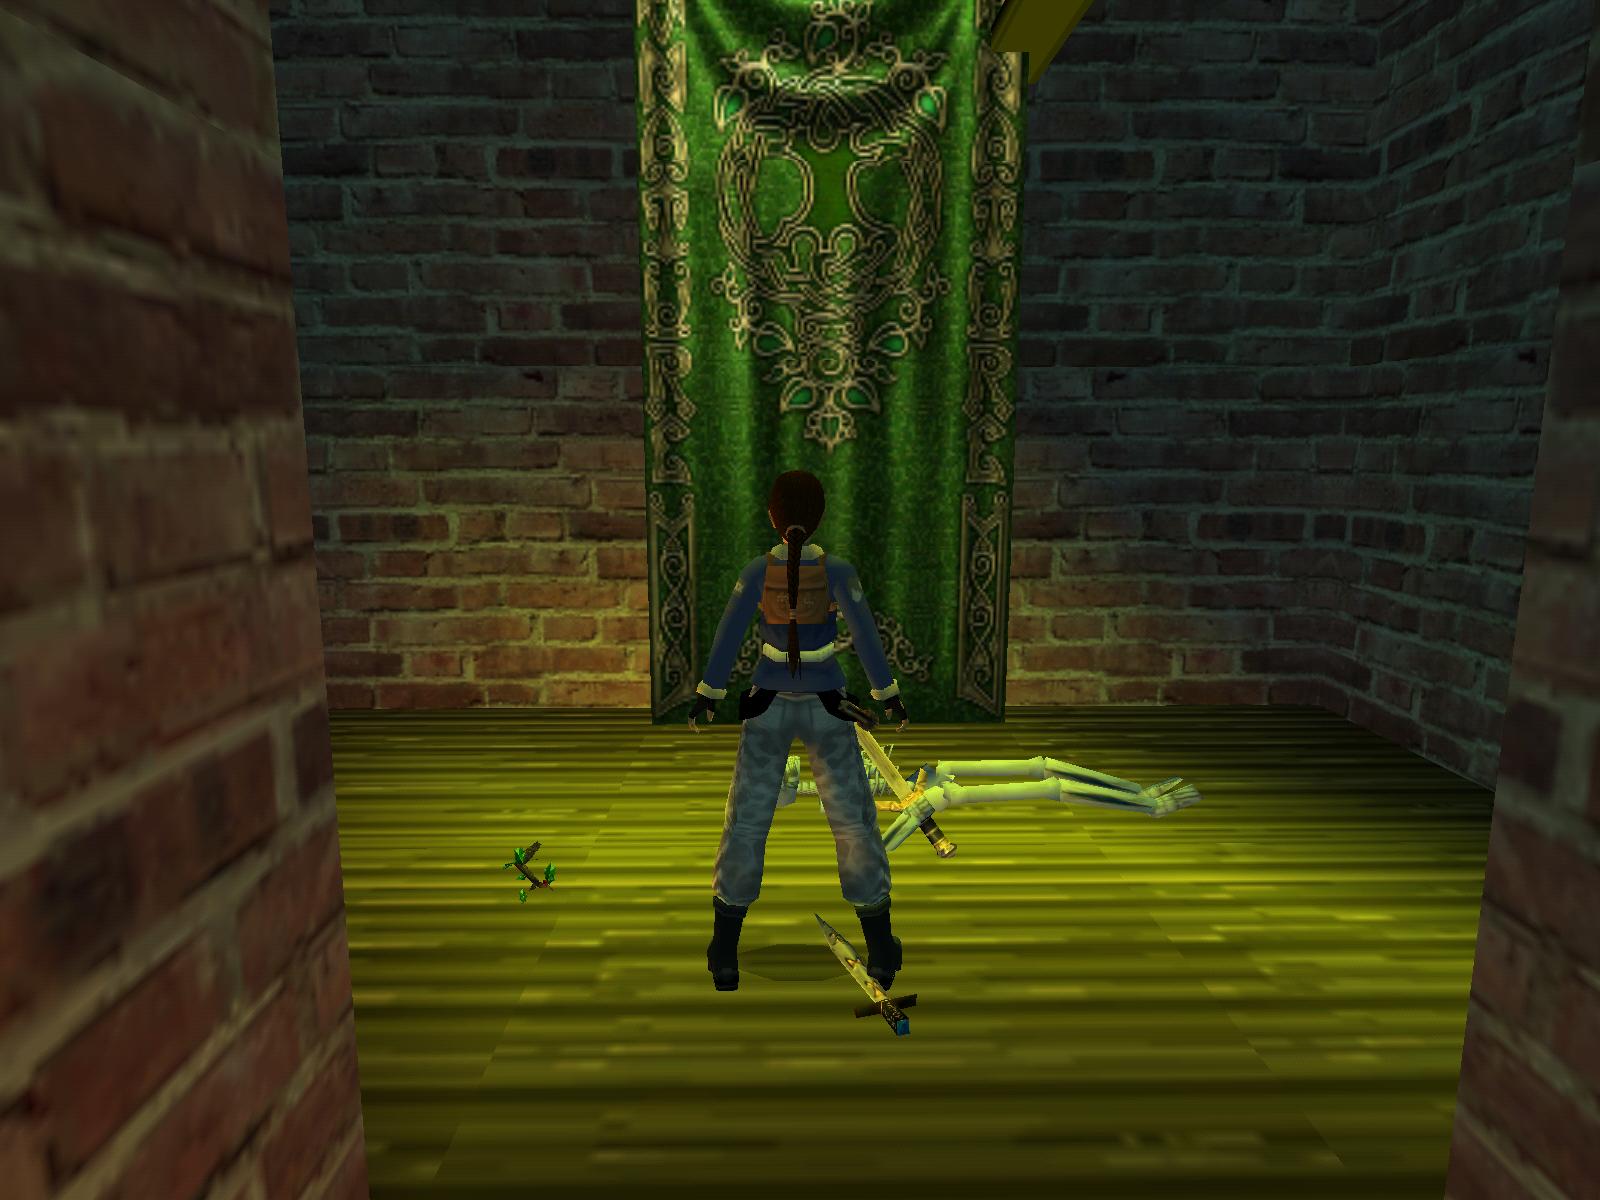
before and climb up left to get Secret
#1,
Grenades. Swim back out.
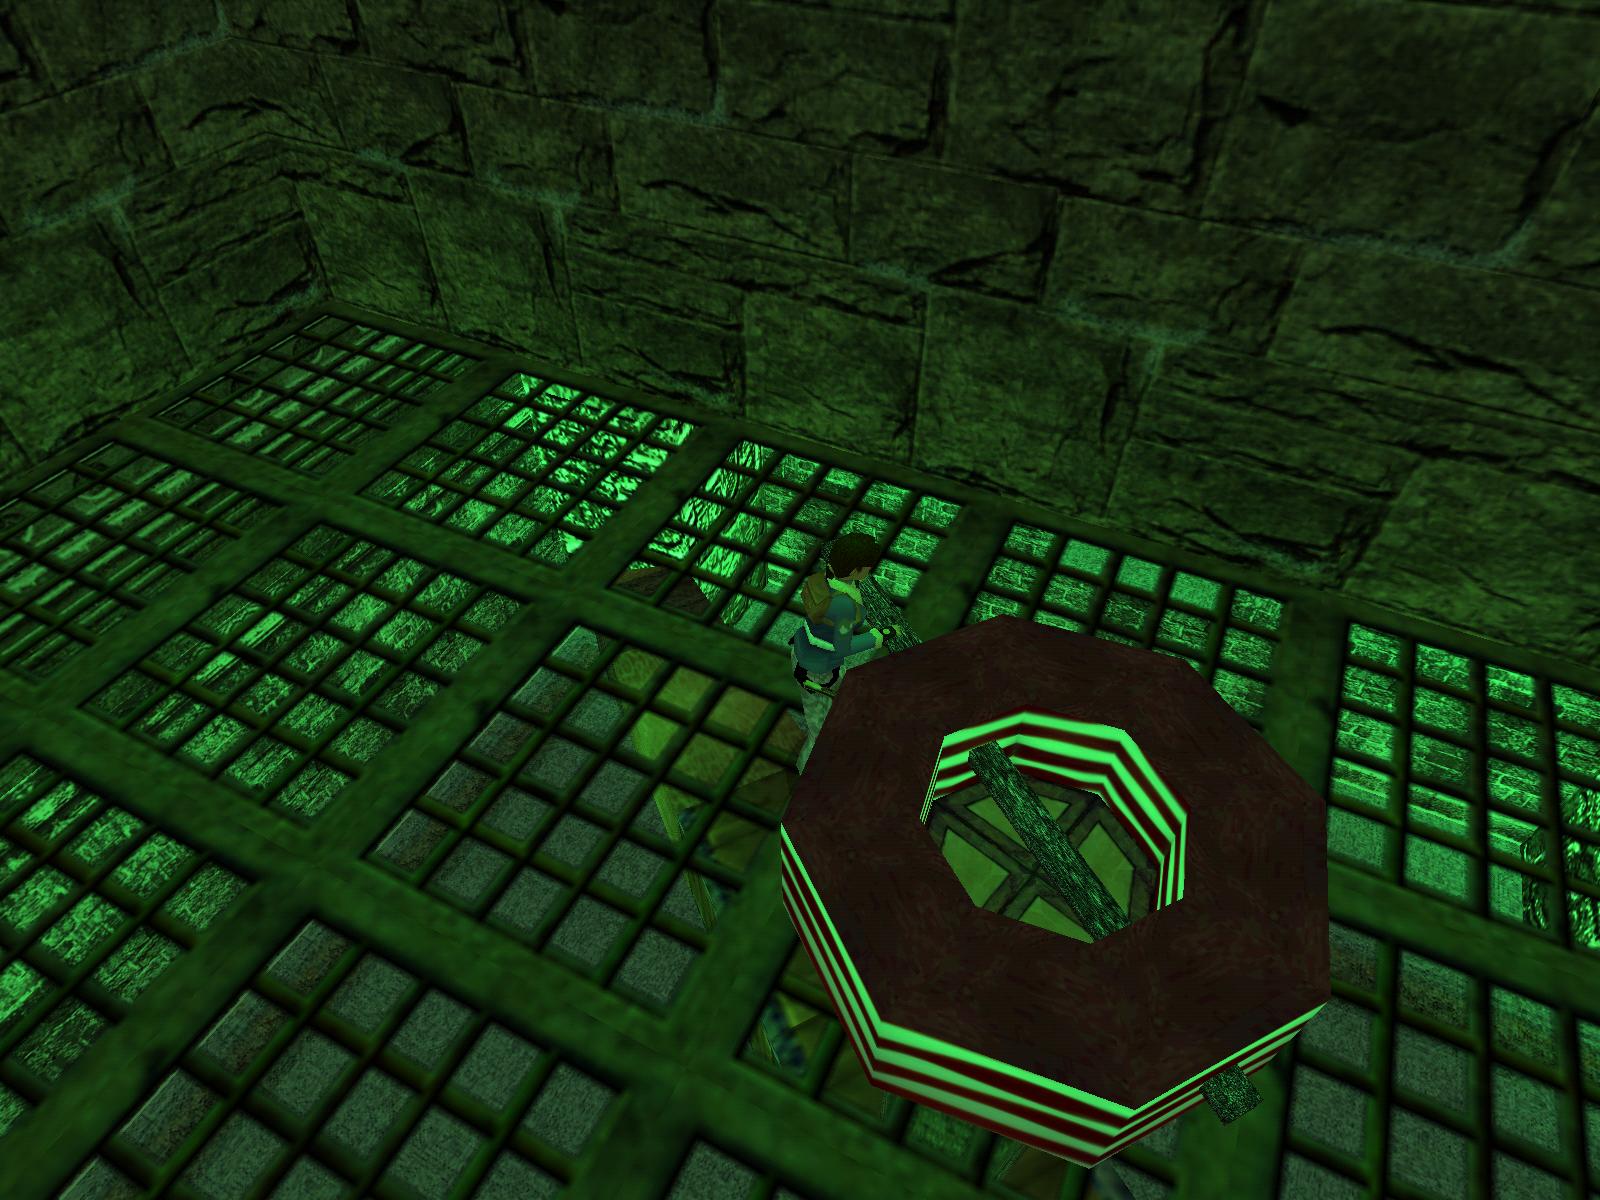
Timed runs and Golden Vraeuss.
Climb up the ramp and go straight into a room with Vraeus receptacles. Shoot
the scorpions and go to the Room with the pool. Stand on the block and the
flames on the ledges in the pool extinguish (Timed). If you happen to fall
into the pool, go back to a save or swim through the tunnel NW to get back
to that ramp.
You have to jump to the 2 Timed doors, seen in the flyby. No particular order.
Go back to the room with the receptacles and there are 2 Cat face tiles, stepping
on them will open the Timed doors.
SW corner - The First Golden Vraeus; (easier)
I went from facing E first, run over the E tile and right through the opening
to jump diagonally onto the block and a running jump to the ledge, take a
step forward and hop to the second ledge, then a runjump curved right and
run right around the corner onto the grid. To the timed door and step forward
on the right hand side before the door pushes you back. (
Video)
Grab the monkey bars and go second left, drop on the grid at the door and
face E, stand back a bit and hop right around that pillar onto the slanted
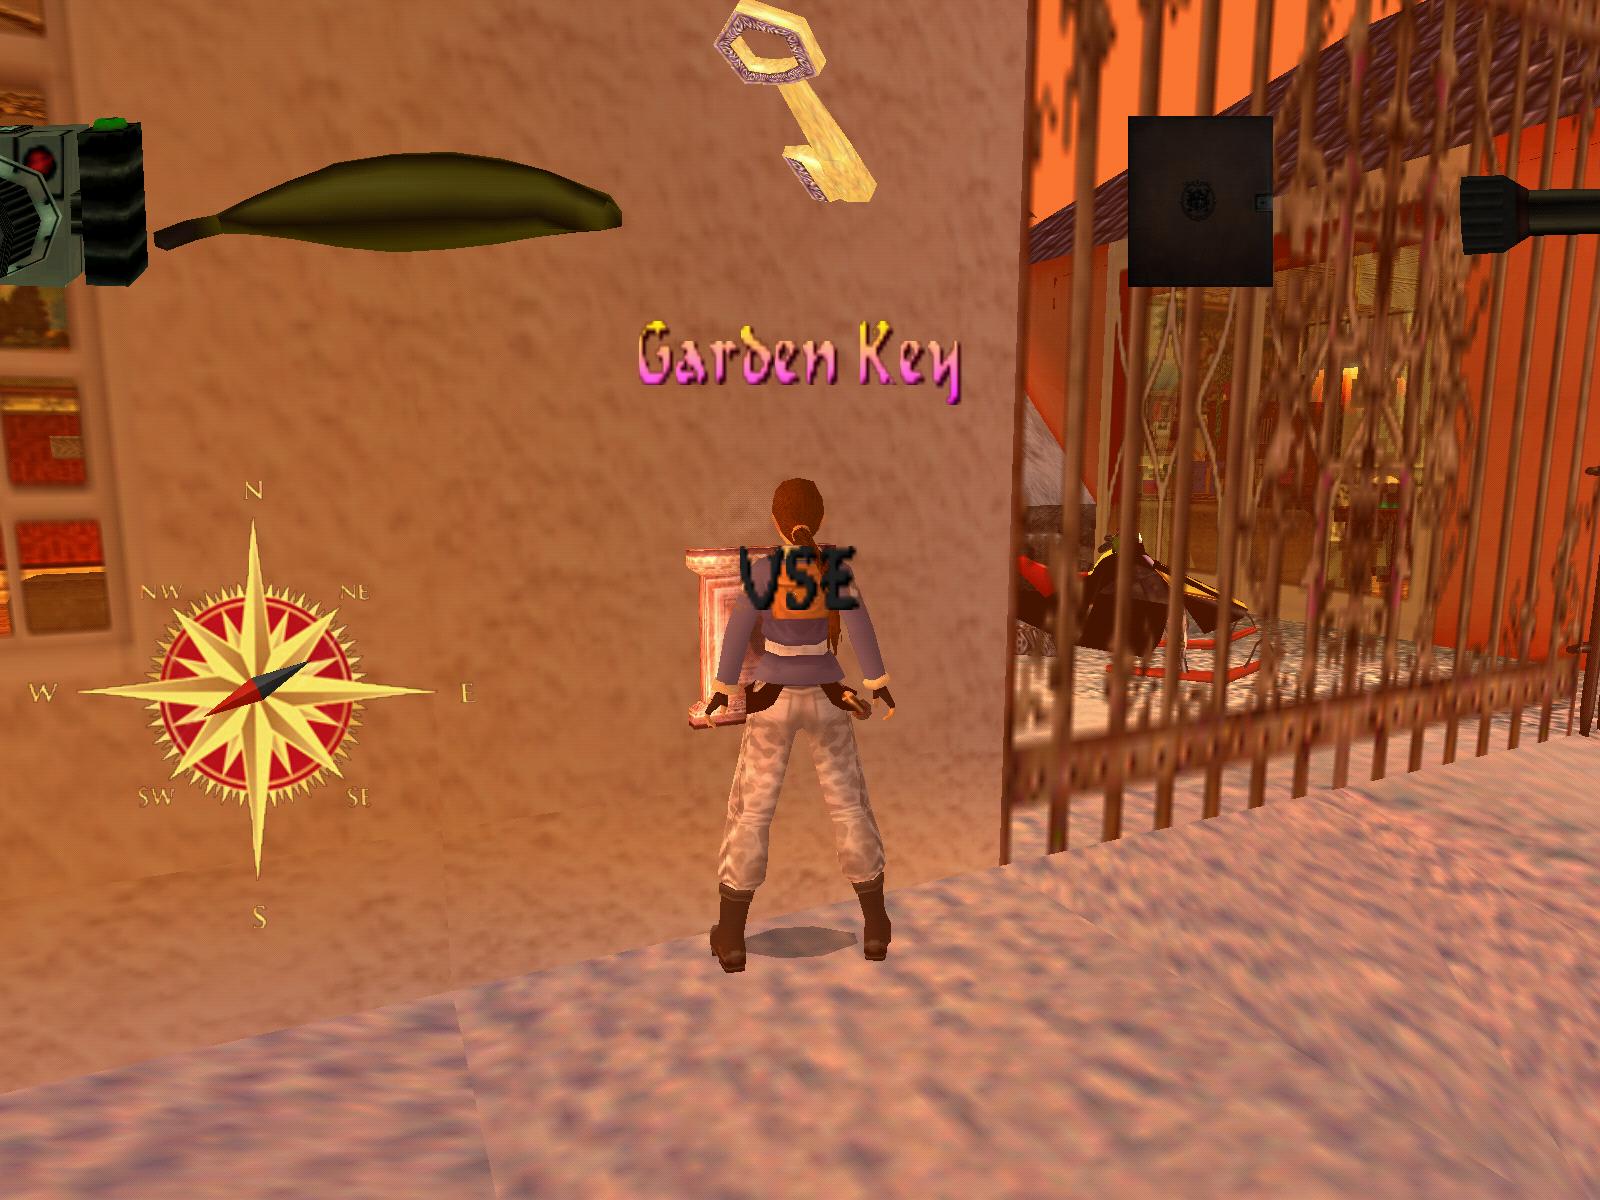
ledge, jump again with a left curve and from that slanted ledge a backflip
into the opening S. Go get the Medjai Key inside and return. Drop down
from the opening and go get Flares S, then the Uzi ammo NE.
You can climb back up on the side of the pillar SW and when you stand under
the monkey bars a Medjai will come over along the monkey bars, shoot him.
Go N to where he came from and get a small medipack there, around the
corner is a button to open that door S. Go back to the monkey bars and you
can either use them or go down the ladder NW and climb back up SW to the door.
Place the Key inside and the flames in the room will stop. Use the monkey
bars or the ladders to get to the N side again and from the SW ledge a jump
onto the slanted ledge SW (stand a bit back from the corner for the runjump).
Slide and jump grab the next slanted block, pull up over the top and slide
jump to the ledge with the reach-in switch. That will open the cage at the
First Golden Vraeus down N. Climb back up to the entrance pillar and
go out, drop from the grid into the water and collect a Medipack and
Grenades in this passage before you swim back to the pool. Swim to
that left hand opening N and follow through to the ramp.
SE corner - The Second Golden Vraeus; (bit harder)
Go to the trigger tiles at the receptacles and face W, run over W side tile,
left into the room with the pool, onto the block and run through to jump to
the first ledge, a running jump to get to land on the right hand side of the
second ledge, turn left and run to jump and grab the ledge SE, about 3 steps
from the left side. Pull up and run to jump left around the corner onto the
grid. Run around the corner and jump to the right hand side of the opening.
Slide down. (
Video)
Get into the water and get a small medipack N, then open the underwater
door S, go through and push the button in that room (a door opens up). Go
back, climb out of the pool SE and climb the S side of the pillar-like structure
in that corner (with a grate and ladder textures higher up), then right around
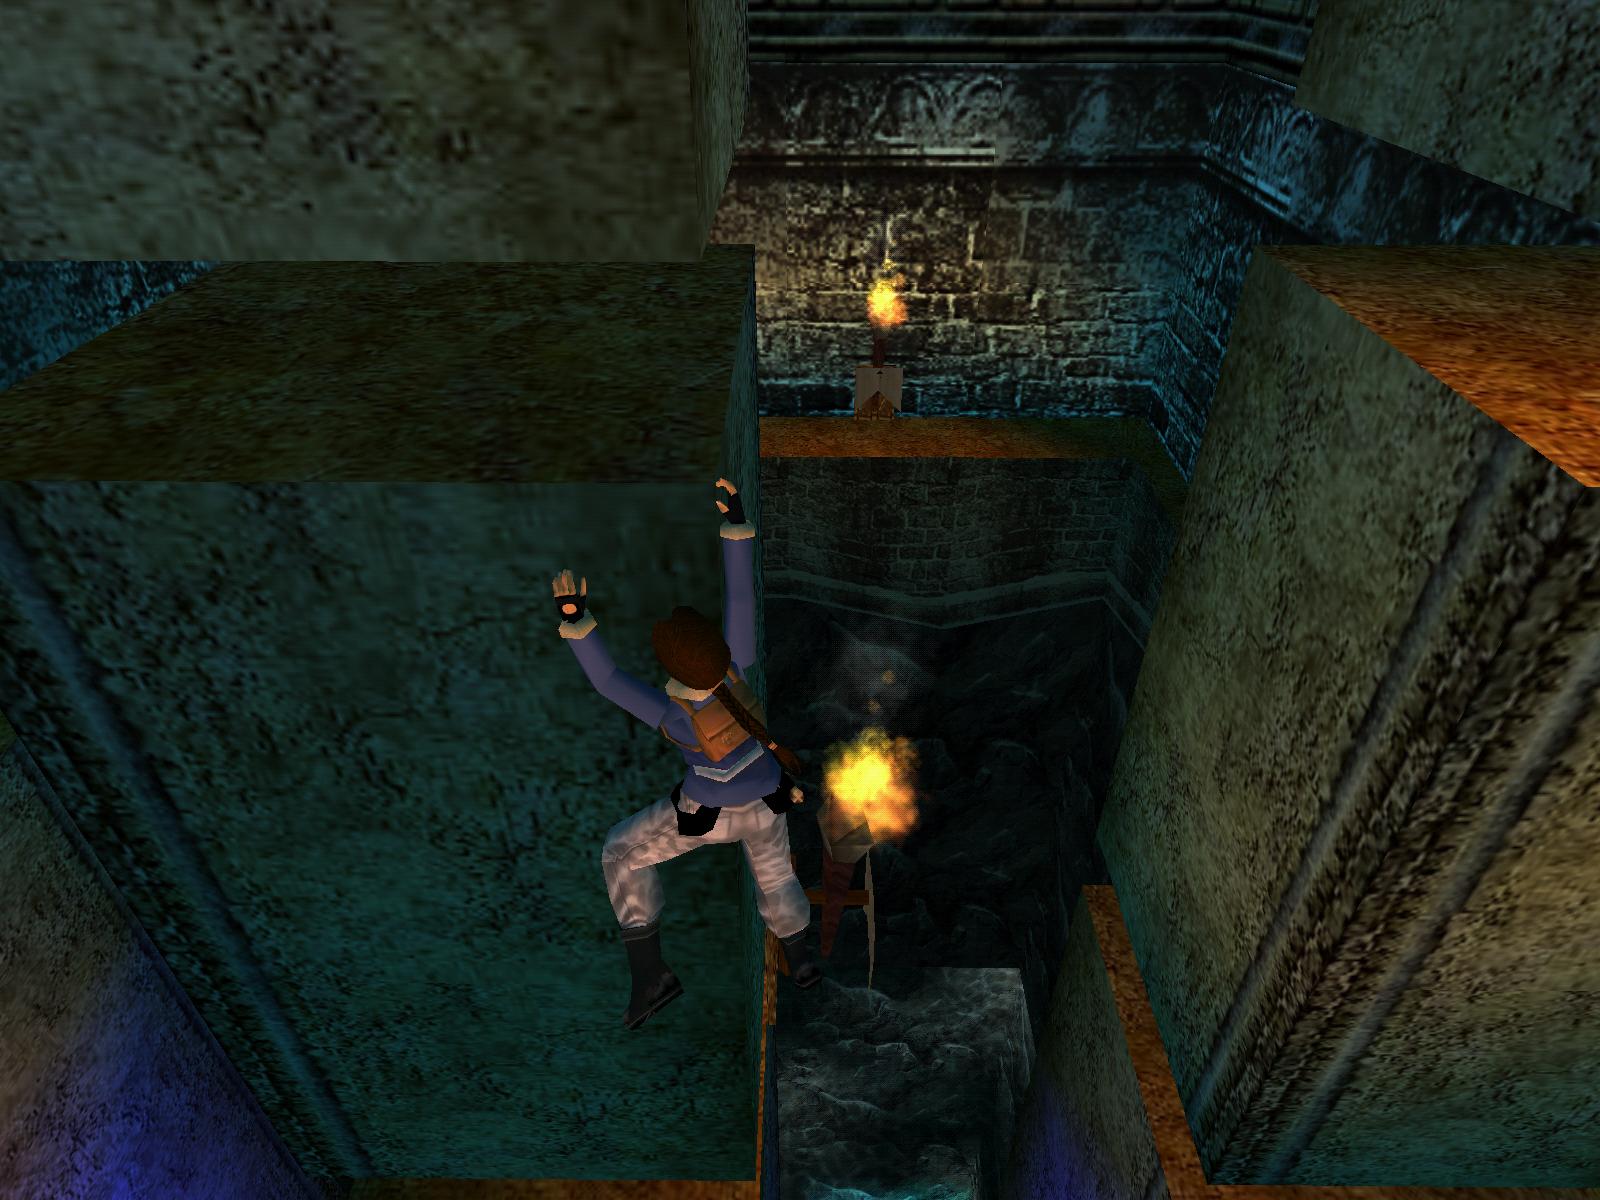
the corner over the slope, drop/grab and backflip, slide/grab and backflip
again with a roll to grab the corner ledge. Jump and grab the crack W to shimmy
to the crawlspace, follow through, pick up a big medipack and step
onto the right hand trigger block to lower a cage back in the Vraeus room.
Go back and safety drop down on the far left. Climb the block NW from the
higher sand and turn around to jump and grab the ledge E. Use the reach-in
switch and something shakes. The cage above you lowered and theres a button
there. Jump E and get the small medipack, run from the ledge into the
water below and get back up to that crawlspace. Go onto the same trigger block
and raise the cage back up. Go out, up the ledge NW and jump to grab the cage,
go up and right around to the top. Use the button and the cage at the Vraeus
will go down. Run down into the water below and go get the Second Golden
Vraeus. The way out is through that crawlspace up W where the cage is
now lowered. Drop out into the passage with the Timed door, pick up the Grenades
and Uzi ammo and swim out to the pool. Go through that left hand opening
N again to get back to the ramp.
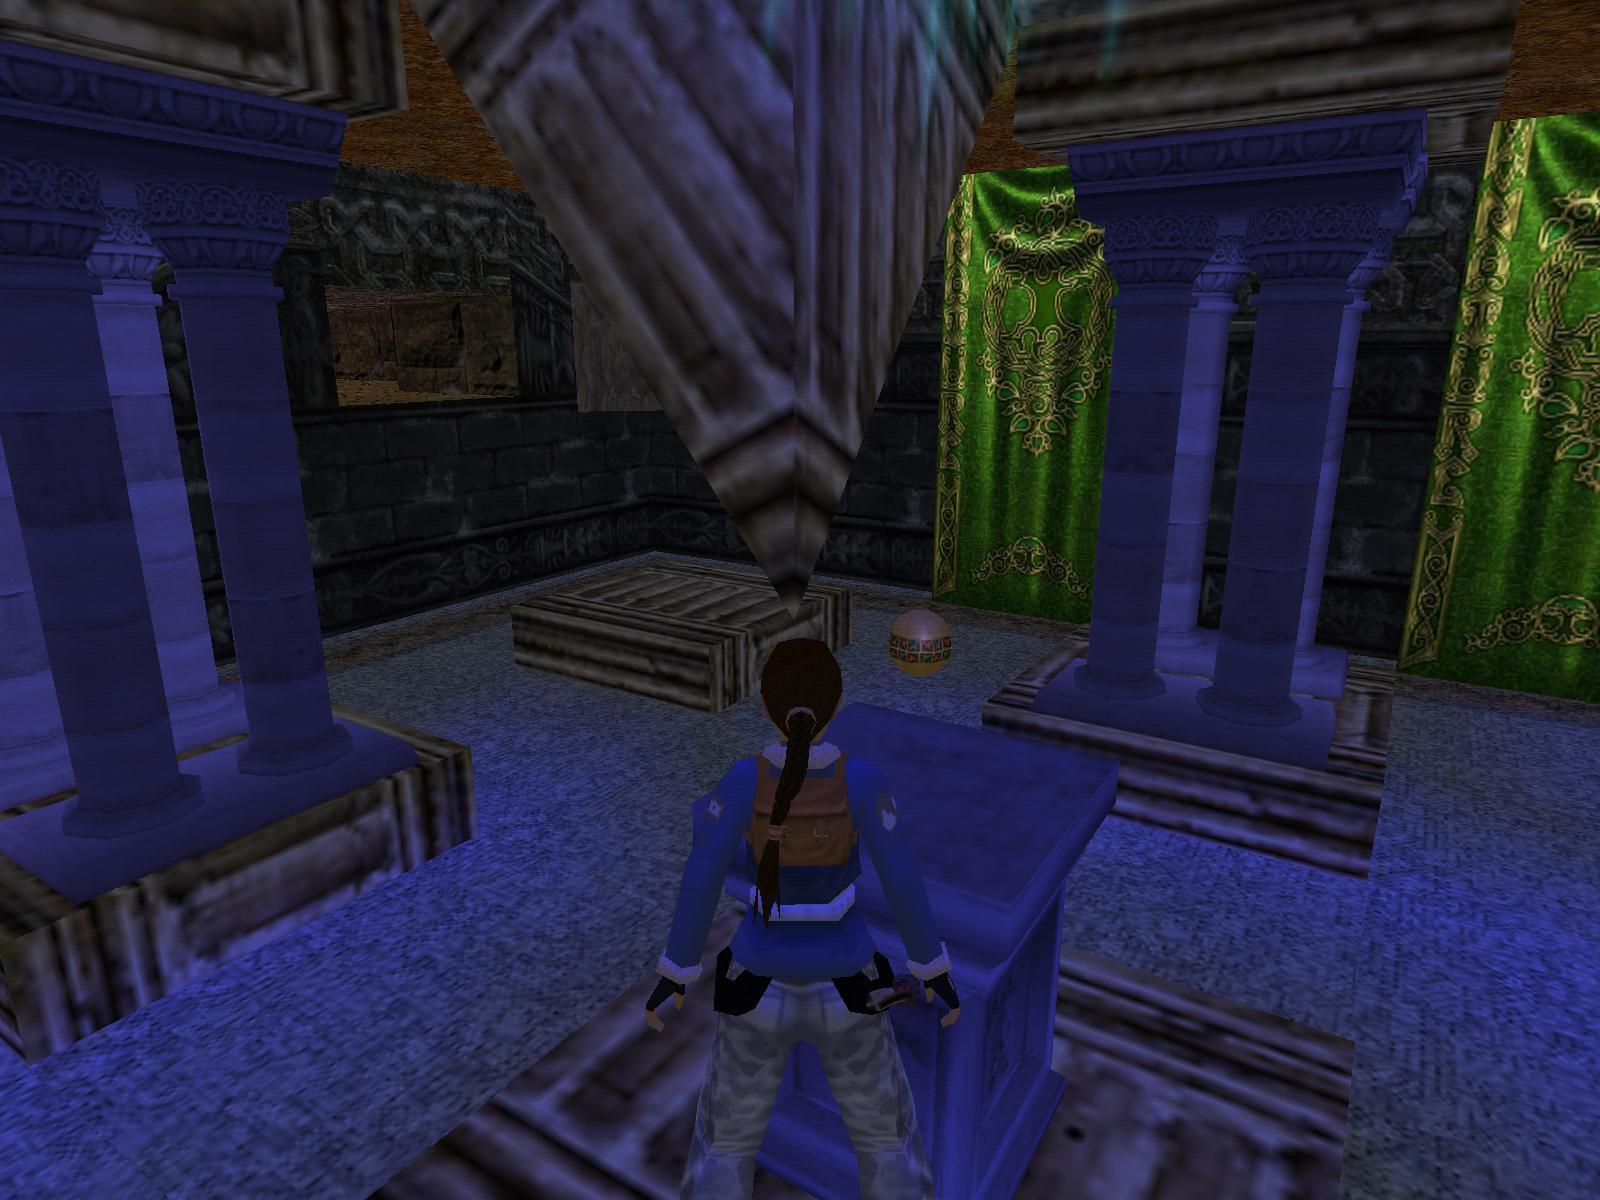
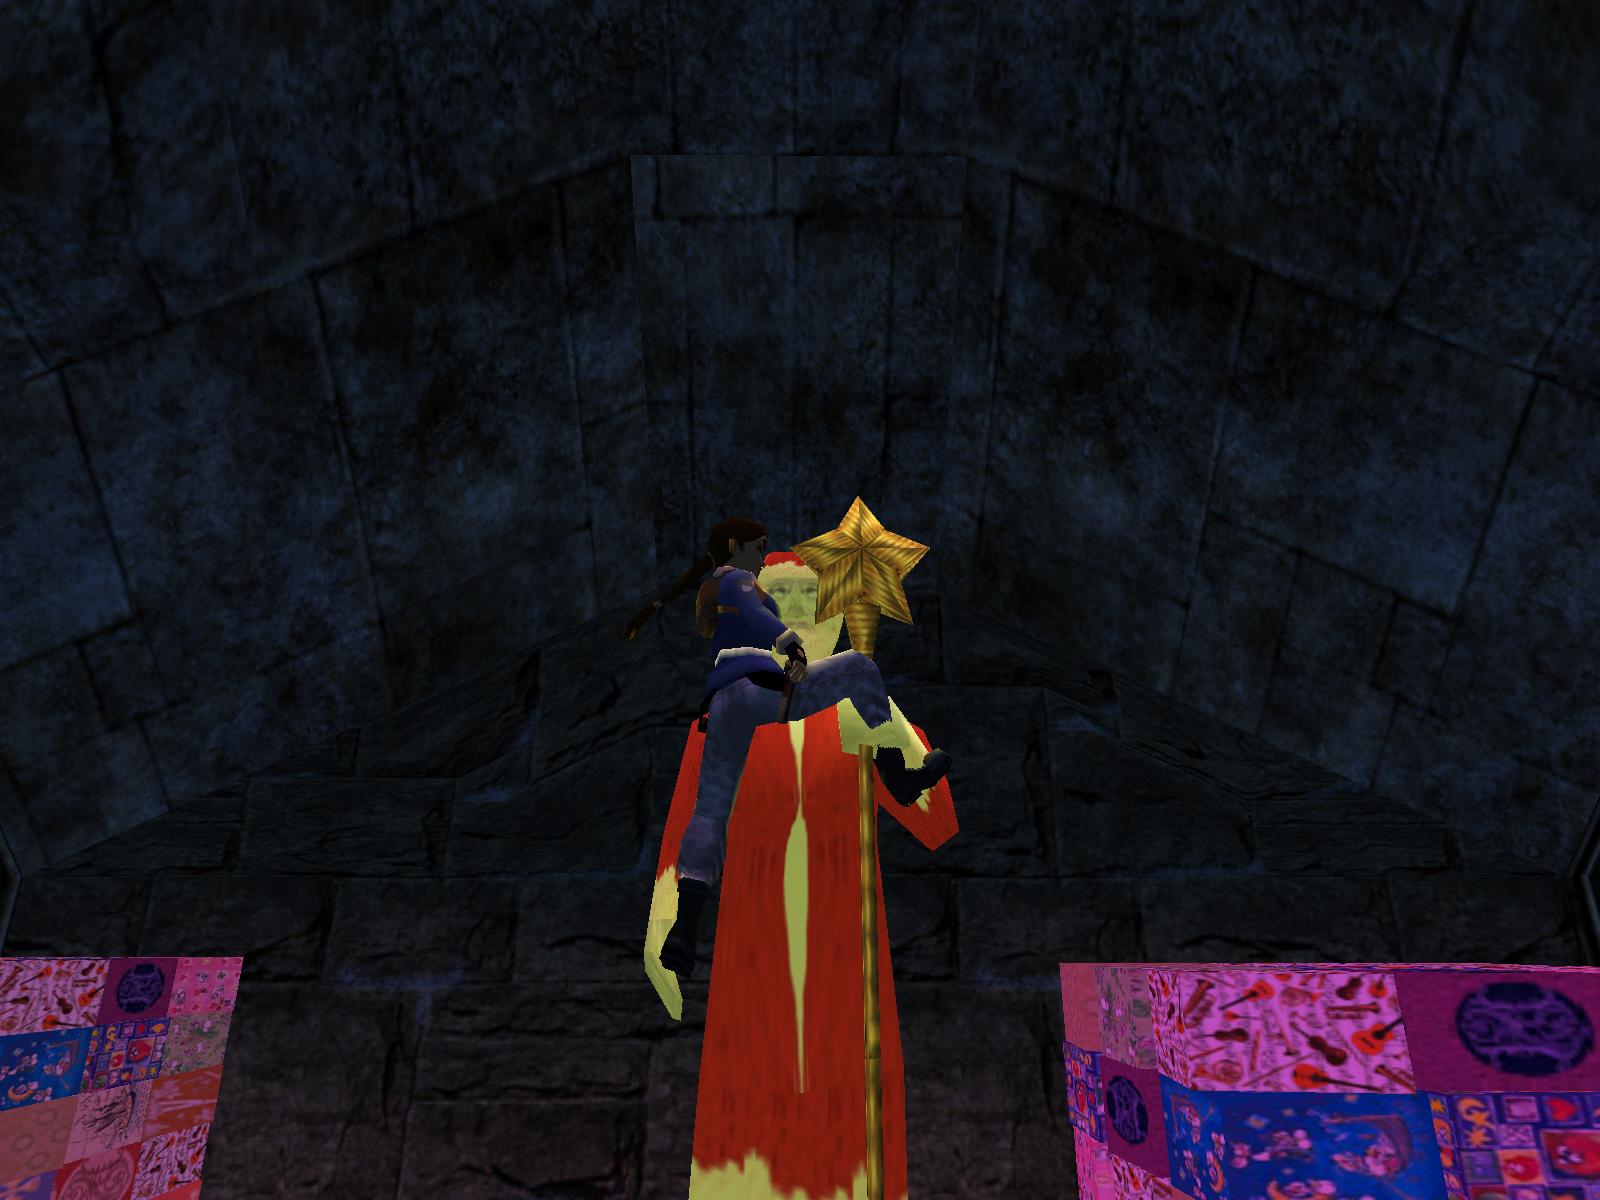
The Golden Star.
Place both Vraeus and see the cage go down at the Star. Head back N and swim
back to the Main room. Go right around the corners up the sloped passage and
to the next room where the Golden Star can now be taken. Back down
to the Main room and up the beach S to place the Star.
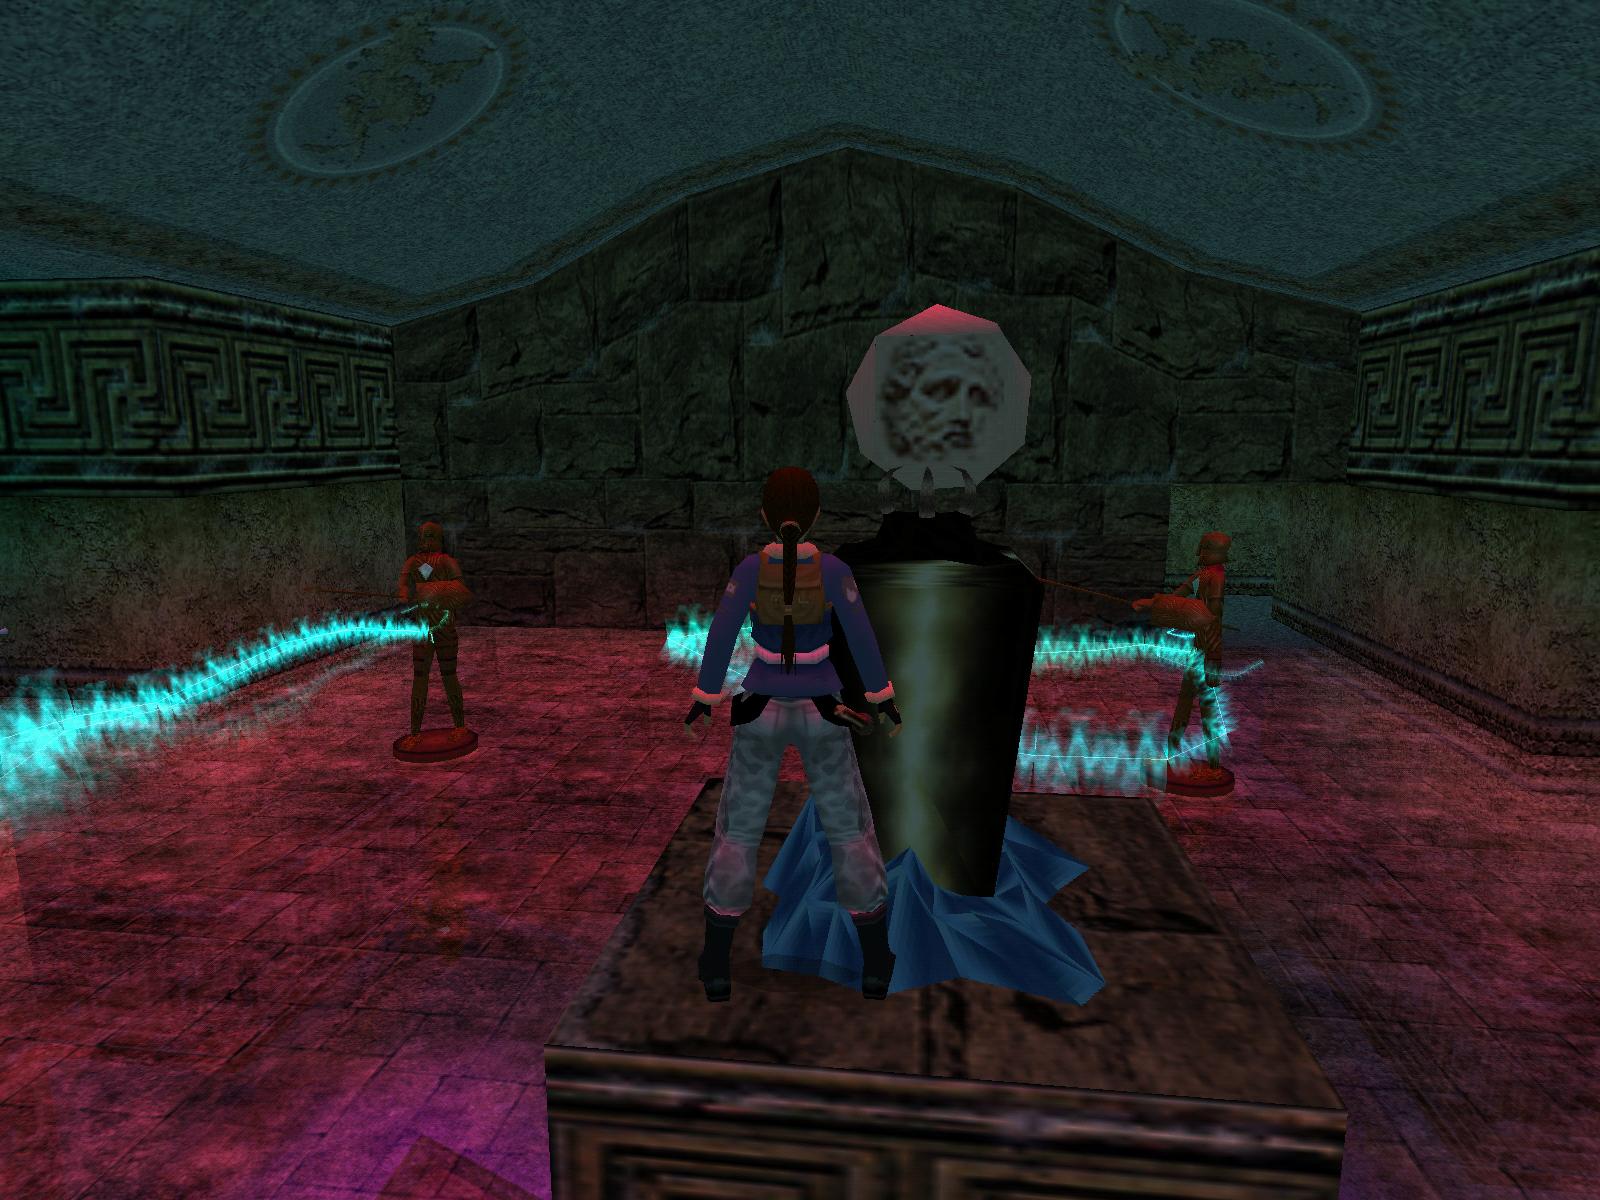
The Canopic Jar of Duamutef.
Turn left and grab up to the grid next to that palm tree. Jump and grab the
crack N (nasty tree), go left around and pull up. Hop over the gap (youll
get back there later) and in the next room is a vase to the left. Shoot it,
get the Uzi ammo and use the monkey bars to go around the room passing
a door, shoot the vase there and pick up the small medipack. Enter
the passage and come to a large square. The opposite side is a mirror and
shows you the hazardous spots. First go down S to pick up the Medipack[/b].
Go back up N and use the reach-in switch. Follow the safe path to the other
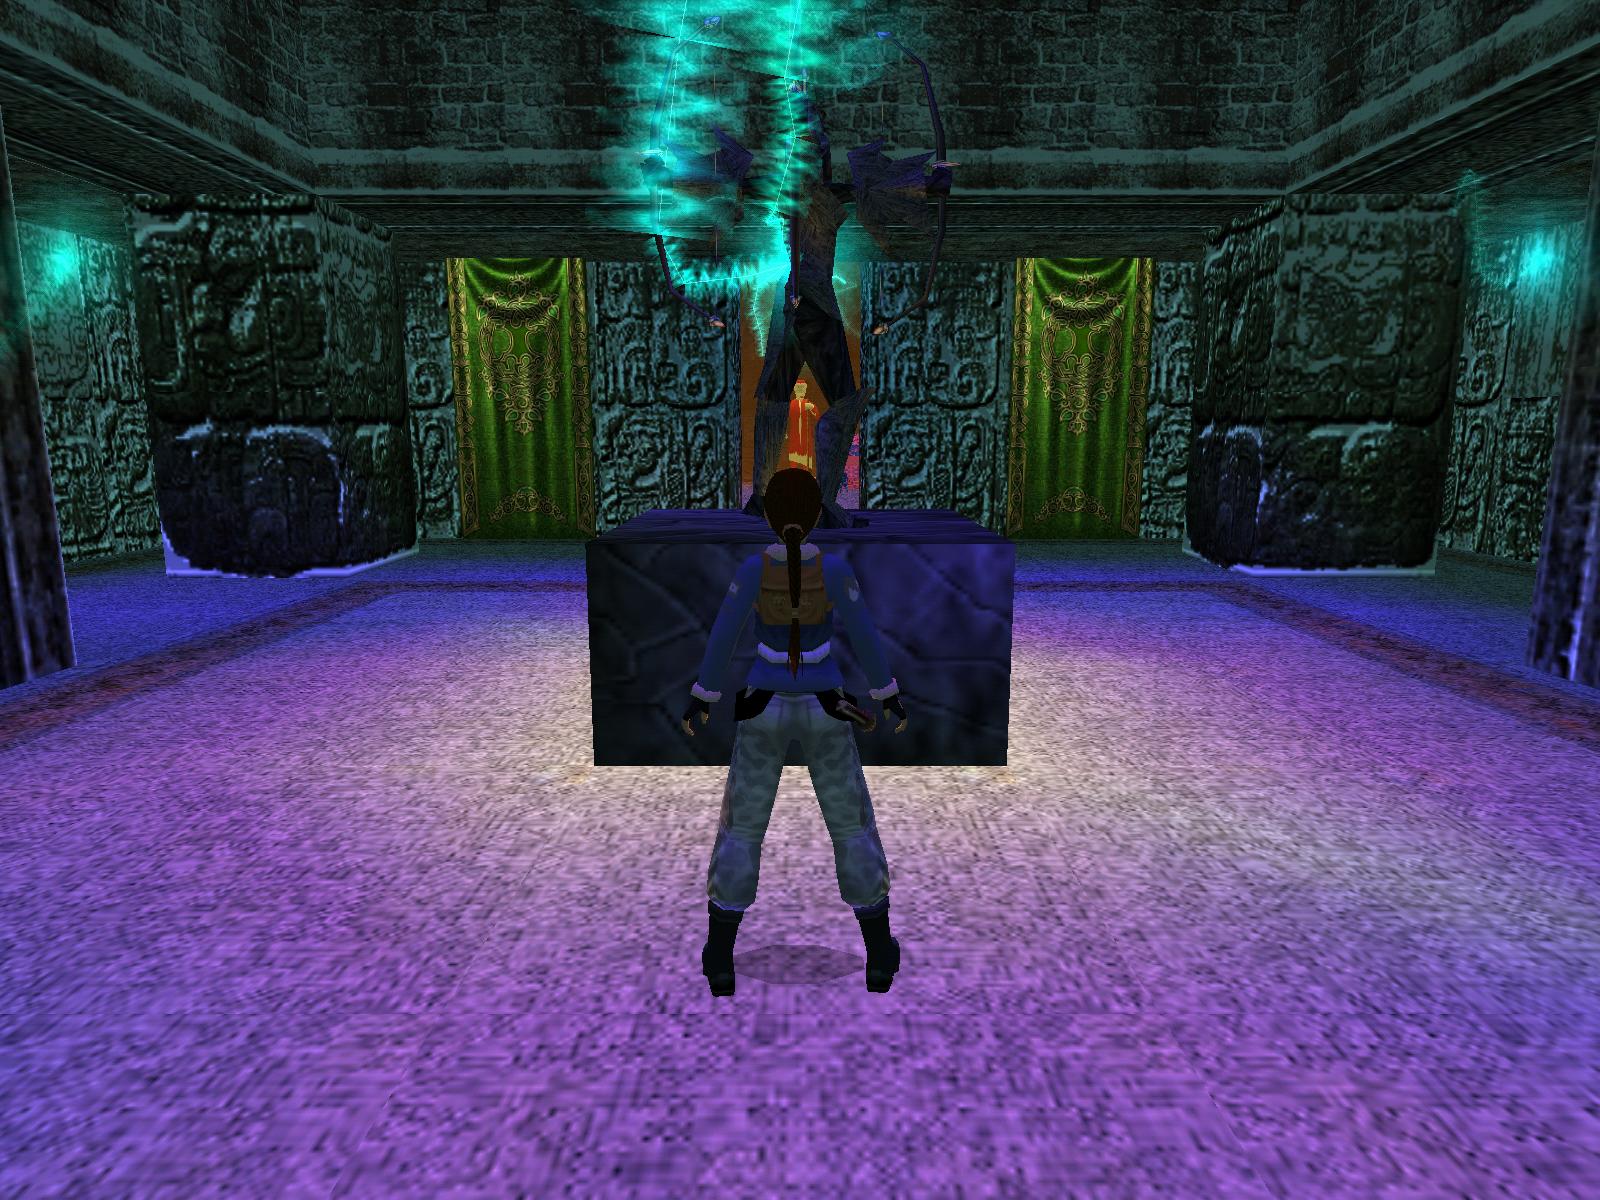
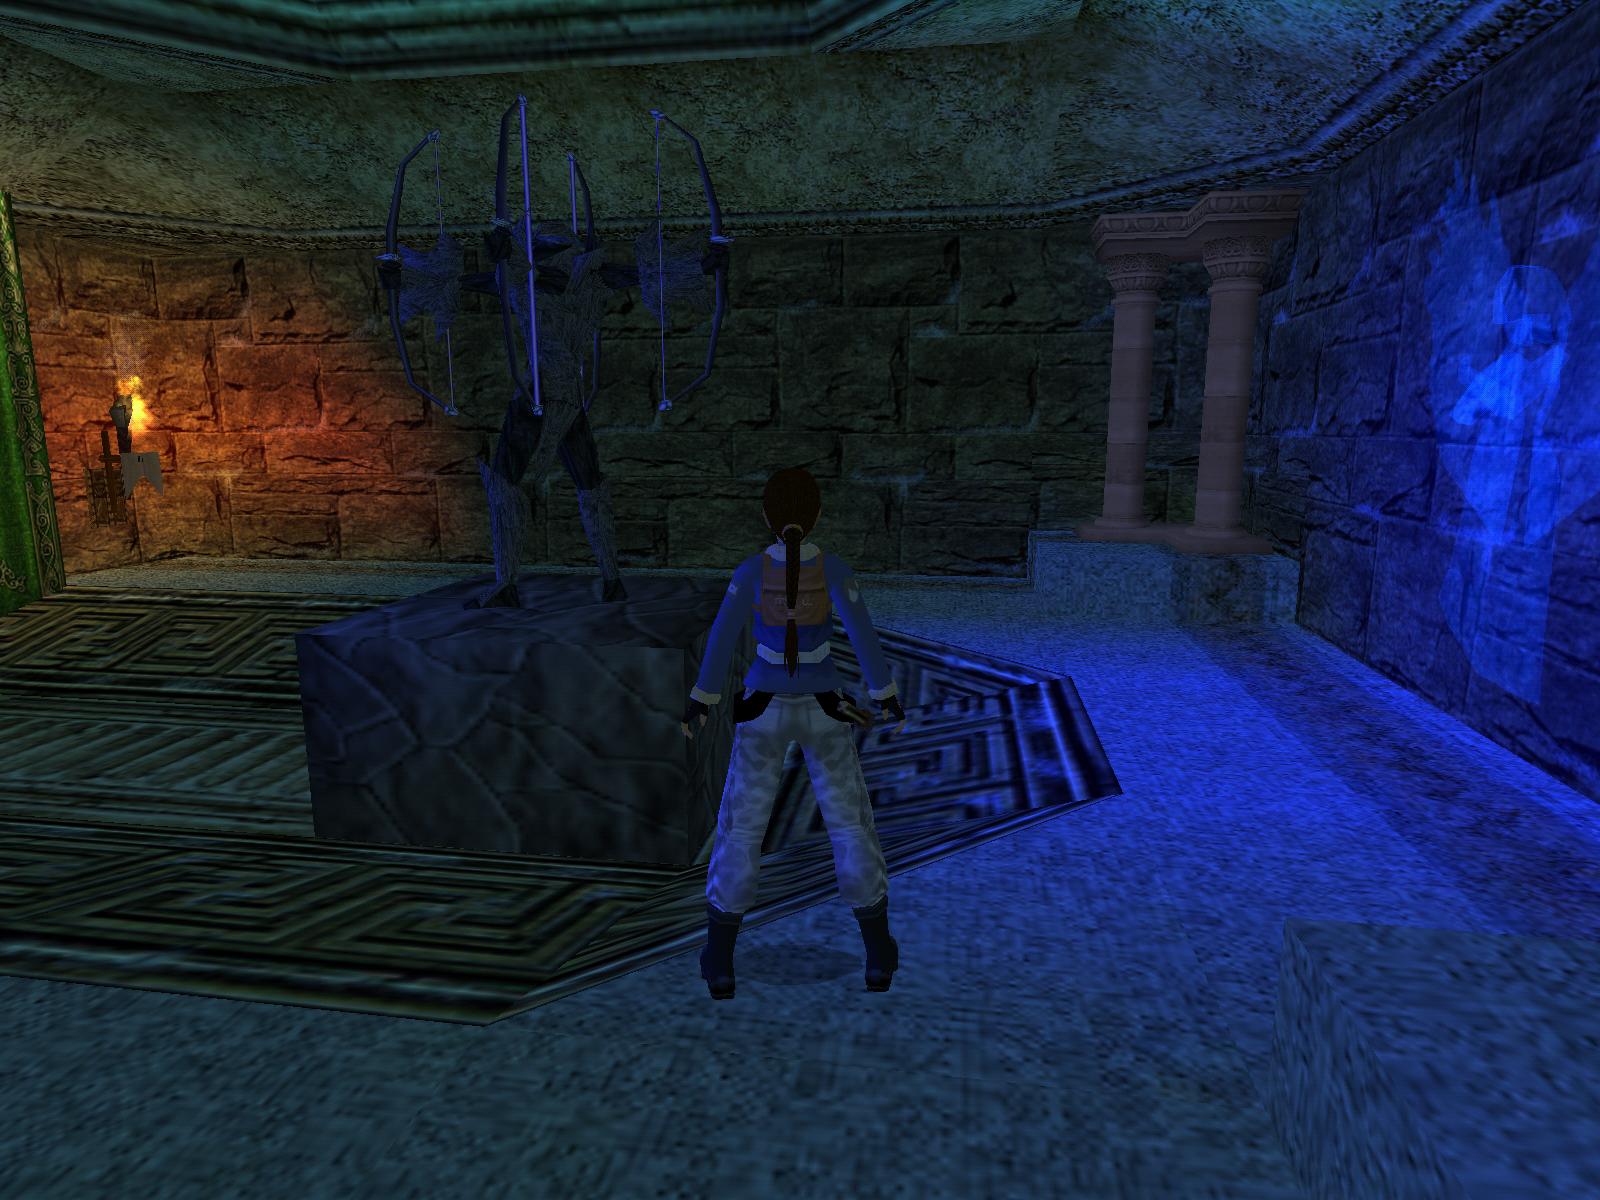
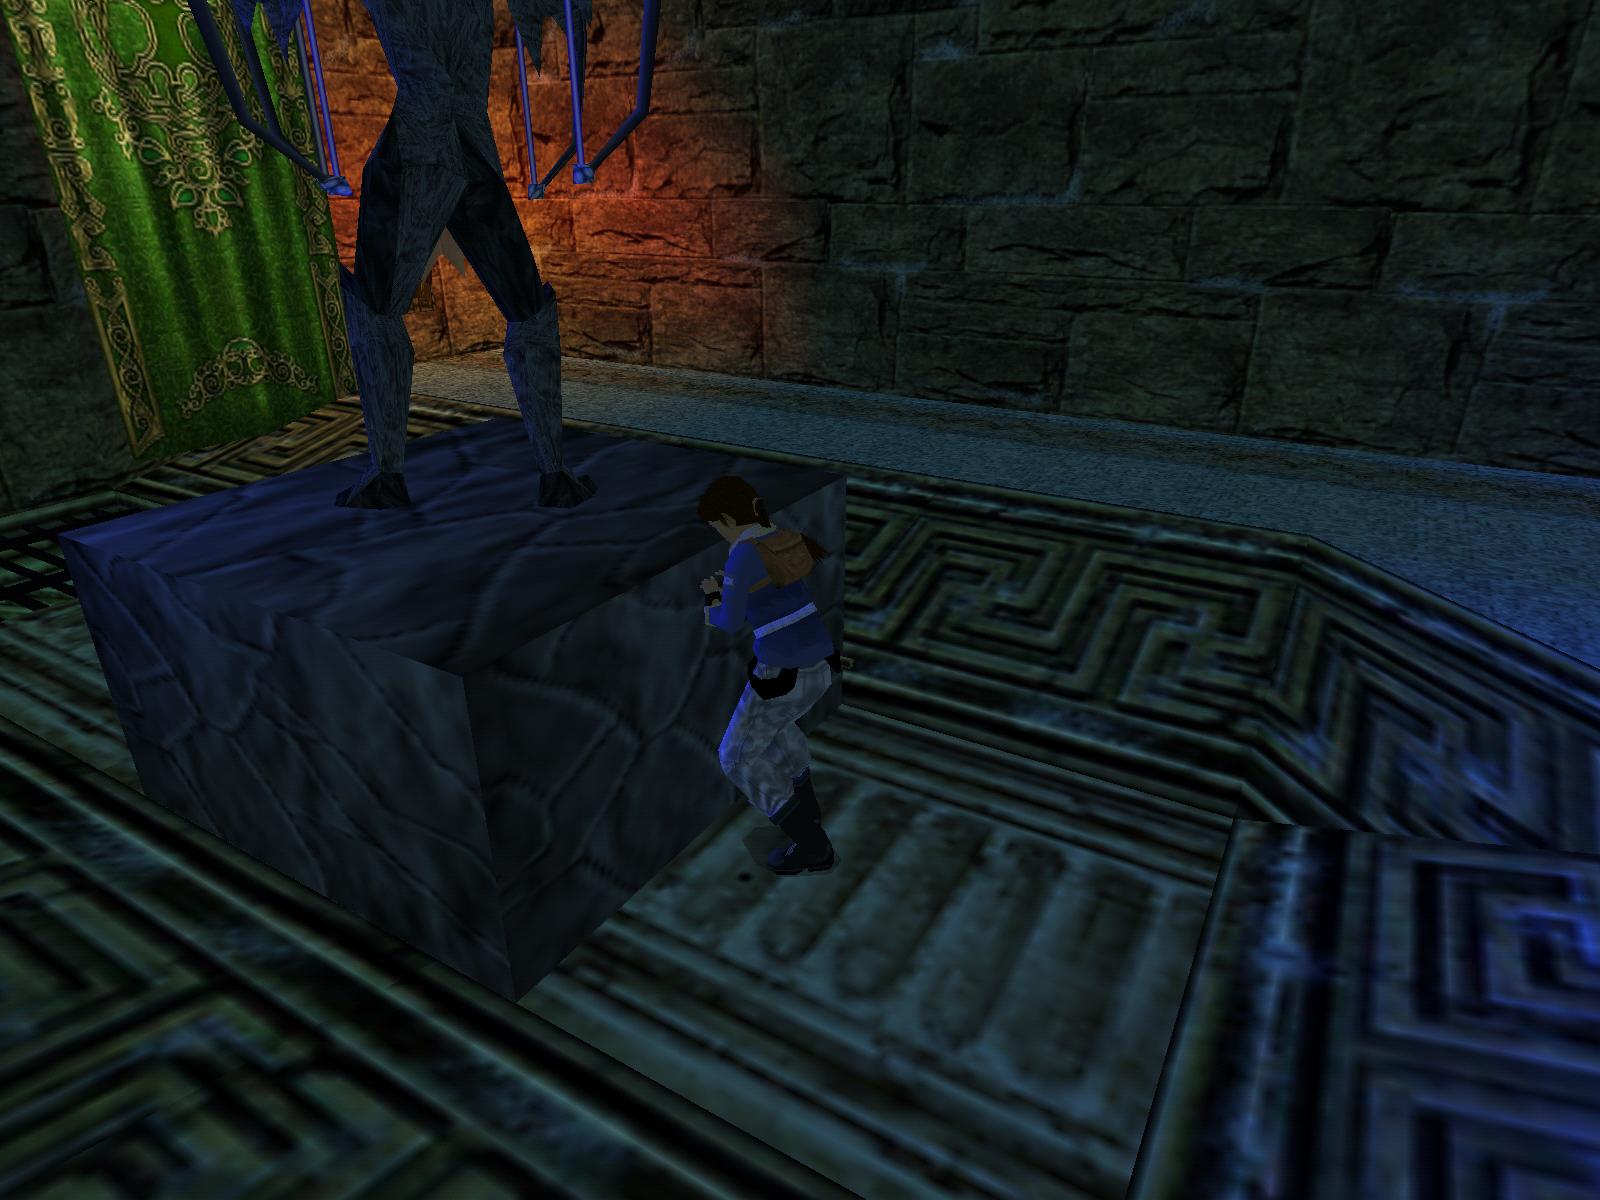
switch and the gate opens up. Walk S and left around the statue, jump from
the front of the statue left around the corner and get Secret
#2,
the Grenade launcher. Go back to the entrance and up to the room with
the monkey bars. If you drop down you can see a receptacle for a Medjai Key
and throughout the room you can collect 2x Uzi ammo and Grenades.
Climb back up S and climb to the right, go drop down W to the main room. Go
out N and left on the yard is the open gate. Get the Canopic Jar of Duamutef.
A Medjai will attack and he will leave behind that Medjai Key.
The Canopic Jar of Qebehsenuef.
Go back up the E wall of the Main room and down the ladder there, over ledge
to the receptacle. That door at the monkey bars will open up. So, back up
the ladder, off to the left and over the monkey bars to and inside the door.
Slide down to get the Flares and backflip onto the slope behind, jump
and grab the monkey bars to go over the top of another slope. Slide down into
the room with the Pit. Go get the Uzi ammo NW and head into the opening
N. Shoot the Medjais and get the Uzi ammo left behind. Stepping into
the niche N will start a timed run tune and through the window you can see
the door (just to the right).
Go check out the route first so you can also pick up some goodies. Out of
the room through the opening SE (which
I found to be easier)
and into the left hand opening S, left around the corner through the first
door, around a few corners and slide down. Jump from the slope onto that block
so you can runjump left around the corner onto the slope to the Timed door
(
Video).
Just to the left of that door is a niche up S, grab the Grenades there
and run forward into the water. Grab the Medipack and swim through
to climb back up to the room with the trigger tile. Save and hop back onto
the trigger. Follow the route and sprint where you can (or run jumps). Use
the reach-in switch to open the gate to the second Jar.
Go out through that passage where the Grenades were and out to the square
to the structure in the SW corner and grab up to the crack in the wall, shimmy
around the corner and drop into the structure. Use the button to open a door
up W. Go back out through the crawlspace. Go back to grab the crack, repeat
the shimmying. Save. This time Hop onto the ledge W in this same crack and
stand as far as you can into the SW corner facing S, stand jump and grab up
to the ledge above and get the Medipack there. Run off from the ledge
with a grab to land back on the ledge you came from and step onto the lower
ledge in this crack.
Do a run from here to jump and grab to the opening W. Youre back on the yard,
go get the Canopic Jar of Qebehsenuef. Go back to that door you just
came out from, through the crawlspace and climb back to the square with the
statues. Place the 2 Jars in the back of the statues and the pit will be flooded.
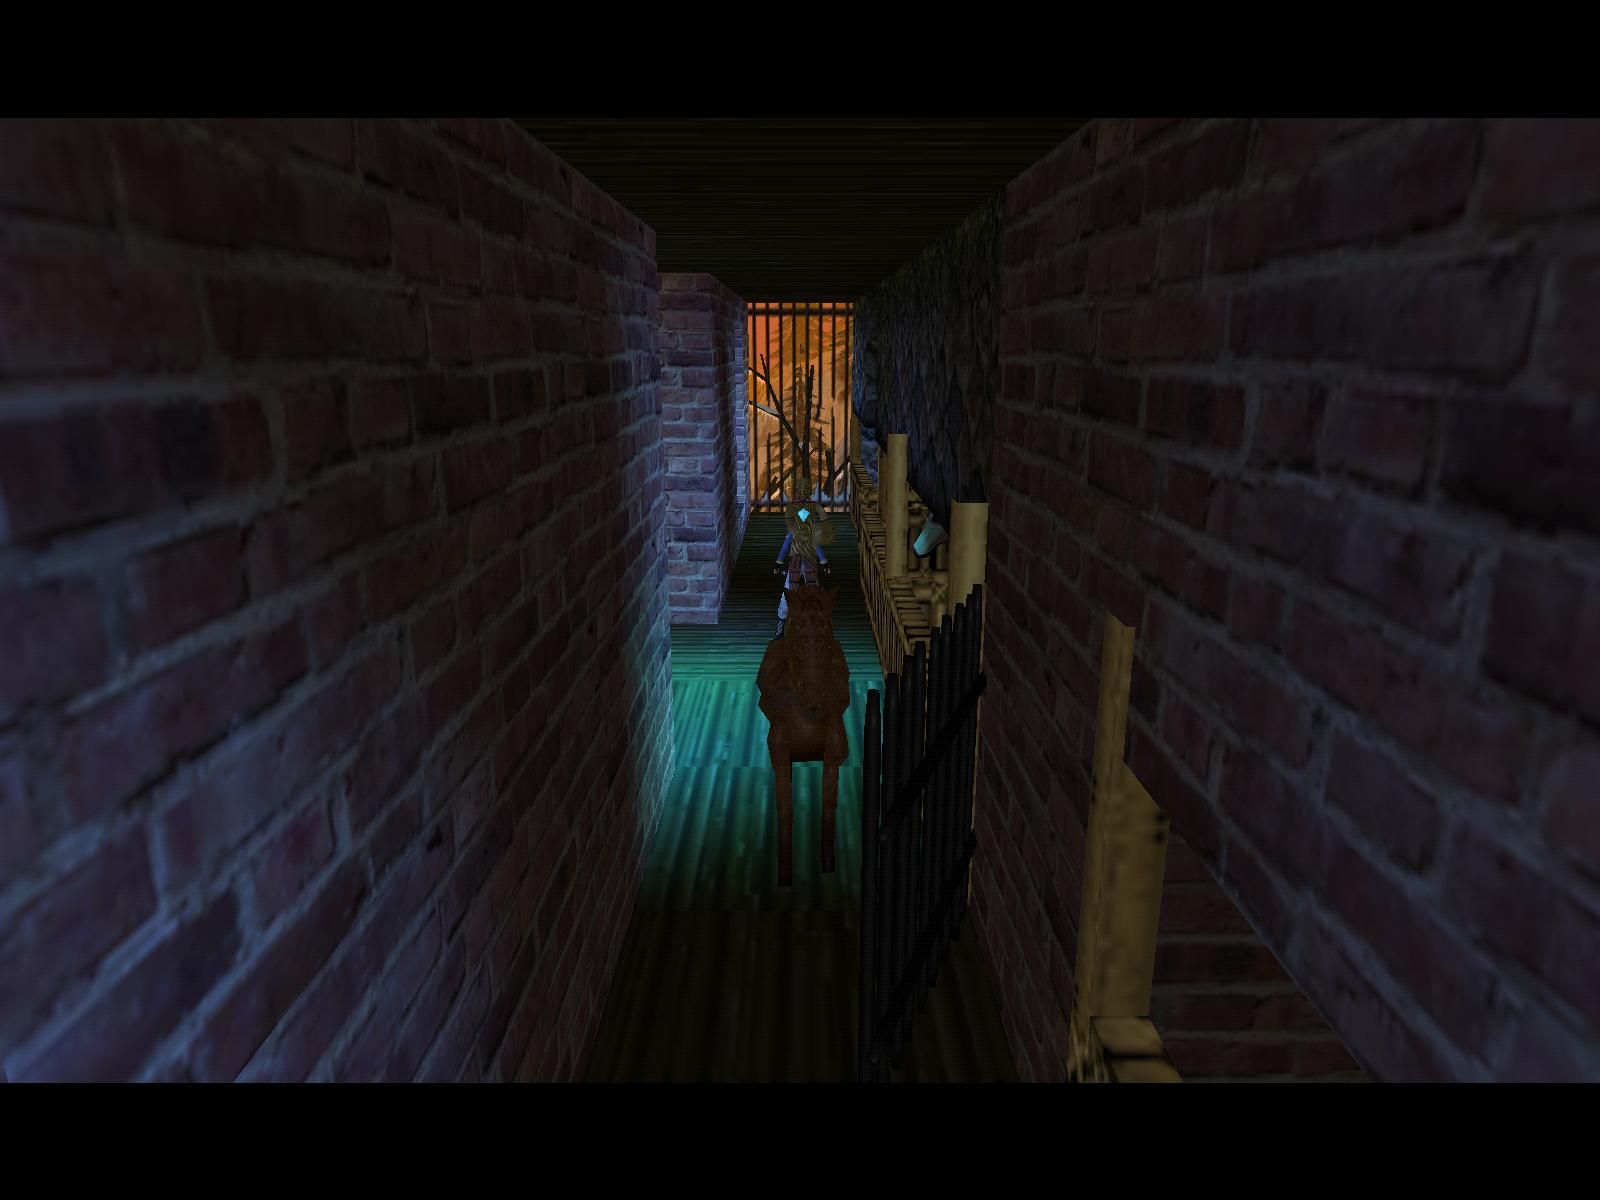
Dive in and open the underwater door. Climb up E and head S to shoot the Medjai,
get the Uzi ammo[/b] and go N into the tunnel in the corner. Down below a
bunch of Medjais attack.
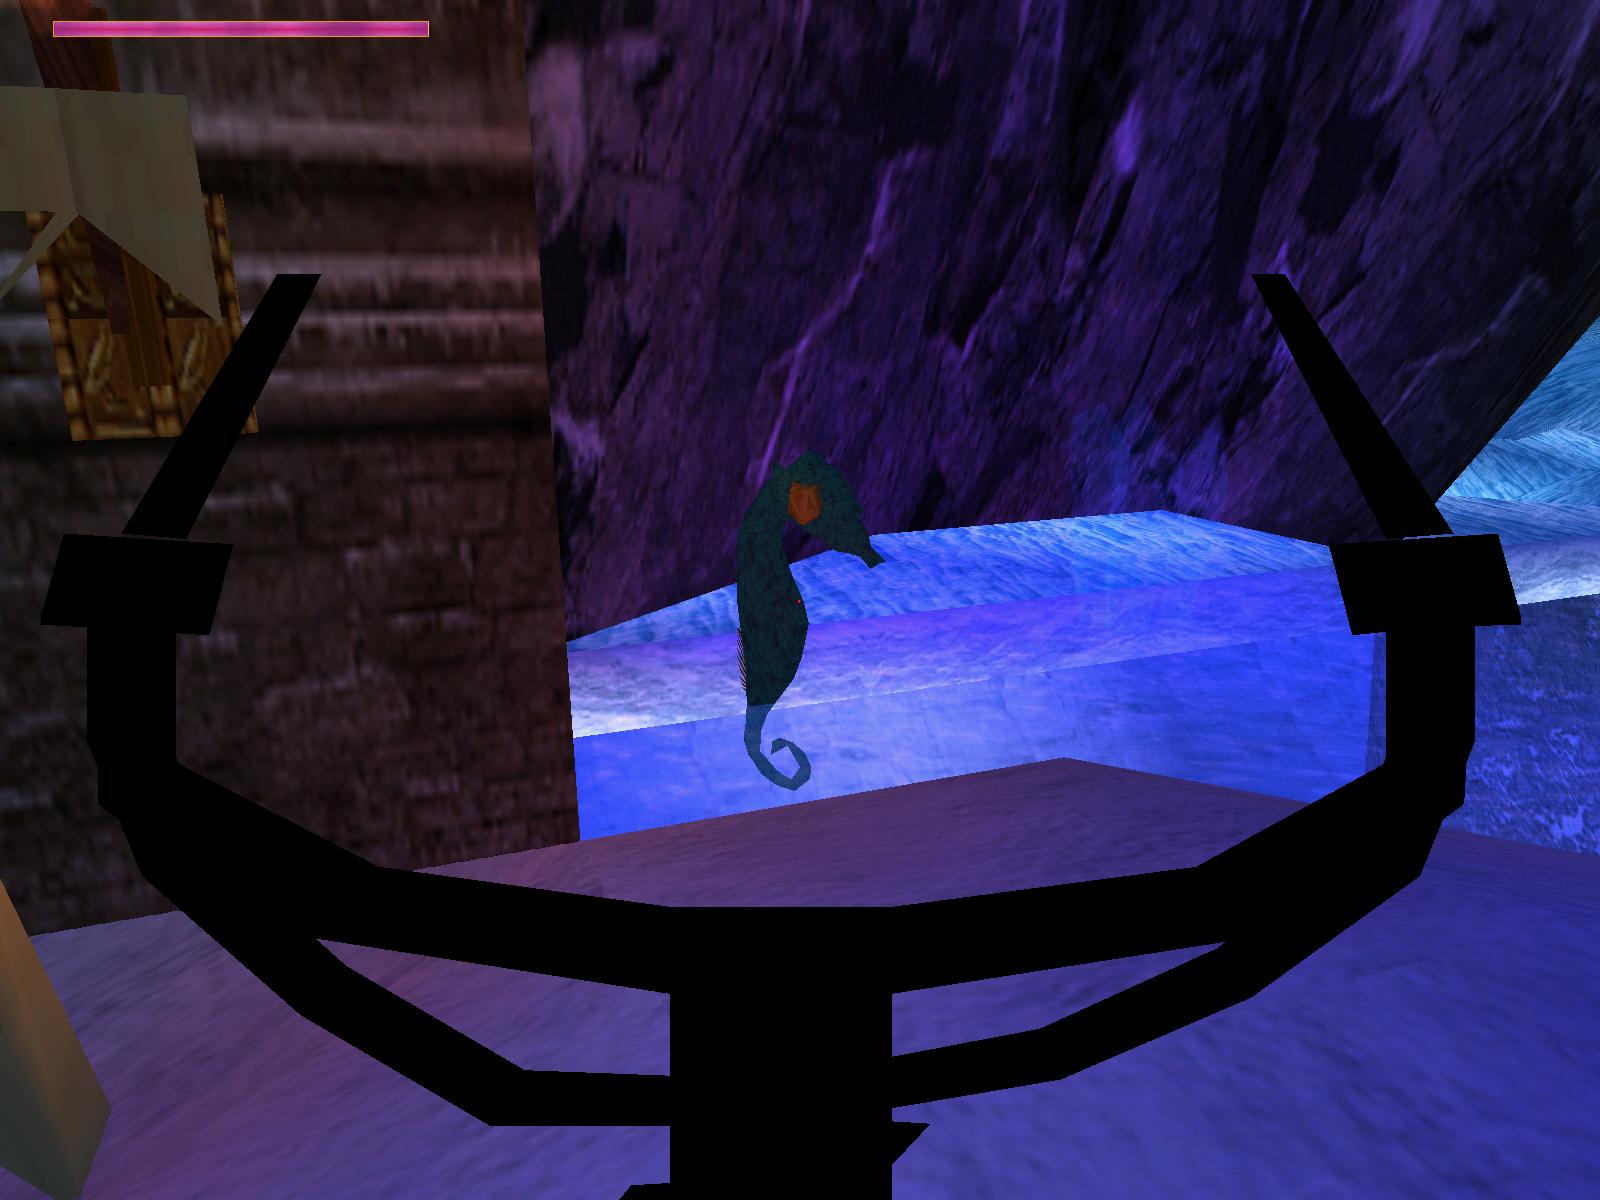
Golden Vraeuses.
There are 4 Vraeuses on the ledge, only one is safe, standing in the middle
take the SW one. Take it and go back up the tunnel to the pool. Look up right
when you exit this tunnel and spot the crack in the pillar, grab up and crawl
through, climb off the other side and hang to shimmy left to the next corner.
Pull up and drop down to the ledge with a second Golden Vraeus. Dive
into the pool and climb out E. Jump to that block in the pool, then over to
the ledge W and place both the Golden Birds to bring out a rope over the pool.
Jump back to the other side and onto the block a bit on the right. Turn around
and take a running jump to the grid (N).
Get onto the monkey bars to the rope. Drop and grab the rope, swing to the
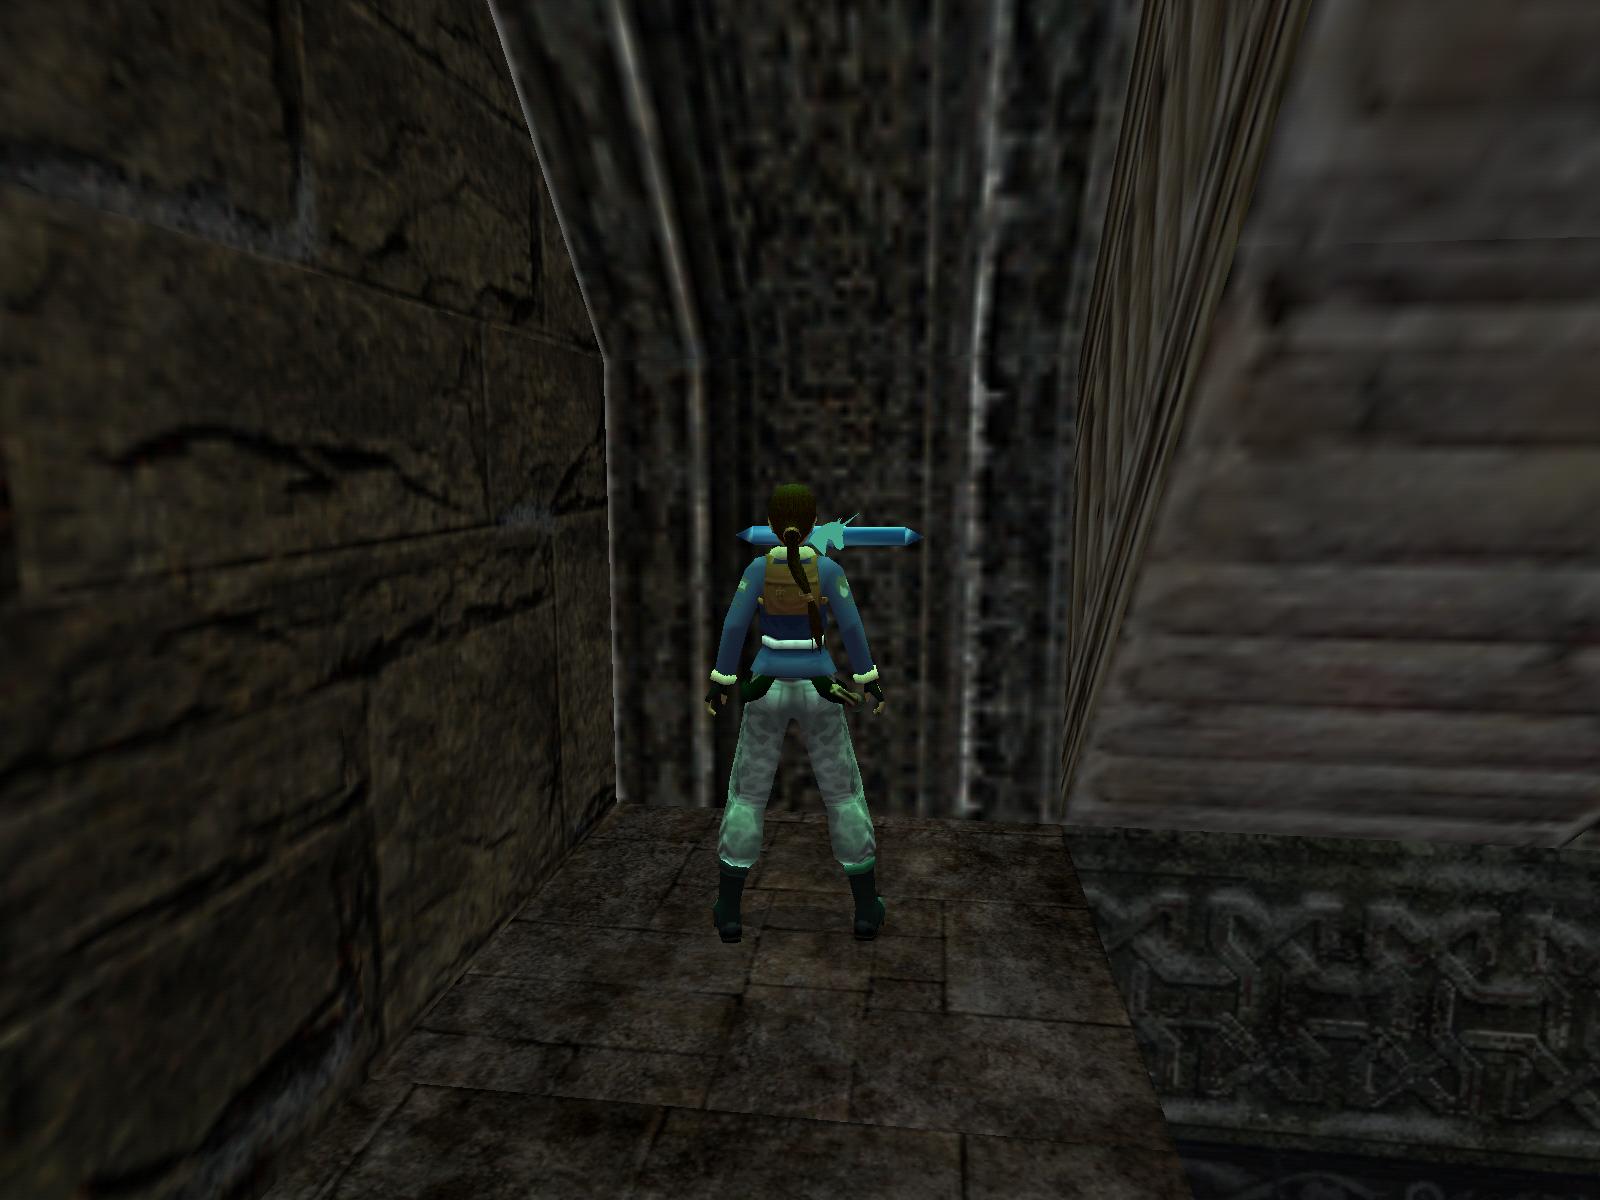
ledge left of the reach-in switch W and jump to the SW corner for Secret
#3,
a small medipack. Get back to the rope via the monkey bars and now
go use that reach-in switch. The gate below E opens up, go in there and get
the Amulet of Horus.
The level ends.
27-12-2008
Walkthrough by D&G Productions
Az oldalon közölt képek, a szöveges tartalom, illetve minden sajátkészítésû anyag, a © TR Editor.hu tulajdonát képezi. Azokat semmilyen formában nem lehet reprodukálni, másolni, terjeszteni, csak a szerkesztõség engedélyével.